
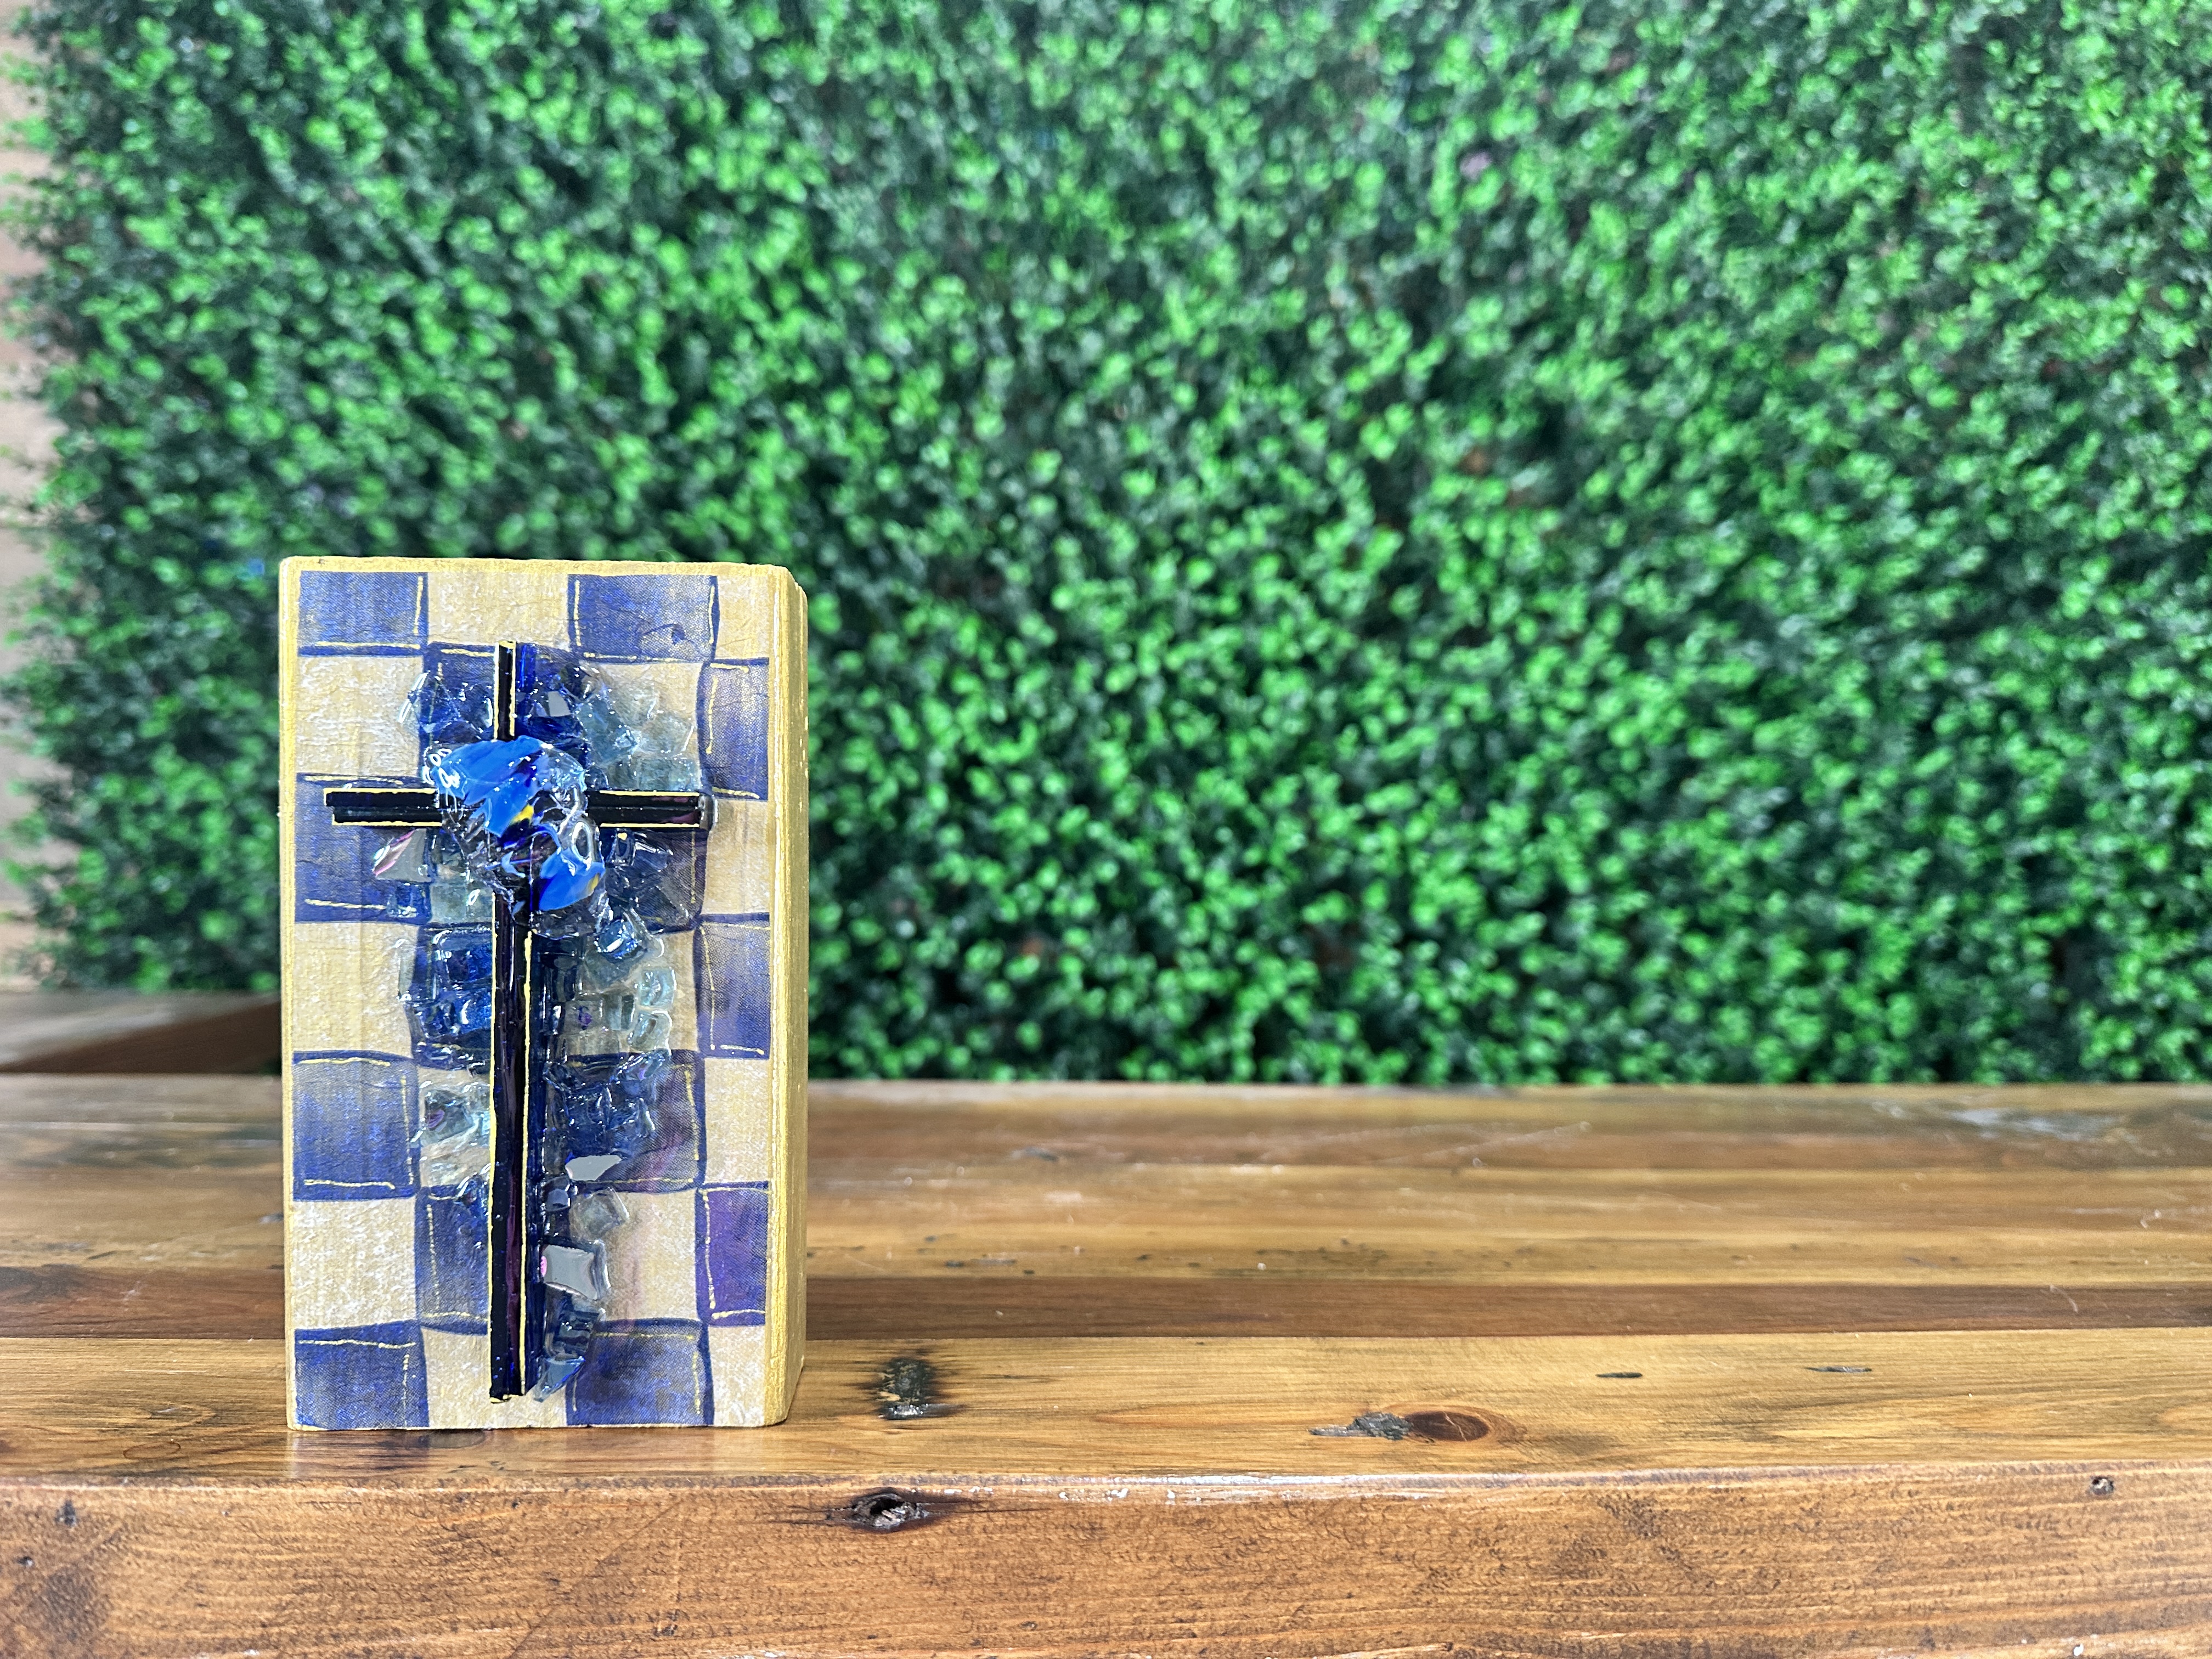
Blue Checked Cross 💙
This Blue Checked Cross is a charming mixed-media piece that brings together napkin art, paint, glass strips, and resin to create a shimmering piece of decor! Whether you're crafting for your home, a friend, or for a market table, this sweet little project is stunning!

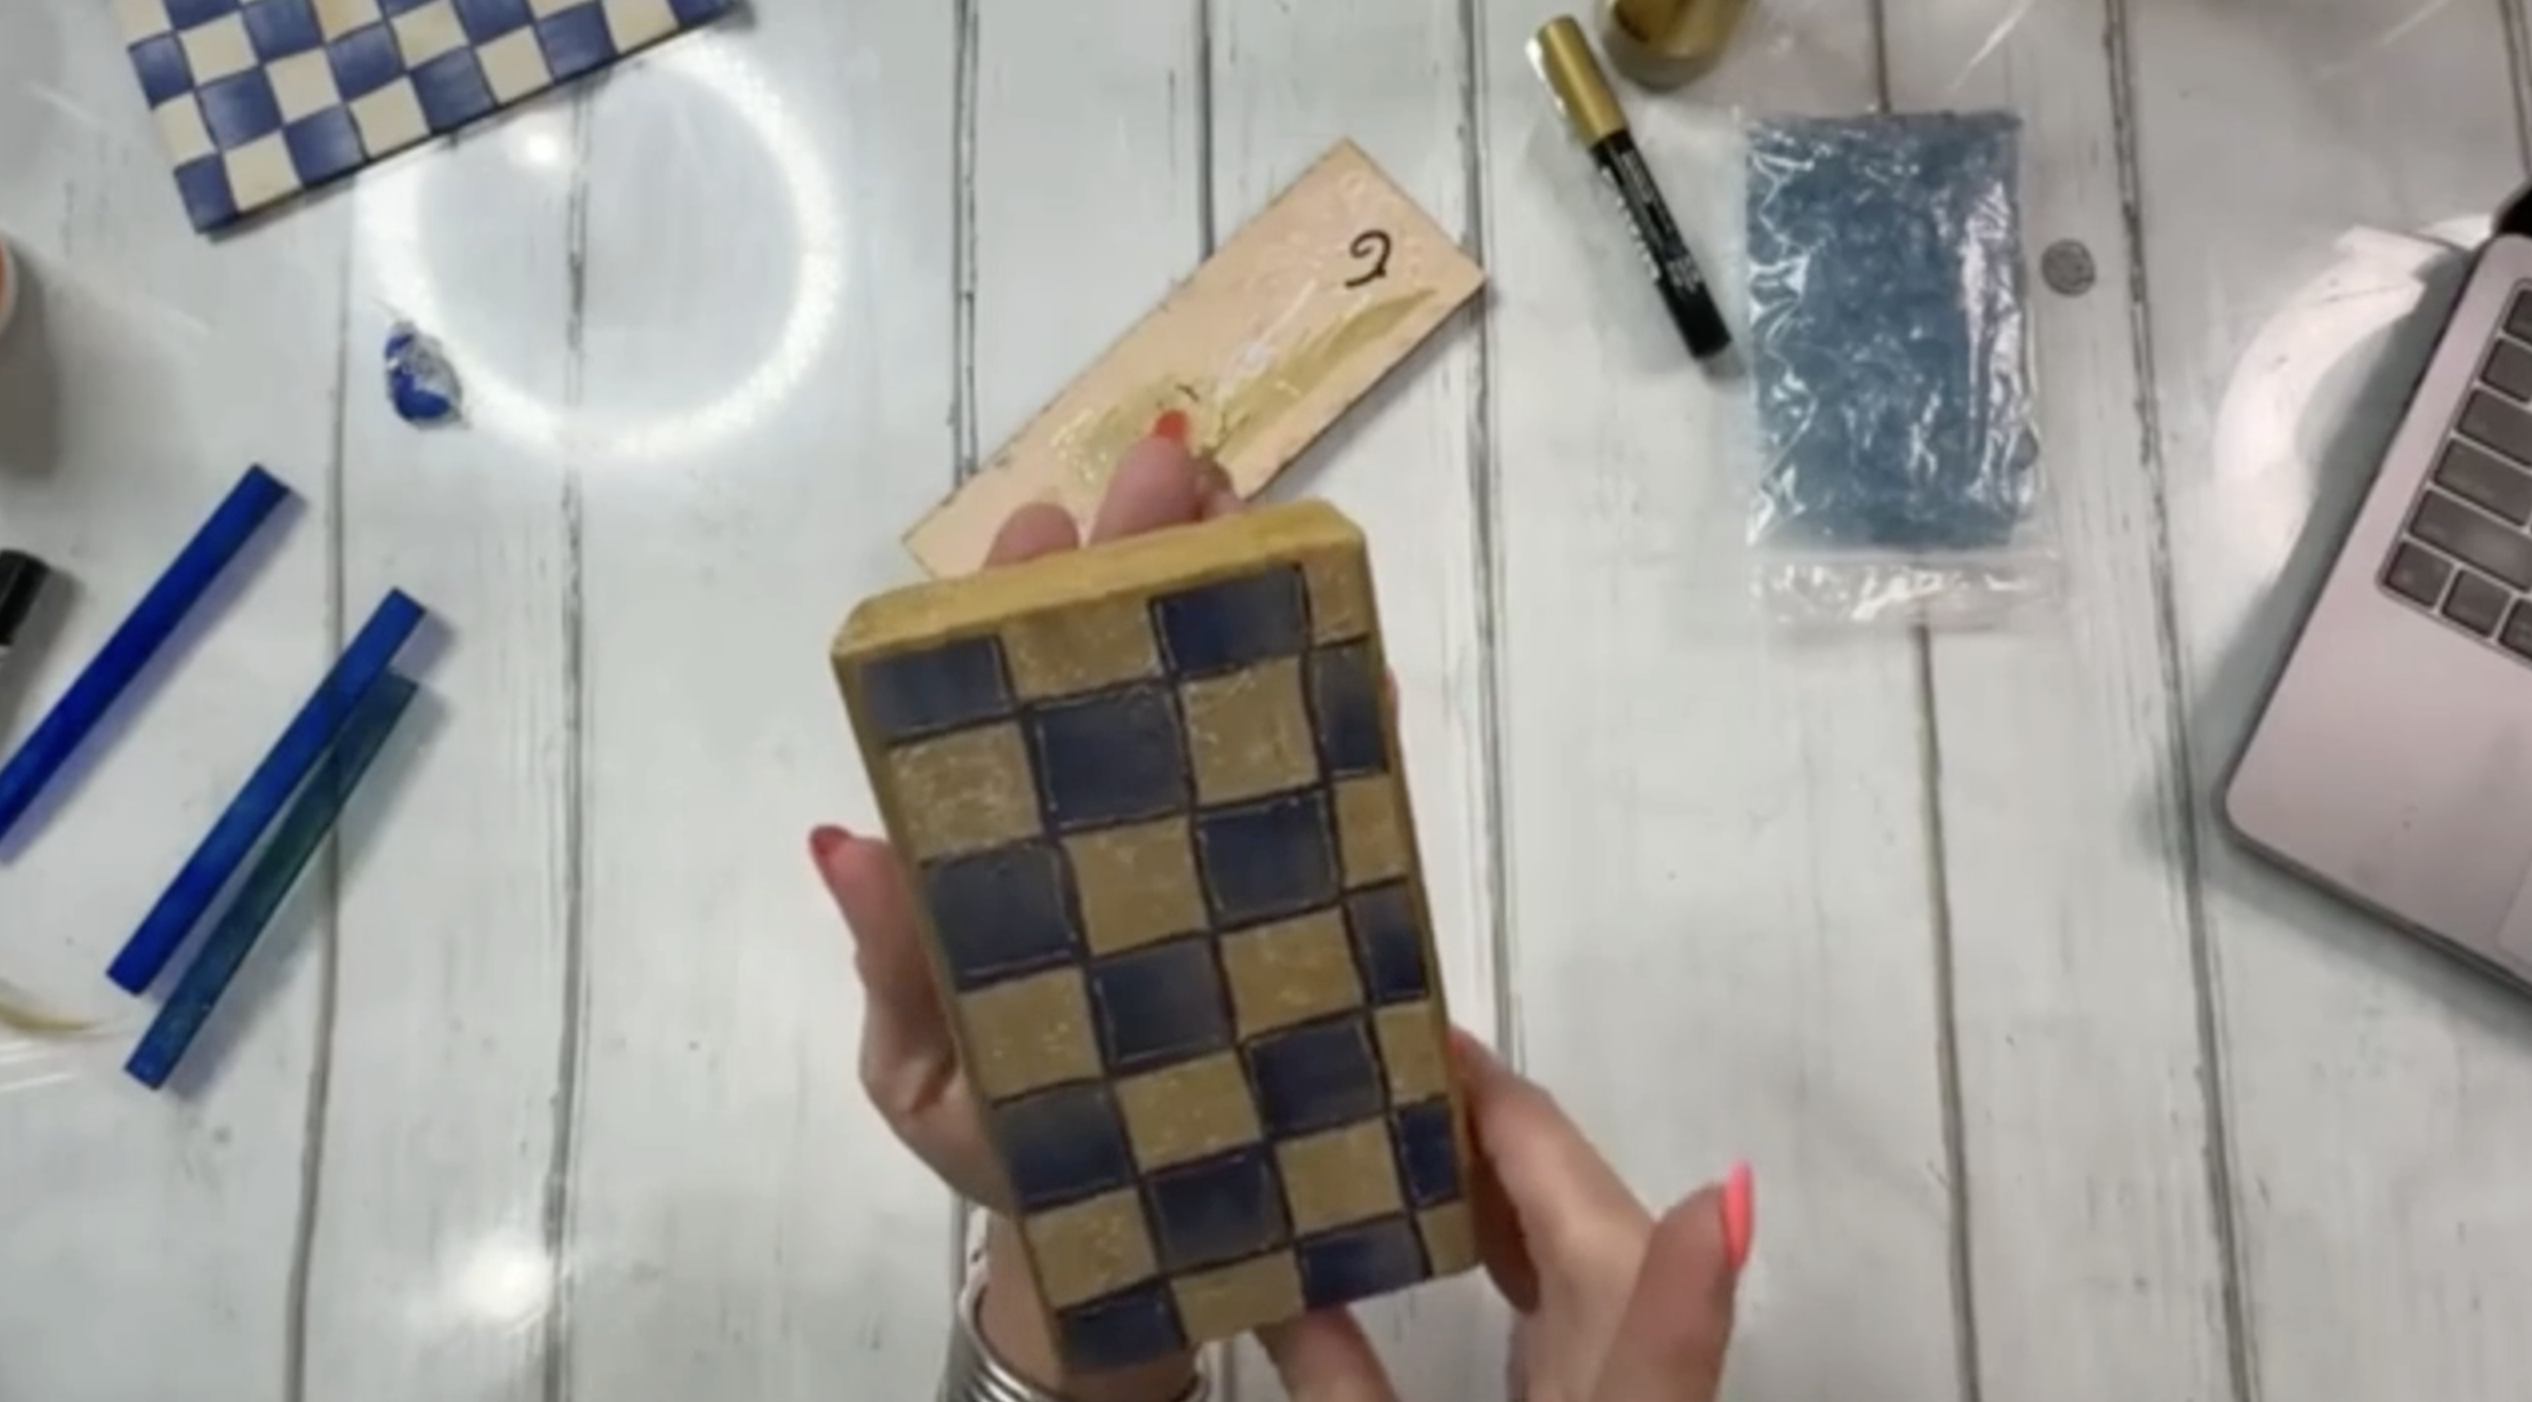
Step 1: Paint Your Base
Start with a 2x4 wood block cut to about 6 inches long. Give it two coats of FolkArt Pure Gold paint, covering all sides. Let dry completely. The gold gives a beautiful shimmer and will peek through the napkin in just the right way.
Step 2: Adding the Napkin Art
Choose a blue and white checkered napkin. Cut one section to size, lining it up to fit the front face of your block. Peel off the white backing layers (there are usually two) so you're left with just the printed layer.
Before decoupaging, check that your piece fits just inside the edges, allowing a hint of that gold to show around the napkin.
Using Mod Podge (any finish works since you'll resin over it), brush a thin, even layer onto the painted wood. Lay the napkin down starting at one edge, then smooth it out from the center using your brush. Work gently outward to avoid tearing or bubbles.
If needed, lift edges and add more Mod Podge underneath to ensure full adhesion. Let dry completely before moving to the next step.
Once dry, use a gold Posca pen to lightly outline a few of the blue squares for a hand-doodled, whimsical touch. Hold your pen at an angle and gently brush along the edges of the block as well. Let dry.
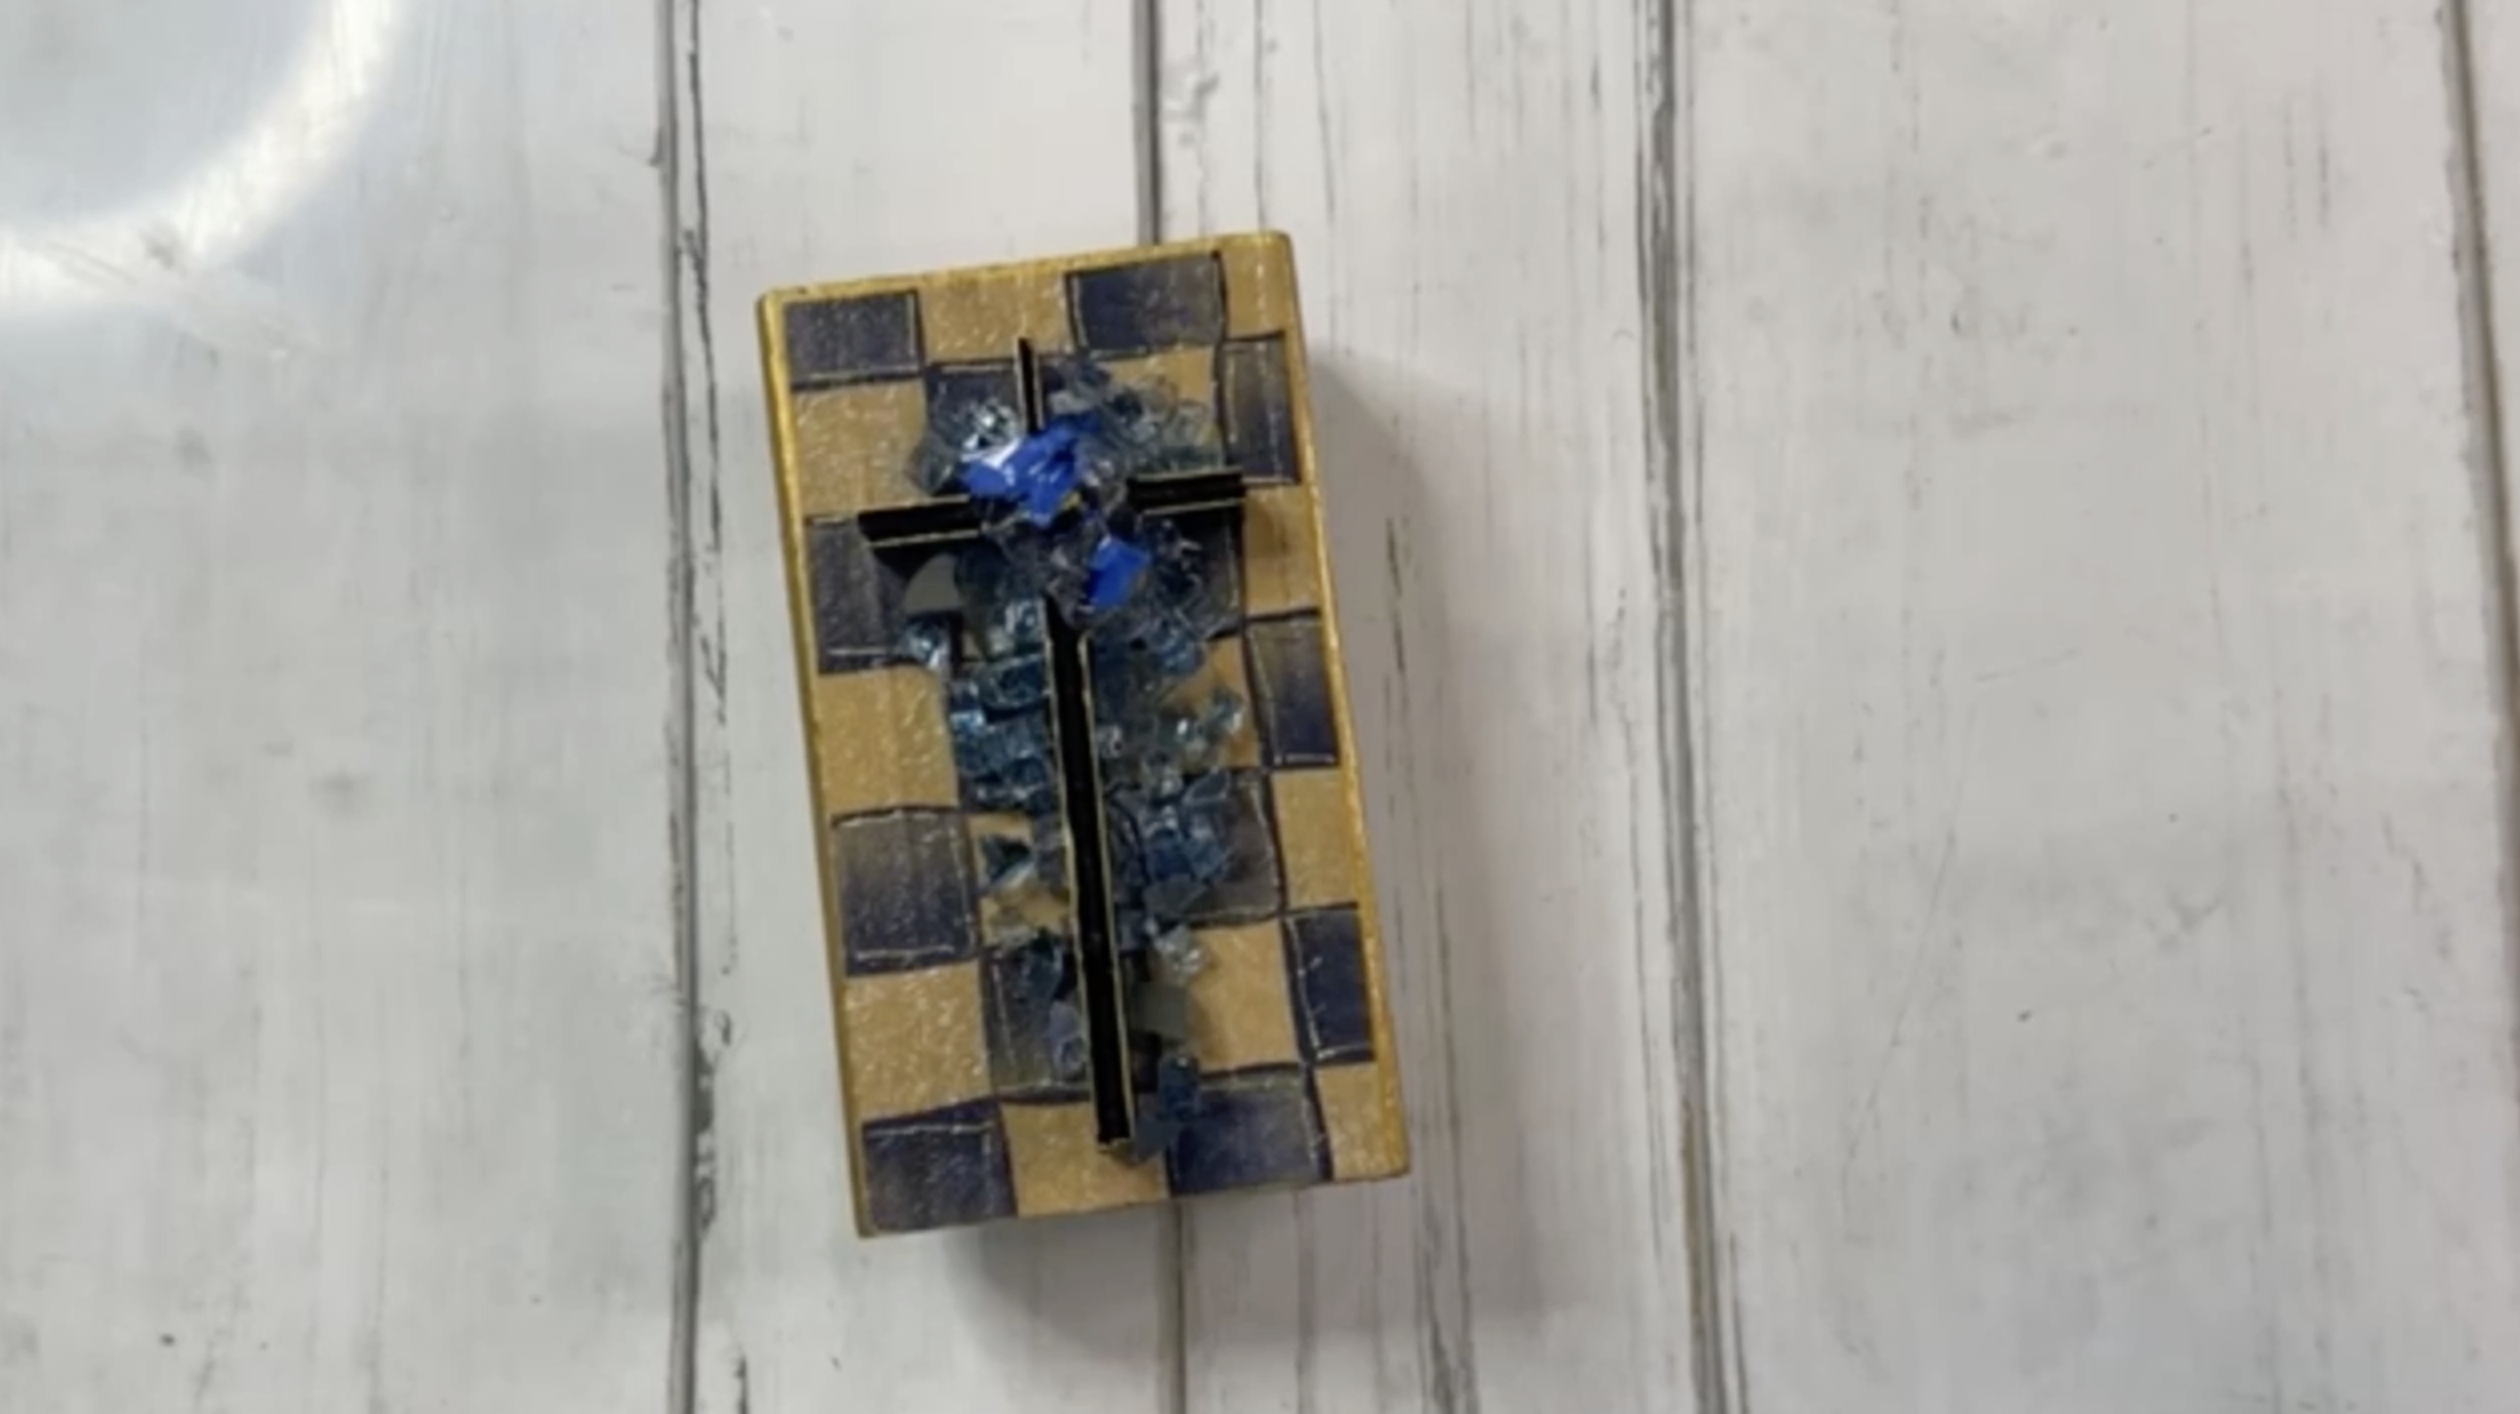
Step 3: Create Your Glass Cross
Using blue flat glass strips, trim down your pieces to form a cross shape - two longer vertical strips and two shorter horizontal ones. Use a glass cutter to score, then break carefully and sand down sharp edges.
Layer the strips using tacky glue:
-
Start by gluing the vertical strips together and centering them on the block.
-
Then glue on the horizontal pieces to form a cross.
-
Add a small reflective glass chip in the center to finish the look.
Add a pile of Pacific Blue Classic Glass around your cross. Let the glue set while you prep your resin. I'll also use my gold Posca Pen to add a few gold accents to my cross.
Step 4: Add Resin
Next, we're going to elevate our canvas using blocks. Put on rubber gloves. Mix 1 oz total of ArtResin and stir gently for three minutes. Pour the resin onto your canvas and use your gloved fingers or brush to spread it over the entire piece.
Use a heat gun to pop your bubbles. Keep your heat moving at all times!
If you don’t want to miss my Facebook LIVE art instruction, make sure you are on my texting list. I always text 10 minutes before I’m going to go LIVE, so you won’t ever miss it. You can text “Hey Cindy” to 901-519-2923.
Want more inspiration and artwork?
- My website artshattered.com with resources, shop, and more!
- My creative membership The Shattered Circle, where you can explore the world of glass art with online workshops, a supportive community, and more!
- My mini creative membership Just A ‘Lil Bit Monthly Glass Art Club, where you’ll get a new quick and easy online tutorial for just a lil' bit of sparkle in your life!
- My Facebook page where I go LIVE every Wednesday night at 6:00 PM CST.
- My YouTube channel which has tons of free art lessons right at your fingertips.
