
Dragonfruit Ornaments 🎄
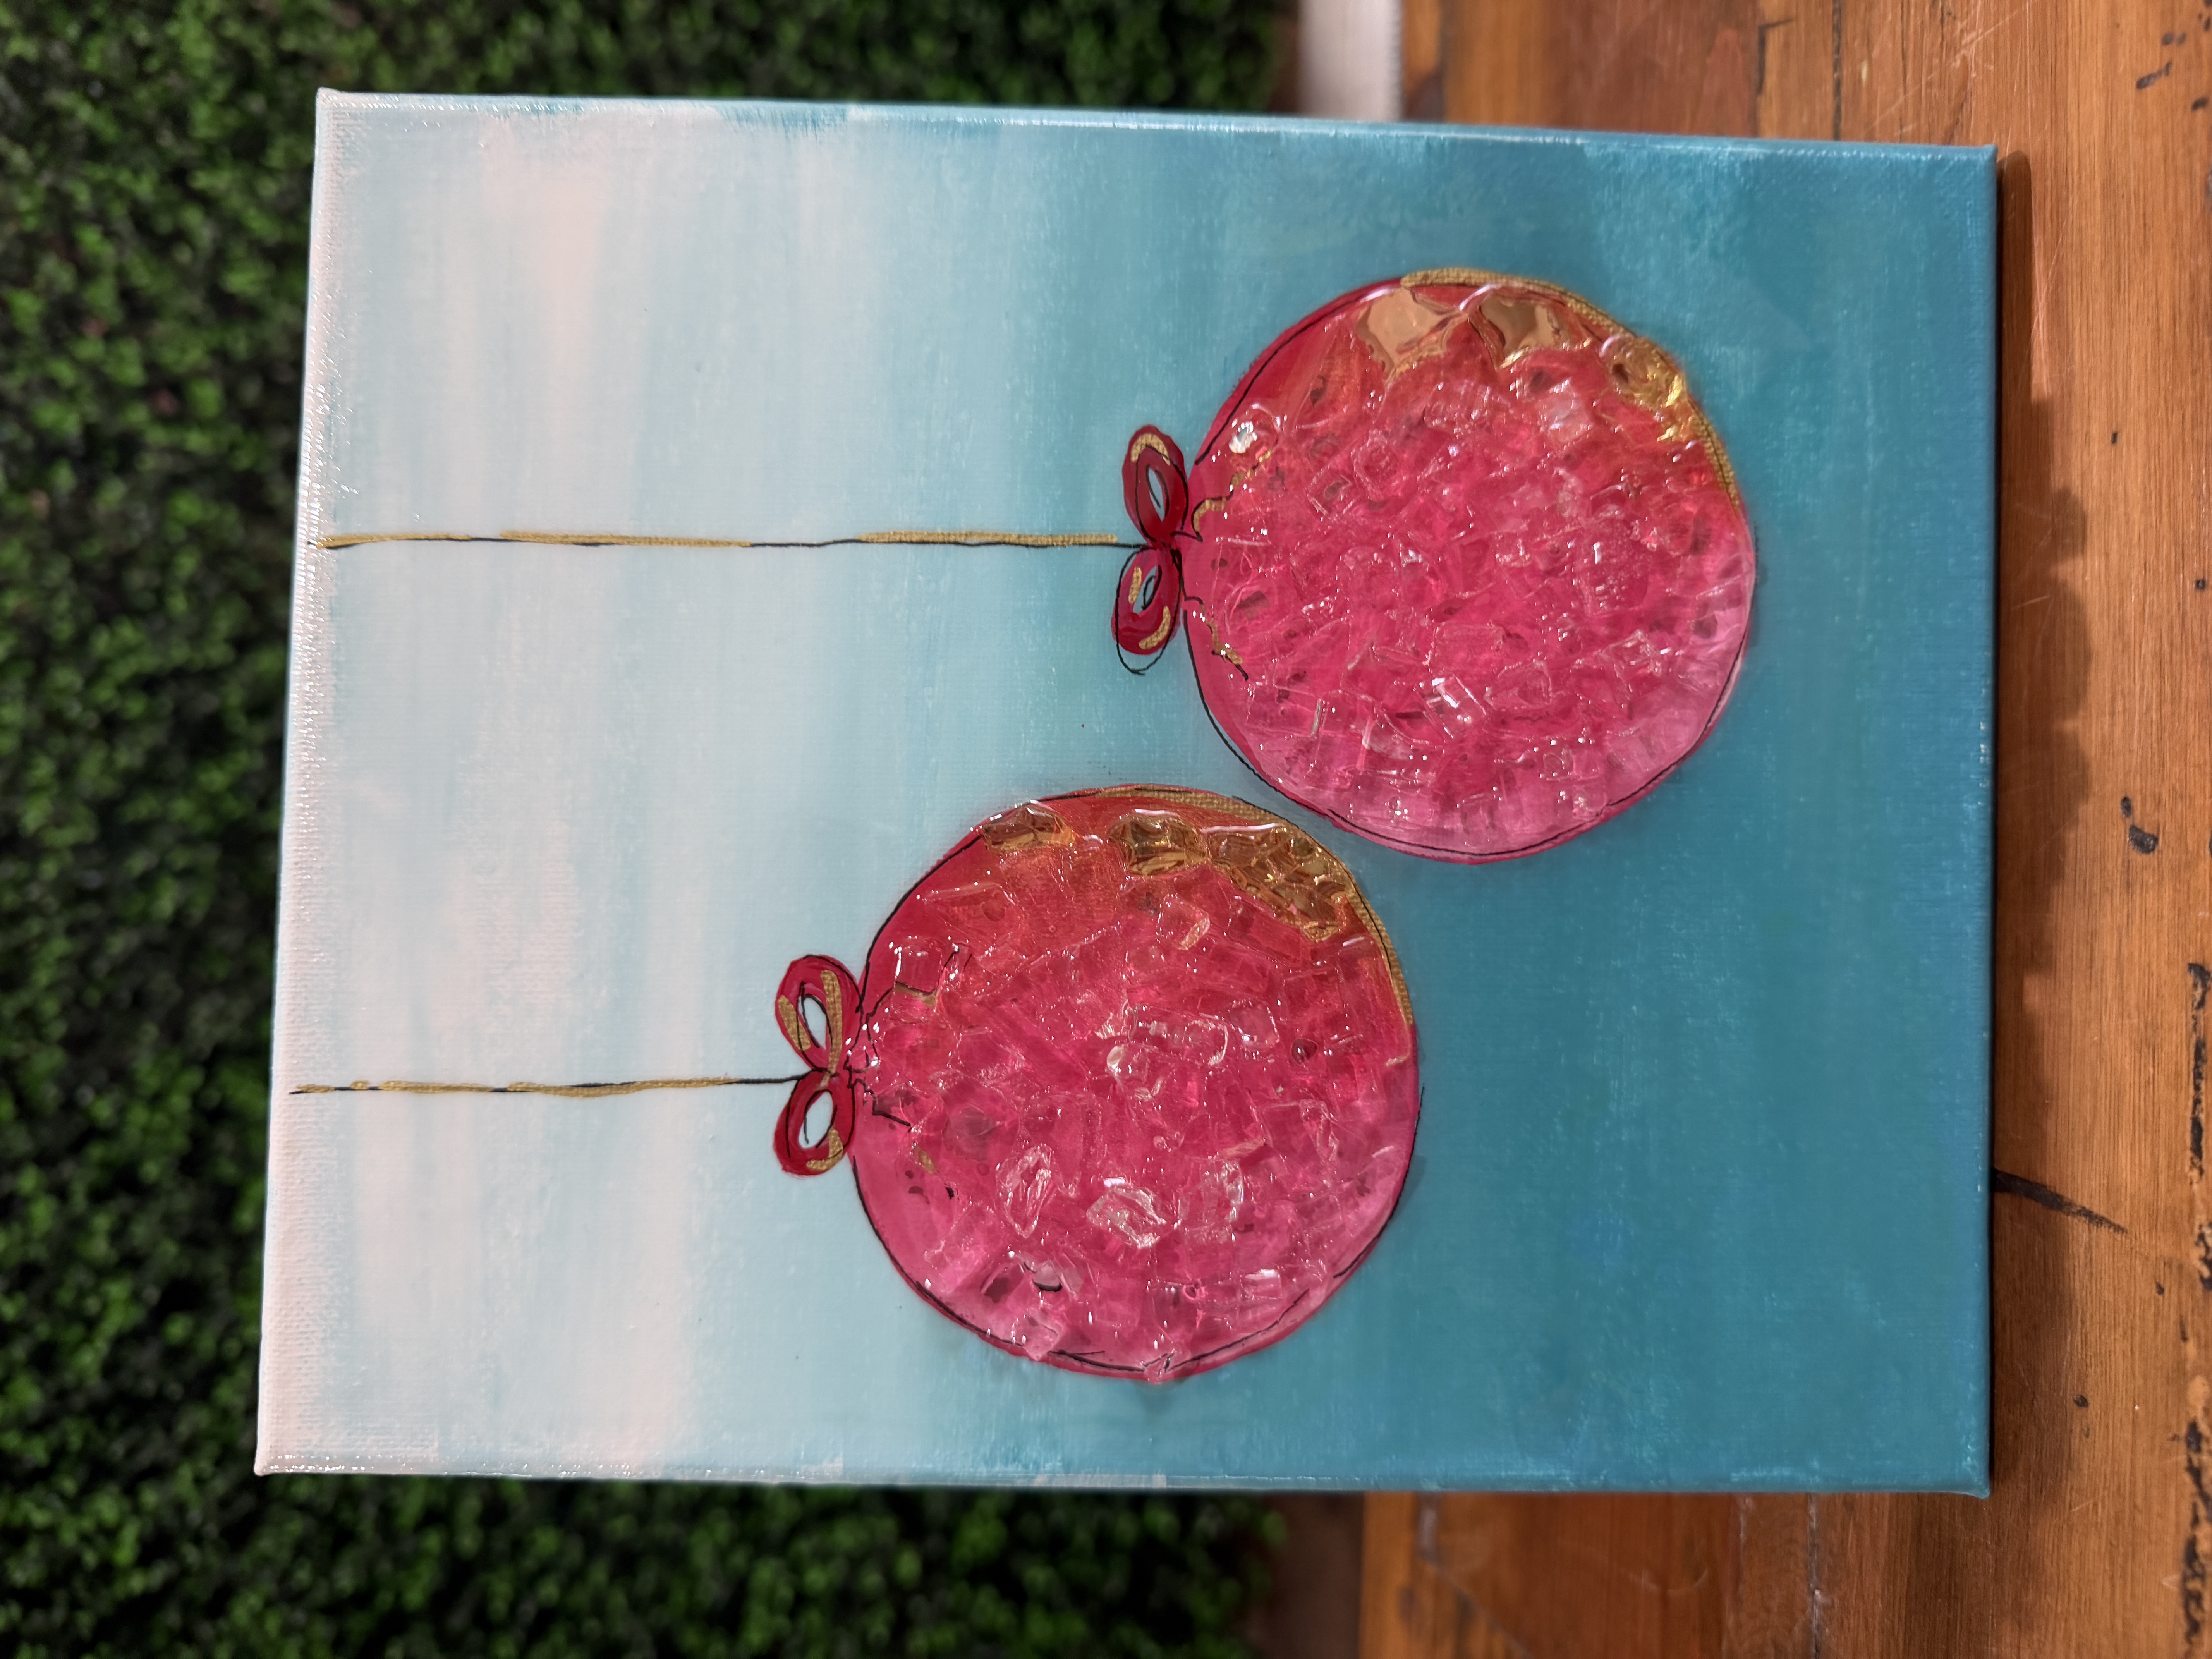
This cheerful Christmas ornament canvas is a fun way to add bright color and sparkle to your holiday decor. The artwork includes two hand-painted pink ornaments hanging against a turquoise-and-white ombre background. From there, Starfire glass, gold glass accents, and resin give the ornaments shine.
Before You Begin
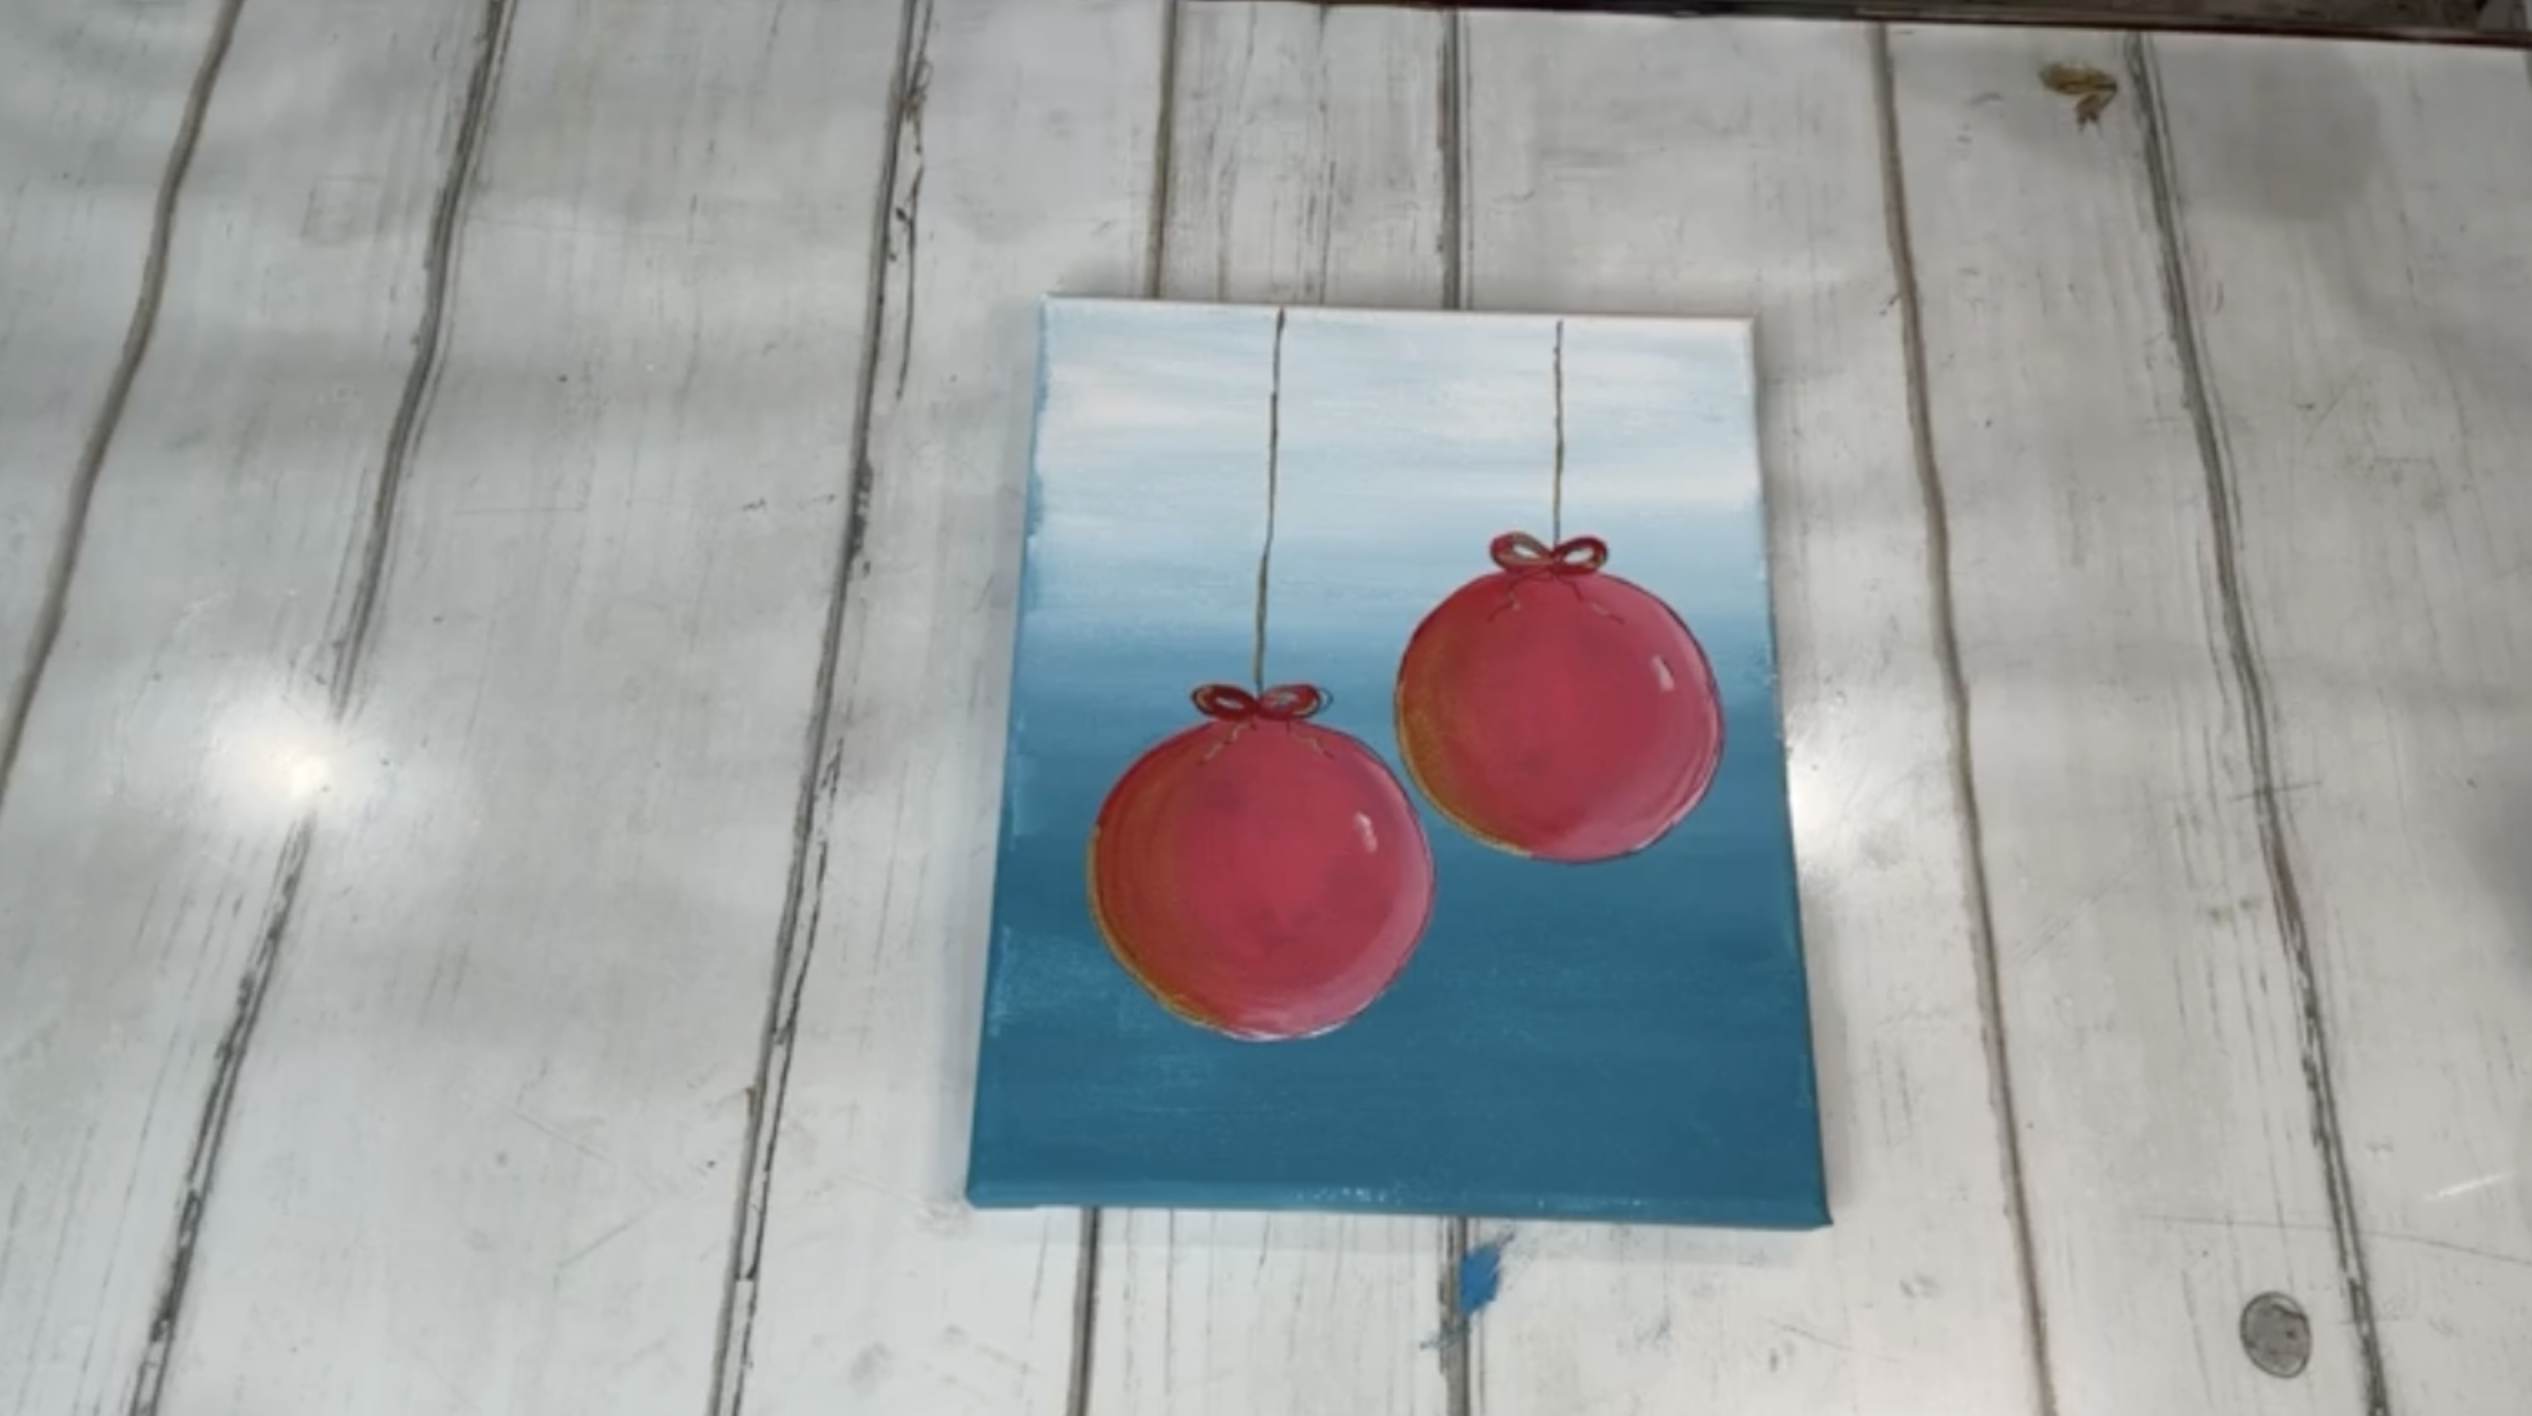
The background of the original artwork was painted with Desert Turquoise and white, blended together to create a soft ombré effect. The ornaments were painted with Dragon Fruit, then highlighted with white and Splendid Gold before loose line details were added.
Make sure the painted canvas is completely dry before adding the glass and resin. Any wet paint trapped beneath resin can interfere with the finish.
Step 1: Add Gold Glass to the First Ornament
Begin with the first ornament and select a few small pieces of gold glass. Place them over the areas where the ornament was shaded or highlighted with Splendid Gold.
Look for glass pieces with gentle curves or irregular edges that fit naturally along the rounded side of the ornament. You do not need to cover every bit of gold paint. A few accents are enough to reinforce the metallic detail and help it remain visible once the resin is applied.
Step 3: Fill the First Ornament with Starfire Glass
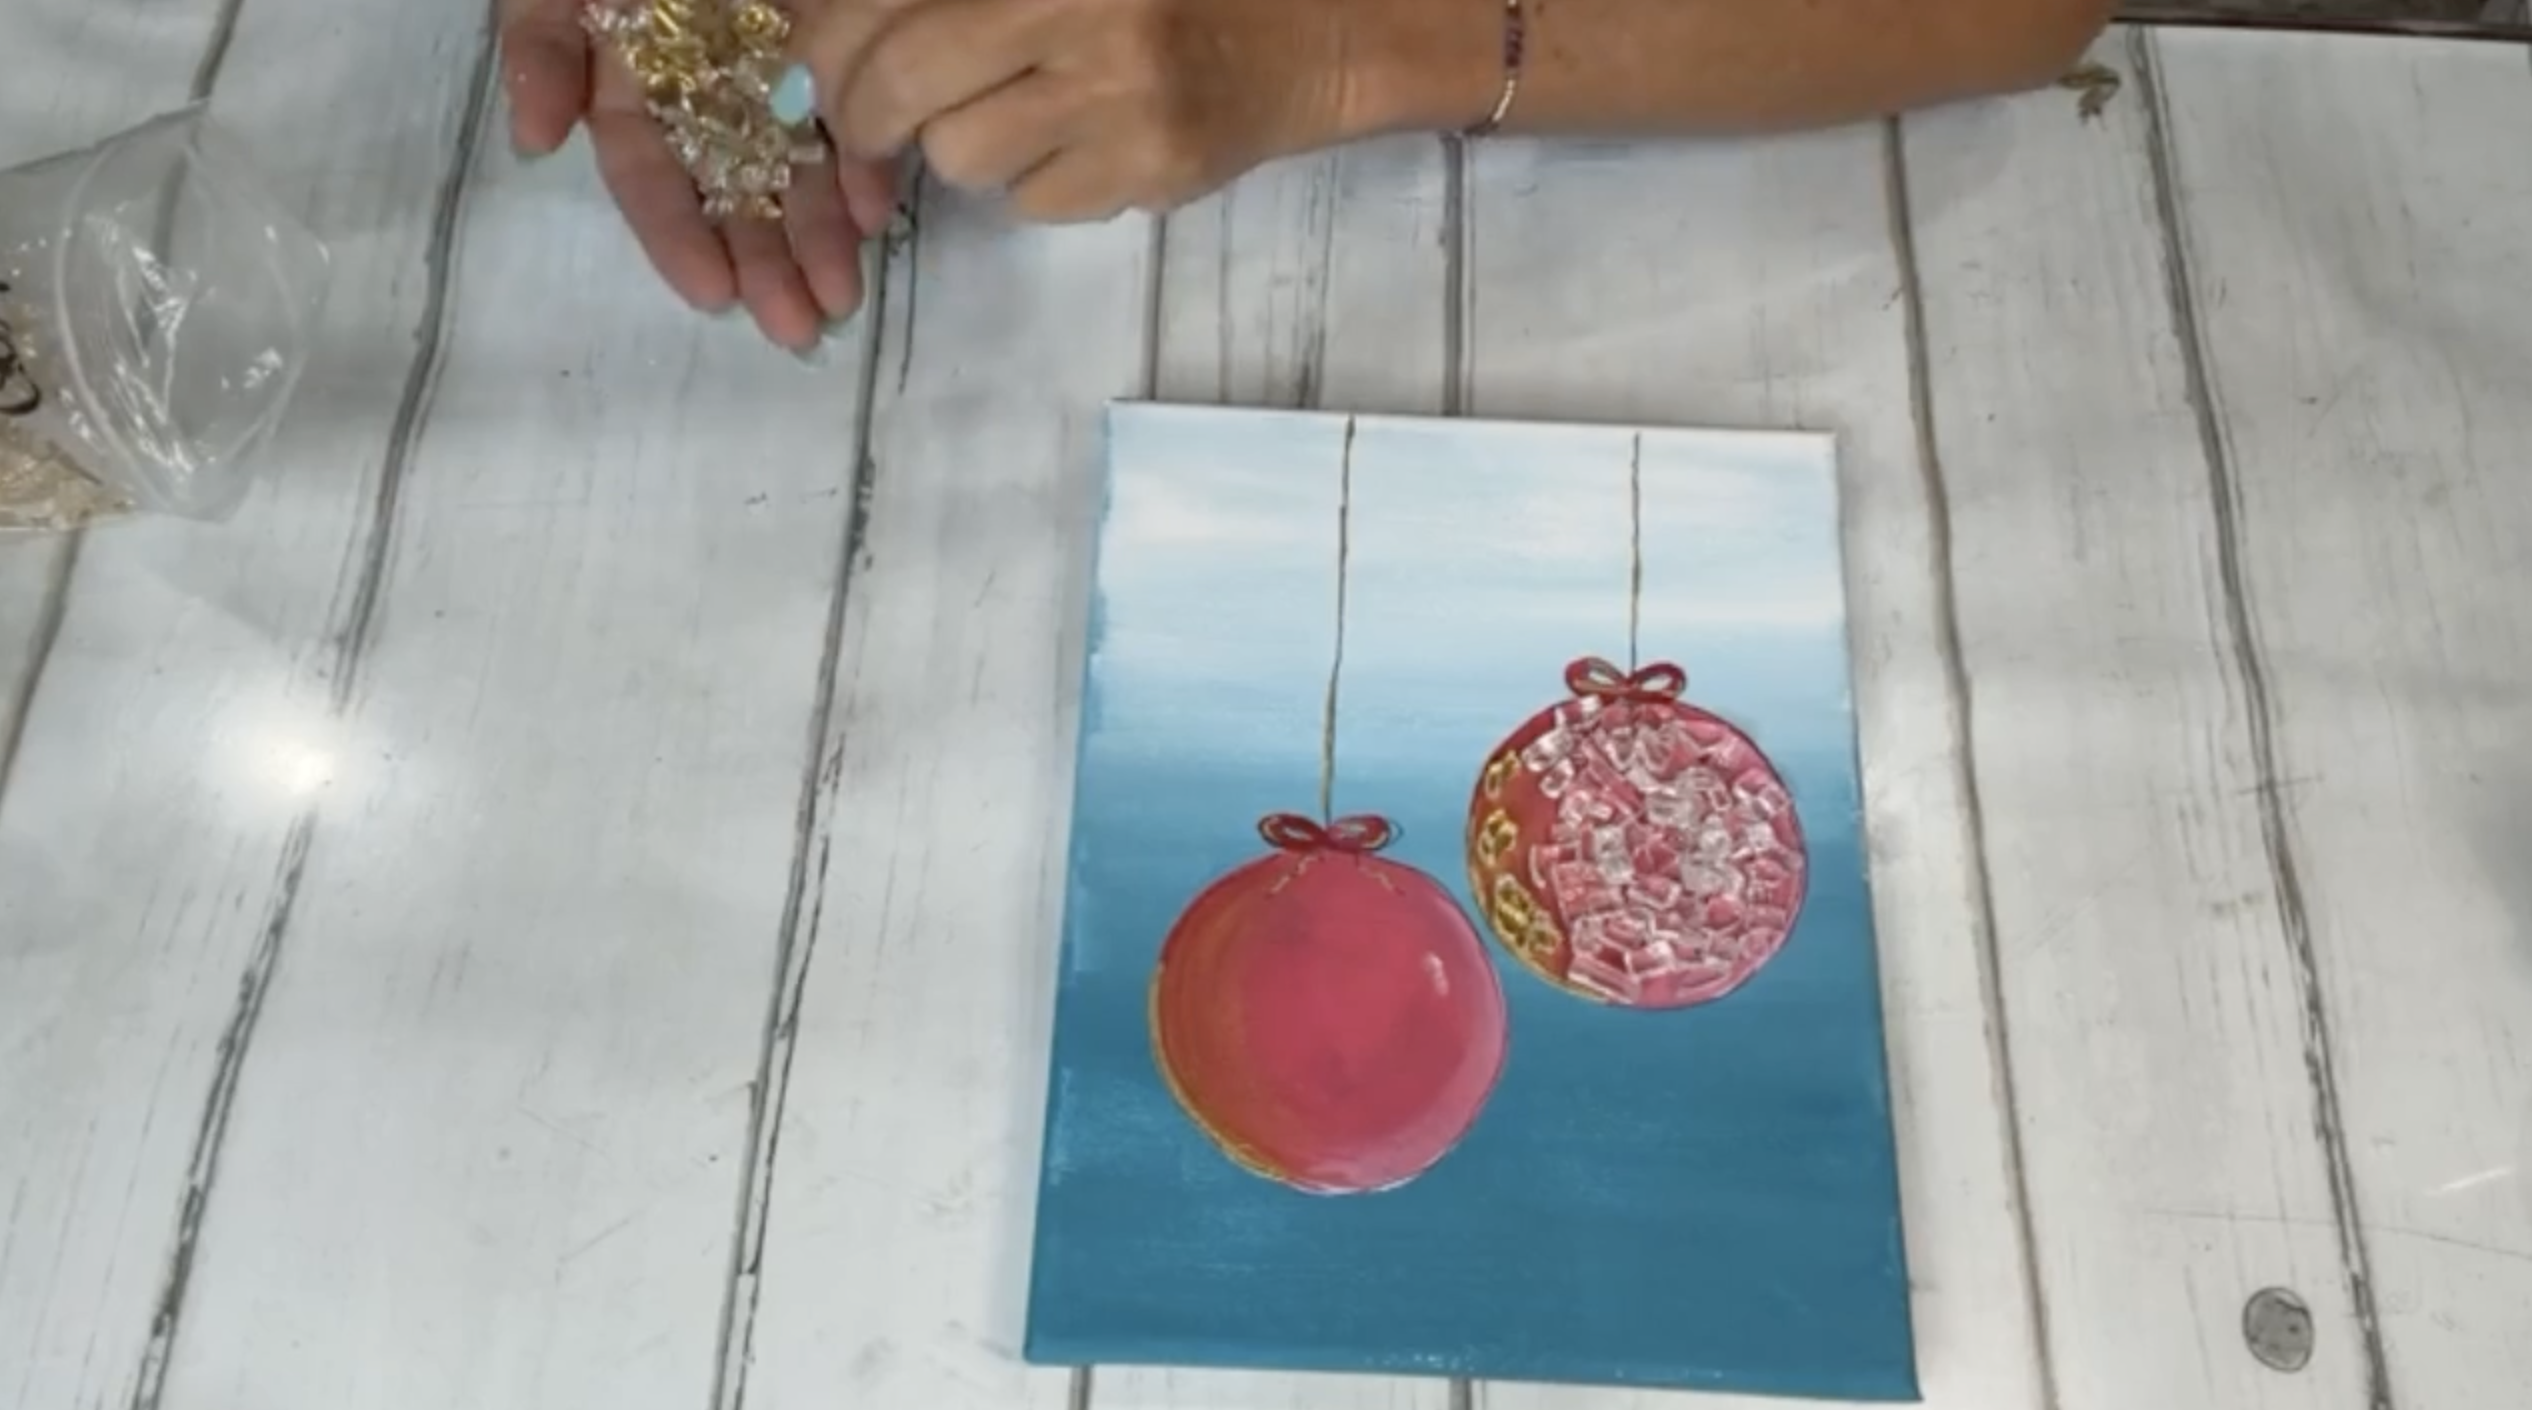
Begin adding Starfire glass across the remaining pink portion of the ornament. Place the pieces loosely rather than fitting them together like a perfect puzzle.
The goal is to cover most of the ornament while leaving enough room for the painted highlights and shading to remain visible. Remove any pieces that feel too large, too sharp, or awkward against the curved outline.
Continue placing glass until the ornament feels balanced and dimensional.
Step 4: Repeat for the Second Ornament
Repeat the same process on the second ornament. Place several gold glass pieces over the painted gold areas, focusing mainly along the highlighted side.
Try to keep the accents similar in amount to the first ornament without making the two designs identical. Slight differences in placement will help each ornament feel handmade rather than duplicated.
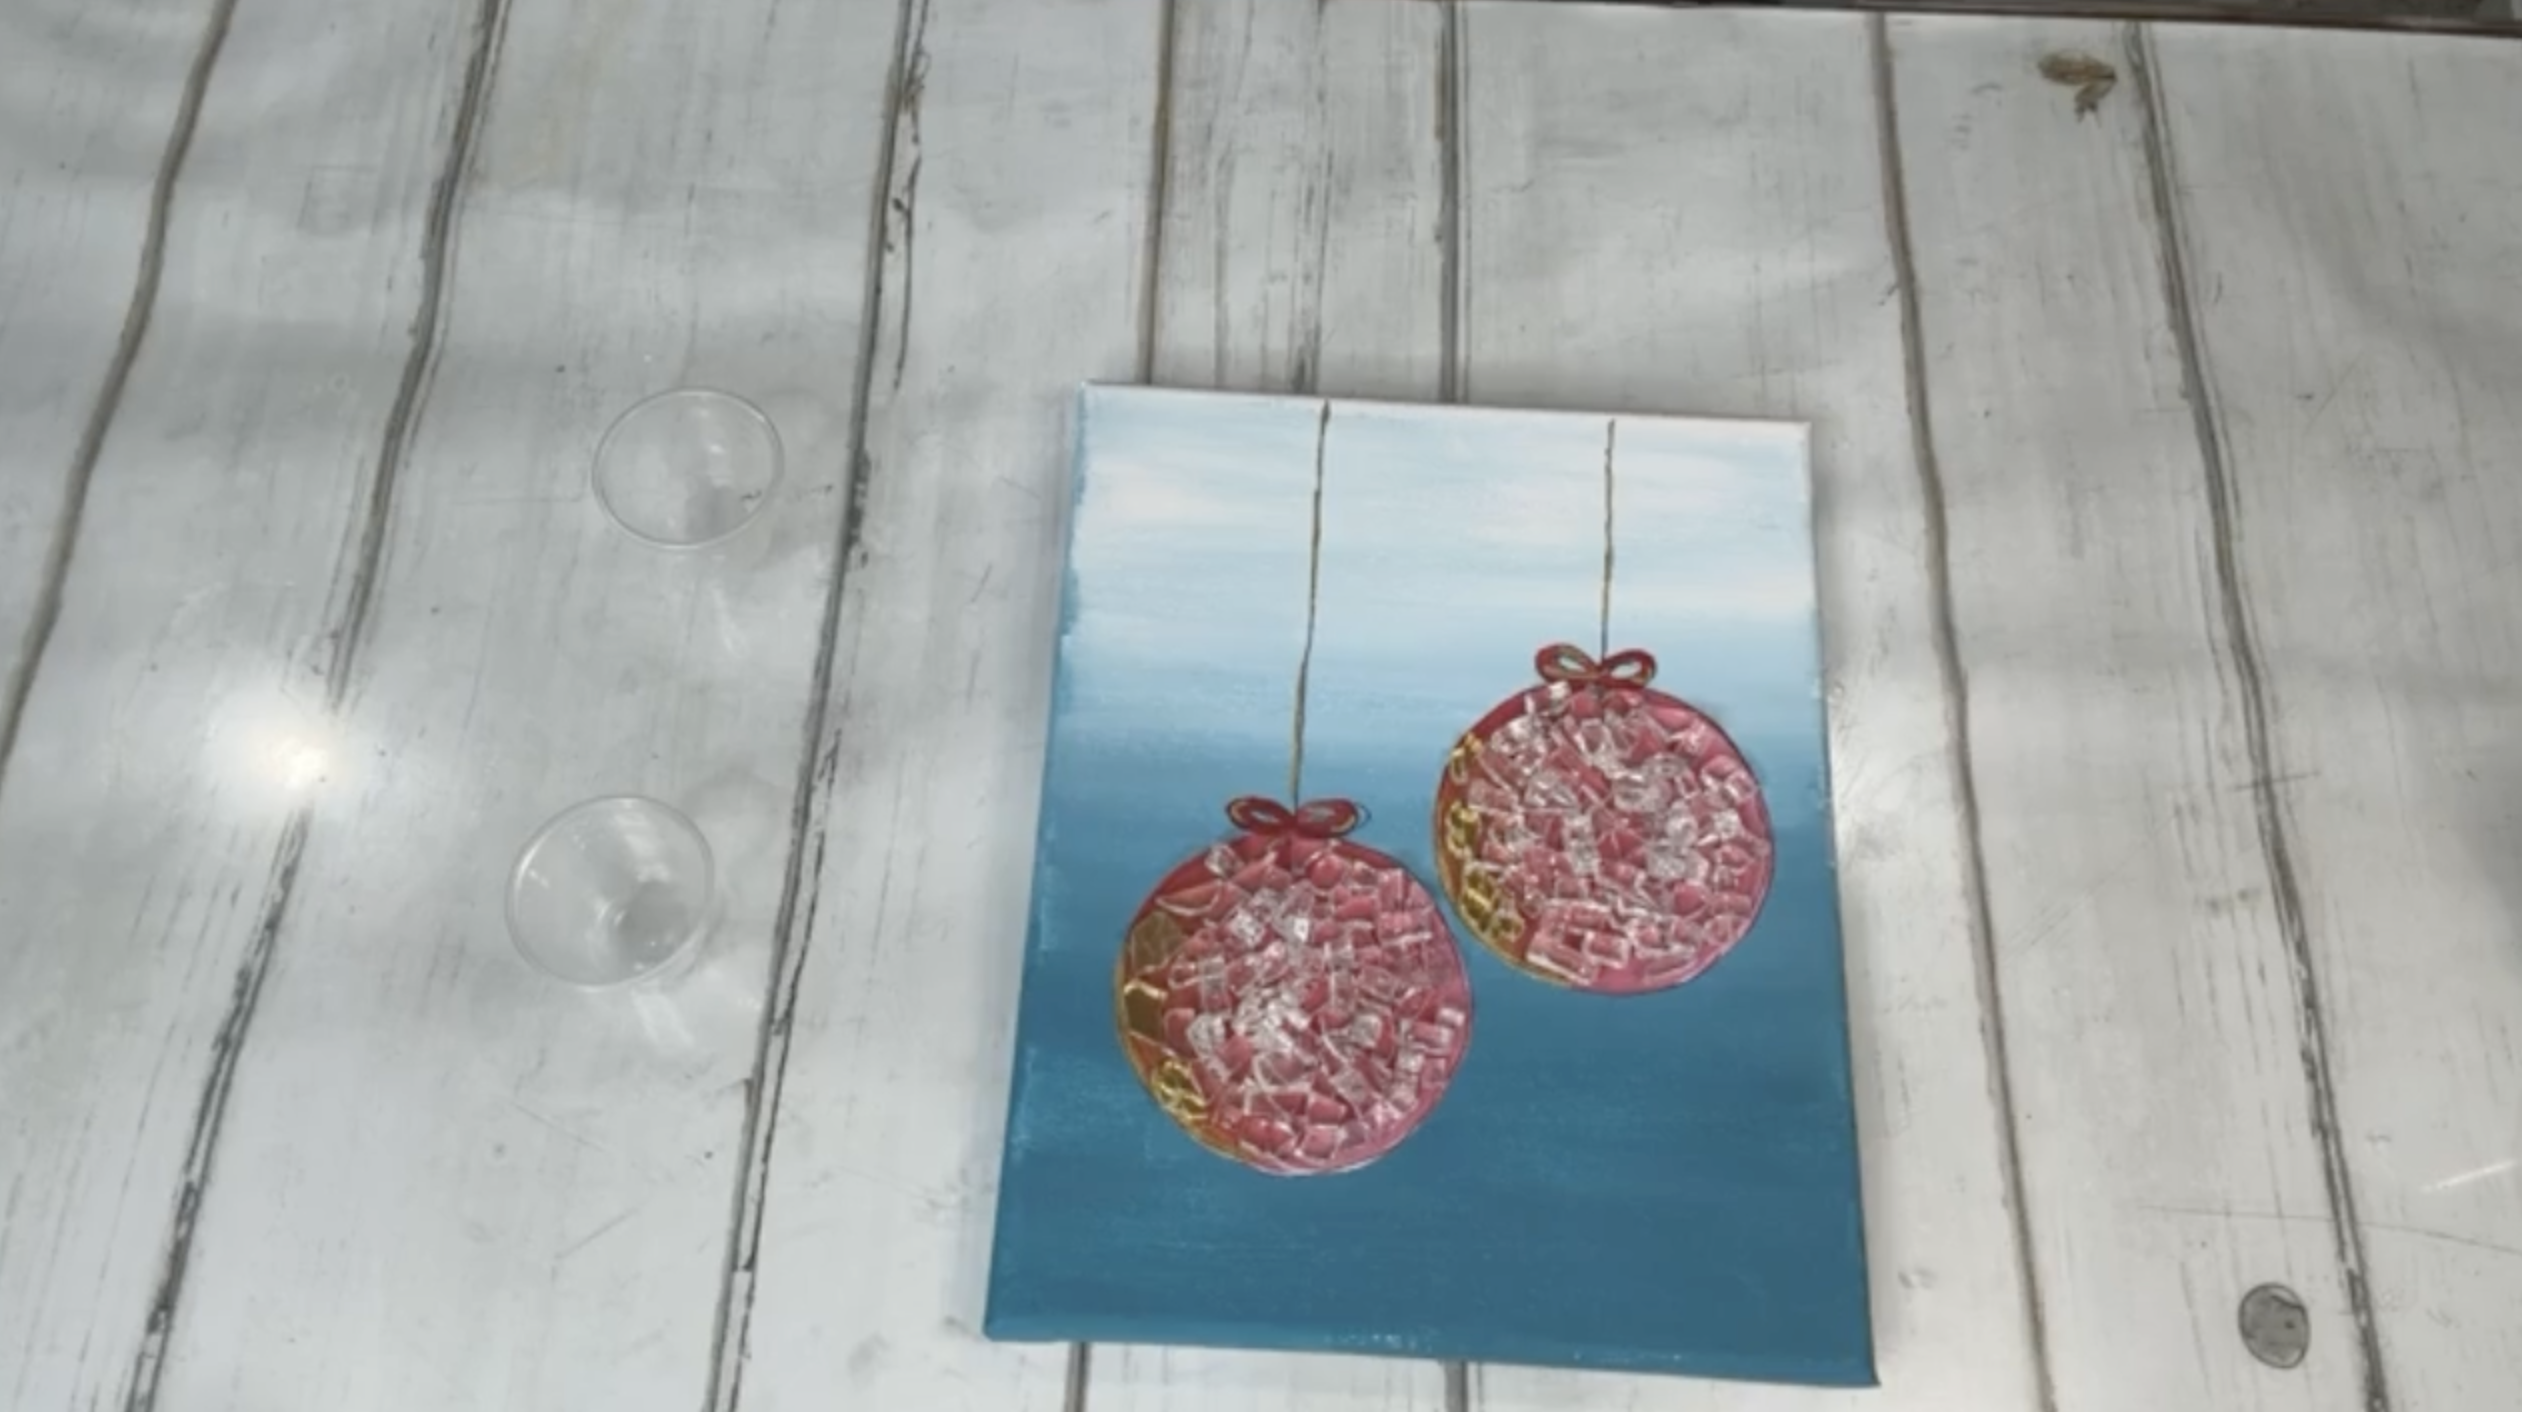
Add Starfire glass to the remaining pink section of the second ornament. Work from the larger areas toward the smaller gaps, replacing any pieces that do not fit the round shape well.
Stand back occasionally and compare the two ornaments. They should feel coordinated, but they do not need to have the same exact arrangement or amount of glass.
Step 5: Mix the Resin
Put on gloves and prepare approximately one ounce of Art Resin using equal parts resin and hardener.
Stir the mixture slowly for three full minutes, scraping the sides and bottom of the cup as you work. Gentle stirring helps limit unnecessary bubbles while ensuring the two parts are thoroughly combined.
One ounce was enough for the original project, but slightly more may be helpful if your canvas is larger or your glass layer is heavier.
Step 6: Apply Resin Over the Glass
Begin by drizzling resin directly over the glass inside each ornament. Make sure the resin flows over the tops of the pieces and settles into the spaces between them.
Take your time around the gold accents so those pieces remain in place. The resin will deepen the colors and make the glass more reflective, so the ornaments will begin to look noticeably brighter as soon as the surface is coated.
Step 7: Spread Resin Across the Canvas
Pour the remaining resin onto the exposed painted surface. Use your gloved fingers or a silicone spreader to move it across the entire canvas and out toward the edges.
Pass a heat gun gently over the resin to release surface bubbles. Keep the heat moving and avoid concentrating it in one area.
Inspect the canvas under good lighting and use a toothpick or craft tool to remove any hairs, dust, or debris before the resin starts to cure.
Step 8: Add Optional Seed Beads
For a little more sparkle, sprinkle a few coordinating seed beads into the wet resin. They could be placed sparingly inside the ornaments or around the gold glass accents.
Keep this addition light so the glass remains the main feature of the artwork.
Step 9: Allow the Artwork to Cure
Place the canvas on a flat, level surface and allow the resin to cure according to the manufacturer’s directions.
Protect the wet piece from dust, pets, and anything that could fall onto the surface. Avoid moving or touching the artwork until the resin has hardened completely.
After the resin has cured, consider adding real pink ribbon over the painted bows. Small dimensional bows would echo the bright ornament color and give the finished canvas another layer of texture!
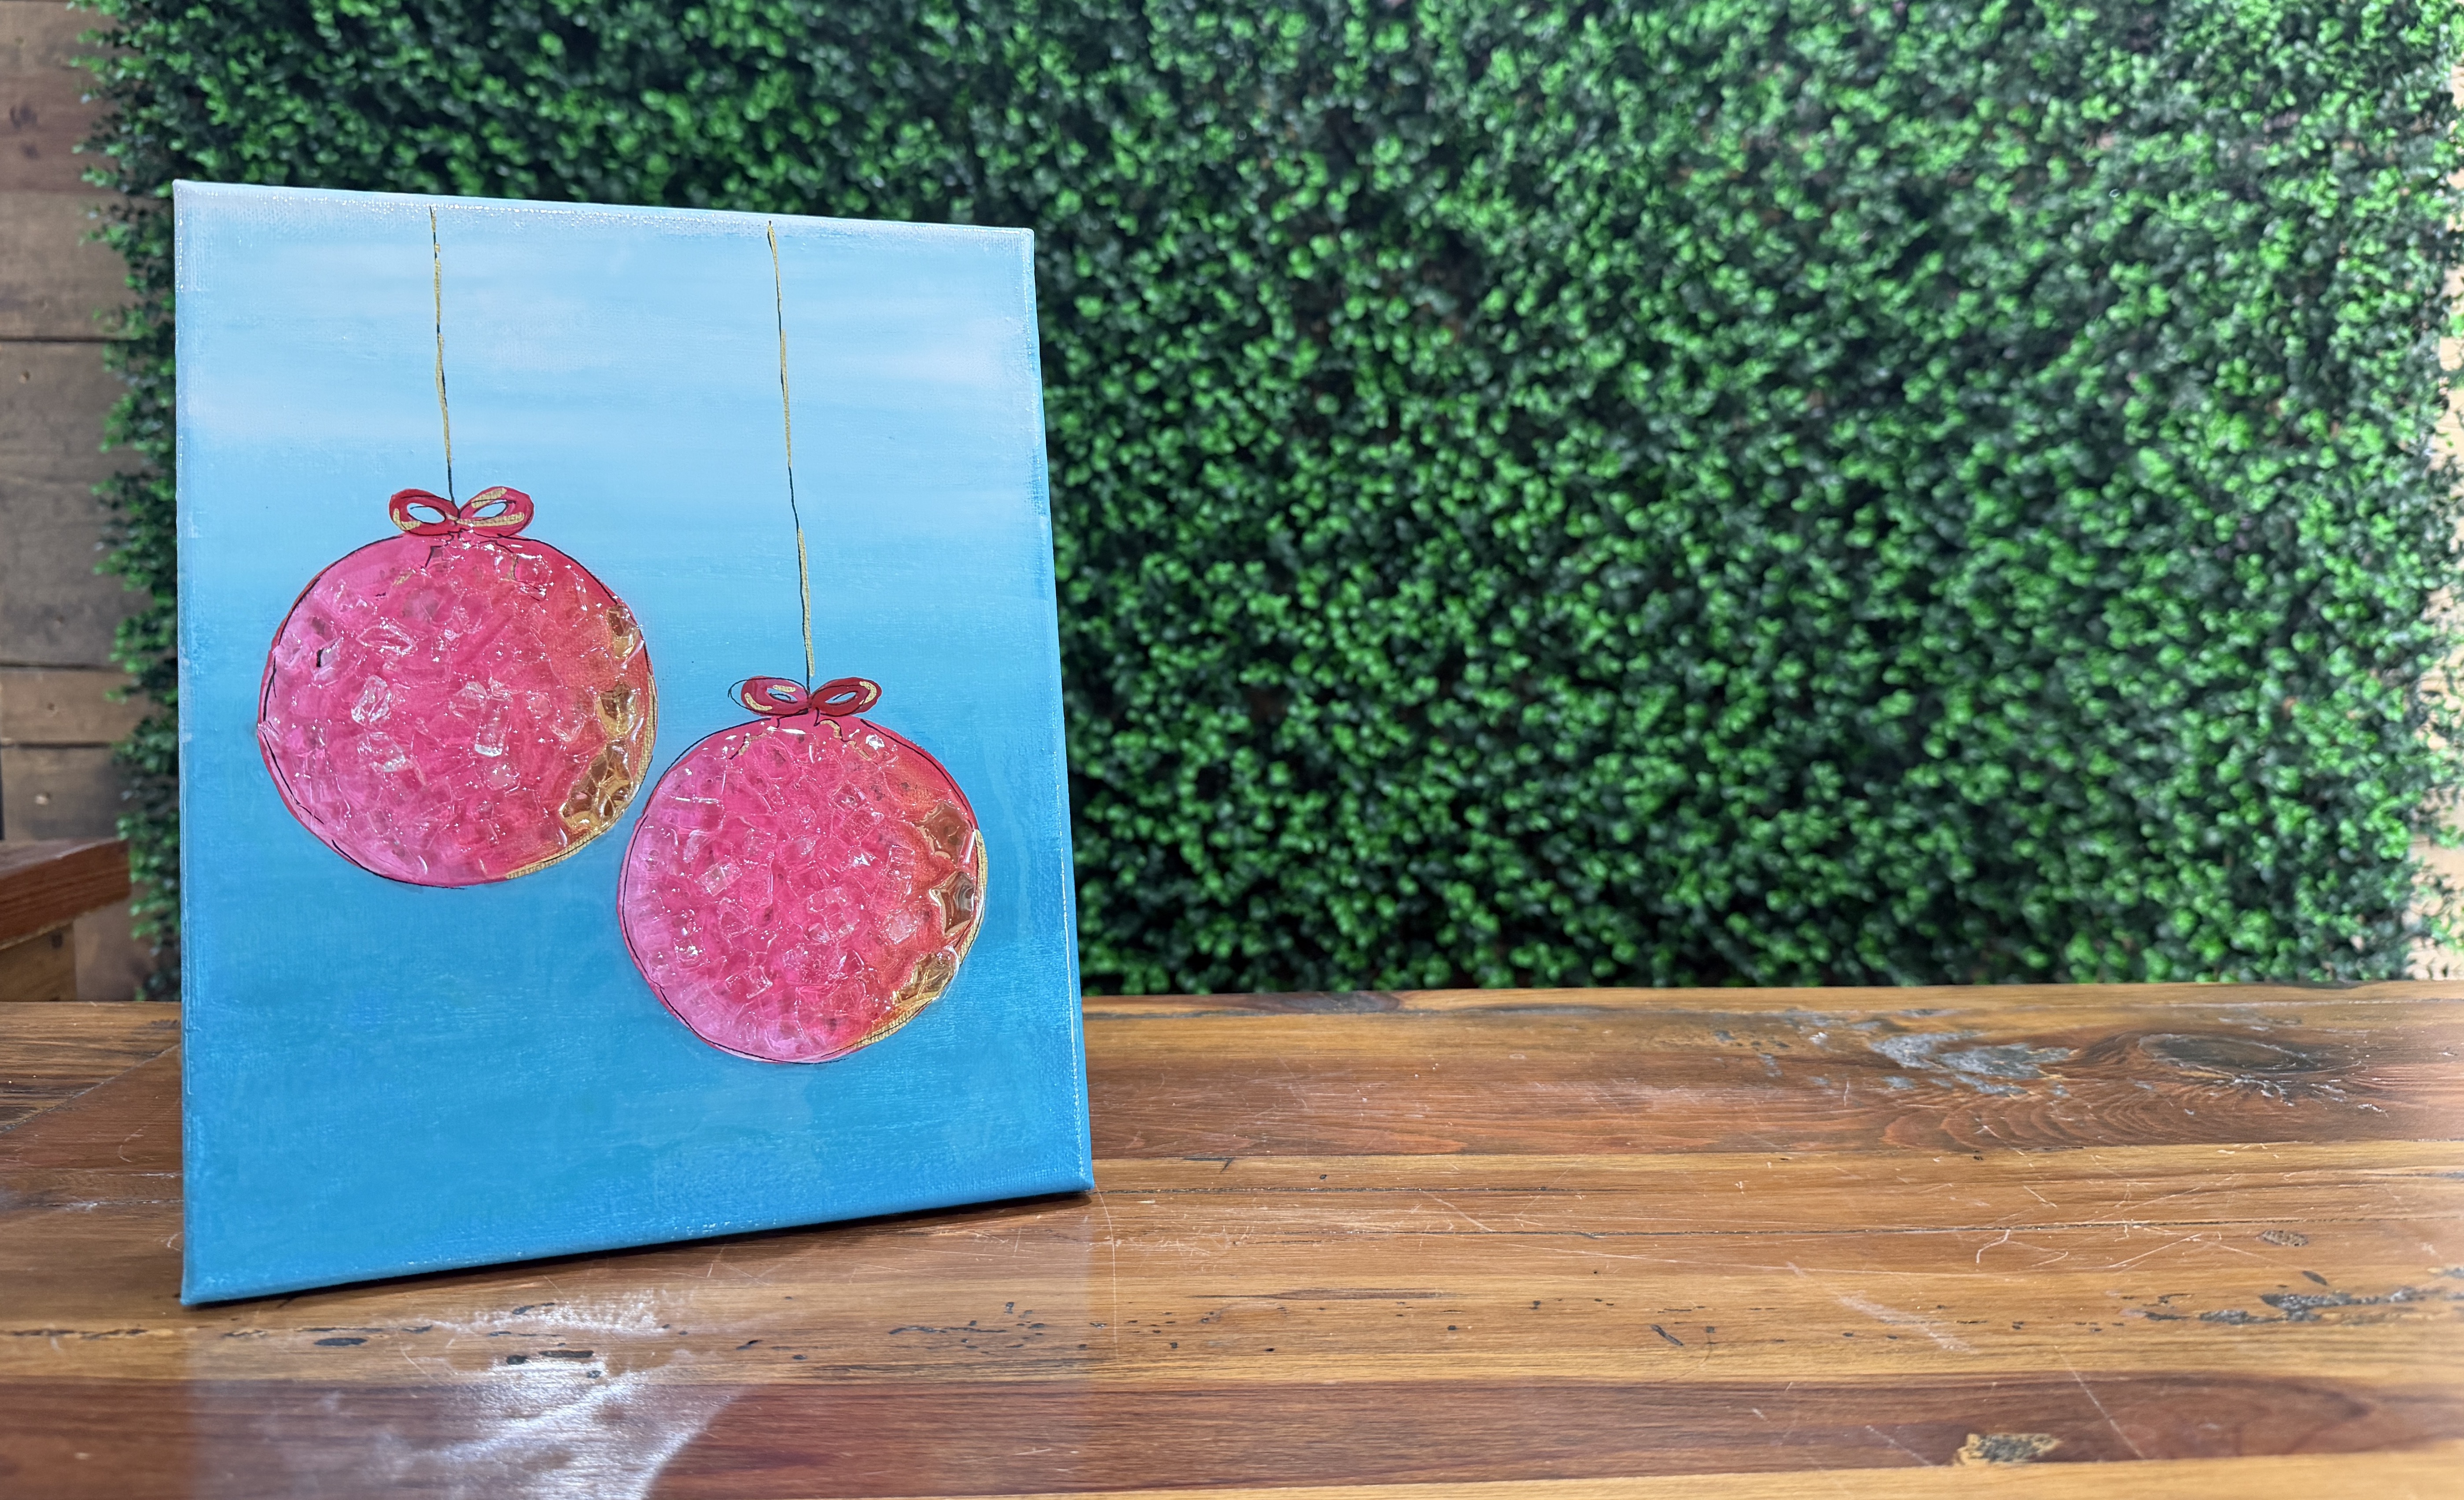
This pink ornament canvas is bright, simple, and full of holiday sparkle. The Starfire glass allows the painted shading to remain visible, while the gold pieces emphasize the metallic accents and help the ornaments catch the light!
It is also an easy design to personalize. Change the ornament colors, add silver instead of gold, use different ribbon, or adjust the background to fit your holiday decor. The same basic glass and resin technique can be used to create an entire collection of colorful Christmas ornament canvases.
If you're a member of The Shattered Circle, you'll find this tutorial in your classroom under Art Shattered Weekly Facebook Lives, search for "Dragonfruit Ornaments".
If you don’t want to miss my Facebook LIVE art instruction, make sure you are on my texting list. I always text 10 minutes before I’m going to go LIVE, so you won’t ever miss it. You can text “Hey Cindy” to 901-519-2923.
Want more inspiration and artwork?
- My website artshattered.com with resources, shop, and more!
- My creative membership The Shattered Circle, where you can explore the world of glass art with online workshops, a supportive community, and more!
- My mini creative membership Just A ‘Lil Bit Monthly Glass Art Club, where you’ll get a new quick and easy online tutorial for just a lil' bit of sparkle in your life!
- My Facebook page where I share free LIVE tutorials and inspiration
- My YouTube channel which has tons of free art lessons right at your fingertips.
