Evergreen Branch with Ornament 🌲
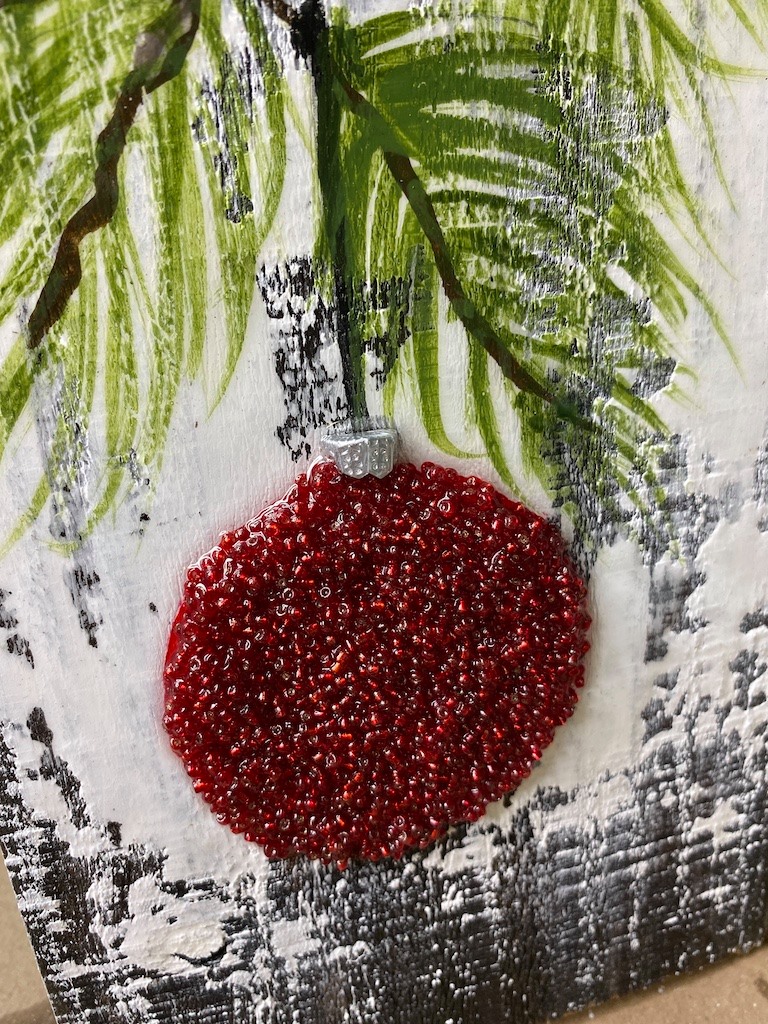
In this tutorial, we’re turning a simple piece of fence board into a wintery evergreen branch with a bold red ornament made from tiny glass seed beads, finished with resin for that glossy “real ornament” shine. The best part? This is one of those projects that looks impressive but is actually super forgiving - imperfect lines, skippy texture, and rustic charm are all part of the vibe.
Start by cutting your board to the size you want (if needed). Wipe off dust, sand any rough spots, and clean the surface so you’re not painting over sawdust. You don’t need it perfectly smooth, but you do want to knock down splinters and gritty areas.
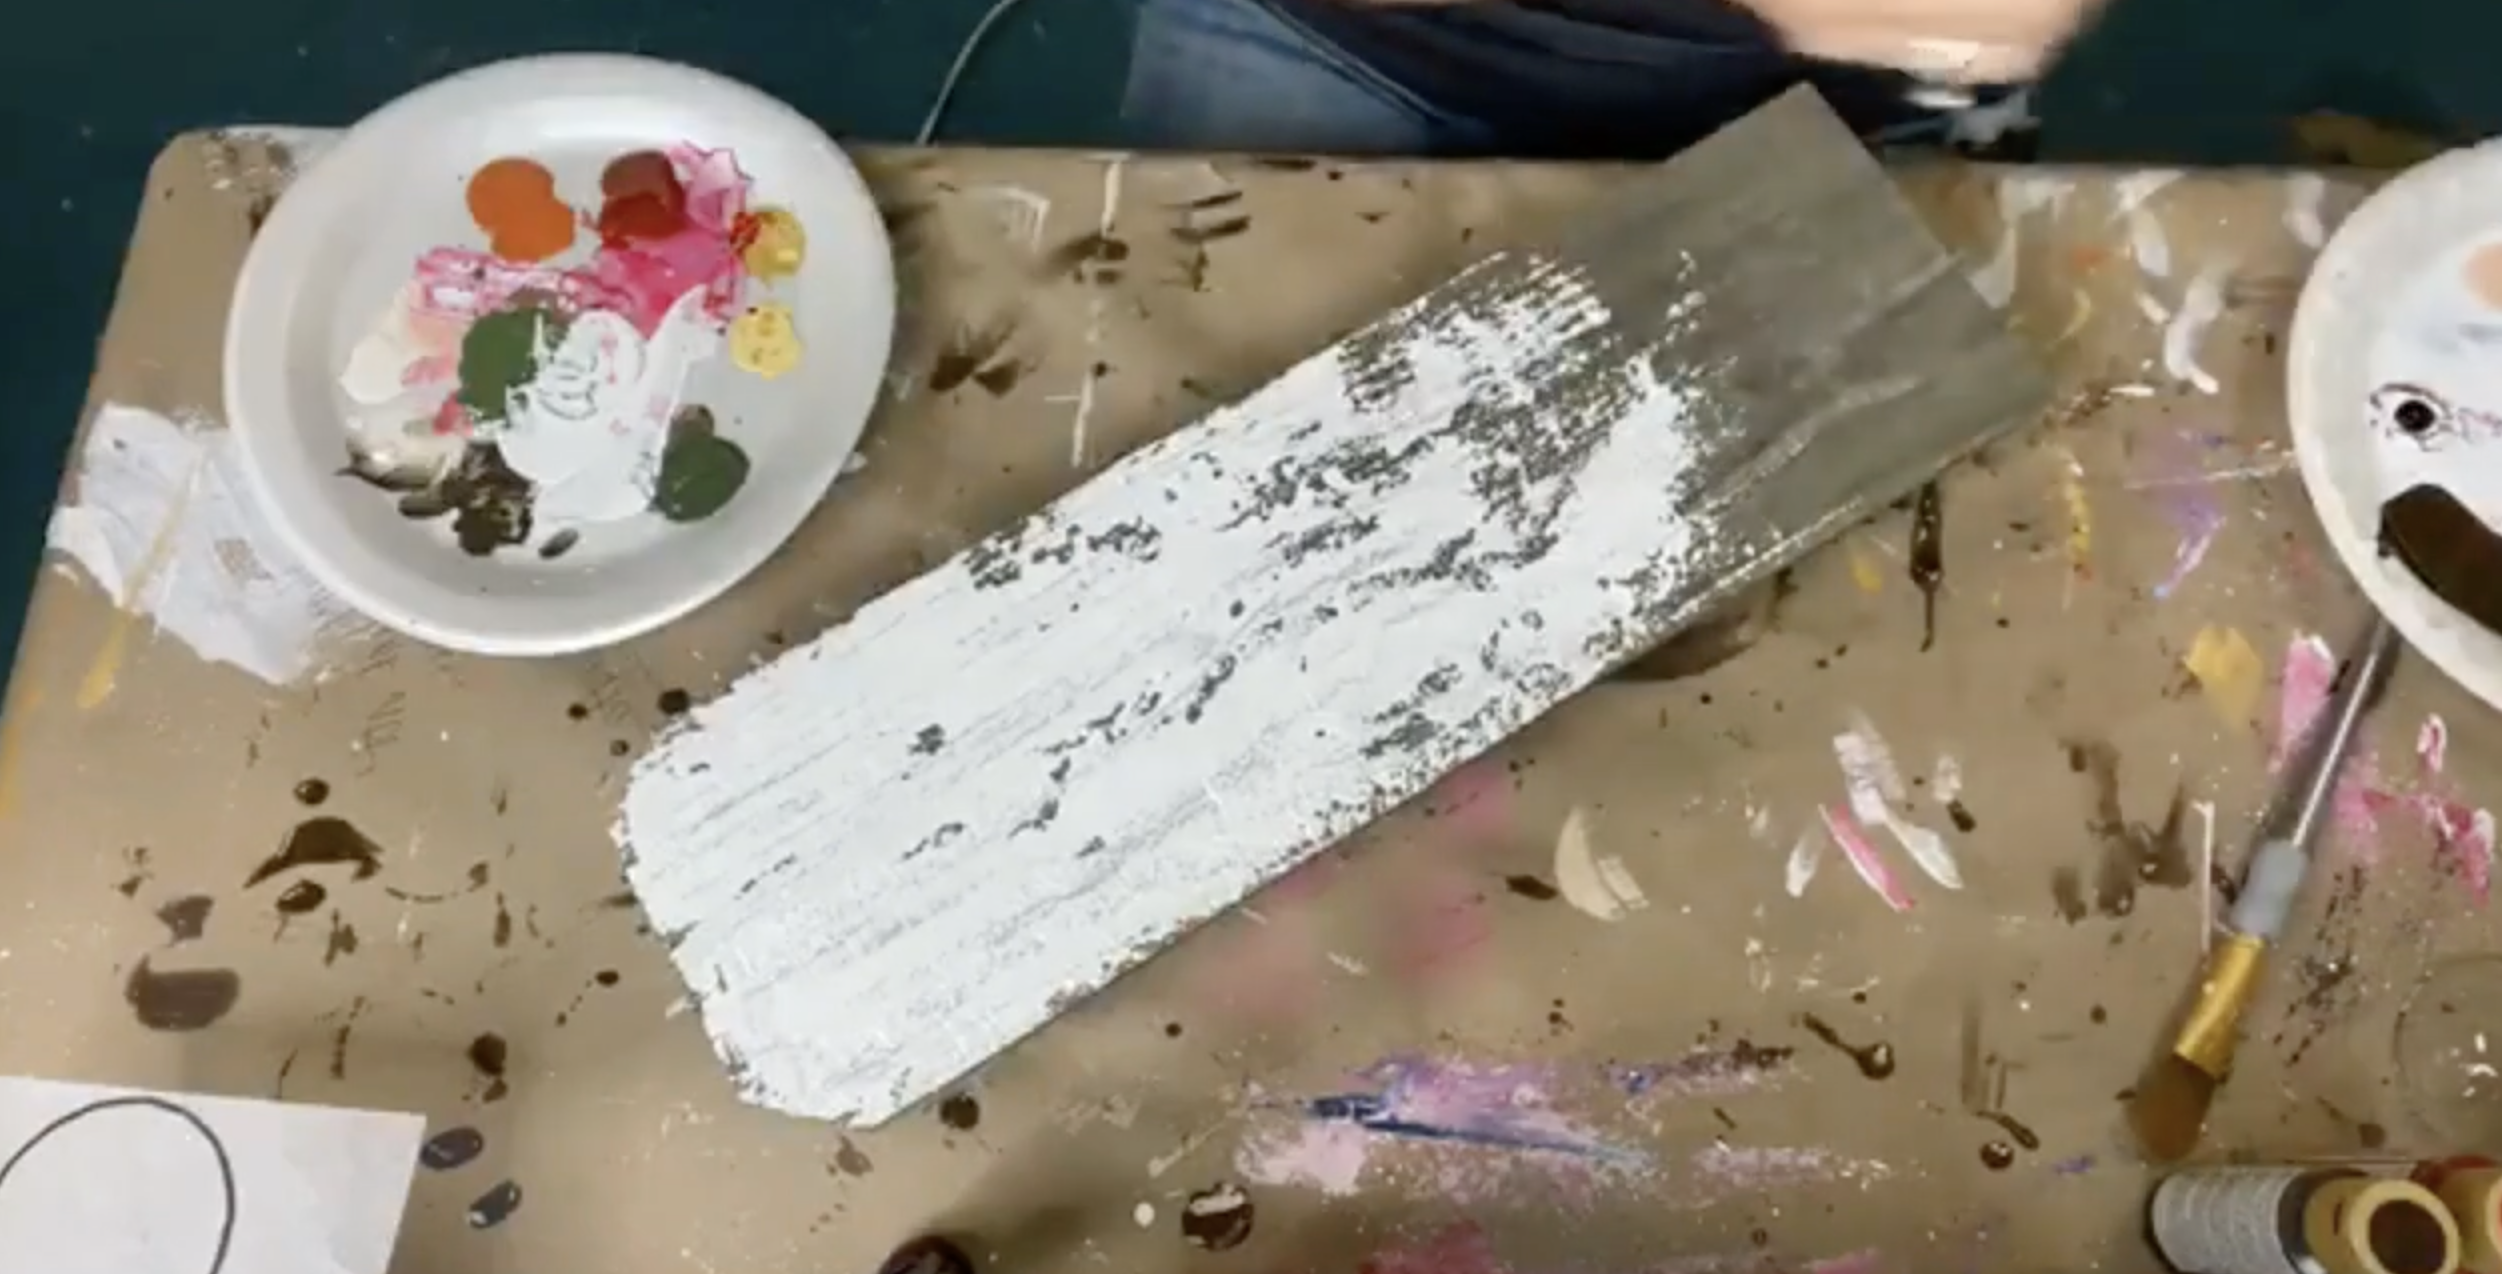
Squeeze out heavy body Titanium White onto a palette. Using a palette knife or small trowel, scoop thick paint and pull it down the board from the top, letting it skip and catch on the grain. Don’t cover the entire board - this is meant to feel distressed and imperfect, with some wood still showing through.
As you spread the paint, avoid creating a straight “bottom edge” line. If you notice a clean straight line forming, scrape it back and feather it so the paint ends unevenly. This uneven transition is what gives it that rustic, weathered look. Let the white paint dry completely.
Once the background is dry, trace your pattern onto the board using graphite paper. Place the paper underneath your tracer and go over the lines with a stylus or pen to transfer them to the wood.
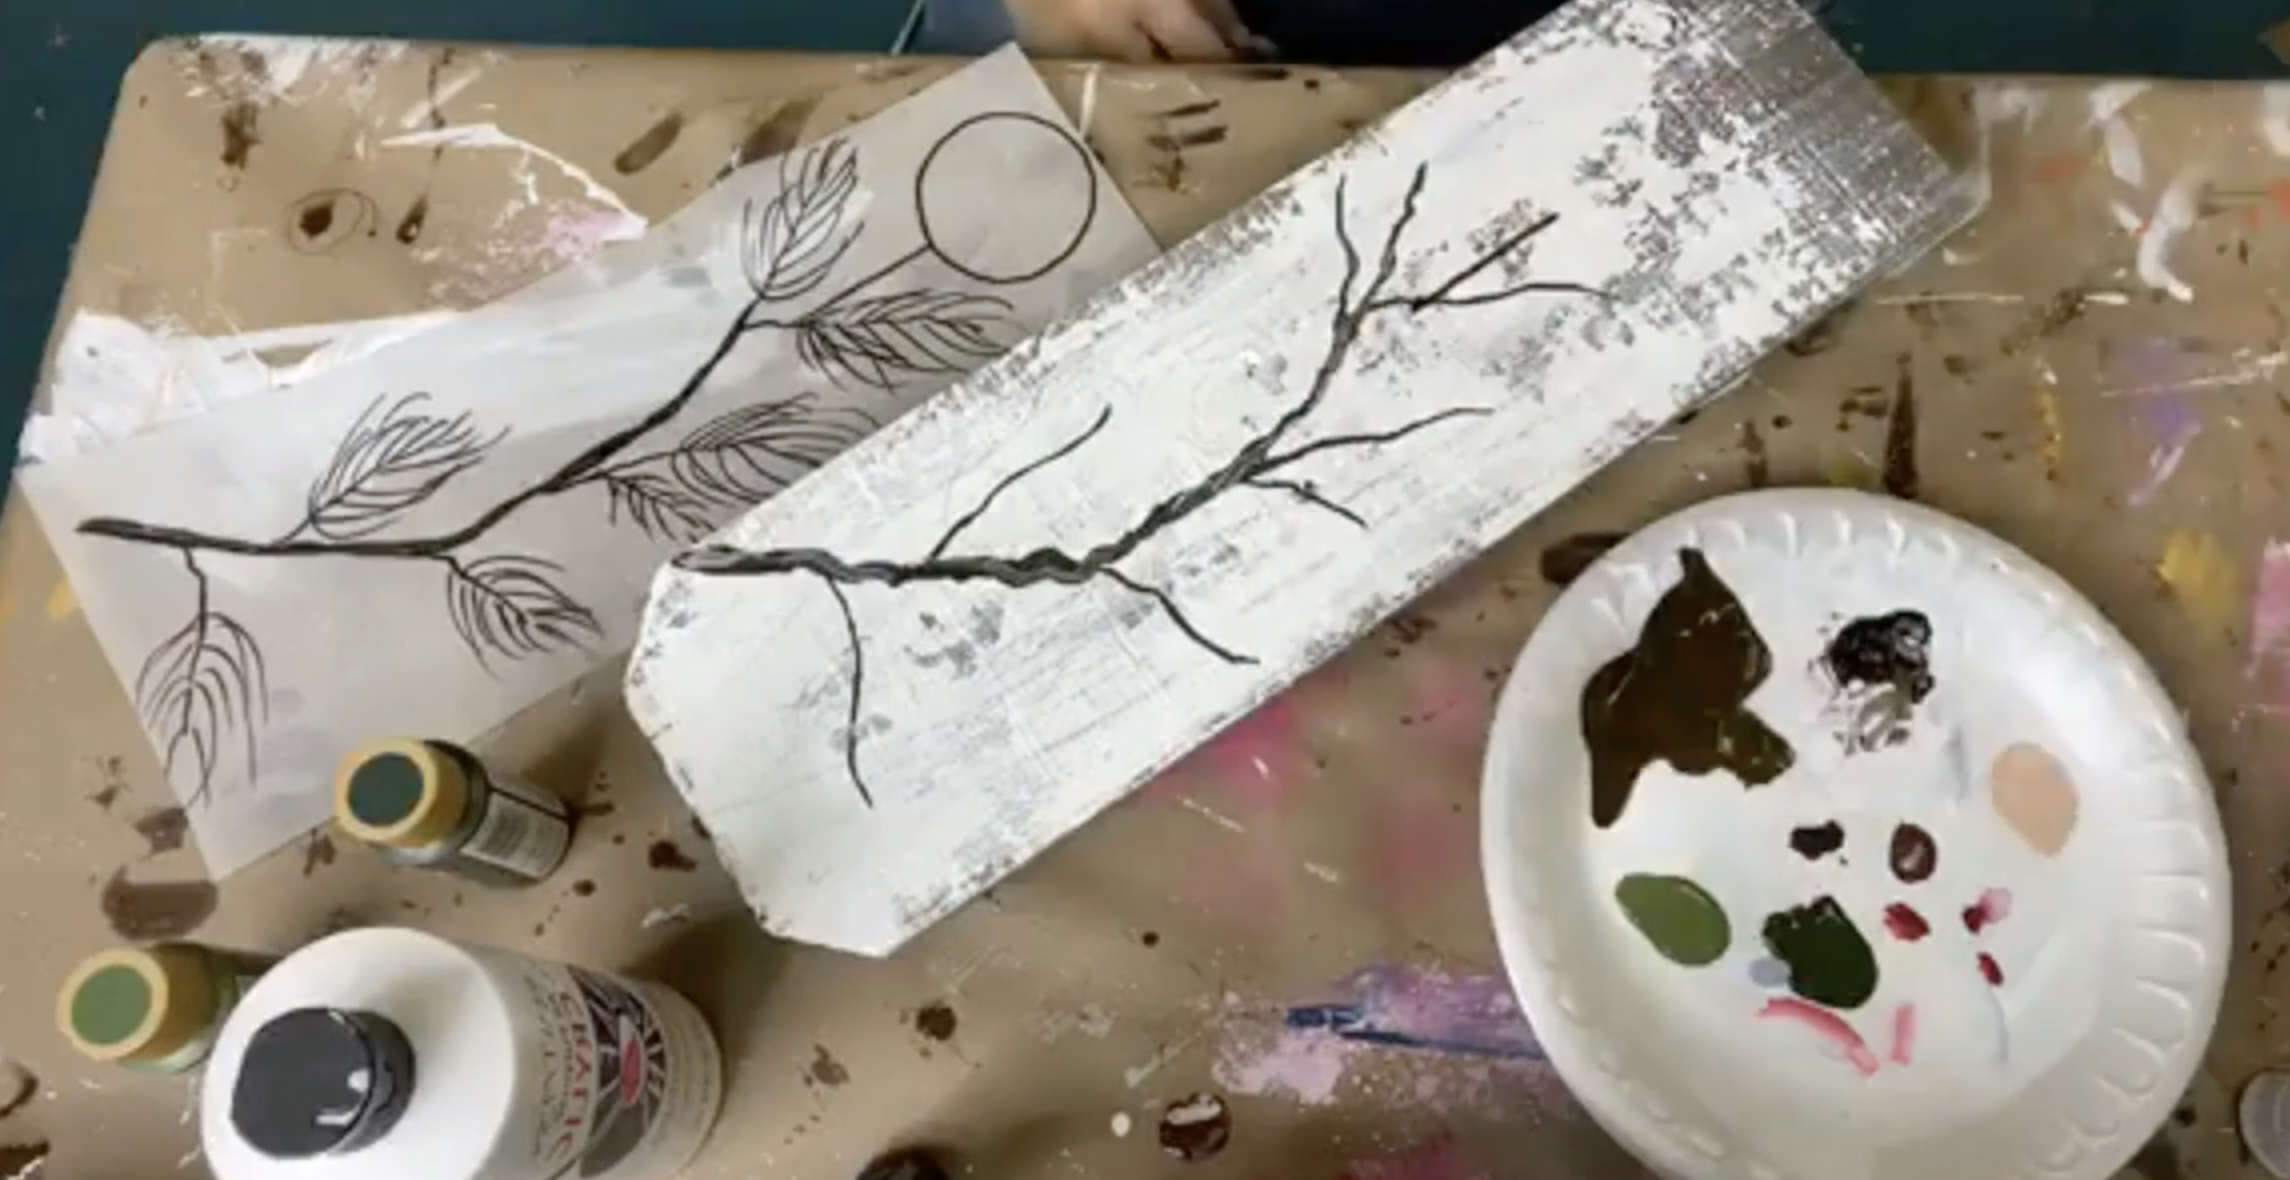
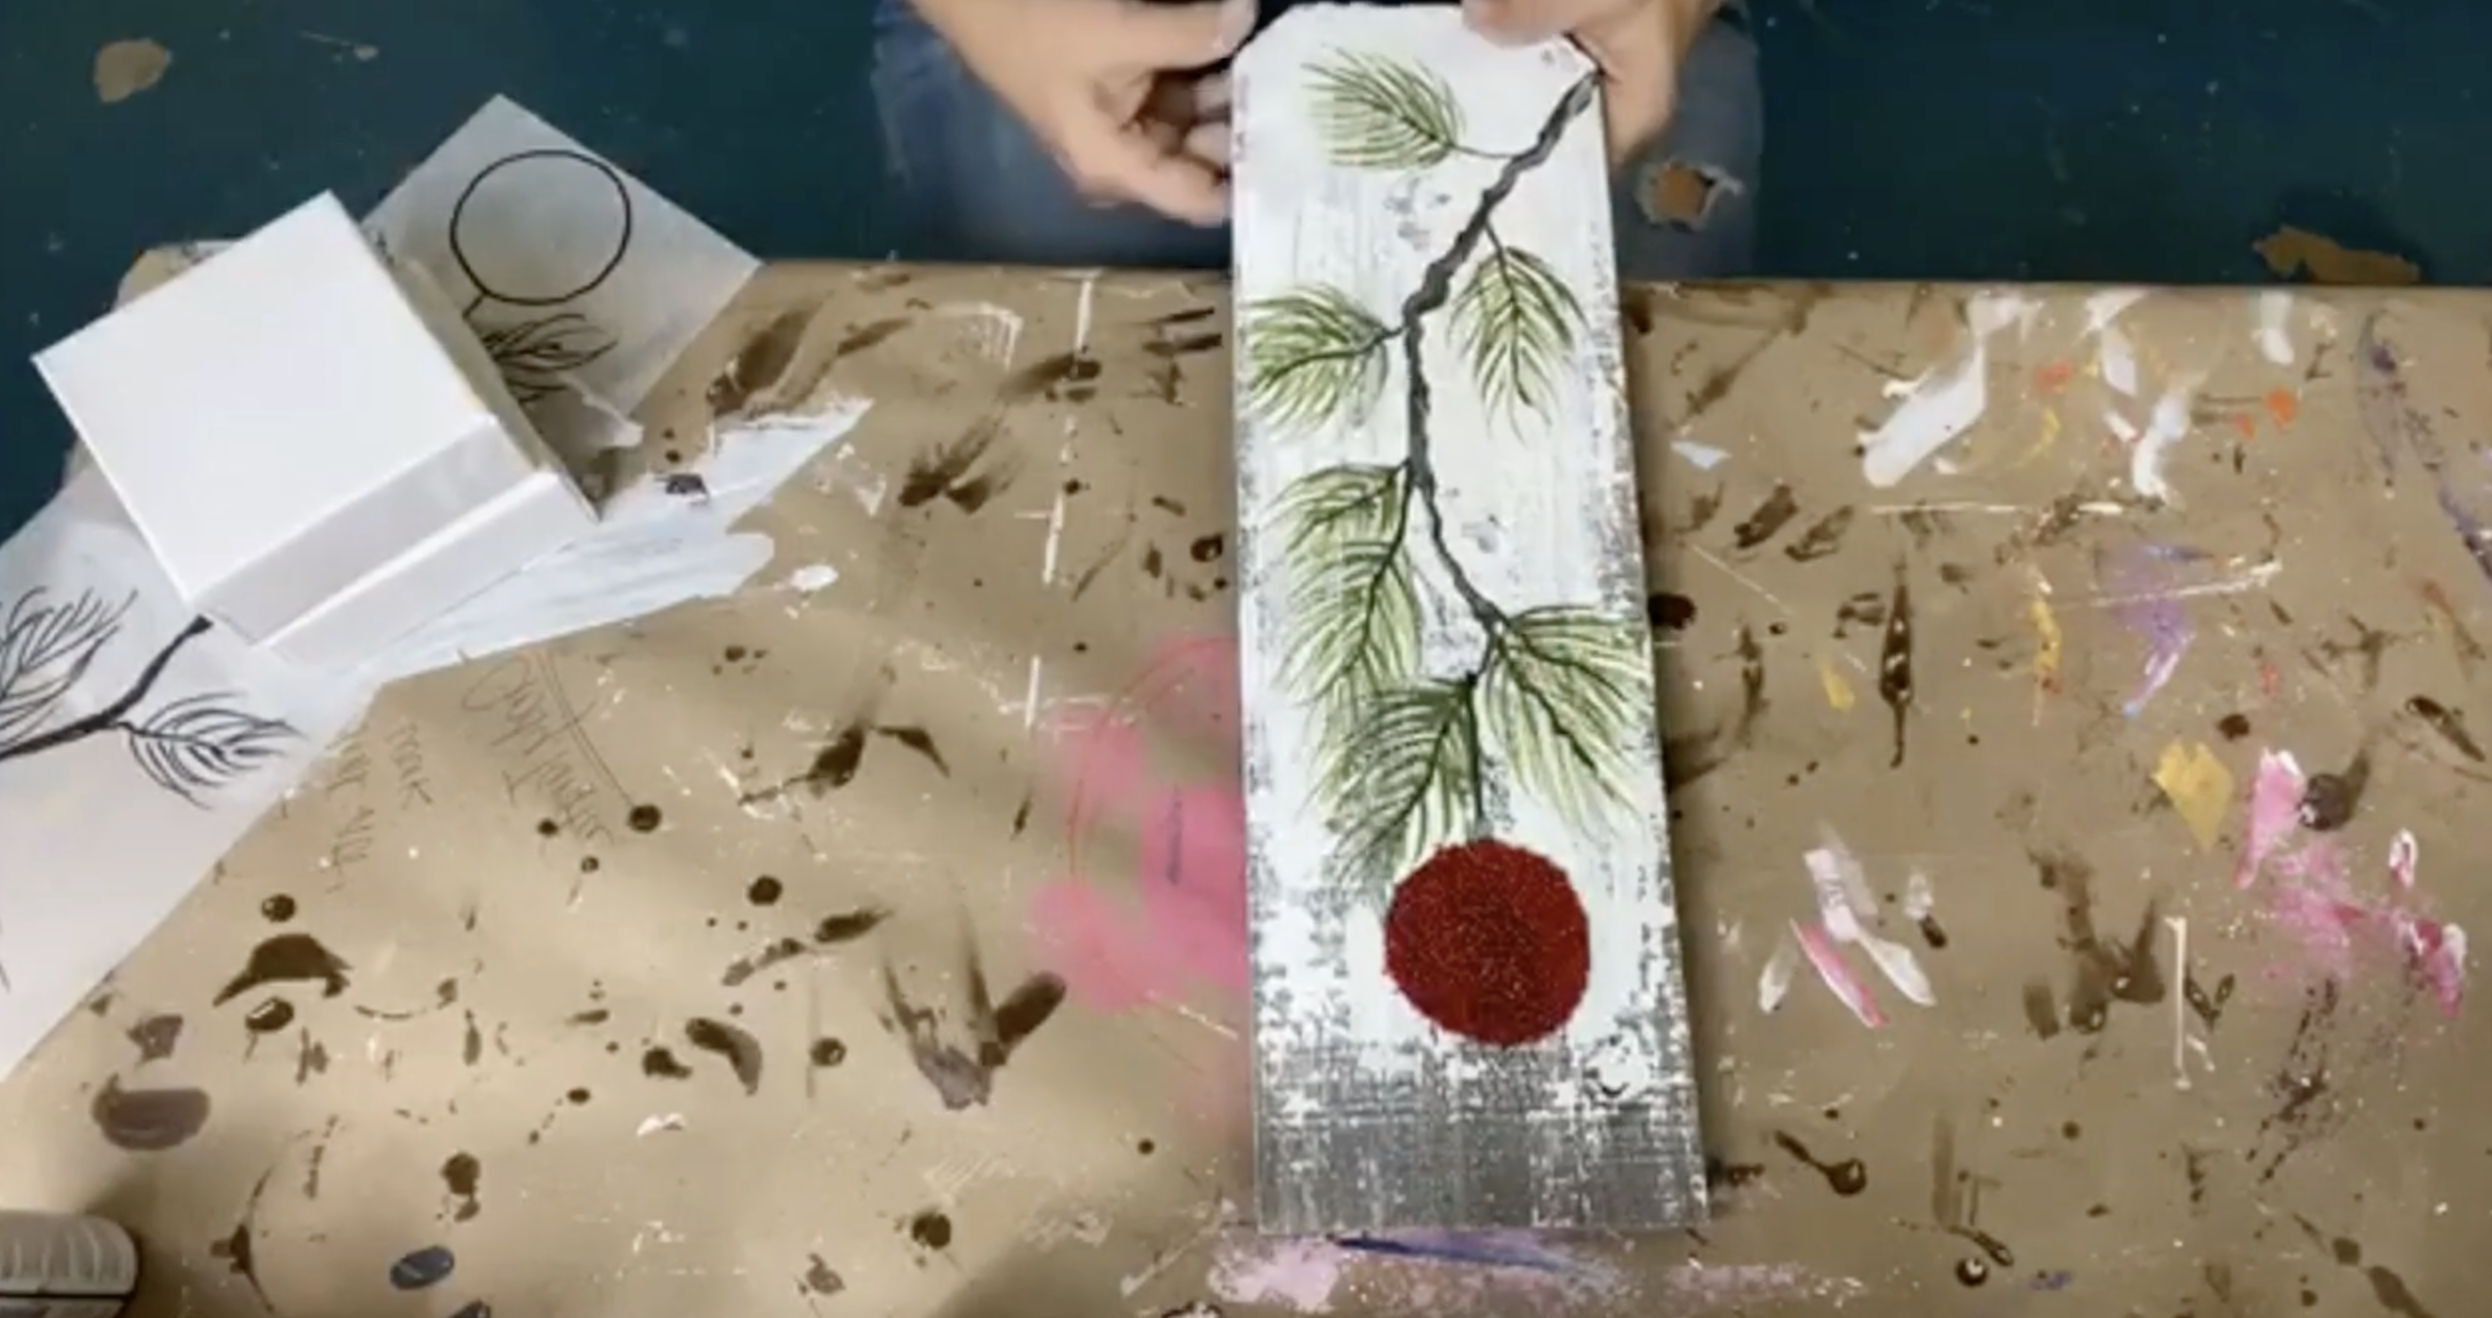
Add Americana Raw Umber to your palette and thin it slightly with water so it becomes more inky and flowy (not thick craft paint consistency). Using a liner brush, paint the main stem/branch first. Start at the top where the branch is thick, pressing down a bit more, then lighten your pressure as you pull down so the branch naturally narrows. While painting, twist the brush slightly as you pull the line down so it’s not perfectly straight. Next, paint the thin inner lines where the evergreen needle clusters will attach. Keep these lines light, thin, and slightly crooked for a natural look.
Without fully cleaning your brush, add a tiny touch of white paint to the tip of the brush and lightly drag it down parts of the branch to create dimension. Because your brush is already dirty with brown, the white won’t look stark - it will create a lighter brown highlight. Don’t do every line, just skip around for subtle variation.
Rinse your brush, load it with watery black paint (inky consistency), and paint a single straight line hanging down from the branch. This will be the ornament string.
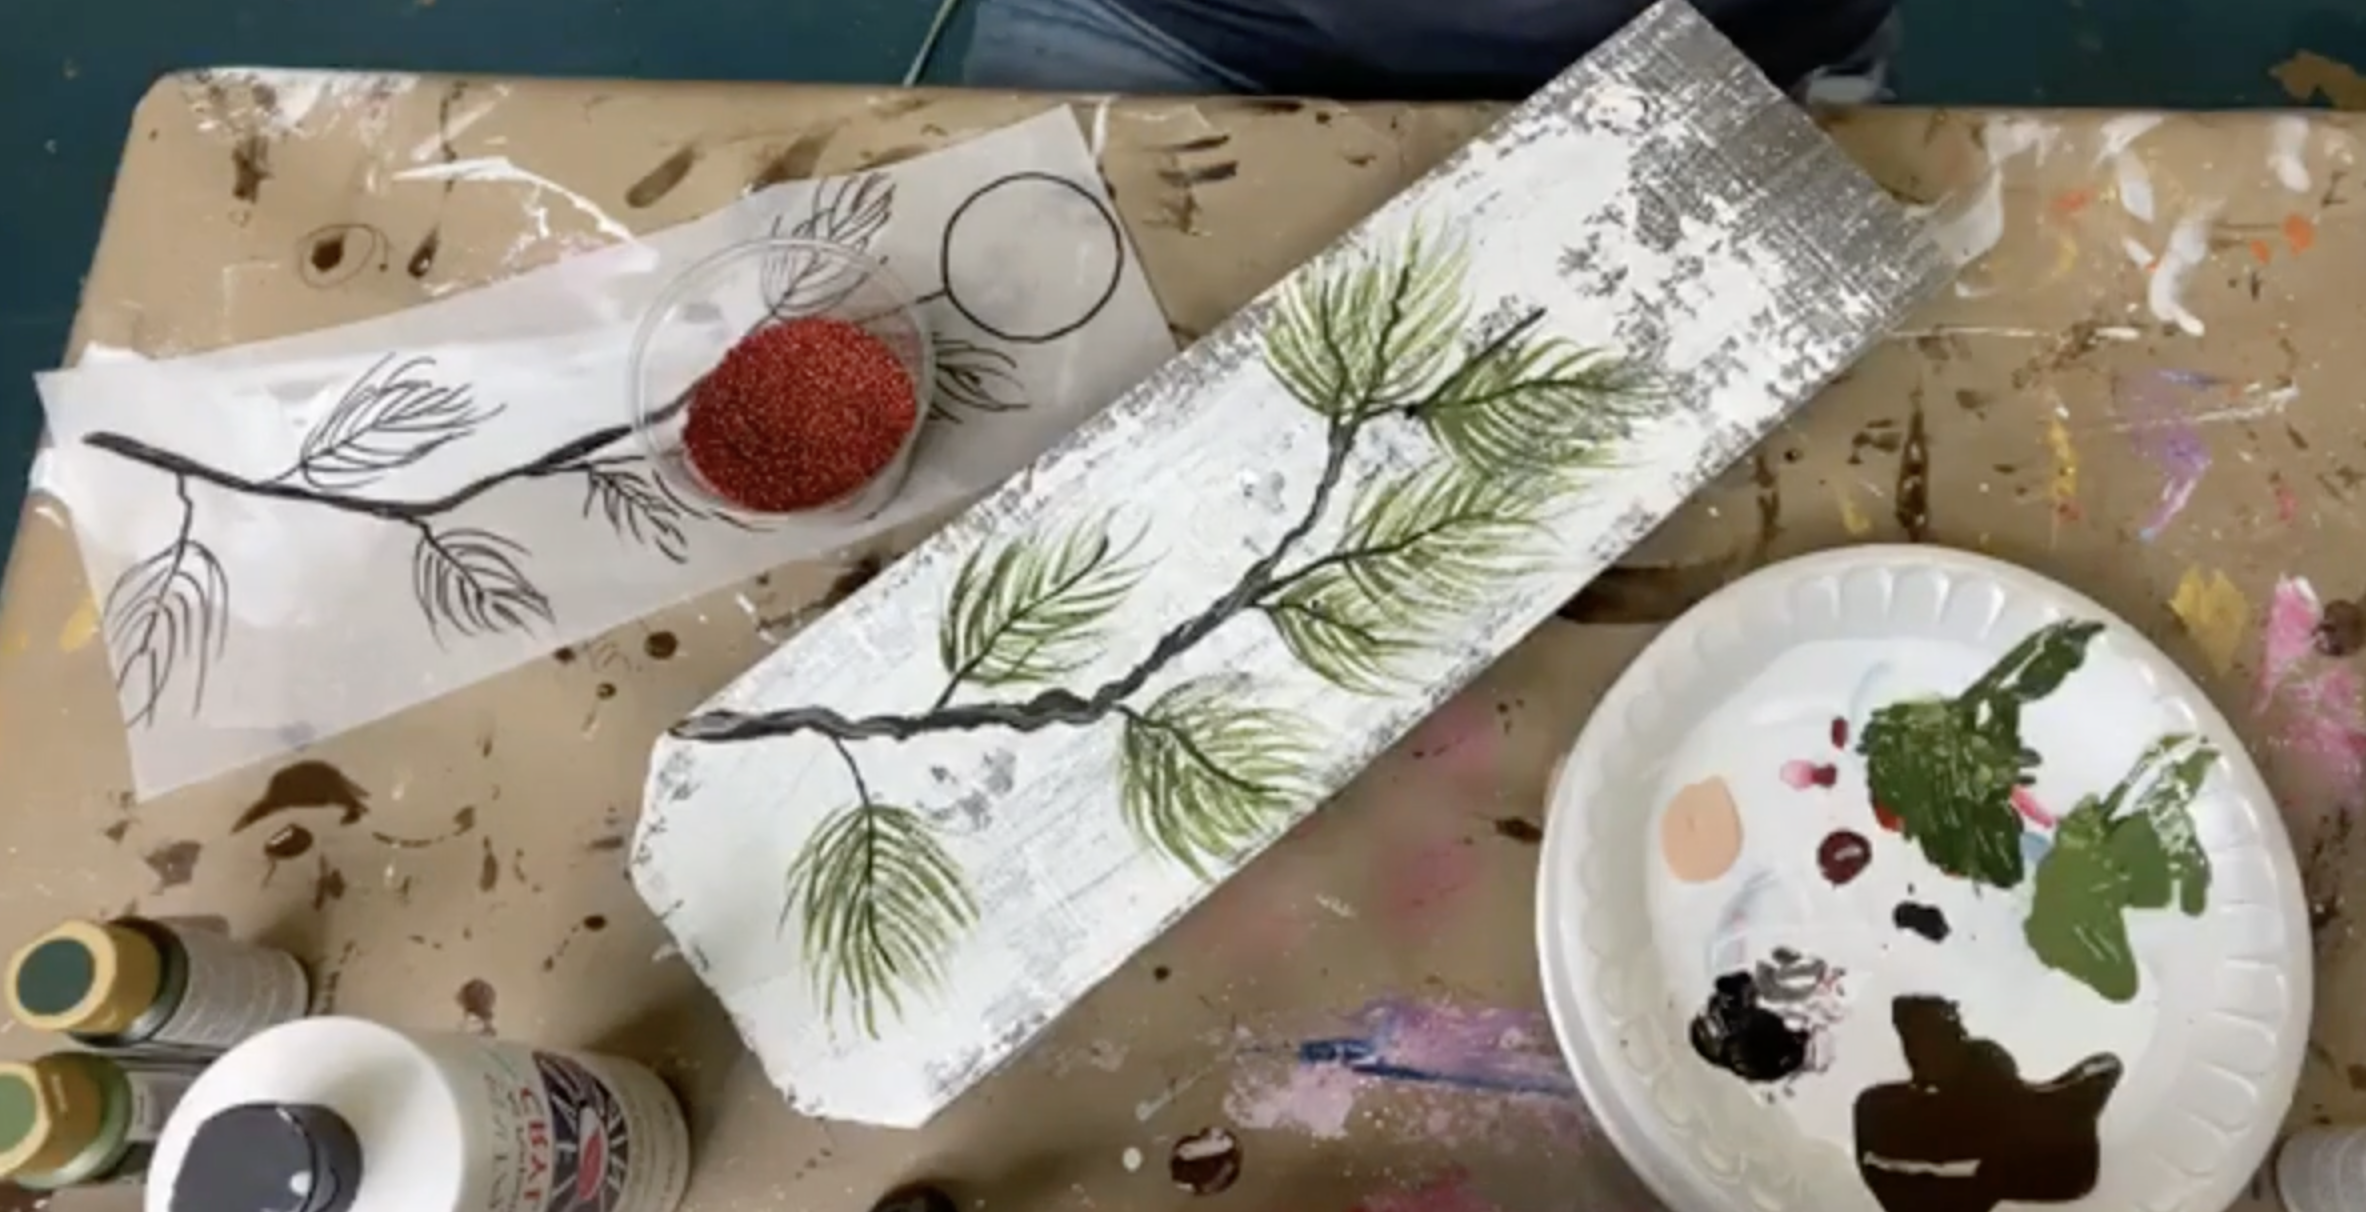
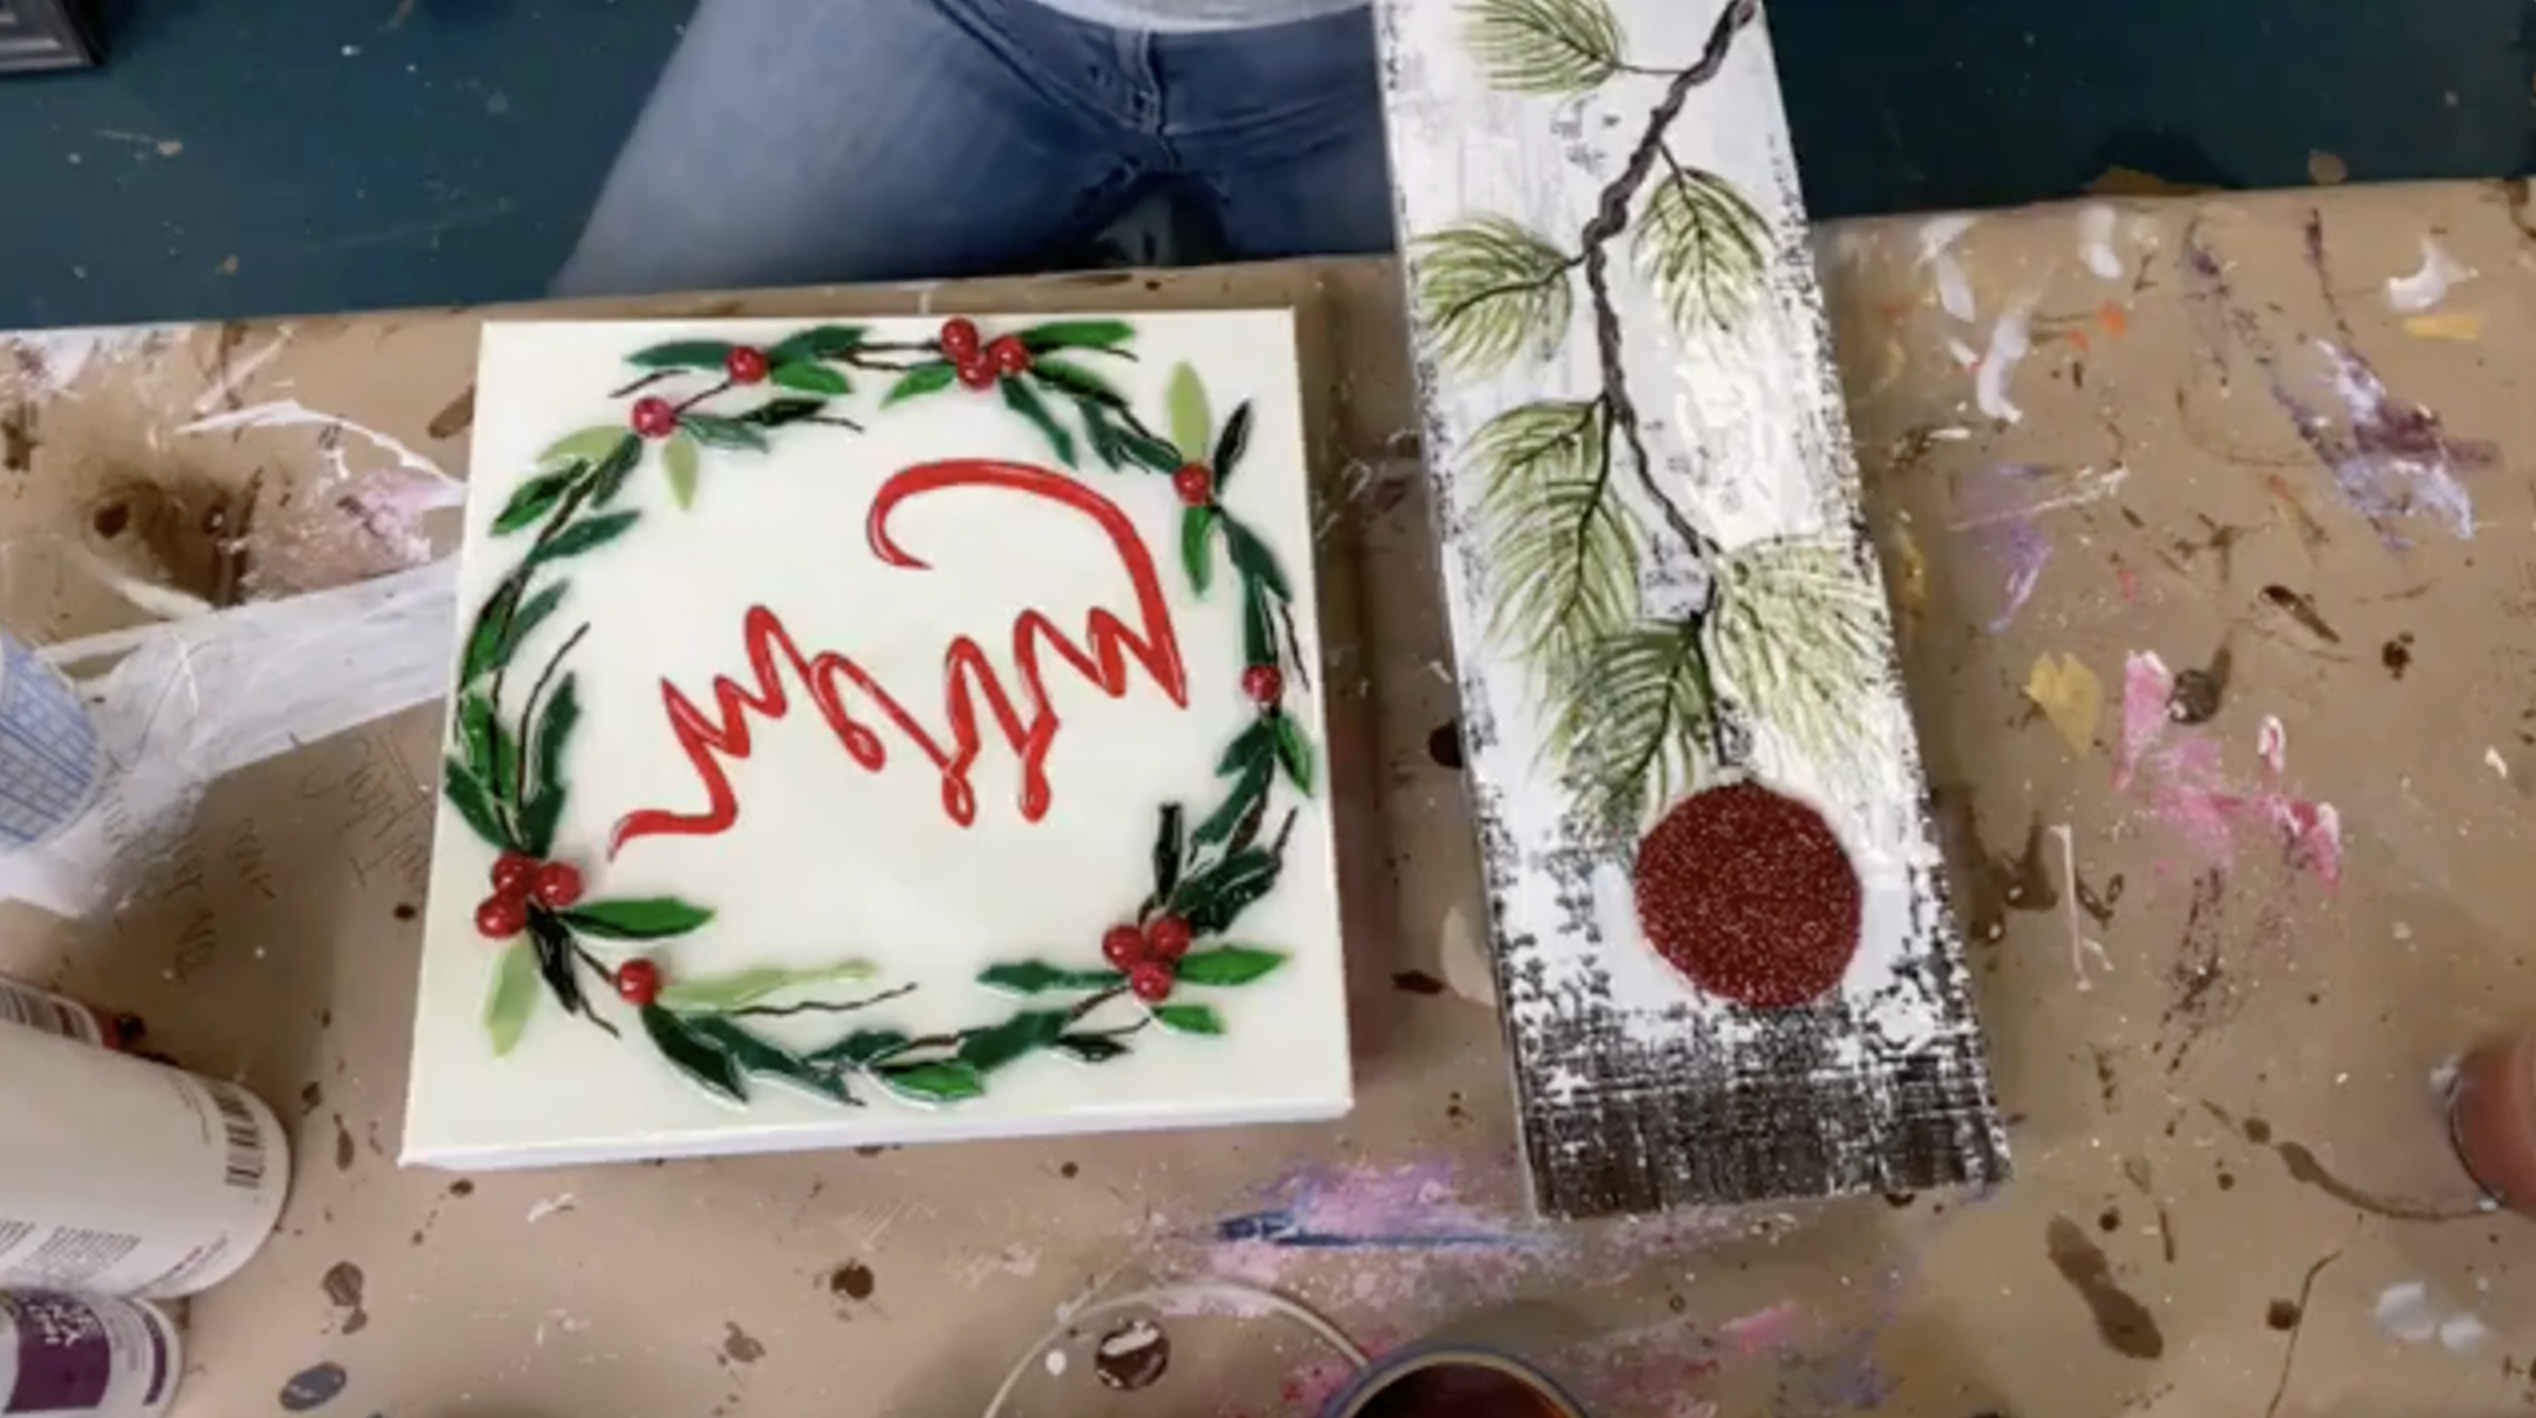
Put two greens on your palette: Americana Plantation Pine (dark) and Americana Hauser Medium Green (light). Use a script brush with long bristles (or any brush that makes thin, sweeping strokes). Thin your paint slightly with water so it flows easily and gives you quick, smooth strokes.
Start with the dark green first. Beginning at each small inner stem line, pull short downward strokes at an angle to create needle shapes. Vary the lengths and spacing - don’t make them uniform.
Then switch to the lighter green (same brush is fine) and add more needles to fill in gaps and give the cluster depth. Keep repeating this until the evergreen feels full. If your paint skips because of the wood texture, that’s okay. The distressed texture is part of the look.
Once the branch looks finished, you’re ready for the ornament.
To get a perfect ornament shape, use half of a clear plastic fillable ornament (or any round object) and trace a circle where you want your ornament to hang.
Paint one quick coat of Americana Cherry Red inside the circle. Red paint can be translucent, so this undercoat helps prevent any white background showing through if your bead coverage isn’t perfectly solid. Let the red paint dry for a minute or two before you add glue.
Using tacky glue, apply a generous thick coat over the entire red ornament circle. Start by running glue around the outer edge first, then fill in the center. Use a paintbrush to spread the glue evenly across the circle. It should look like a thick, glossy layer of glue, not a skim coat.
Now, pour on the seed beads. Don’t dump the whole container - tap the cup gently so the beads fall slowly and don’t explode everywhere. Use your finger like a little barricade if needed to keep beads from flying off the board. Once the ornament area is covered, press the beads down gently with your finger so they sink into the glue.
At this stage, you may notice uneven coverage or bare spots. Let the first layer dry before adding more glue and beads if needed.
While the bead layer dries (or after you’ve done your second layer), paint a small ornament topper at the top of the red circle using FolkArt Sterling Silver and a small flat brush. Optional upgrade: If you have a small metal/plastic topper piece from a mini ornament or a Christmas tree decoration, you can cut it and glue it on for extra dimension.
When your glue and beads are dry enough to hold steady, it’s time to resin. Put on gloves and mix your resin according to your brand’s directions. (I use ArtResin exclusively.)
First, spread resin across the wood surface (a thin, even coat). Next, use a stir stick to lightly drizzle resin over the seed bead ornament. Keep it a gentle drizzle - if you flood the ornament, you can loosen beads and send them sliding around. You want enough resin to coat and seal the bead texture, not bury it.
Use a torch (or heat gun) to pop surface bubbles. Keep the heat moving constantly and never let the flame touch the resin - heat pops bubbles, flame burns resin. With wood, bubbles can continue to appear because air releases from the grain, so don’t stress if it’s not 100% bubble-free.
Set your piece somewhere safe and level to cure undisturbed. Follow your resin cure time instructions (usually overnight to set and 24–72 hours for full cure depending on resin). Once cured, you’ll have a rustic, textured evergreen ornament plaque with a glossy, dimensional bead ornament that seriously looks like holiday magic.
If you're a member of The Shattered Circle, you'll find this tutorial in your classroom under Art Shattered Weekly Facebook Lives, search for "Five Days of Christmas".
If you don’t want to miss my Facebook LIVE art instruction, make sure you are on my texting list. I always text 10 minutes before I’m going to go LIVE, so you won’t ever miss it. You can text “Hey Cindy” to 901-519-2923.
Want more inspiration and artwork?

