
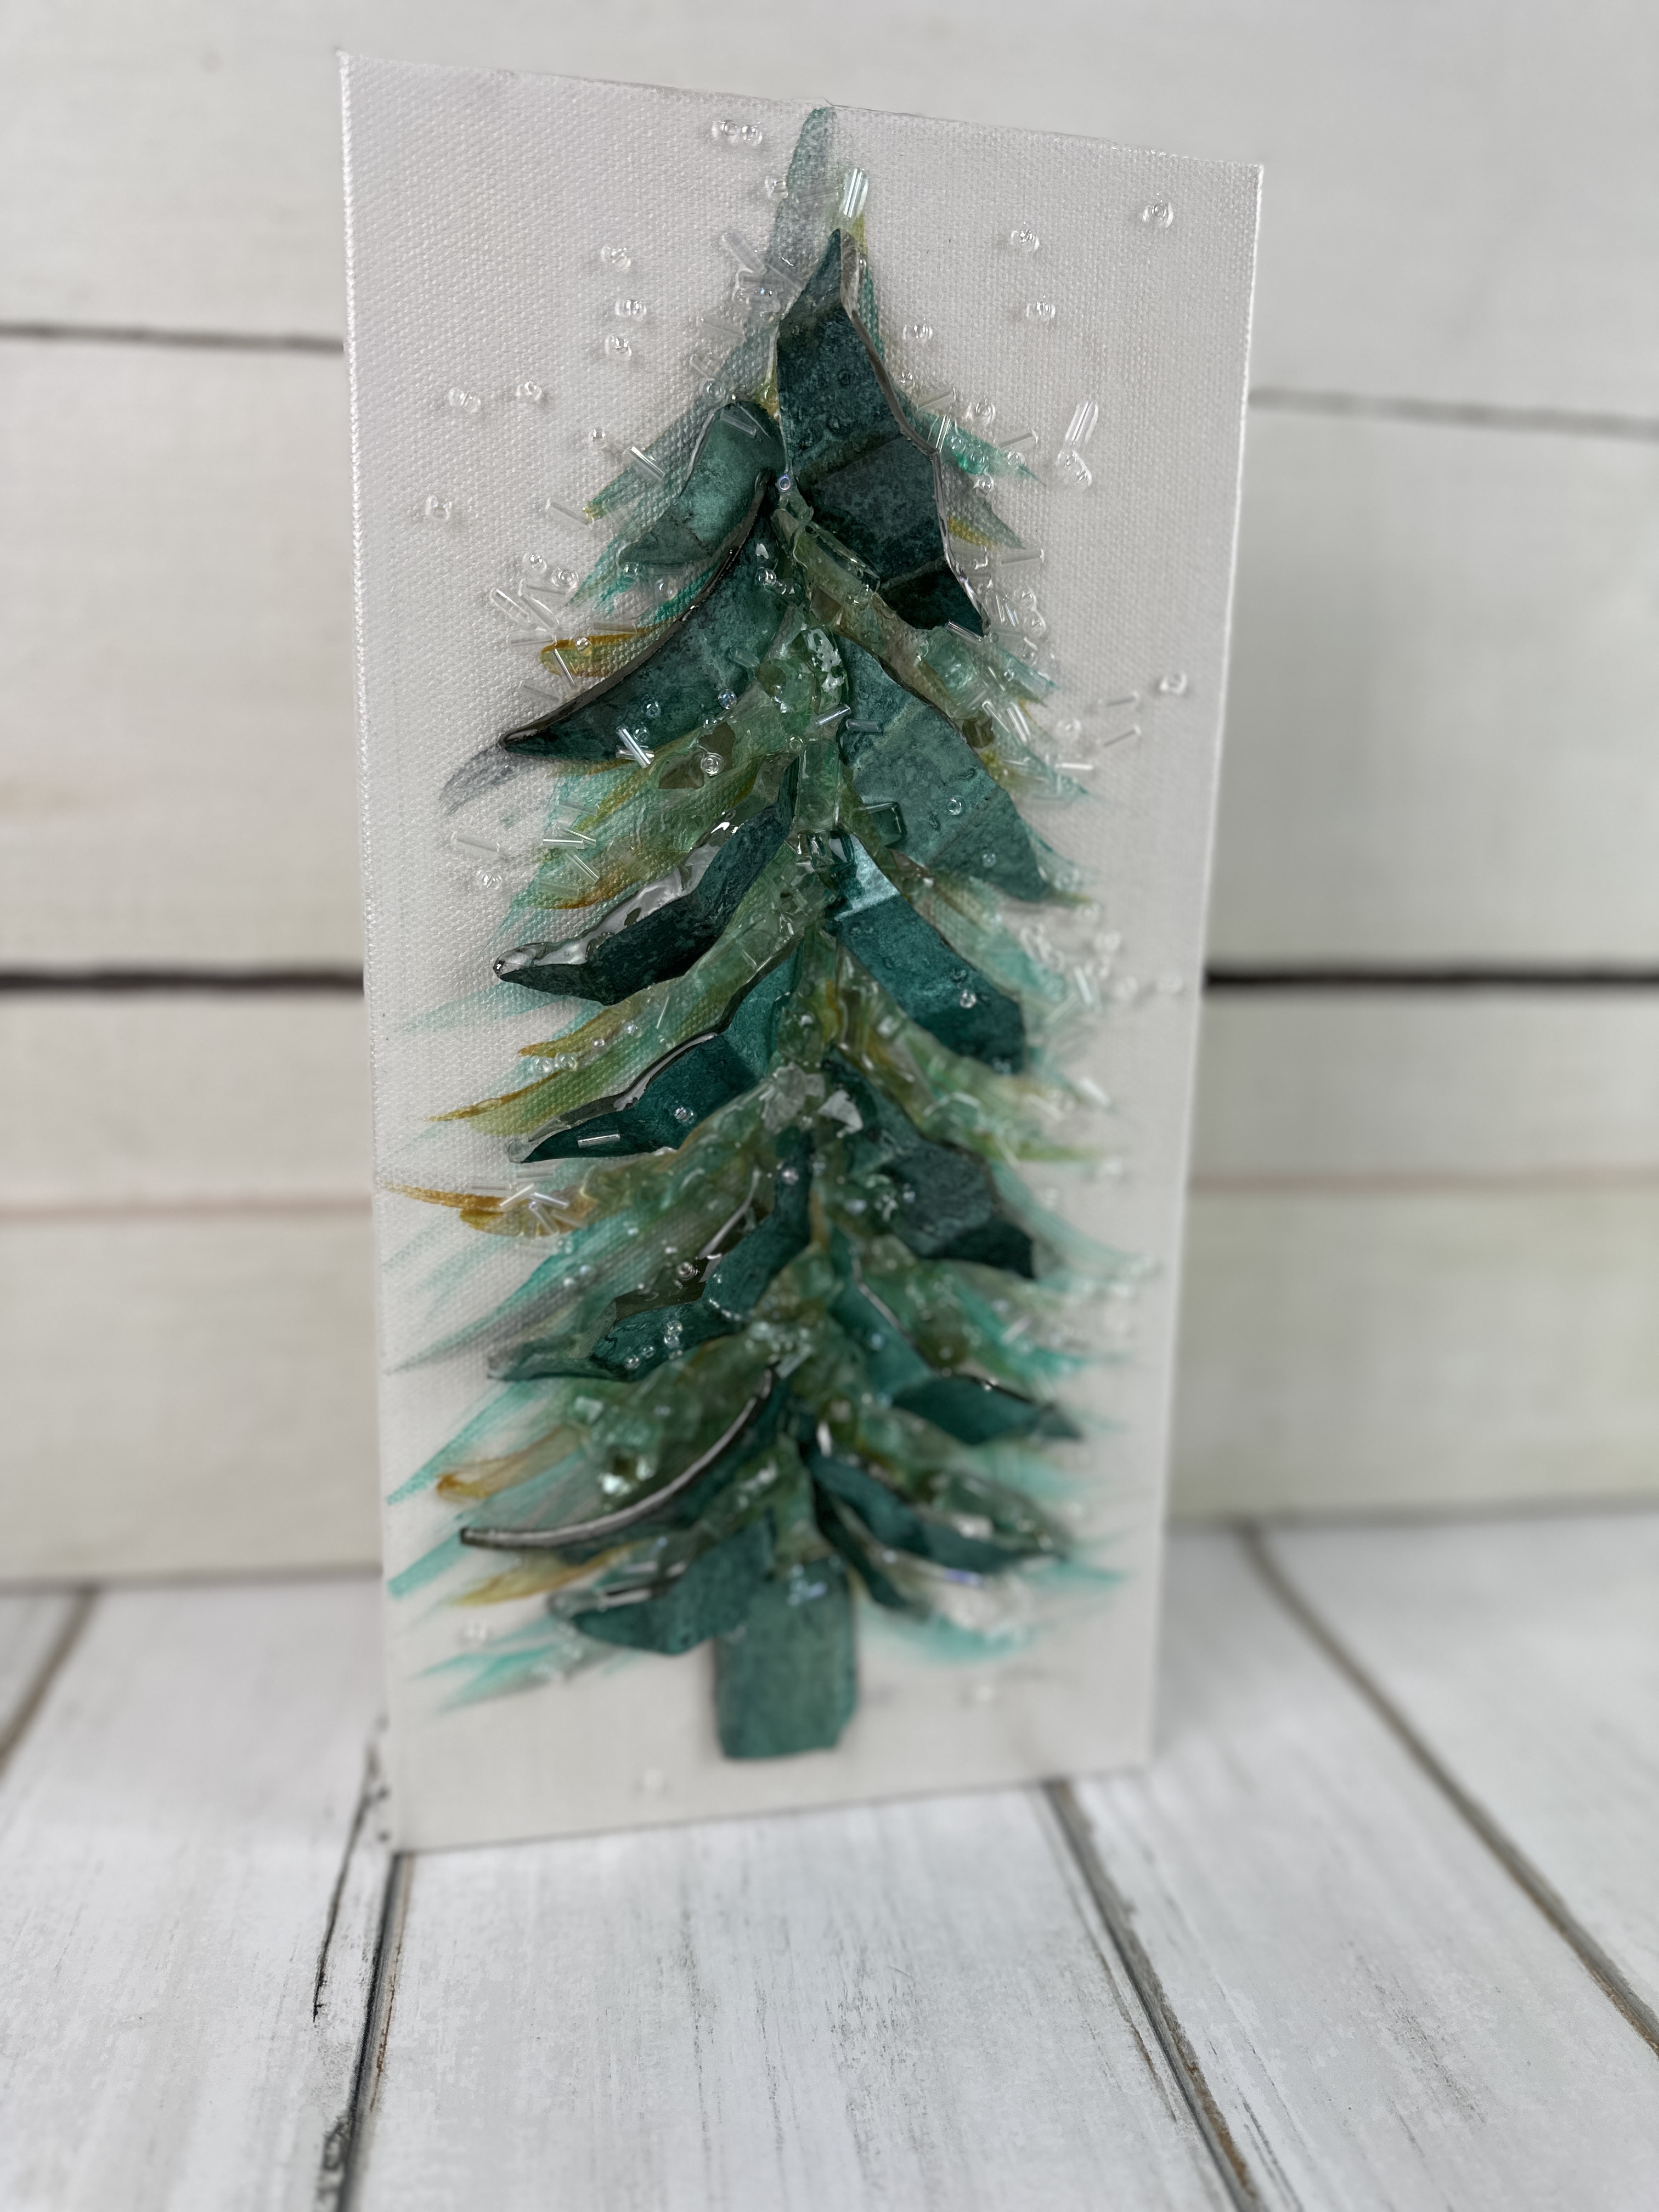
Green Vase Christmas Tree 🎄
This festive mixed media project proves that even broken things can become beautiful again. In this glass and resin Christmas Tree tutorial, we’ll transform a shattered vase into a shimmering mercury-glass-inspired tree on a 6x12 canvas. With metallic paints, glass pieces, and resin, you’ll create an elegant and reflective piece of holiday art!
Step 1: Prep Your Glass Pieces
If you have a broken vase (or intentionally break one for art purposes — safely and carefully, of course!), gather those curved pieces. Using wheeled nippers, trim around the edges to shape small, curved shards perfect for layering into a tree shape.
Once your pieces are cut, grab a honing stone and lightly smooth all sharp points. Focus on the jagged tips - you don’t need to round every edge completely, just enough to remove anything that could cut your hands during placement.
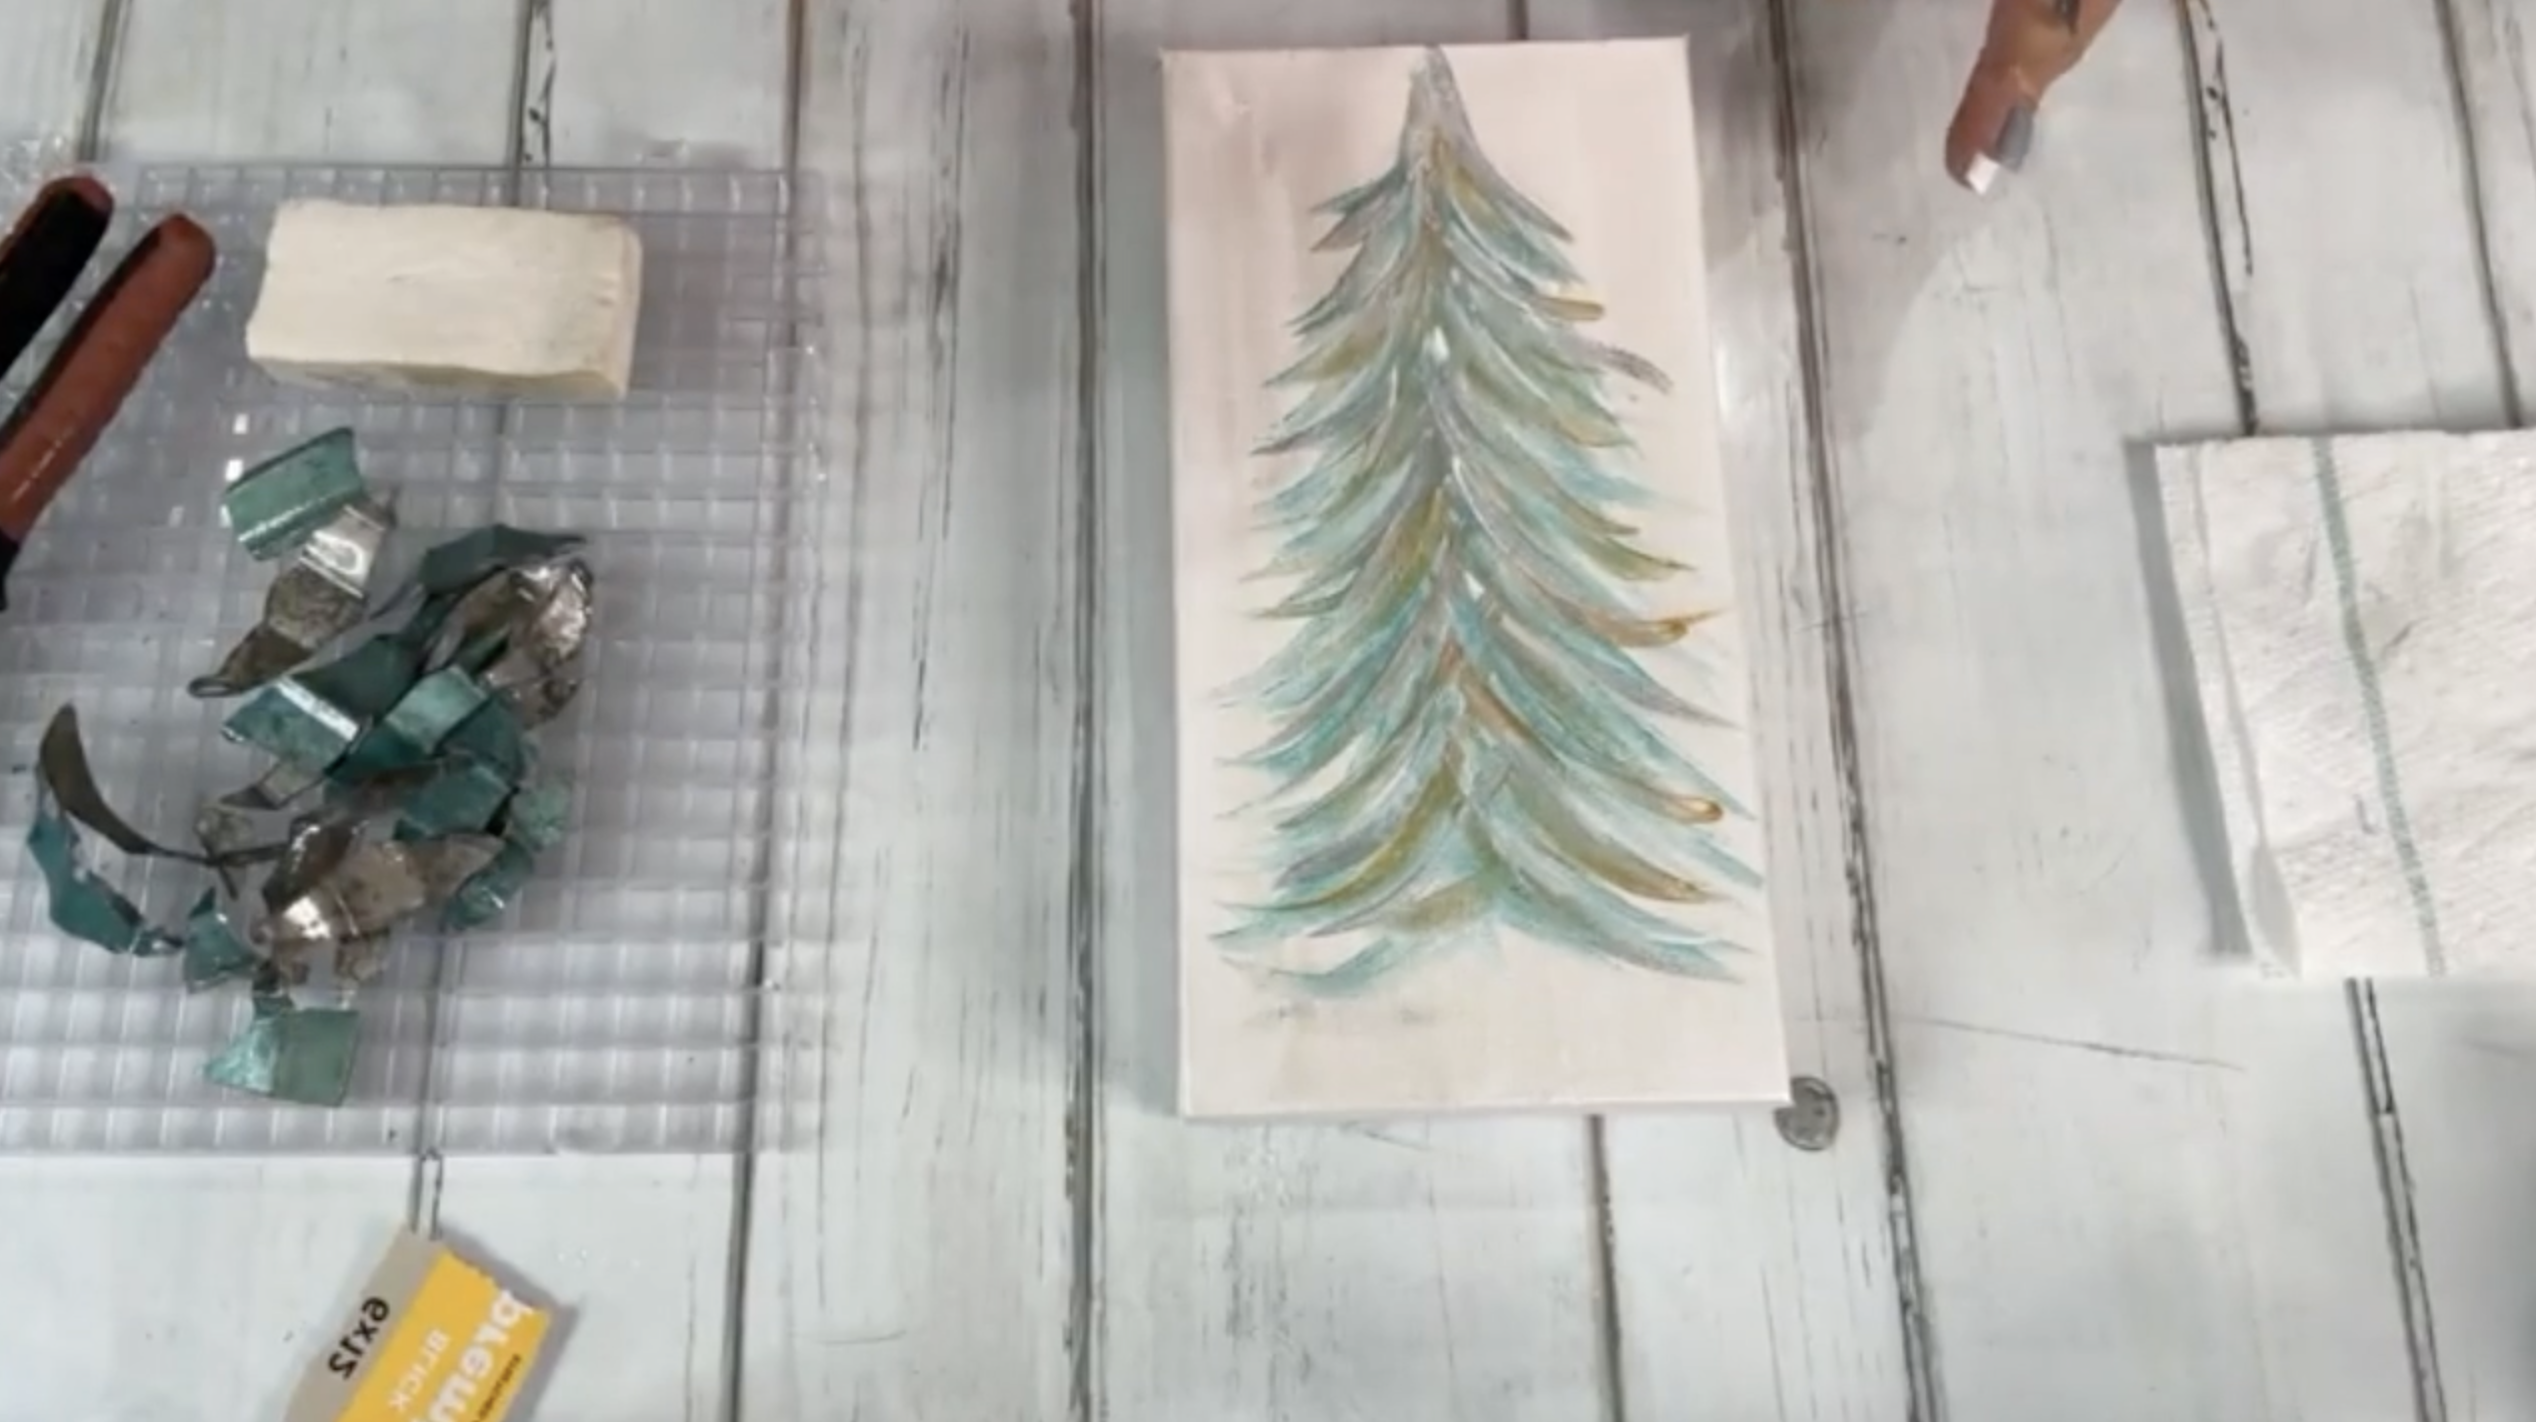
Step 2: Paint the Background
Start by applying Metallic Pearl White paint over the entire canvas, edges included, using a foam brush for smooth coverage. Then, grab your metallics:
-
Aquamarine Metallic (a teal-green tone)
-
Sterling Silver Metallic
-
Gold Metallic
-
Pearl White Metallic for blending
While the white is still wet, dip a large round brush into the Aquamarine and lightly brush in angled strokes, forming the rough shape of a tree.
Add soft layers of Gold with a light hand, barely touching the surface to let the shimmer glide over the teal. If the colors start to mix too much, dry the base layer before adding the next metallic tone. A touch of Silver adds extra reflection, but use it sparingly so it doesn’t overpower the teal and gold.
Finish with another light layer of Pearl White brushed over top. Dry thoroughly before moving on.
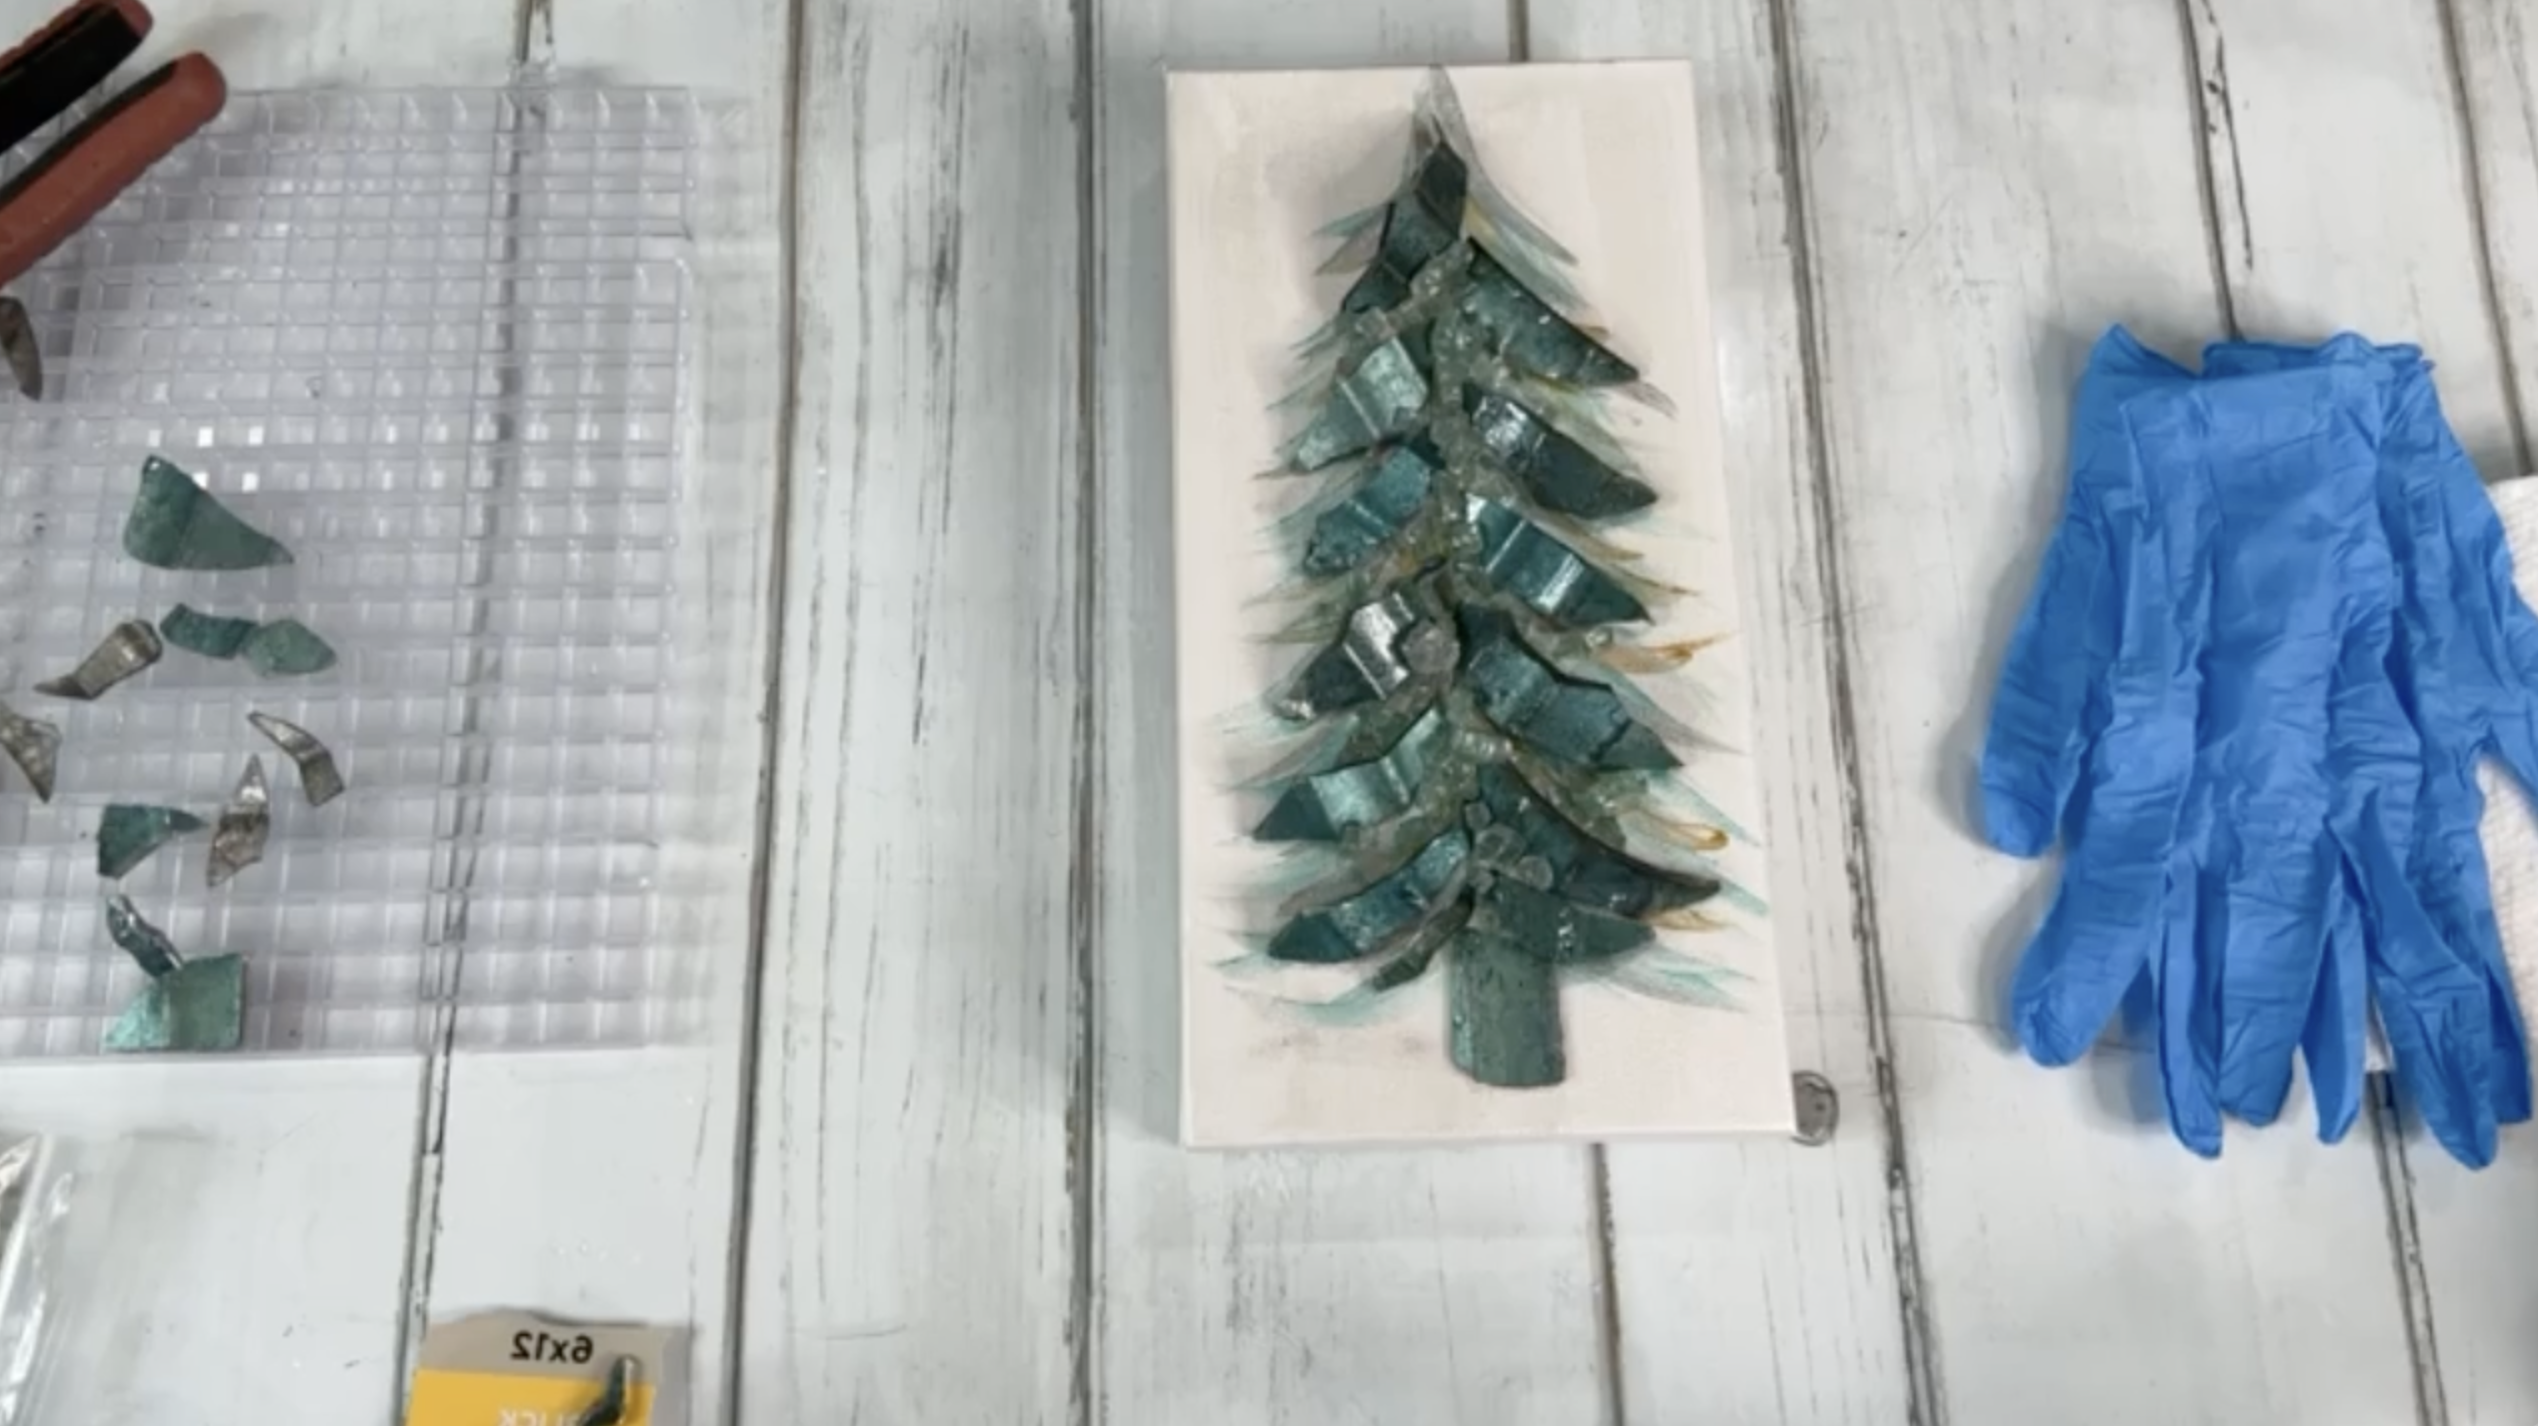
Step 3: Arrange the Glass Tree
Now it’s time to build your tree! Lay out your curved vase pieces directly on the dry canvas. Start with longer pieces at the bottom and gradually use shorter ones as you move upward to form a triangular tree shape.
You may need to nip some pieces shorter so they sit nicely against the surface - the flatter and more evenly curved, the better. Be sure to stagger each row instead of lining them up perfectly; this keeps the design natural and layered.
For the trunk, use a small square piece of glass or a scrap that contrasts slightly with the curved pieces.
When you’re happy with the layout, take a moment to adjust angles and spacing. You can even twist pieces slightly to reflect more light. Once arranged, sprinkle in a few small filler pieces of colored or clear glass (I used Solex Reflective Glass) to add dimension and fill any small gaps.
Step 4: Mix and Apply Resin
Mix ArtResin following a 1:1 ratio - ½ ounce of resin and ½ ounce of hardener for a 6x12 canvas. Stir gently for three minutes, scraping the sides and bottom of your cup to combine fully.
Pour the resin slowly down the center of your design, letting it flow naturally between the glass pieces. Focus on coating the edges first so it runs smoothly along both sides of each shard. Use a stir stick to guide resin into smaller spaces and around edges for full coverage.
Once all areas are coated, lightly pass a heat gun over the resin to pop any air bubbles and help it self-level. Keep your hand moving to avoid overheating the surface.
Step 5: Add Seed Beads for Detail
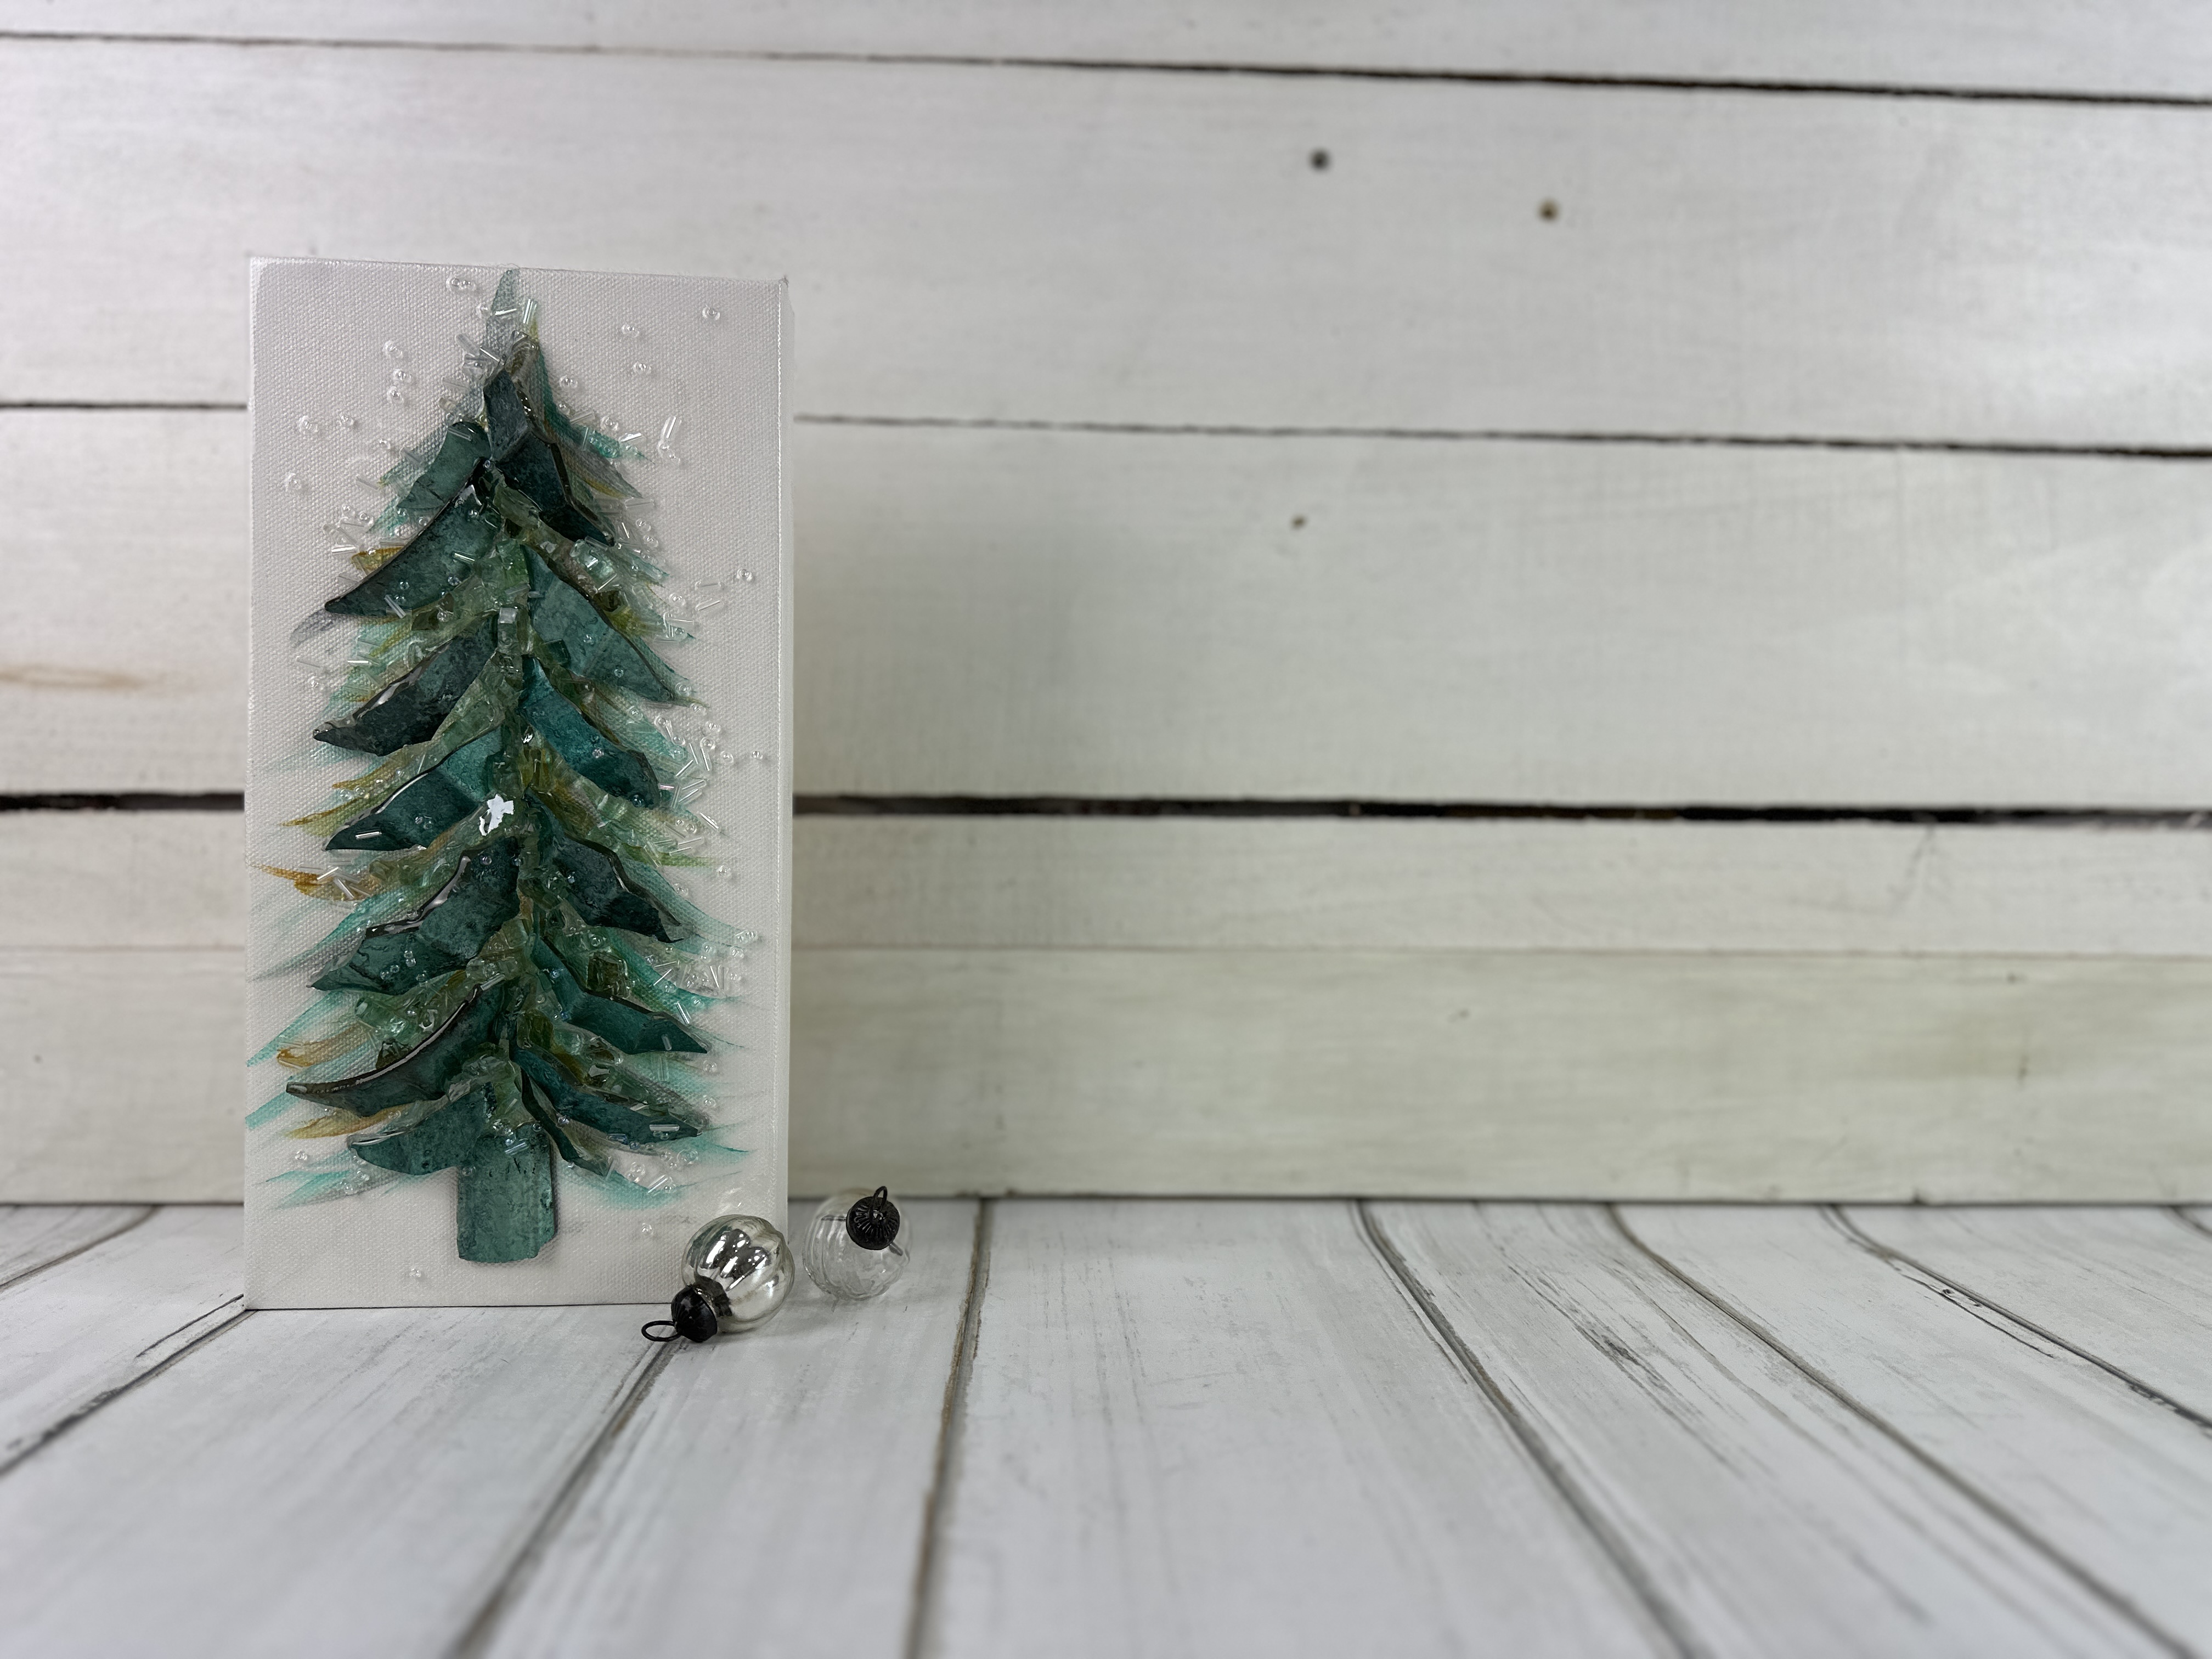
While the resin is still wet, sprinkle a mix of crystal luster bugle beads and round iridescent seed beads onto the tree. Tap gently so they settle into the resin.
Allow your piece to cure flat for at least 24 hours in a dust-free area. Once cured, your tree will have a glossy, dimensional surface that glistens like real mercury glass ornaments.
If you don’t want to miss my Facebook LIVE art instruction, make sure you are on my texting list. I always text 10 minutes before I’m going to go LIVE, so you won’t ever miss it. You can text “Hey Cindy” to 901-519-2923.
Want more inspiration and artwork?
- My website artshattered.com with resources, shop, and more!
- My creative membership The Shattered Circle, where you can explore the world of glass art with online workshops, a supportive community, and more!
- My mini creative membership Just A ‘Lil Bit Monthly Glass Art Club, where you’ll get a new quick and easy online tutorial for just a lil' bit of sparkle in your life!
- My Facebook page where I go LIVE every Wednesday night.
- My YouTube channel which has tons of free art lessons right at your fingertips.
