
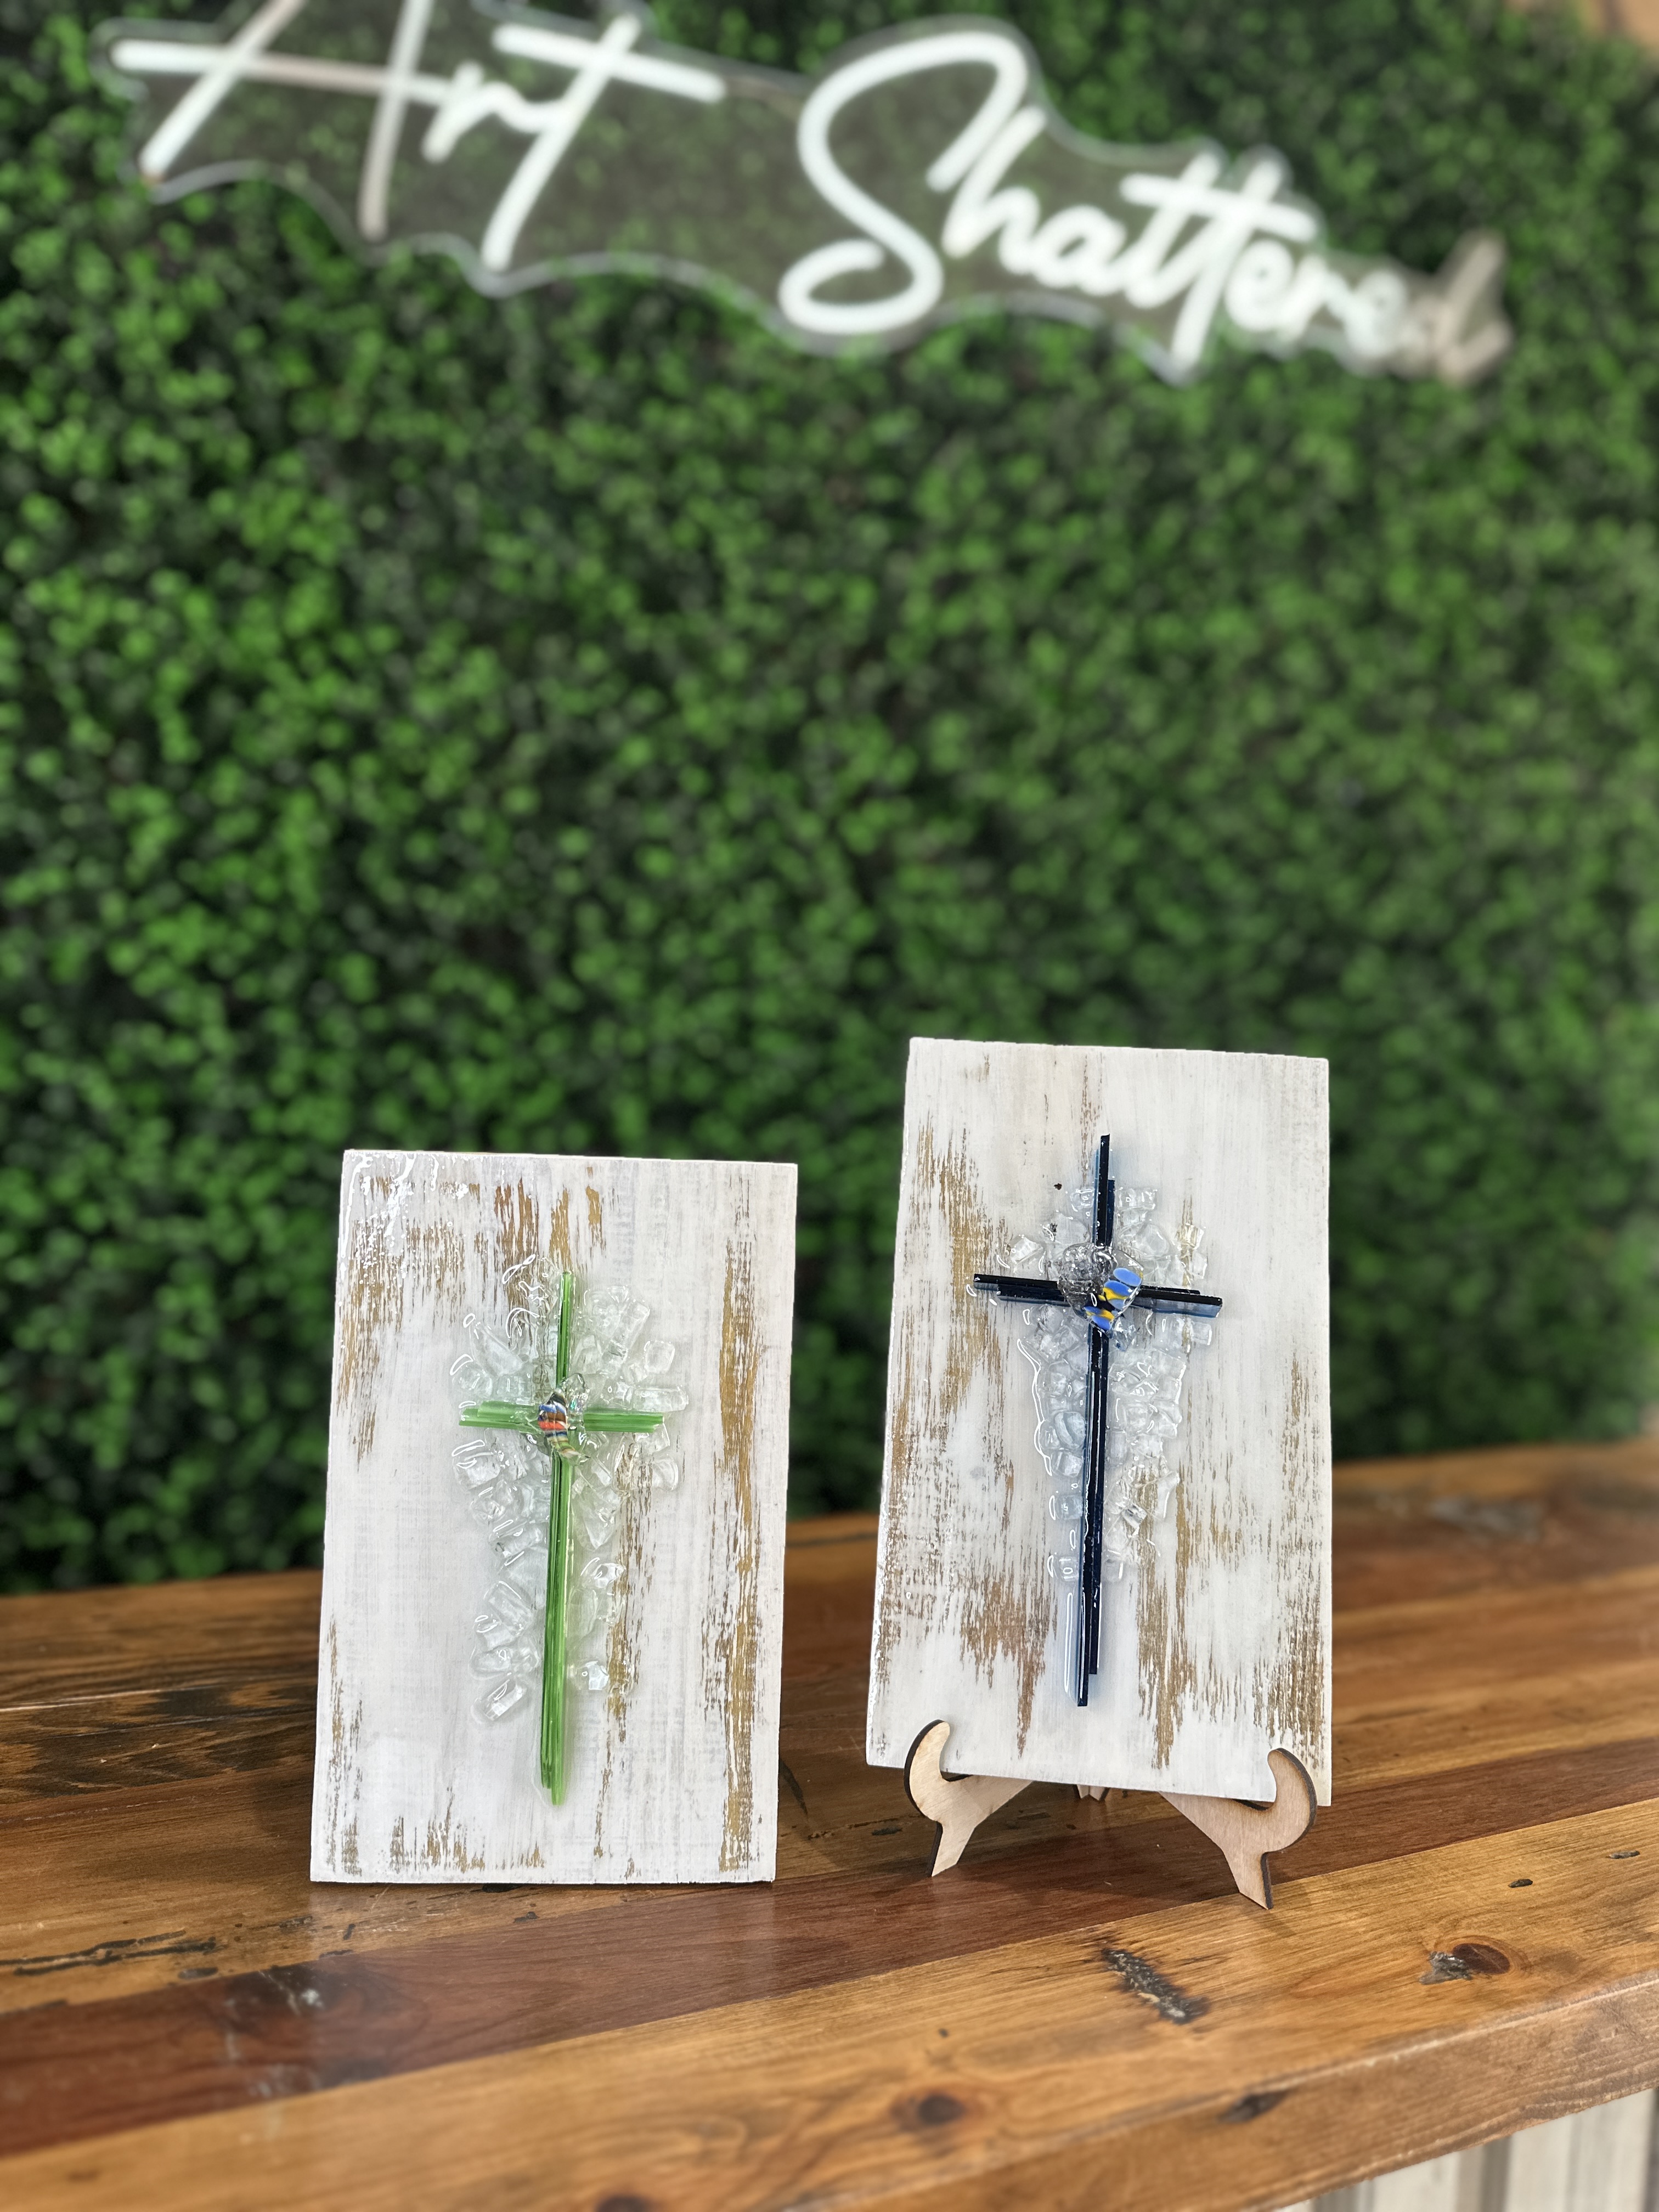
Rustic Cross ✝️
If you’ve ever wondered how to cut your own glass strips and create beautiful layered glass crosses, this tutorial is for you! Today I’m showing you how I make my bestselling glass crosses using simple tools, colorful glass sheets, and a bit of resin. These make perfect gifts and are always a hit at art and craft shows, especially around holidays like Mother’s Day and Christmas.
Step 1: Getting Started
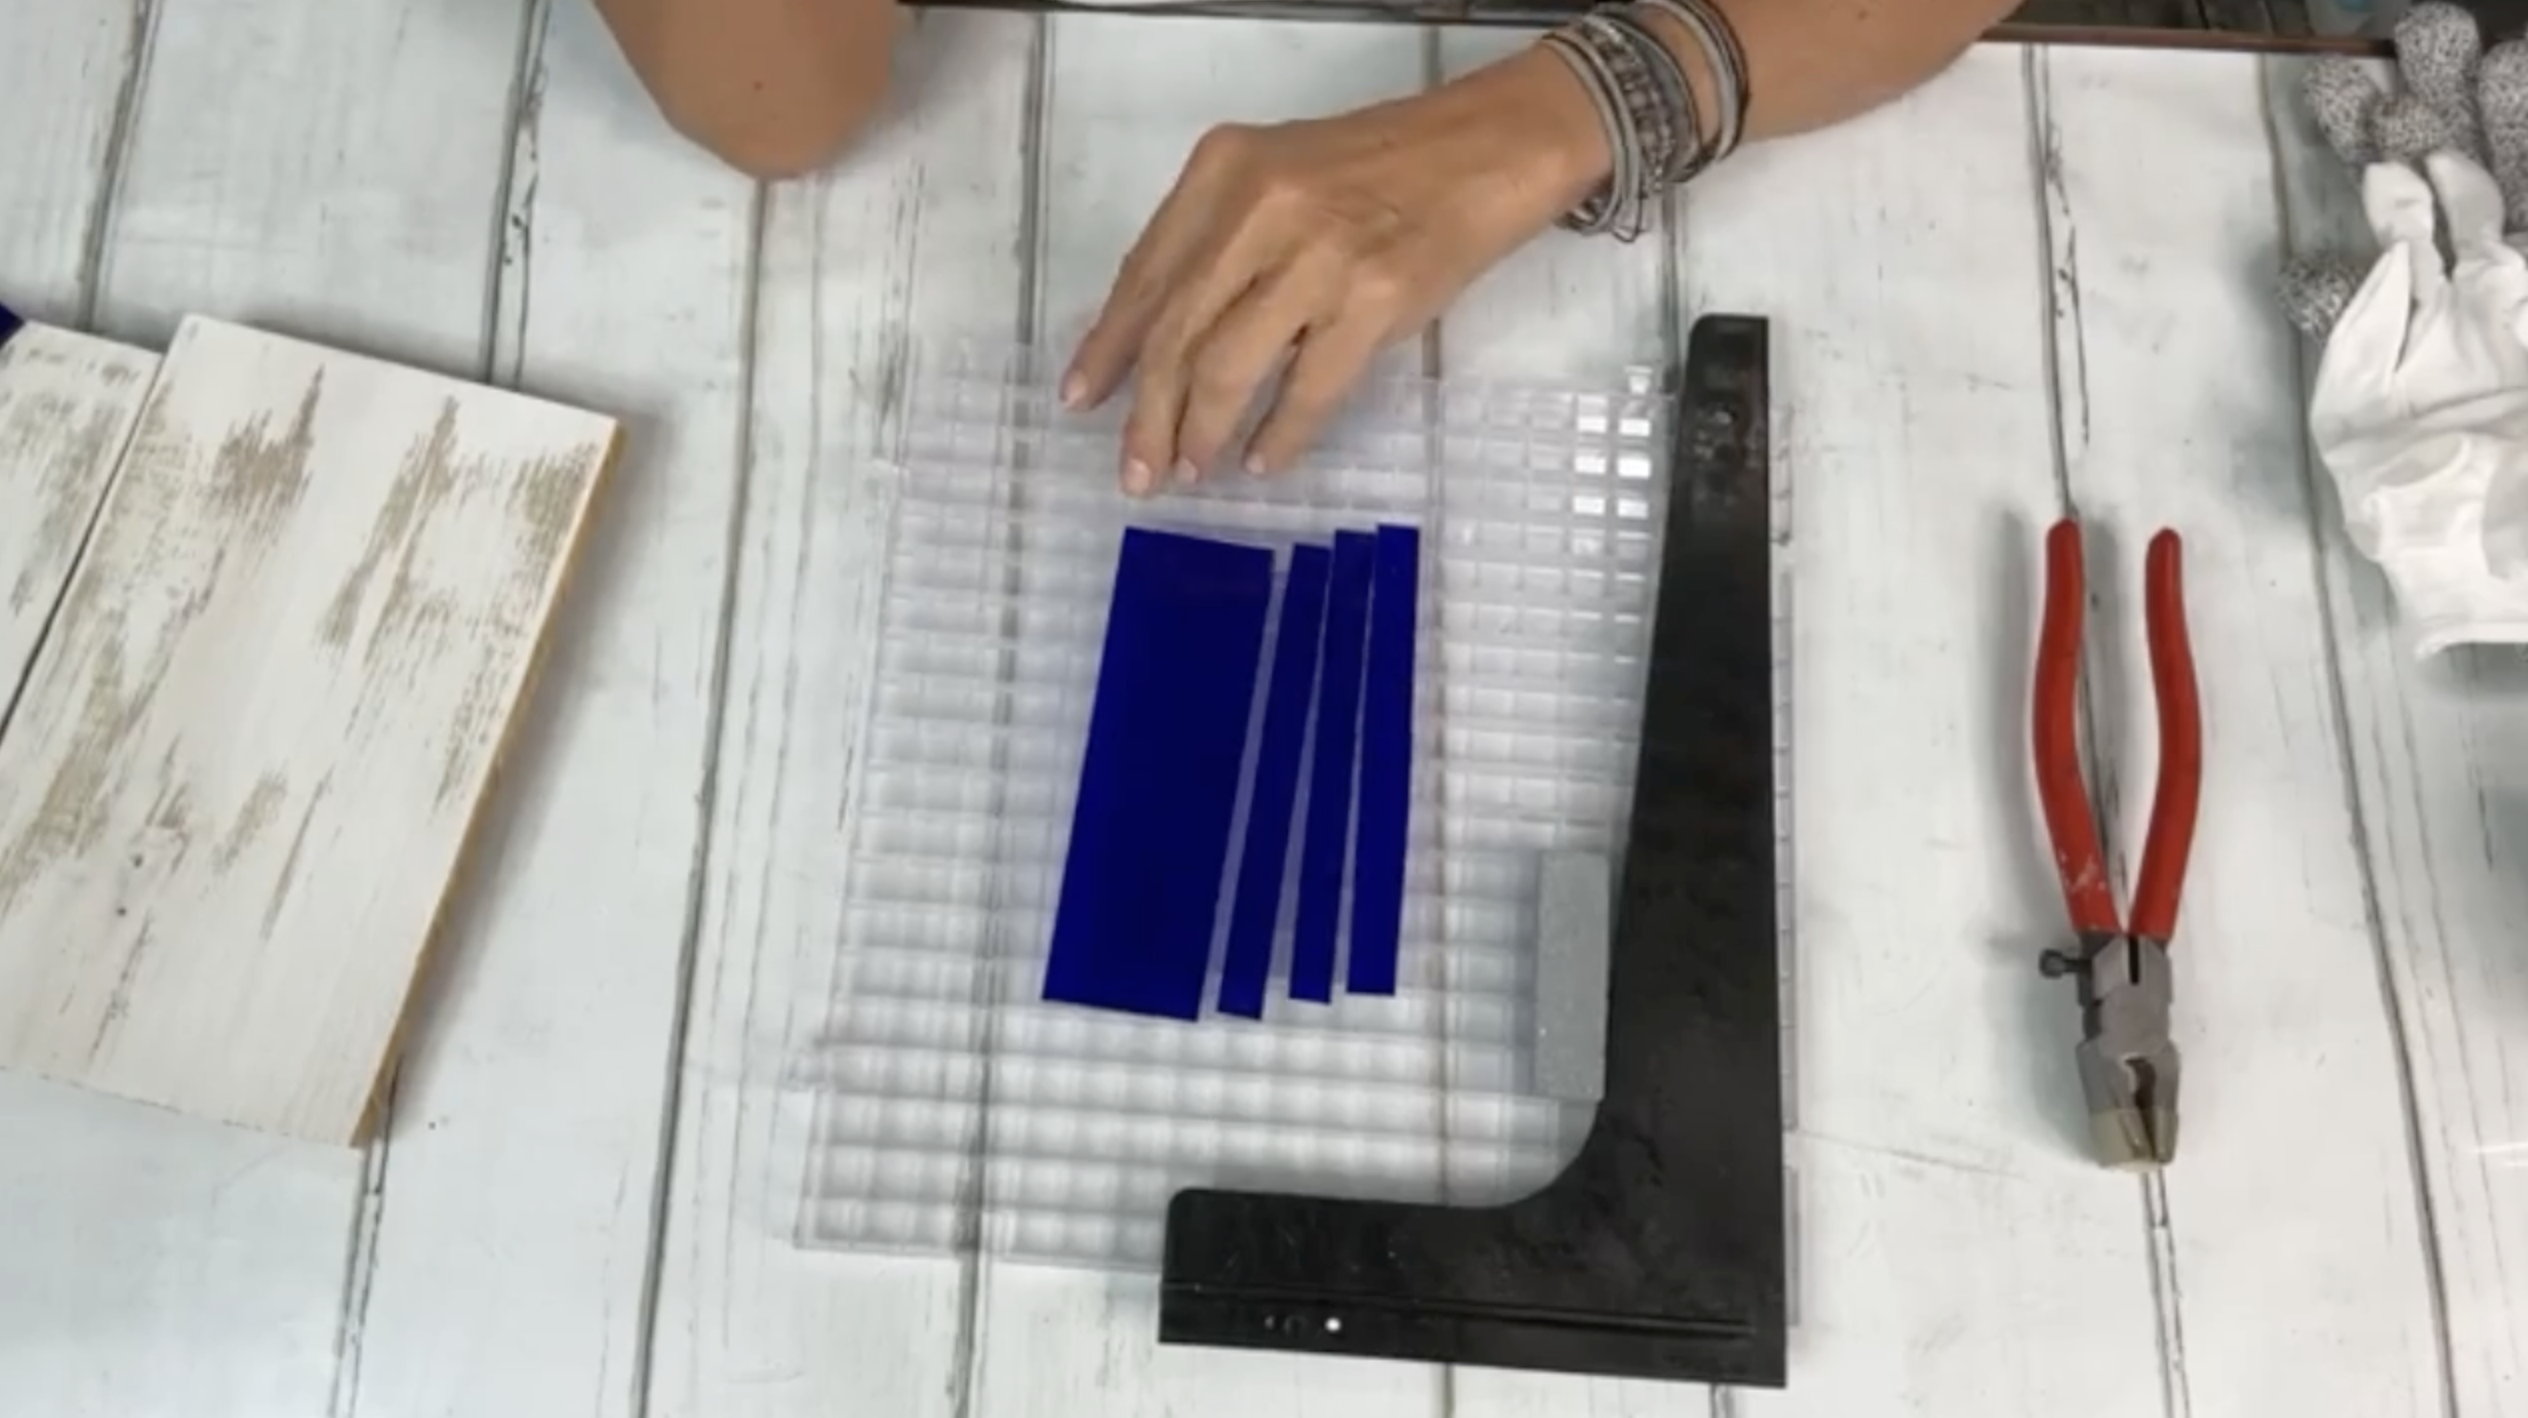
To start, you’ll need a few basic glass cutting tools: a plastic grid (used to catch glass shards and keep your surface clean), an L-square ruler to help line things up, a scoring tool (either pencil or pistol grip style), and a pair of running pliers. You’ll also need a honing stone or sanding brick to smooth sharp edges.
For your glass, I recommend pre-cut 4x6 sheets. These are widely available online in a variety of colors. I used a mixed-color pack that came with 12 sheets for about $24 and included gloves too. You can choose themed packs like all blues or purples, or go with a mixed version for variety. Just be sure to clean your glass before cutting to avoid damaging your scoring blade.
Step 2: Cutting Your Glass Strips
Begin by placing your glass on the grid with the smoother side facing up. Use your L-square to align the glass for clean, straight cuts. I like to cut strips that are about ½ inch wide, which conveniently matches the grid lines. Place firm pressure on the L-square to keep the glass in place and use your scoring tool to score in one smooth motion from top to bottom. Avoid stopping or hesitating while scoring - this can cause jagged breaks.
Once your strips are scored, use your running pliers to snap the glass cleanly along the line. I usually score all my strips at once before breaking them, which helps with consistency. If you’re not comfortable cutting your own, you can also purchase pre-cut strips from my website!
After your glass strips are cut, it’s important to dull the sharp edges to prevent injury. Take your honing stone and give each cut edge a quick swipe. Just one or two passes is usually enough. This is especially important if you're selling your pieces - you don’t want anyone getting cut. Be sure to wear gloves and hone over a trash can or tray to avoid spreading glass dust. If you're doing a lot of honing, wear a mask as well.
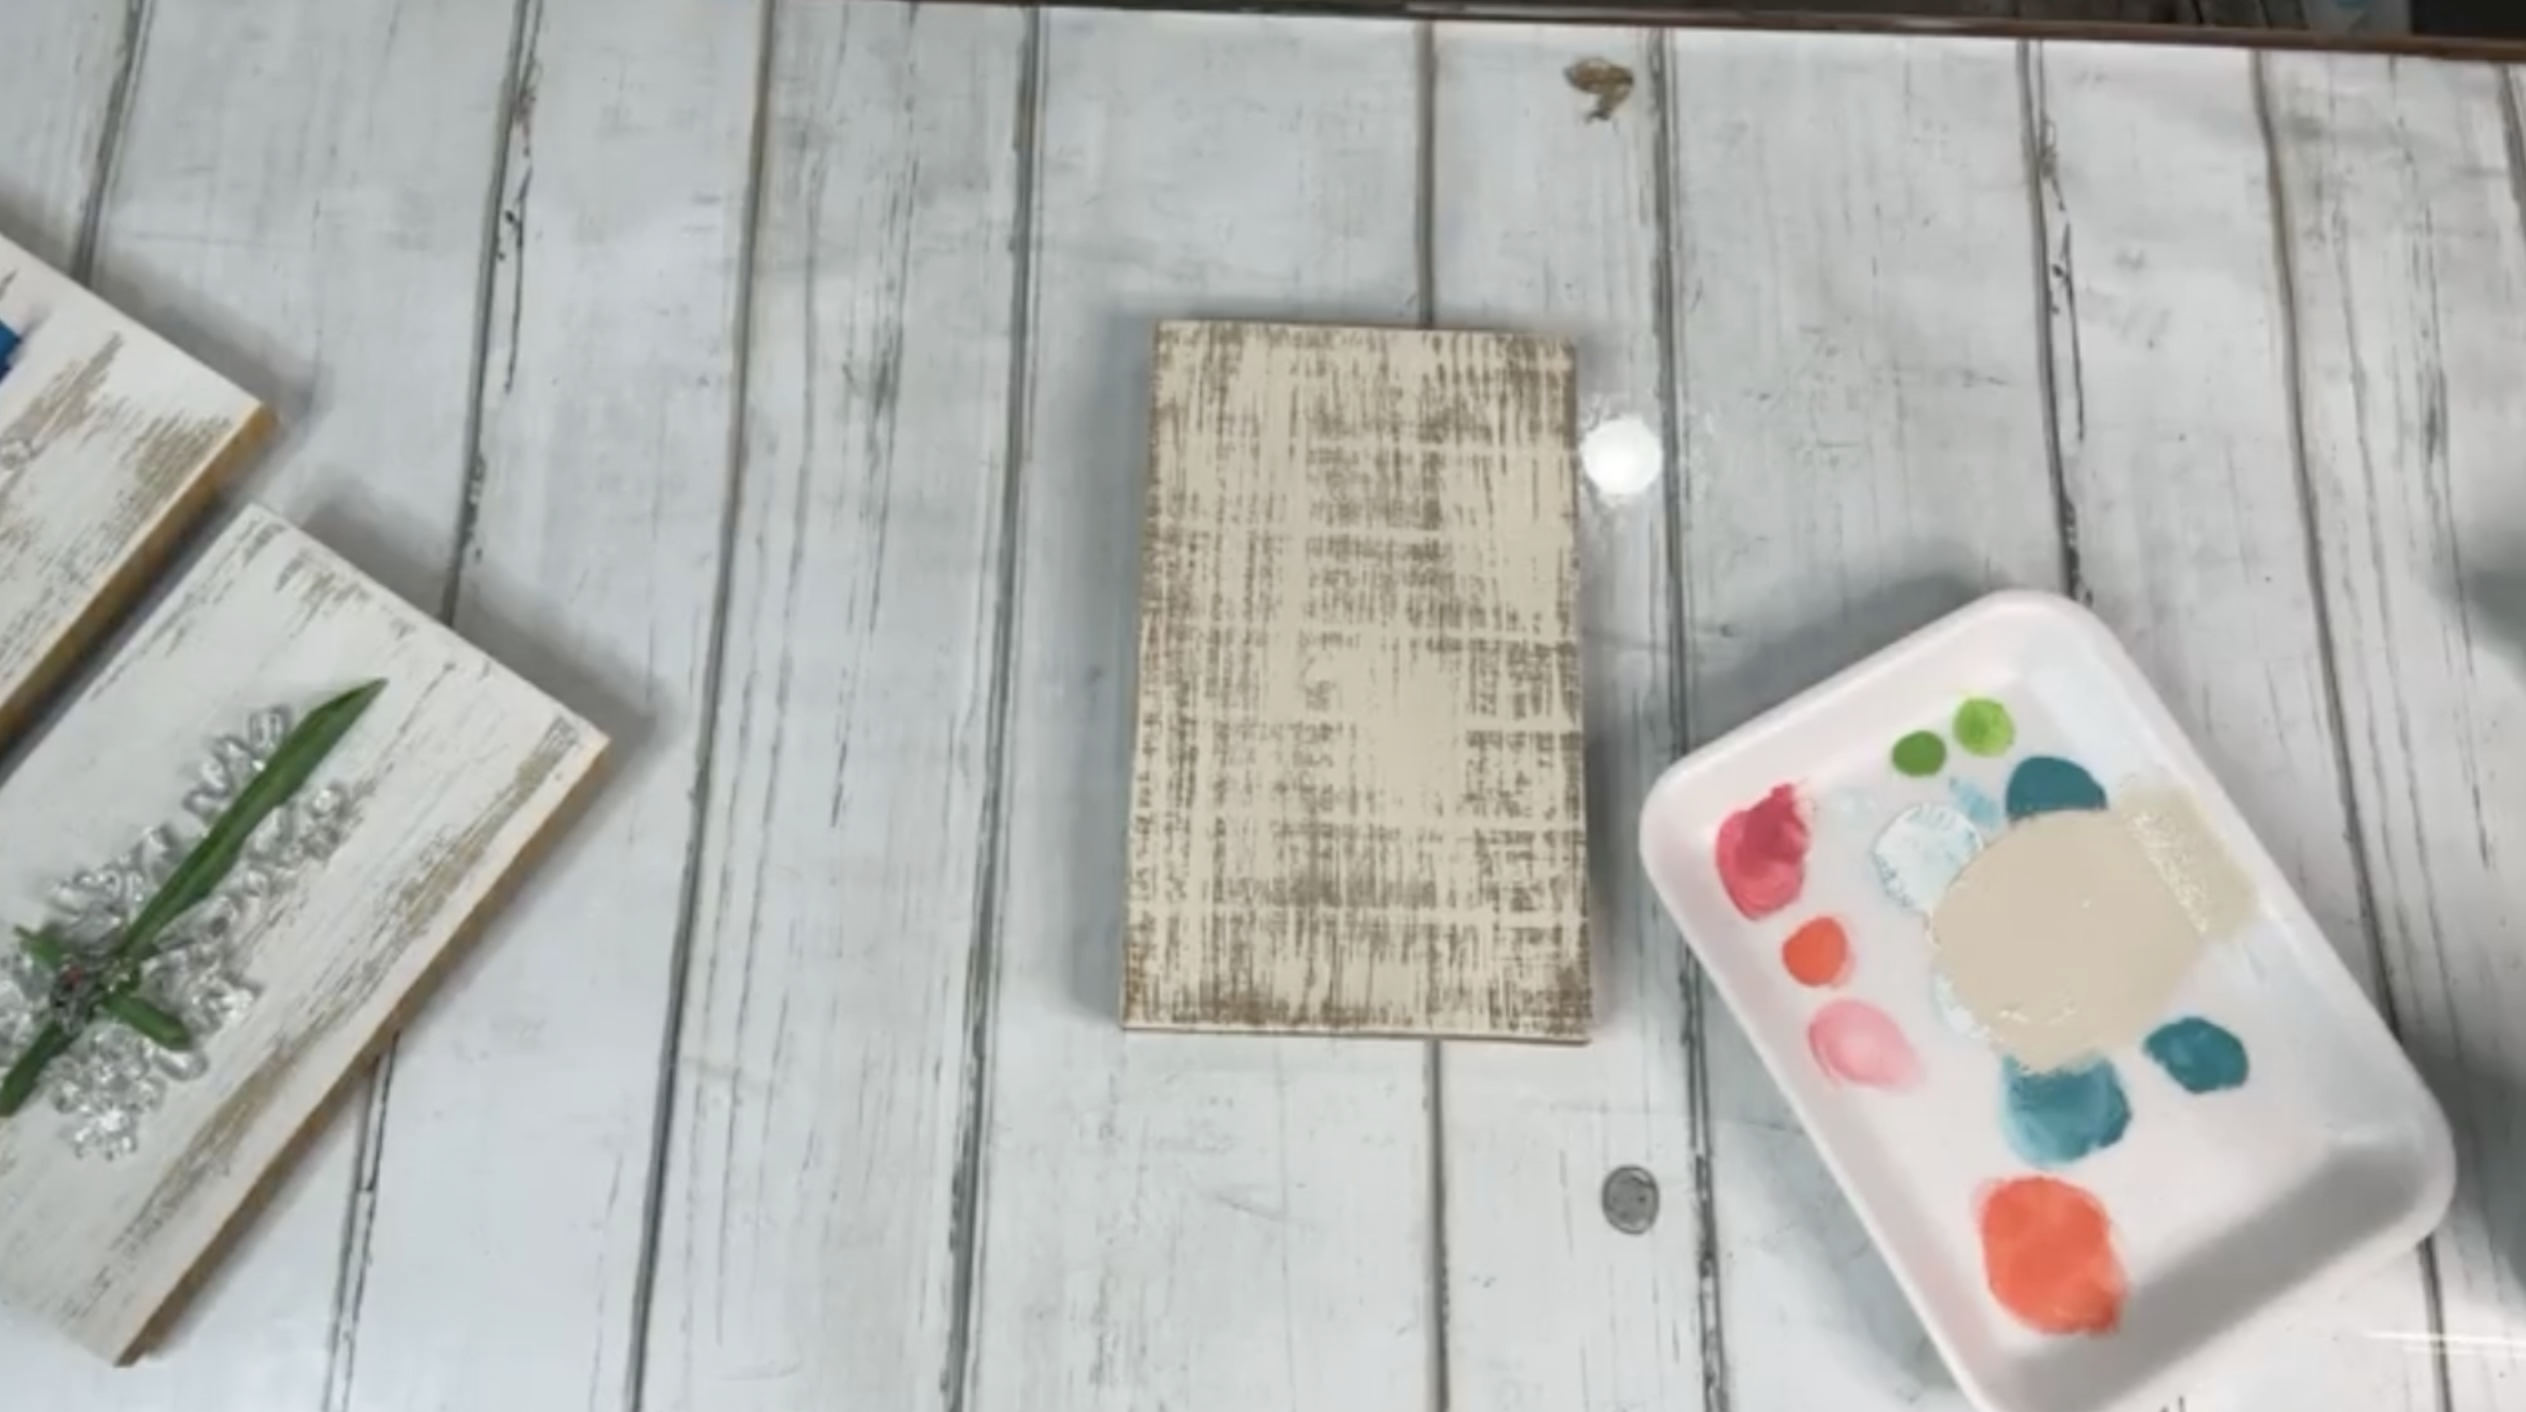
Step 3: Distressing the Wood with Dry Brushing
If you want a rustic look, dry brush the wooden background before assembling the cross. Use a dry chip brush (no water!) and a small amount of neutral paint like white or Bleached Sand. Dab off excess paint and lightly drag the brush top to bottom across the board. You can layer more paint until you get the look you like. Just remember to seal the paint with a clear spray like Krylon before adding resin.
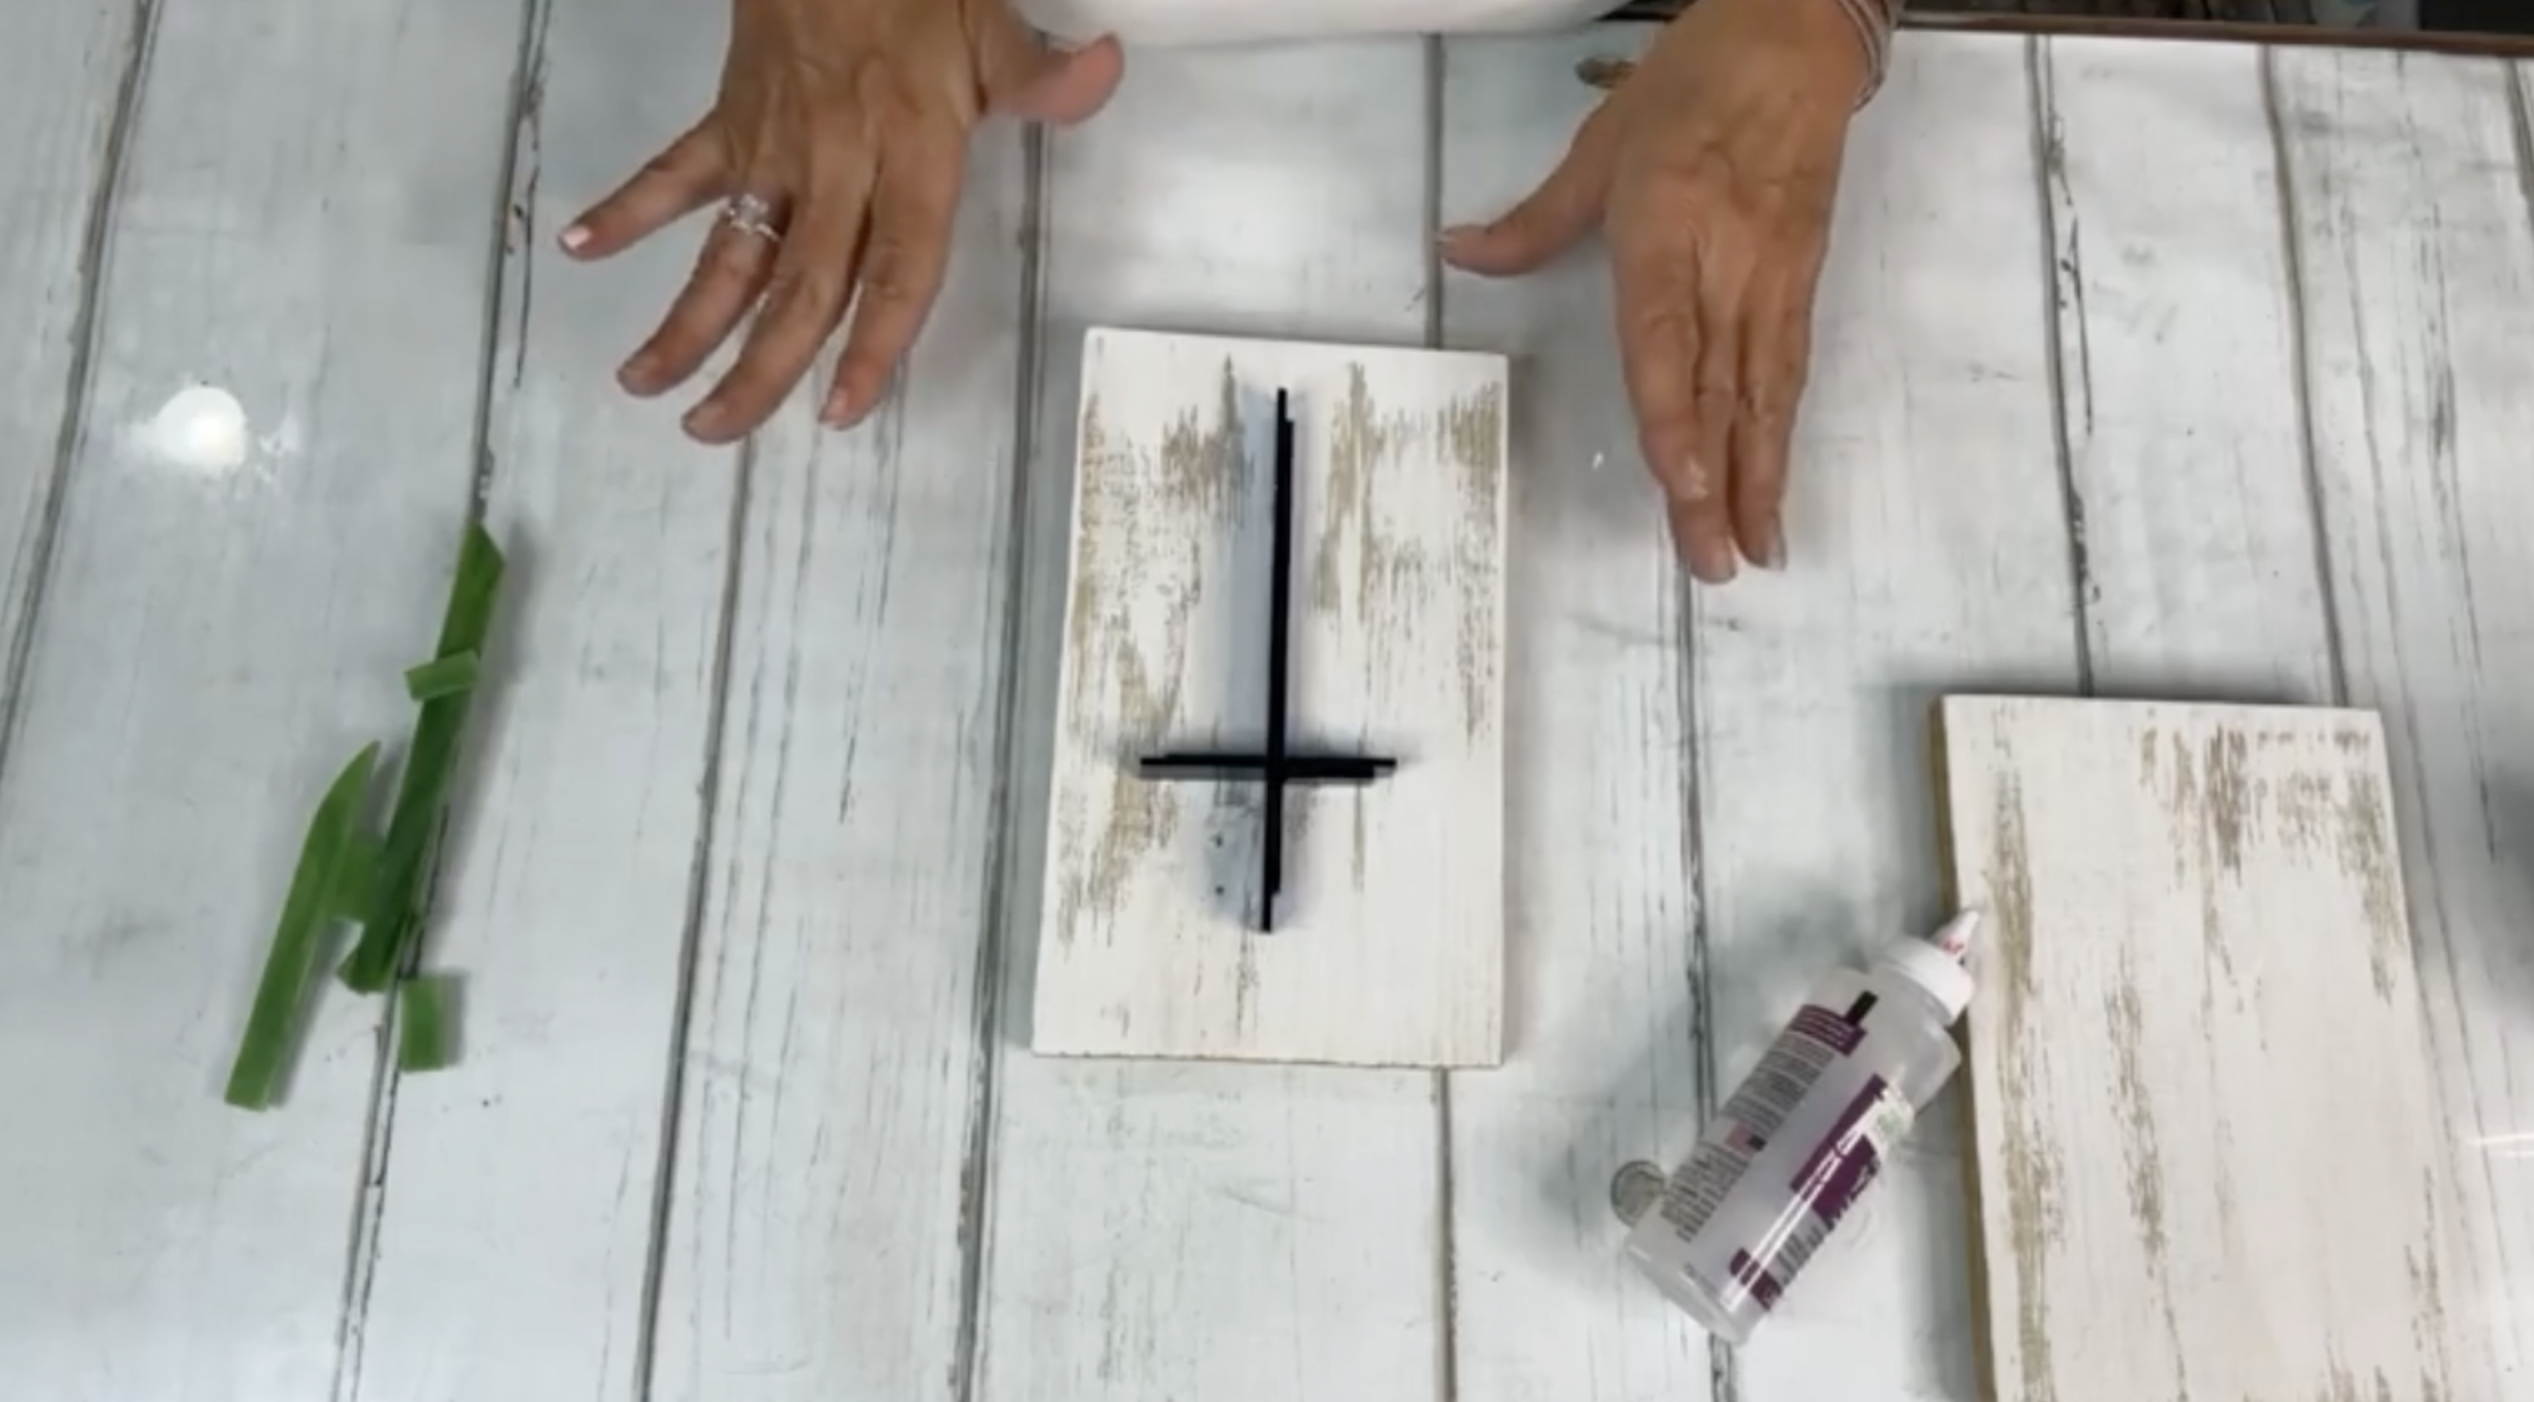
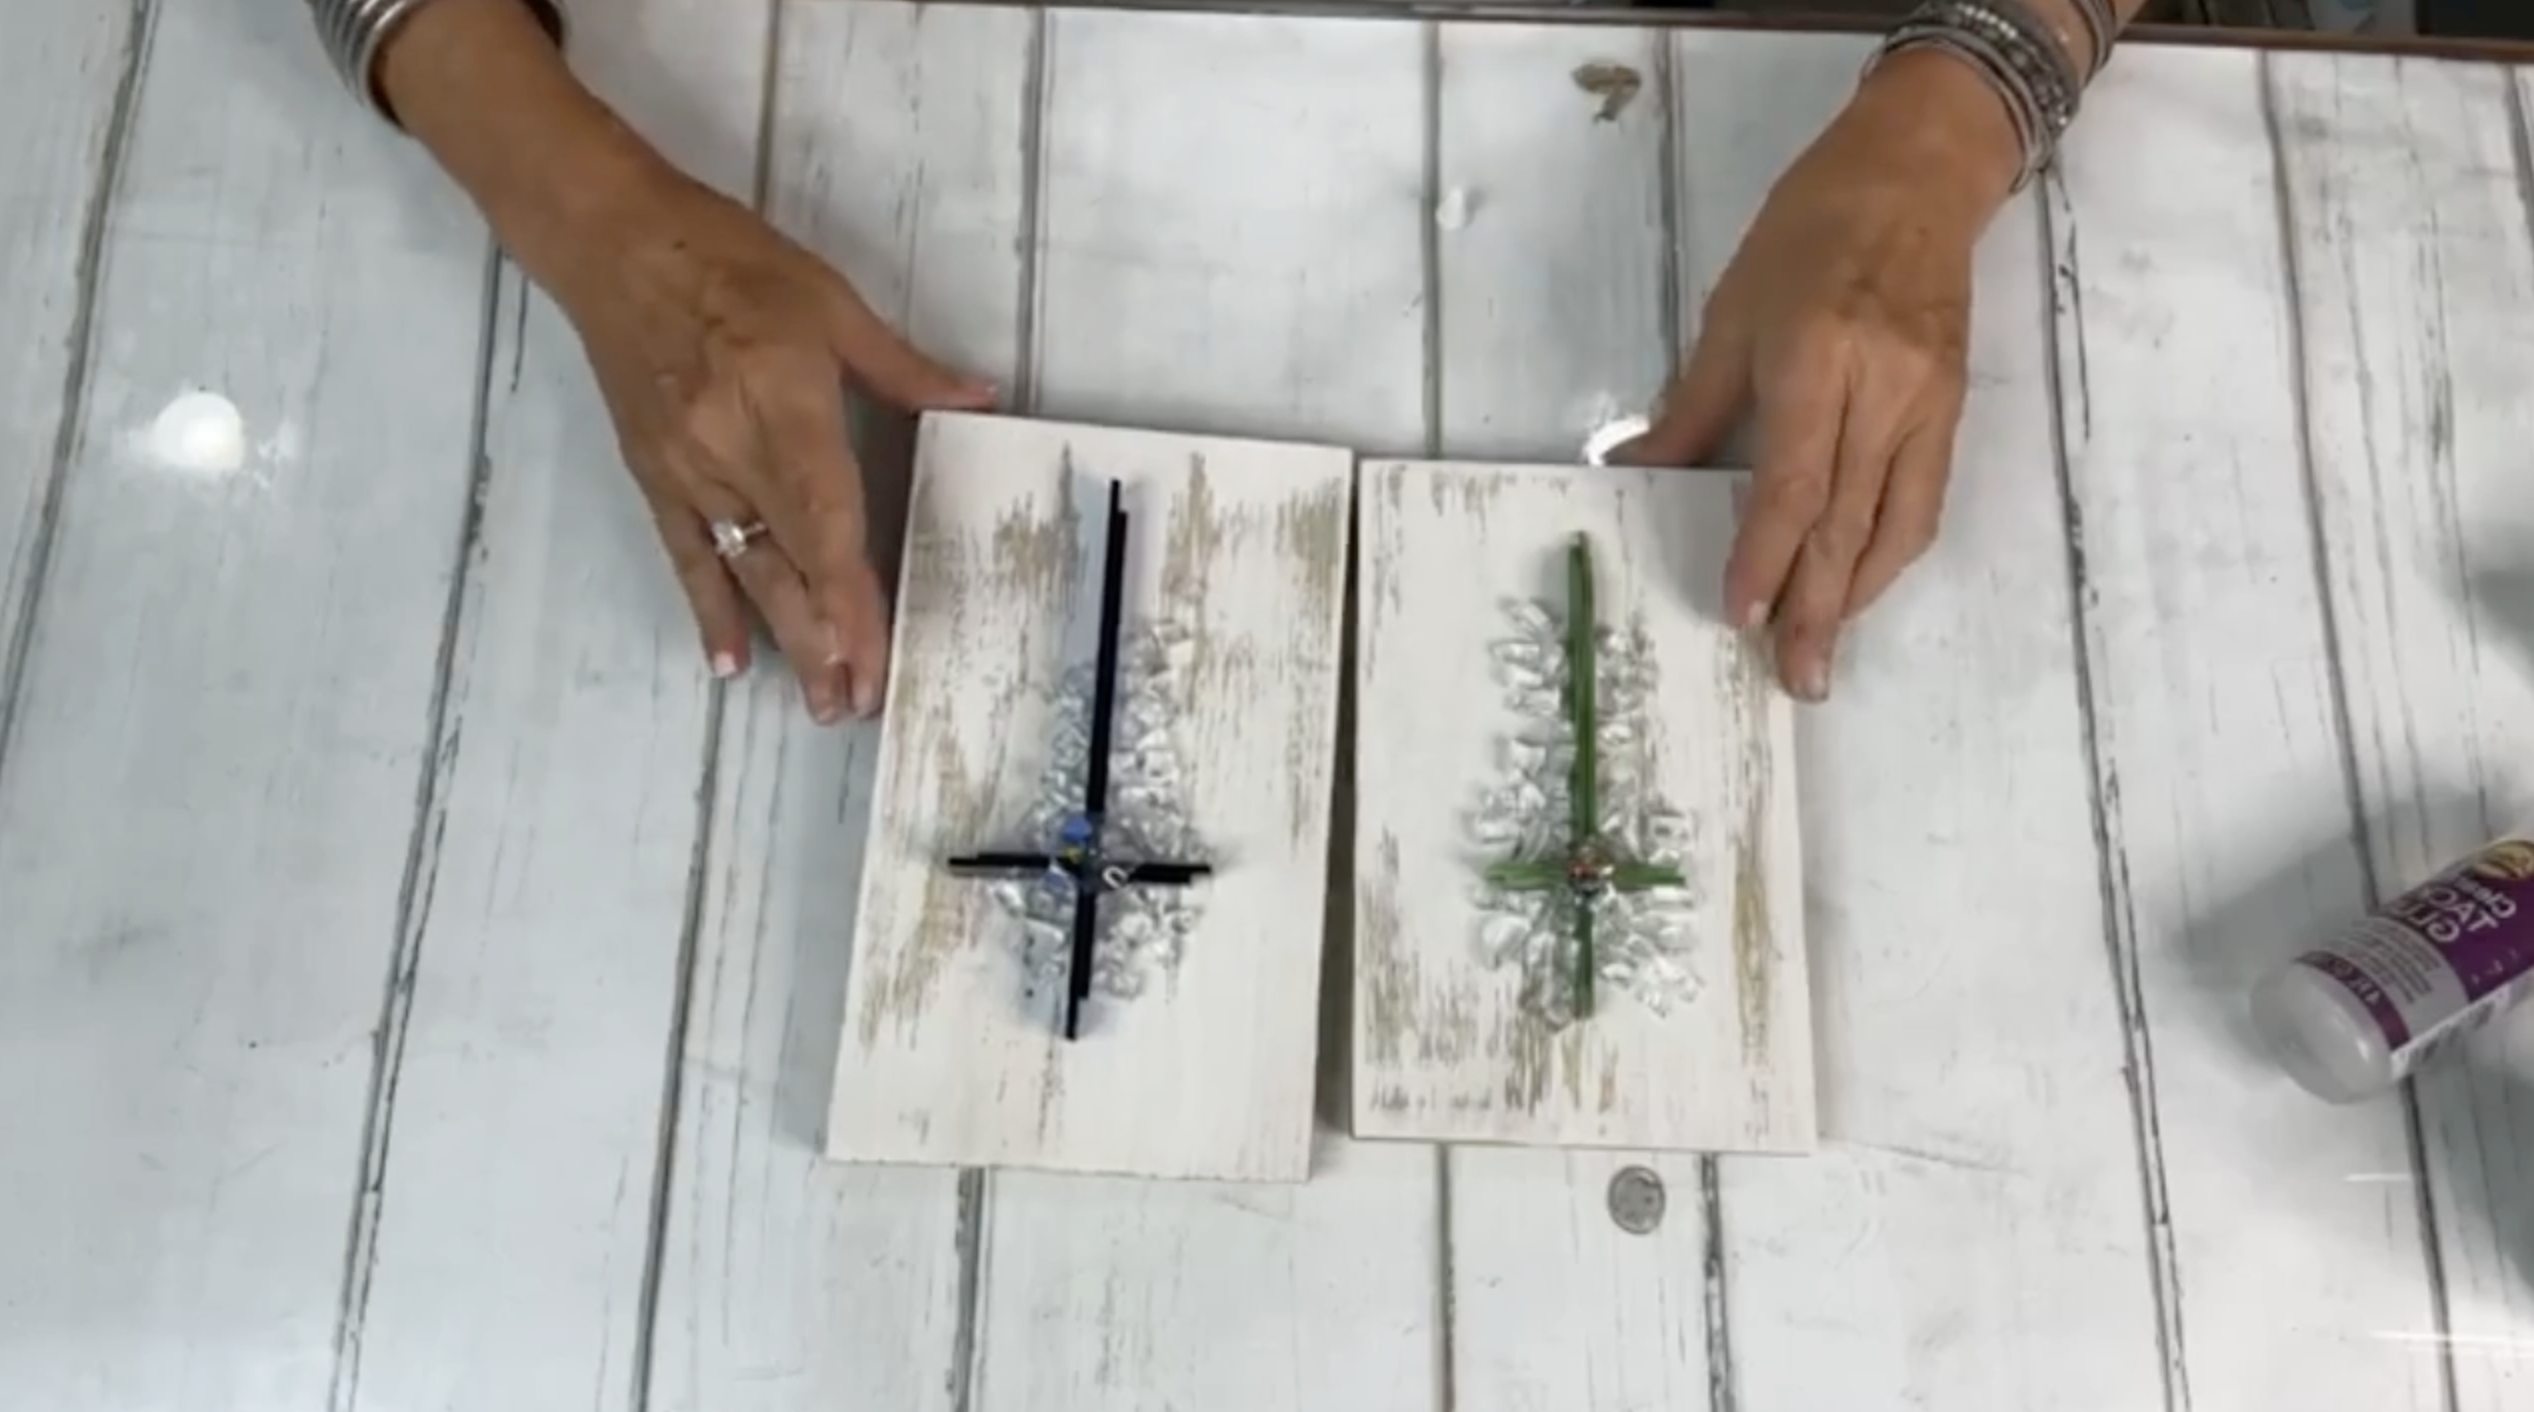
Step 4: Assembling the Crosses
Each cross consists of two vertical strips and four smaller horizontal pieces. Start by gluing the vertical pieces together using Aleene’s Clear Tacky Glue or any fast-drying clear glue. Press them together and let dry for a moment before gluing them onto your wooden background. I like to space mine so there’s about an inch above and below the cross on the board.
Next, glue together your horizontal pieces, making sure the bottom edge aligns evenly, since that’s the part that will sit flush against the background. Once dry, glue them horizontally across the vertical strip to form your cross shape. You can mix thicker and thinner strips for contrast or keep them uniform - it’s totally up to your style!
Step 5: Adding Sparkle with Starfire Glass and Chips
Now comes the fun part - embellishments! For extra sparkle, I sprinkle Starfire glass over the center intersection of the cross. I like to pour a small handful into my palm and let it drop naturally over the center for an organic, sparkly look. You can use colored glass to match the cross, but for this project I stuck with clear Starfire.
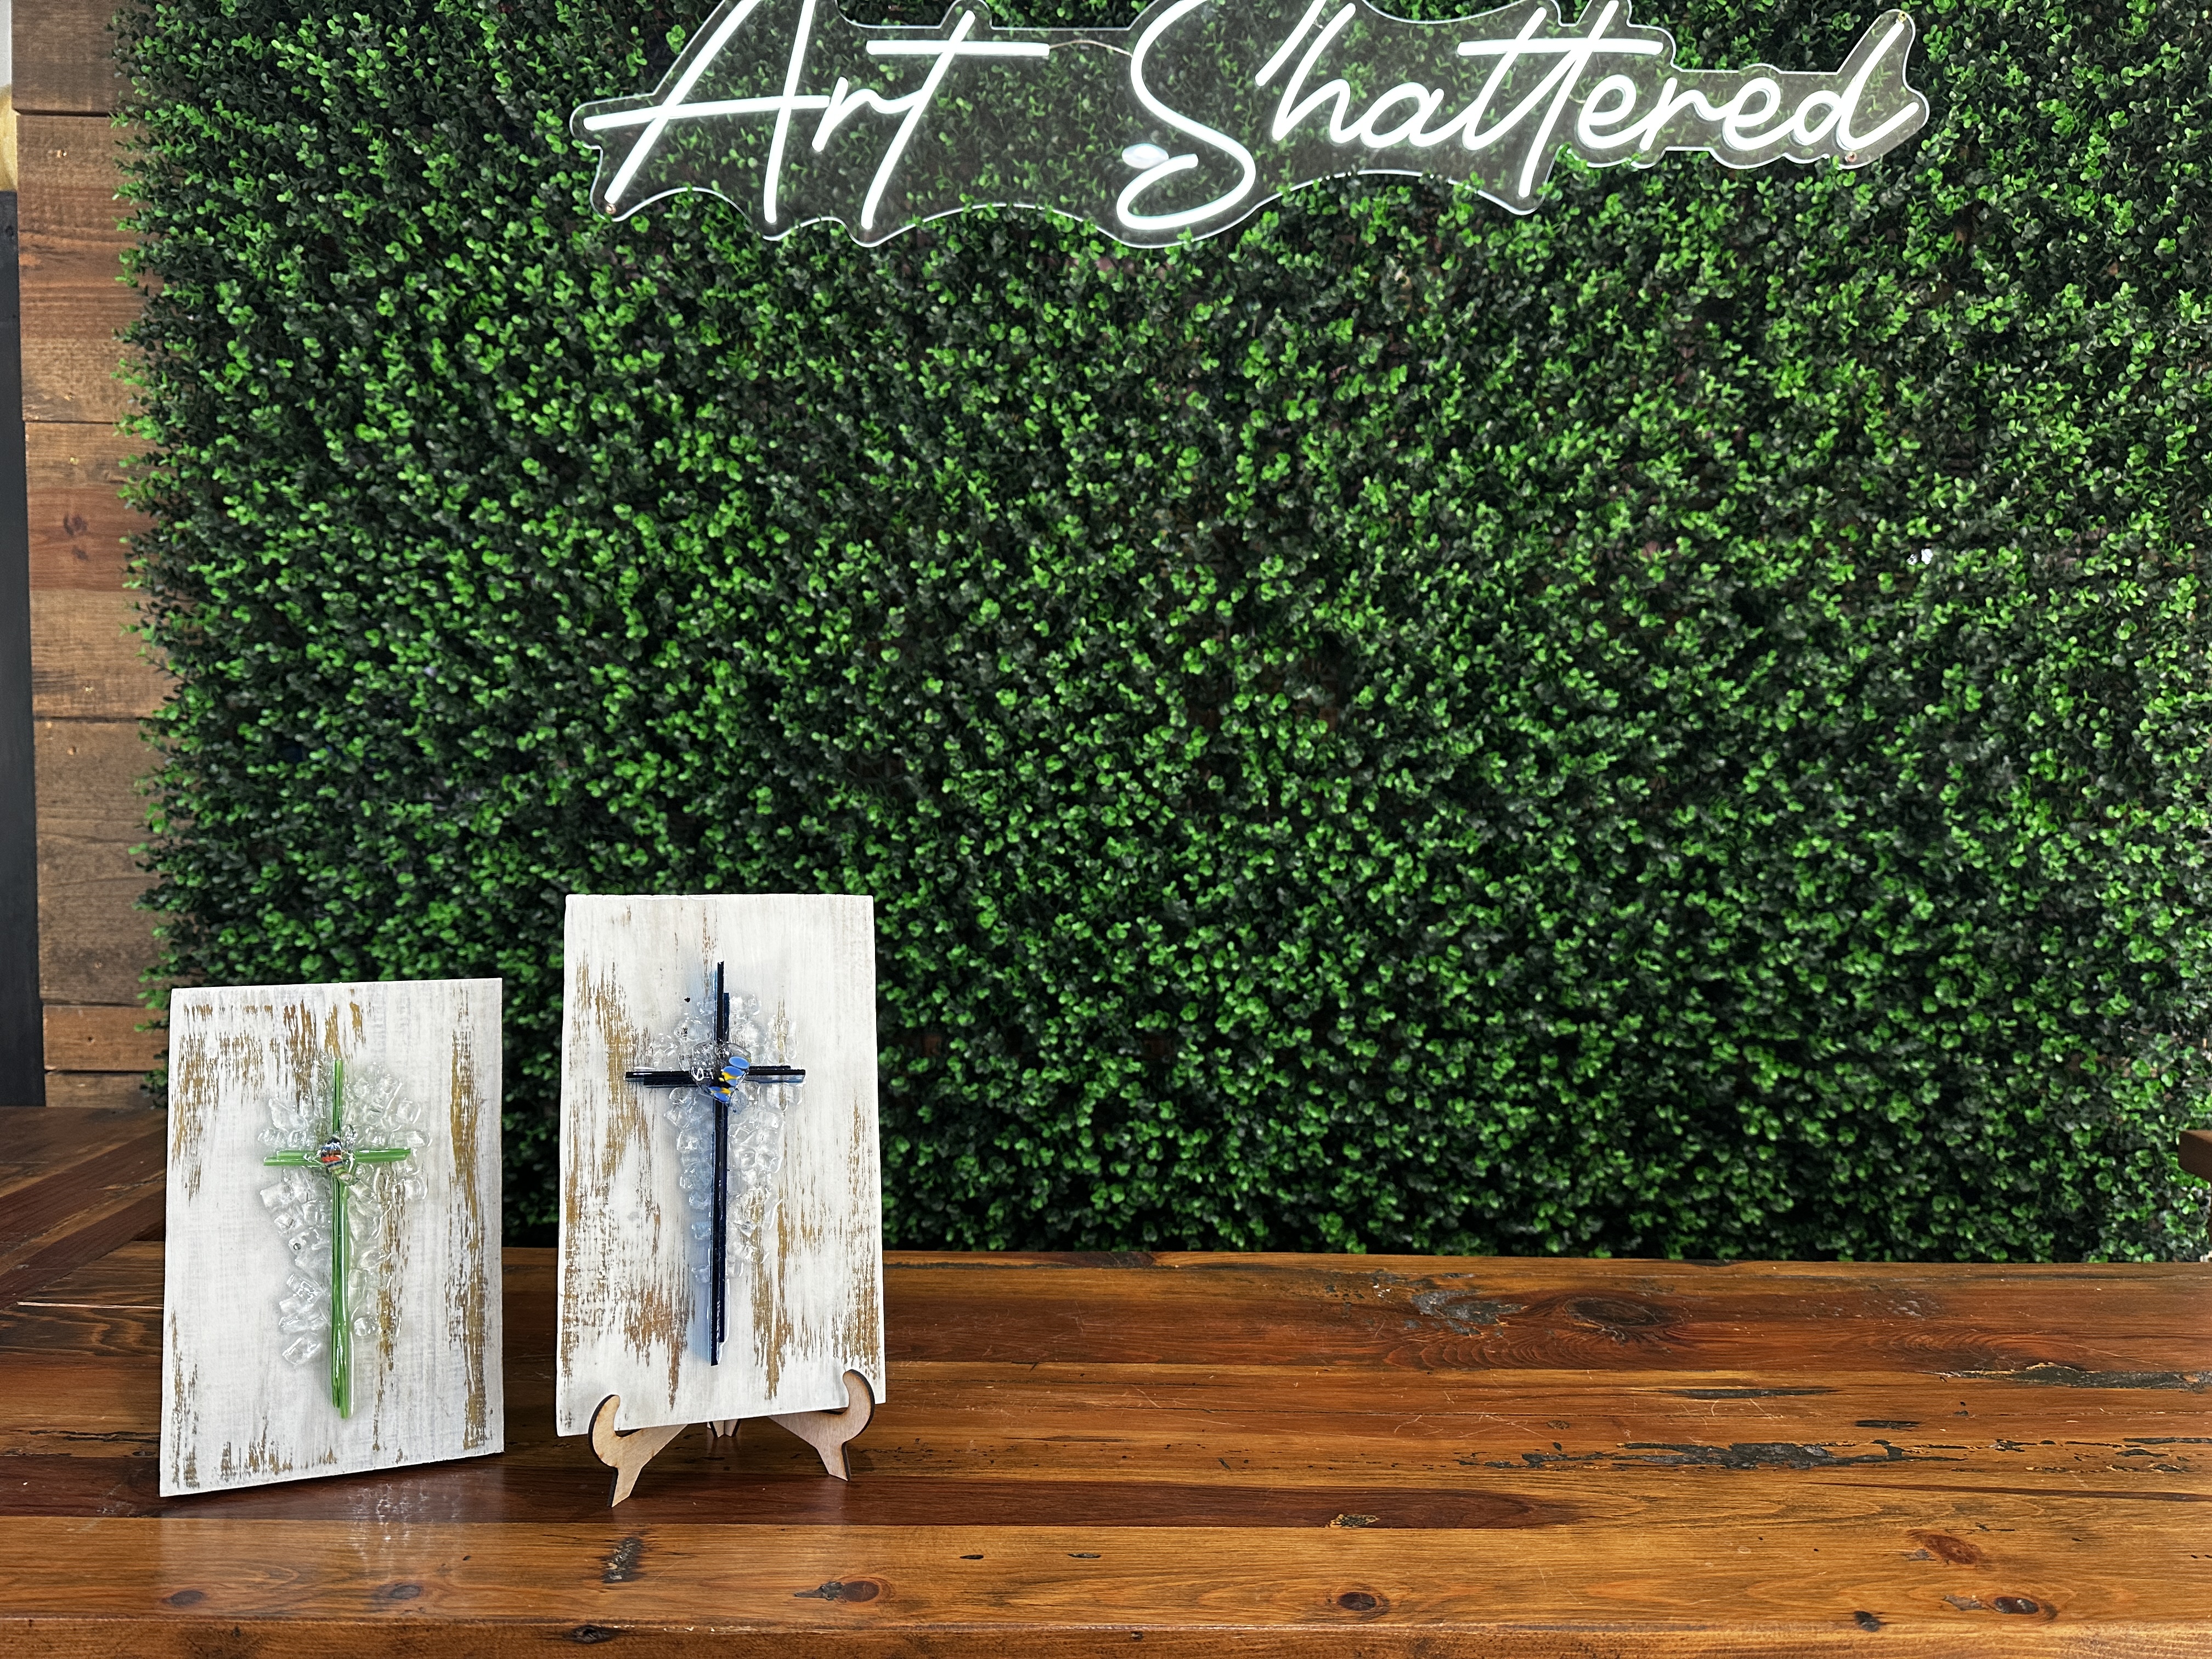
To finish the cross, glue a decorative glass chip right in the center. These come in lots of colors and designs and add a beautiful focal point to your piece. You can find them in the Art Shattered shop in small or large bags.
Step 6: Sealing It All with Resin
Now it’s time to seal everything with resin. I used Art Resin because it’s made specifically for artwork and doesn’t yellow over time. Mix equal parts resin and hardener (about ¼ oz per cross), stir for 3 minutes, and pour directly over your piece. Use a stir stick to guide the resin around and a heat gun to pop bubbles.
Keep in mind that wood is porous and may soak in some resin, so the finish might not be glass-smooth, but that’s totally normal for this kind of project. Let your piece cure on a level surface overnight.
Final Touches and Tips
Once cured, add a sawtooth hanger to the back for easy hanging. I like to wait until after the resin is fully set before attaching anything, so I don’t risk shifting the piece. These glass strip crosses make great gifts, are easy to customize, and sell beautifully at markets and art shows.
If you don’t want to miss my Facebook LIVE art instruction, make sure you are on my texting list. I always text 10 minutes before I’m going to go LIVE, so you won’t ever miss it. You can text “Hey Cindy” to 901-519-2923.
Want more inspiration and artwork?
- My website artshattered.com with resources, shop, and more!
- My creative membership The Shattered Circle, where you can explore the world of glass art with online workshops, a supportive community, and more!
- My mini creative membership Just A ‘Lil Bit Monthly Glass Art Club, where you’ll get a new quick and easy online tutorial for just a lil' bit of sparkle in your life!
- My Facebook page where I go LIVE every Wednesday night at 6:00 PM CST.
- My YouTube channel which has tons of free art lessons right at your fingertips.
