
Summer Strawberry 🍓
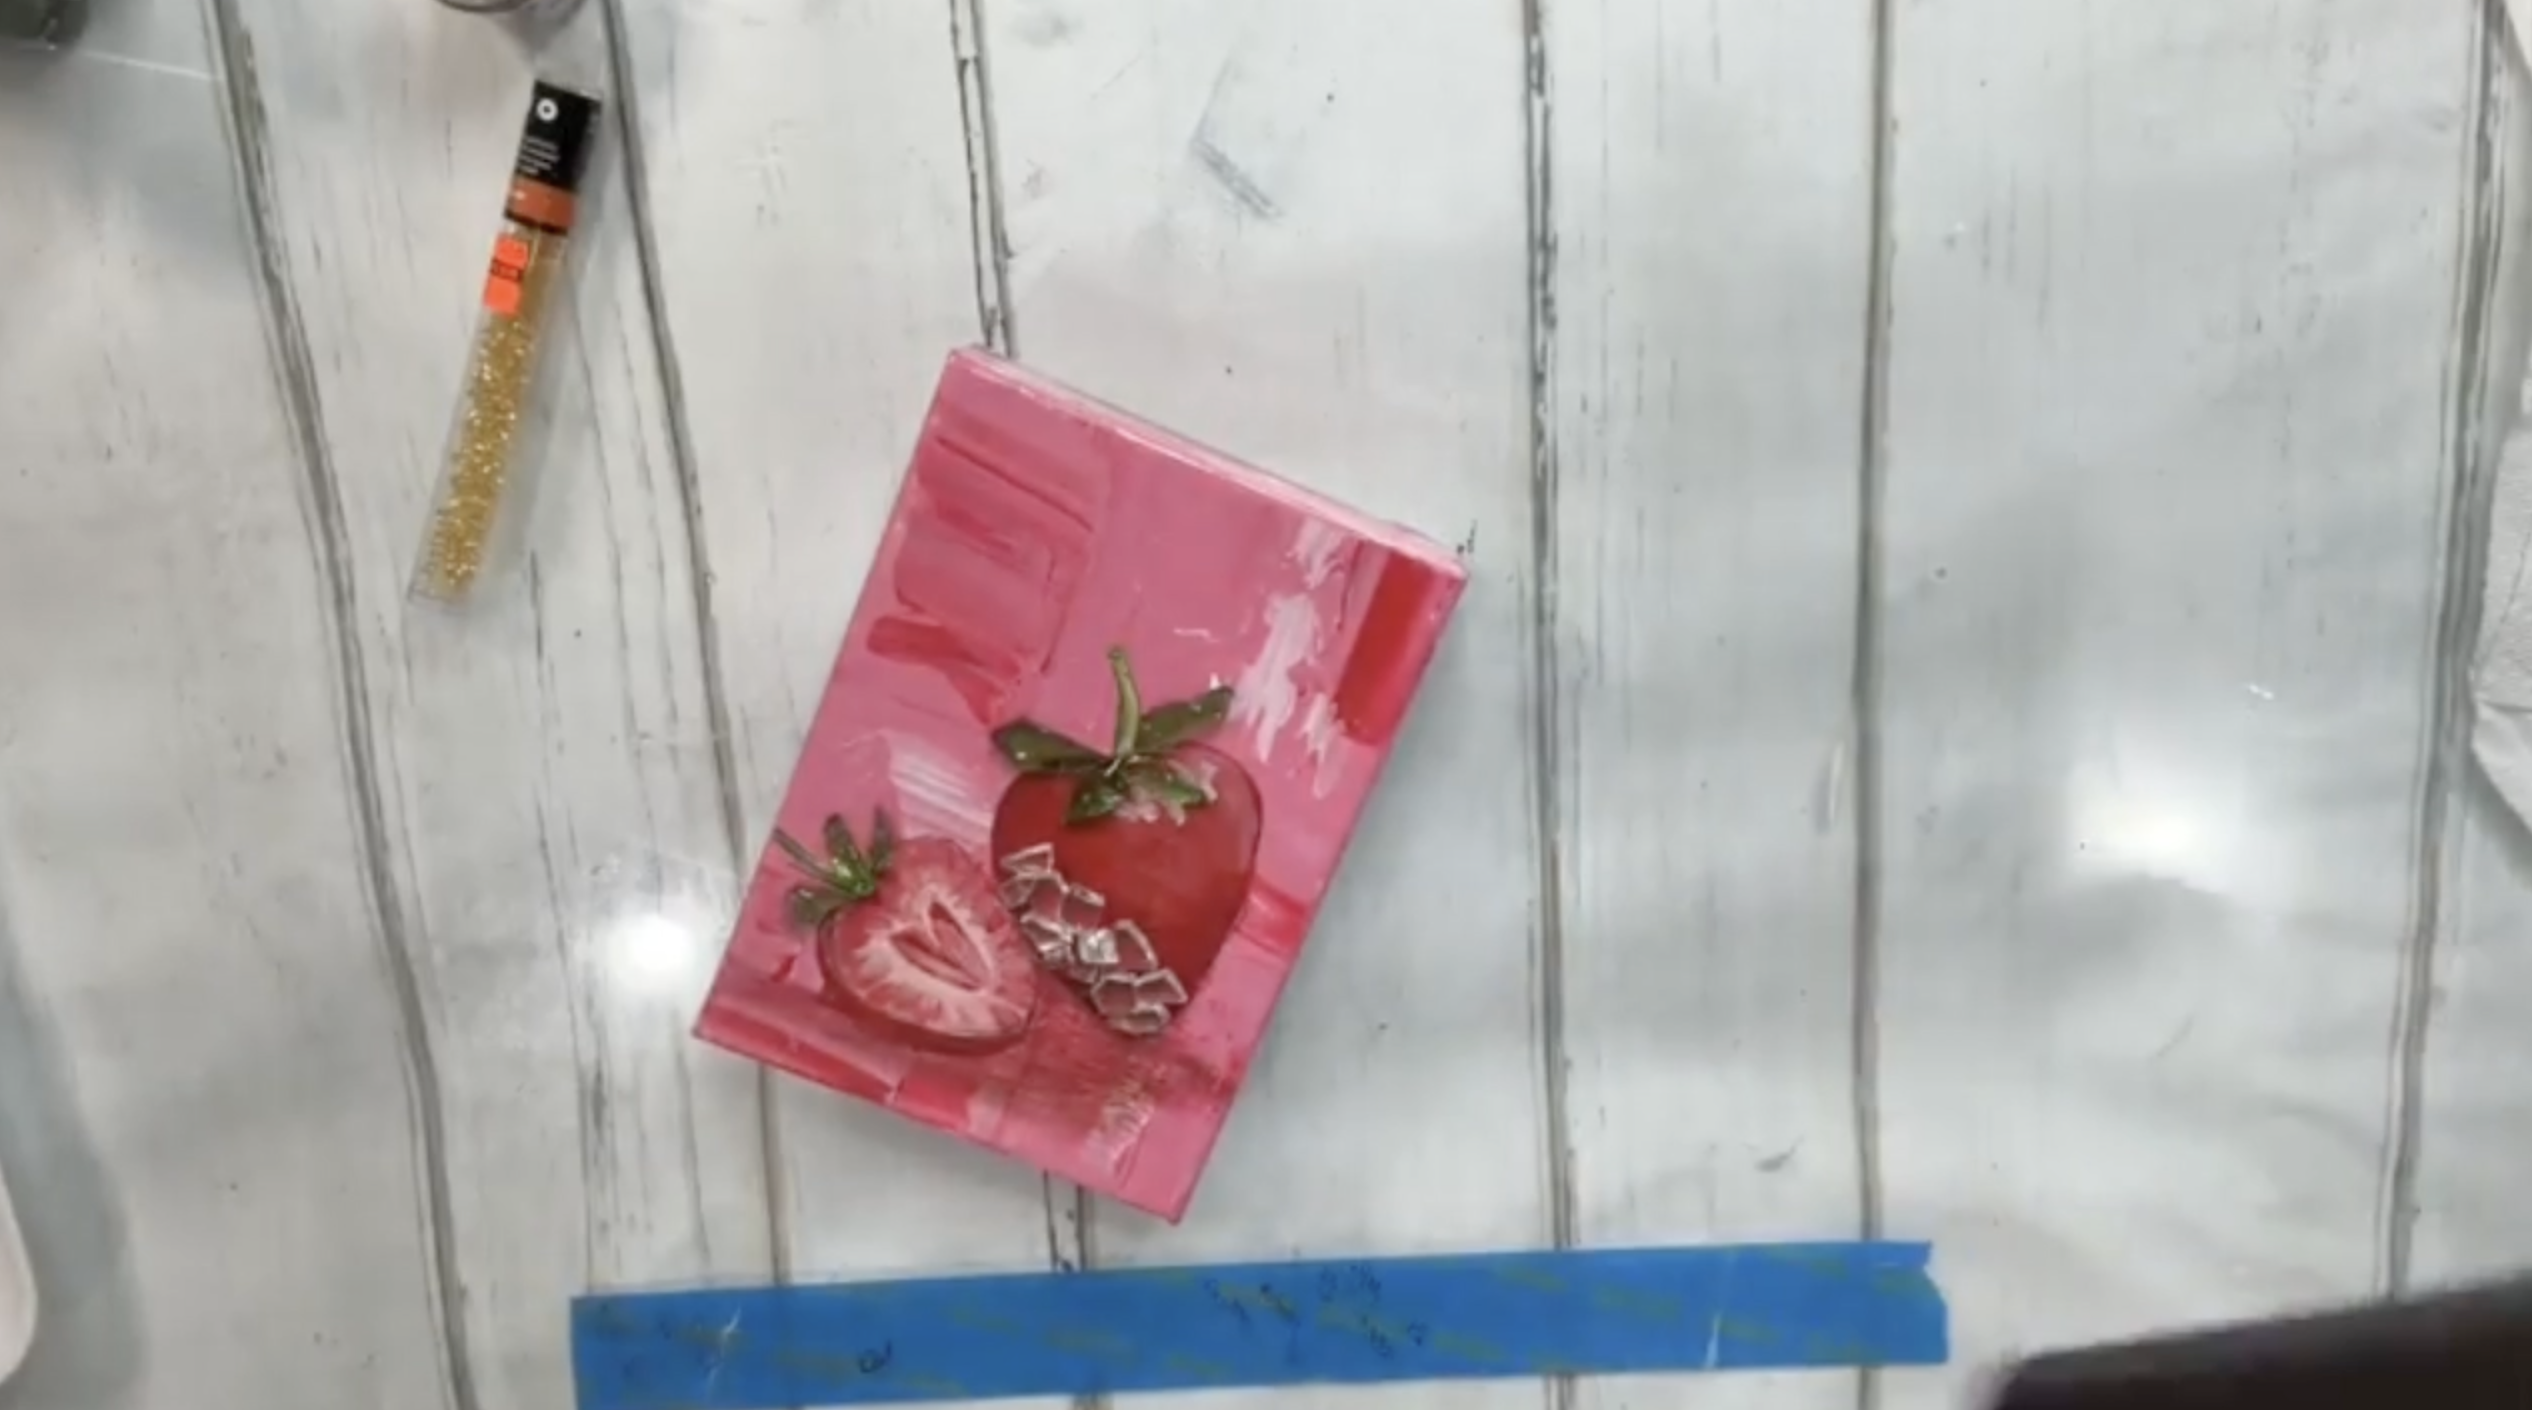
This strawberry glass and resin project is bright, playful, and full of juicy summer color. With a bold textured pink background, painted strawberries, glass leaves, crushed glass accents, dimensional seed details, and a glossy resin finish, this piece has a whimsical style that feels perfect for kitchens, summer decor, and fruit-themed art displays!
For this piece, I already had a pink, red, and white canvas ready to go that I had previously painted with a palette knife.
Step 1: Trace the Strawberries
Place the strawberry tracer on the canvas and secure it with a small piece of tape. Slide graphite paper underneath and trace the outside shape of the whole strawberry, the sliced strawberry, the rim of the slice, and the stems.
Do not trace the leafy tops if you plan to use glass pieces for those areas. Leaving them off prevents the painted shapes from competing with the dimensional glass leaves later.
Step 2: Paint the Ground Coats
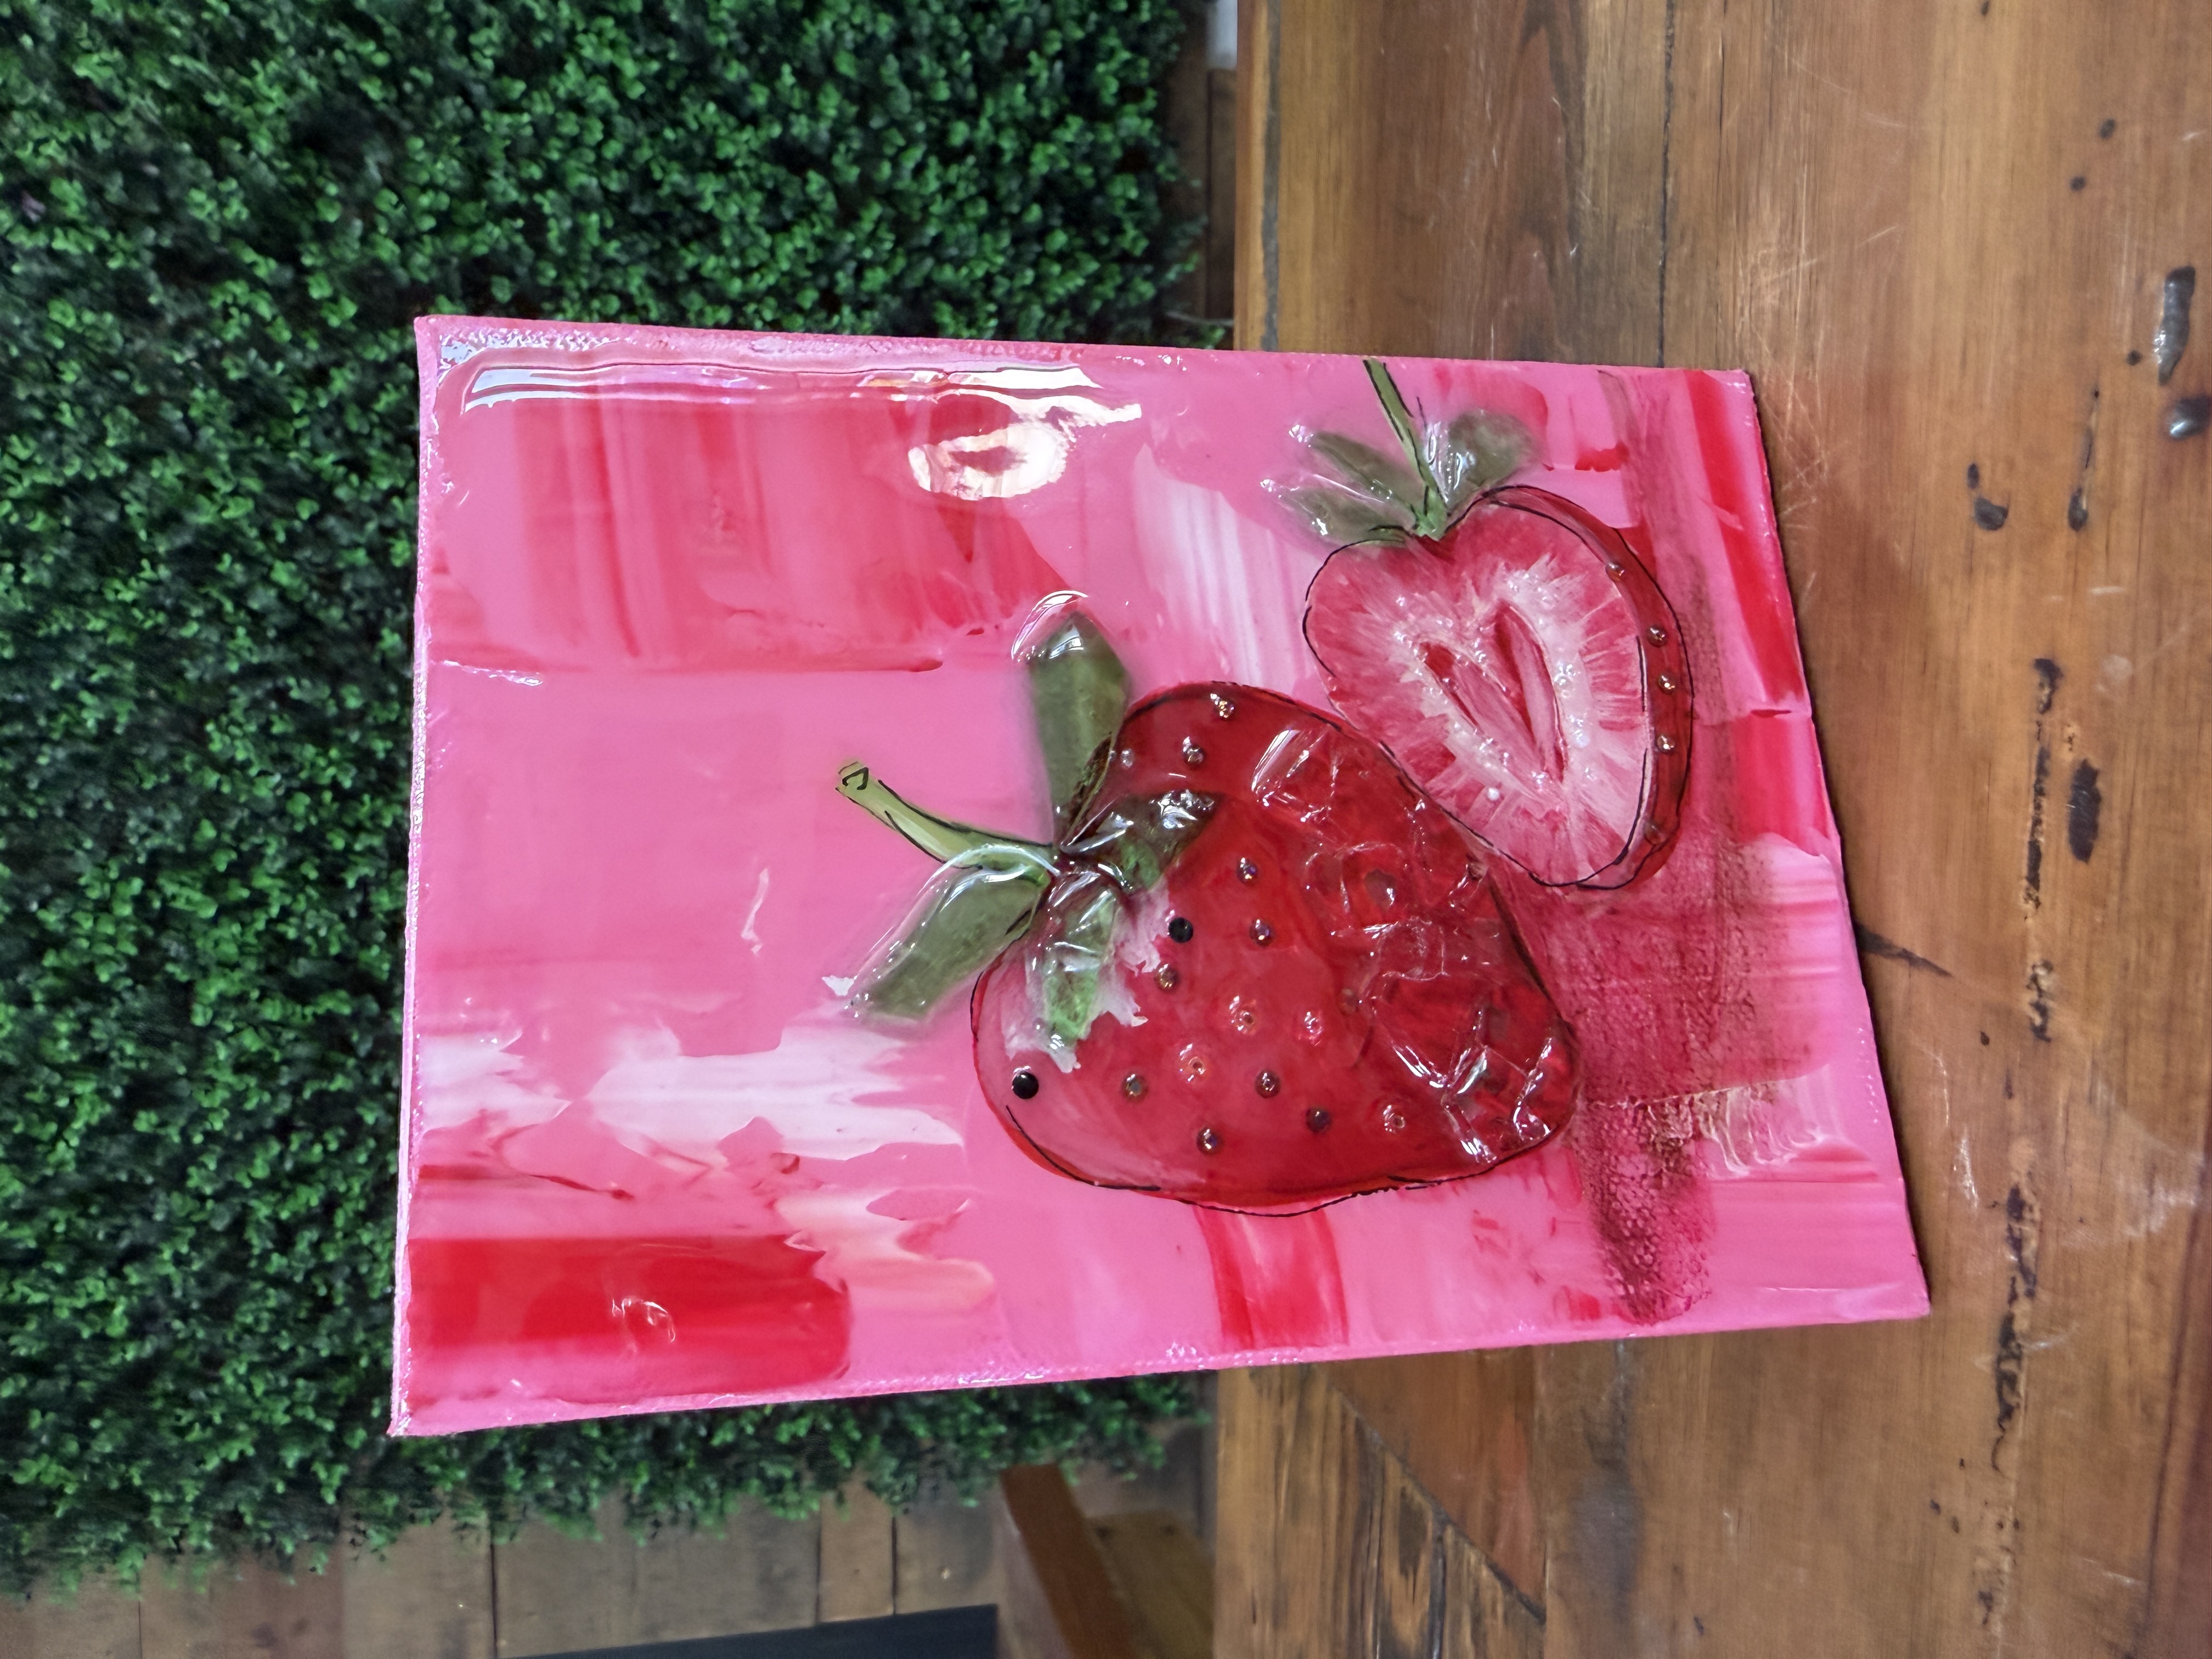
Begin by painting the large strawberry with Cherry Red. Since the textured pink background may show through, expect to apply two or three coats for full coverage.
Paint the thin outside edge of the sliced strawberry with Cherry Red.
For the inside of the slice, begin with Buttermilk. This gives the strawberry flesh a creamy base that is easier to build on than plain white.
Apply a second coat if needed so the pink background does not show through too strongly.
Step 3: Paint the Details of the Strawberry
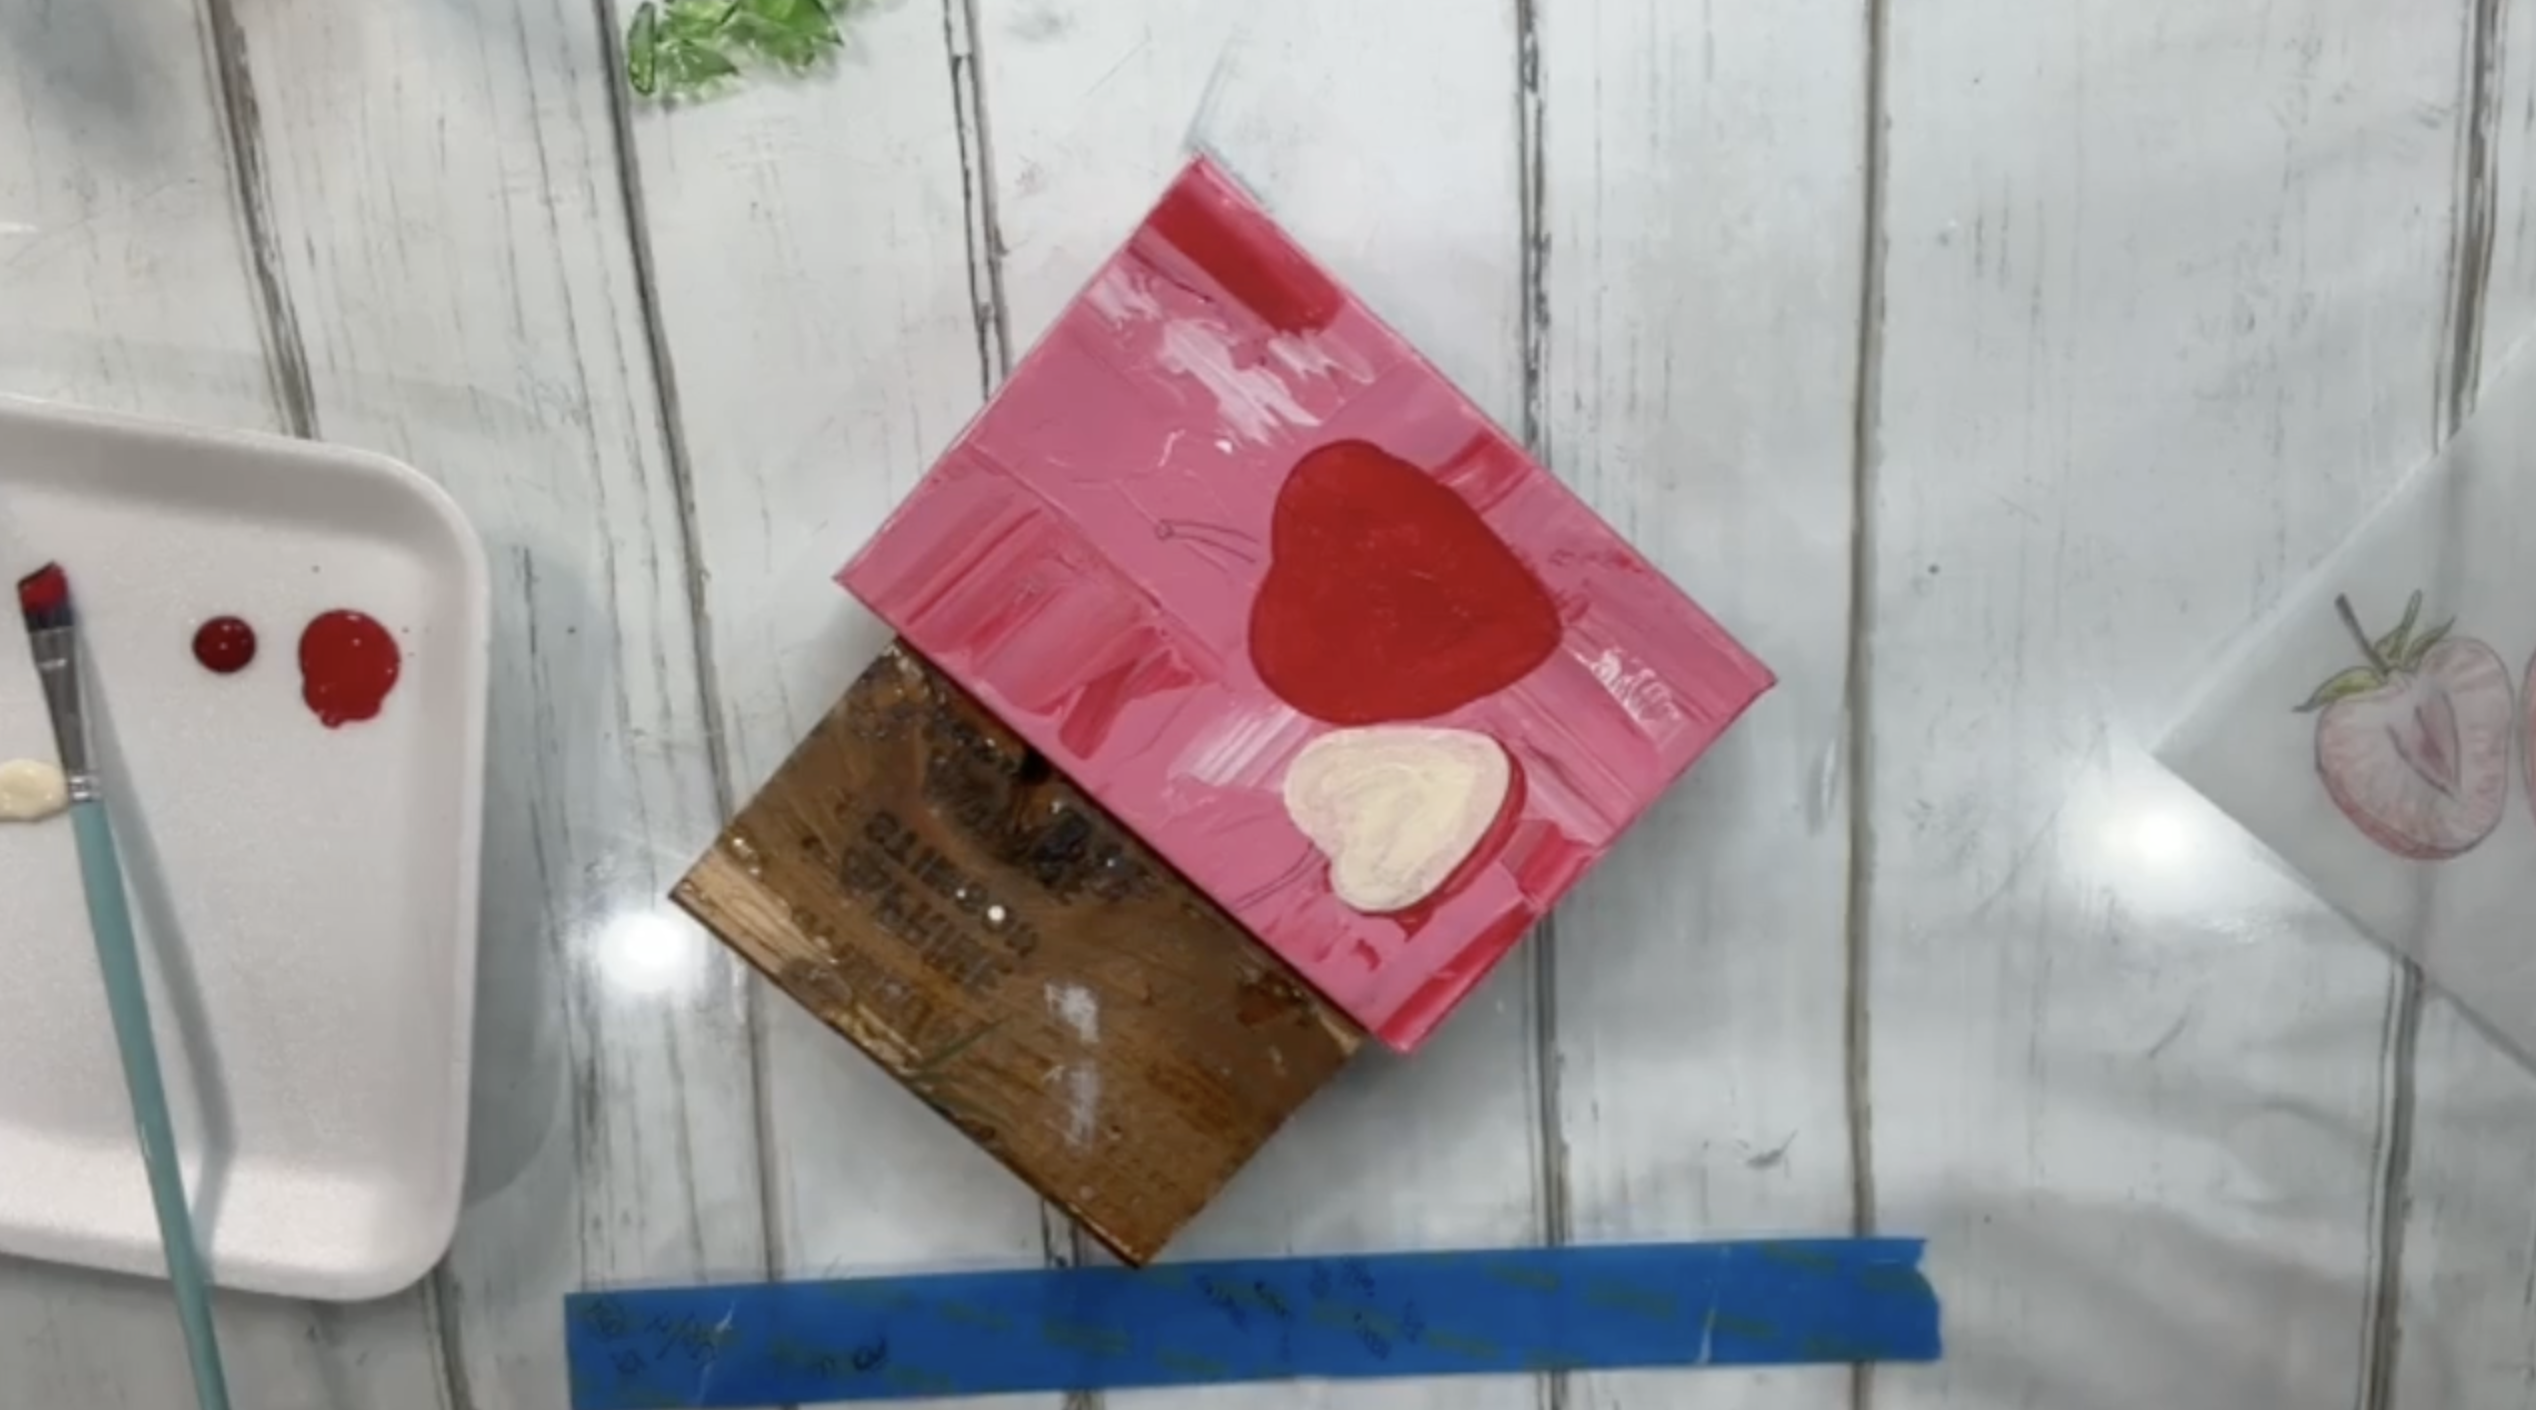
Make sure the red is wet, then add Crimson along one side and near the lower edge to create a deeper shadow. Add a tiny touch of Traditional Burnt Umber if you want the shadow to feel even richer.
Blend lightly while the paint is still wet so the strawberry feels dimensional rather than flat.
Step 4: Add Detail to the Strawberry Slice
While the Buttermilk is still slightly wet, add Cherry Red and Crimson near the center of the strawberry slice. Pull the color outward in short strokes to suggest the natural fibers inside the fruit.
Blend a little more Buttermilk around the center and toward the outer edge so the slice transitions from deep pink in the middle to a lighter creamy pink near the rind.
Keep this step loose and imperfect. The glass and resin will soften the details and create even more depth later.
Step 5: Paint the Stems
Paint the stems with Hauser Light Green. Add a small amount of Buttermilk along one side for a highlight, then add Hauser Medium Green to the opposite side for shadow.
These simple light and dark touches make the stems stand out against the pink background.
Step 6: Add a Ground Shadow
Mix Traditional Burnt Umber with a little water to create a thin wash. Brush this beneath the strawberries to create a soft shadow so they look like they are resting on the surface rather than floating.
Blend the shadow out with your finger or a clean brush while it is still wet.
Step 7: Add Pen Details
Once the paint is dry, use an archival illustration pen to add short, sketchy outlines around the strawberries, slice, and stems.
Avoid outlining everything with one perfect line. Short strokes, dots, and loose marks help create the whimsical mixed media look.
Add a few small marks inside the strawberry slice to emphasize the center and texture.
Step 8: Arrange the Glass Leaves
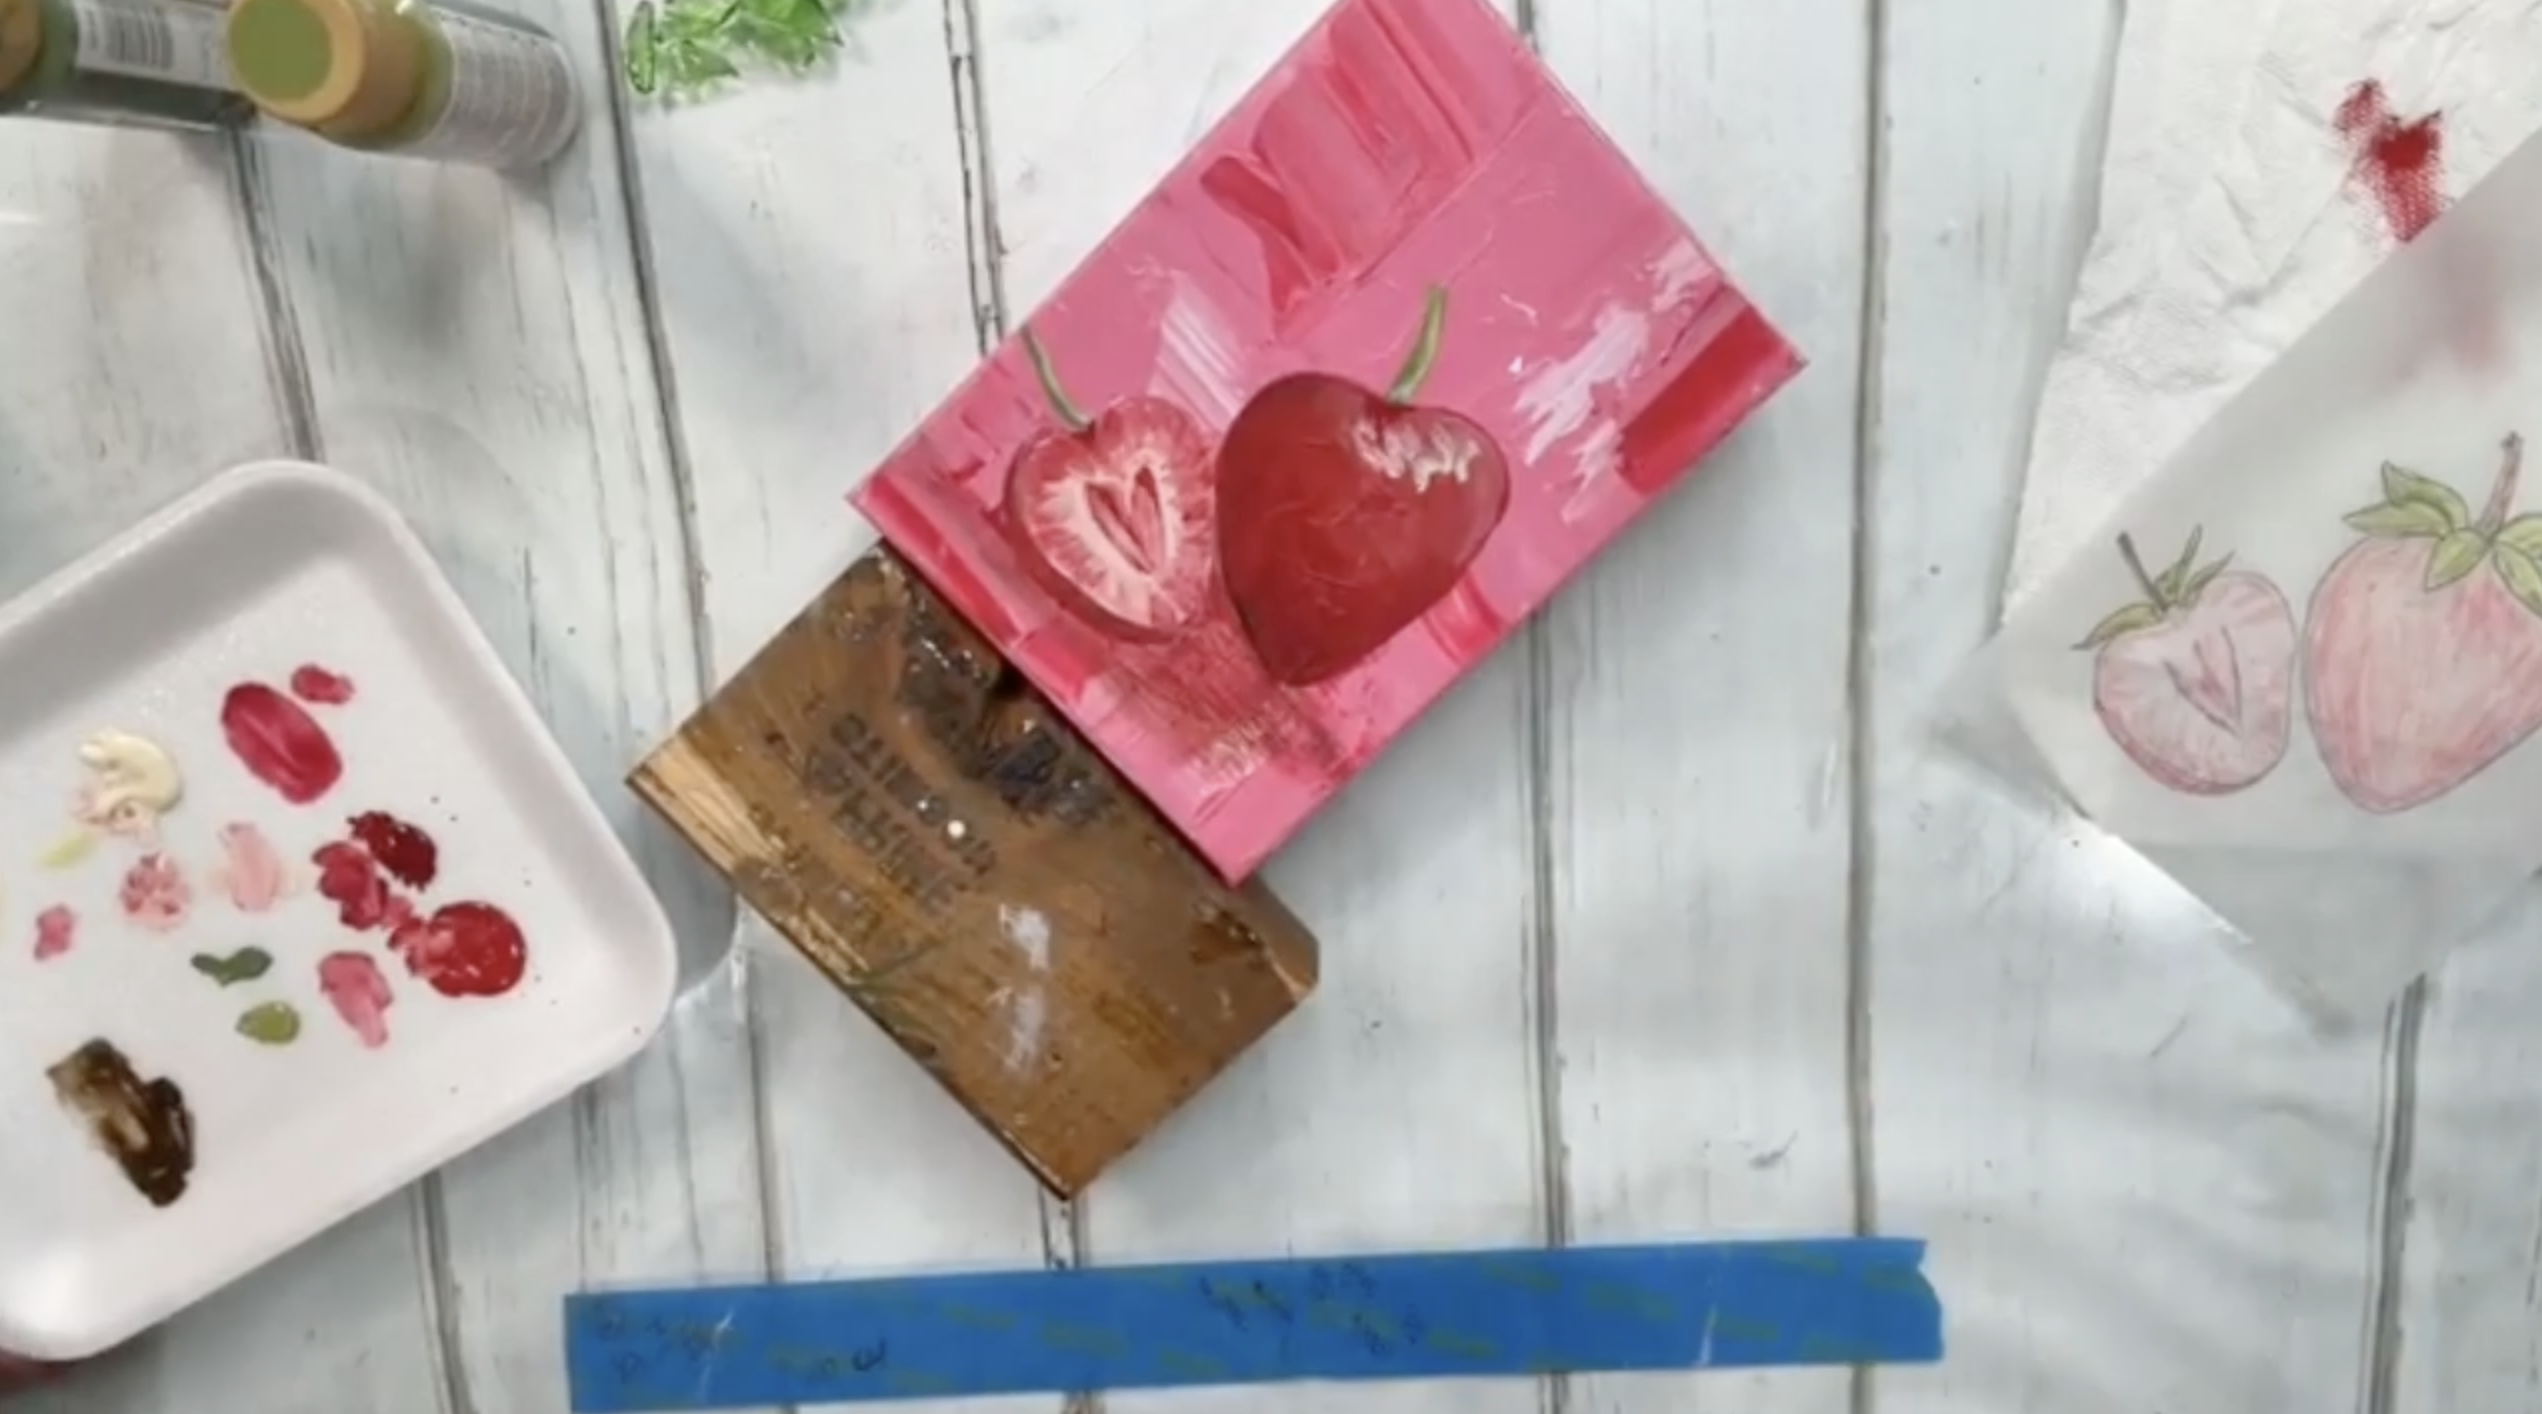
Use broken clear or green floral vase glass to form the leafy tops of the strawberries. Arrange three larger pieces on the whole strawberry and smaller pieces around the sliced strawberry.
Experiment with the placement until the leaves feel balanced. If the pieces keep sliding, add a tiny dot of clear glue underneath to hold them temporarily before resin is applied.
Step 9: Add Crushed Glass Accents
Place a small amount of clear crushed glass or Starfire glass along one side of the whole strawberry. This should be an accent rather than a full covering so the painted shading remains visible.
You can also add a few clear pieces to the sliced strawberry for extra sparkle and texture.
Step 10: Mix the Resin
Mix equal parts resin and hardener according to the manufacturer’s instructions. Approximately half an ounce of mixed resin is enough for a small canvas like this.
Stir slowly for three full minutes, scraping the sides and bottom of the cup as you mix. Avoid whipping the resin, which can create unnecessary bubbles.
Step 11: Apply the Resin
Drizzle resin over the glass leaves and crushed glass first so it flows between the pieces and secures them to the canvas.
Pour the remaining resin onto the painted areas and spread it evenly using gloved fingers or a silicone spreader. Work the resin all the way to the edges and check for any missed spots.
Step 12: Add the Seed Beads
Use small black, dark purple, bronze, or gold seed beads to create the strawberry seeds. Black or dark beads work especially well because they stand out clearly against the red paint.
Place the beads one at a time with tweezers or a toothpick. Space them naturally across the strawberry rather than arranging them in perfect rows.
Add a few seed details to the sliced strawberry if desired.
Step 13: Remove Bubbles
Use a heat gun to pop bubbles in the resin. Keep the heat moving constantly and avoid holding it in one place for too long.
Check the surface for dust, hair, or debris and remove anything you find before the resin begins to cure.
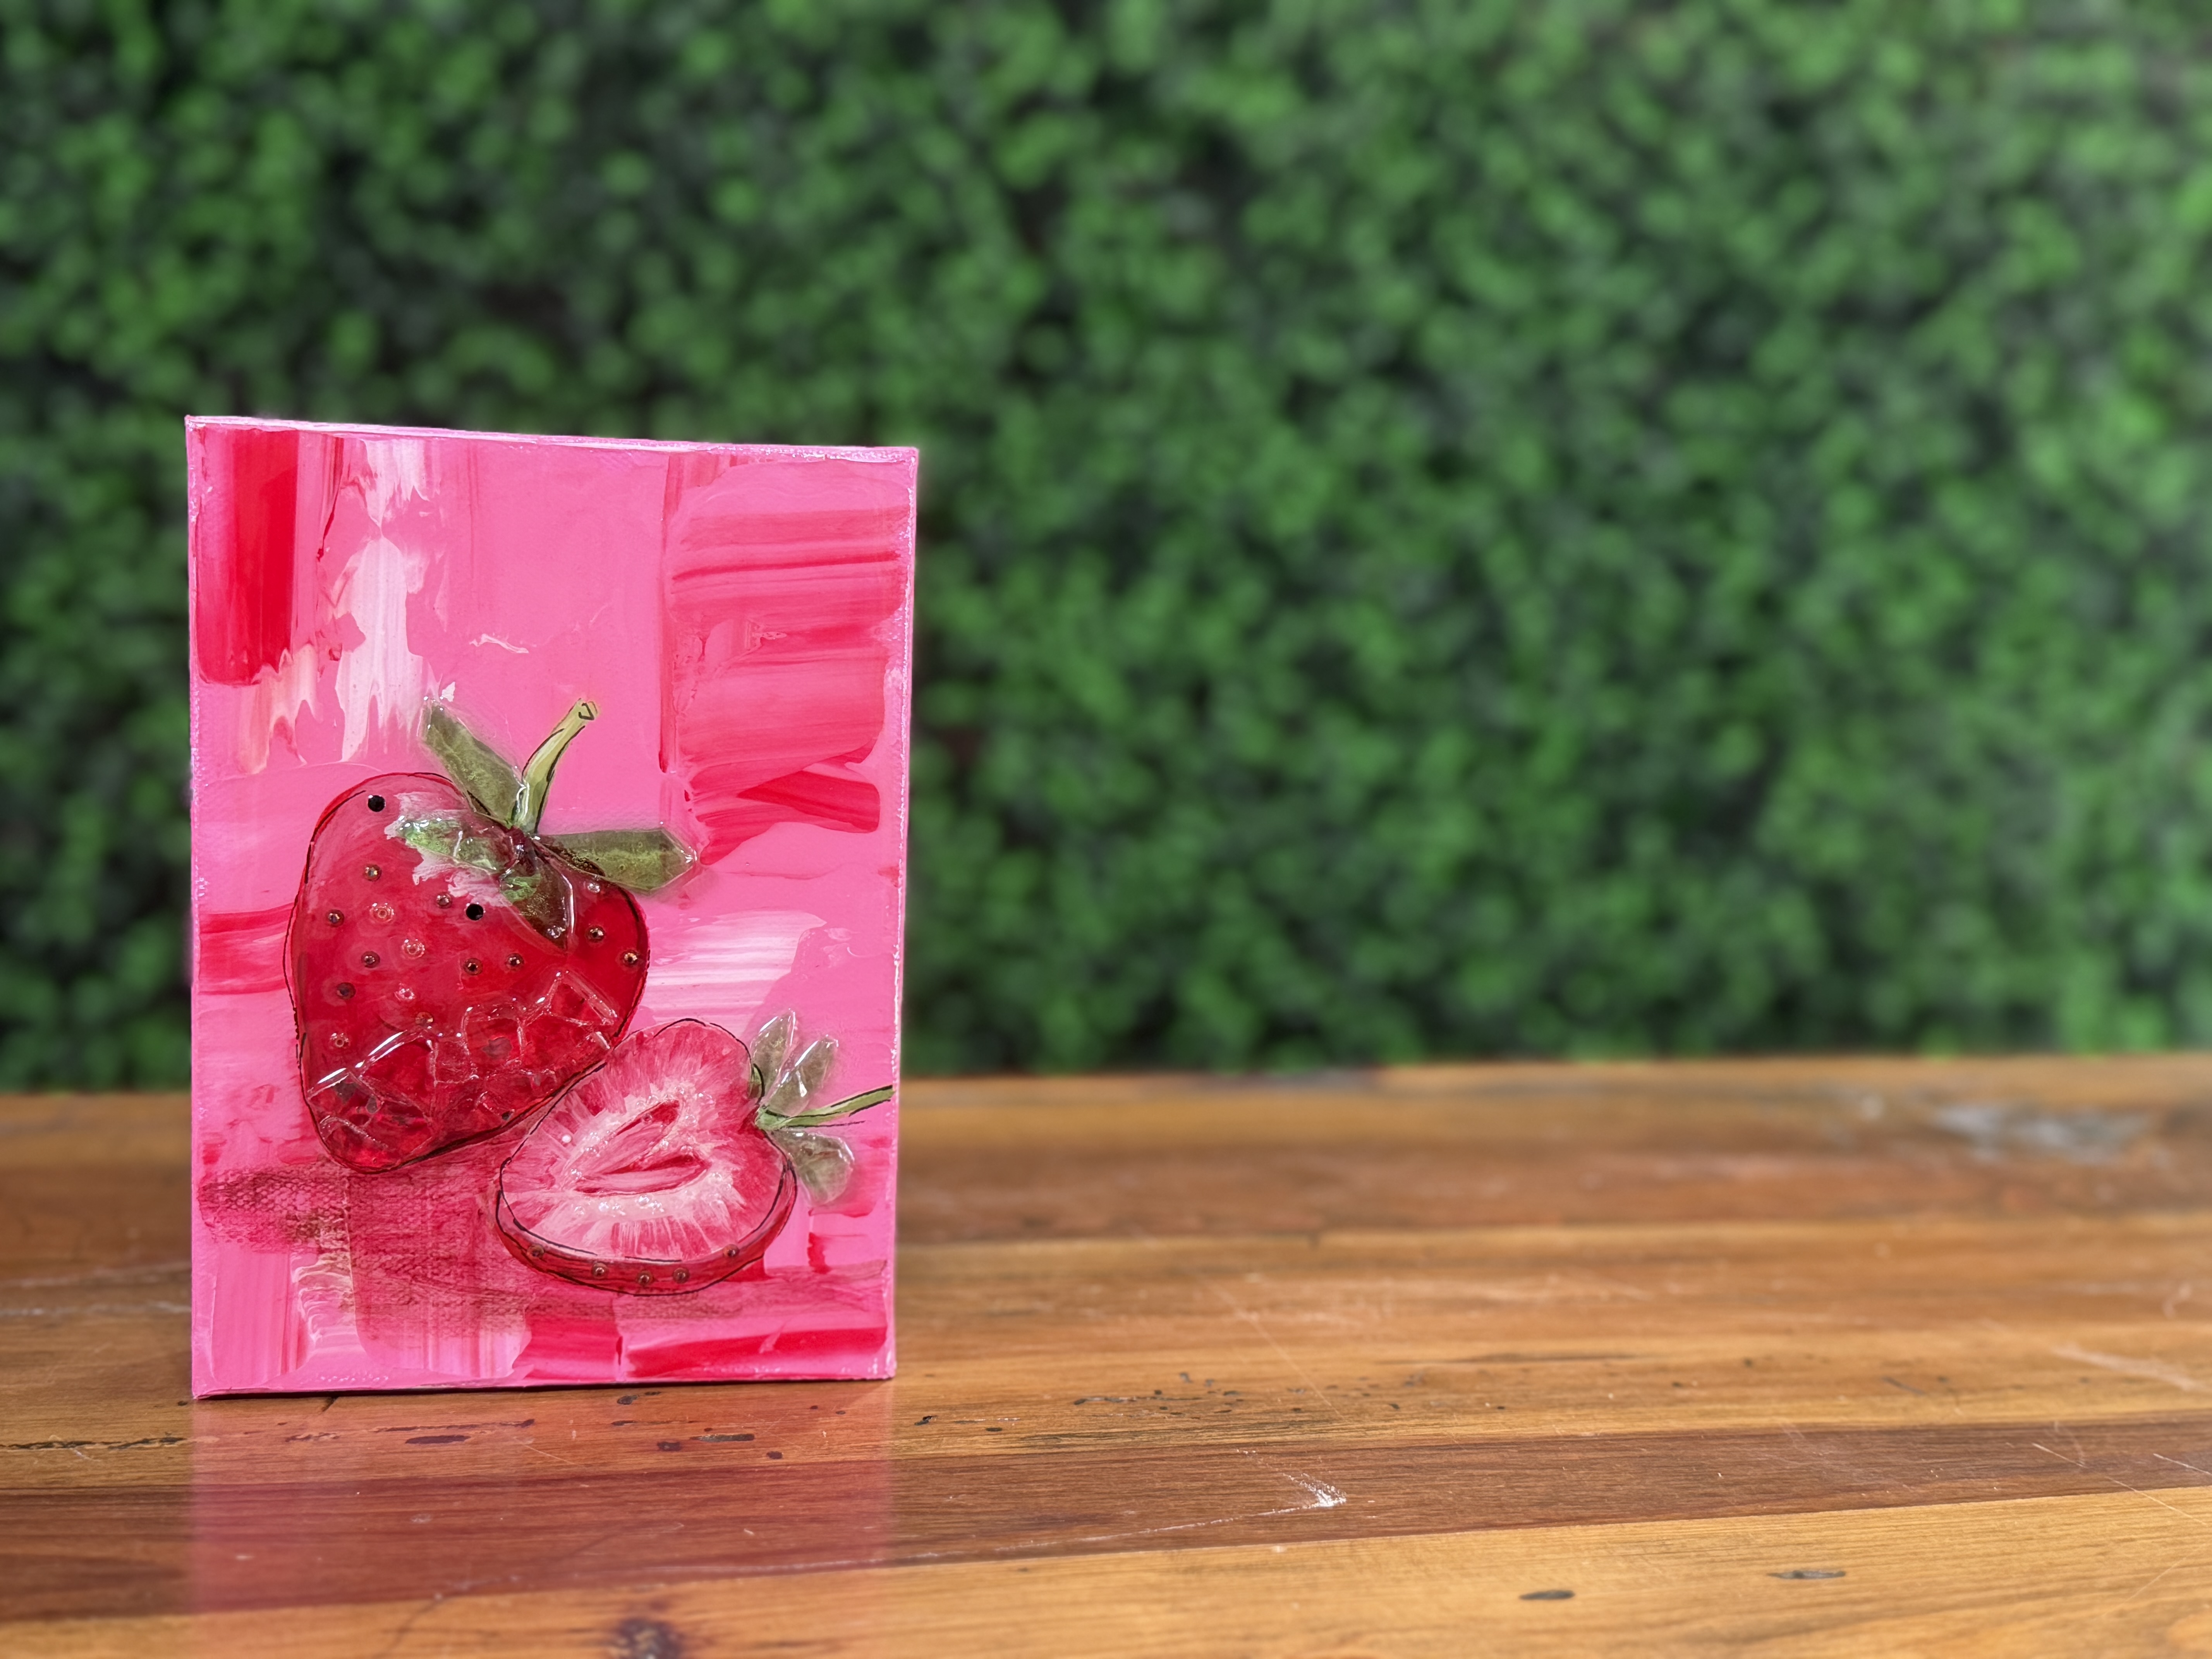
This strawberry glass and resin canvas is such a cheerful summer project. The bold pink background, rich red fruit, creamy strawberry slice, glass leaves, sparkling crushed glass, and dark seed details come together to create a dimensional piece full of personality.
It would be adorable displayed in a kitchen, breakfast nook, summer gallery wall, or alongside other fruit-themed glass projects!
If you're a member of The Shattered Circle, you'll find this tutorial in your classroom under Art Shattered Weekly Facebook Lives, search for "Strawberry".
If you don’t want to miss my Facebook LIVE art instruction, make sure you are on my texting list. I always text 10 minutes before I’m going to go LIVE, so you won’t ever miss it. You can text “Hey Cindy” to 901-519-2923.
Want more inspiration and artwork?
- My website artshattered.com with resources, shop, and more!
- My creative membership The Shattered Circle, where you can explore the world of glass art with online workshops, a supportive community, and more!
- My mini creative membership Just A ‘Lil Bit Monthly Glass Art Club, where you’ll get a new quick and easy online tutorial for just a lil' bit of sparkle in your life!
- My Facebook page where I go LIVE every Wednesday night.
- My YouTube channel which has tons of free art lessons right at your fingertips.
