
Colorful Textured Pumpkins 🎃
I grabbed a pack of 9 little canvases (they are 4x4) that I will be using to create little textured pumpkins. This is such a fun and easy fall project, and these little canvases make perfect gifts or shelf-sitters in your home! We will add modeling paste, paint them, add a glazing medium, and then apply resin with seed beads and glass. I love the way each of these colorful pumpkins turned out!

I am going to sketch my pumpkin onto my canvas with a pencil. This will help guide you as you go. These are super simple to draw - sketch a stem, then an egg, and parentheses on each side of your egg.
Next, I am going to use a little palette knife to apply my modeling paste. Start with the stem and use the back of your palette knife to add the paste. Then, continue adding plaster to one section of your pumpkin at a time. Let this dry overnight.

Now, you can paint your pumpkins! I am going to start by painting my first one with Dragonfruit pink. I am going to add a base coat of pink and th...
Pumpkin Gnome 🎃
We are doing this fun pumpkin gnome on a 4x12 canvas! This is the perfect fall art piece to create for a gift or some festive home decor. I will show you step-by-step how to paint this gnome from start to finish! Learn how to create this quick and easy gnome art piece.

Grab your tracer, tape it to your canvas, place graphite paper underneath, and trace your gnome onto your canvas with a stylus.
I am going to start by painting his beard. First, add a coat of white and then mix in some black to create a gray beard. Then, paint his hat and shoes with black paint. Paint his hat brim and pumpkin with orange paint. I'll also mix in some yellow and black to my pumpkin to create some shadows and highlights. Use brown paint for the stem. Finally, I'll use Cool Bisque (a peachy color) to paint his nose and hands.

Now we will add our details! Where the hat bends, I am going to add some highlights with white paint. Then, I'll paint a little patch with green and yellow paint with some white...
Sparkly Blue Pumpkin 💙
It's pumpkin time! Today, I am using an 8x8 canvas to create a blue pumpkin on a cream background. This one is going to have a special gold stem with tons of seed beads to really glitz it up! I'll also add some more Starfire glass to the pumpkin. This is one of my favorite pumpkins I've ever made!

First, I am going to start by painting my background with Oyster White. Then, I'm going to use the backside of a palette knife to add some areas of Sky Blue. Dry with a heat tool.

Grab your tracer, tape it to your canvas, place graphite paper underneath, and trace your pumpkin onto your canvas with a stylus.
We are going to add a base coat of Desert Turquoise paint to each pumpkin section. I'm going to use Hauser Light Green on the leaves and DecoArt Dazzling Metallic Splendid Gold on the stem.

Now let's add our shadows and highlights! I am going to add a second coat of turquoise to my pumpkin and then use Tropical Blue and white to add those details. On my leaves, I'll add a second ...
White Pumpkin 🤍
We are using a 4x12 canvas to make a pretty black-and-white monochromatic pumpkin art piece. This one is super simple to create and only requires a few colors of paint and some clear glass and resin. This is the perfect fall project and would match any home's decor this season!

Start by painting your canvas with two coats of Anita's Black. Grab your tracer, tape it to your canvas, place white tracing paper underneath, and trace your pumpkin onto your canvas with a stylus.
Next, let's paint! I am using white, Oyster White, Storm Gray, and Cableknit Gray. I'm going to start with the Oyster White and paint each section separately, letting a little bit of the black show through between each section.
While that dries, I'm going to add the first coat to the stem. I am using Raw Umber.

Next, I am going to add another coat of Oyster White to my pumpkin and add some light gray and dark gray shadows and highlights on each pumpkin section.
Next, add another coat of Raw Umber to the st...
Pink Pumpkin On Tin
We are using a very different surface to create some art today! I am using a 10x14 piece of old rusted sheet metal and we will be painting a pink pumpkin, adding a glass stem, and sprinkling lots of seed beads. This project is perfect for the fall season and would look great as part of your rustic autumn decor!

First, I sketched a pumpkin onto my tin using a piece of chalk. I am going to start by painting my pumpkin with Poodleskirt Pink and white paint. Do not fully cover the surface because we will be adding more paint for shading and highlighting. Dry with a heat tool.

I will add some more Poodleskirt Pink and layer on some Dragonfruit (darker pink) and white as well. I'll use my brush to blend the colors together. Dry with a heat tool.
I'm going to fill in any spots with more paint here and there. I'll also take my paintbrush in the white, tap off excess paint, and just lightly drag it down my pumpkin to create some light texture. I'll do the same with my dark pink.
Finall...
Stenciled Pumpkin 🎃
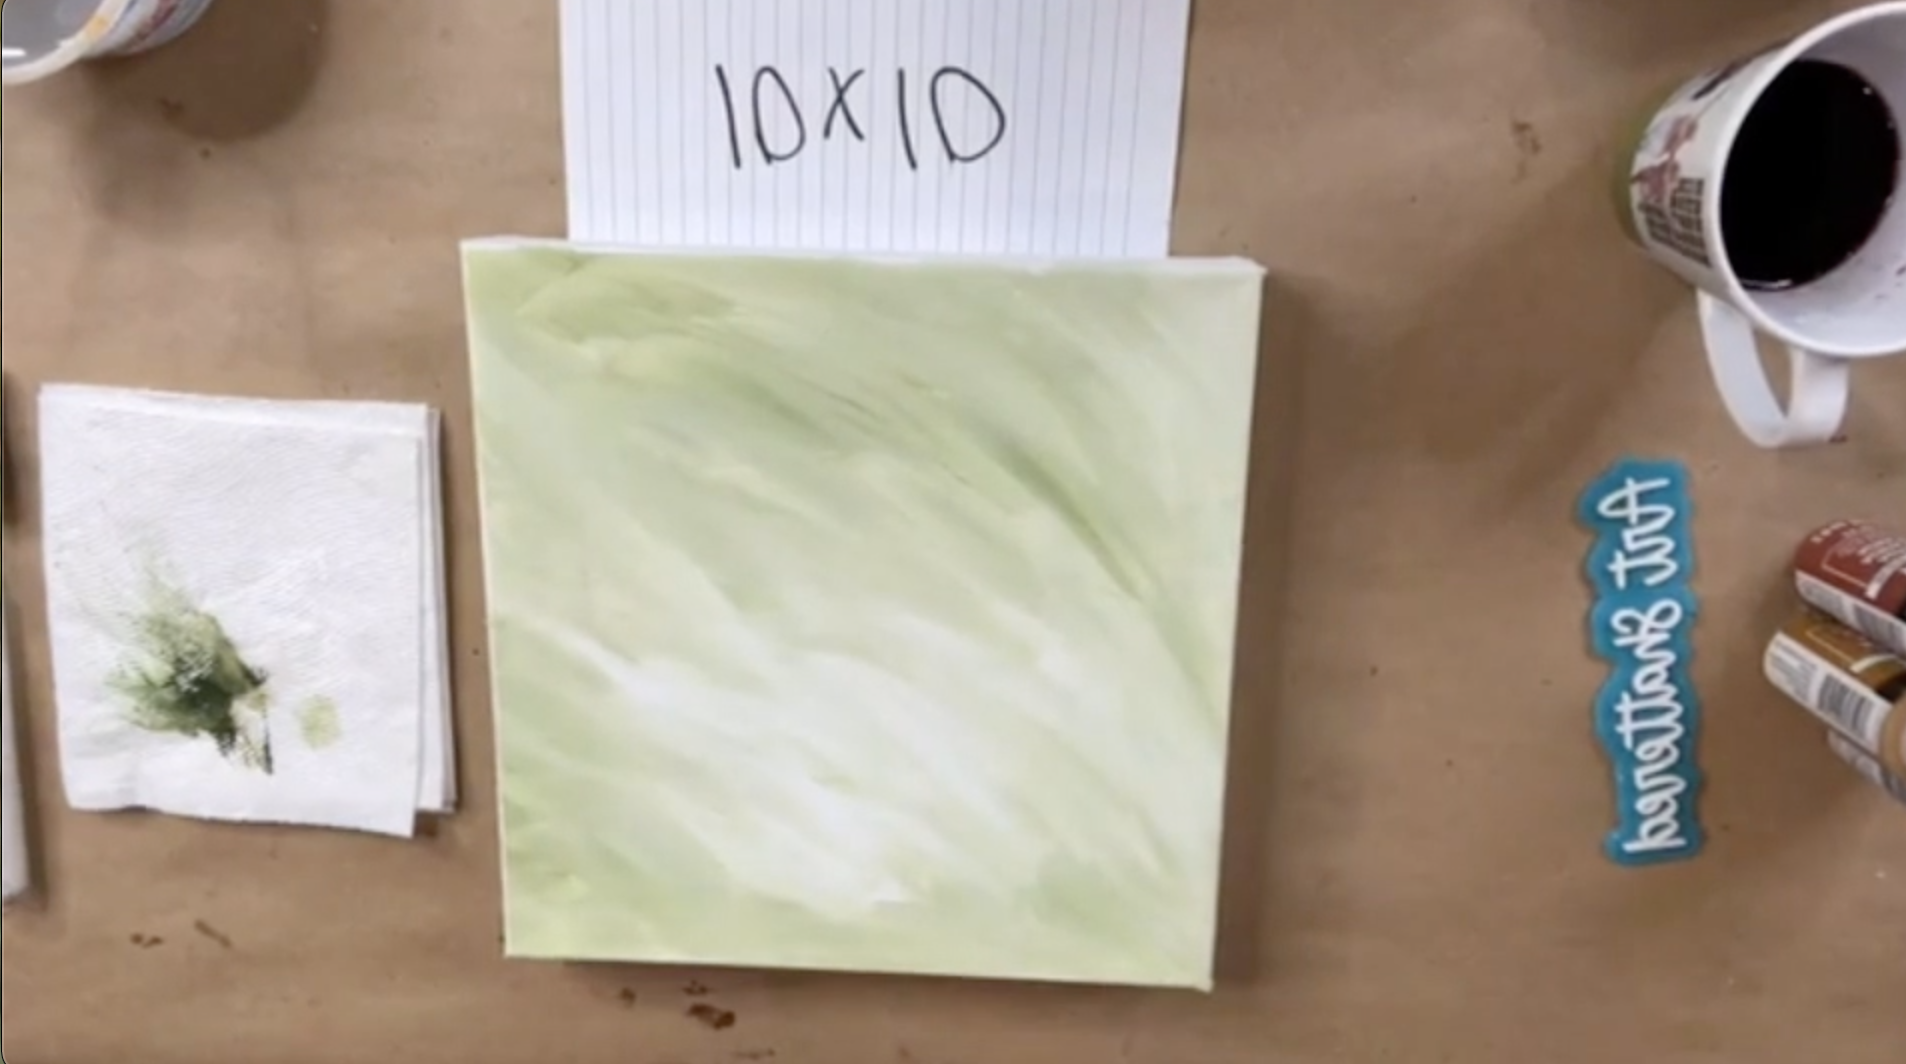
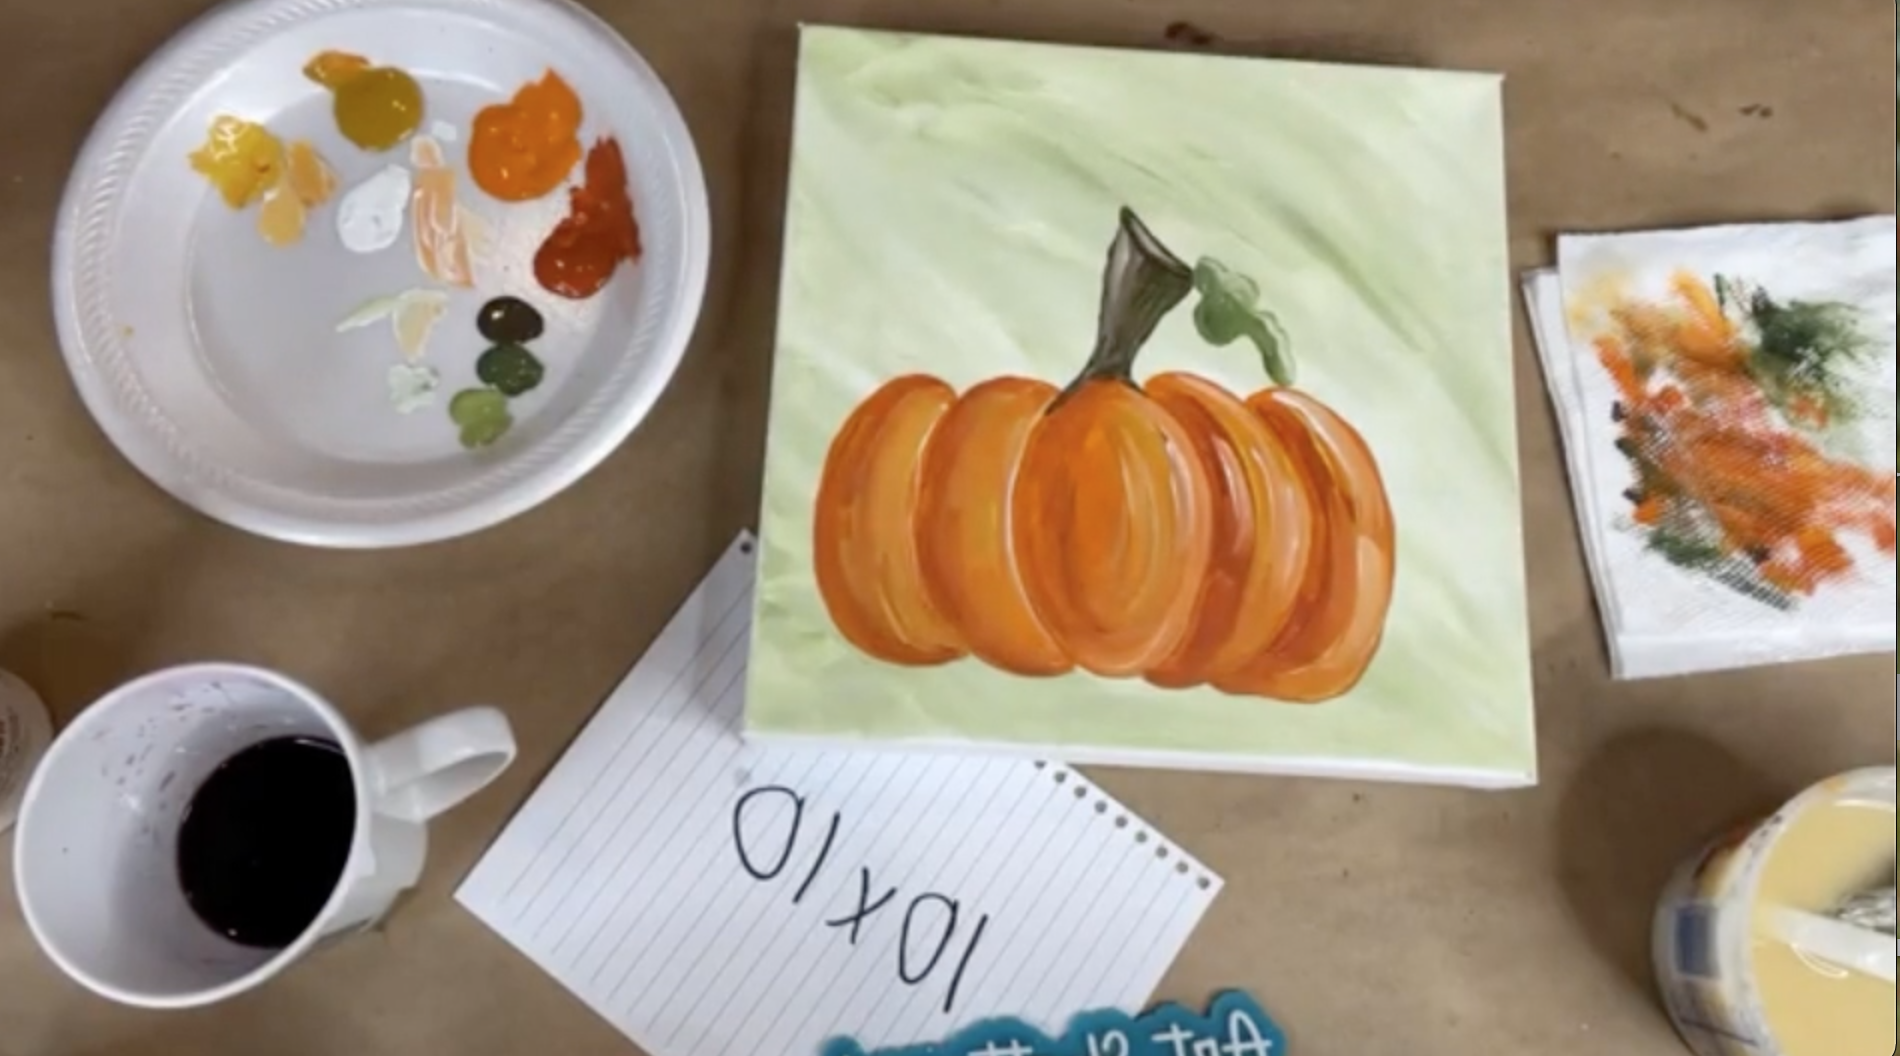
I love making pumpkins, and this is a super fun one with lots of glass, seed beads, and stenciling! I'm making this on a 10x10 canvas and I will show you exactly how I made this stenciled pumpkin that is perfect for the fall season.
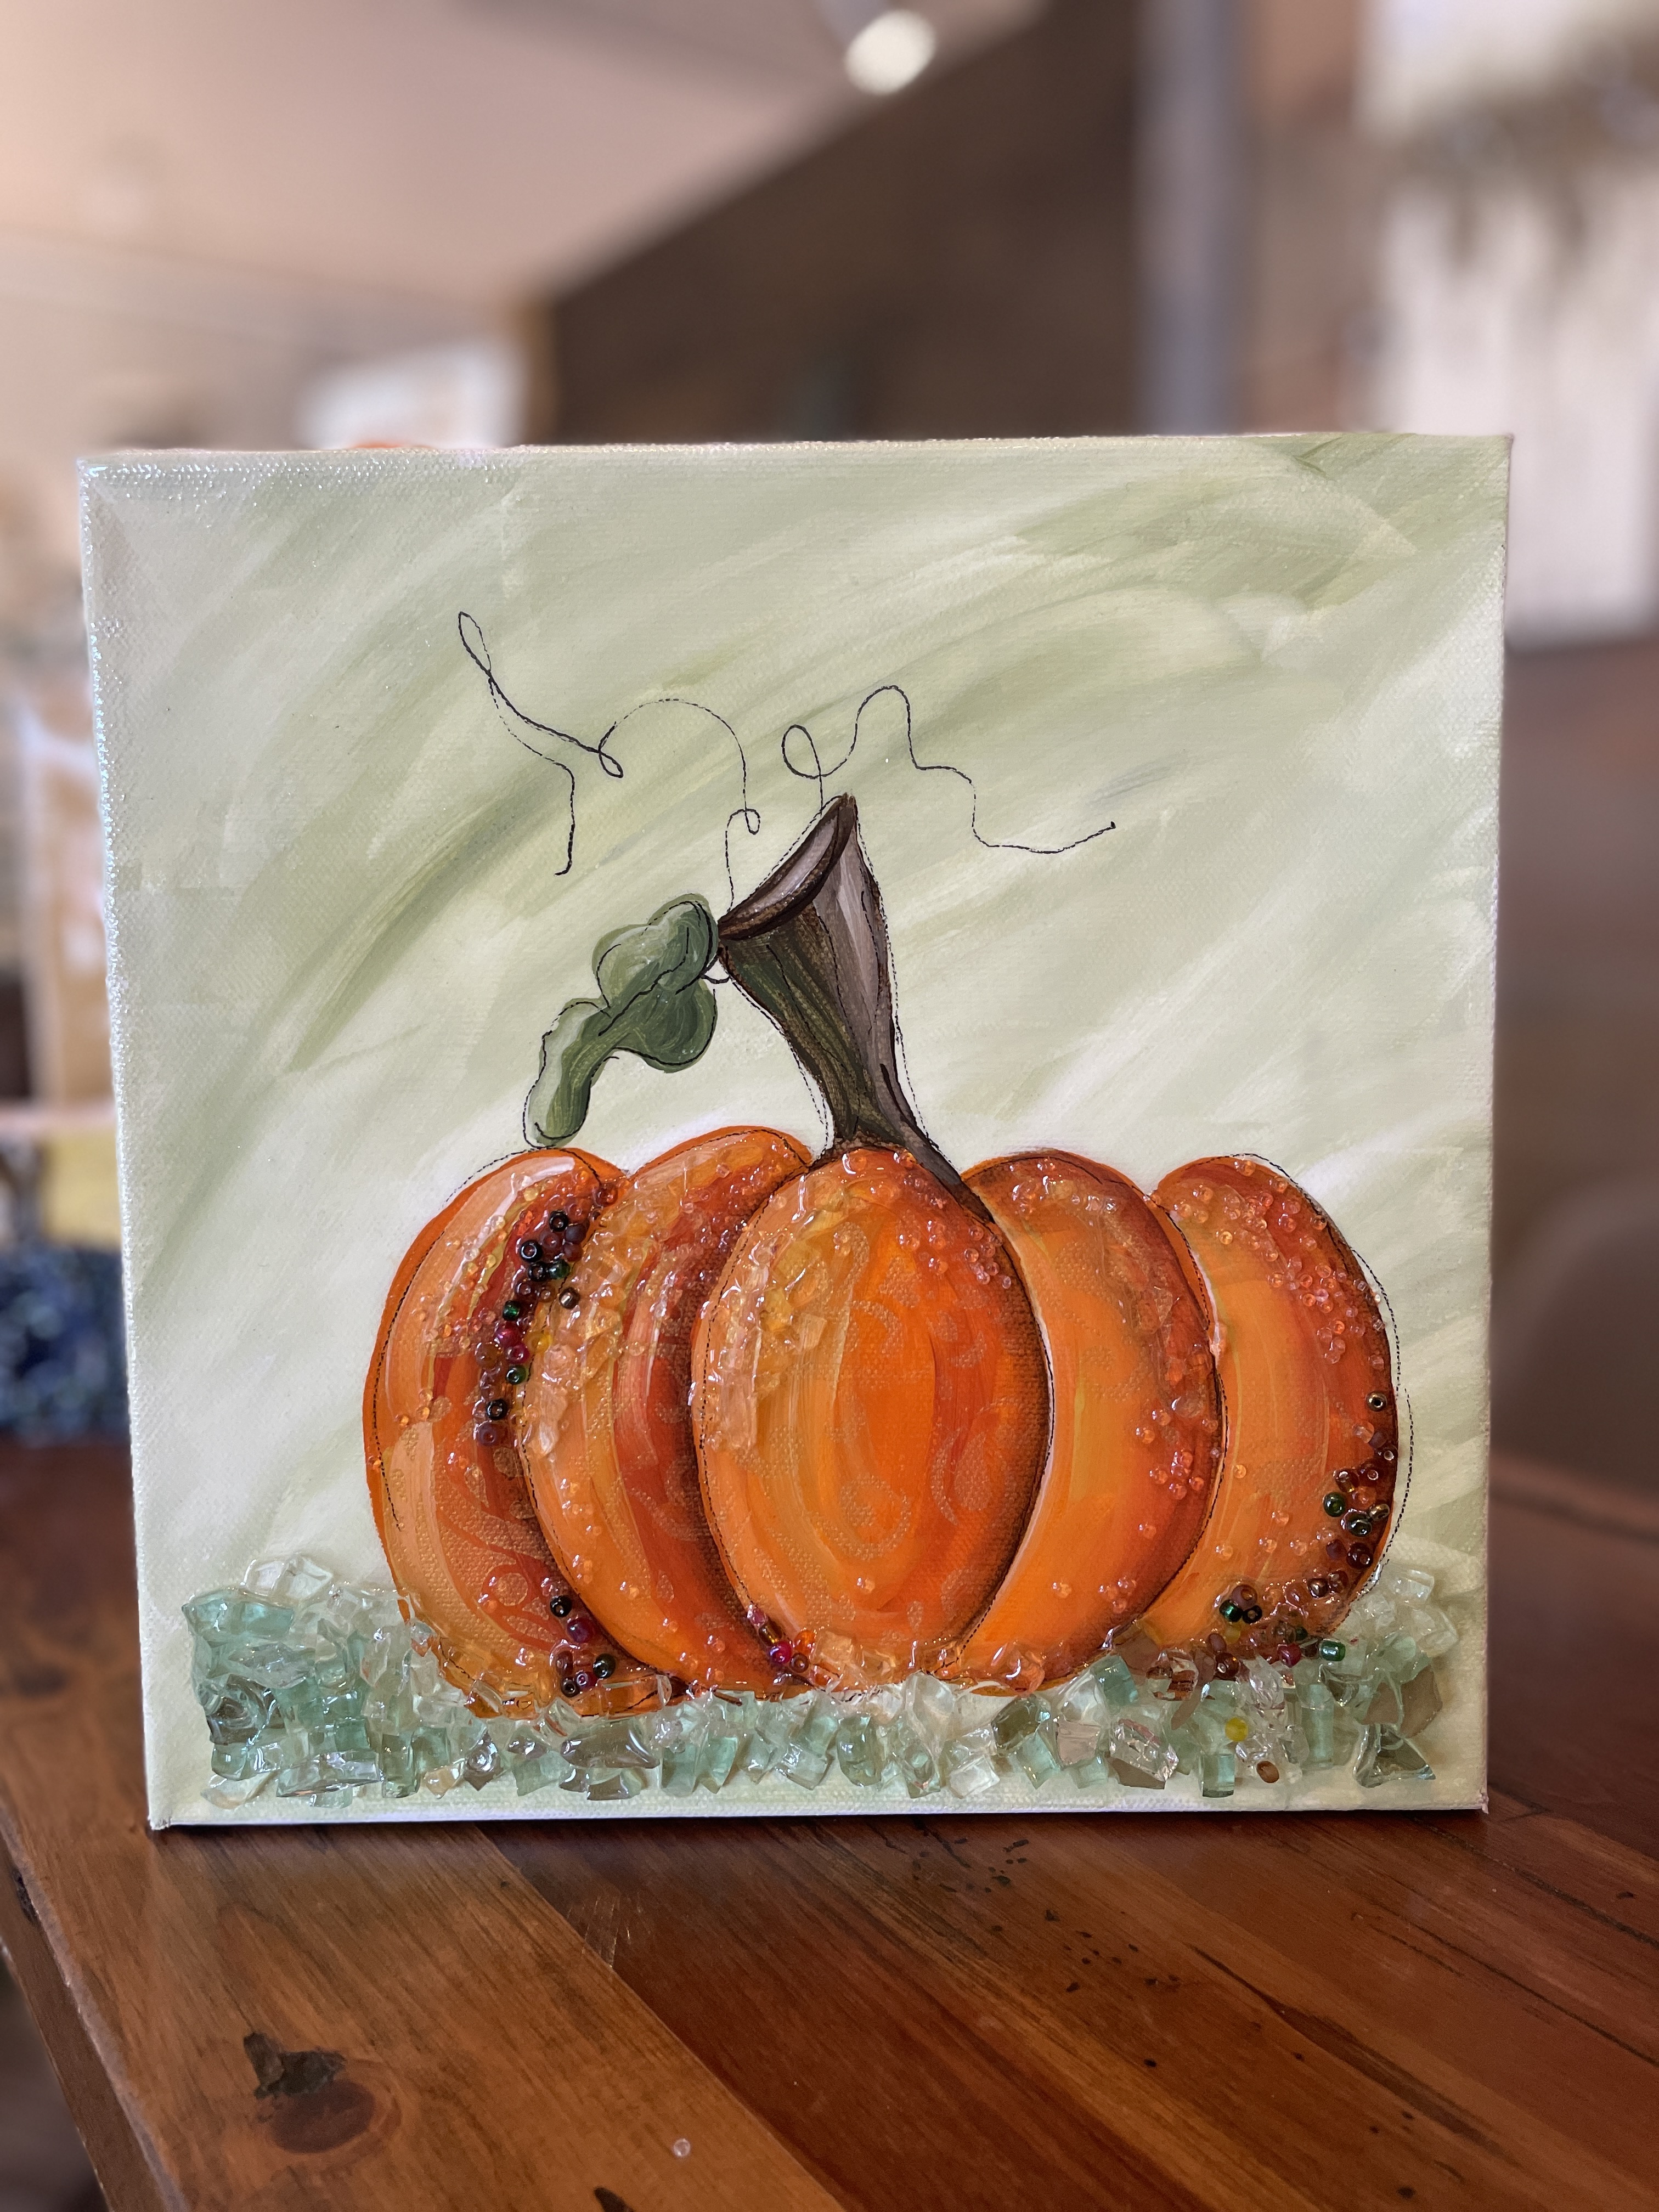
First, paint your background with white paint and add a little bit of Hauser Light Green. Try to focus your color on the upper portion of your canvas since your pumpkin will be towards the bottom.
Grab your tracer, tape it to the canvas, place graphite paper underneath, and trace your pumpkins with a stylus onto the canvas.
I'm going to use Spiced Pumpkin, Toasted Terracotta, and Gilded Oak to paint my pumpkin. I'm going to paint each pumpkin section. I will start with the Spiced Pumpkin and add highlighting and definition with the other colors. I'm also painting the stem with brown, green, and white paint. I'm also painting a green leaf with light green, dark green, and white. Let dry.
Now, we are going to stencil. I have this pretty paisley st...
Pumpkin Stack 🎃
We are making this fun pumpkin stack on a 6x12 canvas with different colored pumpkins, lots of glass, and even some vitrigraph pieces. This is the perfect fall piece to make this month, and I love the way it all came together.

First, we are going to paint our background. I am using Anita's White as well as Hauser Green to create an abstract background. Let dry.

Grab your tracer, tape it to the canvas, place graphite paper underneath, and trace your pumpkins with a stylus onto the canvas. I am going to leave some space on the bottom for my glass and vitrigraph.
Now, it's time to paint! I am doing an orange, blue, and off-white pumpkin. I am painting my bottom pumpkin orange with Warm Sunset and Spiced Pumpkin as well as some white paint for highlights.

My next pumpkin will be painted with Spa Blue and Mermaid Blue as well as some white paint for highlighting.
My last pumpkin will be painted with Vintage White as well as some Traditional Burnt Umber. Then, I'll paint the top...
Fall Leaves 🍁
We are using a 6x6 canvas today to create a simple fall scene complete with glass, green vitrigraph, pinecones, and acorns. There are all kinds of goodies in this piece and I can't wait to show you exactly how to make it!
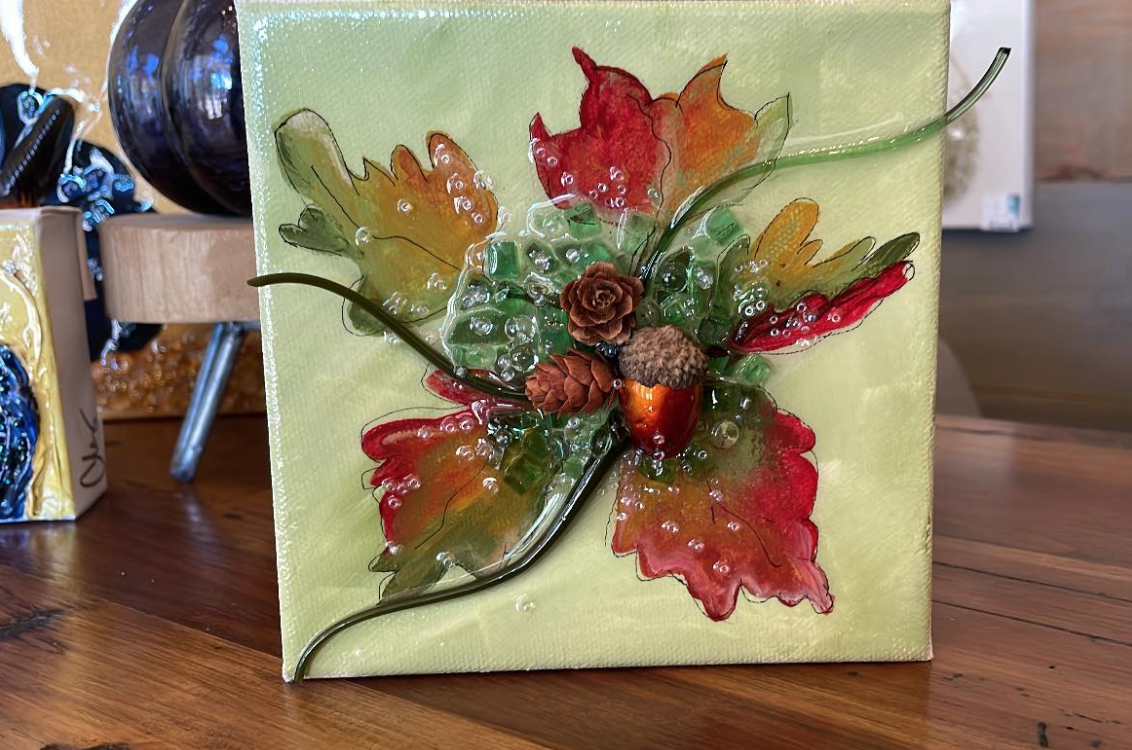
First, I am painting the background with white paint as well as light green. Let dry.
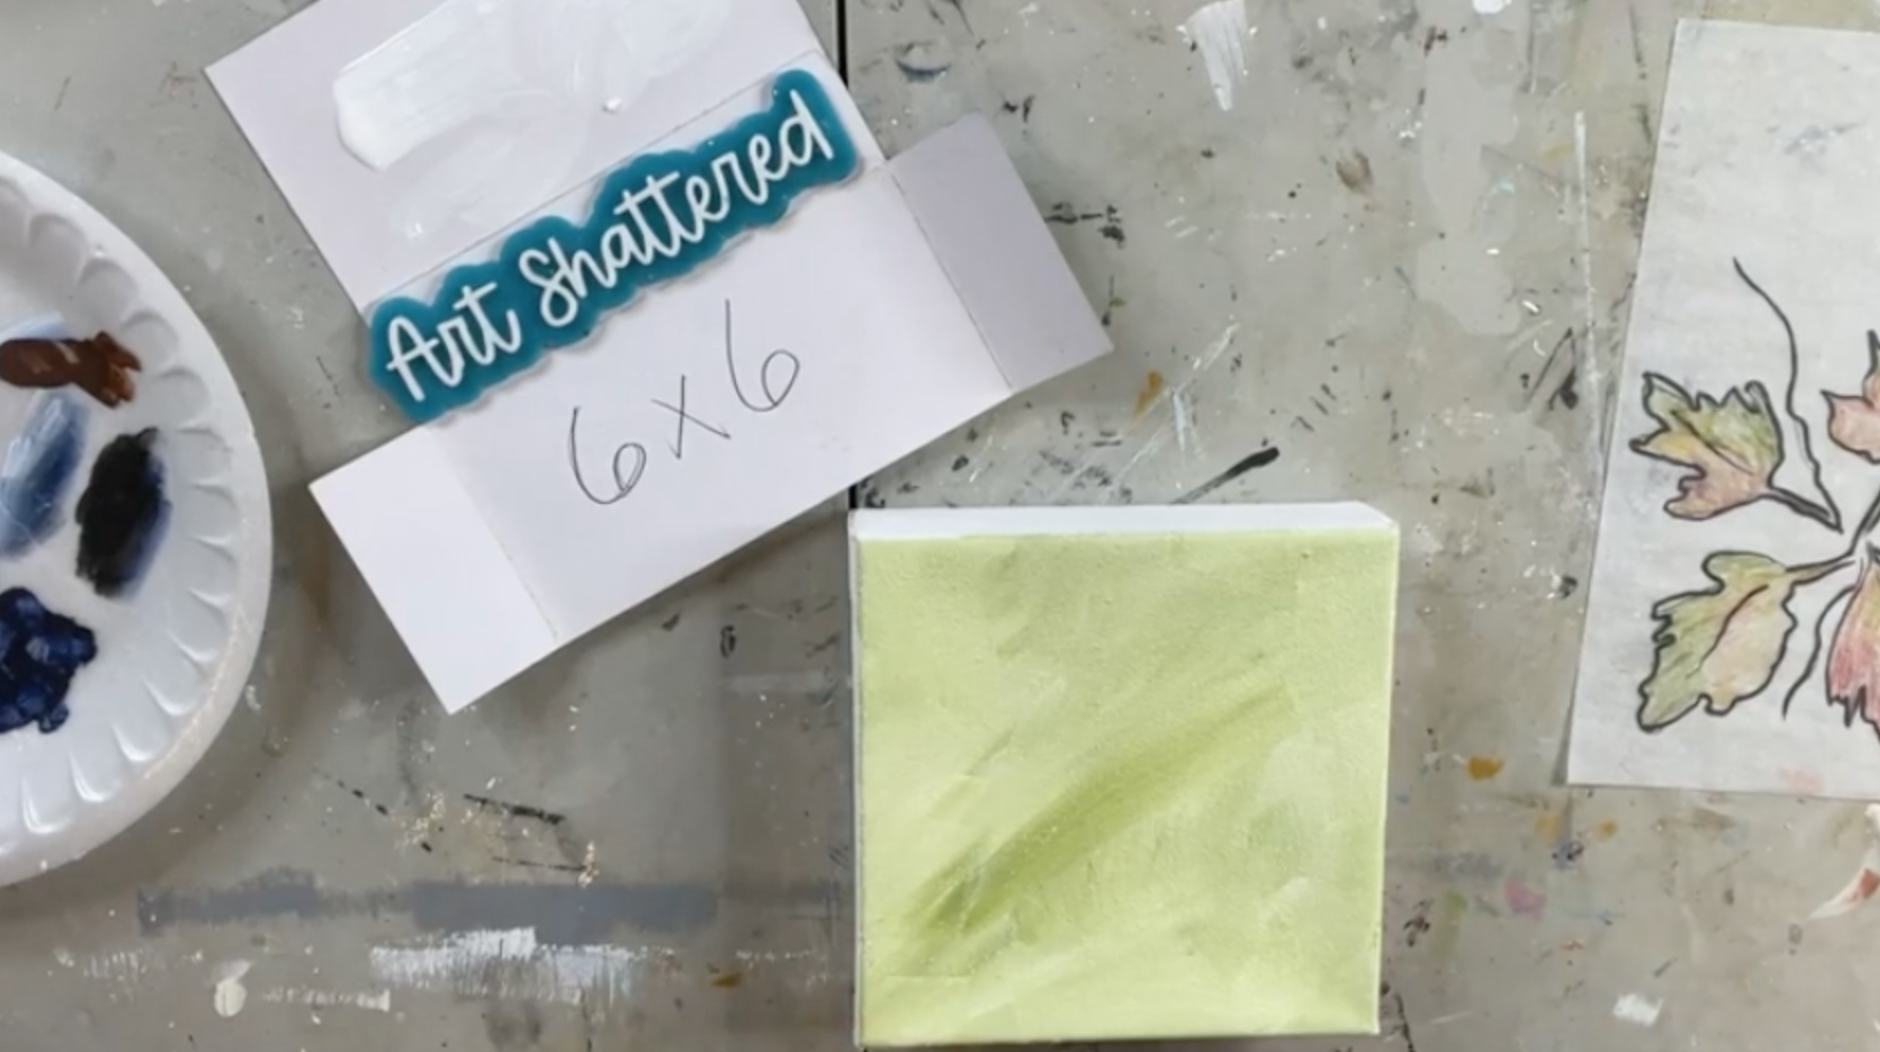
Grab your tracer, tape it to the canvas, place graphite paper underneath, and trace the leaves with a stylus onto the canvas.
I'm making these fall leaves very colorful. I am using Cherry Red, Burnt Orange, Gilded Oak (dark mustard), Crocodile Green, and Burnt Umber. I am also using the brown on the stems. I am doing lots of blending on the leaves and just going back and forth between each color. Make sure you cover your tracer lines! Let dry.
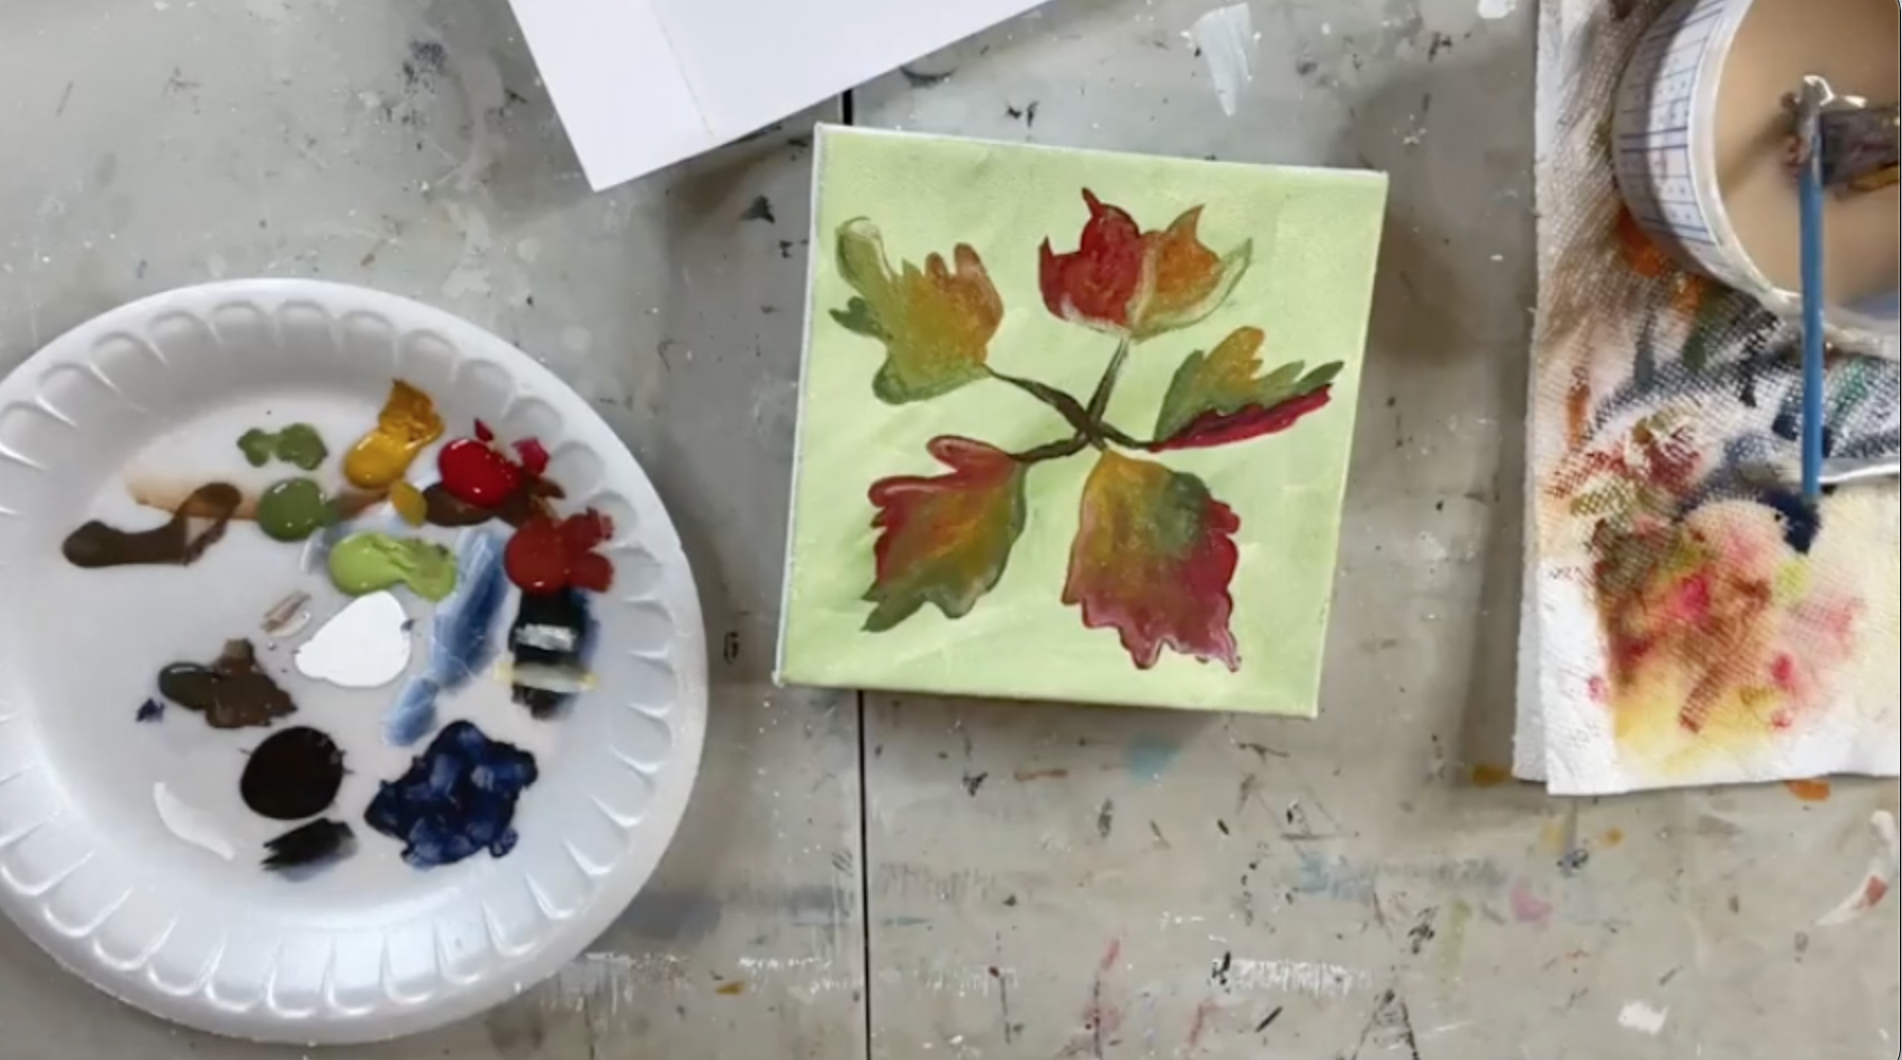
Next, I will add details with my graphic pen. I am just outlining my leaves and stems with short strokes.

Now it's time to add our glass and other goodies! I am adding green vitrigraph, some acorns and little pinecones, and green...
Blue Velvet Pumpkin 💙
Today we are using a 10x10 canvas to create this beautiful blue velvet pumpkin on a gold background. I started off by painting my background with black paint then I did three coats of gold paint - and this background is truly stunning! Let's continue by painting a blue pumpkin and adding some glass pieces (including a very cool glass stem!)

Grab the tracer, tape it to the canvas, place graphite paper underneath, and trace your pumpkin with a stylus onto the canvas. I'm going to use a piece of glass for my stem, so I'm going to skip tracing that.

Next, I am going to paint my pumpkin with Prussian Blue. I am painting one little section at a time. Let dry.

I will add another coat of the blue paint and also add some highlights and definition with black paint and white paint. Let dry.

Now I'm going the little spot where I am going to put my stem with Traditional Burnt Umber and Raw Umber brown paint. I am also going to add some champagne colored floral glass in the center too.
...Candy Corn Pumpkin
Today we are making a candy corn pumpkin, complete with an adorable glass stem that will fit perfectly. I'm also using some vase glass and will show you how I add these pieces to my 5x7 canvas.

The first thing we are going to do is paint the background white. This just helps create a nice, smooth canvas. Let dry.
Grab the tracer, tape it to the canvas, place graphite paper underneath, and trace your pumpkin with a stylus onto the canvas.
Now, let's paint our pumpkin! I am using white, orange, and yellow paint. I'm using a 1/2 inch flat brush and we're going to be blending these colors. We do not want hard lines between the colors.
I'm starting with yellow at the bottom, orange in the middle, and white at the top. Let dry.

Let's add details with our graphic pen. I'm just going to outline the pumpkin with short strokes.

I have a piece of glass from a glassblower that I am going to use for the stem! You could call a local glassblower and see if they have any leftover glass...
