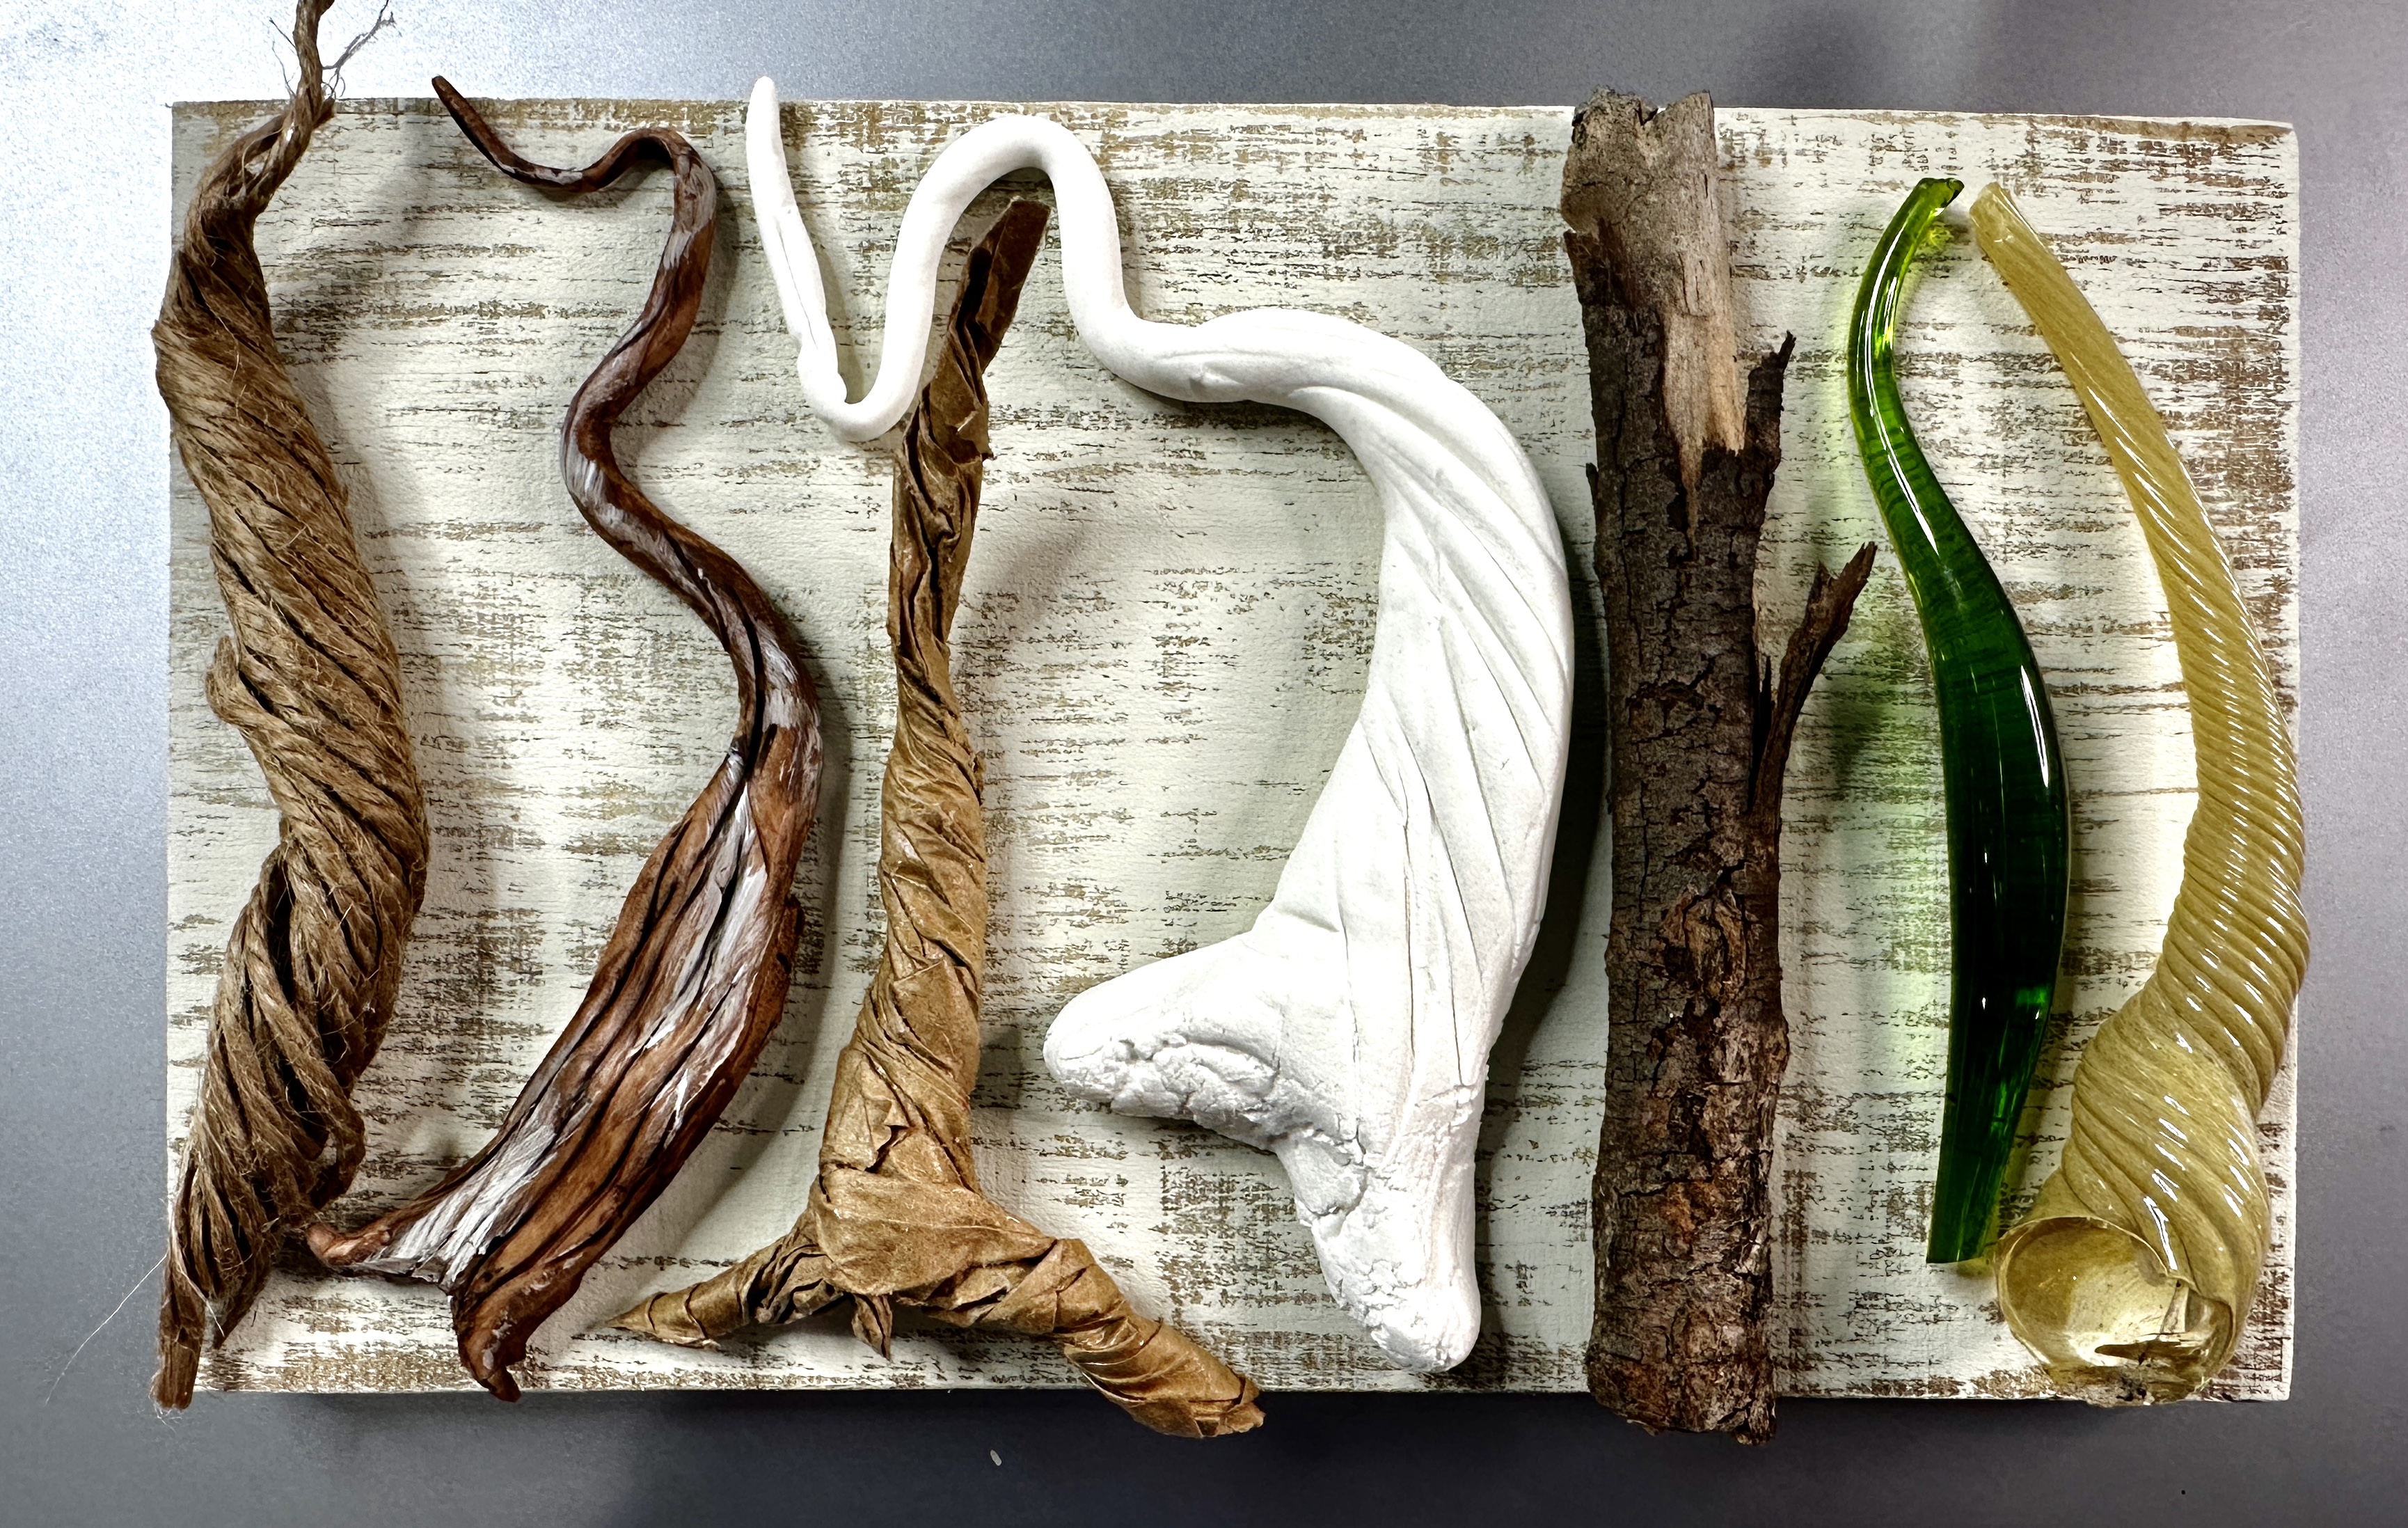
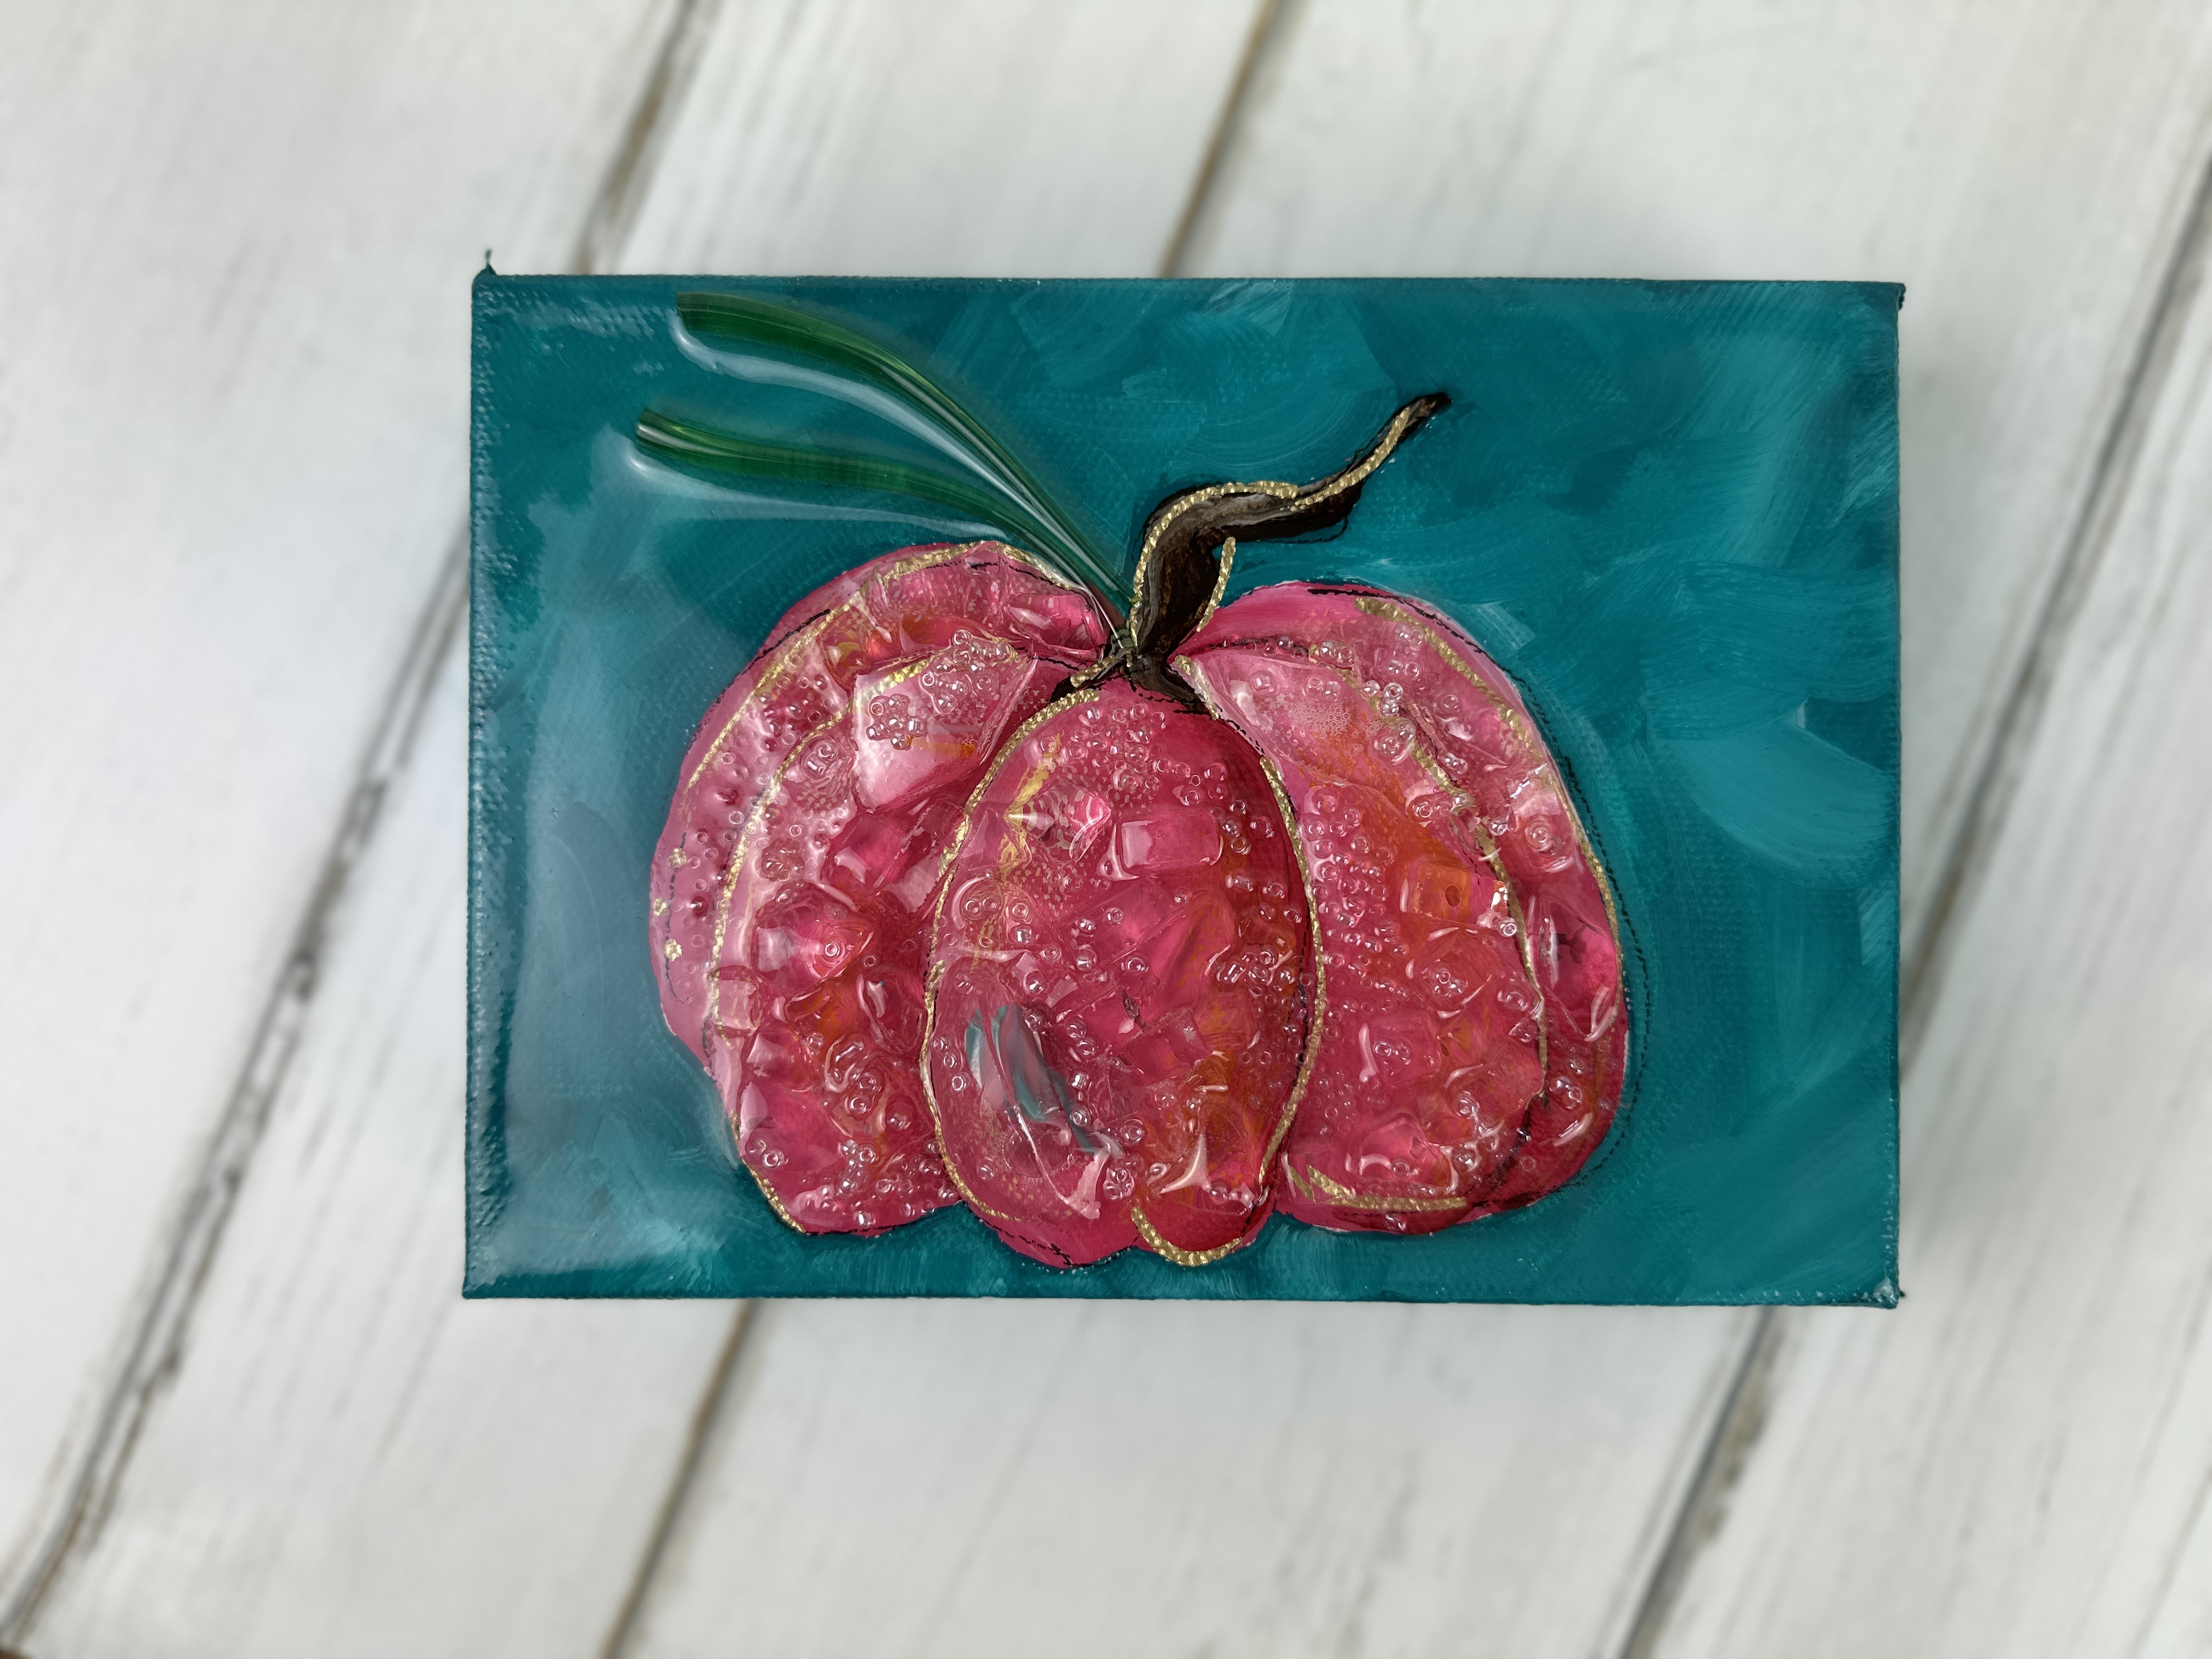
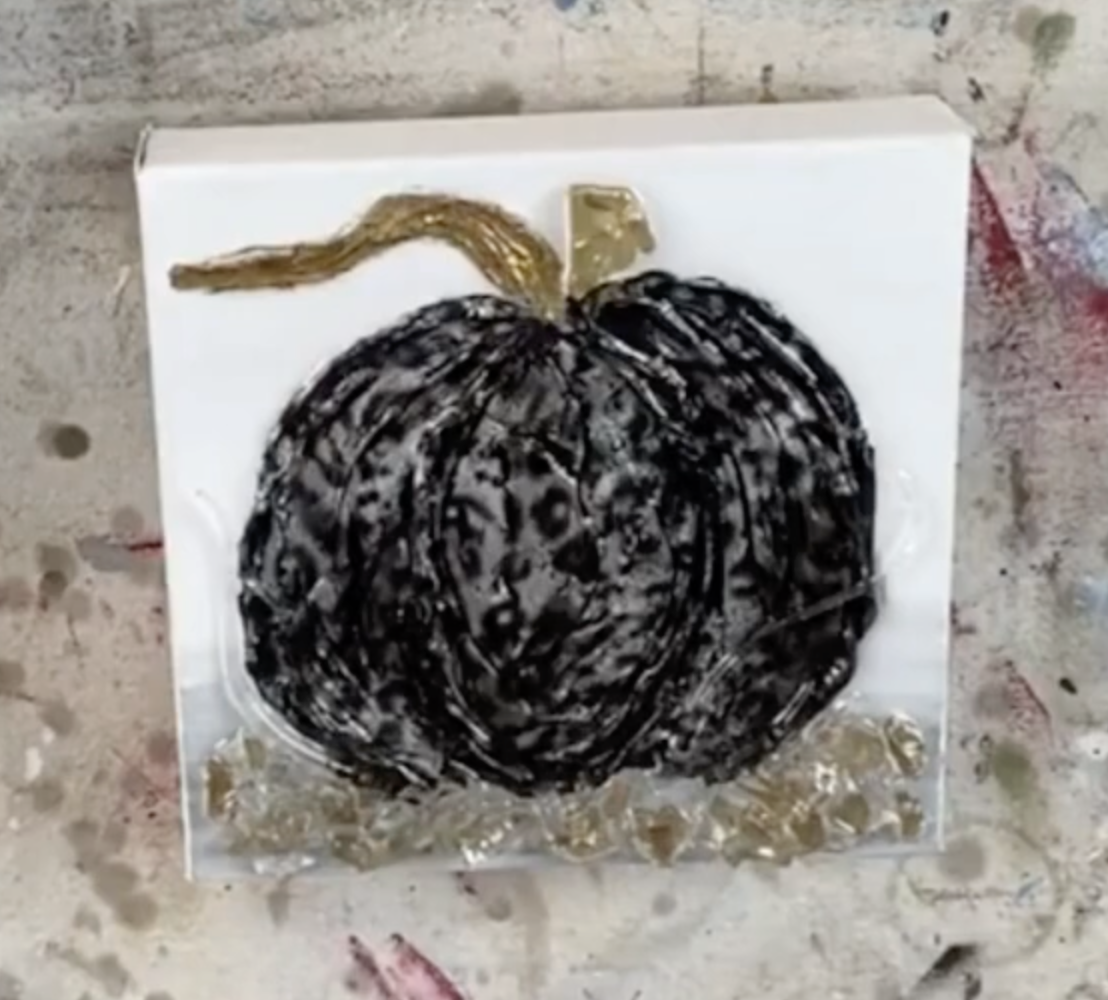
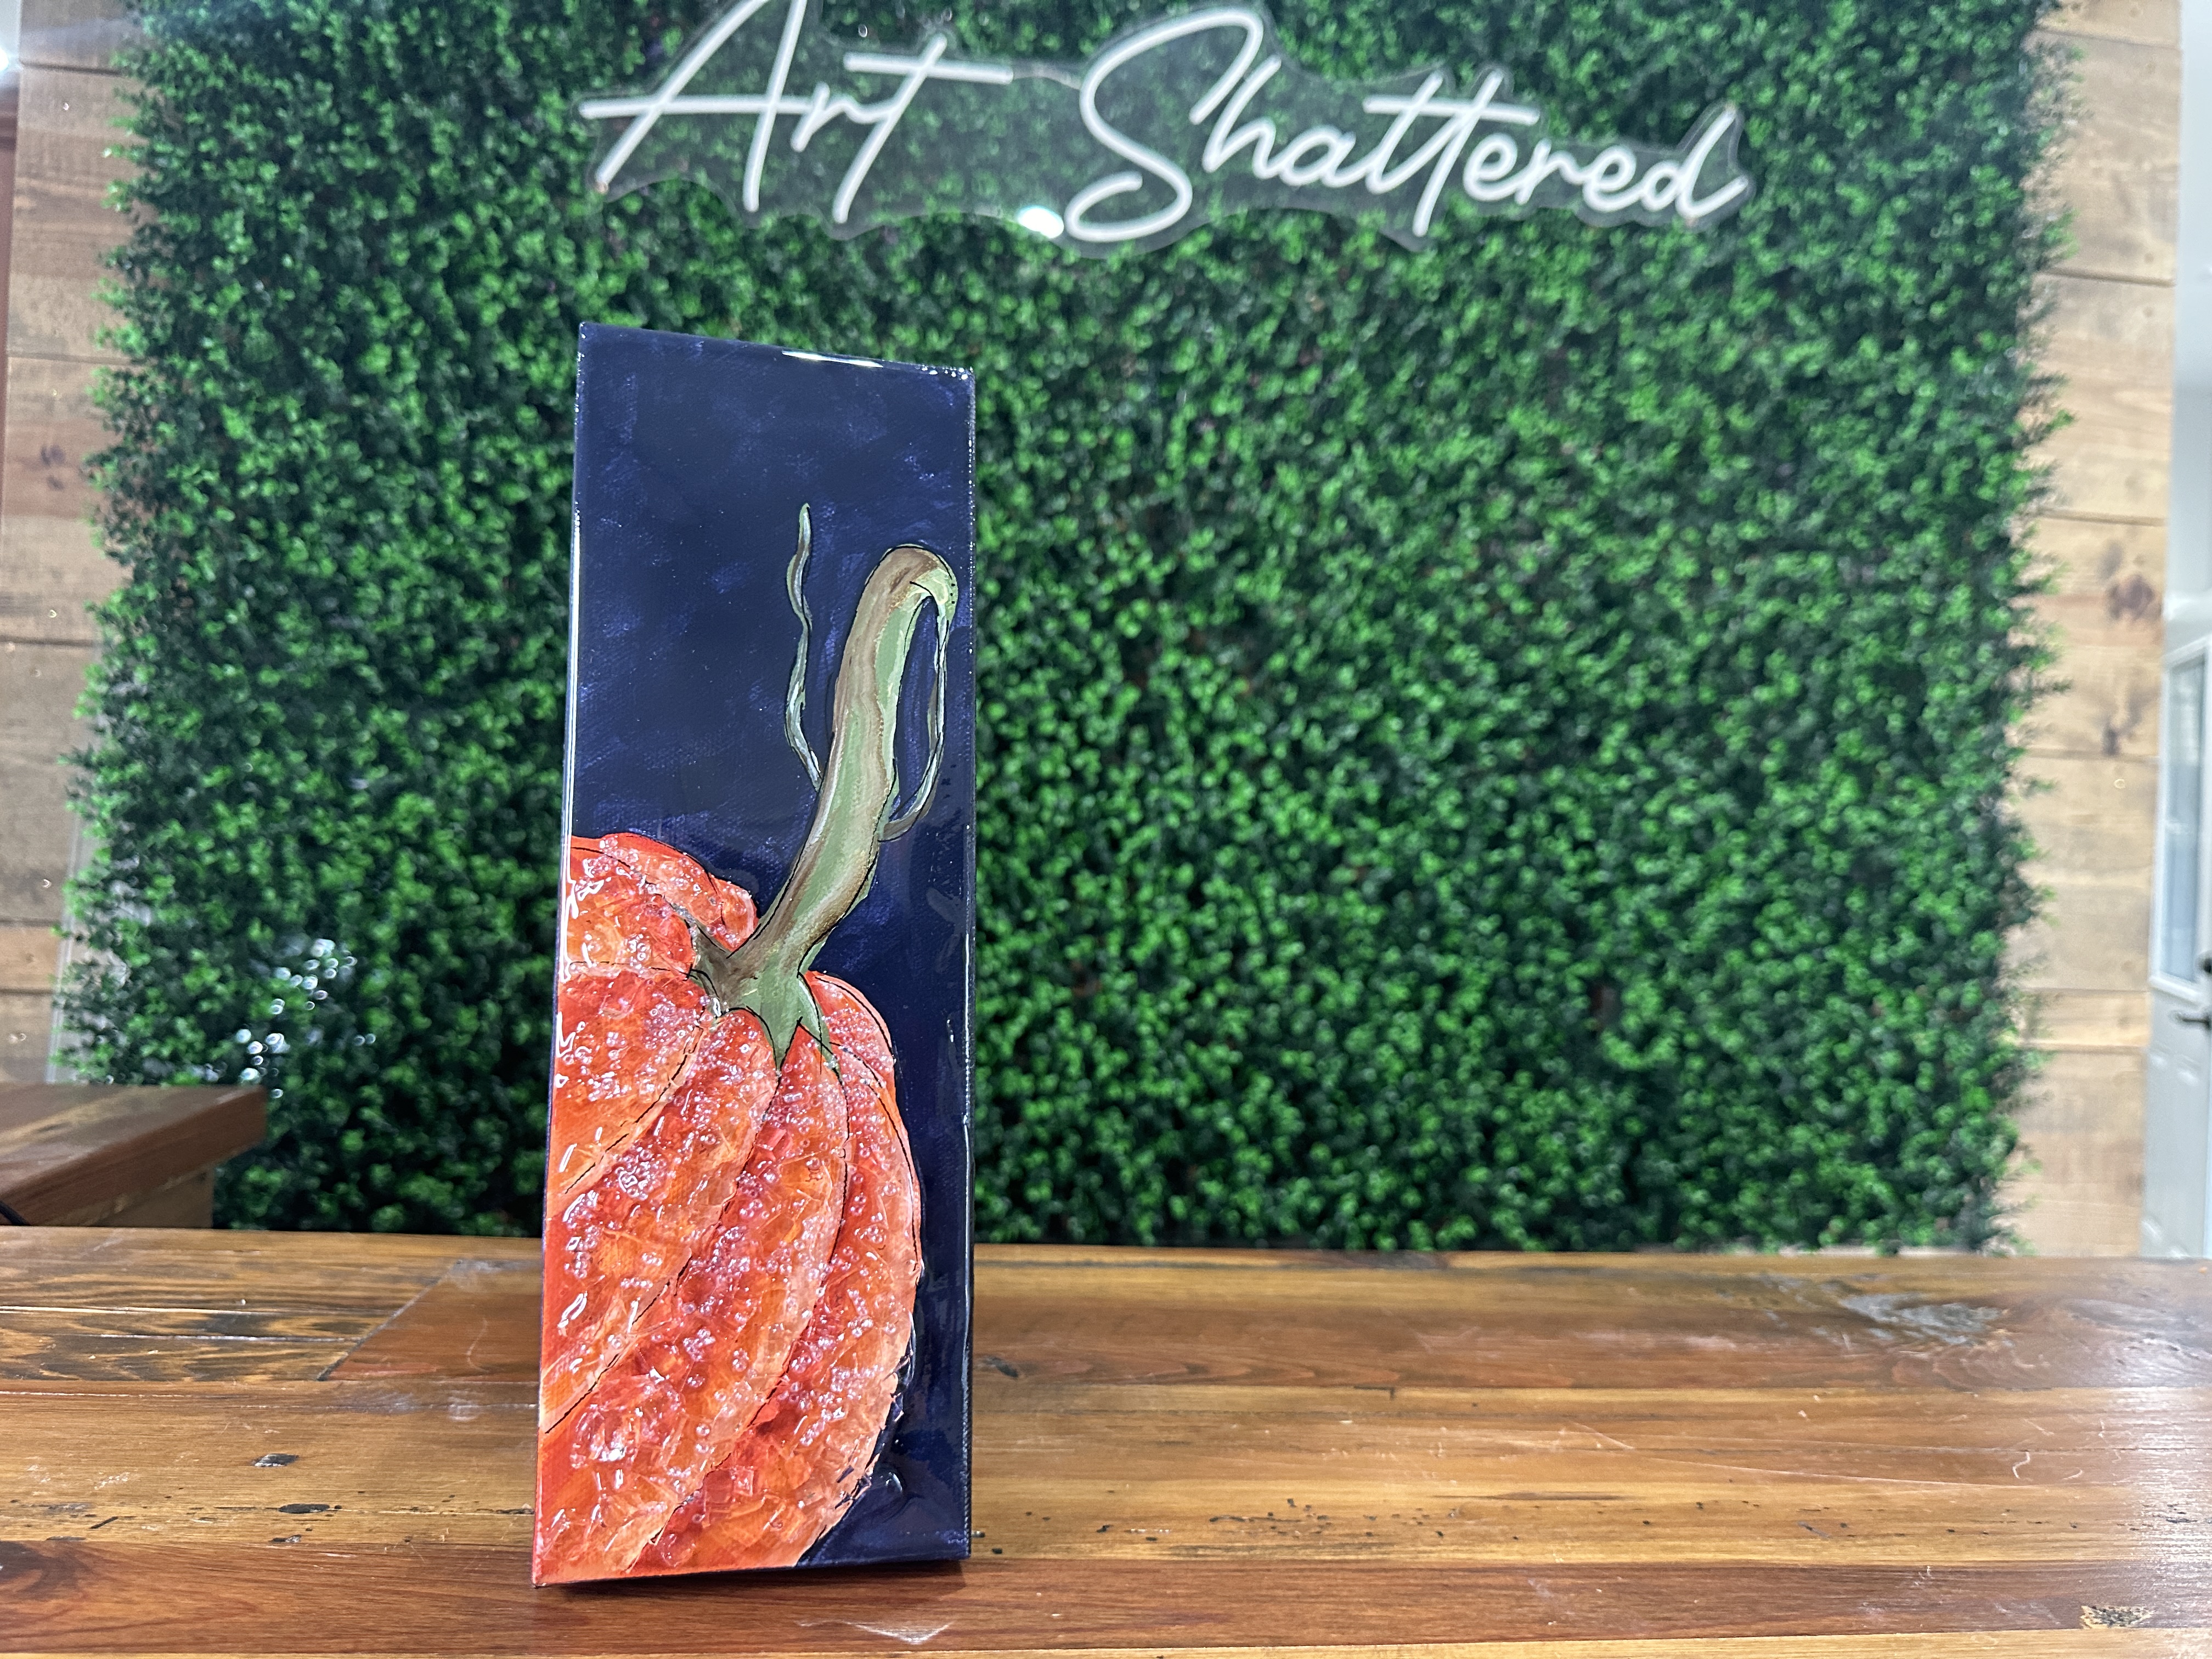
With easy-to-follow steps, you’ll create a beautiful acorn that incorporates fun painting techniques and glass elements. Whether you’re new to painting or have some experience, this project is a great way to unwind and add a touch of charm to your home. Plus, it’s simple enough to complete in an afternoon, making it a perfect winter craft to enjoy.
Begin by painting the background with a base coat of white paint. Blend Camel into the upper portion of the canvas and Gray Storm into the lower area where your acorn will be positioned.
Next, secure your tracer to the canvas with tape, place a sheet of graphite paper underneath, and use a stylus to carefully trace the outline of the acorn.
For the acorn itself, paint the bottom section with Rusted Pipe and the top section with Camel. Use Traditional Burnt Umber to paint the acorn stem. Once complete, dry your work with a heat tool.
Apply a second coat of Rusted Pipe to the bottom of the acorn for a richer finish....
Let's create a beautiful, rustic pumpkin art piece! Starting with a distressed wooden frame, we’ll layer in colorful paints and glass elements to bring the pumpkin to life, like cut vase glass, crushed glass, vitrigraph, beads, mini pinecones, floral bits, and more! This project is both easy to follow and endlessly customizable to what you have in your stash.
Begin by taping off the outer edges of your wooden frame. Using a sponge brush, lightly apply Vintage White paint by dragging it vertically from top to bottom to create a faux-distressed effect. Be sure to keep your strokes vertical, not horizontal. Once finished, dry the paint with a heat tool. Next, layer Sea Mist over the Vintage White using the same technique, then dry again. If you'd like to add more texture, lightly sand the surface with sandpaper or a honing block to enhance the distressed look. Finally, remove the painter's tape to reveal clean edges.
Grab your tracer, tape it to your frame, place graphite...
Let's blend beachy vibes with autumn charm in this unique mixed-media art project! We’ll start by creating a decoupage background with a beach scene, then layer in a beautiful pumpkin, finishing with a touch of sparkle using glass accents and shells. This step-by-step guide will walk you through each stage, bringing coastal and seasonal style to your canvas.
For this art piece, we’ll be crafting a beachy decoupage background using a scenic napkin. Start by trimming the napkin to fit your canvas, then separate the layers until only the top printed layer remains. Brush a layer of Mod Podge onto the canvas, place the napkin on top, and gently smooth it down with your hands to remove any wrinkles. Once it’s secure, apply another coat of Mod Podge over the top to seal it. Tear away any extra napkin from the edges, then use a heat tool to speed up drying.
Grab your tracer, tape it to your canvas, place graphite paper underneath, and trace the pumpkin with a...
Get ready to create a one-of-a-kind, textured pumpkin masterpiece! In this tutorial, we’ll layer warm fall colors, add depth with shadowing, and bring everything together with unique details like wooden leaves, pinecones, candy corn, glass, and resin. This is the perfect fall pumpkin to add to your decor this season!
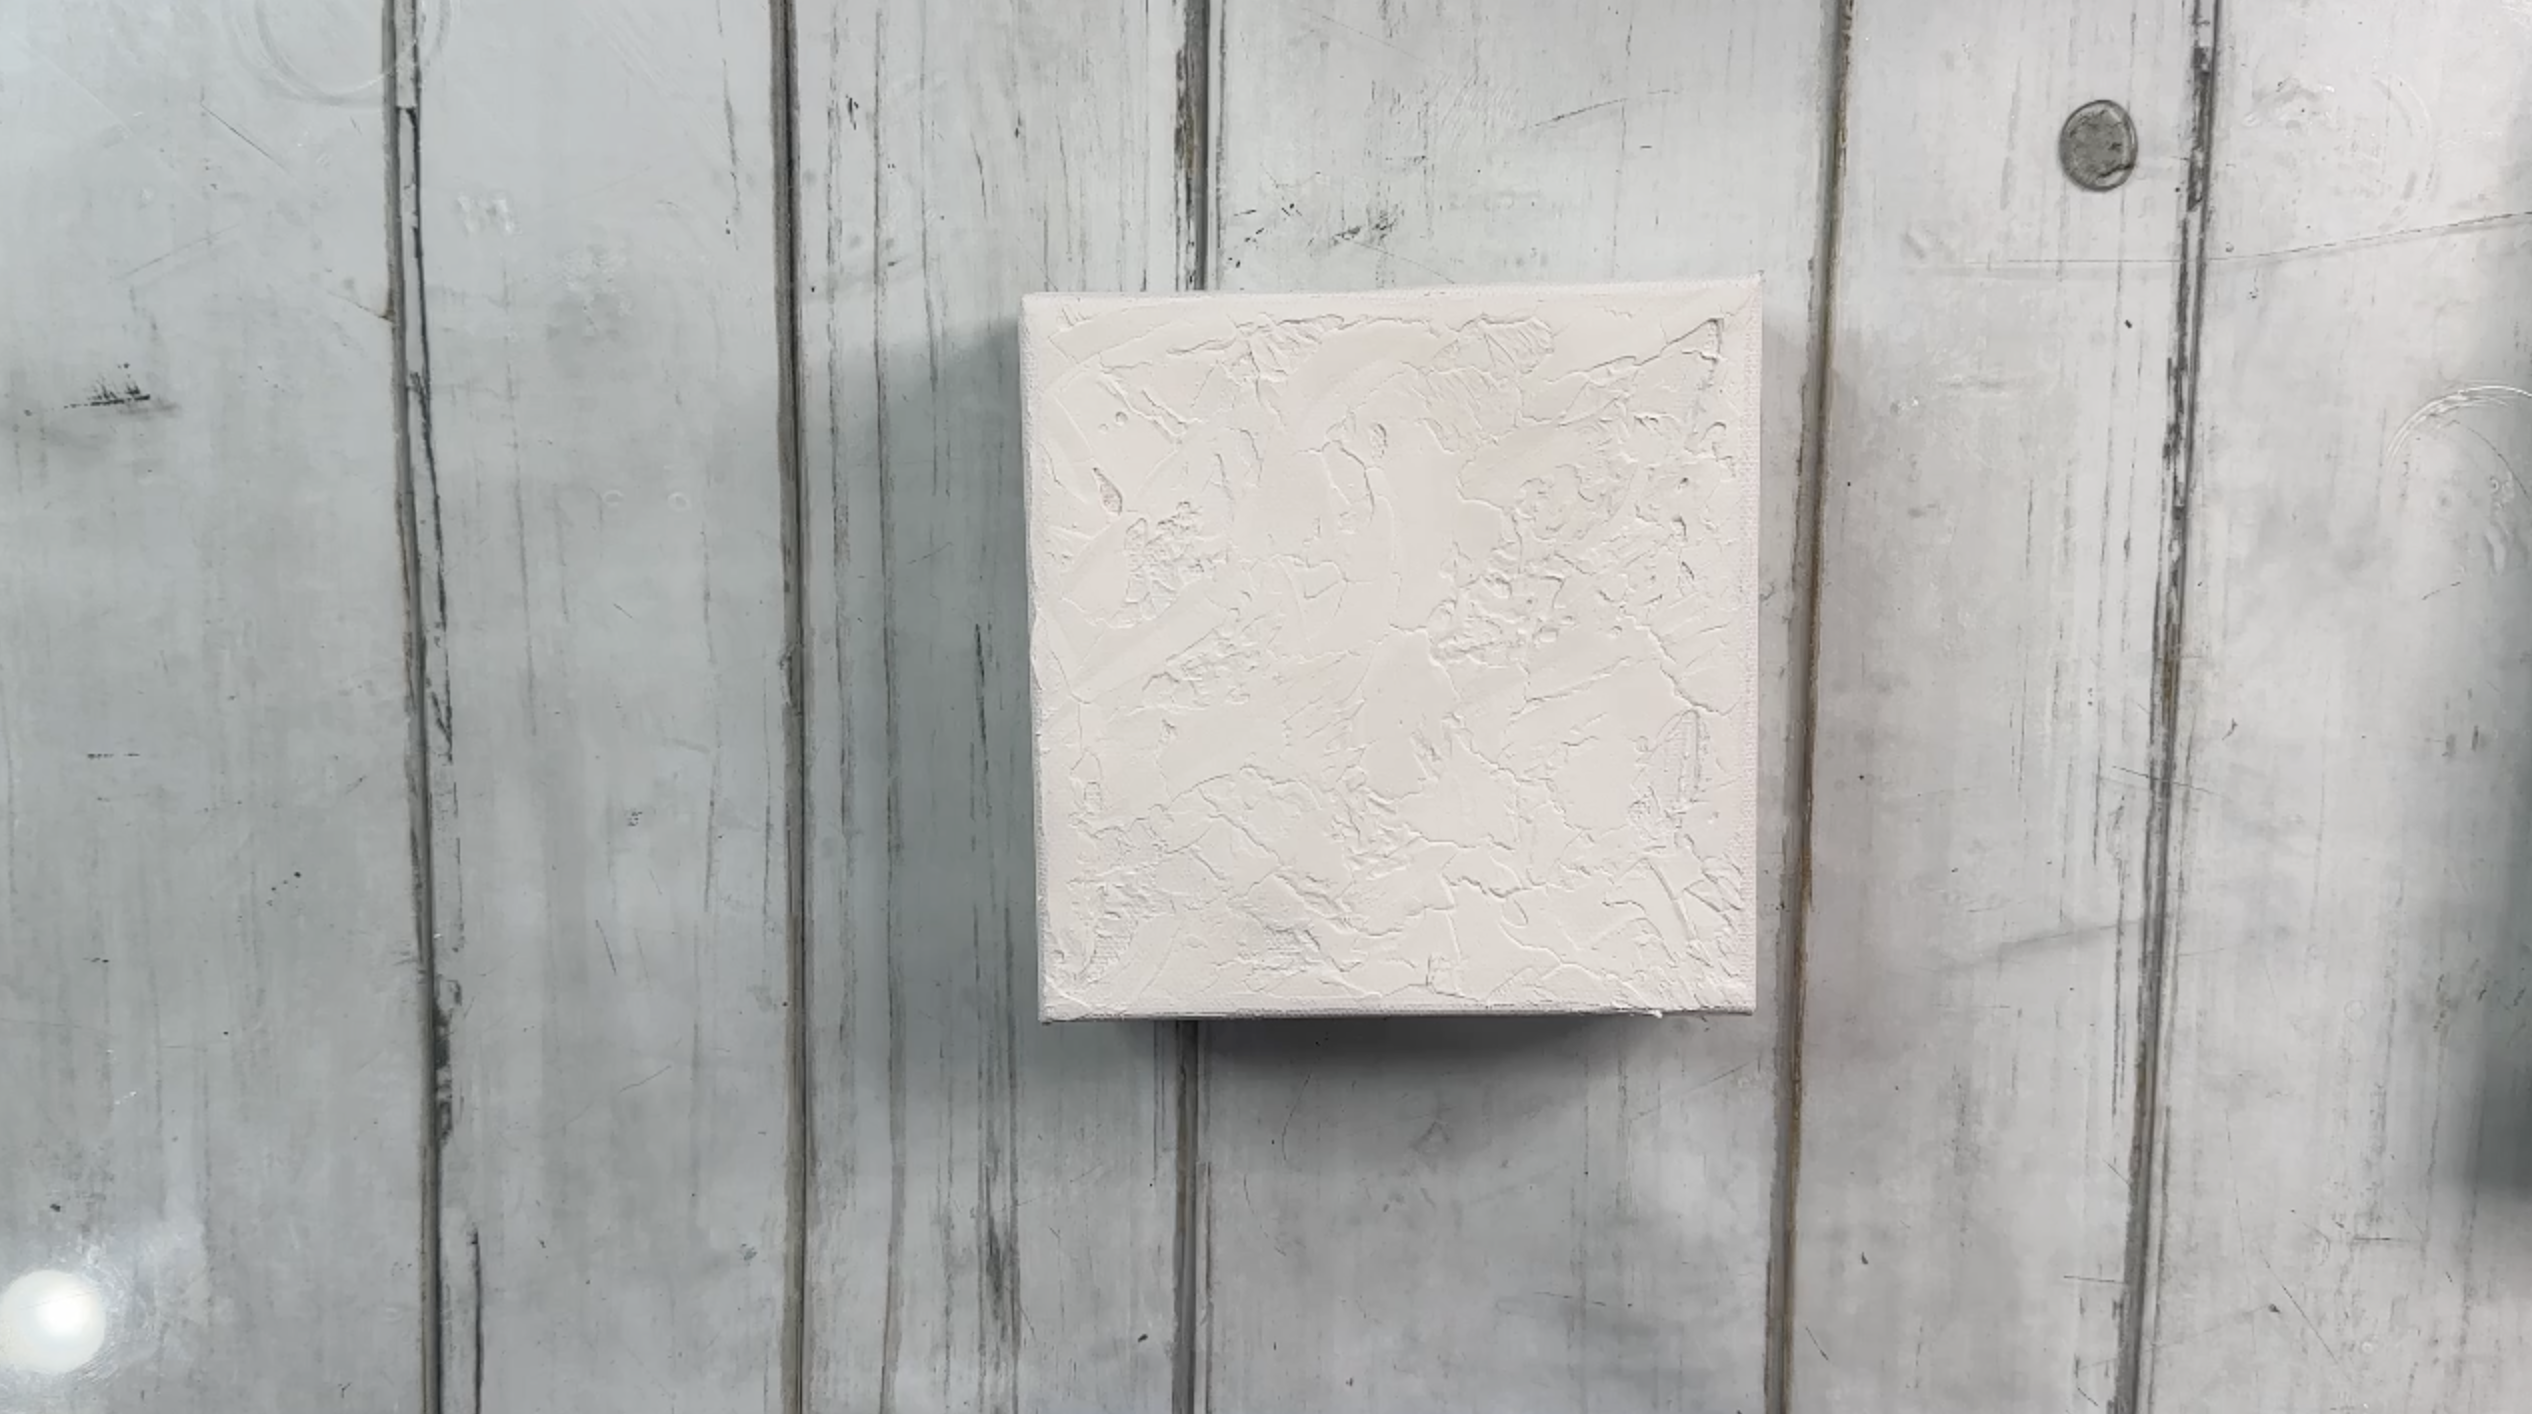
Let’s begin with a neutral background by applying a coat of white paint to the canvas. While it’s still wet, blend in Delta Shadow Gray, using the brush to pounce and press the paint for added texture. Then, use a heat tool to dry.
Grab your tracer, tape it to your canvas, place graphite paper underneath, and trace the pumpkin with a stylus.
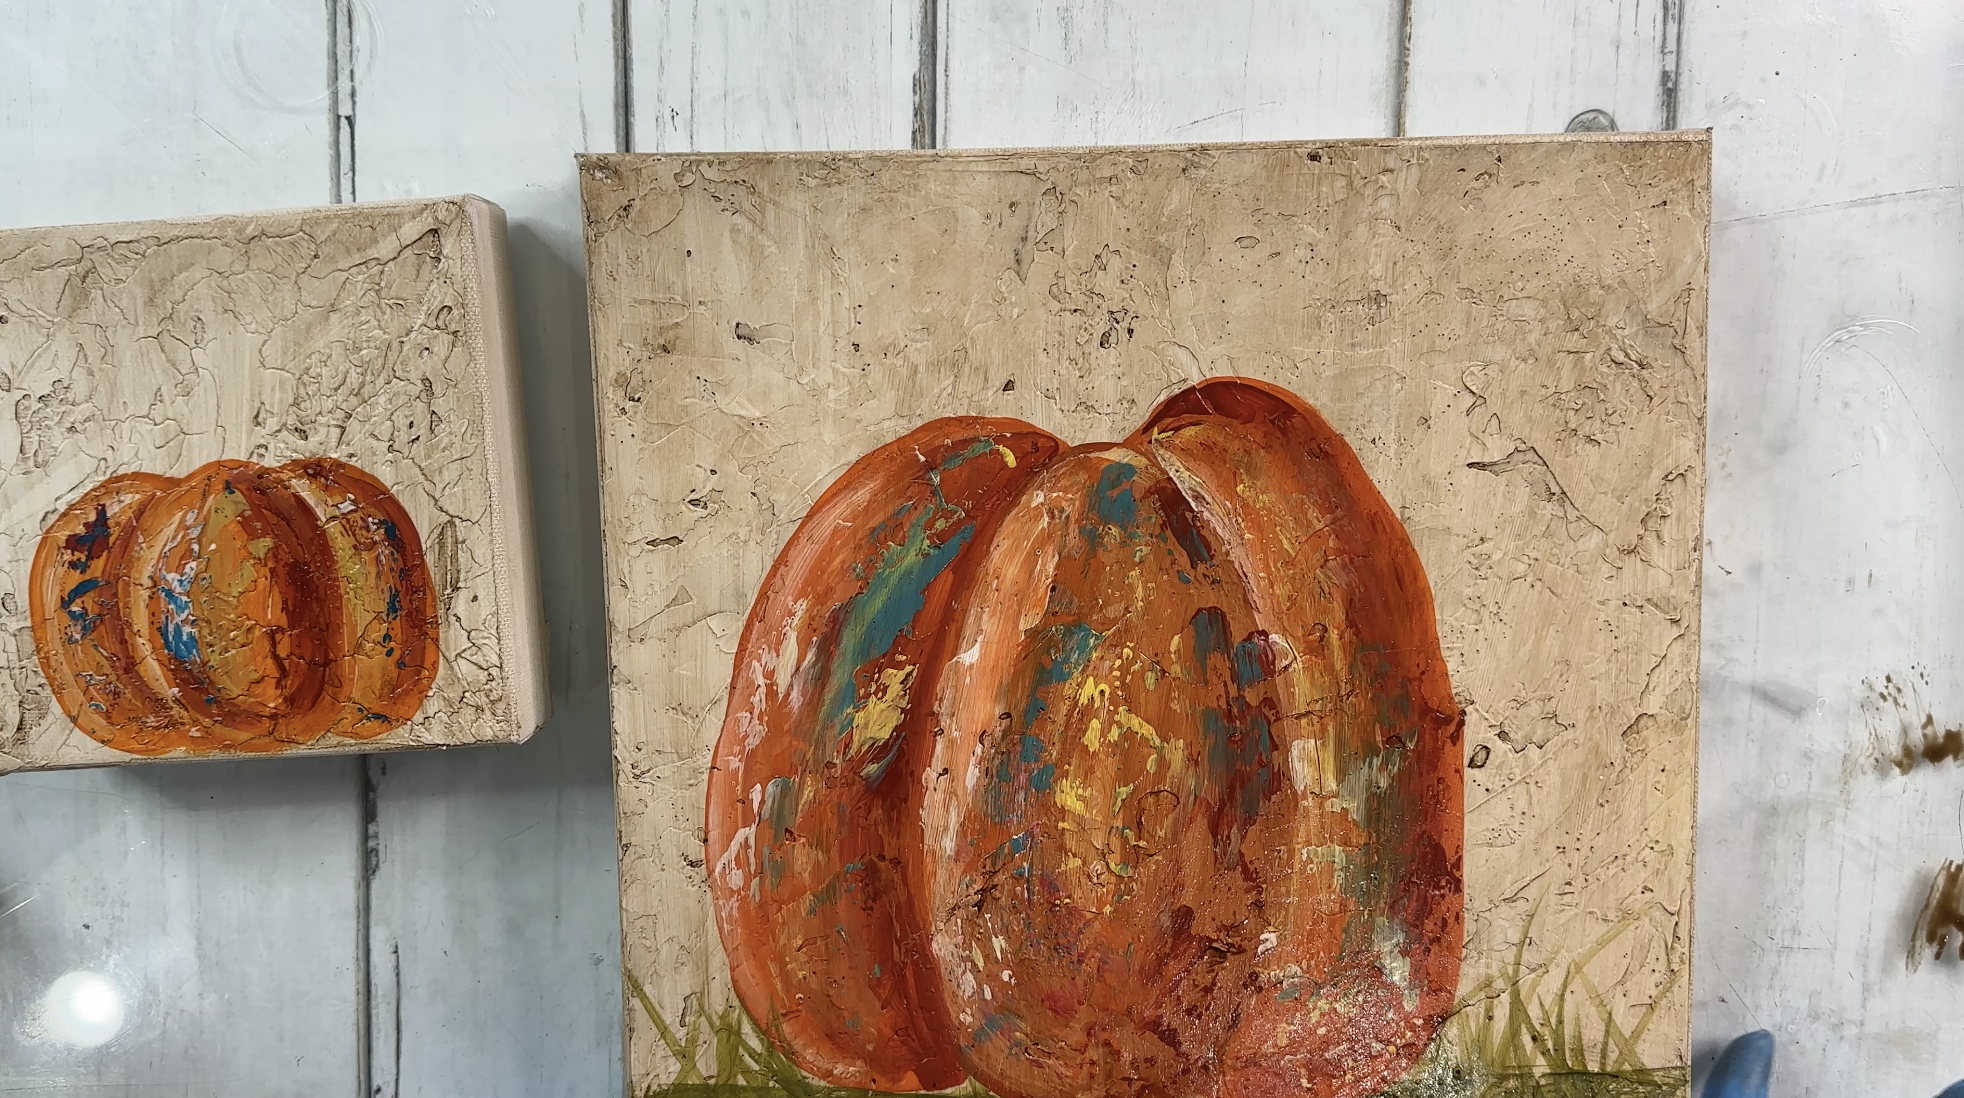
Now, let’s bring the pumpkin to life! I’ll be using Spiced Pumpkin, Georgia Clay, Sunset Gold, and white paint, working one section at a time. Start by covering a section with Spiced Pumpkin. Then, with the backside of a palette knife, swipe on Georgia Clay along one side, Sunset Gold in the center,...
In this project, we'll create a whimsical witch's broomstick to add a magical touch to a pumpkin art piece. Using simple materials like raffia, twine, and a stick, along with some textured painting techniques, we'll create a fun and unique fall art piece. To top it off, we'll add reflective glass, seed beads, and resin for extra dimension and sparkle.
Grab your tracer, tape it to your canvas, place graphite paper underneath, and trace your pumpkin with a stylus.
I’m using three beautiful shades of pink on my pumpkin: Vintage Pink, Teaberry, and Summer Peach. We’ll work on each section one at a time for a soft, blended look. Start with the large center section by painting it in Vintage Pink. Next, add Teaberry to one side and Summer Peach near the top. Blend a touch of white paint in the middle for dimension. Repeat this technique for each section around the pumpkin.
Next, paint the stem with Traditional Burnt Umber. I'll also add white paint on...
Get ready to bring some spooky campfire magic to life! In this project, we’ll craft mini marshmallows from clay and create a glowing bonfire scene complete with a cute ghost. We'll paint flames and our ghost, add elements like sticks and rocks, and finish it off with glass, beads, and resin for sparkle. Perfect for all skill levels, this fun and festive project will leave you with a unique art piece, just in time for the spooky season!
For this art project, I'm crafting mini marshmallows using Crayola Model Magic. Start by pinching off a small amount of clay and rolling it into a ball to soften it. Then, shape it into a cylinder. Using a knife or scissors, cut the cylinder into small sections to form marshmallow-sized pieces. Gently roll and press each piece until it resembles a marshmallow. To add detail, use a toothpick to poke a hole in one end, and then place it on a small twig. Let the marshmallows harden for 24 hours. To finish, I'll use a blow torch to give them a...
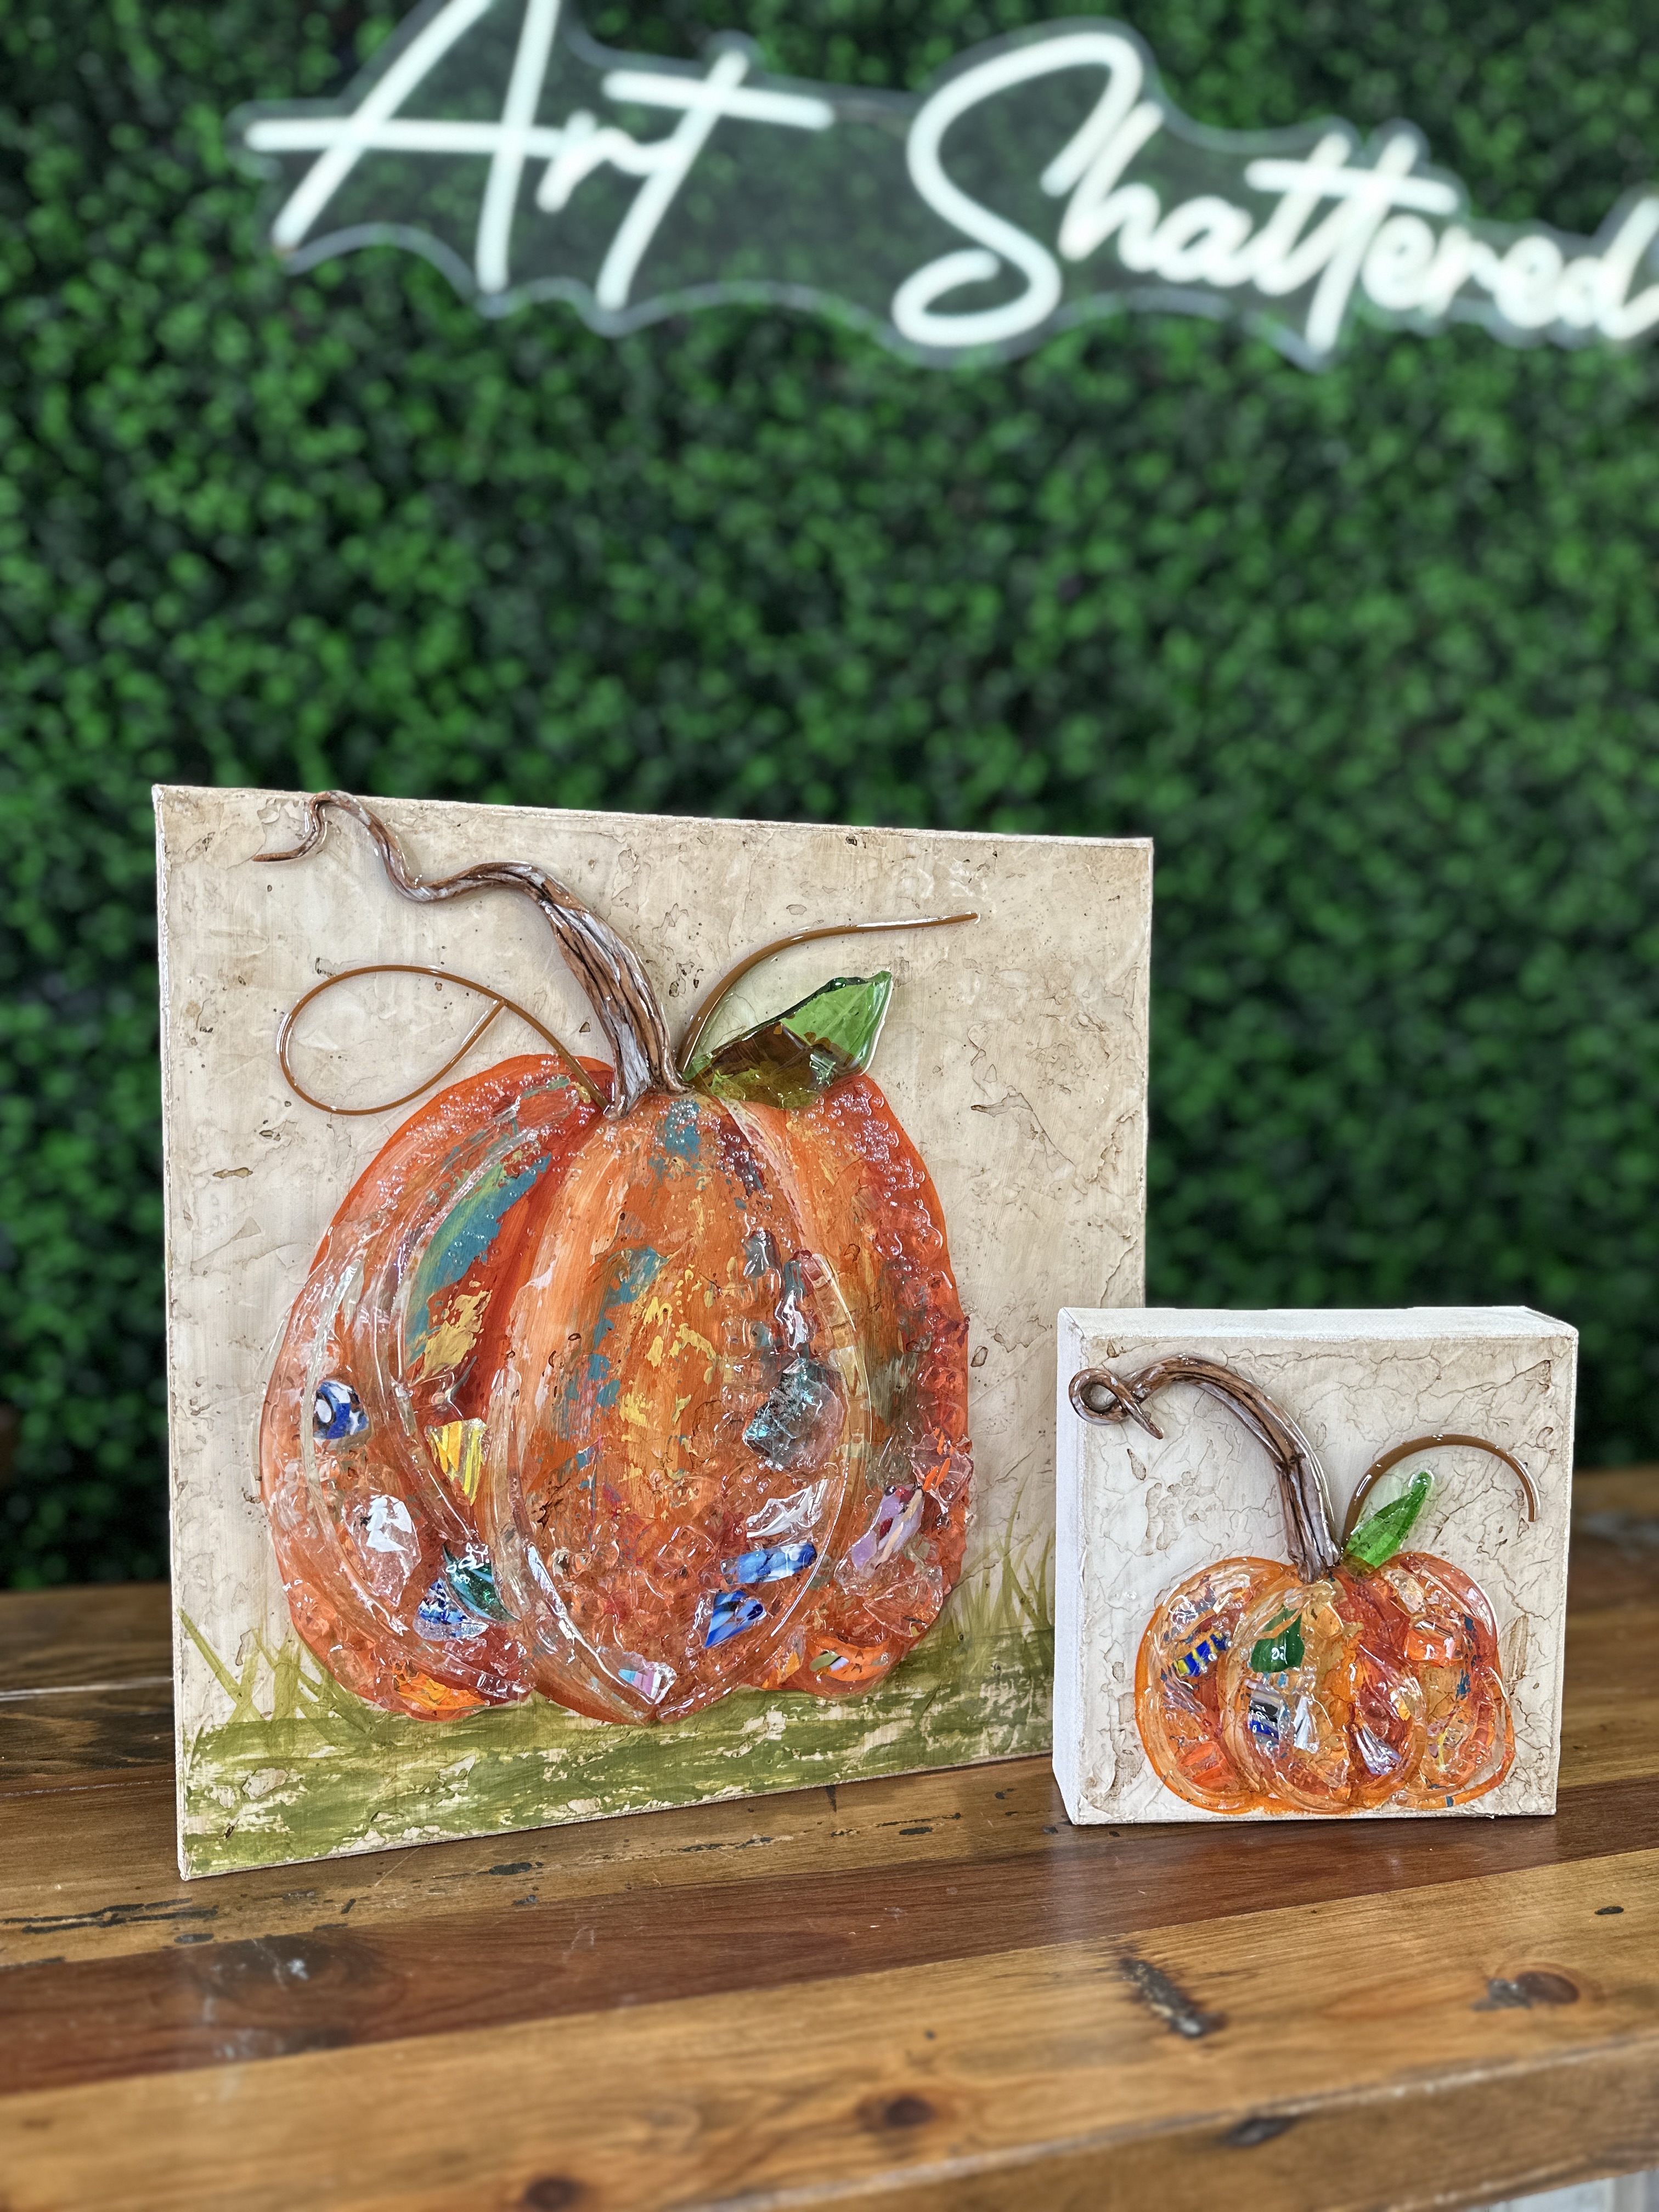
Today, we're diving into a fun fall art project perfect for the season - creating a textured pumpkin on an 8x8 canvas using paint, decoupage, and glass! We'll start by prepping the canvas with rustic decoupage paper and adding a colorful, textured background. We'll embellish it with glass details like clear vase nips and crushed glass for that extra sparkle!
Apply a coat of Mod Podge to your 8x8 canvas and lay your rustic decoupage paper on top. Smooth it down with your hands and dry it with a heat tool. Add another coat of Mod Podge on top to seal the background. Tear off any excess paper and dry again.
Paint the edges of your canvas with Americana Red Spice. I'll also blend in Traditional Burnt Umber for a more messy and textured look. Dry with your heat tool. I'll come in with a 1/4-inch brush and add some spots of Spa Blue paint on the edges too.
I want to create a surface for my pumpkin to sit on. About an inch above the bottom of your canvas, use a sponge brush to...
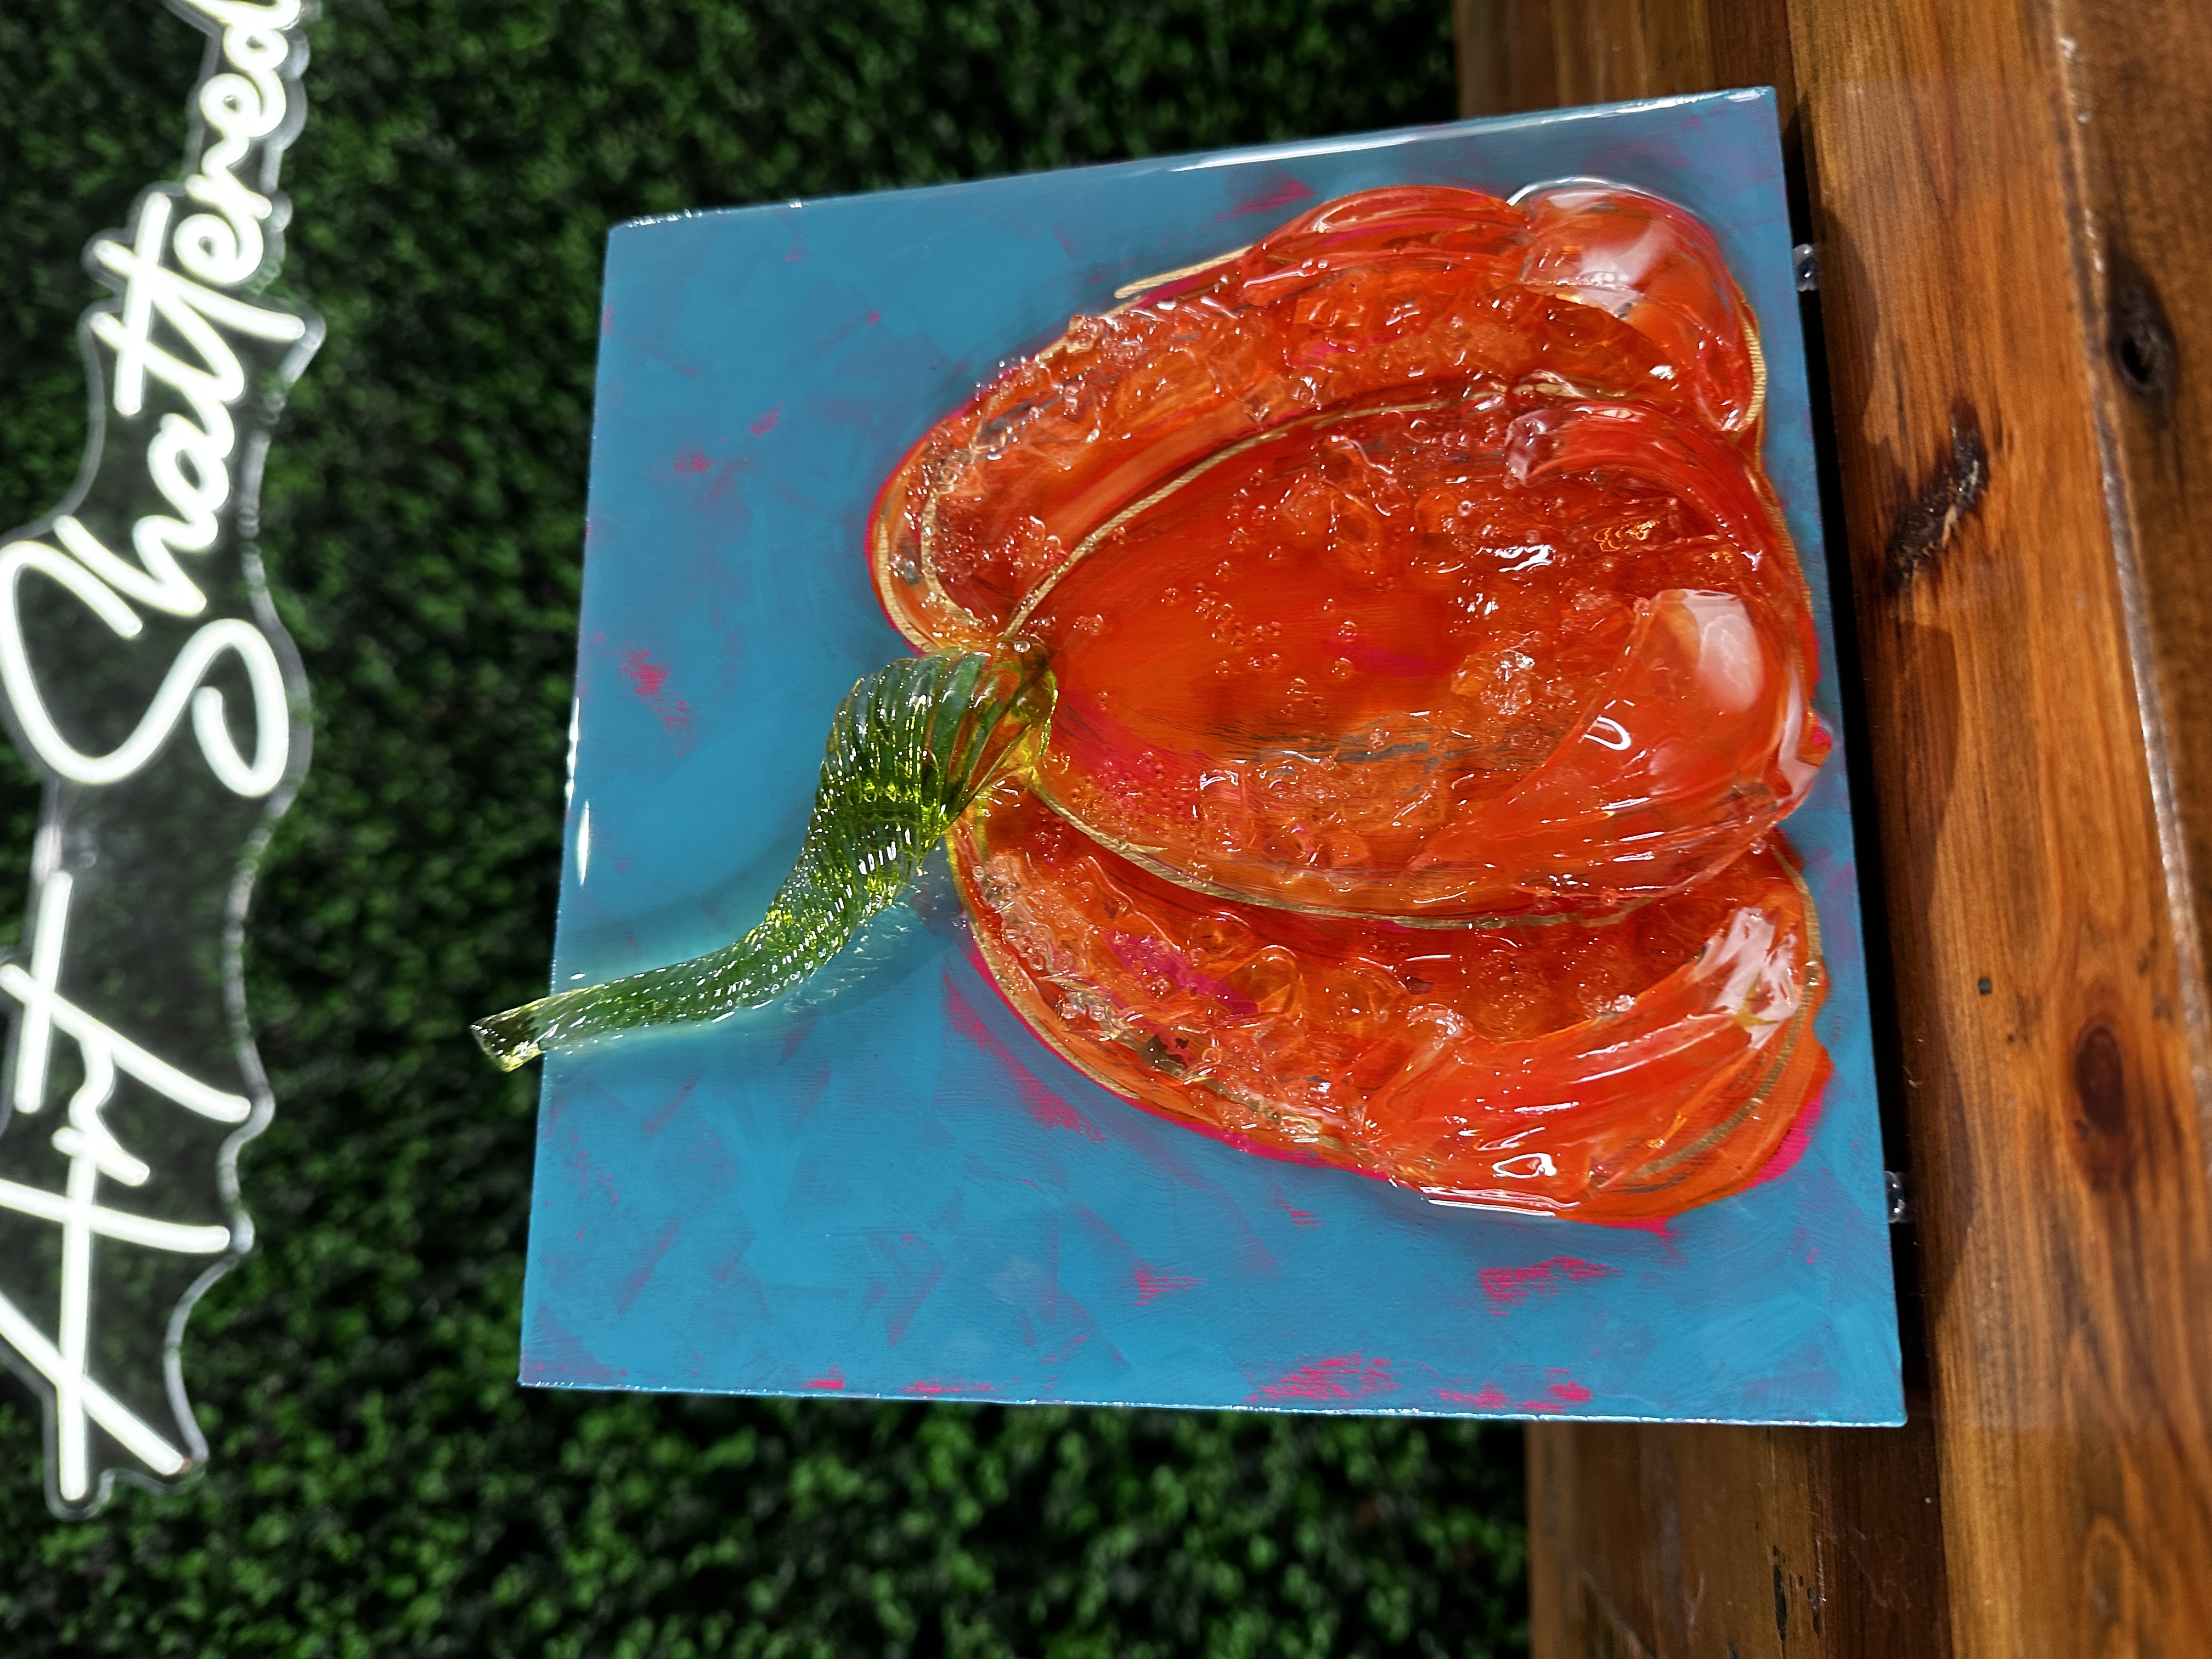
Looking for a one-of-a-kind pumpkin project this fall? We're creating a bold, wild, and totally fun foil pumpkin art piece that combines a mix of vibrant foils, metallic paints, and glass and resin. I’m here to walk you through every step - from tracing your pumpkin to adding those stunning foils and finishing off with a glossy resin coat.
Start by painting your canvas with two coats of black acrylic paint. Then, lightly sand it with sandpaper to create a smooth finish. Let dry.
Grab your tracer, tape it to your canvas, place white graphite paper underneath, and trace your pumpkin with a stylus.
Decide where to place each type of foil on your pumpkin. I will apply a leopard print foil to two different sections, so I'll paint those with Metallic Black acrylic paint. I'll paint the rest of my pumpkin sections with a mix of Metallics Pearl Fruit Punch, Metallics Peacock Pearl, Scarlet (orange), and white paint. I'll also paint the stem with Metallics Festive Green. Dry with...
I'm thrilled to be joined by two incredible guest artists - Christie Hawkins from The Social Easel and Kasey Hope with P'zazz Art Studio. Together, we're crafting textured metallic pumpkins on a 6x6 canvas, perfect for adding a festive touch to your fall decor. Not only are these pumpkins adorable and super easy to make, but I'm also giving mine a unique twist by incorporating beachy elements like mini shells, starfish, Starfire glass, and seed beads.
We are going to use modeling paint to create a textured pumpkin! Load a palette knife with modeling paste, make a large circle, and then create sections on each side in a "parenthesis" shape. Add your stem as well. Let dry for an hour or two.
I'll paint my pumpkin with Metallic Peal paint and blend in Metallic Ice Blue. I'll paint my background with Metallic Rose Shimmer and use dark pink to go around my pumpkin to create a shadow. I'll also paint the stem with Metallic Gold.
Take the flat side of your brush and...
50% Complete
Lorem ipsum dolor sit amet, consectetur adipiscing elit, sed do eiusmod tempor incididunt ut labore et dolore magna aliqua.