
All the Bubbles 🫧
Looking to add some whimsy and magic to your artwork? Painted bubbles are a simple, beautiful way to make any piece pop whether you're crafting an underwater scene or just want a little fun on your canvas. In this tutorial, I’ll walk you through step-by-step how to create painted bubbles using basic tools and a few fun techniques.
Step 1: Set the Scene
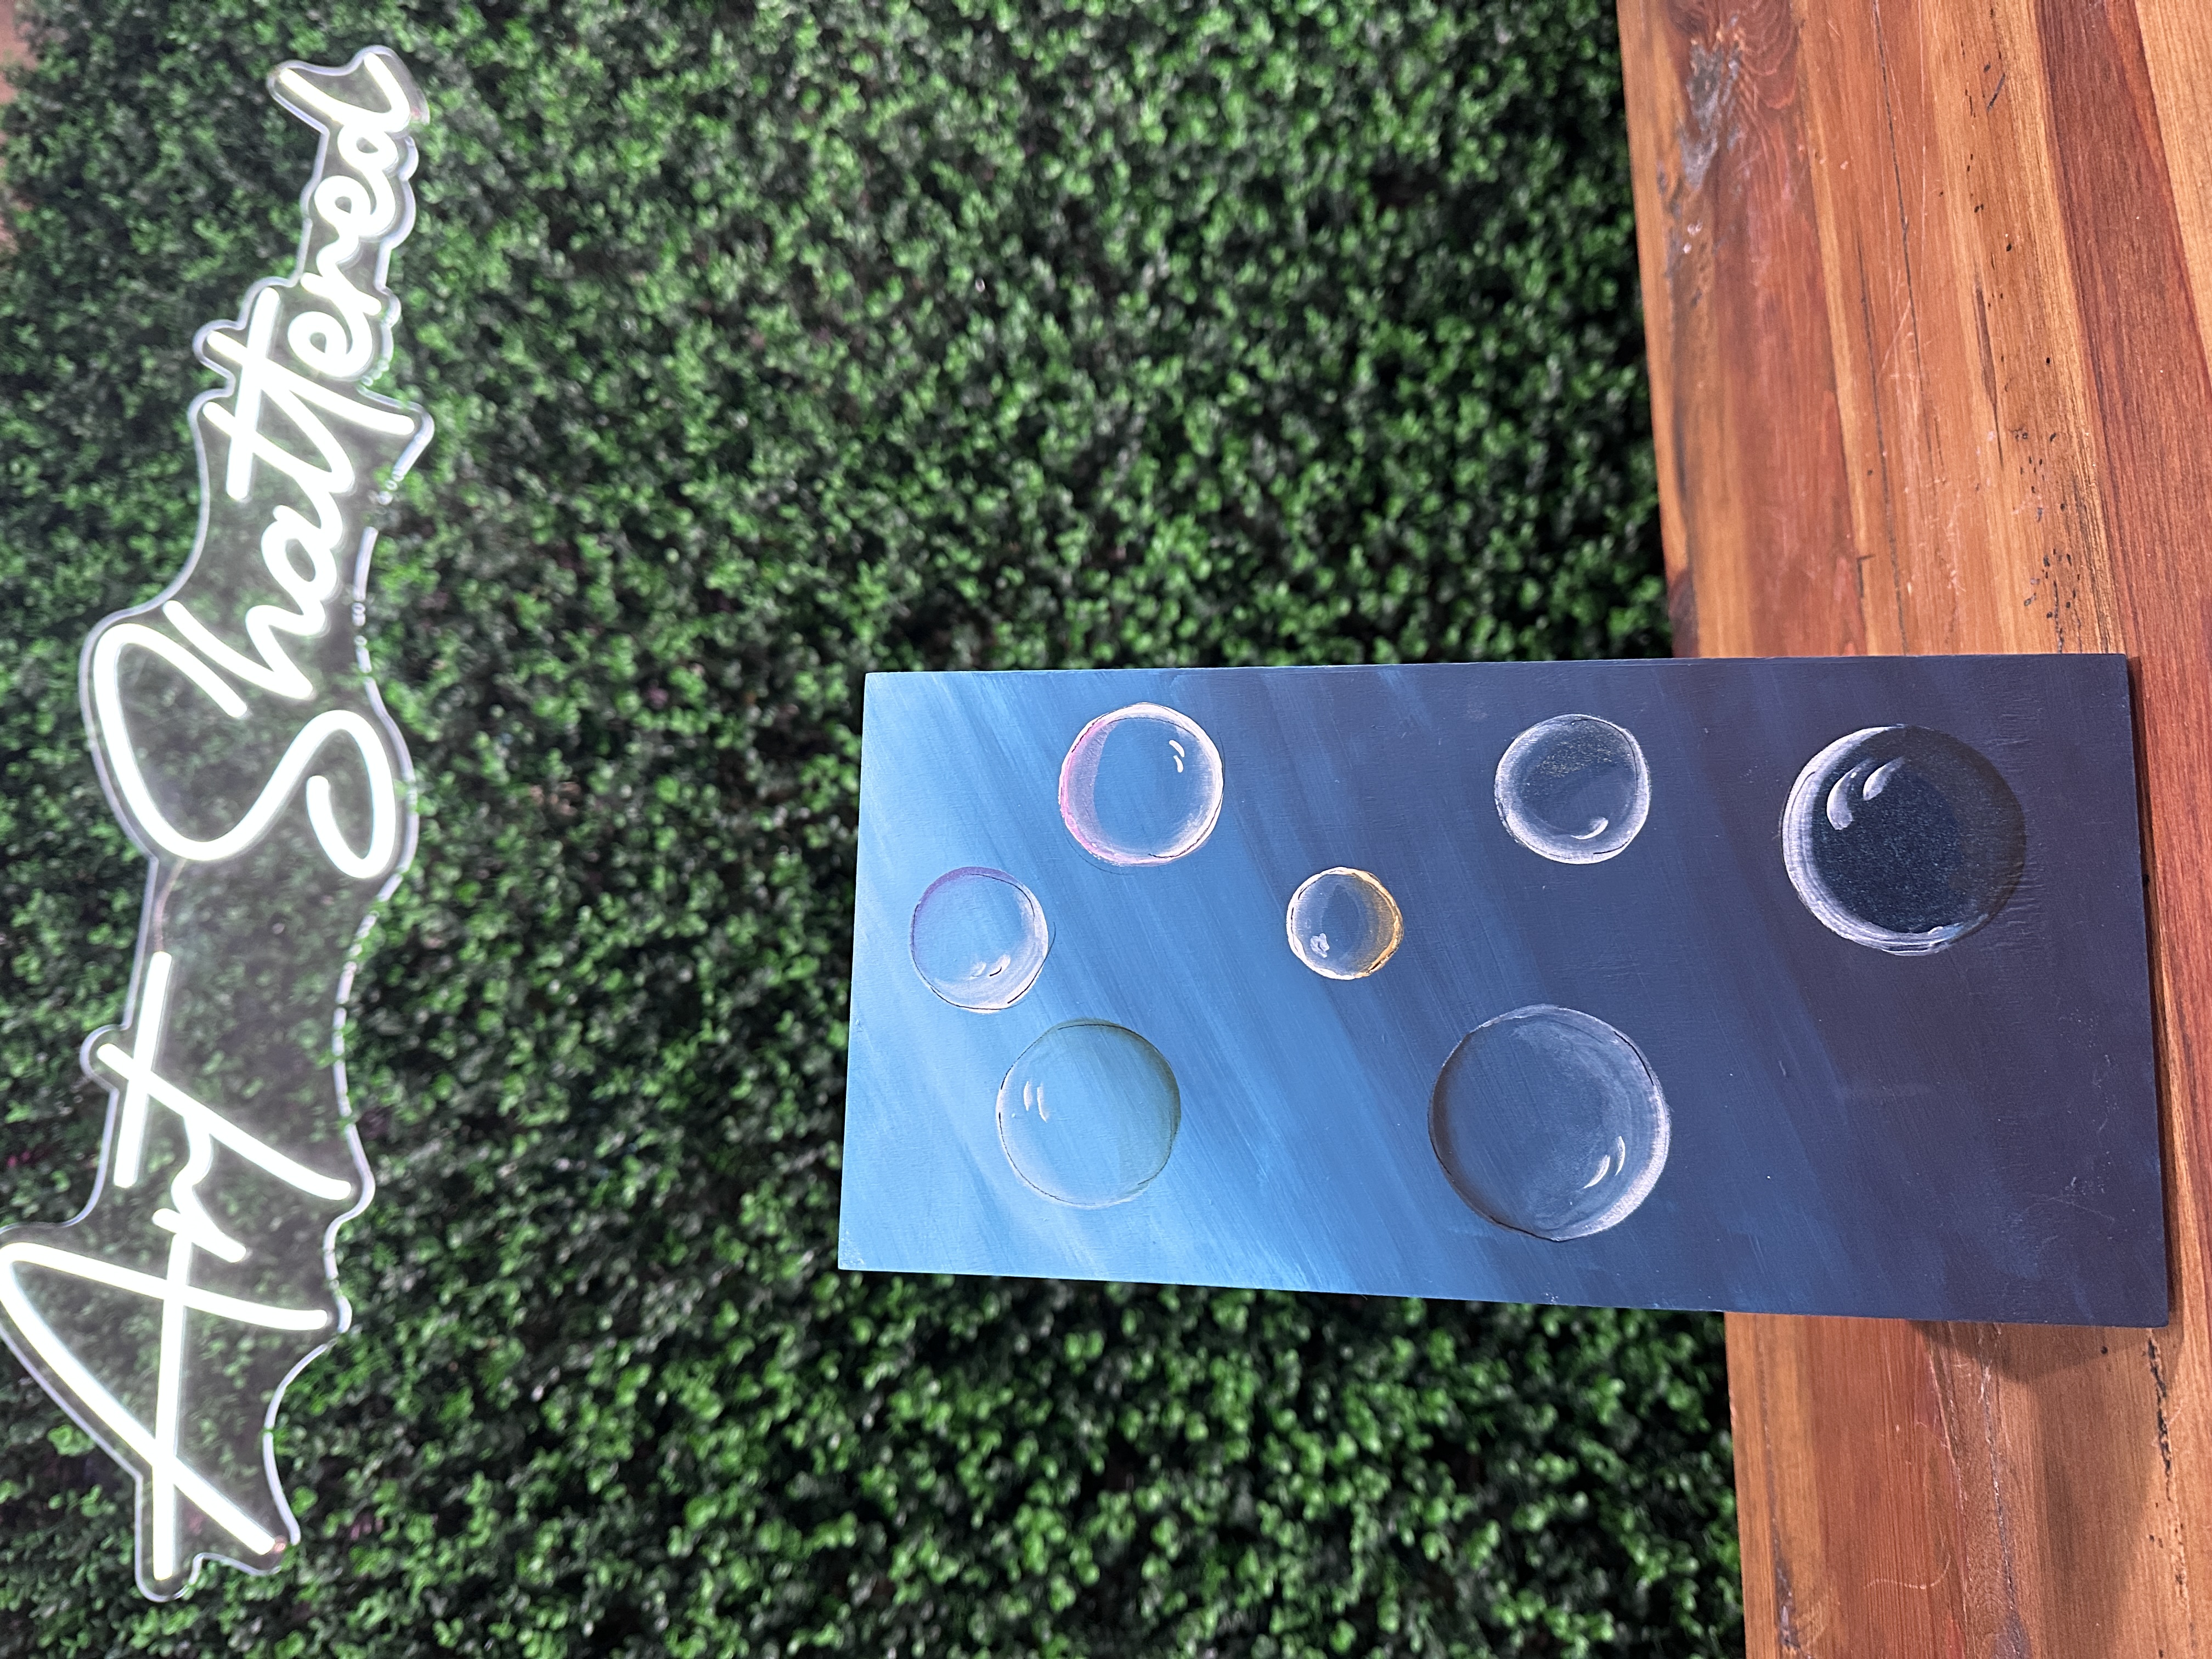
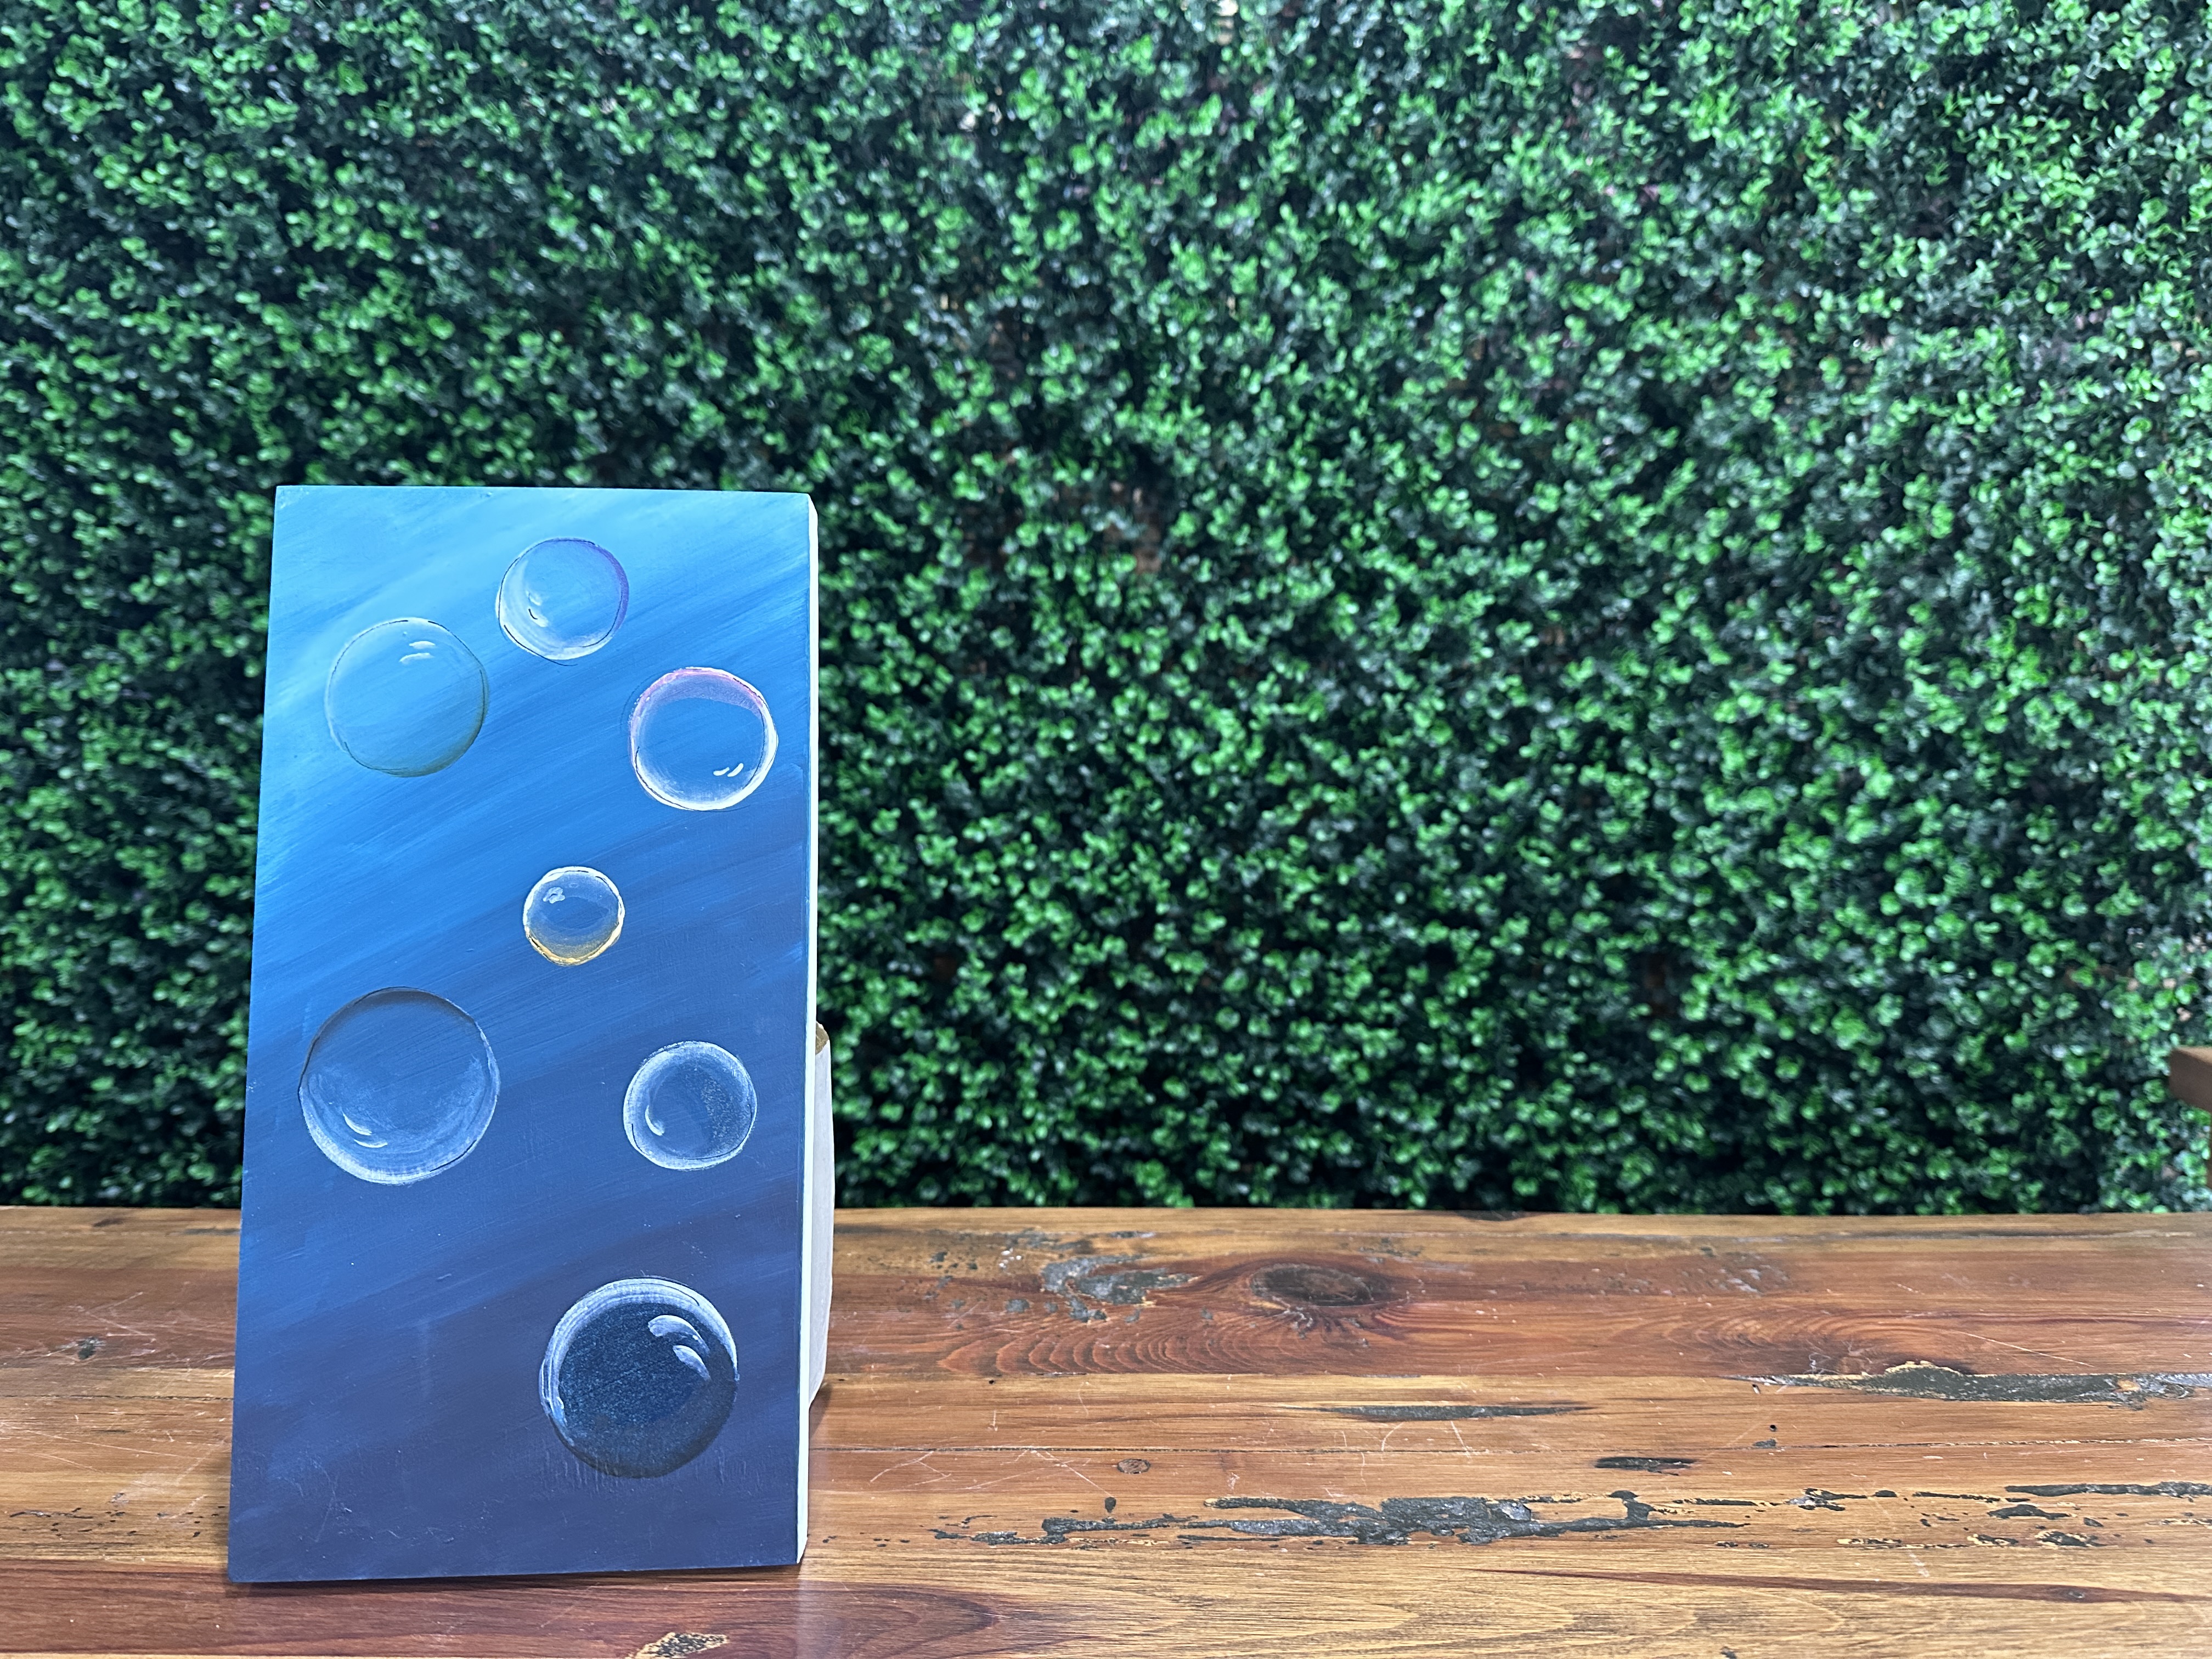
Start with a painted background. I used an ombre of blues, blending three shades for a rich ocean-y feel. You can use whatever color palette suits your project, but darker backgrounds make bubbles stand out!
Step 2: Draw Your Circles
Bubbles are just circles - don't overthink it! You can trace around a cup, cap, or bottle with a watercolor or chalk pencil. Keep the lines light - they’ll blend in later.
Want a shortcut? Dip the rim of your cup into white paint and stamp it directly onto your background. Instant bubble outline!
Step 3: Paint the Bubble Outline
Now the magic begins! Load just the corner of a damp flat brush with white paint. Swish-swish the brush on your palette to blend the paint into the bristles.
Then, gently sweep that brush around the outside of your bubble circle. You can go all the way around or just do a partial outline, depending on the effect you want.
Hot tip: If your brush is too dry, your lines will be harsh. Keep it moist for that soft look.
Step 4: Add Color + Shine
This is where you get creative! On the opposite side of your white highlight, add a bit of color - metallics work great! I tried:
-
Dragonfly Glaze (blue-green + violet)
-
Metallic Pink
-
Gold shimmer
-
Dark green and black for depth
-
Light translucent washes in the center
Blend them in gently with a damp brush or your finger. These accents give your bubble dimension and shimmer.
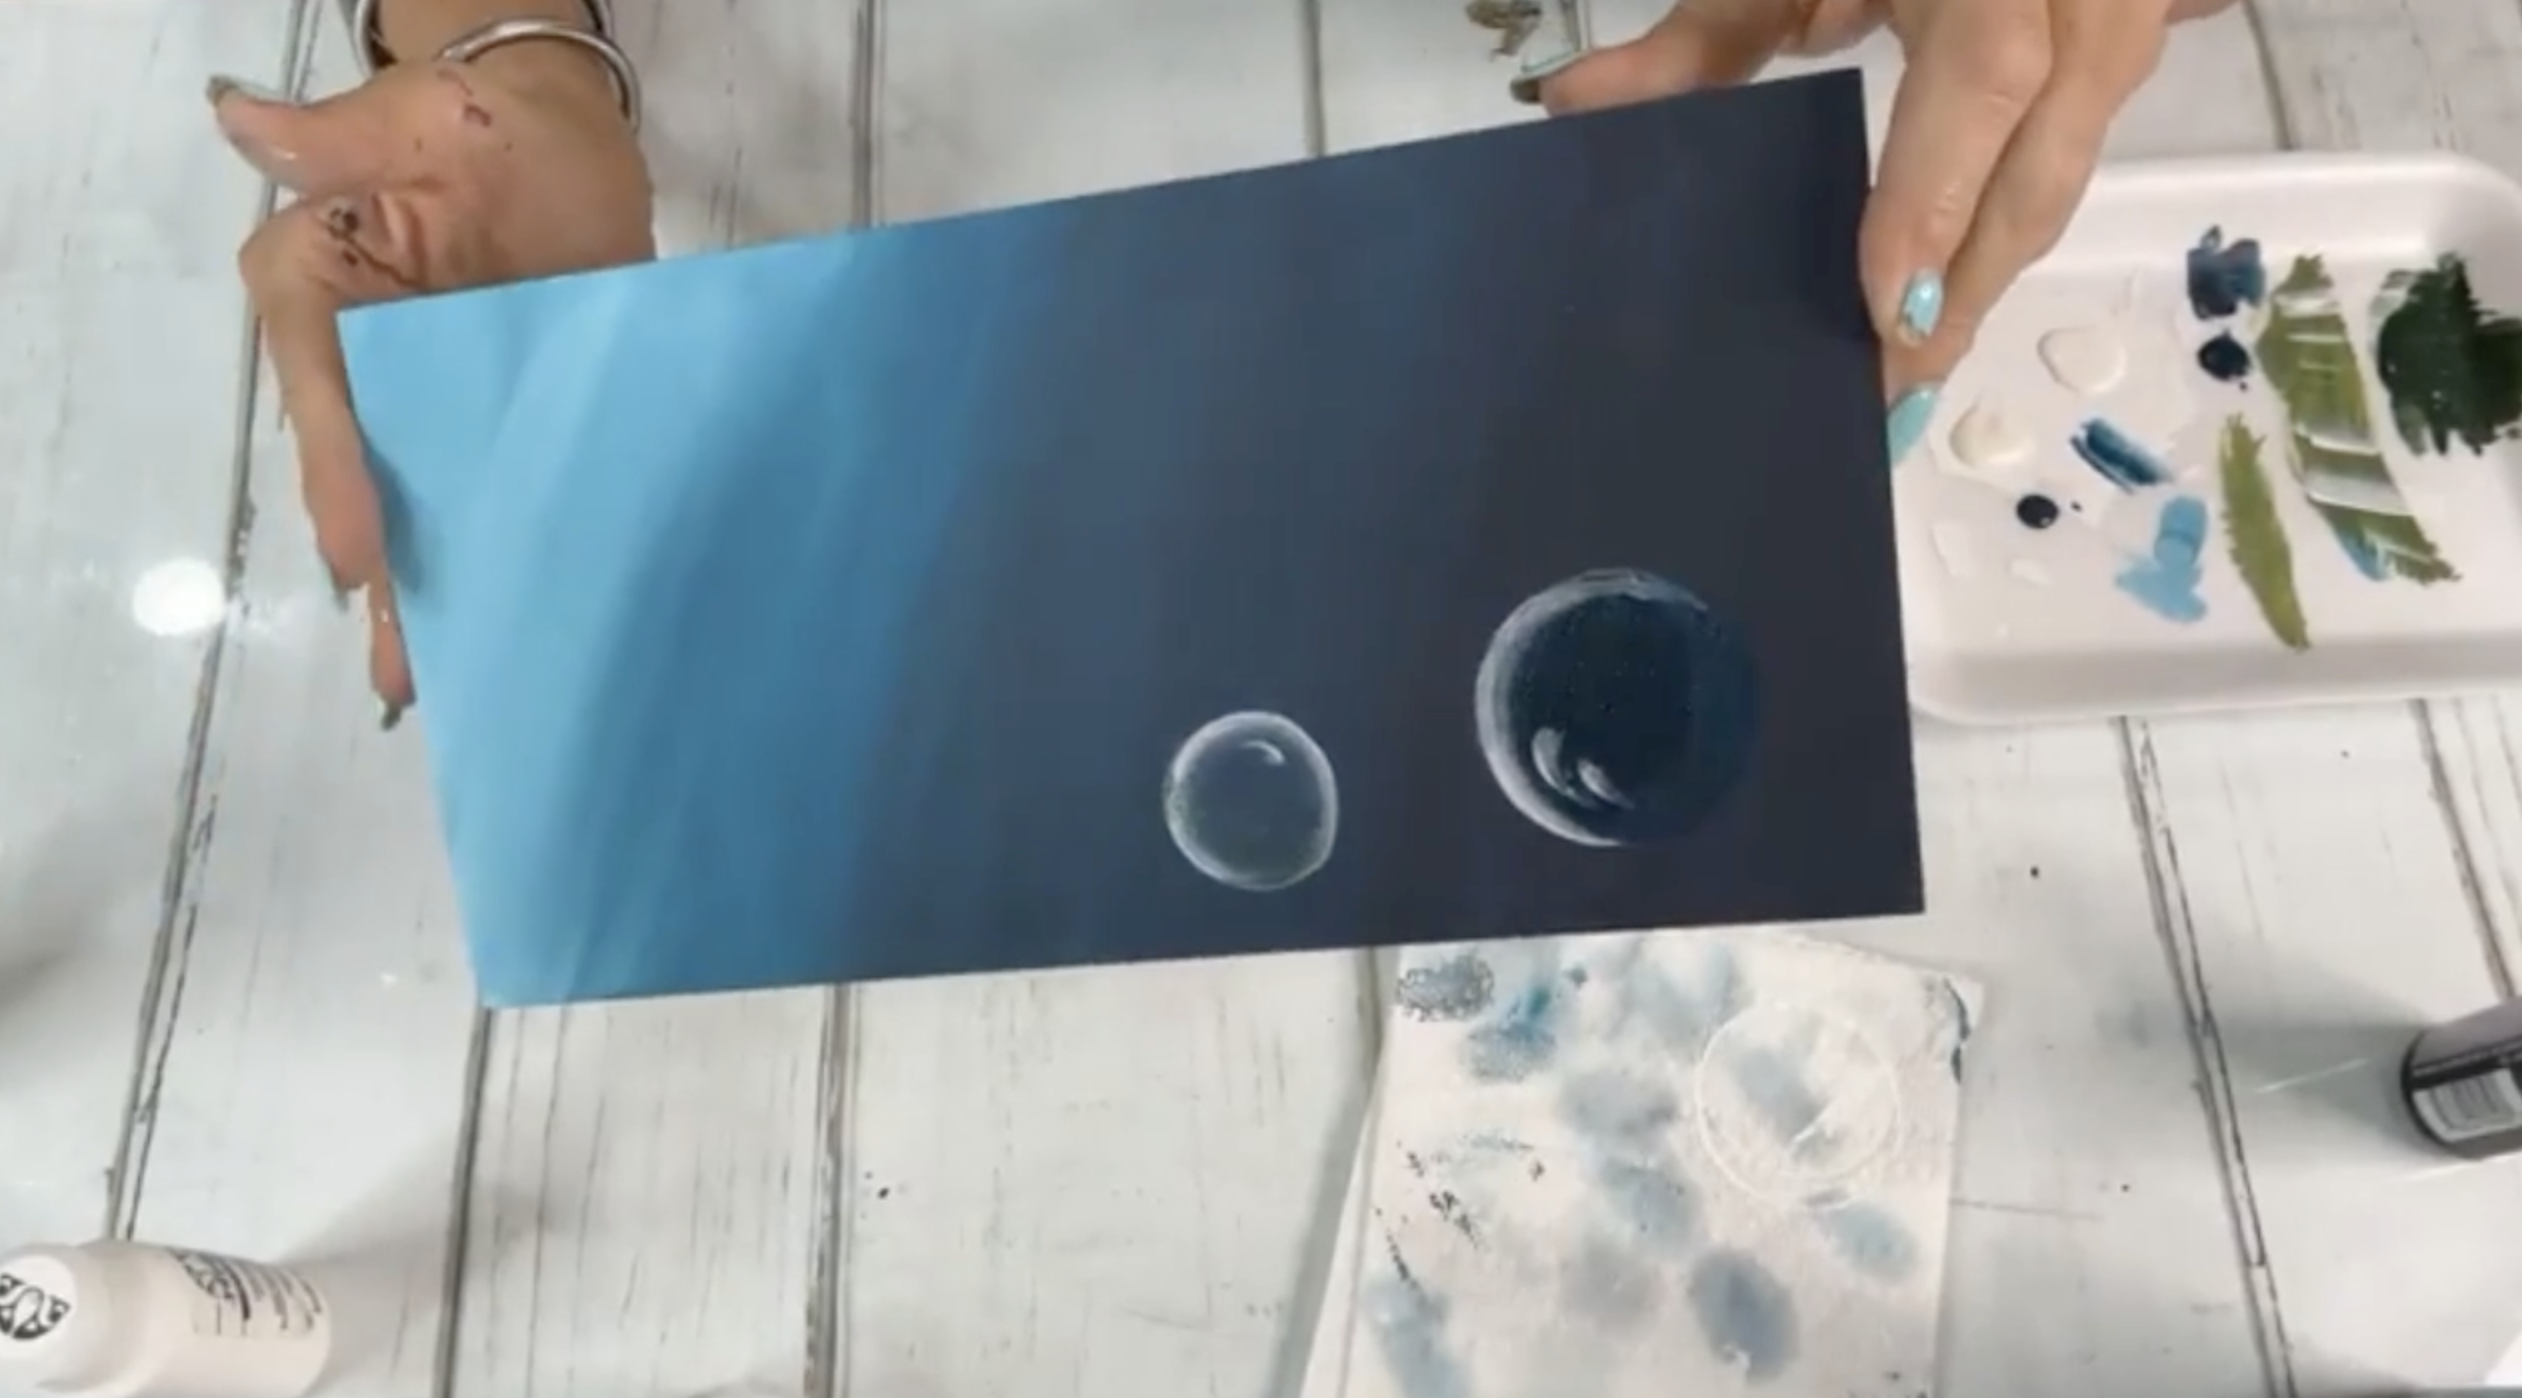
Step 5: Don’t Forget the Reflection
To finish it off, add a tiny white “blip” or comma shape on the light side of the bubble. This acts as your highlight and gives that realistic shine. You can even add two if you’re feeling fancy!
Extra Tips
-
Bubbles look better with contrast - use darker or more colorful backgrounds to really make them glow.
-
Mix up your bubble sizes for interest.
-
Let your imagination play! Try purple bubbles, gold bubbles, even multi-color ones.
-
If a bubble looks too harsh, blend in more white.
Painting bubbles doesn’t have to be perfect or hard. Once you get the hang of it, they’re fast, fun, and add instant whimsy to your artwork.
If you don’t want to miss my Facebook LIVE art instruction, make sure you are on my texting list. I always text 10 minutes before I’m going to go LIVE, so you won’t ever miss it. You can text “Hey Cindy” to 901-519-2923.
Want more inspiration and artwork?
- My website artshattered.com with resources, shop, and more!
- My creative membership The Shattered Circle, where you can explore the world of glass art with online workshops, a supportive community, and more!
- My mini creative membership Just A ‘Lil Bit Monthly Glass Art Club, where you’ll get a new quick and easy online tutorial for just a lil' bit of sparkle in your life!
- My Facebook page where I go LIVE every Wednesday night at 6:00 PM CST.
- My YouTube channel which has tons of free art lessons right at your fingertips.
