
How to Store Resin and Glass Art Between Shows (Without Ruining It!) ☀️
If you’ve been making seasonal or show-ready glass and resin art, you’ve probably asked yourself: how do I store this safely until the next event? Or maybe you’ve opened a bin of artwork you lovingly created… only to find it ambered, warped, or scratched. Let’s talk about how to prevent that.
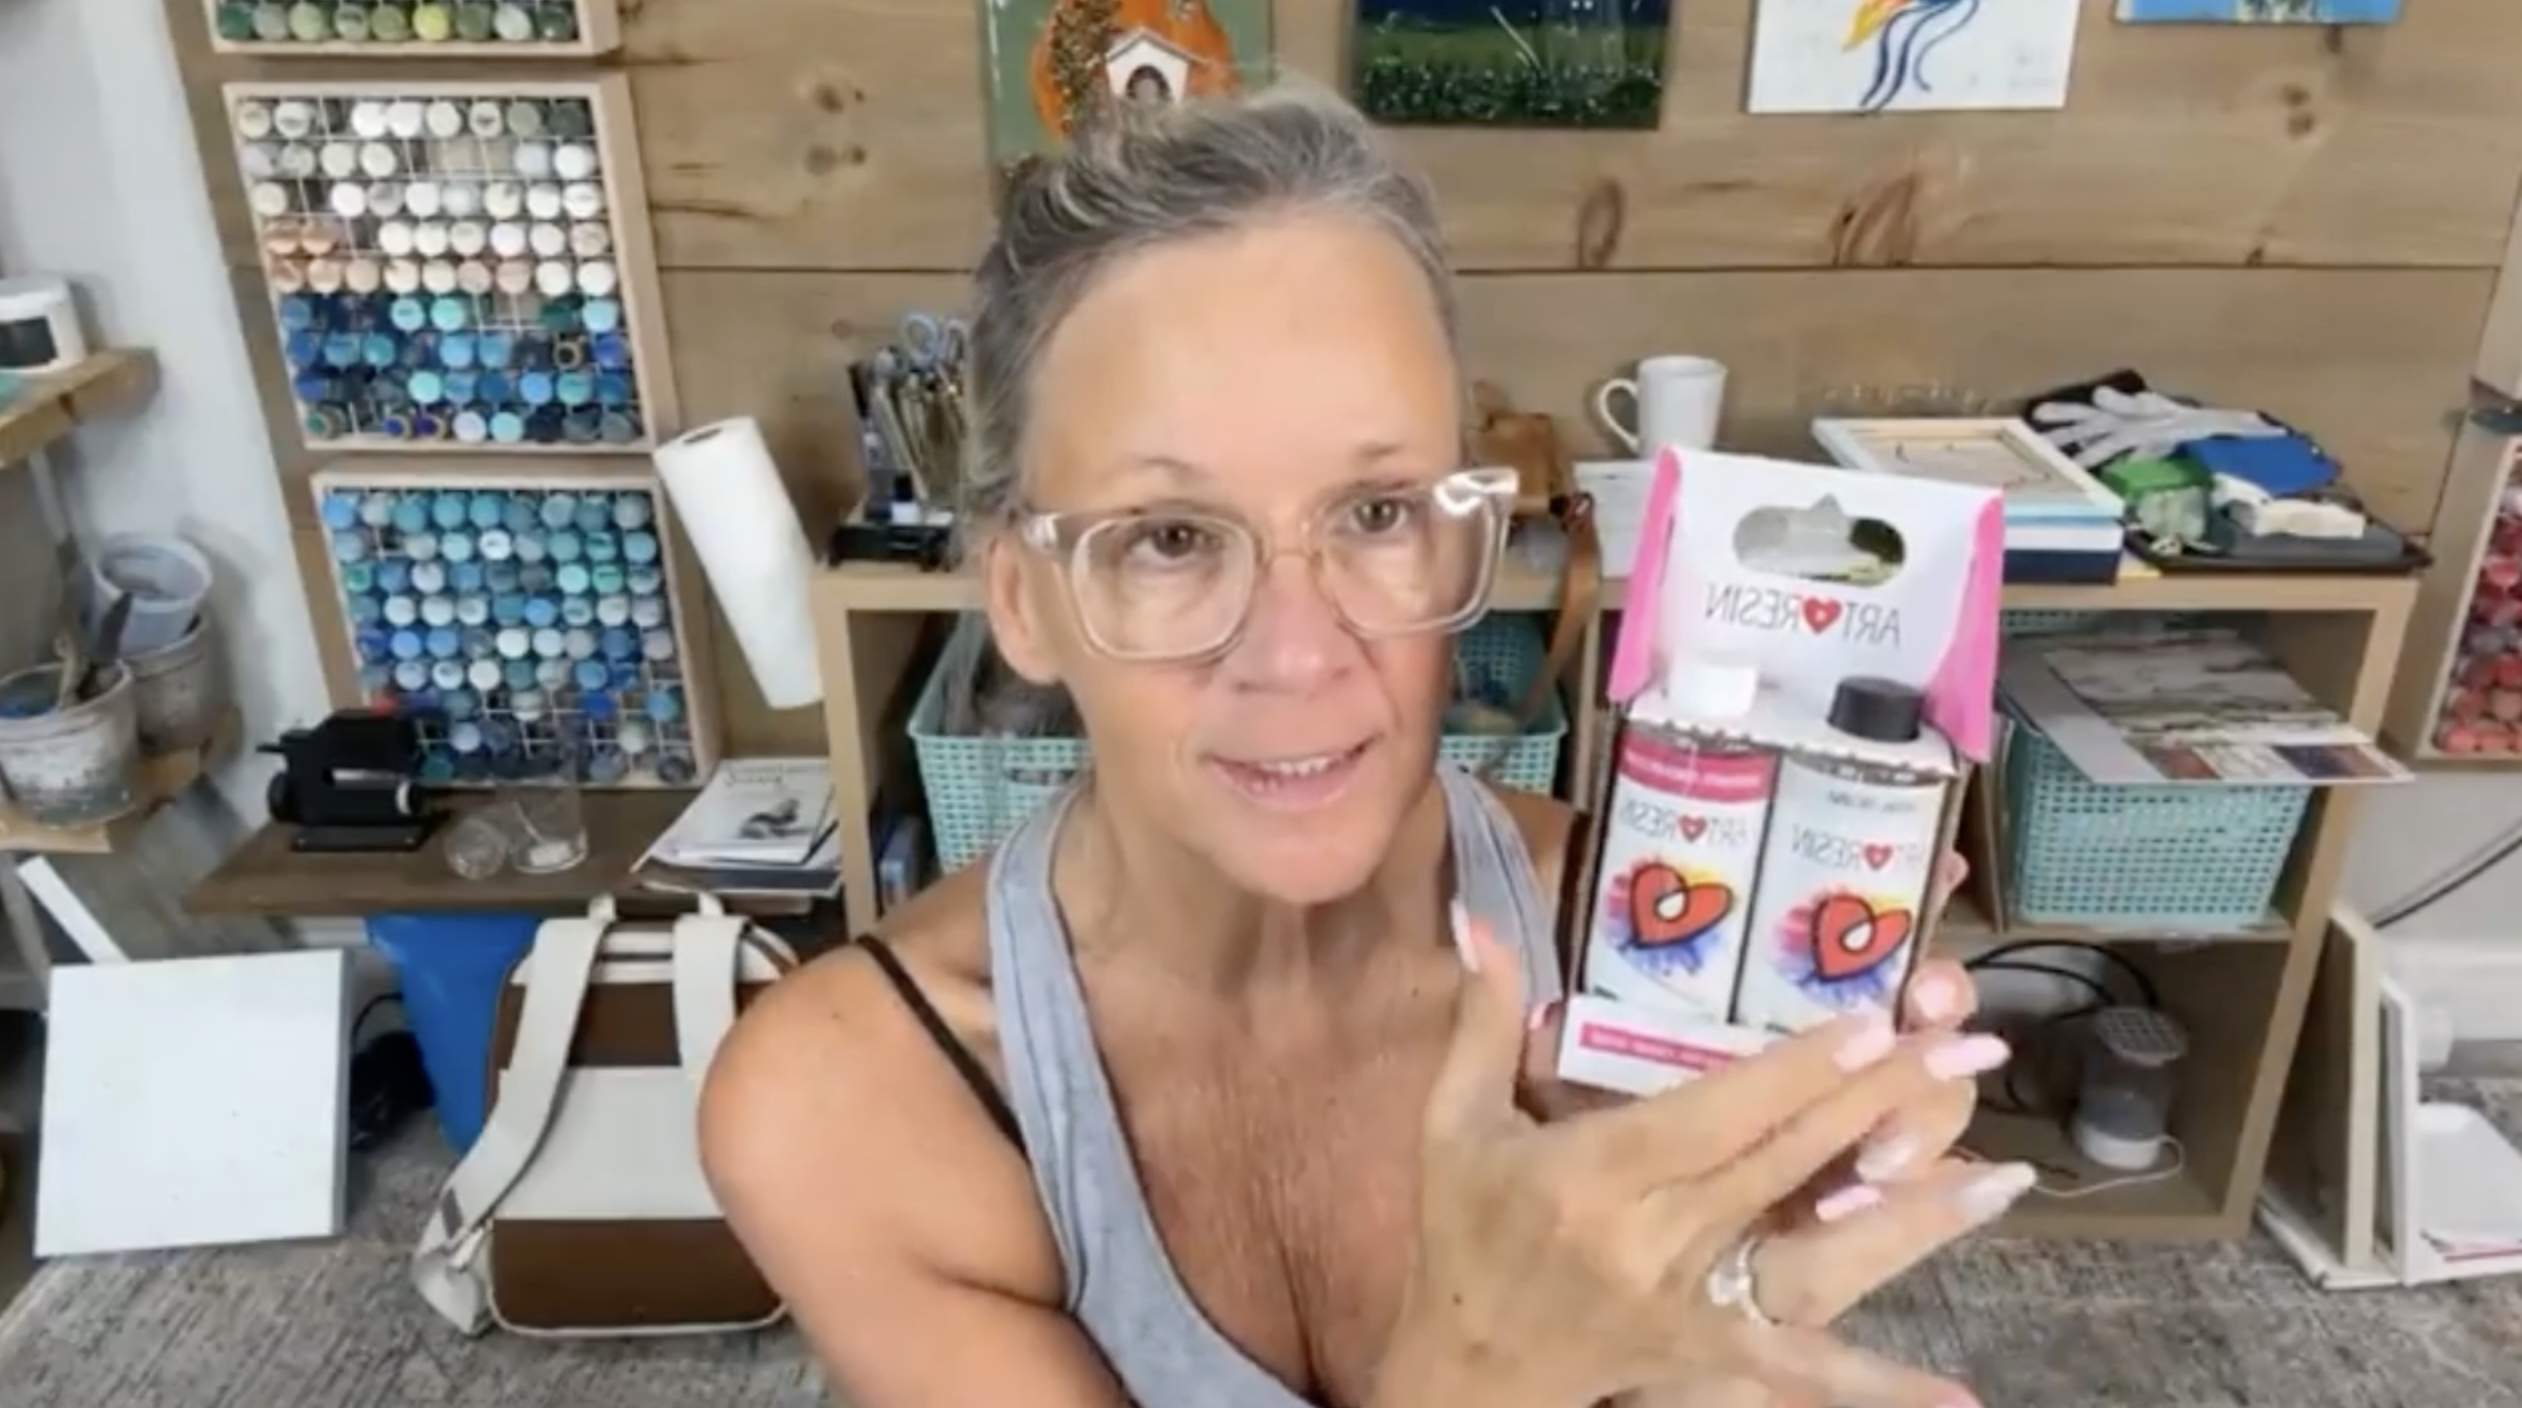
The White Paint & Resin Problem
Titanium white (which is in almost every white craft paint) doesn’t play nice with resin. It can cause yellowing called ambering over time, especially if exposed to heat or UV light. If you love those bright white backgrounds that make your glass pop (and who doesn’t?), here’s how to keep them safe:
Always seal white backgrounds with a non-yellowing spray sealer before adding resin.
Use a satin or matte finish - gloss can be too slick and prevent your resin from adhering properly. A quick mist, let it dry, then repeat with a second light mist. Don’t oversaturate the surface, or you’ll risk resin pinholes later on. This tiny step goes a long way in preserving th...
How to Tighten a Saggy Canvas (And Prevent Future Warping!) 💡
If you've ever pulled a fresh canvas out of the packaging, excited to start a project, only to find it saggy, wrinkled, or warped, you’re not alone. It’s frustrating, but totally fixable! Whether you’re prepping for a resin pour, glass embellishments, or just want a solid surface to paint on, this post walks you through exactly how to fix a loose canvas and prevent future warping.
Before anything goes on your canvas (paint, texture paste, resin, or glass), you want it to be tight. Press lightly on the center with your finger. If it gives too much? Time to tighten.
Option 1: Use Canvas Keys
Many stretched canvases come with tiny plastic or wood wedges called canvas keys. They go in the slotted corners of your frame. Tap them in with a hammer to gently stretch the wooden frame outward, which pulls the canvas tighter. Don’t have a hammer? A firm push with a craft tool or the back of a screwdriver works in a pinch.
DIY Alternative: Grab a few of those thin paint sticks from the hardwar...
How to Make Shrinky Dink Flower Petals for Resin Art 🌼
You know those late-night Pinterest scrolls that turn into full-blown obsessions? That’s exactly how this whole Shrinky Dink petal project started. I stumbled across an artist using Shrinky Dinks to make jewelry, and a big ol’ lightbulb went off. What if we could use this same material to make custom, colorful petals for our resin art? Let me walk you through everything you need to know, from coloring and cutting to shrinking and shaping.
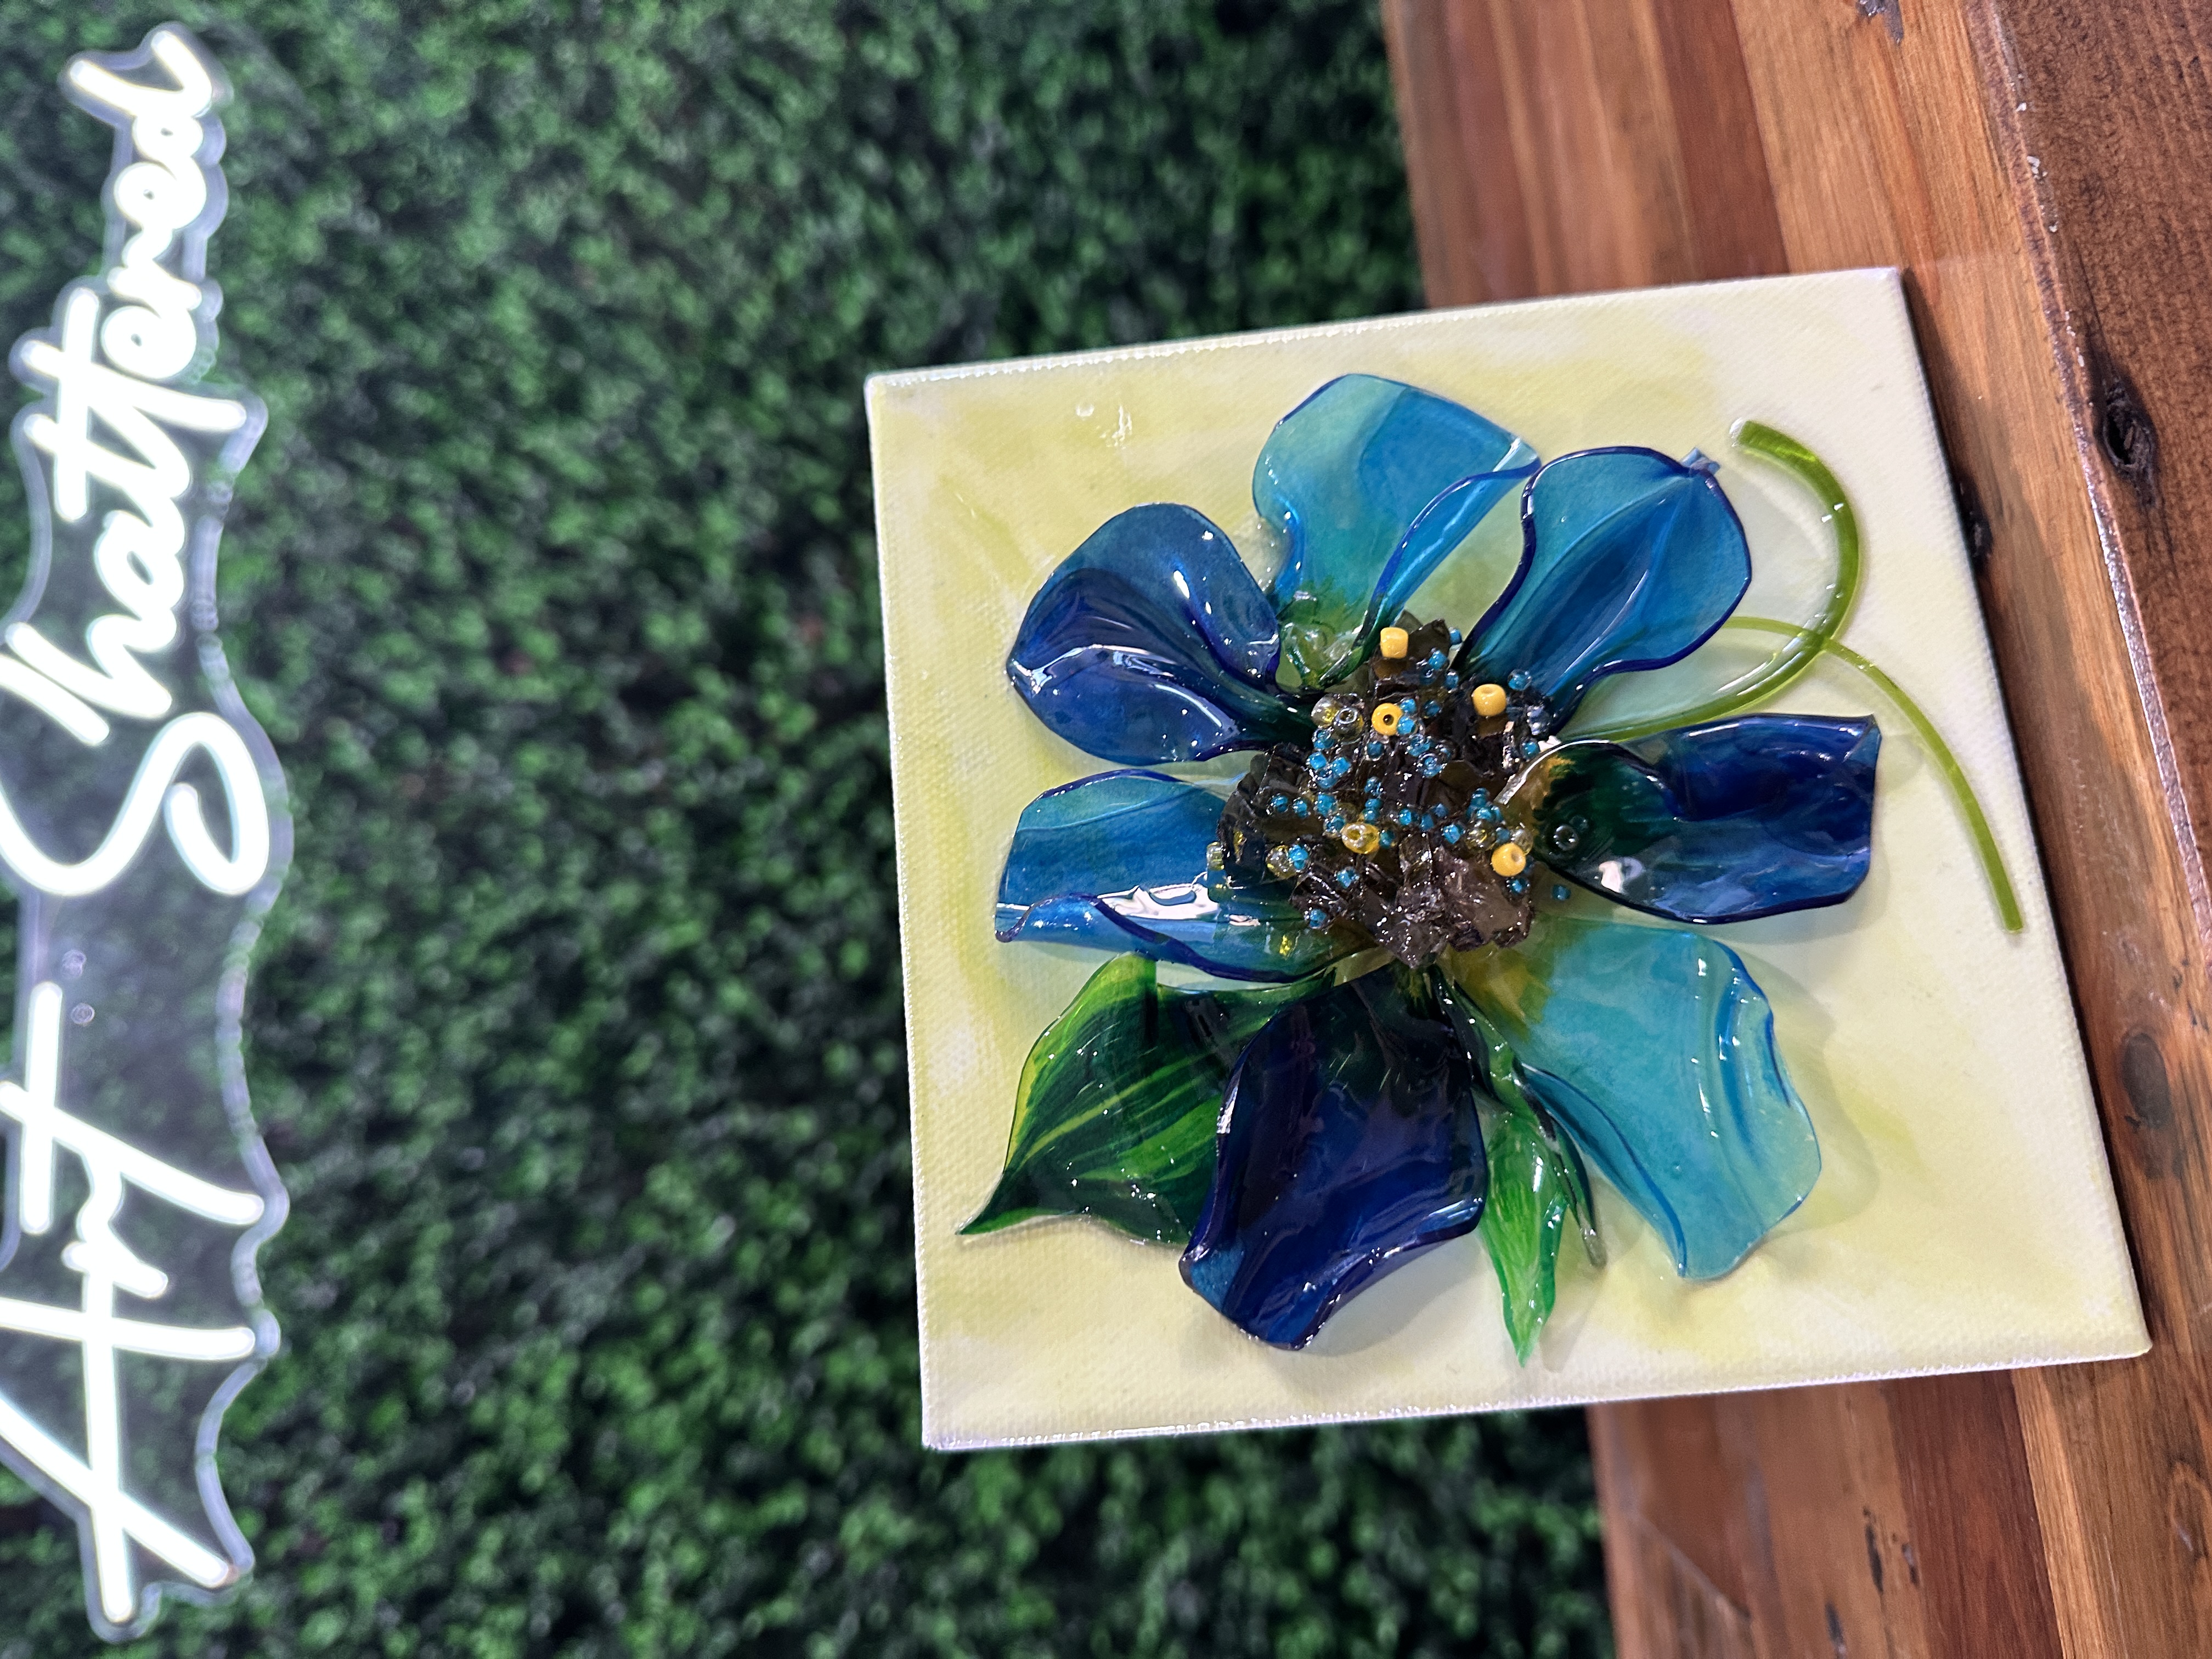
Step 1: Sketch and Color Your Petals
Start by drawing your petal or leaf shapes. You can sketch freehand or use a template. Since Shrinky Dink sheets shrink by about 50%, be sure to size your designs accordingly - something that starts around 4.5” long will end up around 2” once shrunk.
Place your Shrinky Dink sheet frosted side up over your design and start coloring. You can use:
-
Archival brush markers for bold, opaque color
-
Watercolor pencils for a more translucent look
-
Mica powder or chalk for unique textures
Avoid Sharpies...
All the Bubbles 🫧
Looking to add some whimsy and magic to your artwork? Painted bubbles are a simple, beautiful way to make any piece pop whether you're crafting an underwater scene or just want a little fun on your canvas. In this tutorial, I’ll walk you through step-by-step how to create painted bubbles using basic tools and a few fun techniques.
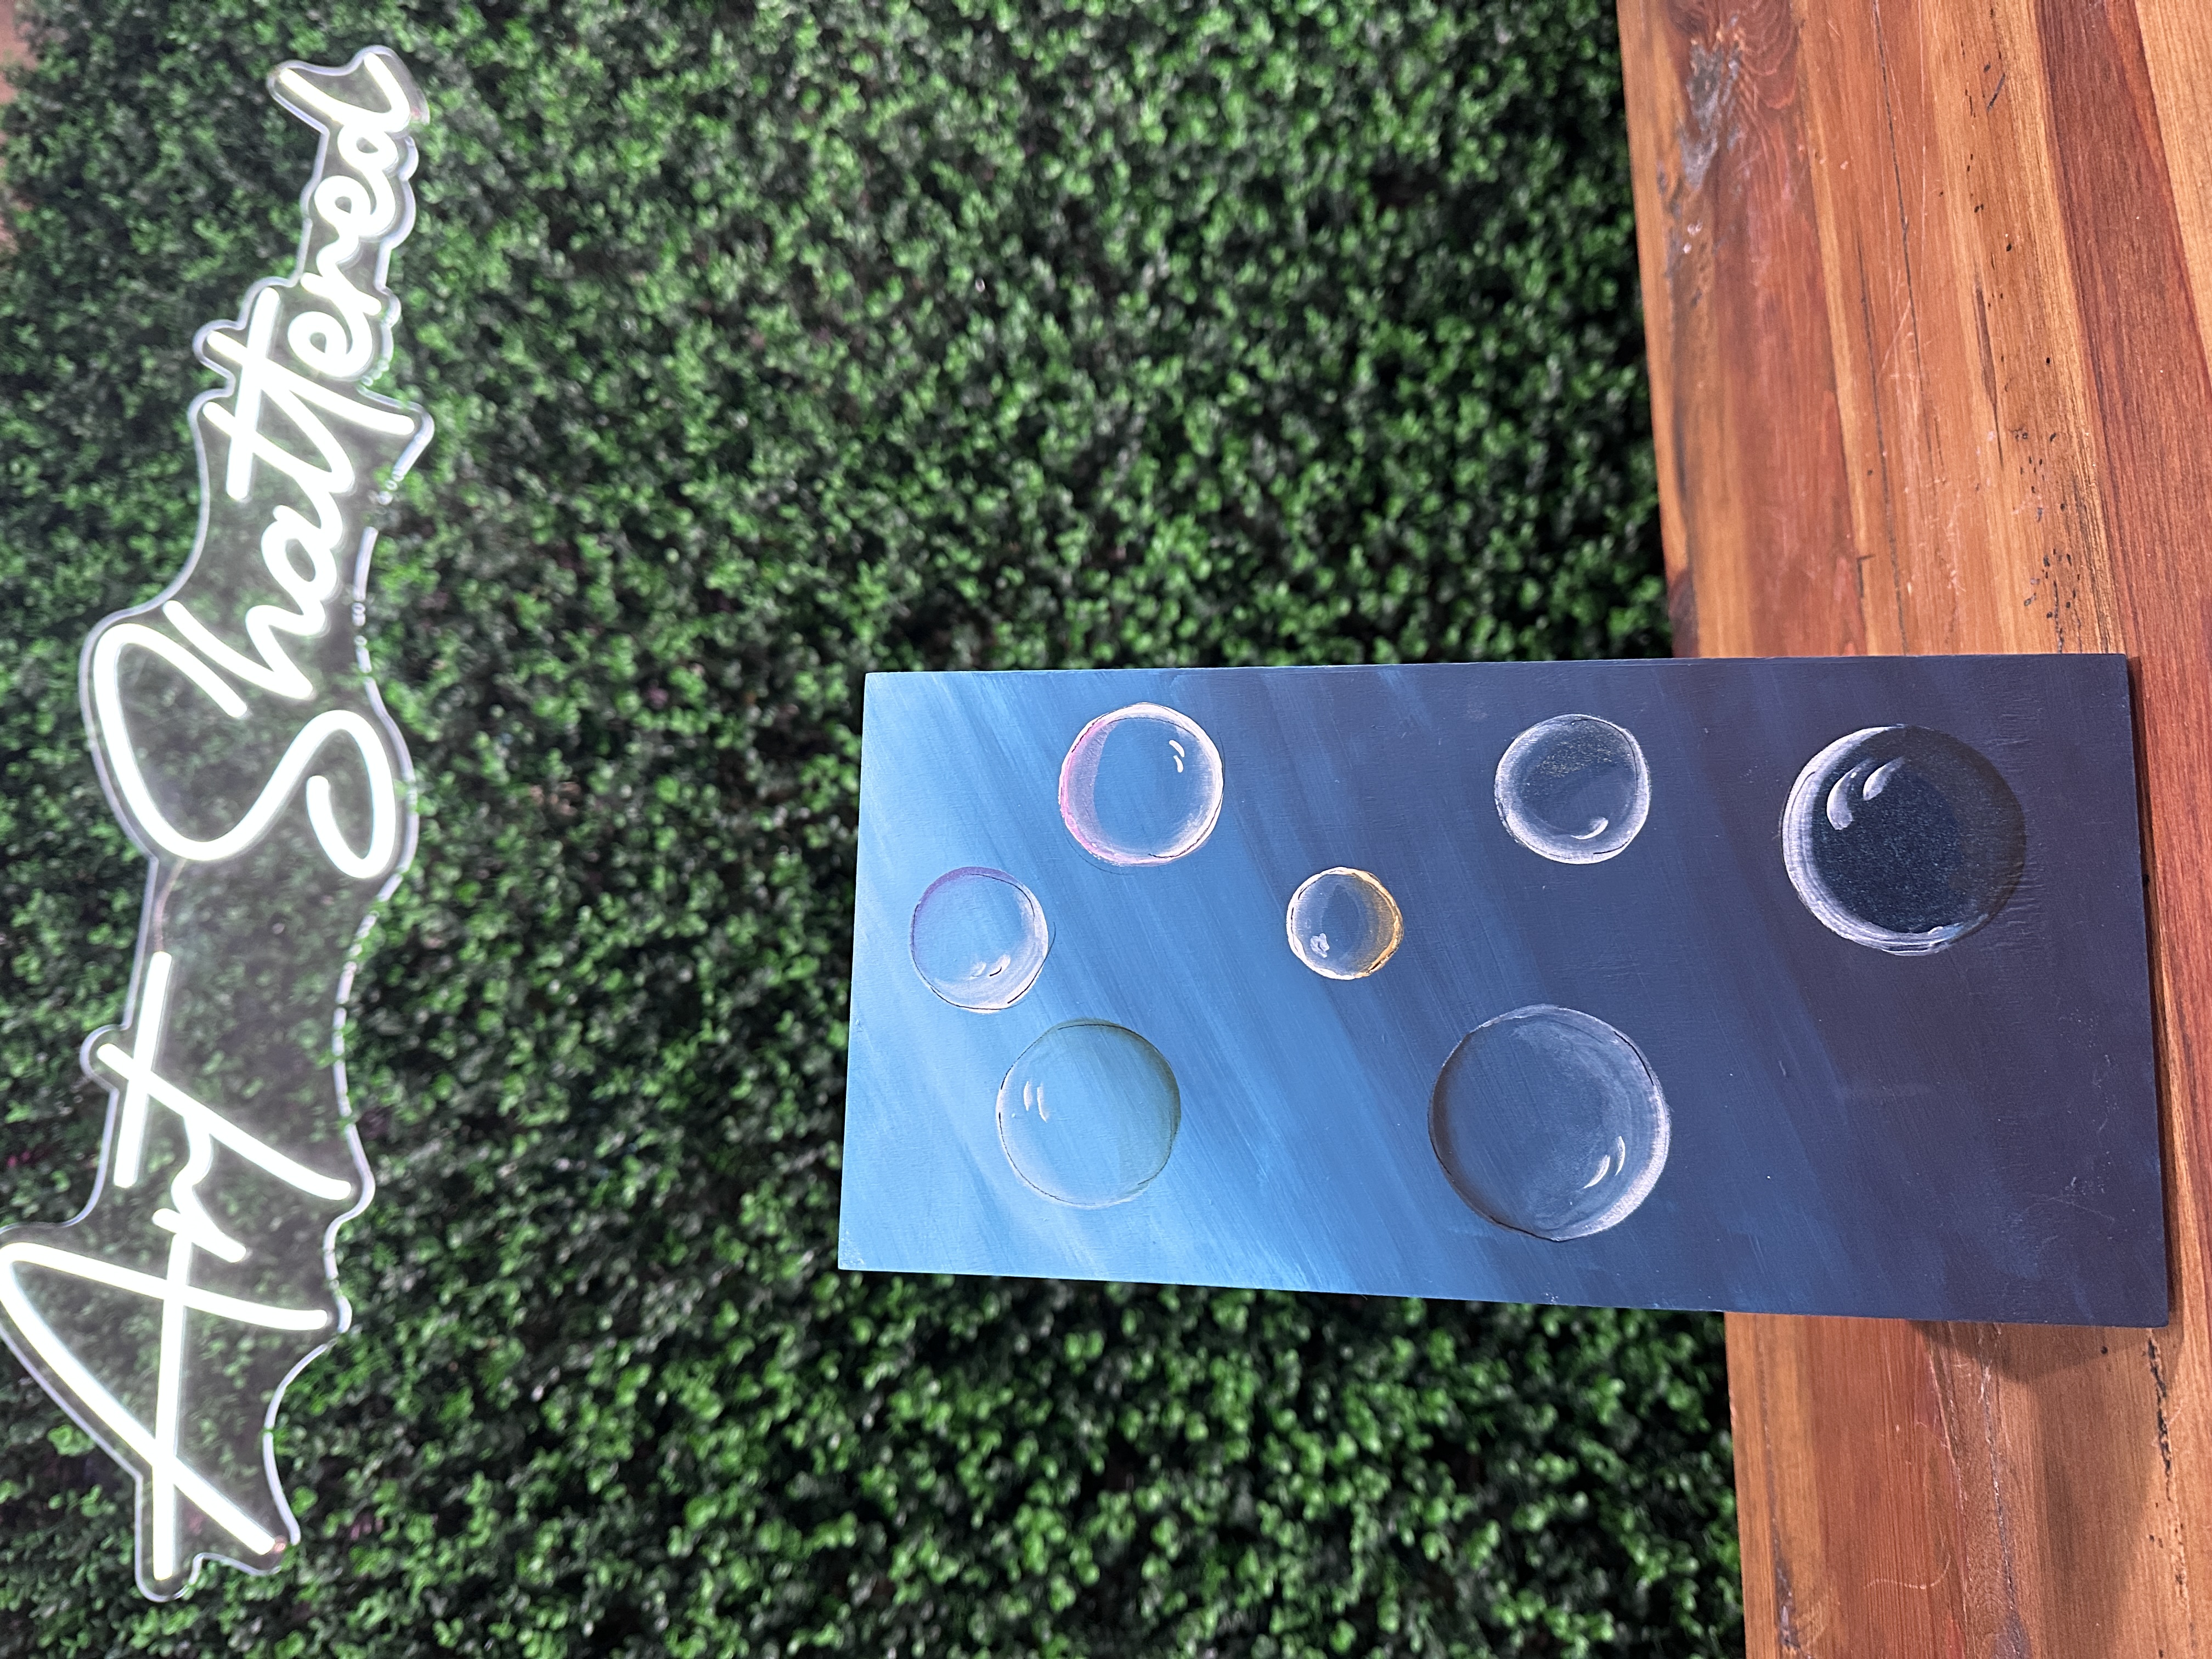
Step 1: Set the Scene
Start with a painted background. I used an ombre of blues, blending three shades for a rich ocean-y feel. You can use whatever color palette suits your project, but darker backgrounds make bubbles stand out!
Step 2: Draw Your Circles
Bubbles are just circles - don't overthink it! You can trace around a cup, cap, or bottle with a watercolor or chalk pencil. Keep the lines light - they’ll blend in later.
Want a shortcut? Dip the rim of your cup into white paint and stamp it directly onto your background. Instant bubble outline!
Step 3: Paint the Bubble Outline
Now the magic begins! Load just the corner of a damp flat brush with wh...
Beach Cheese Board 🌊
If you’ve been itching to try your hand at a resin project that’s equal parts fun and functional, a resin cheese board is the perfect place to start. Whether you call it a charcuterie board, snack board, or just a pretty piece of art for your kitchen, this project brings color, texture, and a bit of shimmer to your space. I'm walking you through the exact steps I used to create a gorgeous, layered resin look using just a few supplies and some acrylic paint.
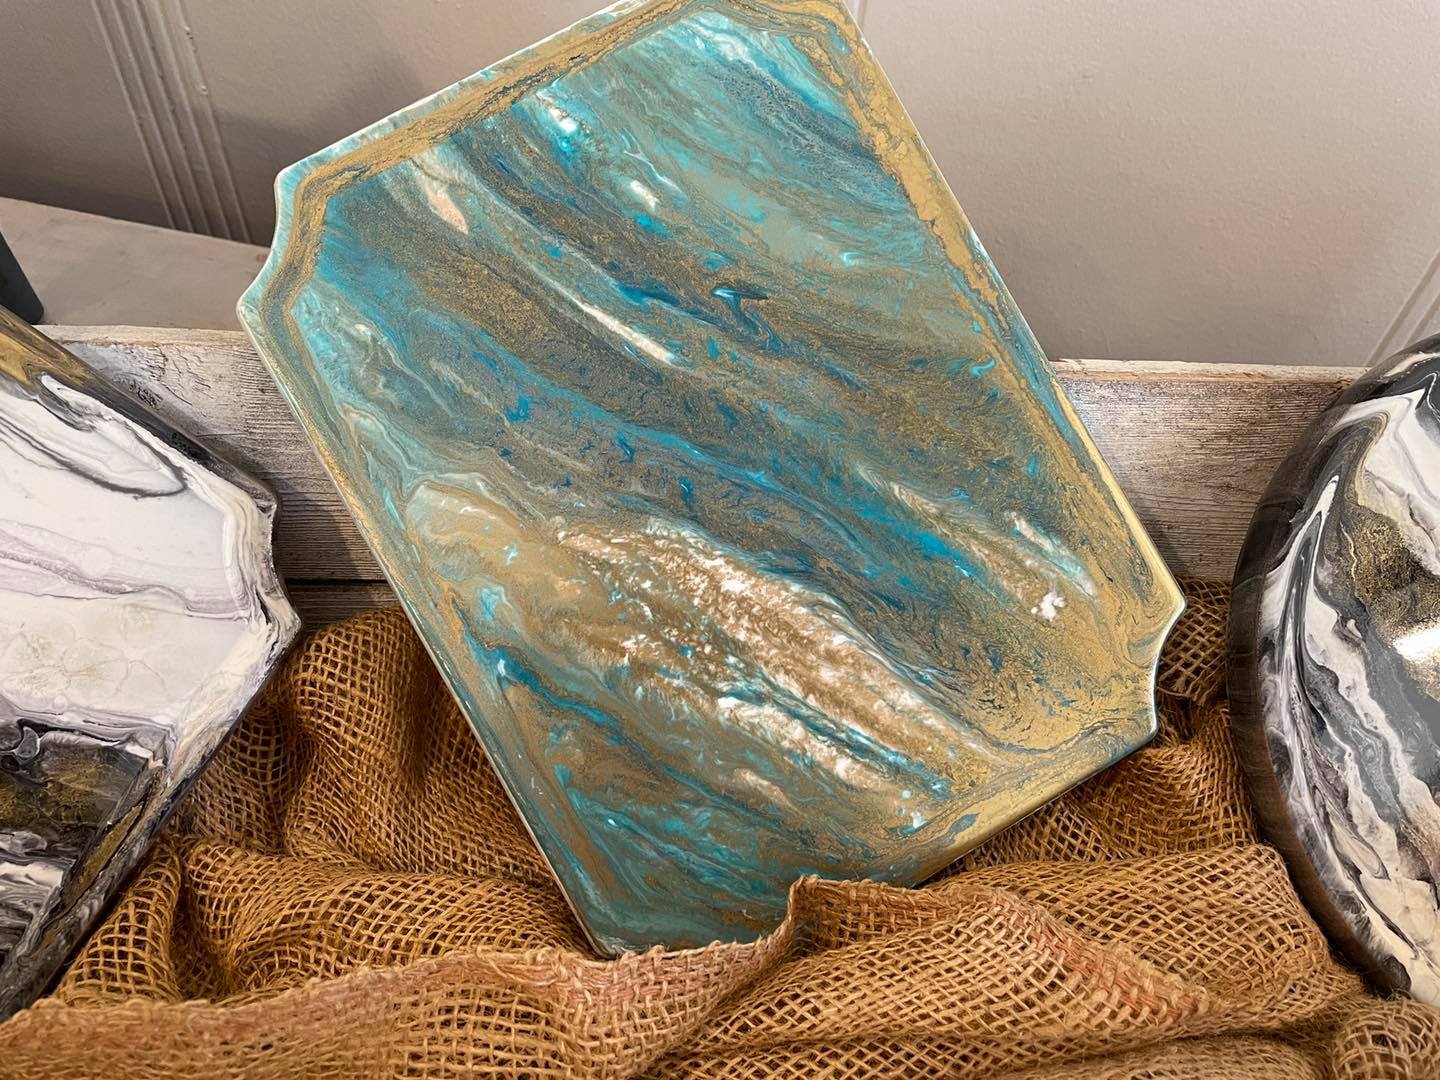
Before anything else, make sure your work surface is completely level. Resin is a self-leveling medium, which means if your table is even slightly tilted, it can cause the resin to pool or run off one side. I used a few popsicle sticks under the legs of my tray to adjust things until it was perfectly level.
With the setup ready, it’s time to mix the resin. For this board, I used a total of 4 ounces—2 ounces of resin and 2 ounces of hardener. Be sure to measure carefully and stir for a full three minutes to ...
FolkArt Dragonfly Glaze Acrylic Paint Product Demonstration 🎨
Recently, I stumbled upon a fascinating product: FolkArt Dragonfly Glaze. It's a color-shifting, glitter-like medium that promises to add a unique sparkle to your artwork. Intrigued, I decided to put it to the test, especially after using it in a recent project within our Shattered Circle community, where we applied it over a dragonfly design.
This isn't your average, run-of-the-mill paint. It's a glaze that reacts differently depending on the background color. That's why I wanted to dive deep and see how it performs over a variety of hues.
I grabbed a canvas and some vibrant acrylic paints, including a set of spring-inspired colors I recently picked up. My goal was simple: to paint sections of different colors and then apply the Dragonfly Glaze over each, showcasing its transformative effect.

We started with a classic black, as it was the base for our dragonfly project and really made the glaze pop. Then, we moved on to:
- Peacock Teal (a personal favorite)
- Metallic Gold
- Citro ...
How to Fix Sticky Resin on Your Artwork 🎨
Sticky resin is a frustrating problem that many crafters and artists face. After spending hours creating a beautiful piece, you expect your resin to harden to a smooth finish. But what happens when it’s still tacky after several days? There are ways to troubleshoot and fix this problem. Let's break it down and figure out how to get your resin curing like it should.
Why Is My Resin Sticky?
The most common reason resin stays sticky is improper mixing or the curing conditions not being ideal. Resin is a chemical process that requires the right balance, the right temperature, and the right amount of time to set. If any of these factors are off, the resin won't cure properly, leading to a tacky finish.
How to Fix Sticky Resin
Check the Mixing Ratio - The most important part of working with resin is ensuring that the resin and hardener are mixed in the correct proportions. Most resins require a 1:1 ratio, but be sure to double-check your product instructions. An incorrect ratio can resul...
