
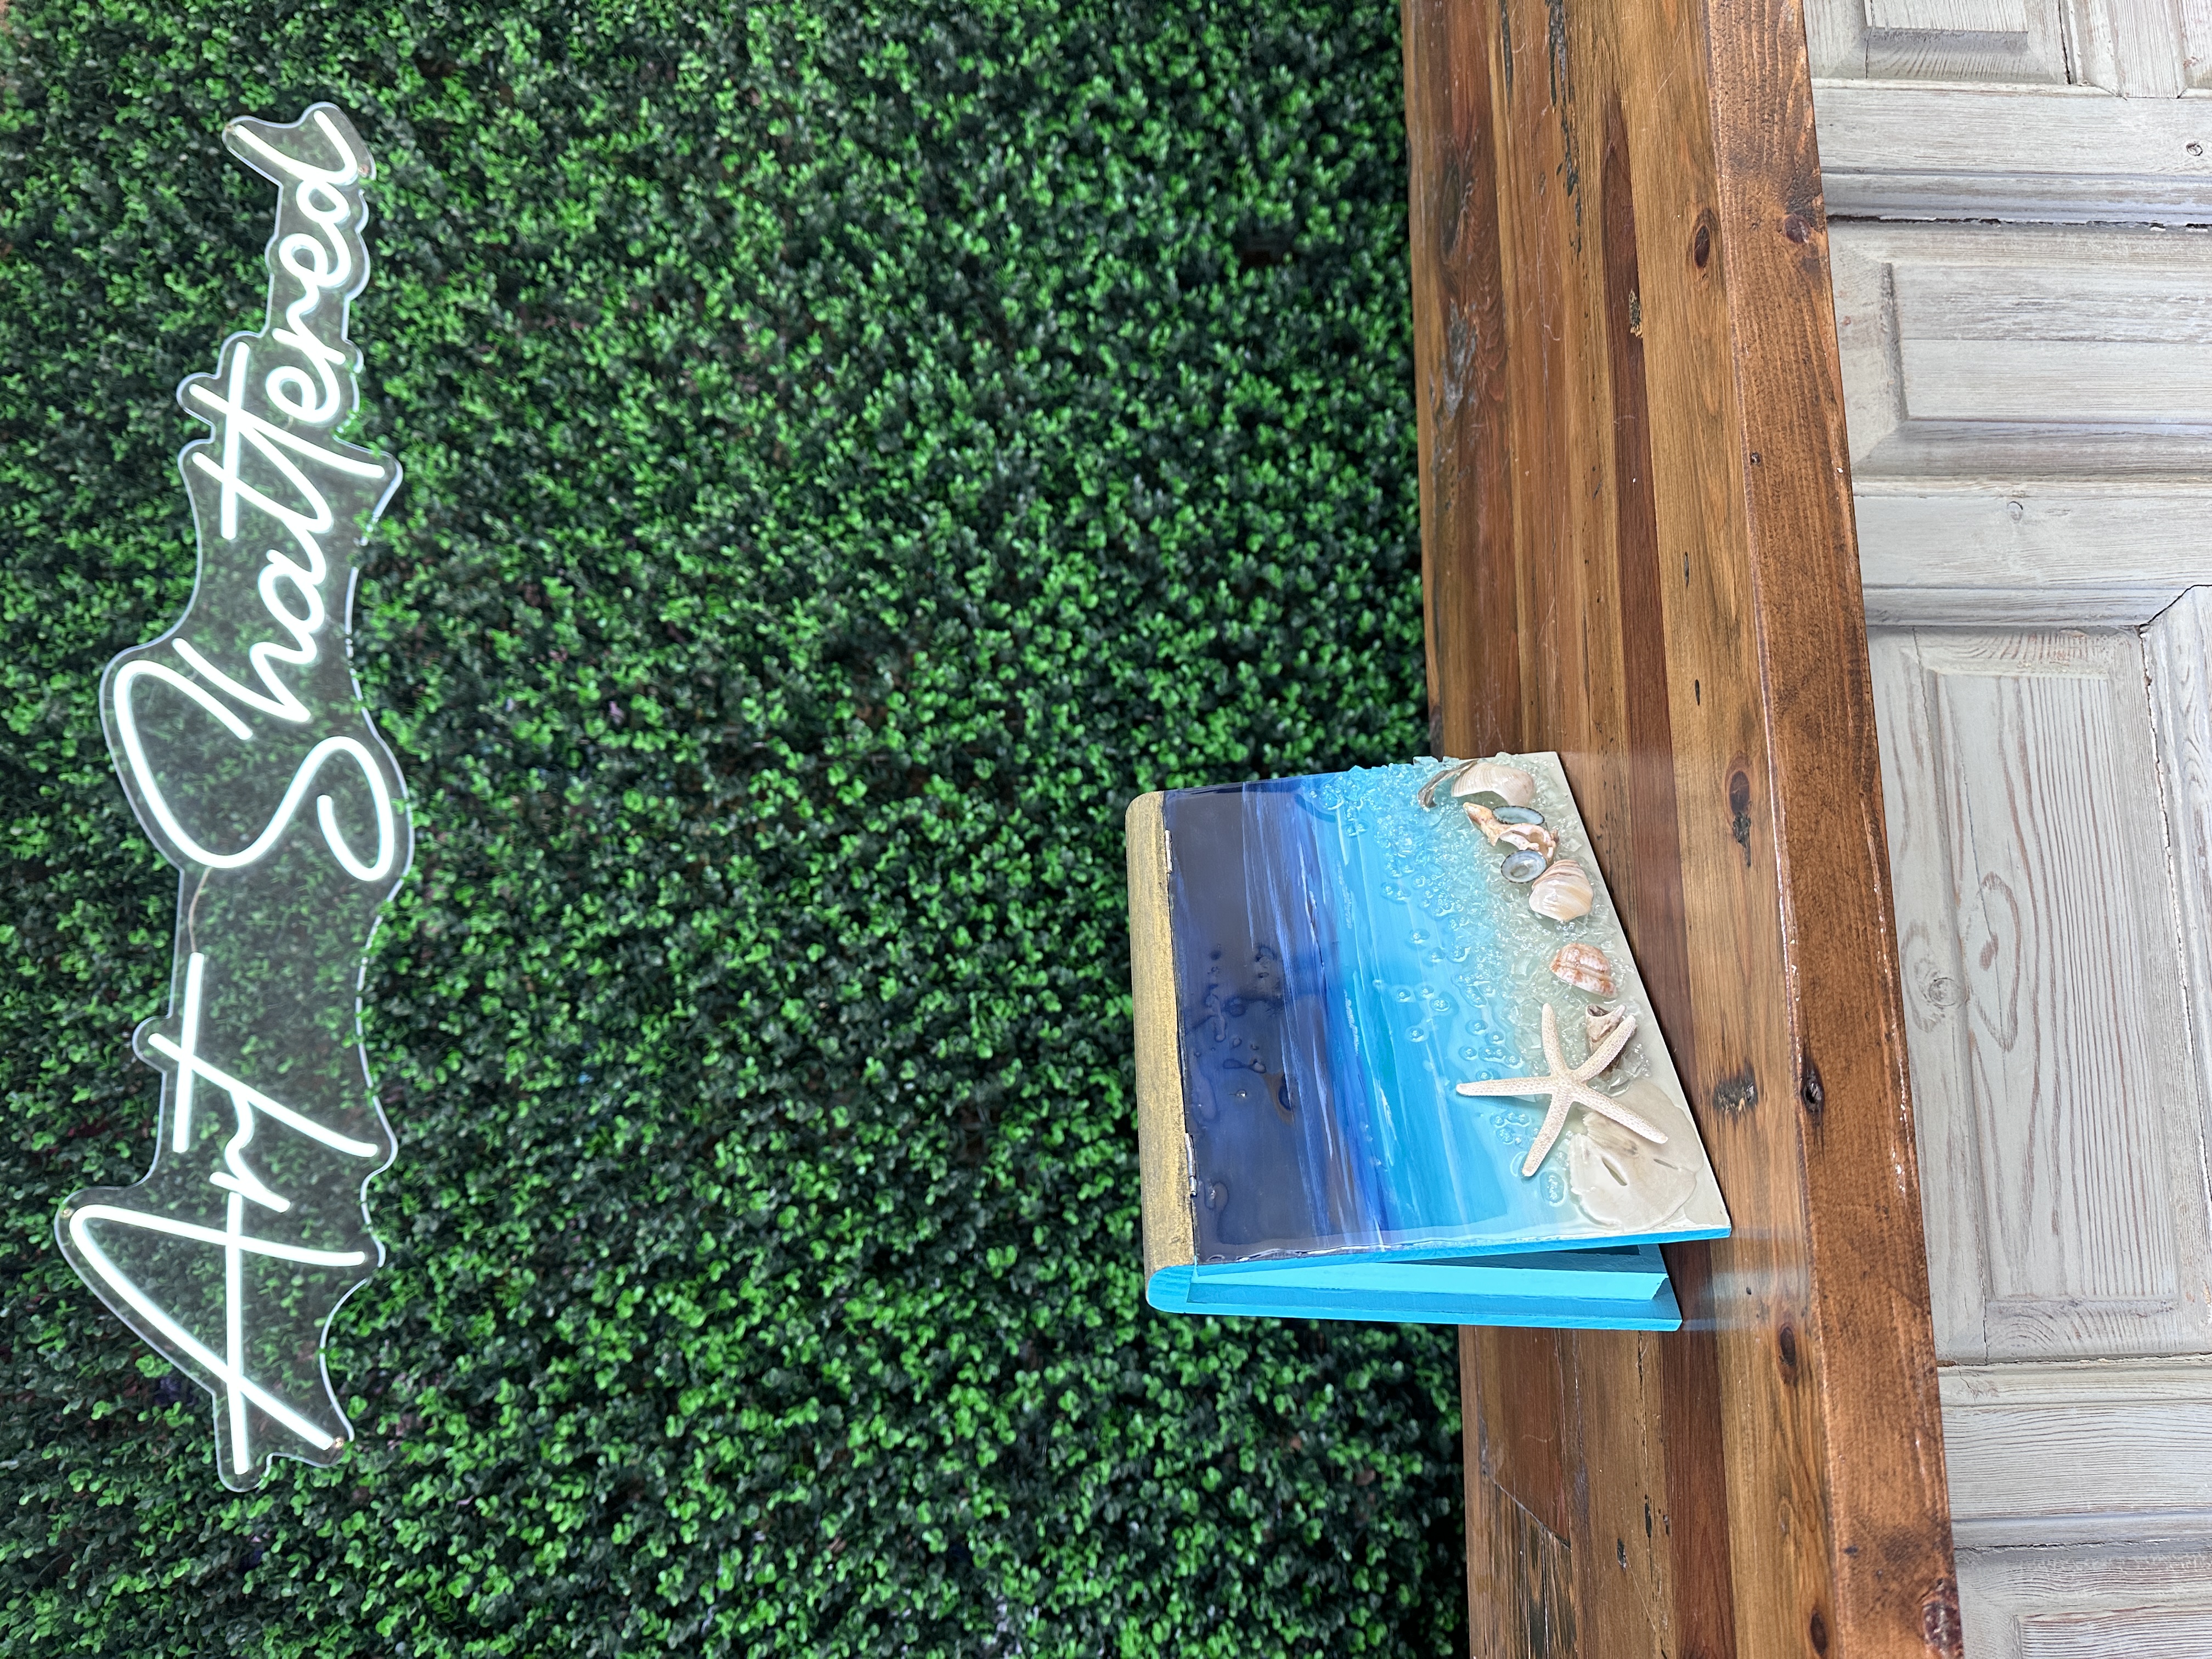
Beach Book Box 🌊
If you've got a stash of special seashells tucked away from beach vacations and don't know what to do with them, this Beach Book Box is the perfect project for you. In this tutorial, I’ll walk you through how I turned a wooden book box from Hobby Lobby into a gorgeous coastal keepsake, complete with a painted beach scene and real shells encased in resin. It’s perfect for holding your beachcombing treasures or gifting to a fellow sea-lover.
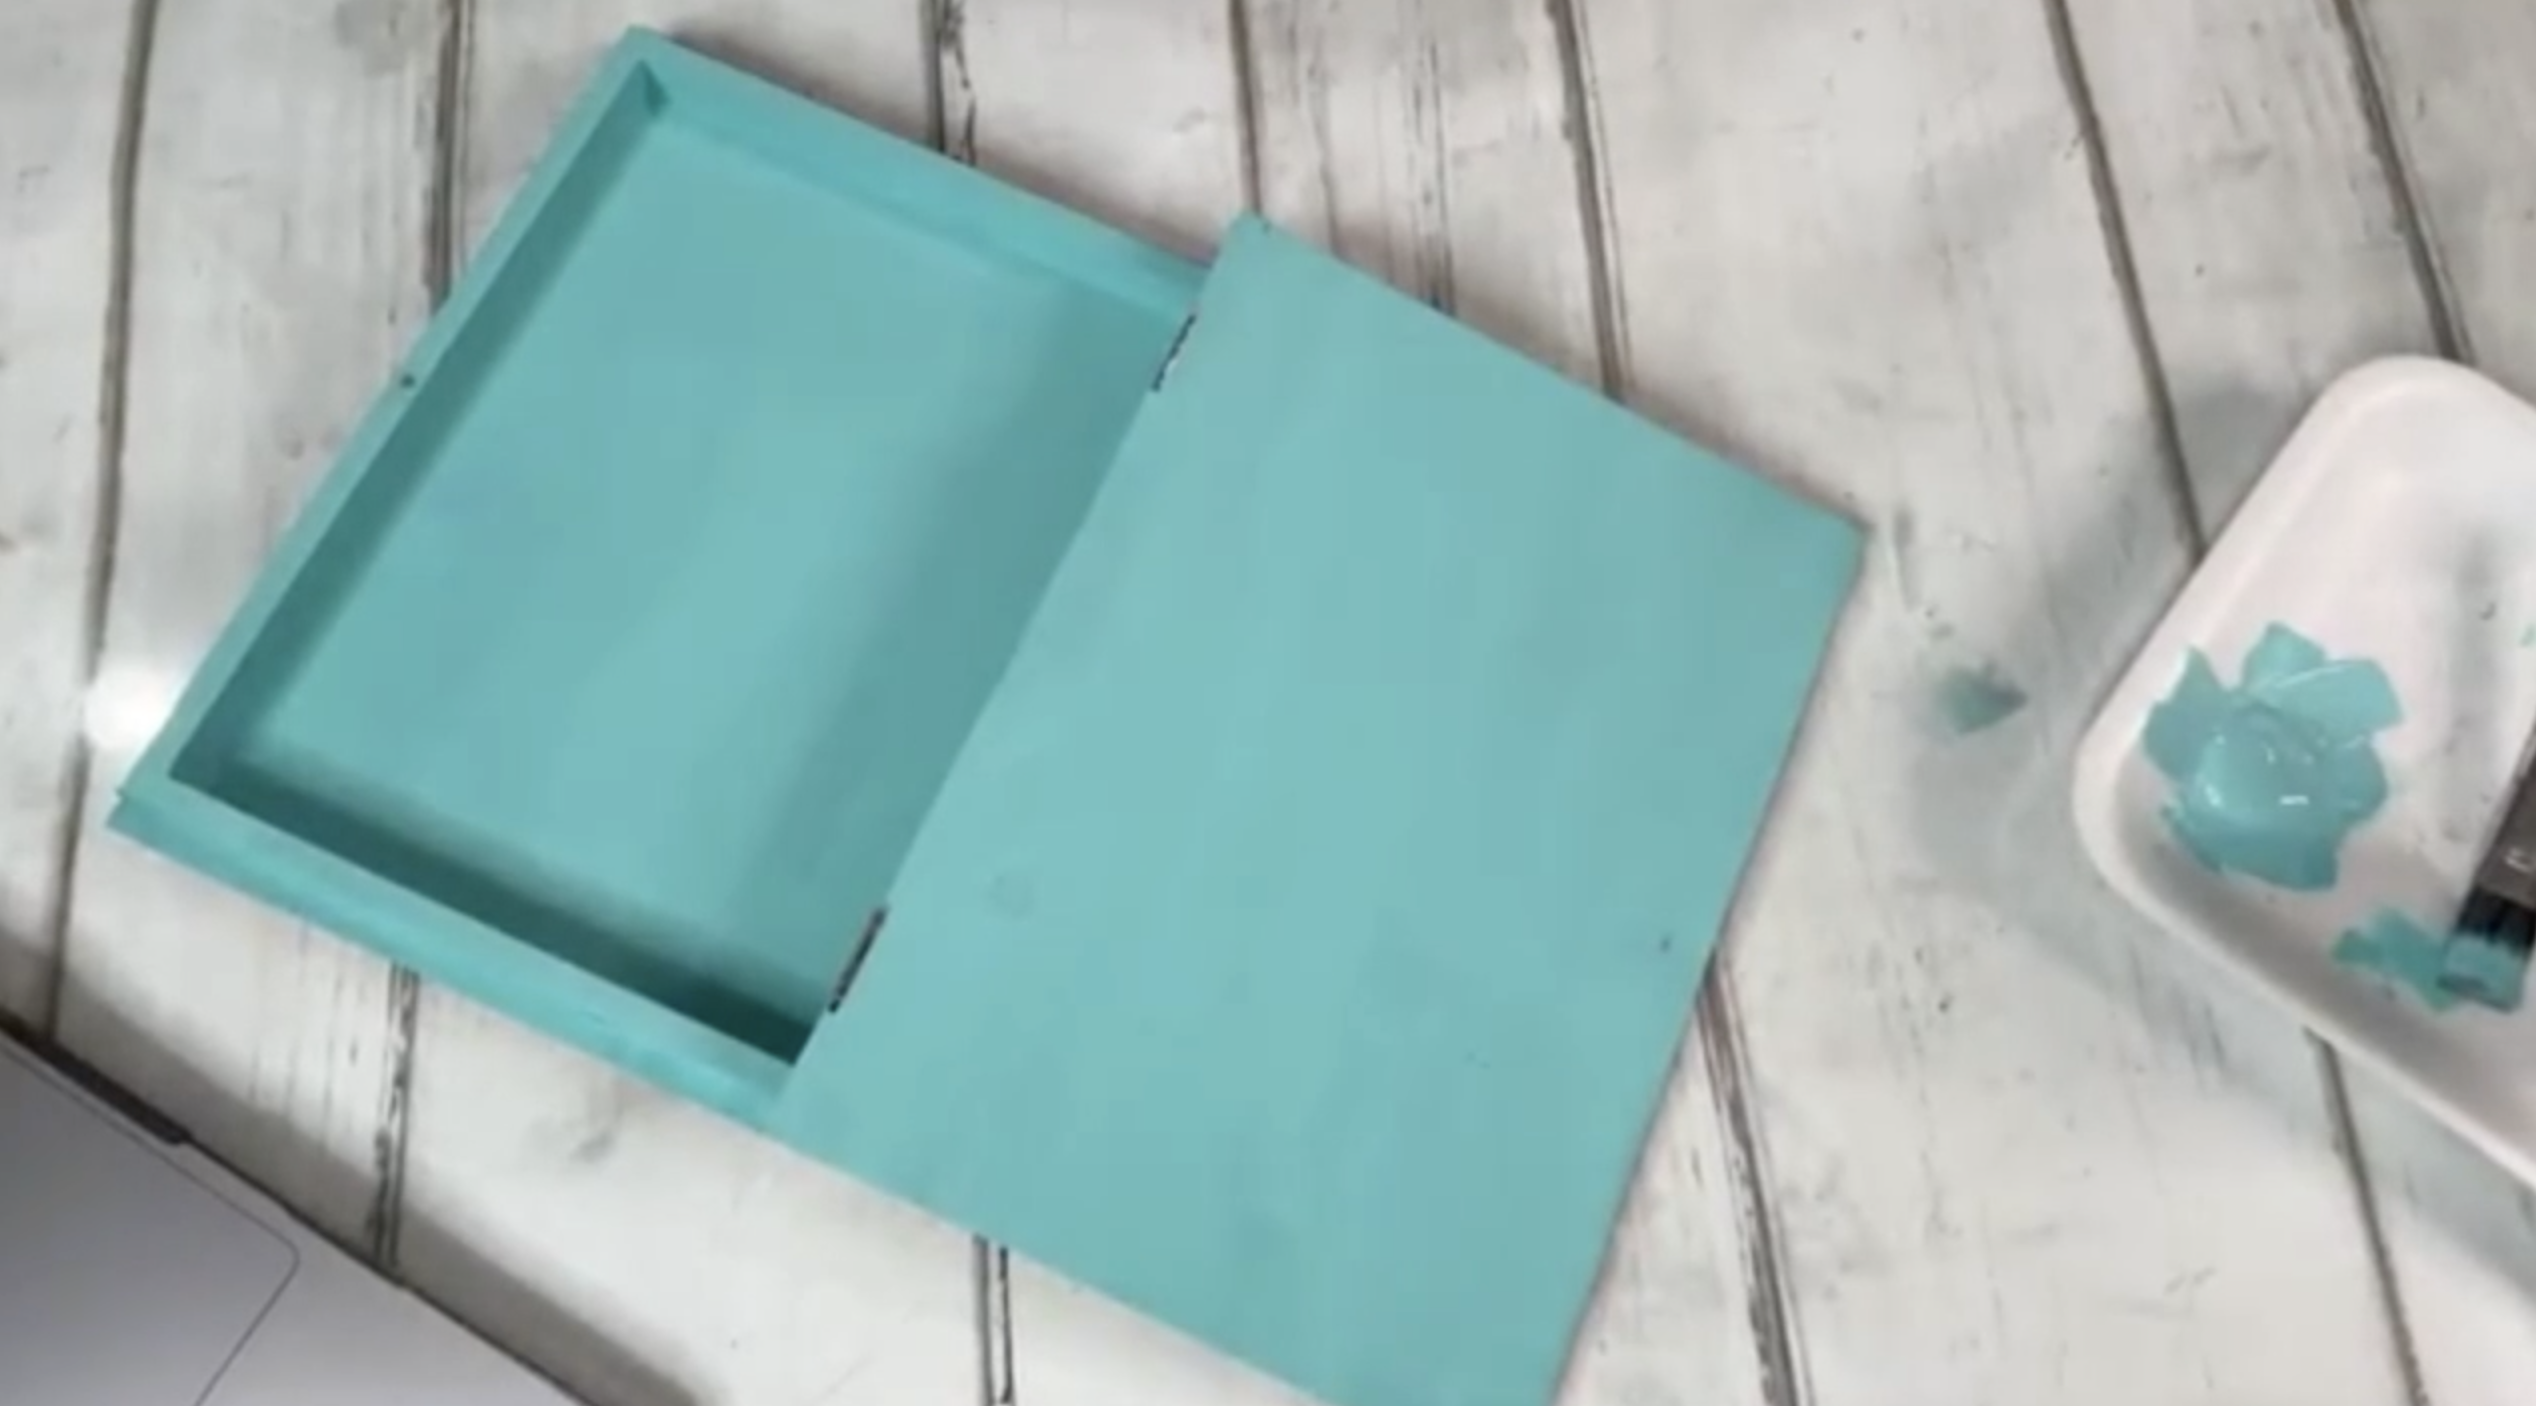
Step 1: Prep Your Wooden Book Box
I picked up this raw wood book box from Hobby Lobby and got started by sanding the inside to remove any splinters or loose wood bits. Then, I gave the entire inside one coat of Bahama Blue acrylic paint using a large flat brush. The raw wood really soaks up the paint, so I plan to do a second coat (and maybe even seal it) before adding resin later. Pro tip: sealing raw wood beforehand helps prevent it from eating up your paint and resin.
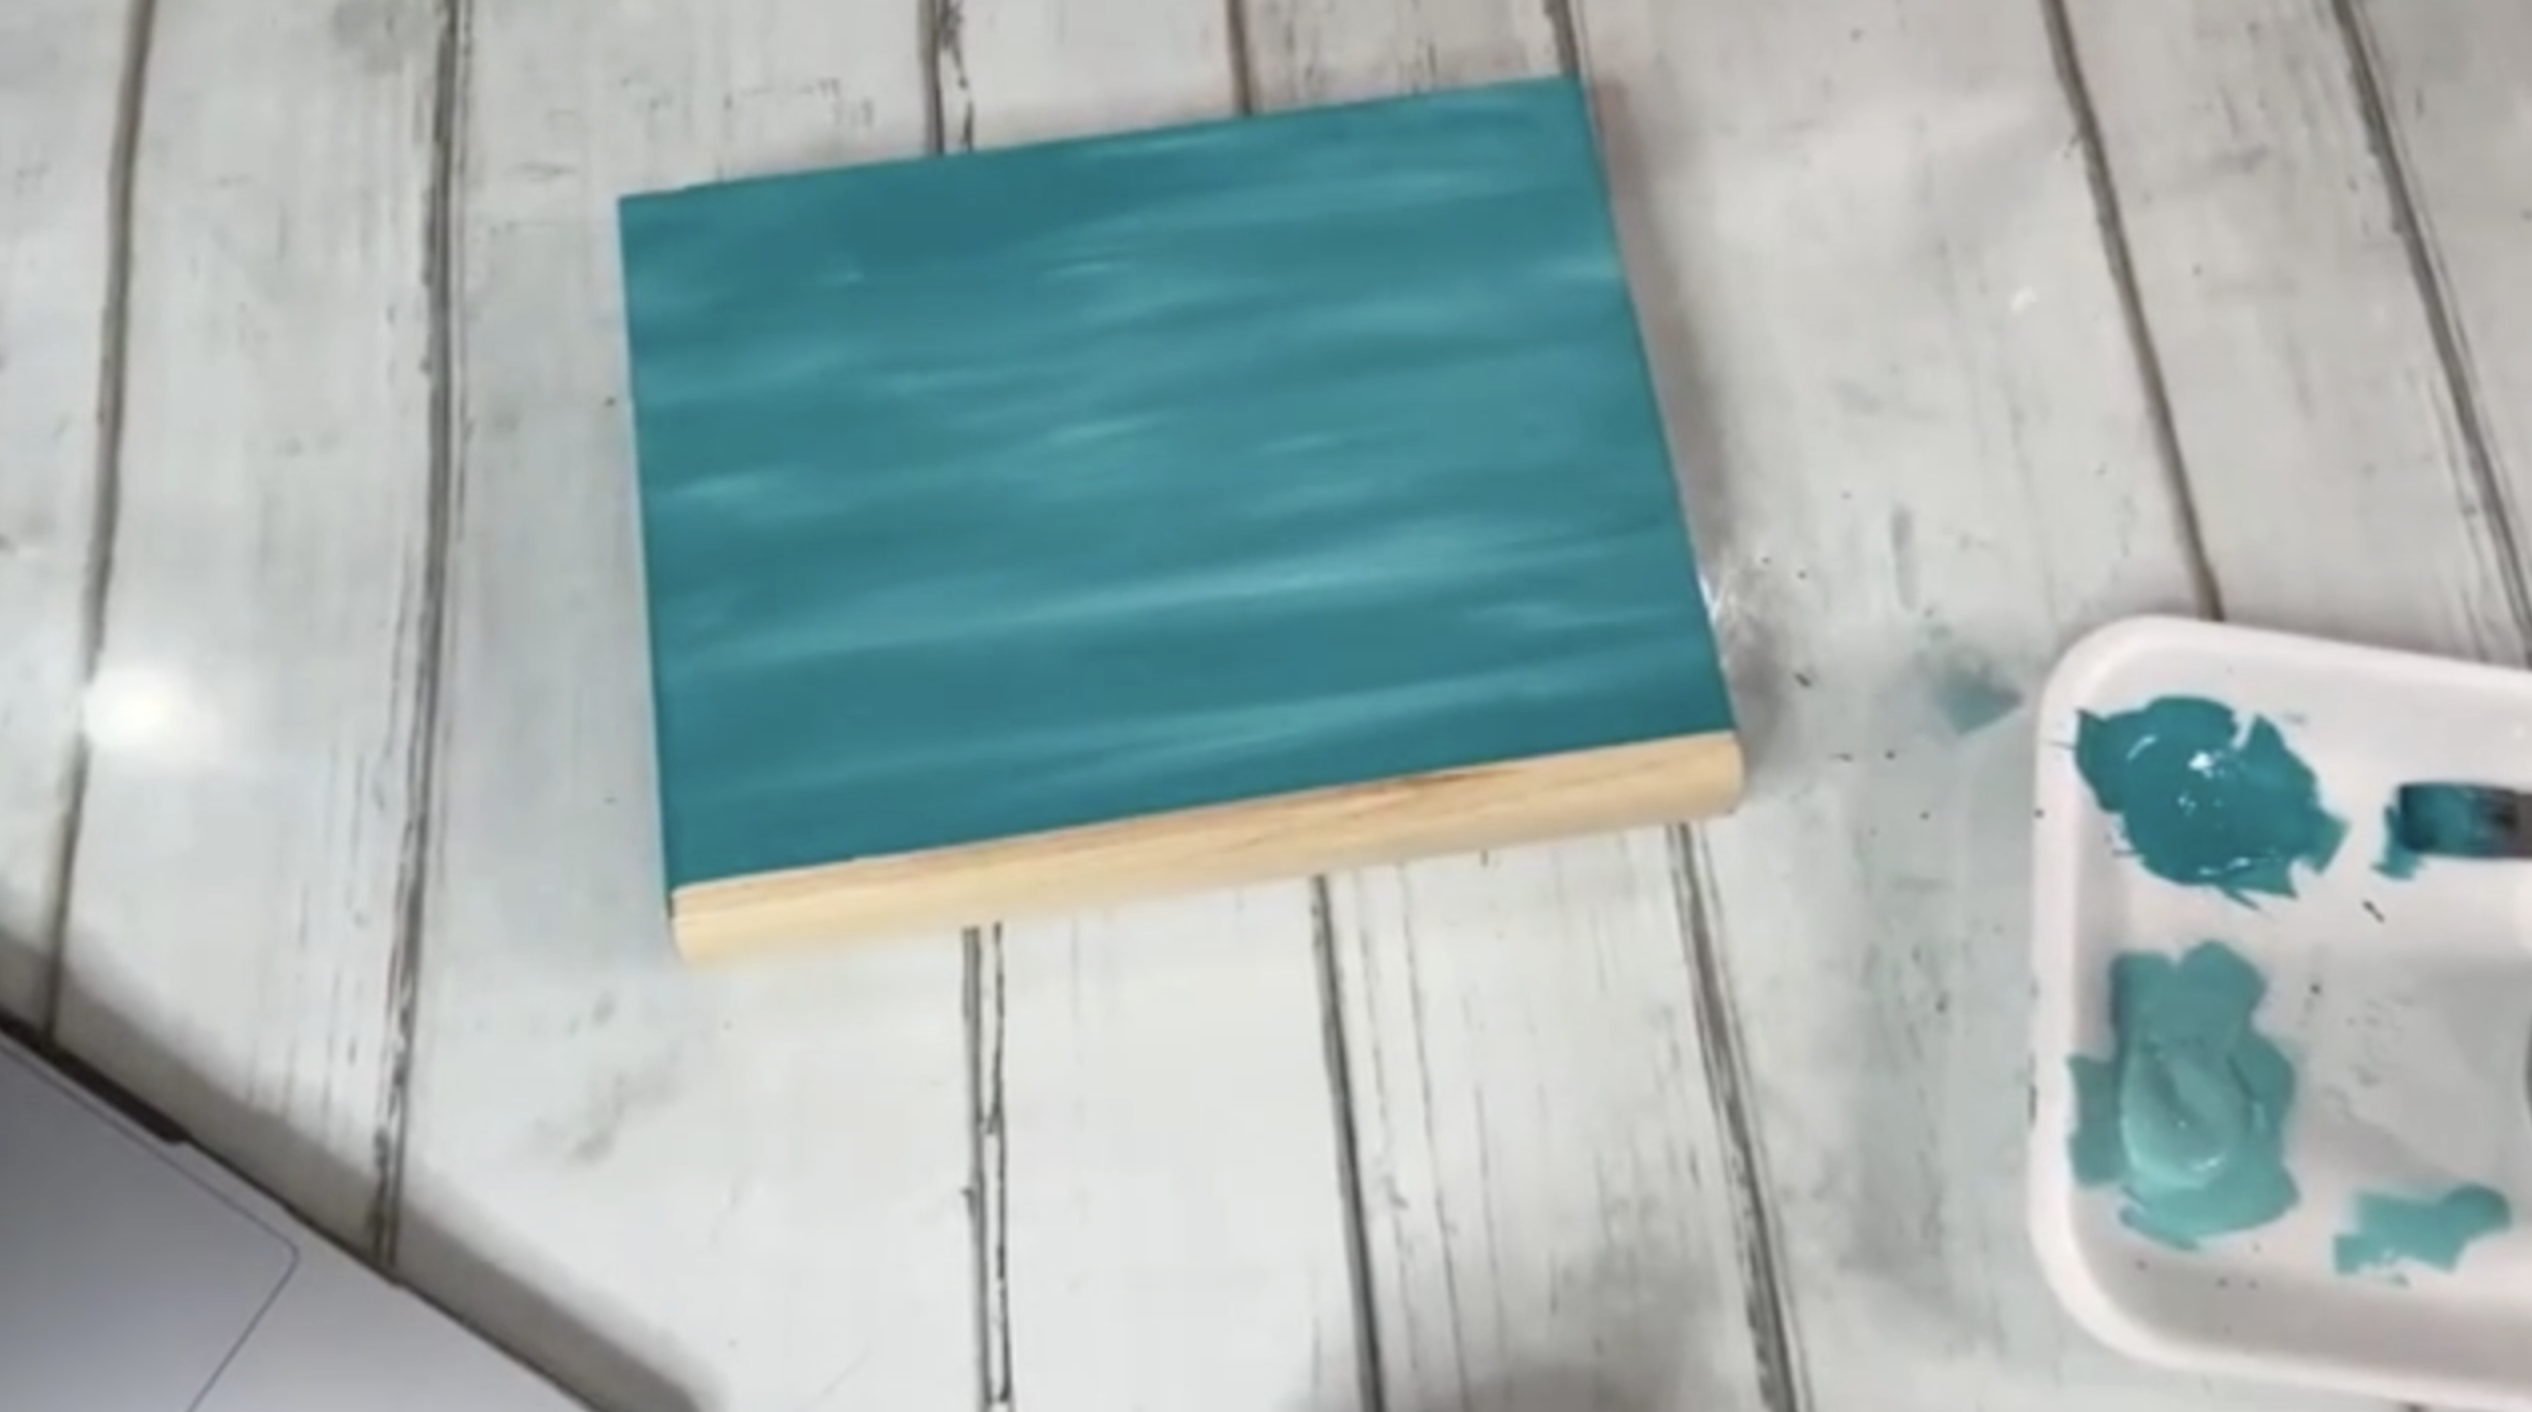
Step 2: Paint the Outside Base
For the outside bottom of the box, I blended Peacock Teal and Bahama Blue for a beachy ocean ombre look. I painted in sections, starting with the darker teal and blending the lighter blue in with a side-to-side motion to soften the transition. Make sure you don’t paint the hinges.
I masked off the spine of the box with painter's tape, then painted it Prussian Blue, followed by a thin dry-brushed layer of metallic gold. It gave it a subtle shimmer that made the spine feel special, almost like gilded pages.
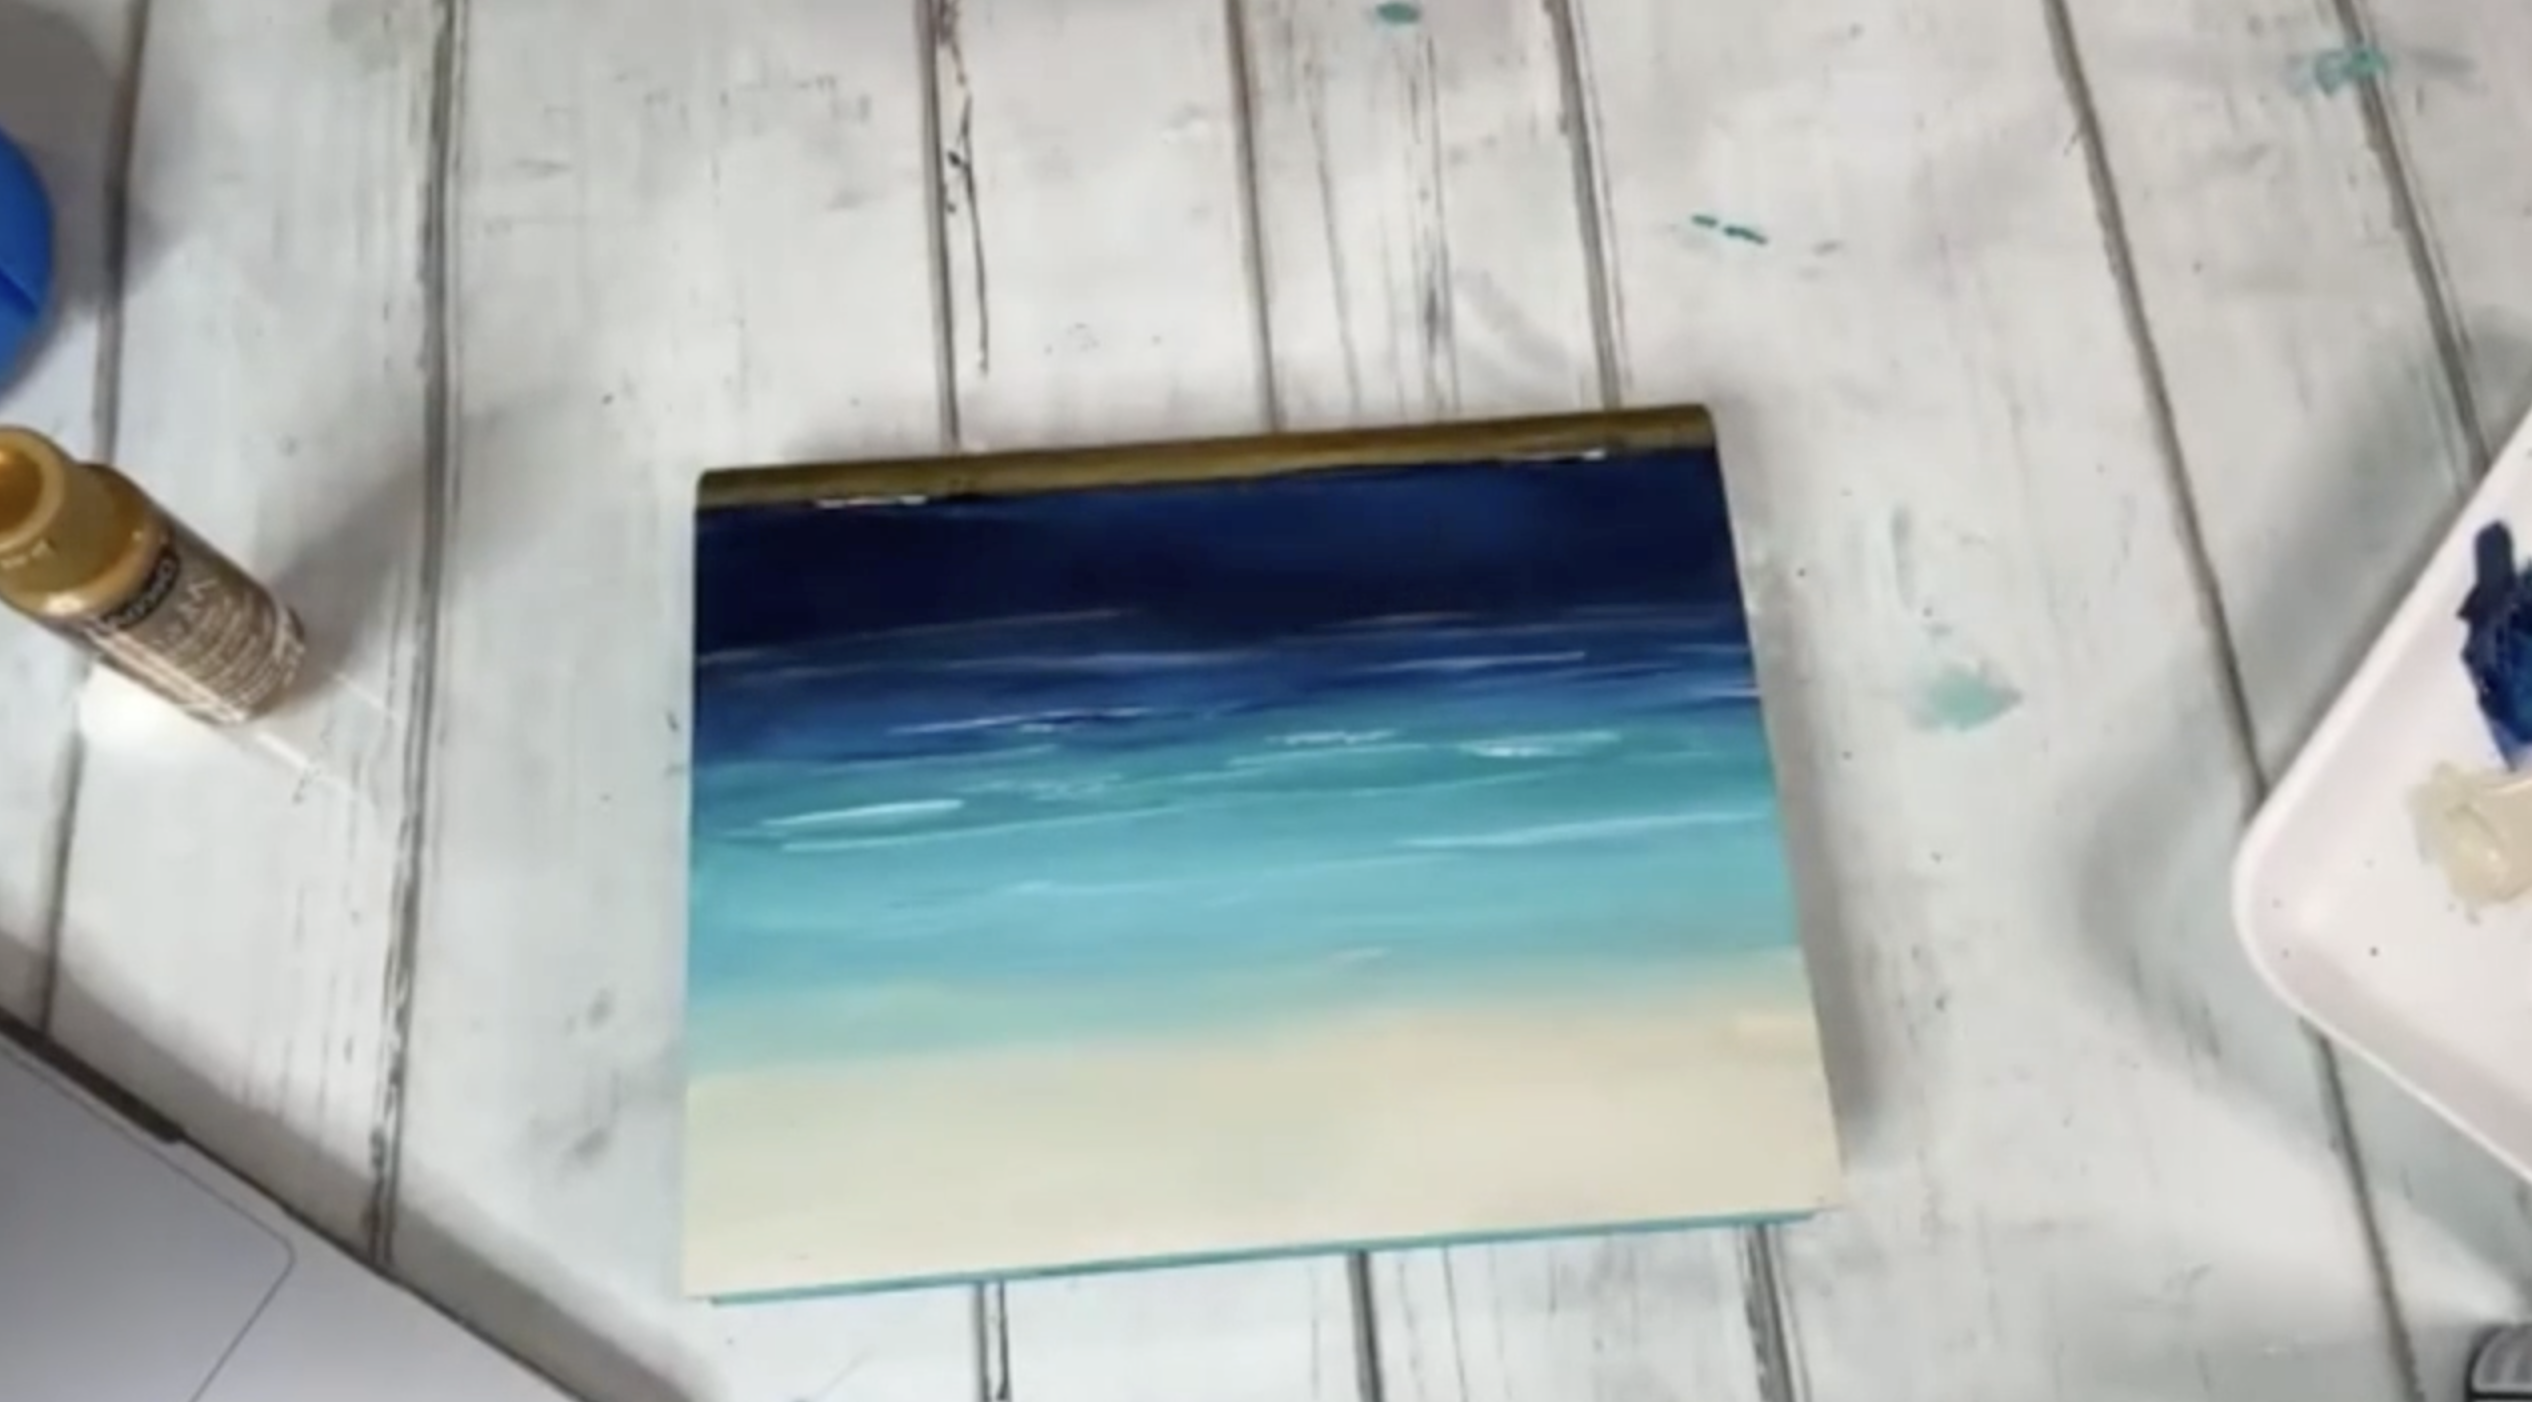
Step 3: Create Your Beach Scene
Now for the fun part - the cover! I taped off the hinges again to protect them from paint and started building the scene from bottom to top: a sandy shore, bright turquoise water, and a deep blue horizon.
-
The “sand” was painted with Bleached Sand and white.
-
The “water” was built with layers of Bahama Blue, Peacock Teal, and Prussian Blue, blended for smooth transitions.
-
I used the side of a brush to add foamy white waves along the shoreline and across the surface of the water, blending a bit of teal into the beach to mimic the look of surf.
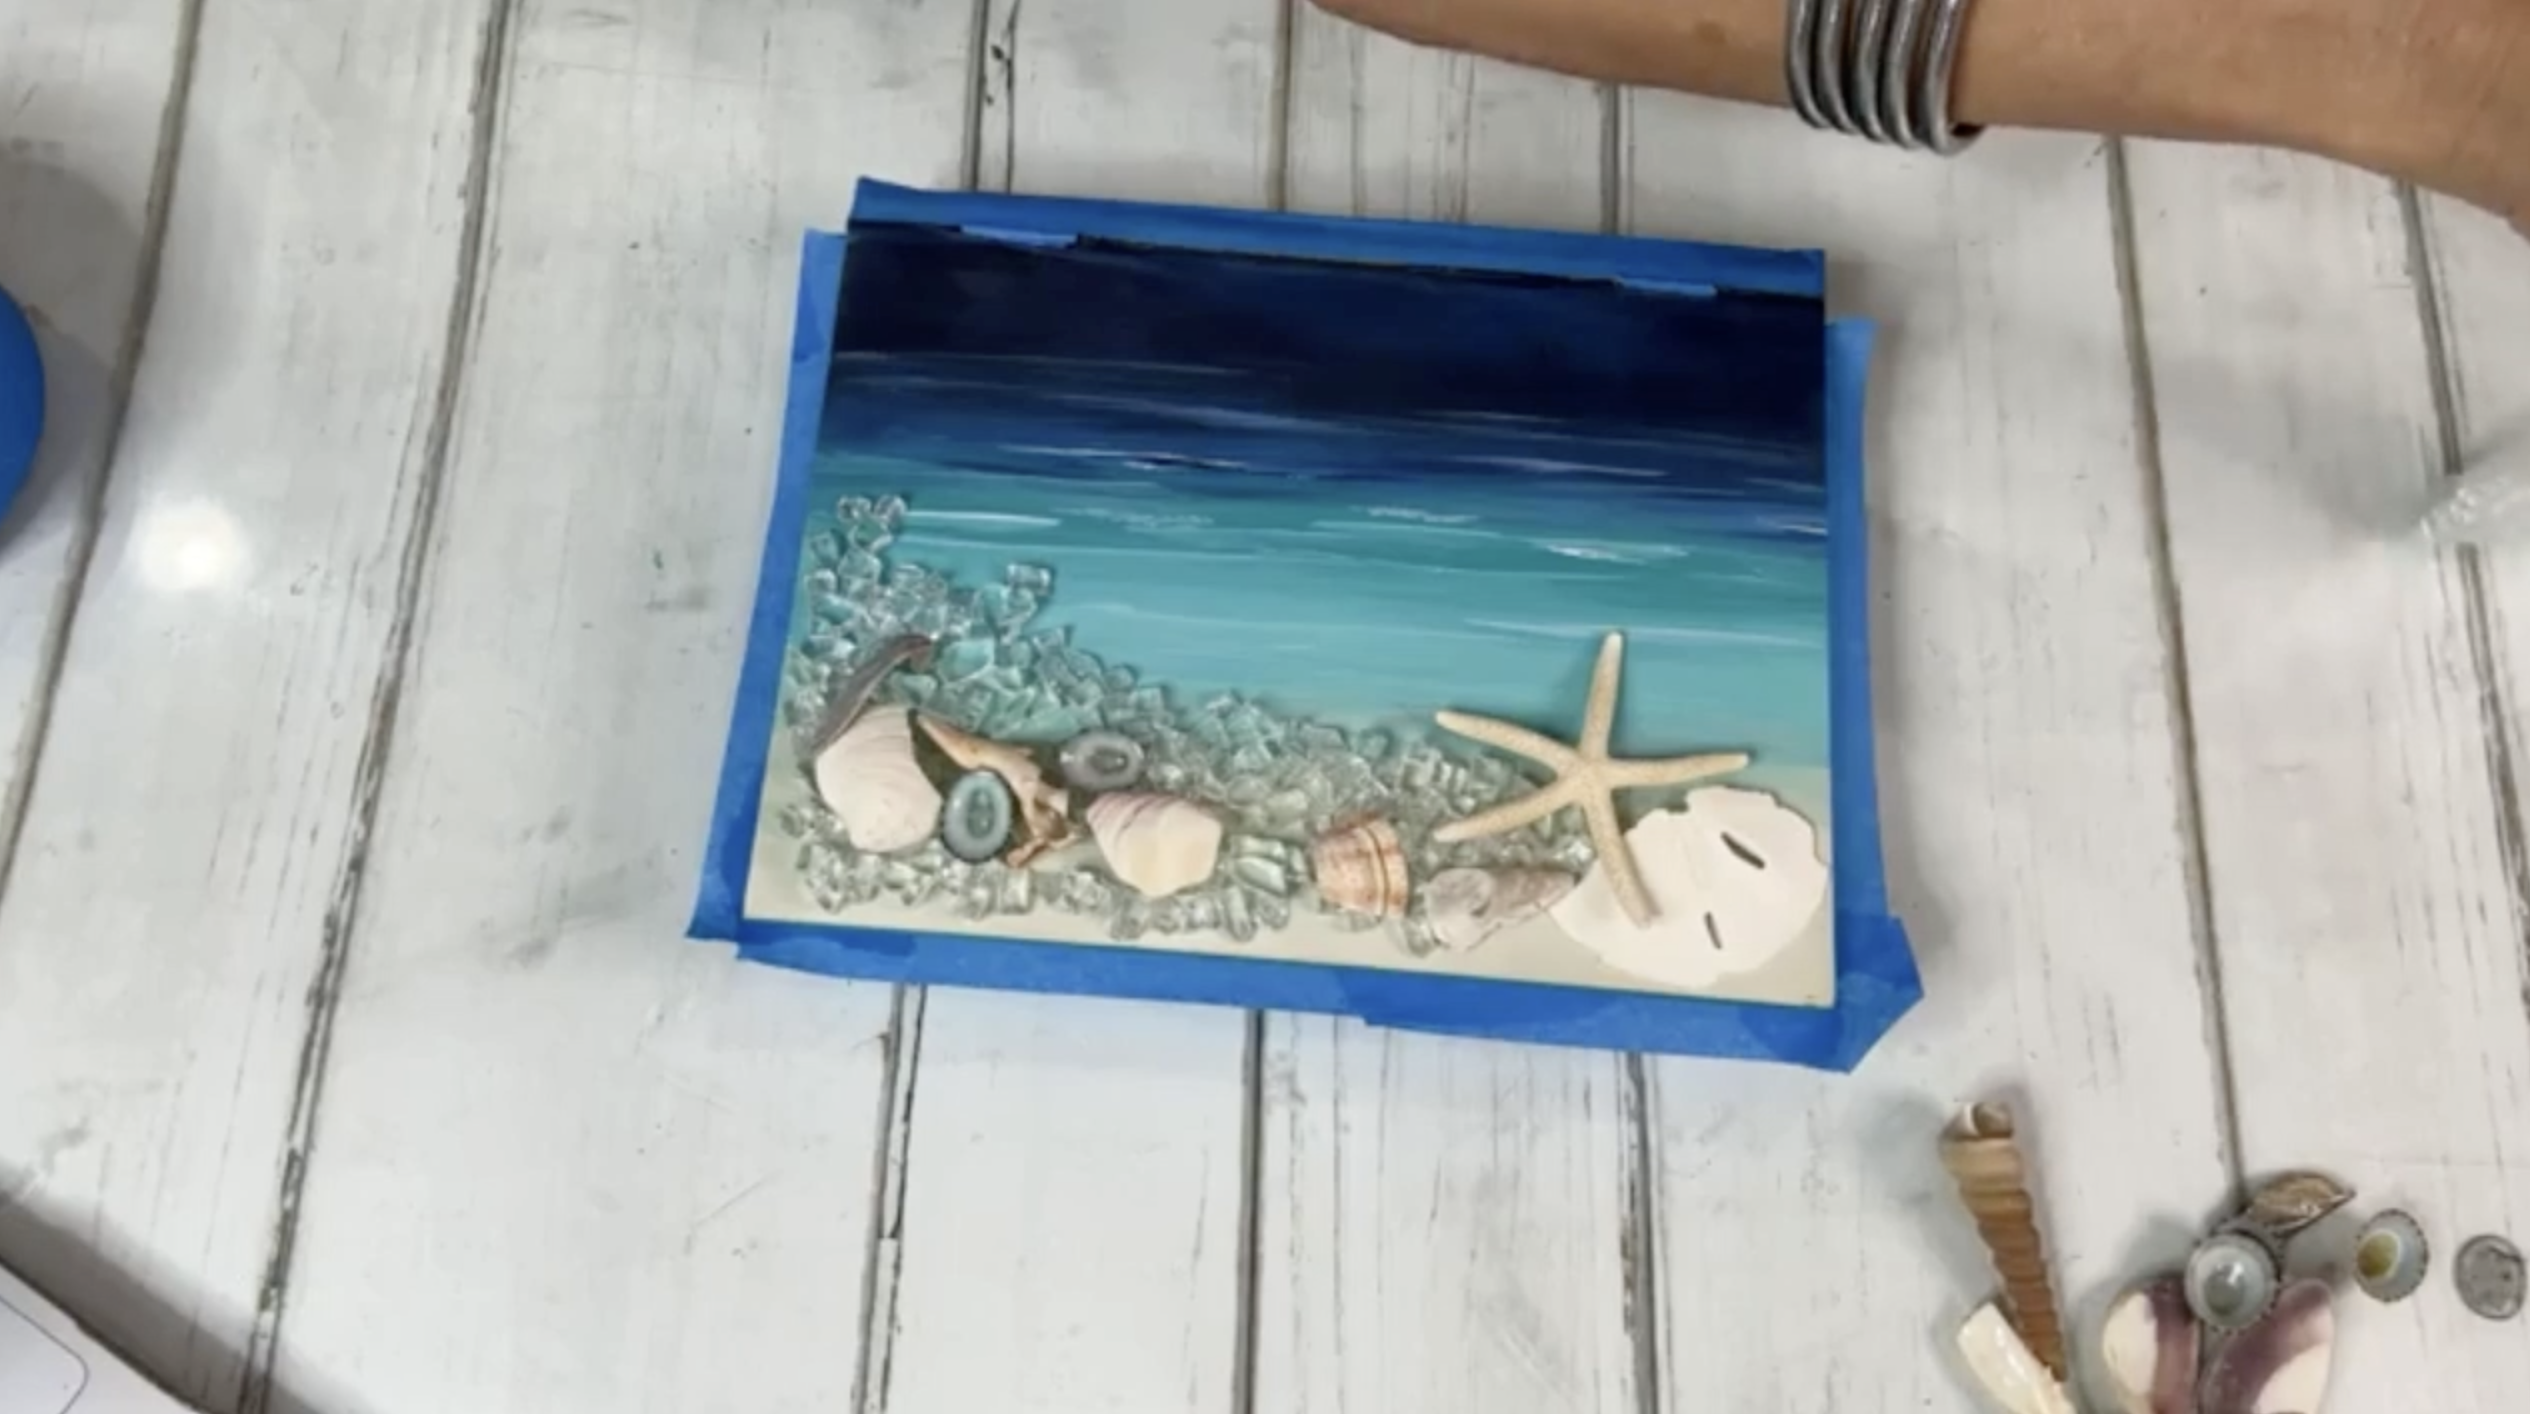
Step 4: Add Embellishments
This is where it all comes together. After the paint dried, I masked off the lower half of the book to protect the edges and spine from stray resin drips.
I laid out some clear crushed glass, tiny seed beads, and a mix of real seashells collected from various beaches. I placed them on the “sandy” part of the cover, making sure nothing blocked the hinges so the box still opens easily. A large starfish and partial sand dollar served as focal pieces.
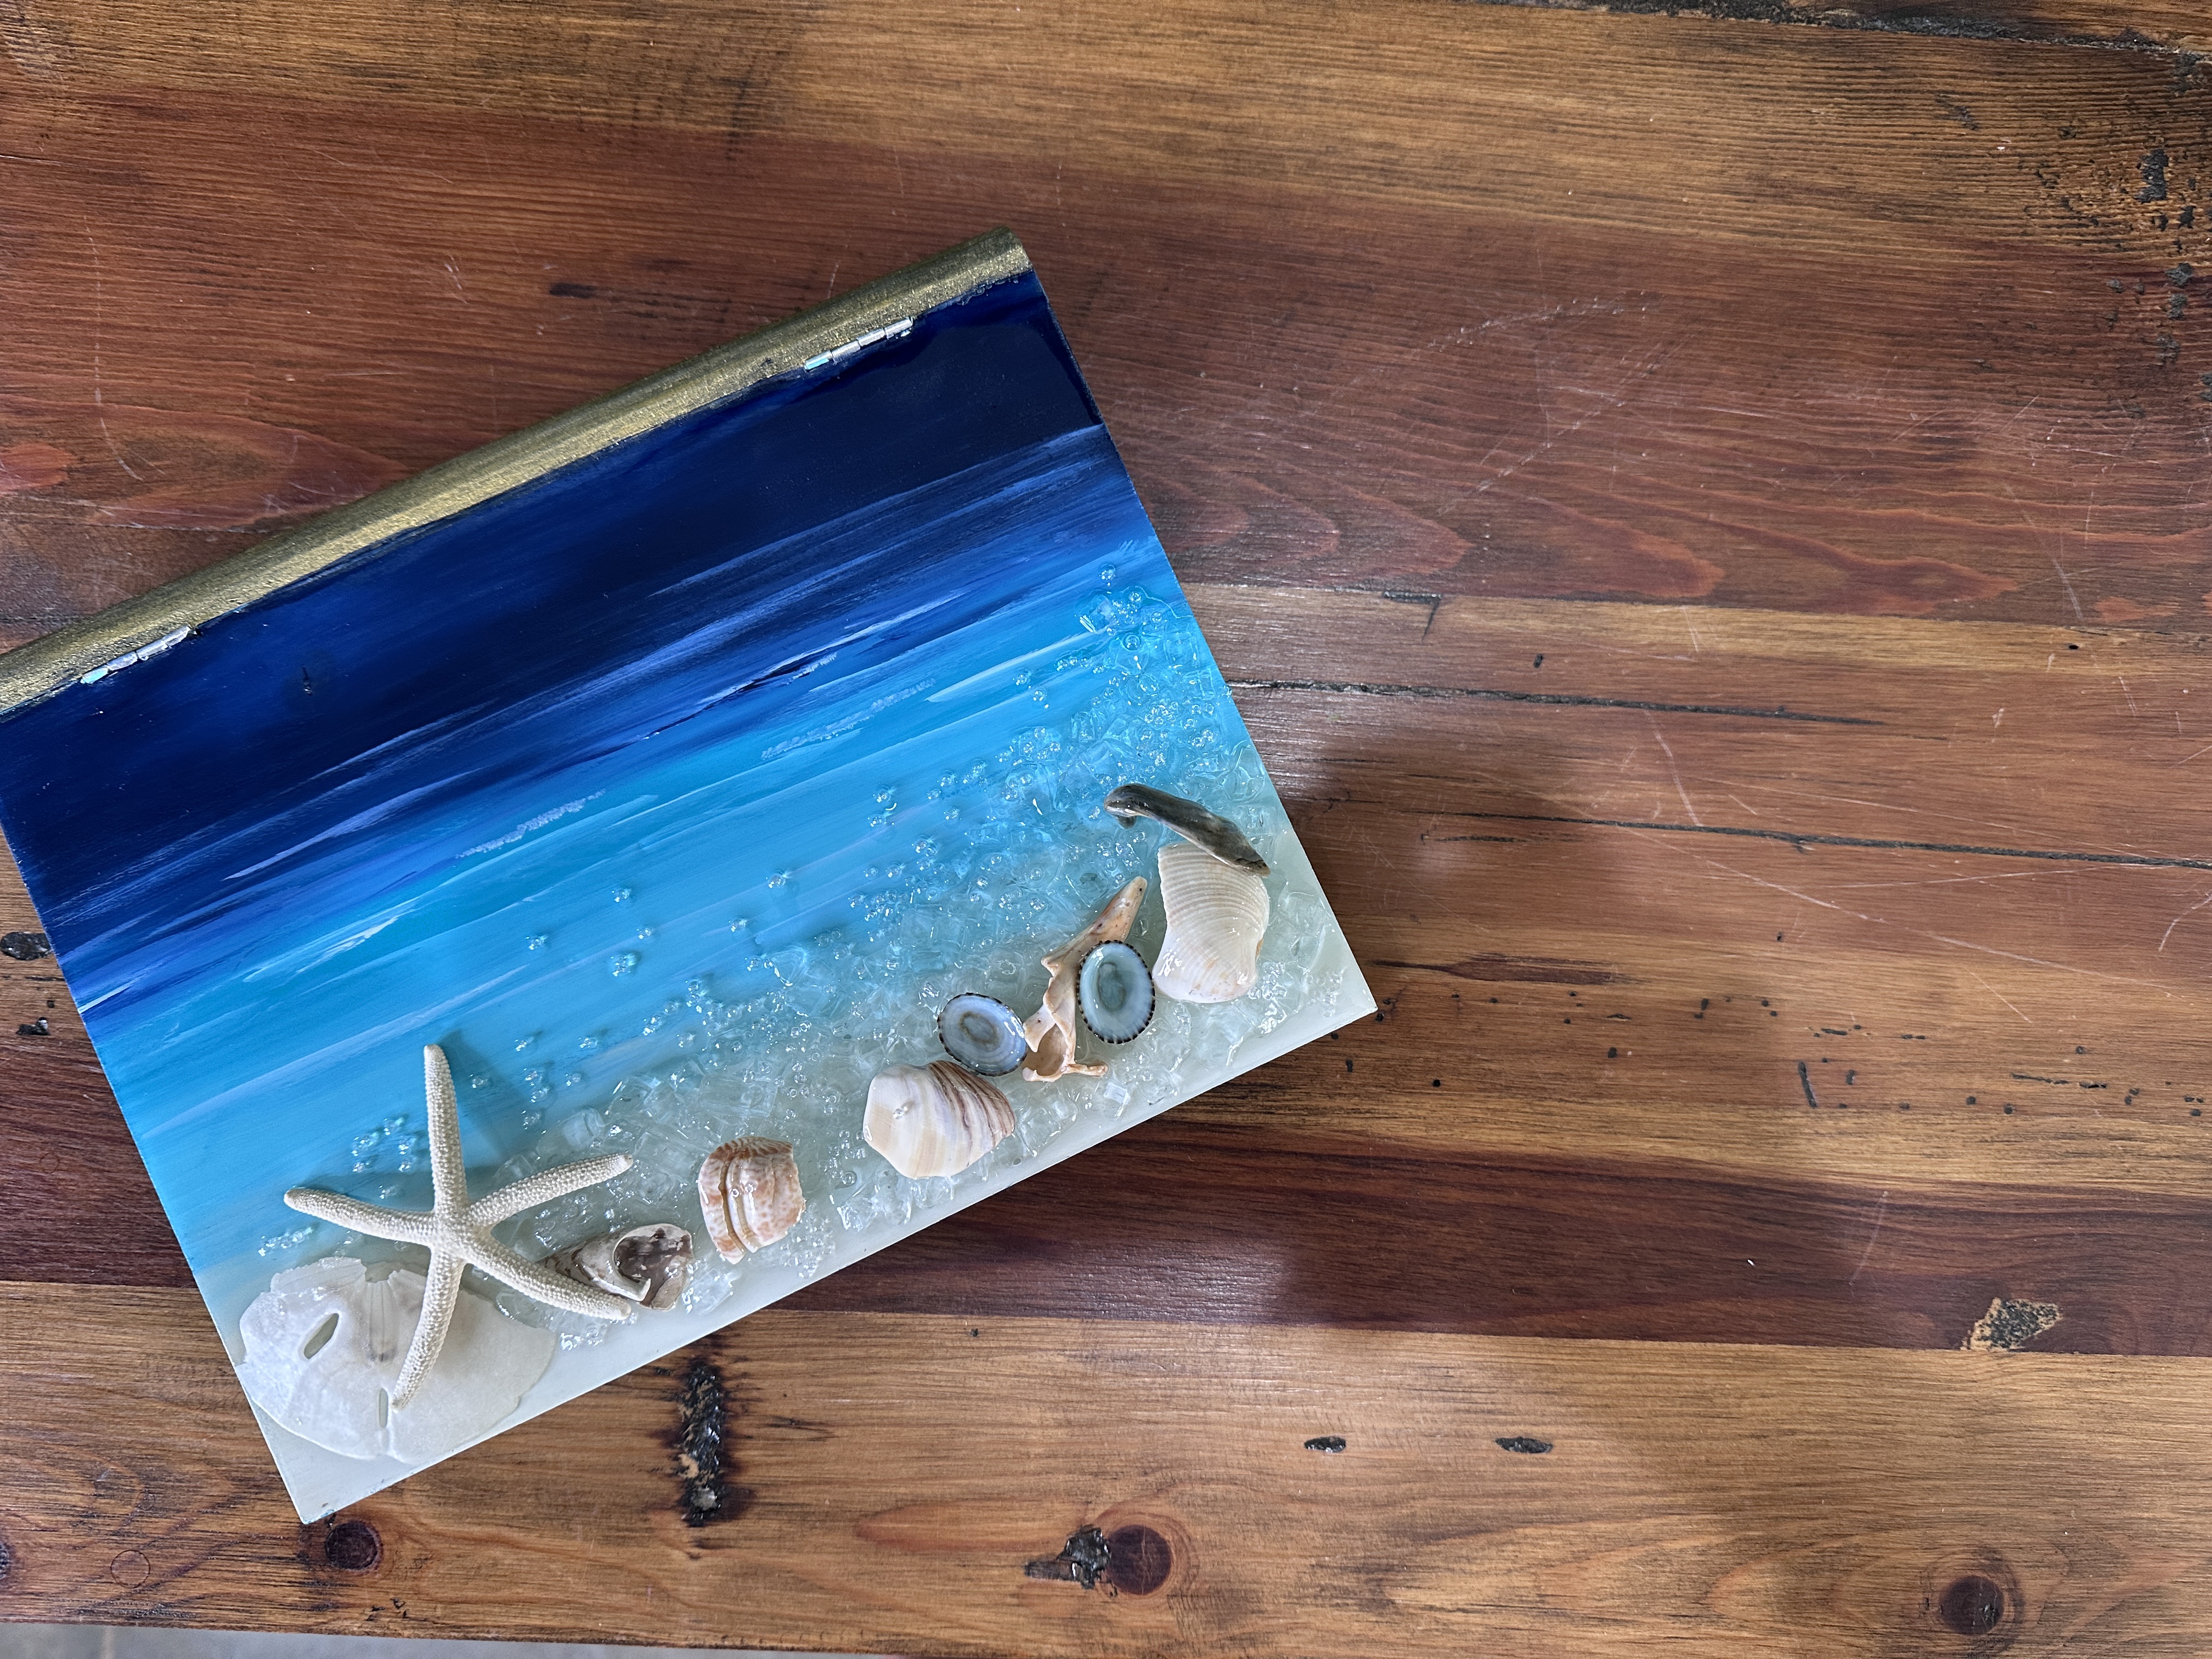
Step 5: Mix and Apply Resin
Using Art Resin, I mixed up about 1 ounce (50/50 resin and hardener) and poured it slowly over the embellished area. I used a disposable brush to gently push the resin into tight corners and around the shells, staying far away from the hinge line. Once everything was in place, I hit it with a heat gun to pop the bubbles and let it cure.
If your shells are porous (like my sand dollar), they may start to absorb the resin. If that happens, go ahead and coat them fully so it looks intentional rather than patchy.
Once cured, I peeled back all the tape and admired my new beachy treasure box. The resin made the glass and shells sparkle like sunlight on water, and now I have the perfect spot to store beach memories!
If you don’t want to miss my Facebook LIVE art instruction, make sure you are on my texting list. I always text 10 minutes before I’m going to go LIVE, so you won’t ever miss it. You can text “Hey Cindy” to 901-519-2923.
Want more inspiration and artwork?
- My website artshattered.com with resources, shop, and more!
- My creative membership The Shattered Circle, where you can explore the world of glass art with online workshops, a supportive community, and more!
- My mini creative membership Just A ‘Lil Bit Monthly Glass Art Club, where you’ll get a new quick and easy online tutorial for just a lil' bit of sparkle in your life!
- My Facebook page where I go LIVE every Wednesday night at 6:00 PM CST.
- My YouTube channel which has tons of free art lessons right at your fingertips.
