
Beachy Cross 🌊
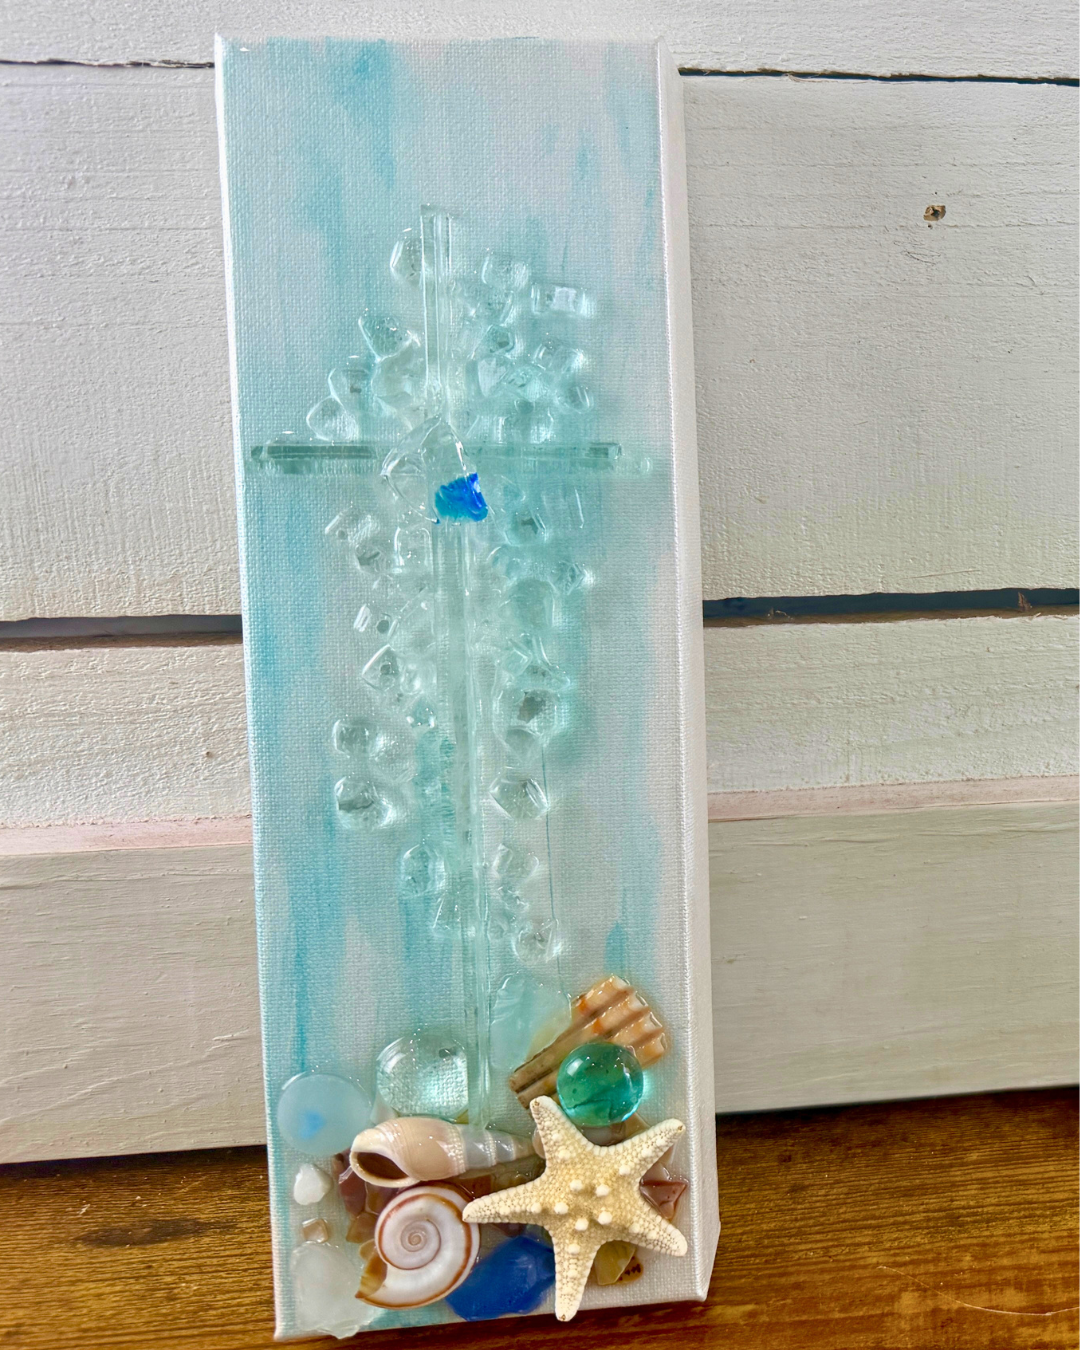
This beachy glass cross is a simple, meaningful project that combines clear glass strips, crushed glass, shells, sea glass, and resin on a soft pearl-and-teal background. The finished piece has a light, beachy look without feeling too bright, and the stacked glass details at the bottom give it the feel of treasures that have washed ashore. It is also a great beginner project because the design is built from simple glass strips and loose embellishment placement rather than detailed painting.
Step 1: Paint the Pearl Background
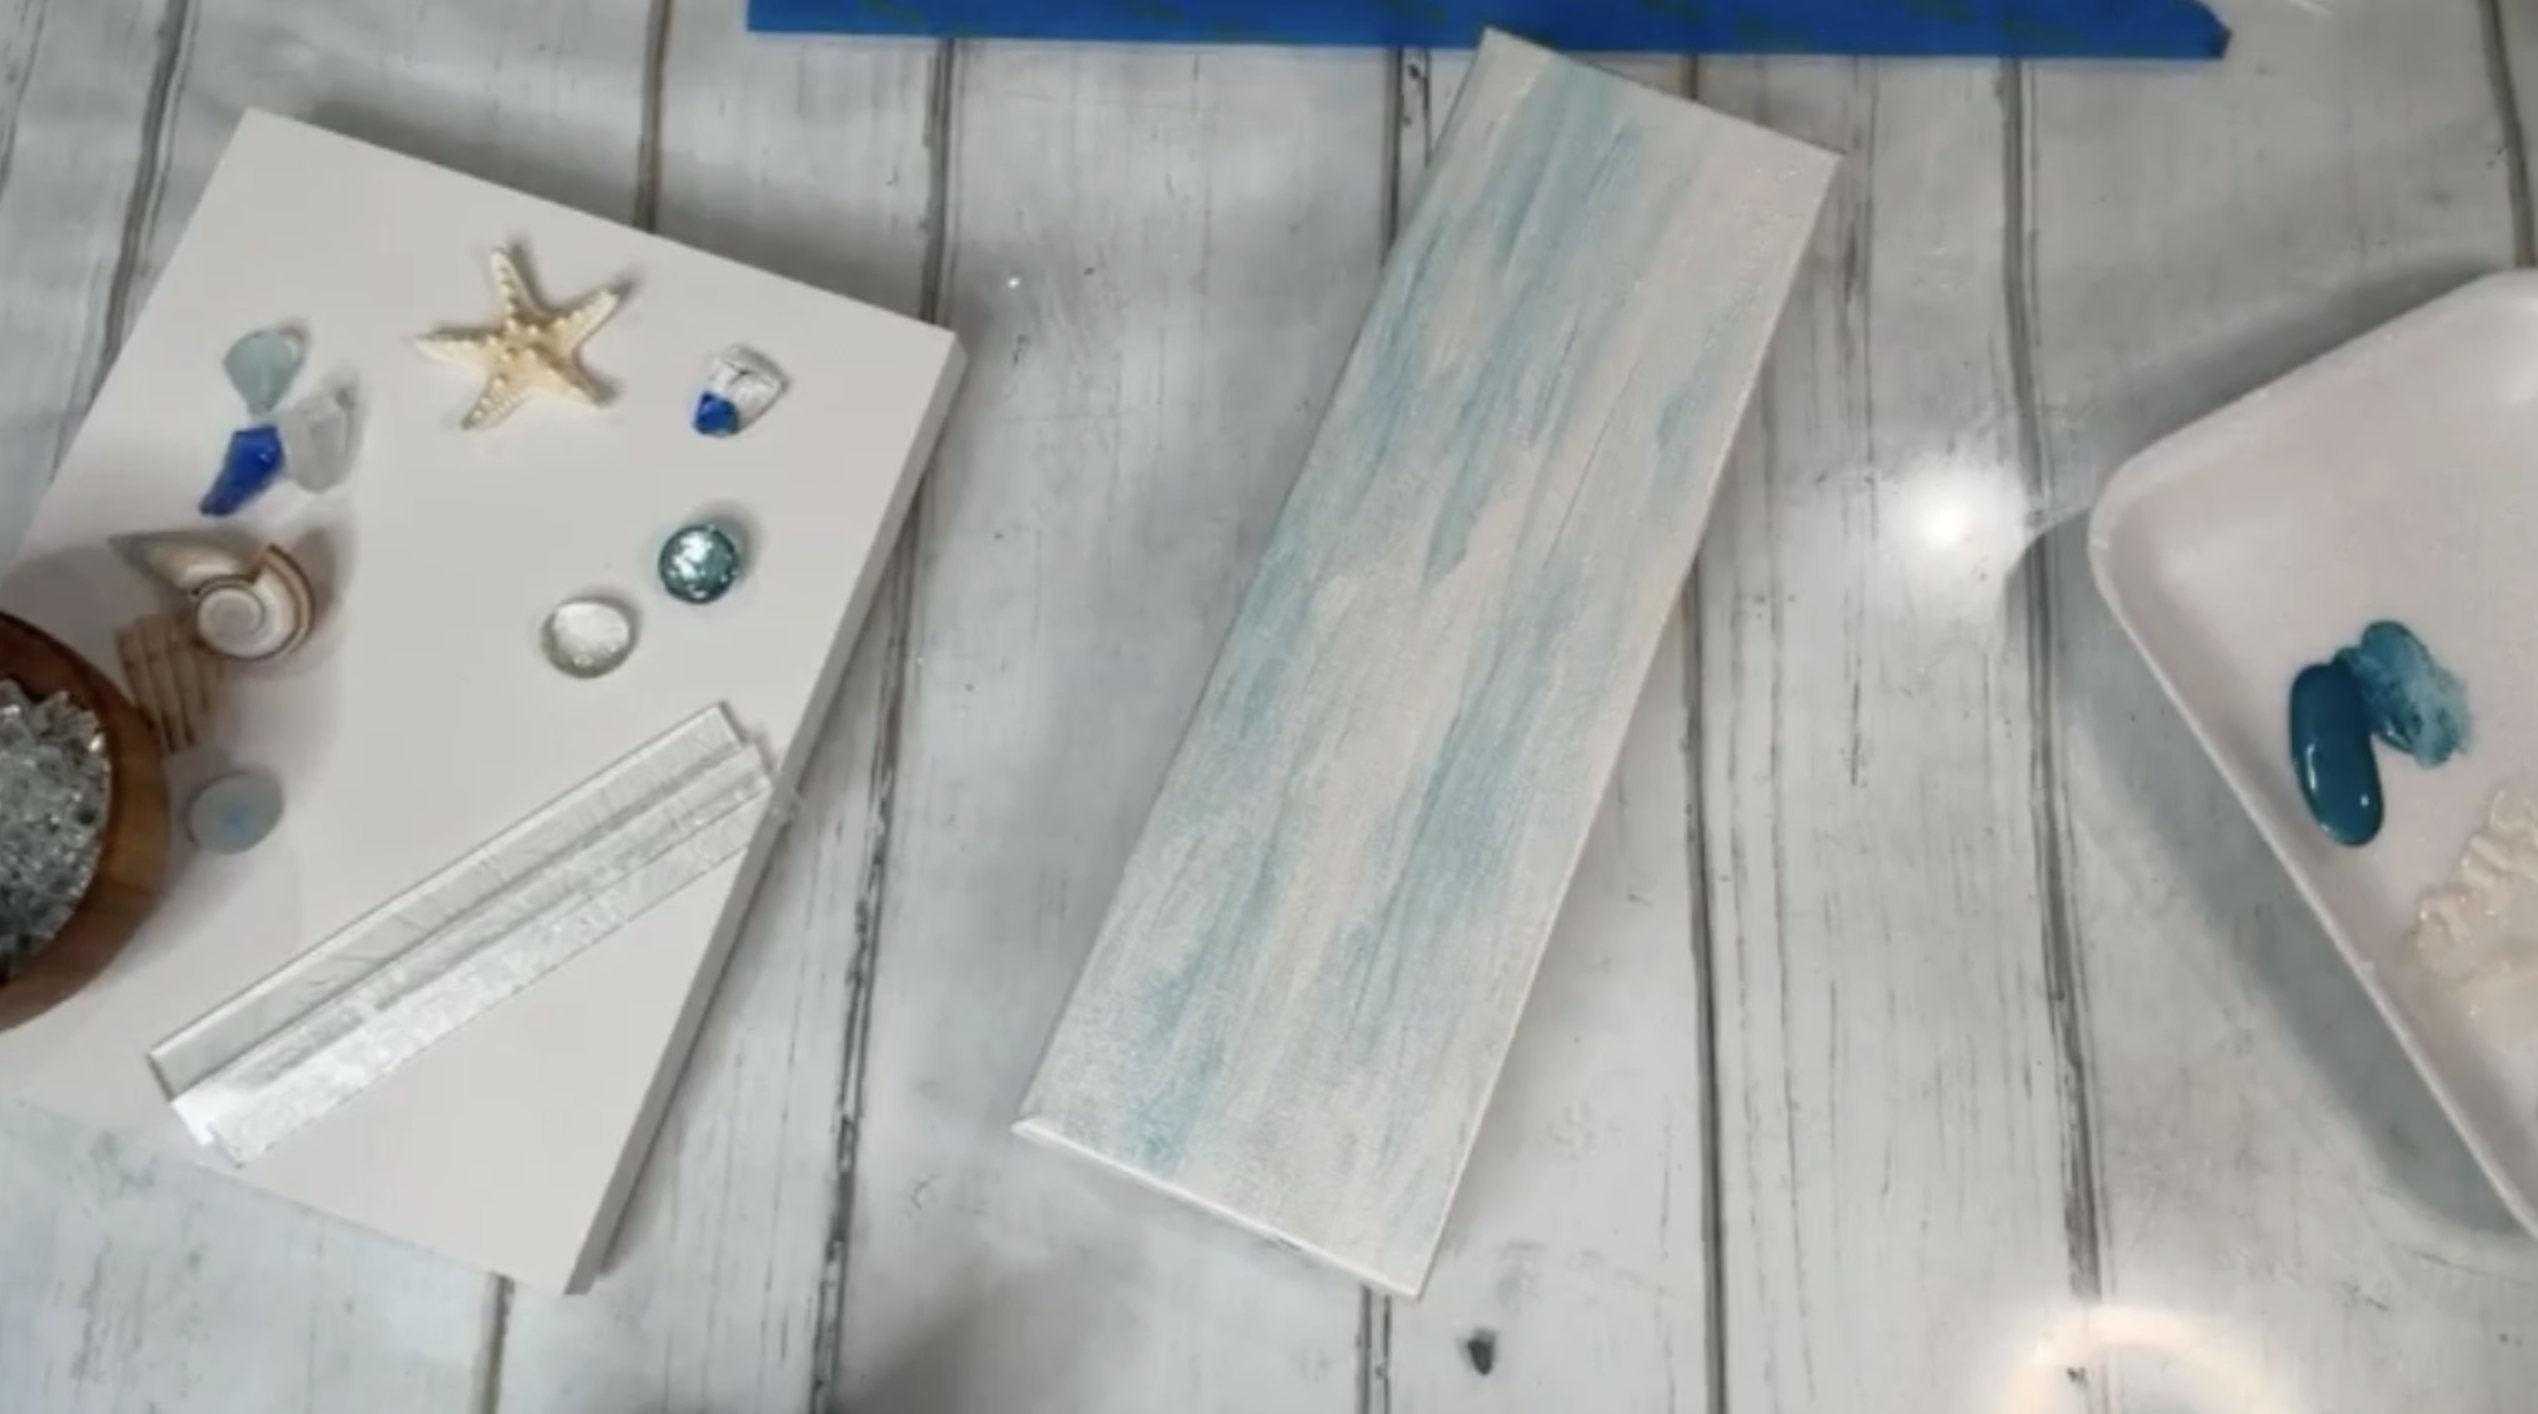
Begin by covering the entire canvas with pearl or metallic white paint, including the sides if desired. Get the paint on quickly first rather than trying to make every stroke perfect as you go.
Once the surface is fully covered, pull the brush in one consistent direction from top to bottom. Metallic paints contain tiny reflective particles, and laying the brushstrokes in one direction helps those particles settle evenly so the background dries smooth instead of blotchy.
Step 2: Add a Soft Teal Wash
While the pearl paint is still workable, pick up a small amount of metallic teal on the same brush and lightly work it into the surface.
Keep the teal very soft and uneven so it feels watery rather than like a solid blue stripe. Add a little more pearl over any areas that become too strong.
The goal is a neutral, slightly metallic background with just enough blue to give it a coastal feel.
Step 3: Seal the Background if Needed
If you are using a predominantly white background, apply a non-yellowing sealer before adding resin. White paint, especially titanium white, can sometimes react poorly under resin, so sealing it first helps protect the color and keep the finished background looking clean.
Step 4: Dry the Canvas Completely
Use a heat gun or allow the canvas to air dry until the background is completely dry. Give it enough time to cool before placing or gluing glass on top.
Step 5: Cut the Vertical Glass Pieces
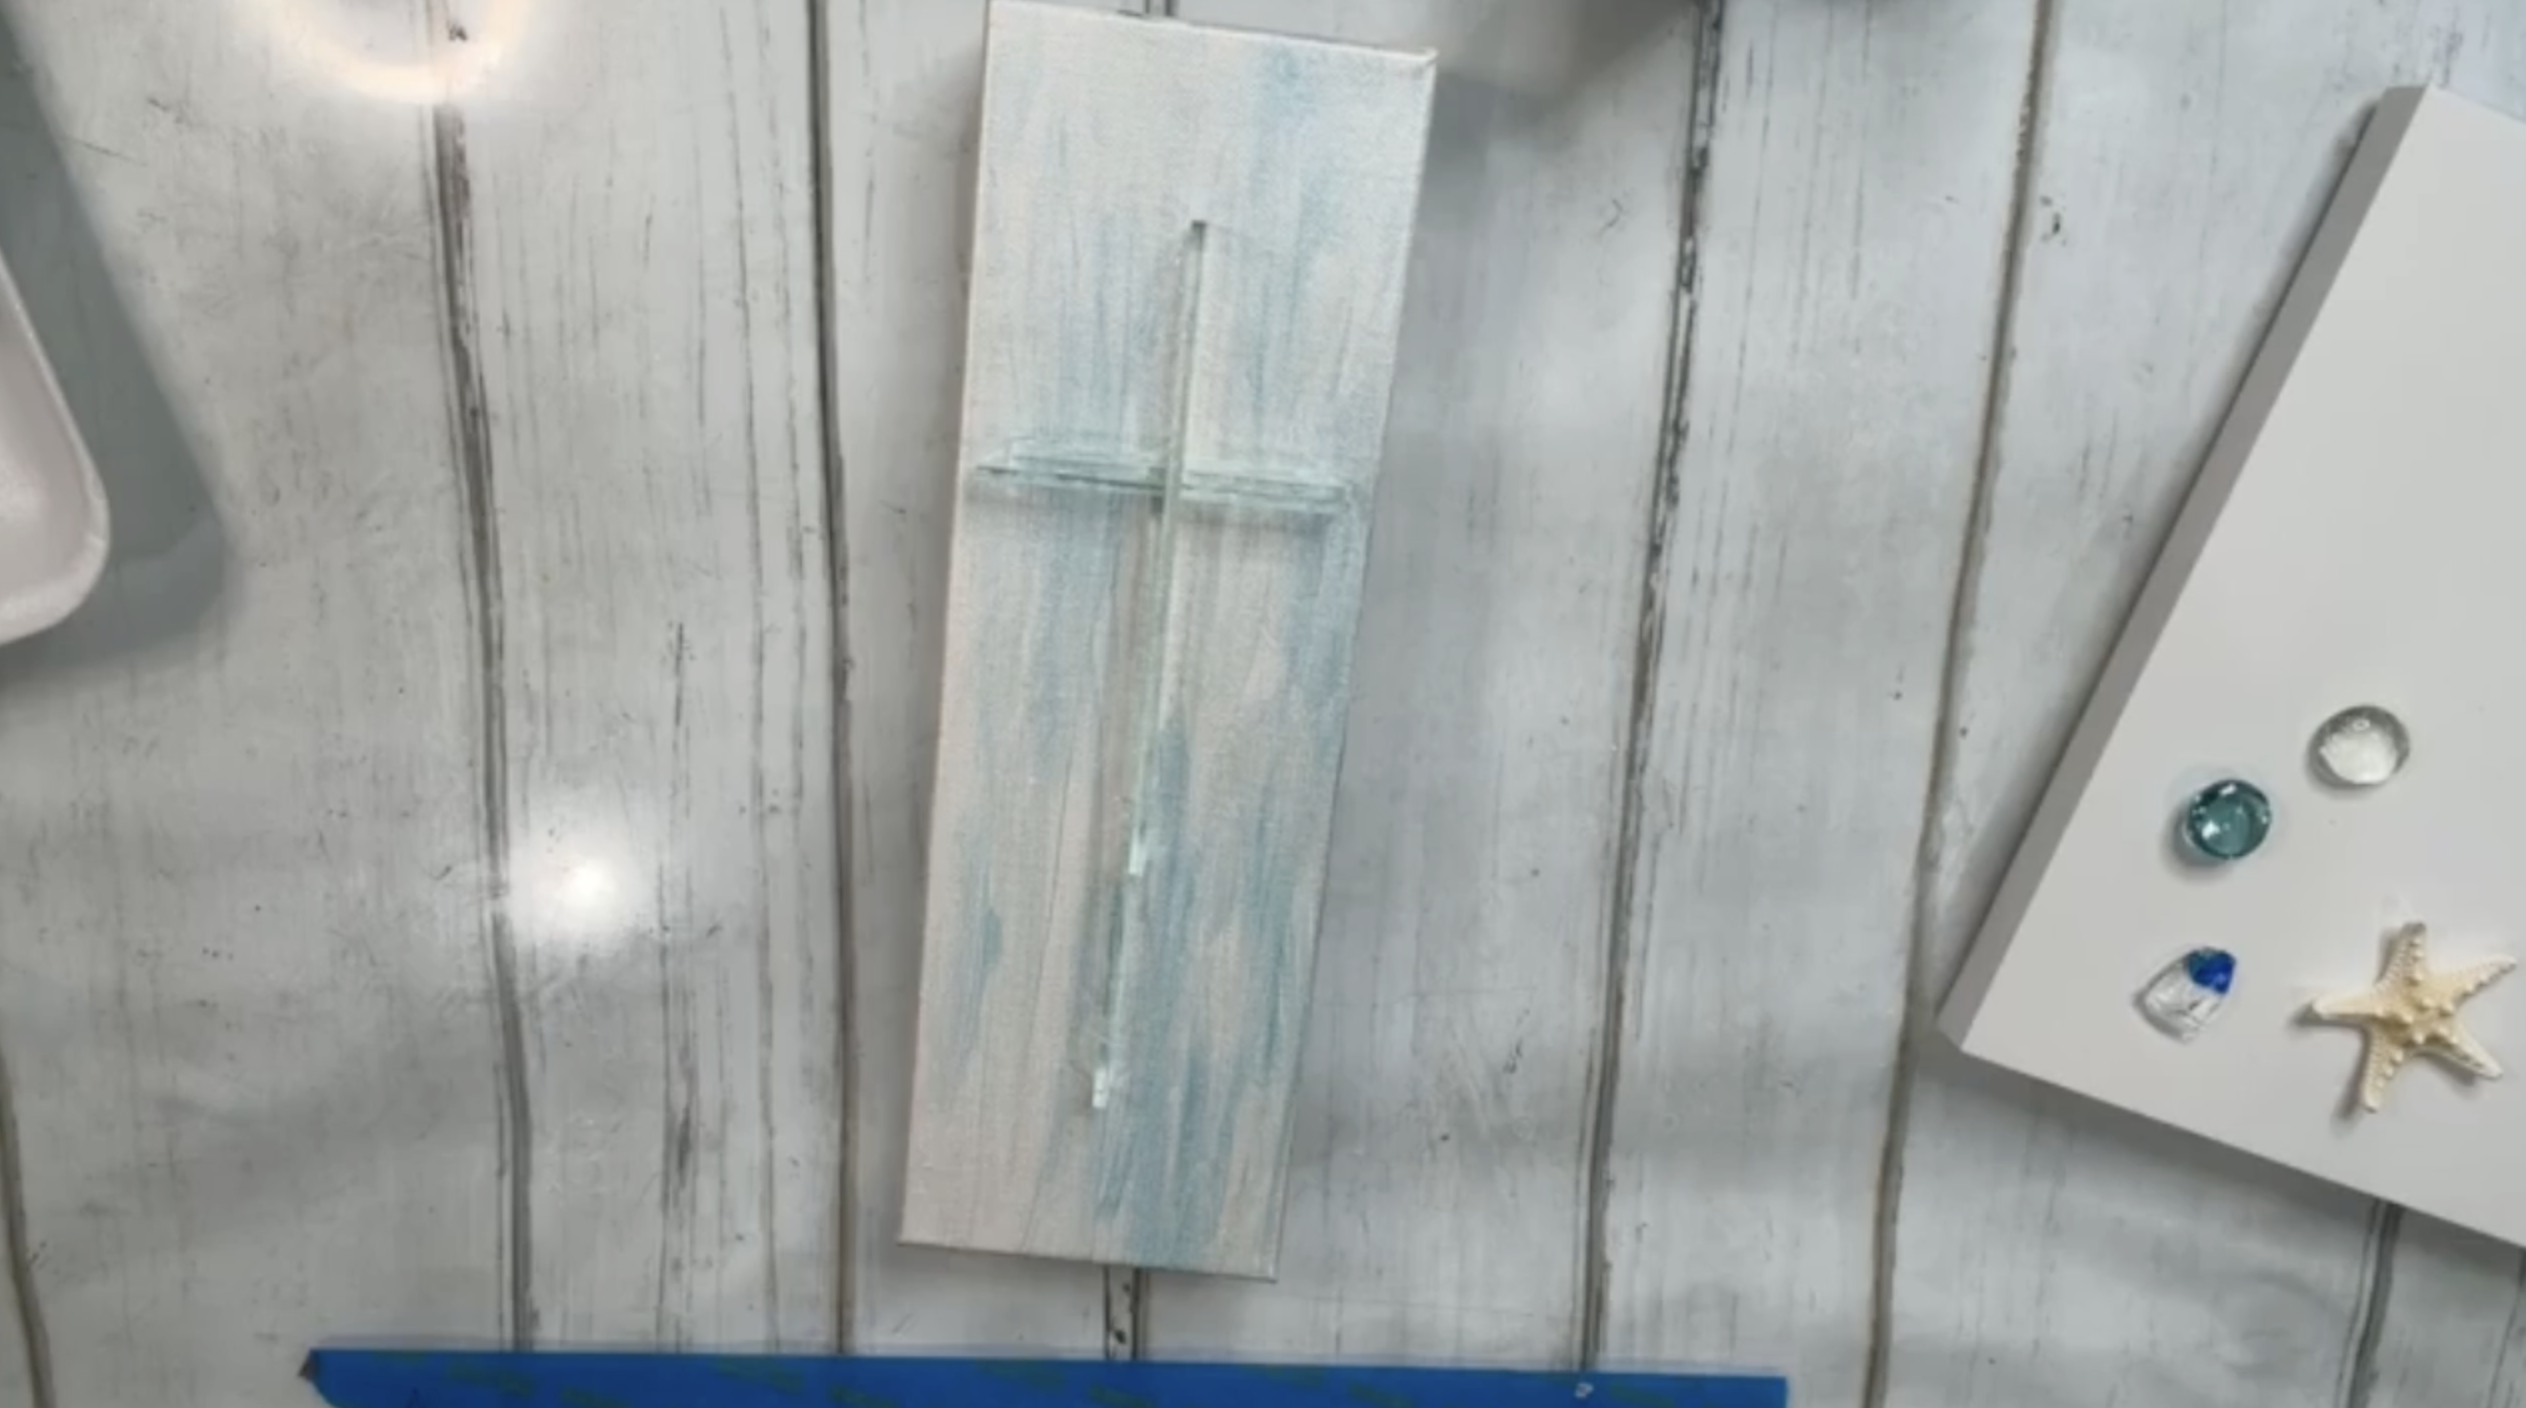
Choose two clear glass strips for the vertical section of the cross. If the glass has texture on one side, score the smoother side. Eyeball the center or measure if you prefer, then score and snap the glass so the two vertical pieces fit comfortably on the canvas.
Test the placement before gluing to make sure the cross will leave enough room at the bottom for the starfish and shell arrangement.
Step 6: Cut the Horizontal Pieces
Cut four shorter pieces from another clear glass strip to form the arms of the cross.
Again, score the smooth side and snap the glass carefully. The pieces do not need to be mathematically identical. A slightly staggered arrangement keeps the design from feeling too stiff.
Step 7: Glue the Vertical Section
Find the center of the canvas and add a very thin line of Aleene’s Clear Tacky Glue where the vertical glass will sit.
Place the two long glass pieces on edge, staggering them slightly rather than aligning the ends perfectly. Add tiny dots of glue only where the glass touches the surface. Leave enough open space at the bottom of the canvas for the coastal embellishments.
Step 8: Build the Crossbar
Pair the shorter glass strips into two small stacked sections.
Add just a dot of glue between each pair so they stay together while you work. Then place them horizontally across the vertical glass, creating the arms of the cross.
Use a tiny amount of glue where the pieces meet the vertical section so they are stabilized without leaving visible glue everywhere.
Step 9: Add Crushed Glass Around the Cross
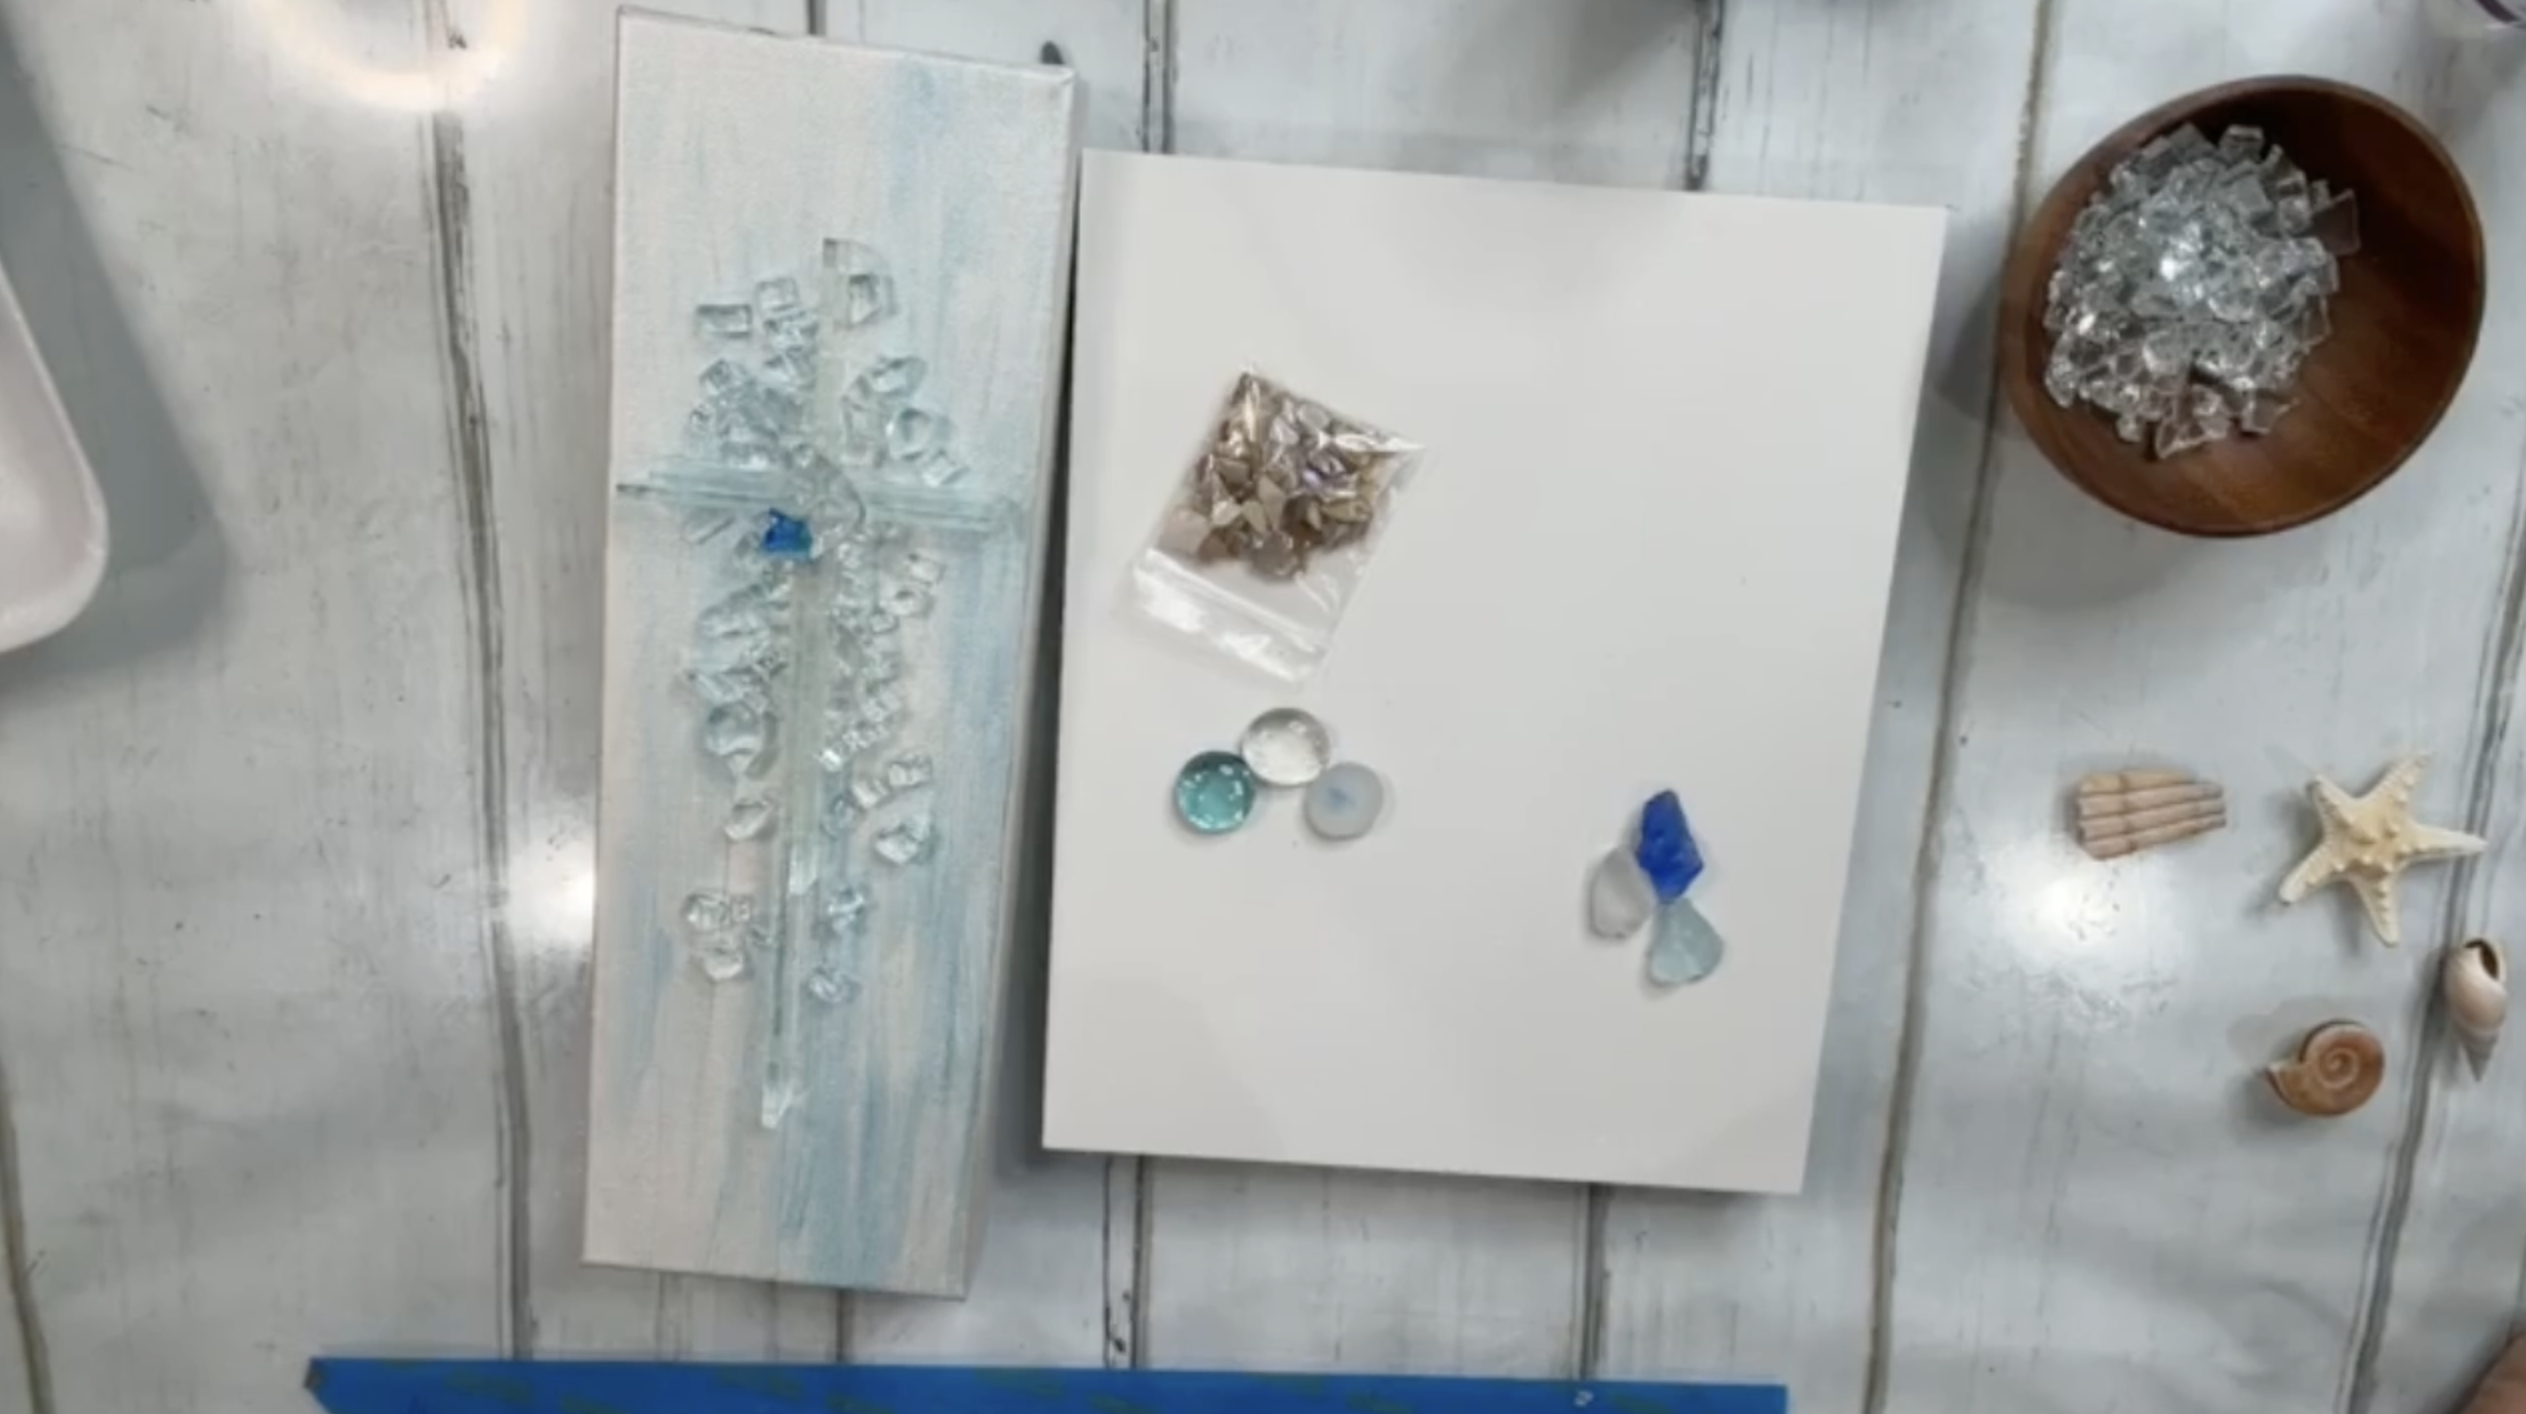
Sprinkle clear crushed glass around and between the glass strips.
Instead of placing every piece individually, let the glass fall naturally and settle where it wants. Remove any unusually large or awkward pieces that distract from the shape.
You do not need a heavy layer. A loose scattering is enough to give the cross extra texture and sparkle.
Step 10: Add the Glass Chip at the Center
Place a small dab of glue where the vertical and horizontal glass sections intersect.
Add a little glue to the back of the decorative glass chip as well, then press it into the center of the cross. A chip with a hint of blue works especially well with the soft coastal background.
Step 11: Arrange the Coastal Details
At the bottom of the canvas, begin loosely arranging crushed shell, small seashells, floral gems, sea glass, and the starfish.
The arrangement should look collected rather than perfectly staged. Think of the pieces as beach treasures that have washed up together.
Experiment with overlapping and stacking until the cluster feels balanced.
Step 12: Remove the Frosted Pieces Before Resin
Once you are happy with the arrangement, temporarily remove any pieces of frosted sea glass or other embellishments that you do not want coated heavily in resin.
Keep them nearby in the same order so they are easy to return after the resin is poured. This helps preserve their soft frosted finish.
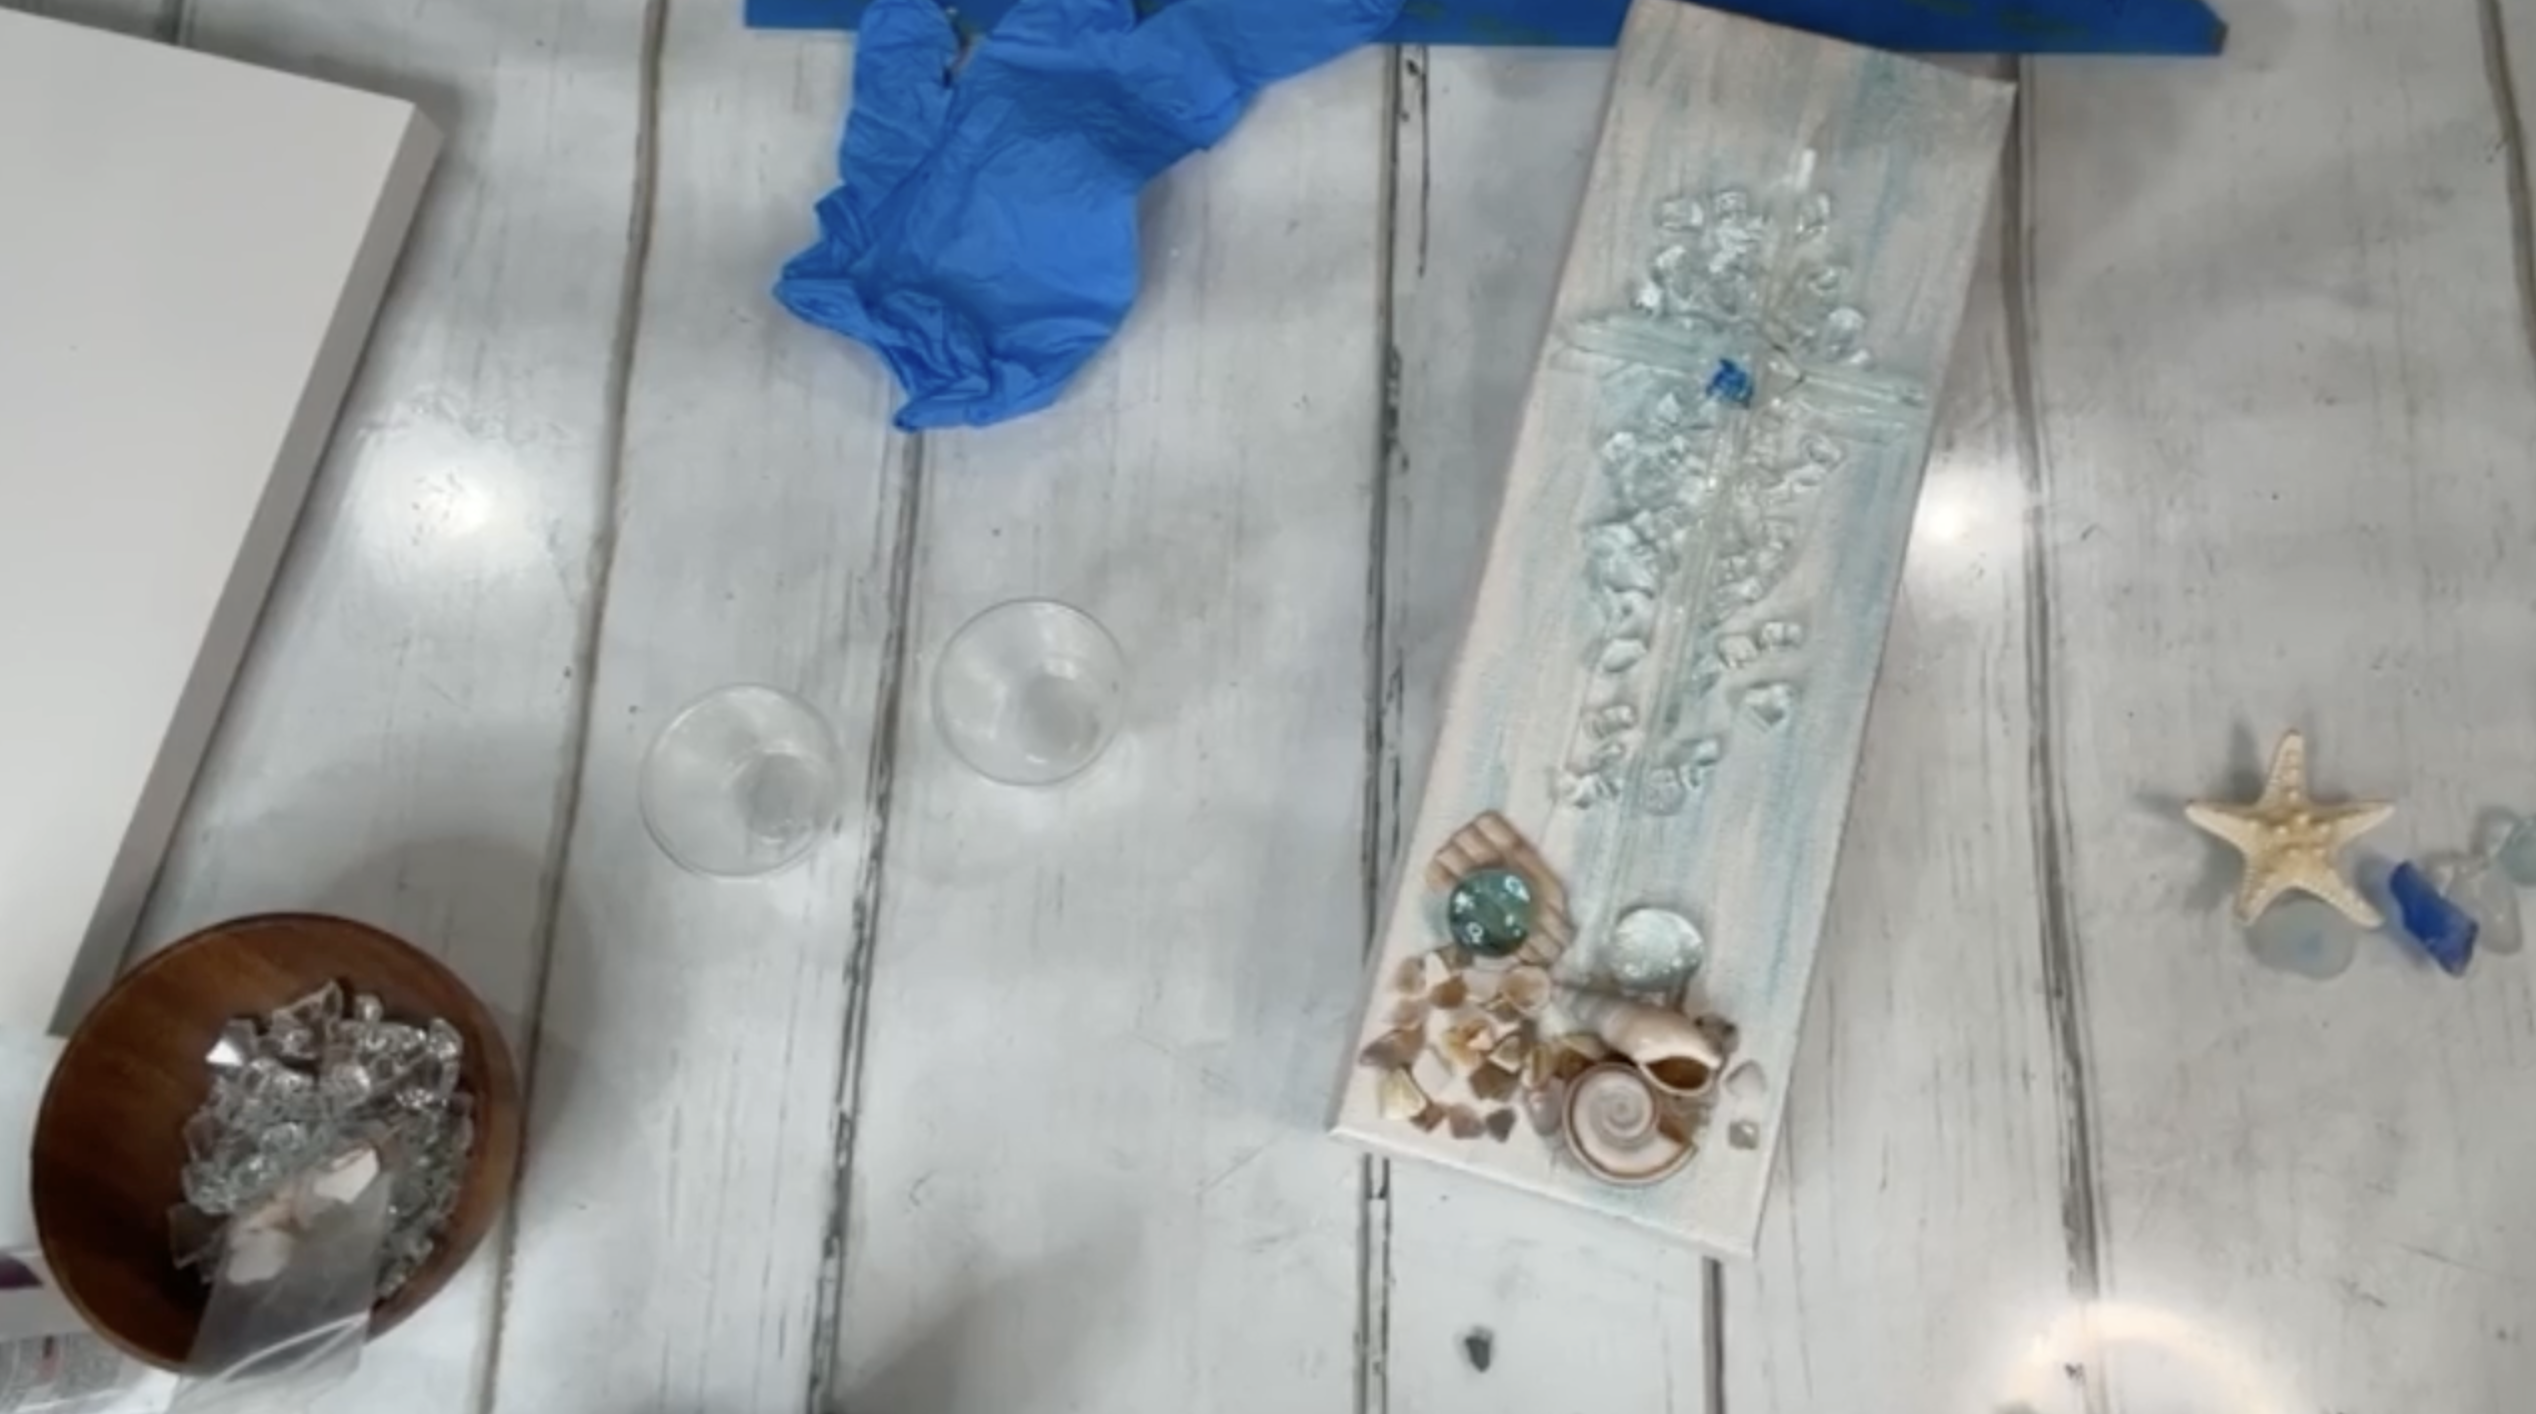
Step 13: Mix the Resin
Put on your rubber gloves. Mix approximately 1 ounce of Art Resin using equal parts resin and hardener. Stir slowly for three full minutes, scraping the sides and bottom of the cup as you go.
Step 14: Resin the Glass Cross
Begin by lifting any larger shell pieces slightly and working resin underneath them.
Then drizzle resin over the vertical and horizontal glass strips, the crushed glass, and the center glass chip. Make sure the ends and edges of the glass receive enough resin so nothing sharp remains exposed.
Work your way from one end of the cross to the other so you can keep track of what has already been coated.
Step 15: Coat the Painted Background
Pour a small amount of resin onto the exposed canvas and spread it out with a stir stick or silicone spreader.
Guide the resin all the way to the edges while keeping the sides as clean as possible. If you prefer not to resin the canvas sides, you can leave them painted and later add Mod Podge Gloss for shine instead.
Step 16: Return the Starfish and Sea Glass
Once the resin is spread, put the starfish, frosted sea glass, floral gems, and other removed embellishments back into the bottom arrangement.
Nestle them into the wet resin so they adhere without needing to coat every surface. Keep the layout loose and natural rather than lining everything up.
Step 17: Pop the Bubbles
Use a heat gun to remove bubbles from the resin. Keep the heat moving continuously and check that the glass strips, shells, and embellishments have not shifted while the resin levels.
Make any final adjustments while everything is still workable.
Step 18: Let the Piece Cure
Place the canvas on a flat, protected surface and allow it to cure completely according to your resin manufacturer’s instructions.
Keep the artwork away from dust, pets, and anything else that could fall into the wet resin.
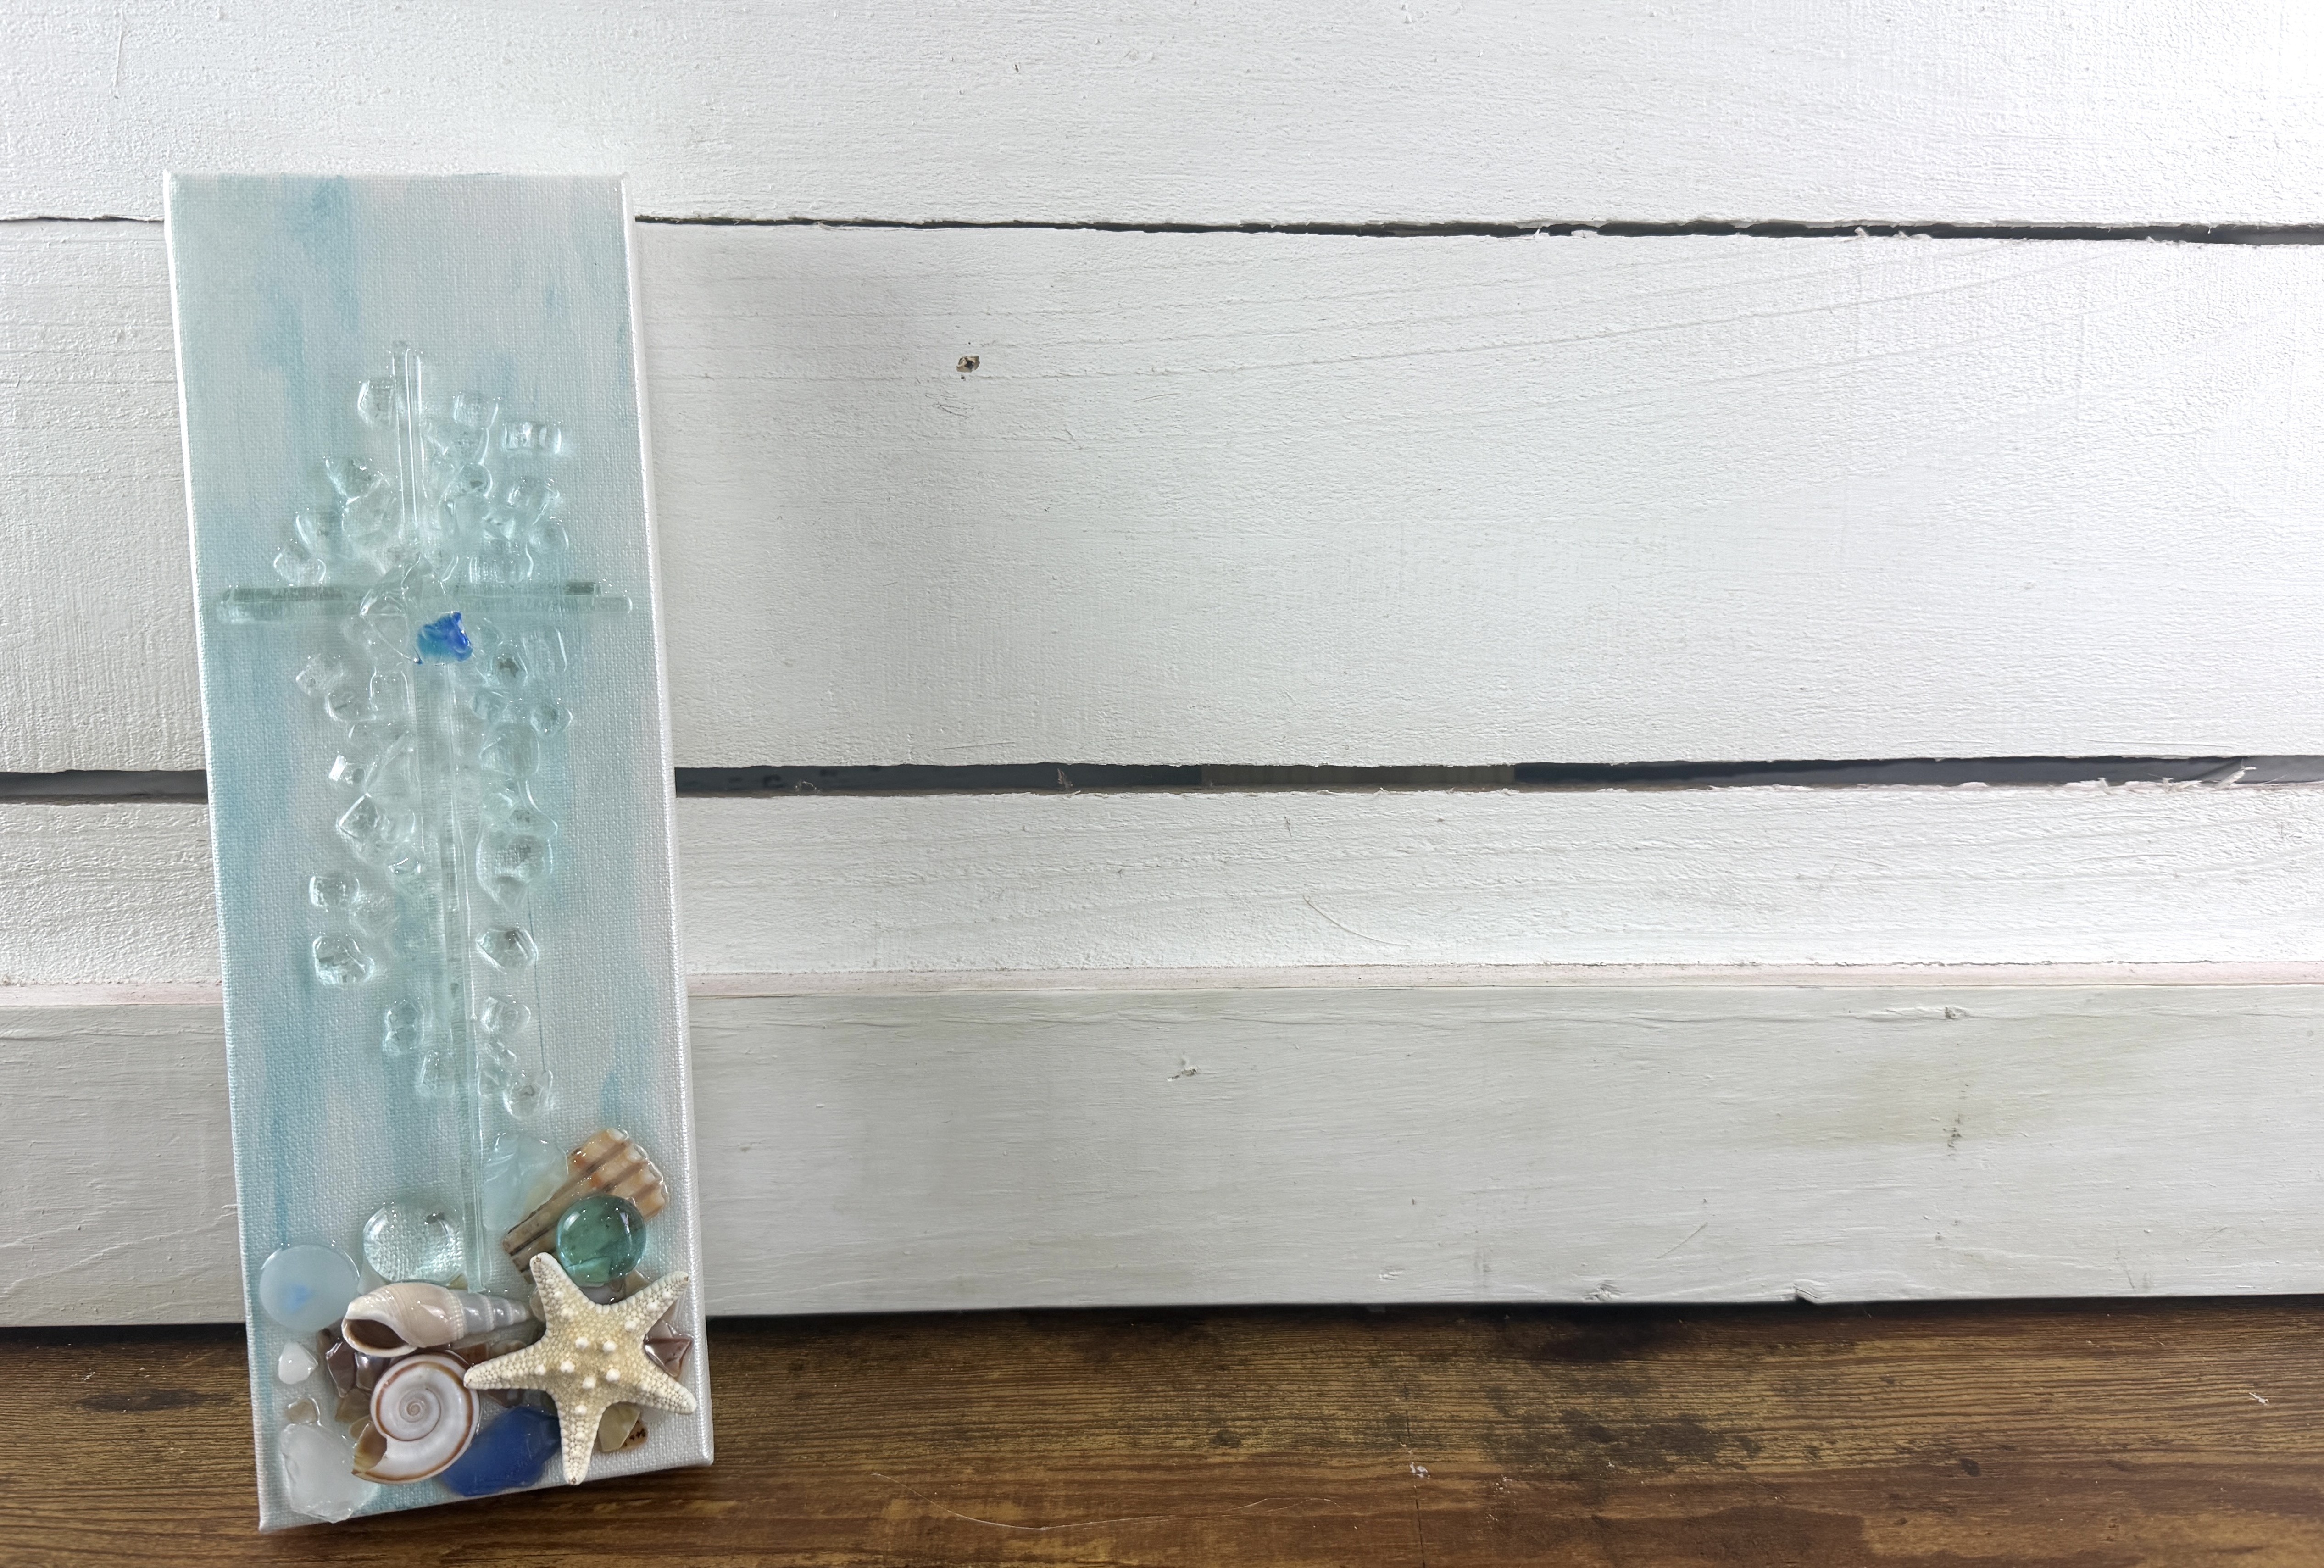
This coastal glass cross is a beautiful way to combine faith-inspired art with beachy materials and simple mixed media techniques. The pearl and teal background keeps the piece soft and understated, while the clear glass strips, crushed glass, shells, and sea glass add dimension without overwhelming the design.
If you're a member of The Shattered Circle, you'll find this tutorial in your classroom under Art Shattered Weekly Facebook Lives, search for "Beachy Cross".
If you don’t want to miss my Facebook LIVE art instruction, make sure you are on my texting list. I always text 10 minutes before I’m going to go LIVE, so you won’t ever miss it. You can text “Hey Cindy” to 901-519-2923.
Want more inspiration and artwork?
- My website artshattered.com with resources, shop, and more!
- My creative membership The Shattered Circle, where you can explore the world of glass art with online workshops, a supportive community, and more!
- My mini creative membership Just A ‘Lil Bit Monthly Glass Art Club, where you’ll get a new quick and easy online tutorial for just a lil' bit of sparkle in your life!
- My Facebook page where I share free LIVE tutorials and inspiration
- My YouTube channel which has tons of free art lessons right at your fingertips.
