
Beachy Wreath 🌊
Bring together the magic of Christmas and the relaxing vibes of the beach with this stunning Beachy Wreath! This unique glass art project combines acrylic painting, crushed glass, resin, seashells, and sparkling embellishments to create a wreath that feels perfectly at home during a Christmas in July celebration. Whether you're decorating a beach house for the holidays or simply love coastal decor, this wreath is a beautiful way to celebrate the season with an unexpected twist!
Step 1: Paint a Soft Ocean Background
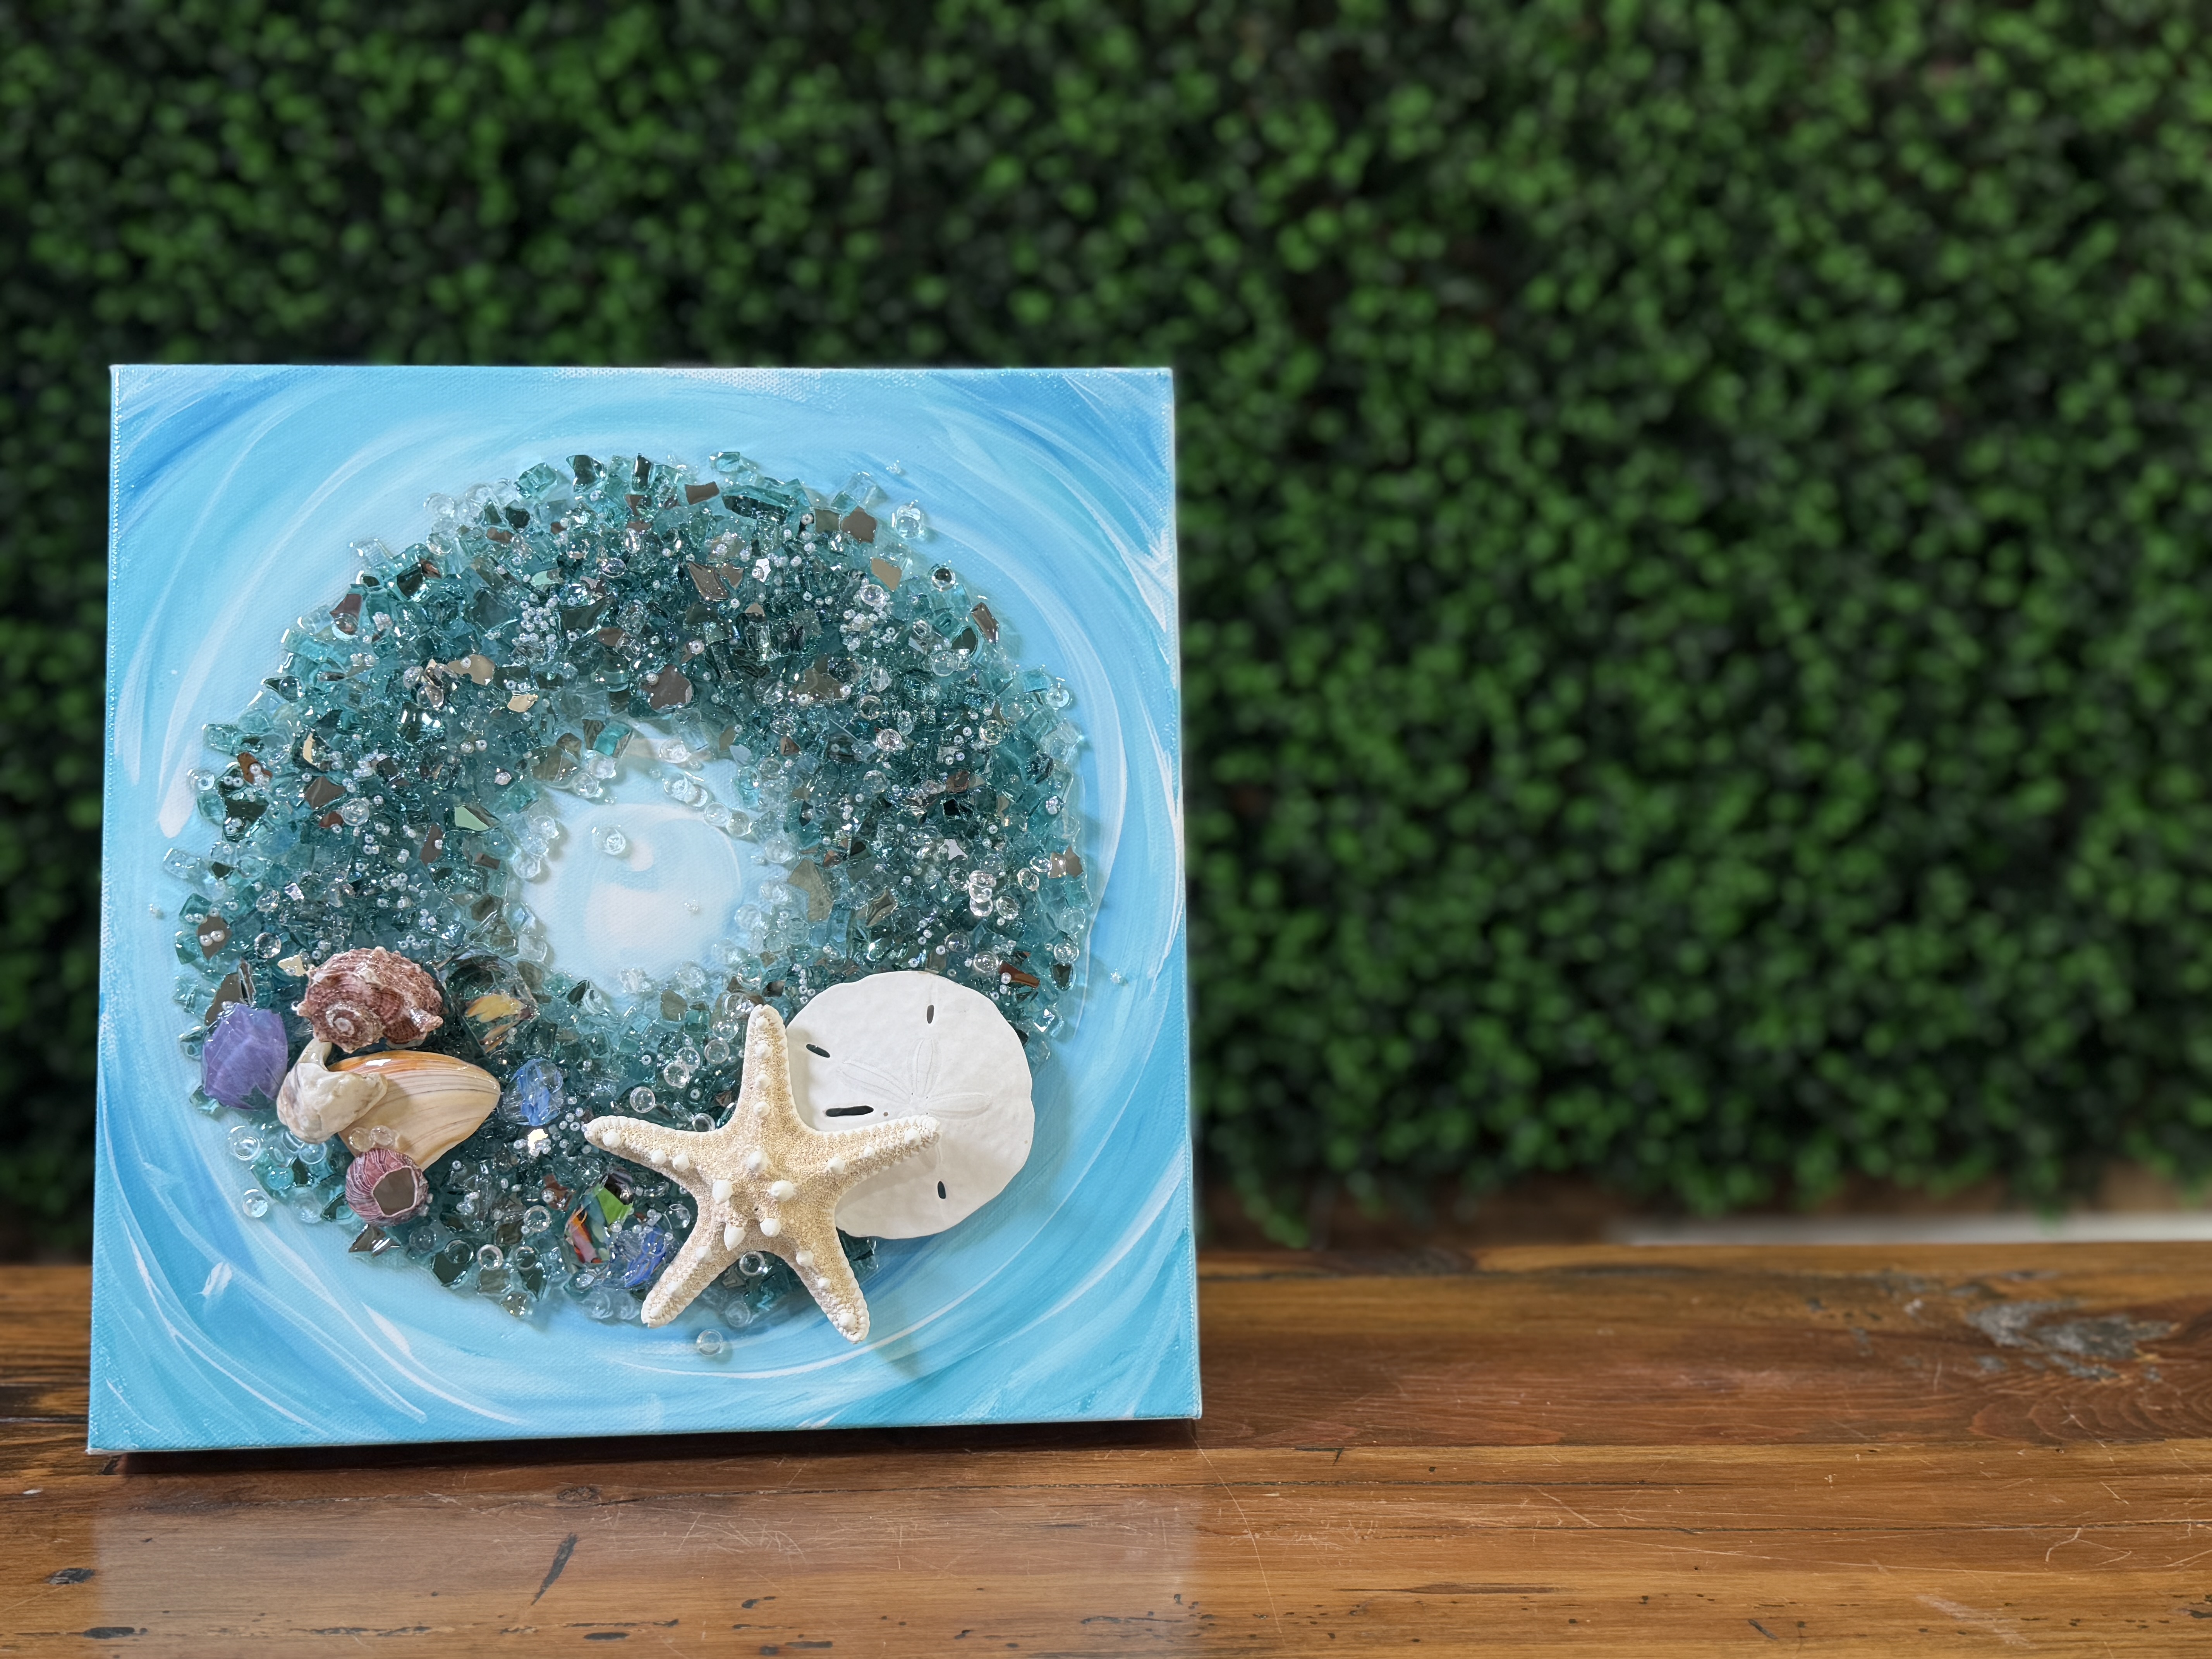
Begin by creating a loose, abstract background that resembles gentle ocean waves. Load your brush with white paint and paint a circular shape in the center of the canvas, leaving portions of the canvas exposed.
Next, add Calypso Blue around the white center, blending outward while keeping the brightest area near the middle. Introduce Peacock Teal around the outside of the blue ring, working in soft circular motions to build depth. Alternate between the teal, Calypso Blue, and white, blending as you go until you have soft transitions between the colors.
Finish by adding additional white highlights to soften the darker blues and create movement throughout the background. The finished result should resemble swirling ocean water with subtle variations in color rather than perfectly blended paint. Allow the background to dry completely before moving on.
Step 2: Create the Wreath Shape
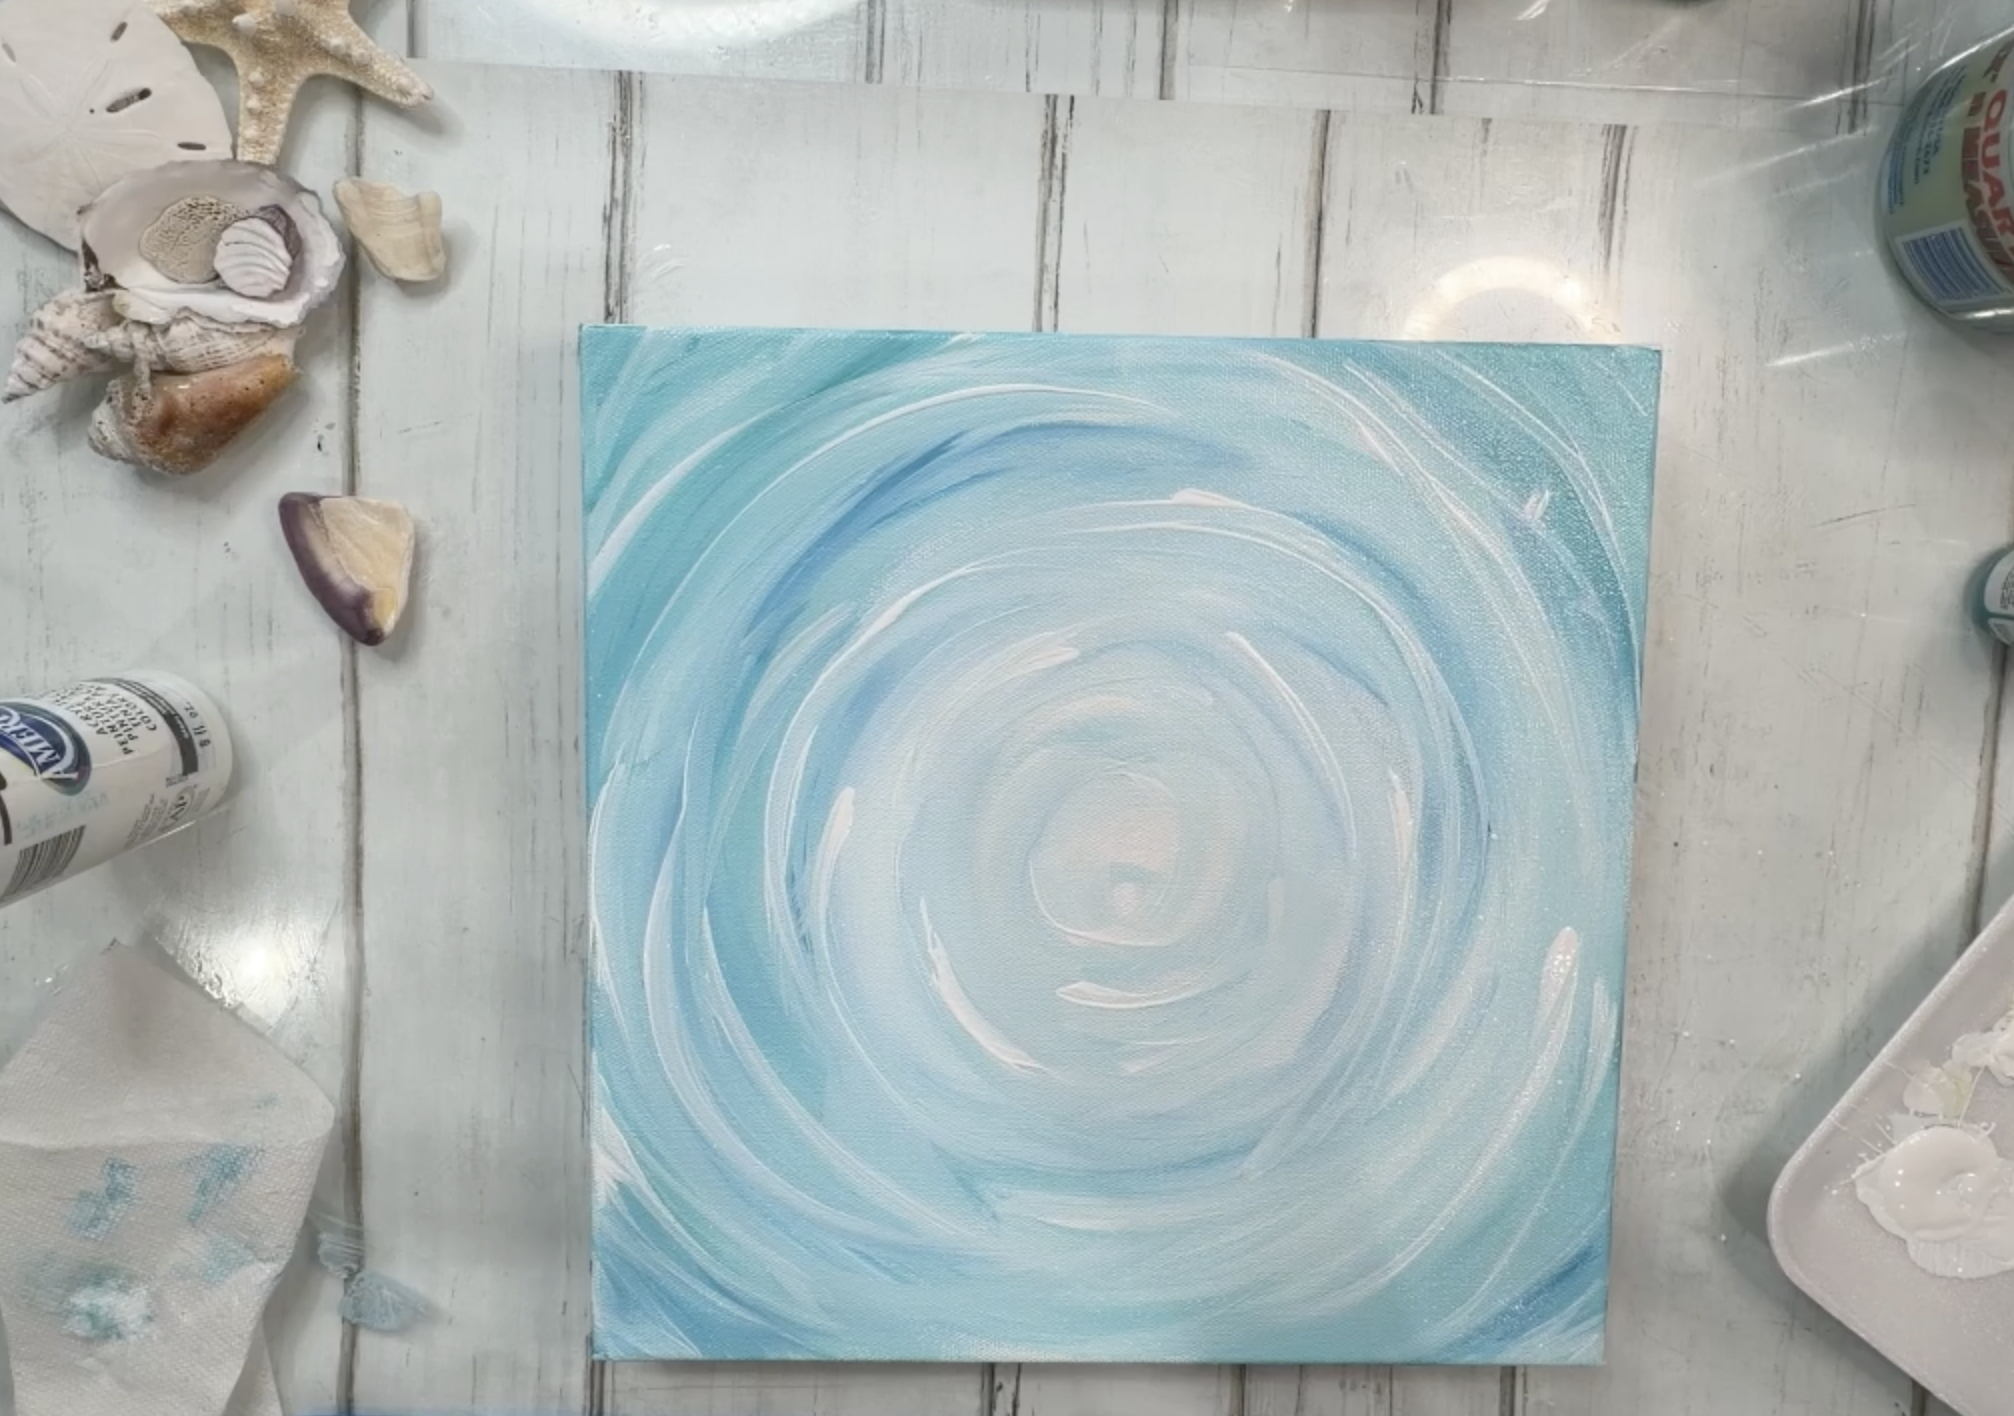
Once the paint has dried, place an 8-ounce cup in the center of your canvas to act as a guide. This helps keep the wreath evenly shaped while still allowing for an organic, handmade appearance.
Begin placing Light Azuria crushed glass around the cup, forming a circular wreath. Use approximately three-quarters of a pound of glass. Follow with an equal amount of Dark Azuria, layering it around and slightly over the lighter glass. Finally, sprinkle a handful of the light glass back over the top to create beautiful color variation and natural highlights.
Step 3: Plan Your Beach-Themed Decorations
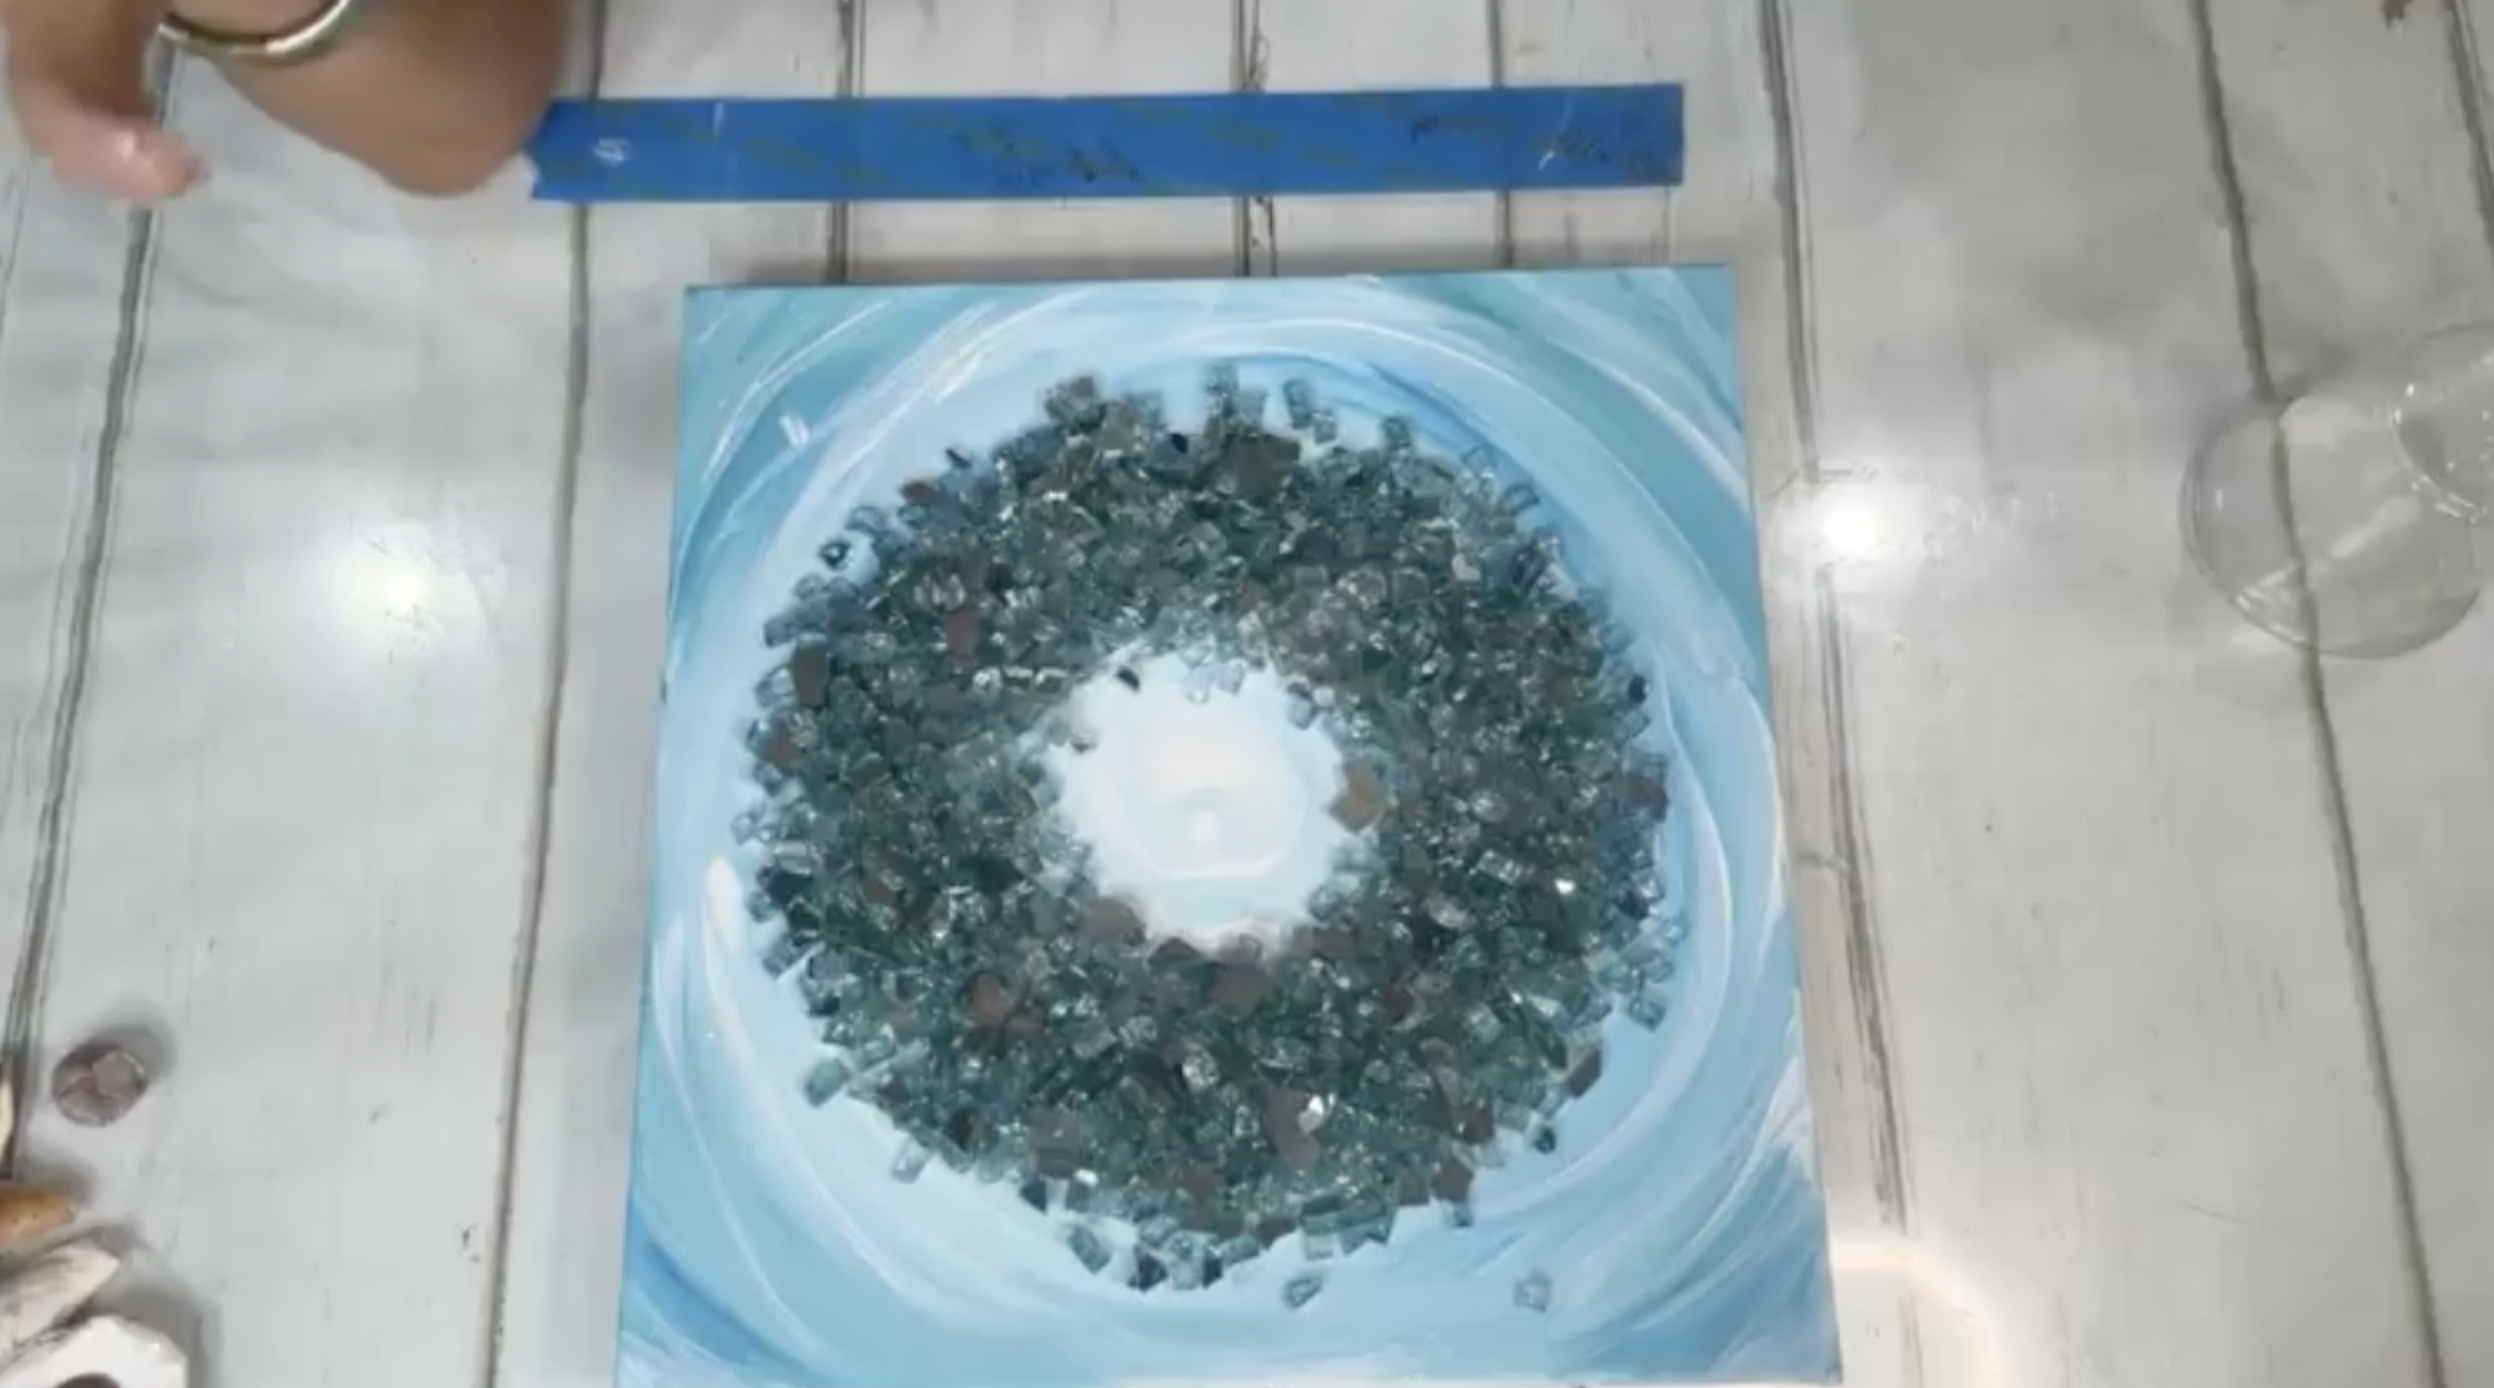
Before mixing resin, spend a few minutes arranging your decorative elements. Lay out your shells, sand dollar, starfish, barnacle, and glass chips until you find a composition that feels balanced.
Instead of decorating the entire wreath, concentrate most of the embellishments along one section to create a natural focal point. The instructor found that using fewer pieces created a more elegant design, allowing the shells and glass to shine without overwhelming the wreath.
Feel free to experiment until the arrangement feels right. Once you've decided, remove the larger shells and starfish temporarily - they'll be added after the resin is poured.
Step 4: Mix the Resin
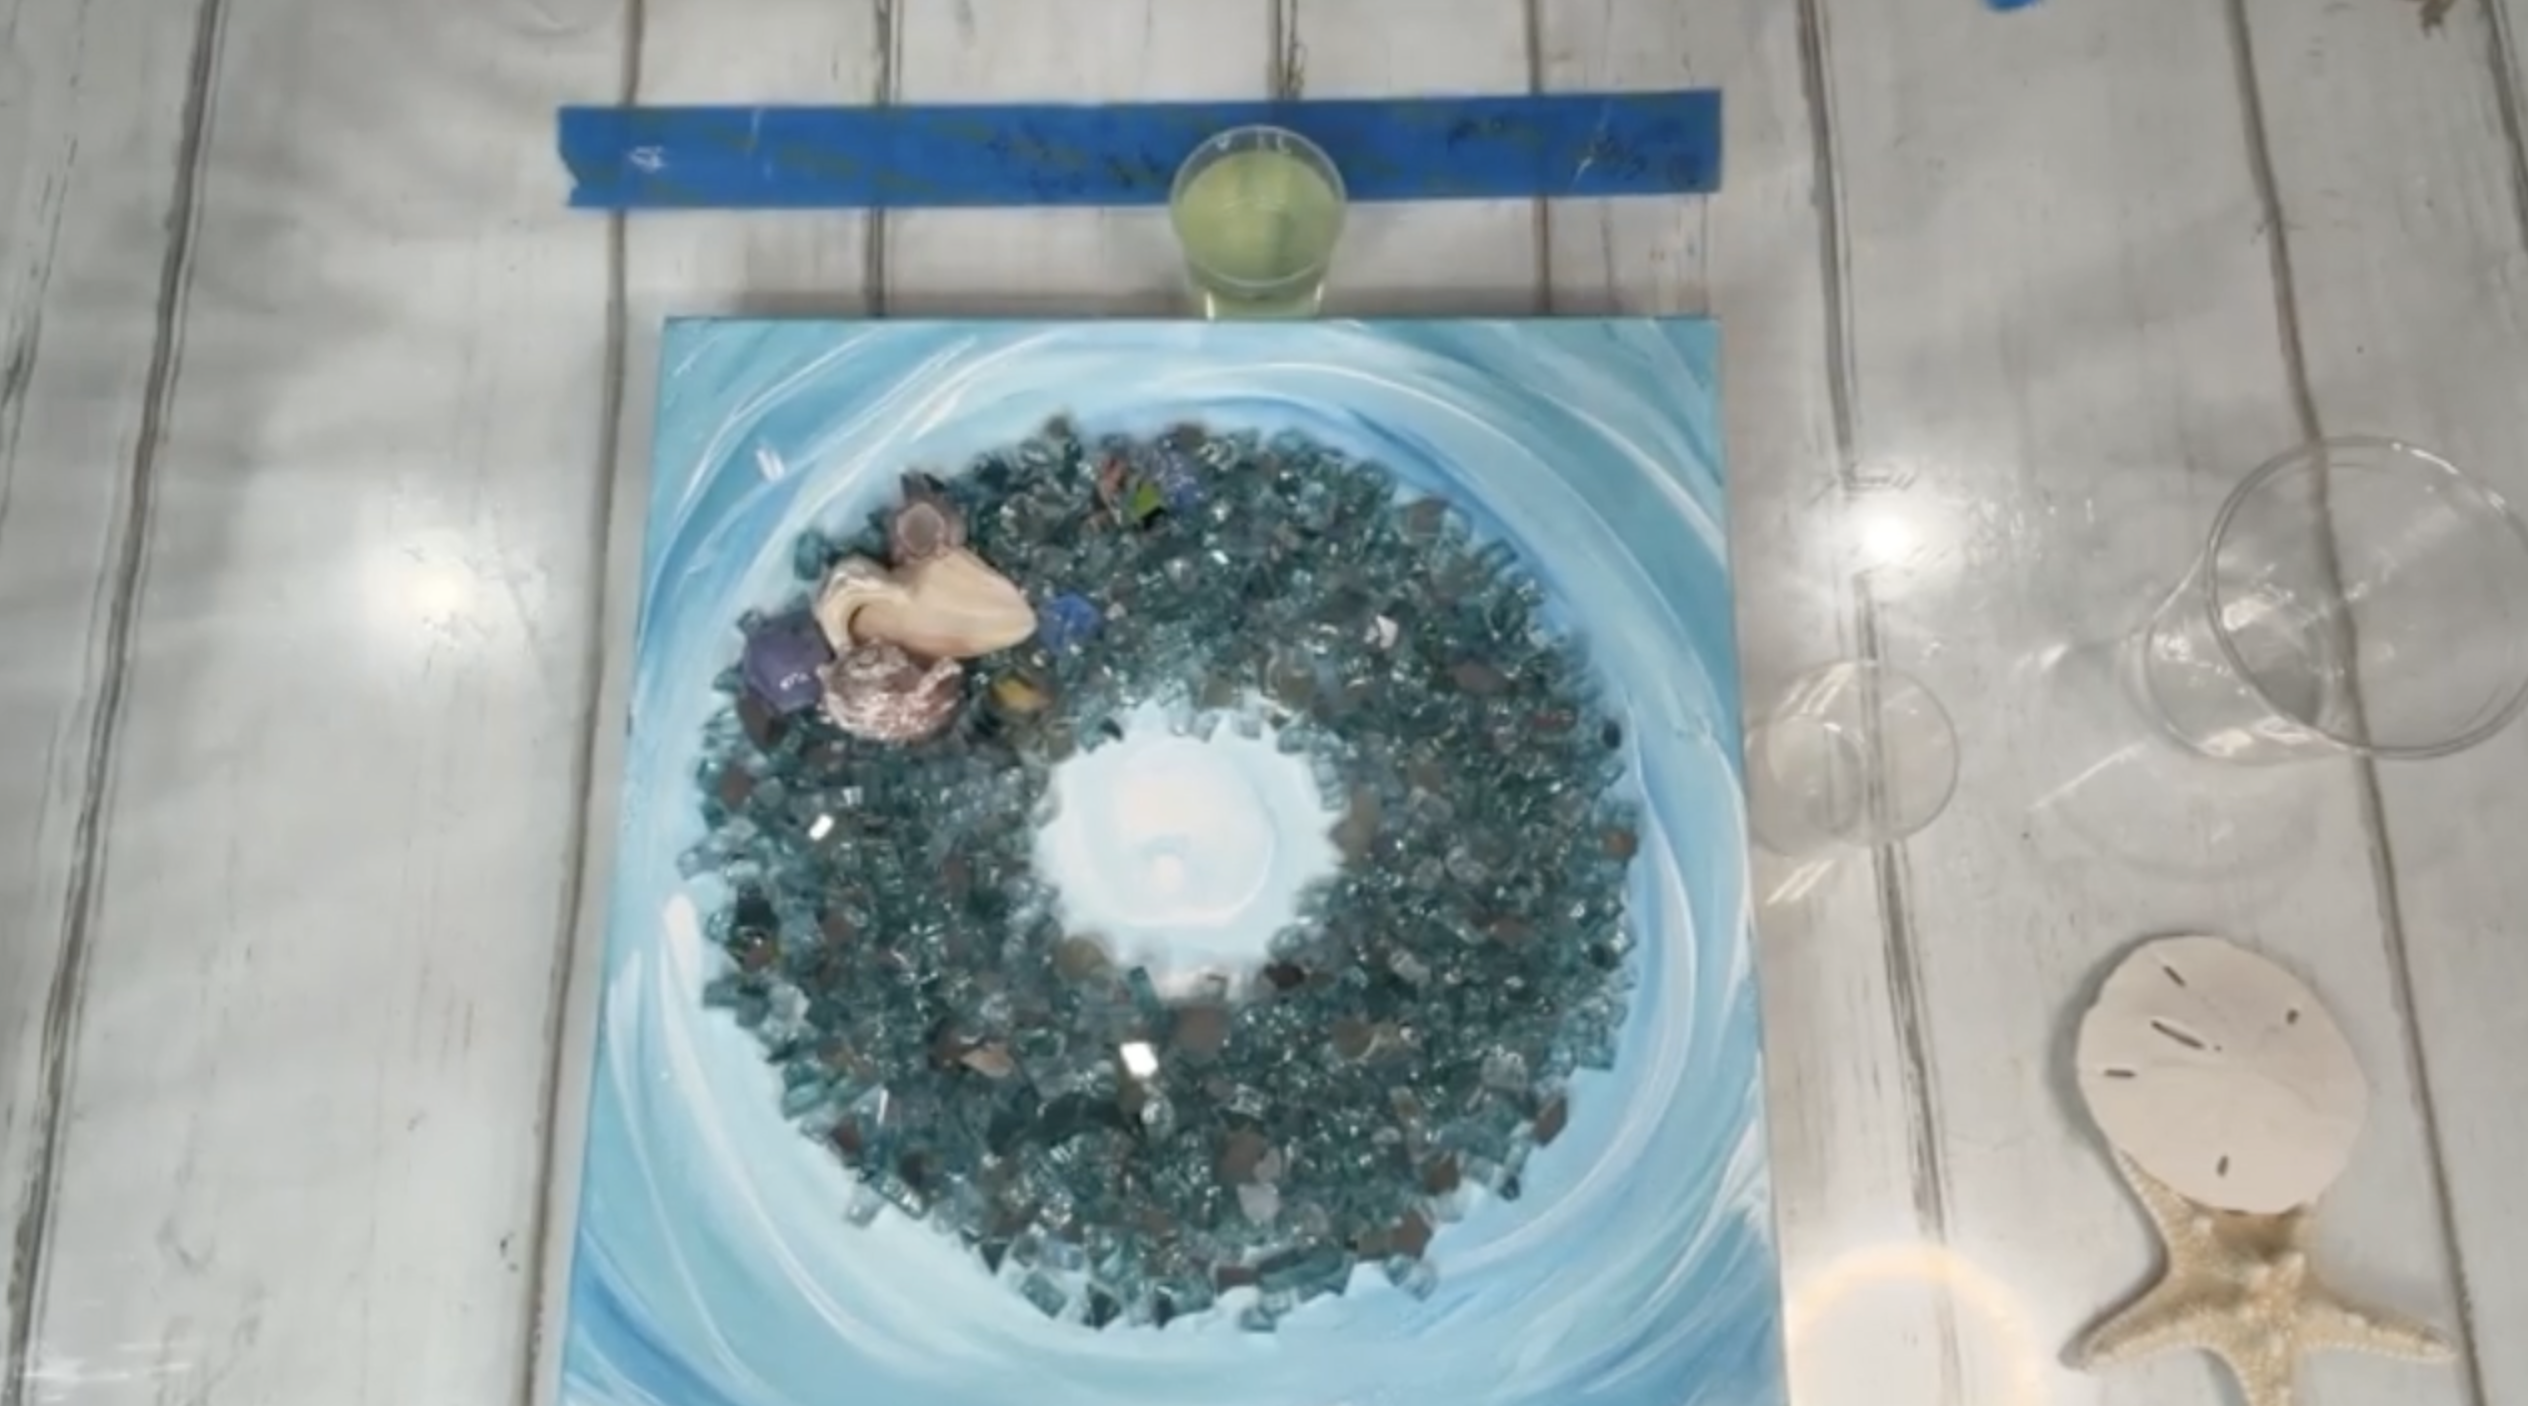
Put on gloves and prepare approximately 4 ounces of resin (2 ounces resin and 2 ounces hardener).
Mix thoroughly for three full minutes, scraping both the sides and bottom of the cup frequently. Proper mixing ensures the resin cures correctly and produces a beautiful glossy finish.
Step 5: Cover the Glass with Resin
Slowly drizzle resin over the crushed glass wreath, making sure every piece is fully coated. Work your way around the wreath first before adding resin to the center opening. This prevents excess resin from pooling in the middle as everything levels out.
Use your gloved hands or a spreader to guide the resin across the surface of the canvas, extending it all the way to the painted edges. Check carefully for missed spots, brush hairs, or debris before continuing. Pop any air bubbles using a heat gun or torch.
Step 6: Add the Seashell Embellishments
While the resin is still wet, gently place your sand dollar, starfish, and shell accents back onto the wreath.
To help them adhere, add a small amount of resin to the back of each shell before pressing it gently into place. Be careful not to coat delicate shells or sand dollars with too much resin, as it can slightly darken their natural color. If desired, you can seal these items ahead of time with Mod Podge or a spray sealer before using them.
To give the wreath extra dimension, sprinkle white Ceylon seed beads around the wreath to resemble tiny pearls or sea foam. Follow with clear acrylic bubbles, allowing a few to fall inside the center of the wreath and around the outside edges for a whimsical, underwater effect.
If you have a small amount of resin remaining, lightly drizzle it over the beads and bubbles to help secure everything in place.
Step 7: Let Your Artwork Cure
Place the finished canvas on resin pyramids or risers so excess resin can drip freely. Allow the project to cure undisturbed according to your resin manufacturer's recommendations.
Tips for Success
Choosing shells with a variety of textures creates much more visual interest than using pieces that are all similar. When arranging your embellishments, remember that less is often more - a simple cluster of shells can create a stronger focal point than filling every inch of the wreath.
If you're concerned about your sand dollar or starfish changing color under resin, seal them before beginning or wait until after you've poured the resin to place them directly on top of the sticky surface.
Finally, don't worry about making the wreath perfectly symmetrical. The slight variations in shape and placement are what give this project its relaxed, coastal charm.
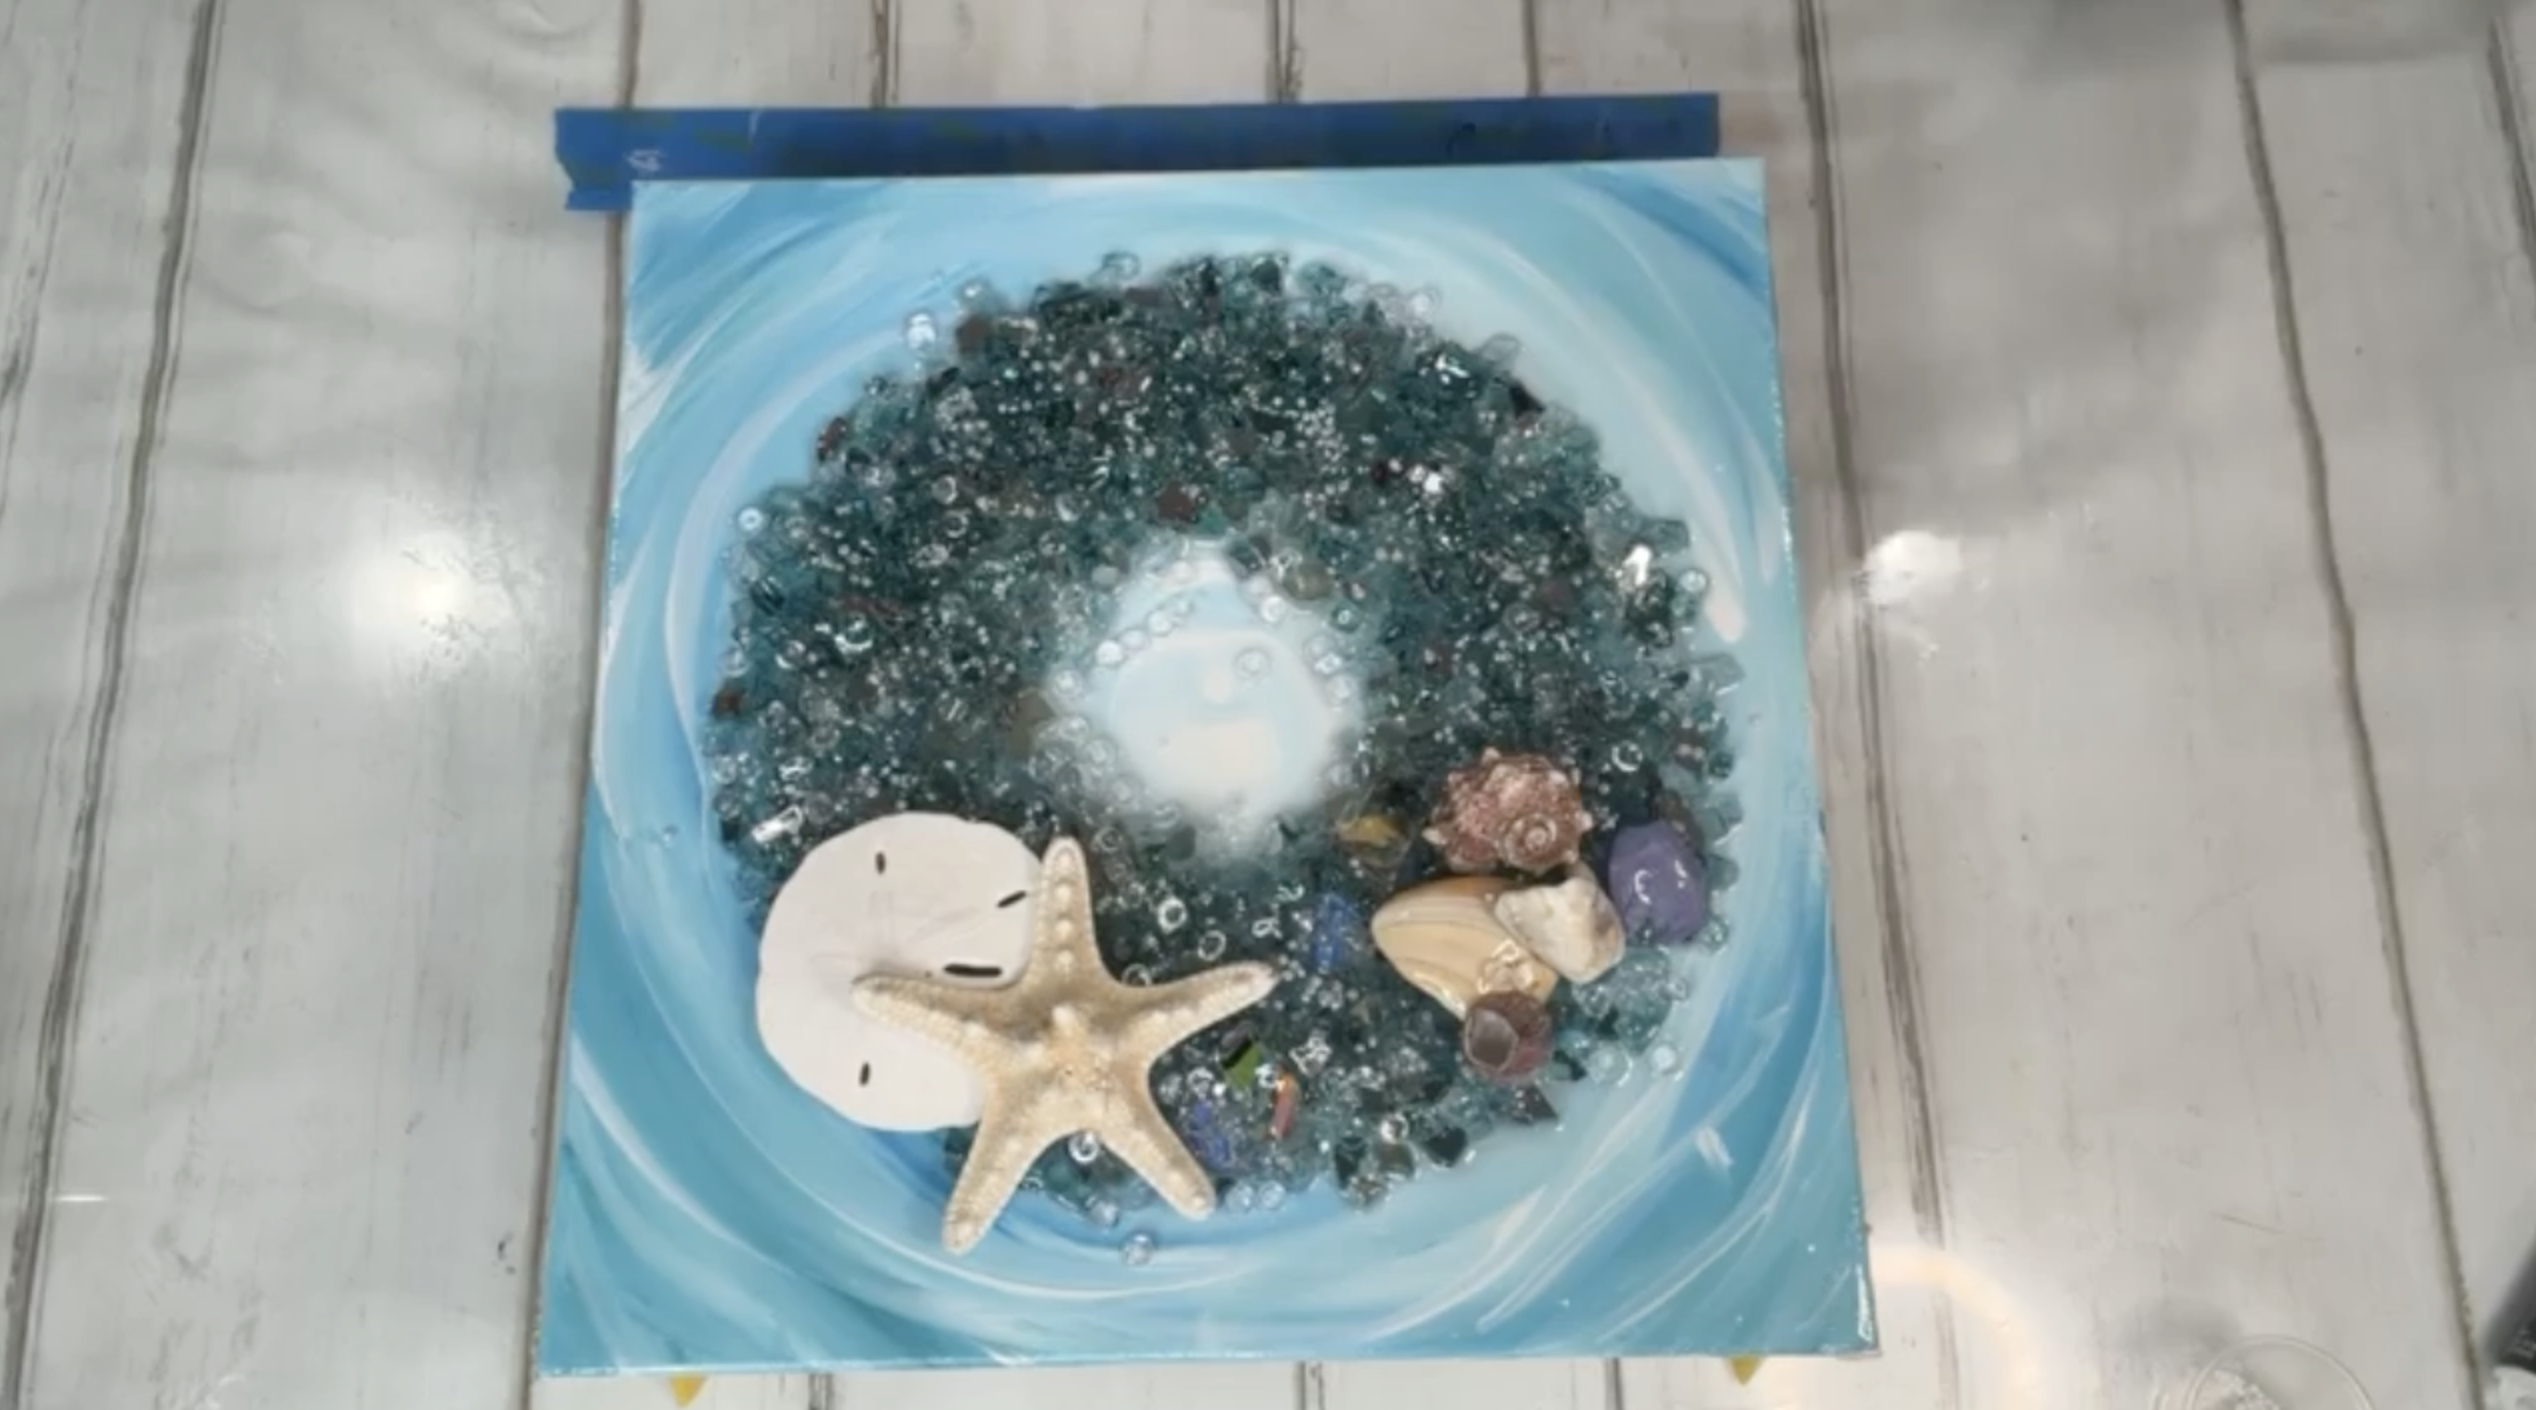
This wreath is the perfect way to celebrate Christmas in July while bringing a little beach inspiration into your holiday decor. The combination of swirling ocean colors, sparkling Azuria glass, natural seashells, and glossy resin creates a piece that's elegant enough for Christmas decorating yet beautiful enough to display all year long!
If you're a member of The Shattered Circle, you'll find this tutorial in your classroom under Art Shattered Weekly Facebook Lives, search for "Beachy Wreath".
If you don’t want to miss my Facebook LIVE art instruction, make sure you are on my texting list. I always text 10 minutes before I’m going to go LIVE, so you won’t ever miss it. You can text “Hey Cindy” to 901-519-2923.
Want more inspiration and artwork?
- My website artshattered.com with resources, shop, and more!
- My creative membership The Shattered Circle, where you can explore the world of glass art with online workshops, a supportive community, and more!
- My mini creative membership Just A ‘Lil Bit Monthly Glass Art Club, where you’ll get a new quick and easy online tutorial for just a lil' bit of sparkle in your life!
- My Facebook page where I go LIVE every Wednesday night.
- My YouTube channel which has tons of free art lessons right at your fingertips.
