
Blue on Black Pumpkin 🎃
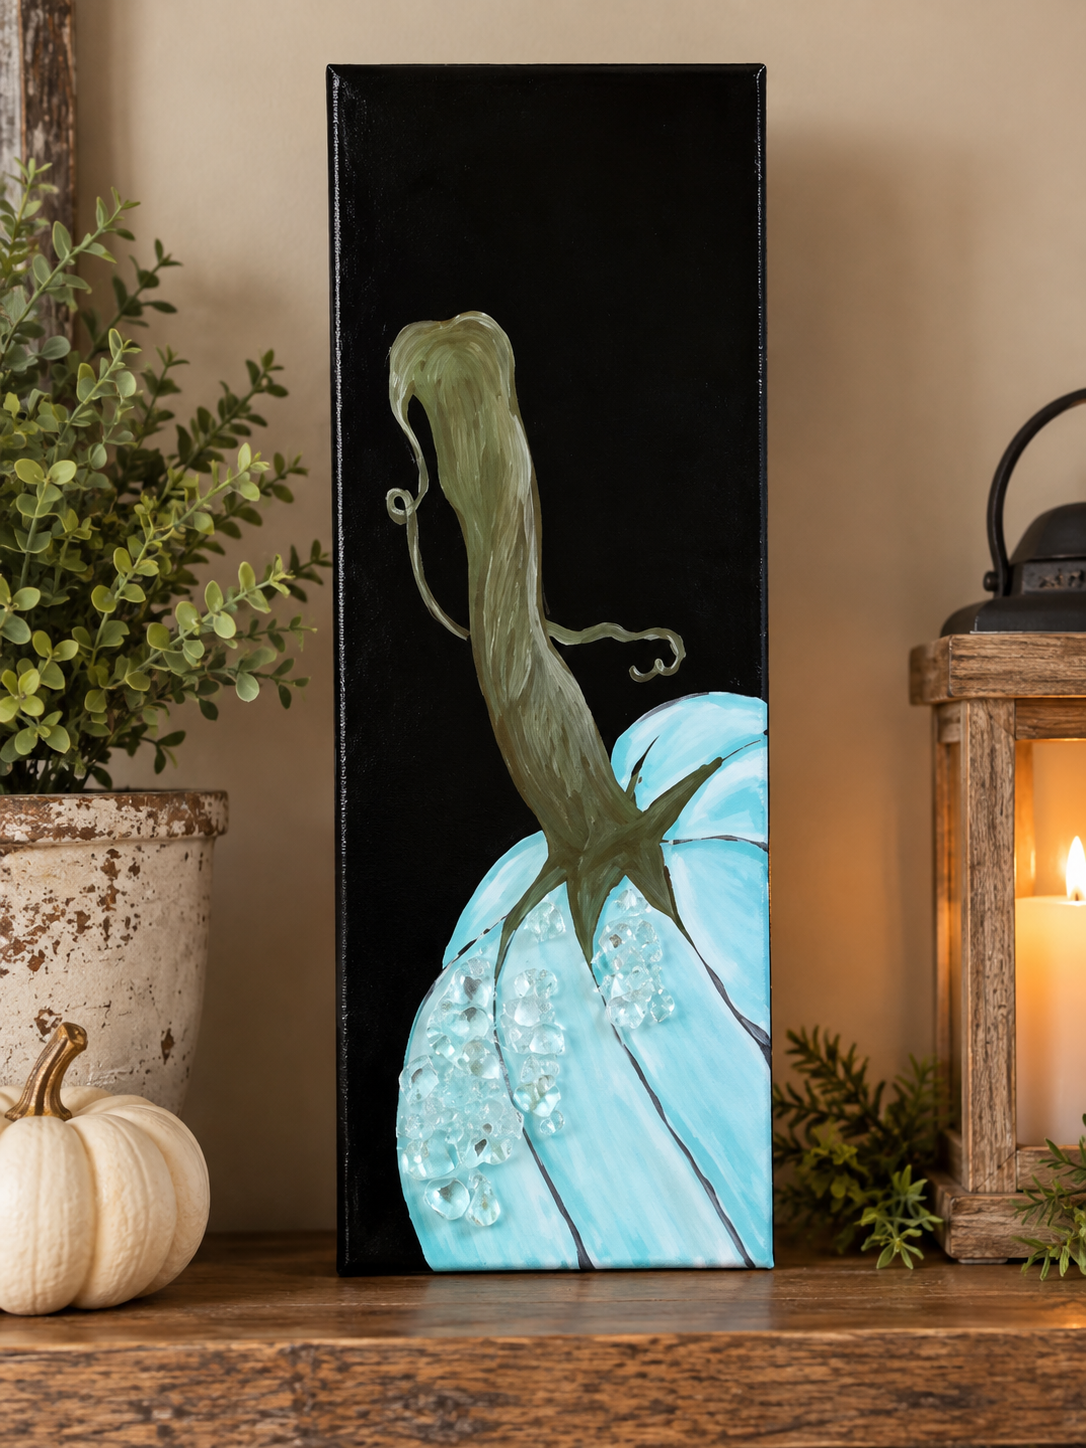
Who says pumpkins have to be orange? For this project, we’re giving a classic fall pumpkin a completely different look with soft shades of blue against a dramatic black background.
This is a fun one if you like a looser painting style because we’re intentionally letting some of that black canvas show through, layering in imperfect highlights and shadows, and finishing the pumpkin with just a touch of sparkling Starfire glass and resin. The result is simple, dimensional, and a little unexpected for fall.
Step 1: Prepare Your Black Canvas
Start by painting your canvas completely black and letting it dry.
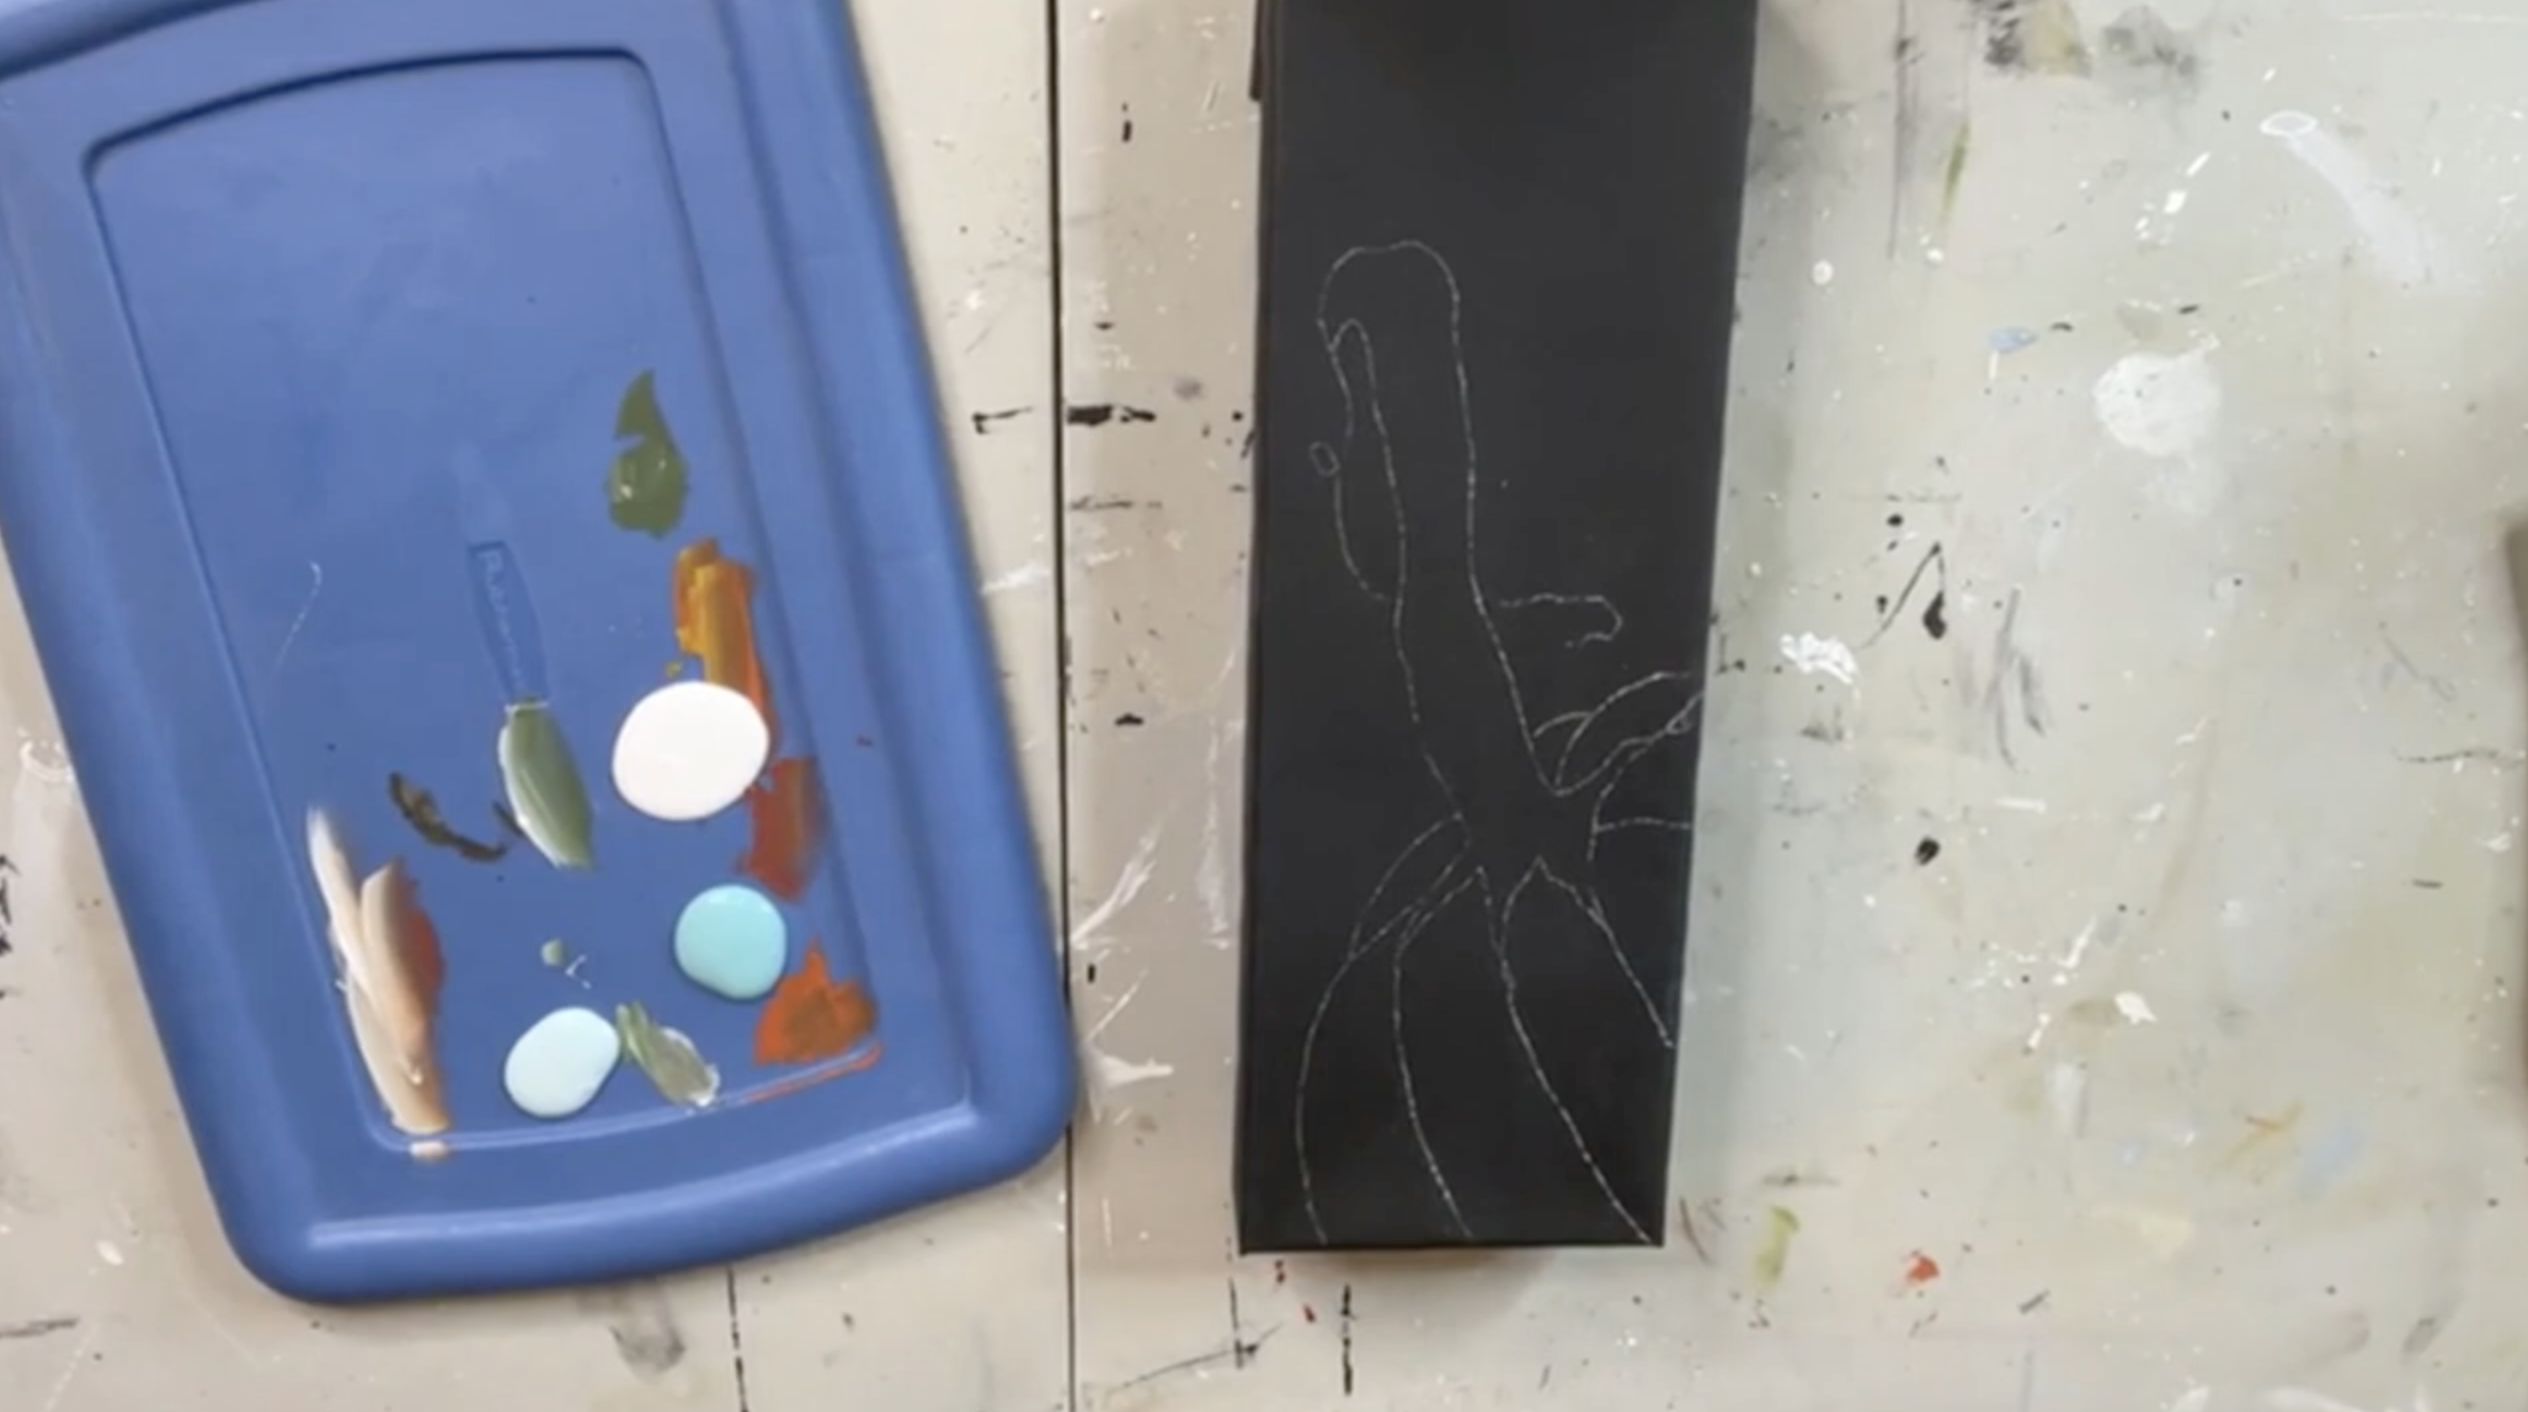
Once dry, transfer your pumpkin design onto the canvas. I used a white watercolor pencil because it shows up beautifully against the dark background. You could also use a light-colored fabric transfer paper.
This pumpkin design was traced so that the pumpkin sits toward the bottom of the tall canvas, leaving plenty of that black background visible above it.
Step 2: Base Coat the Pumpkin
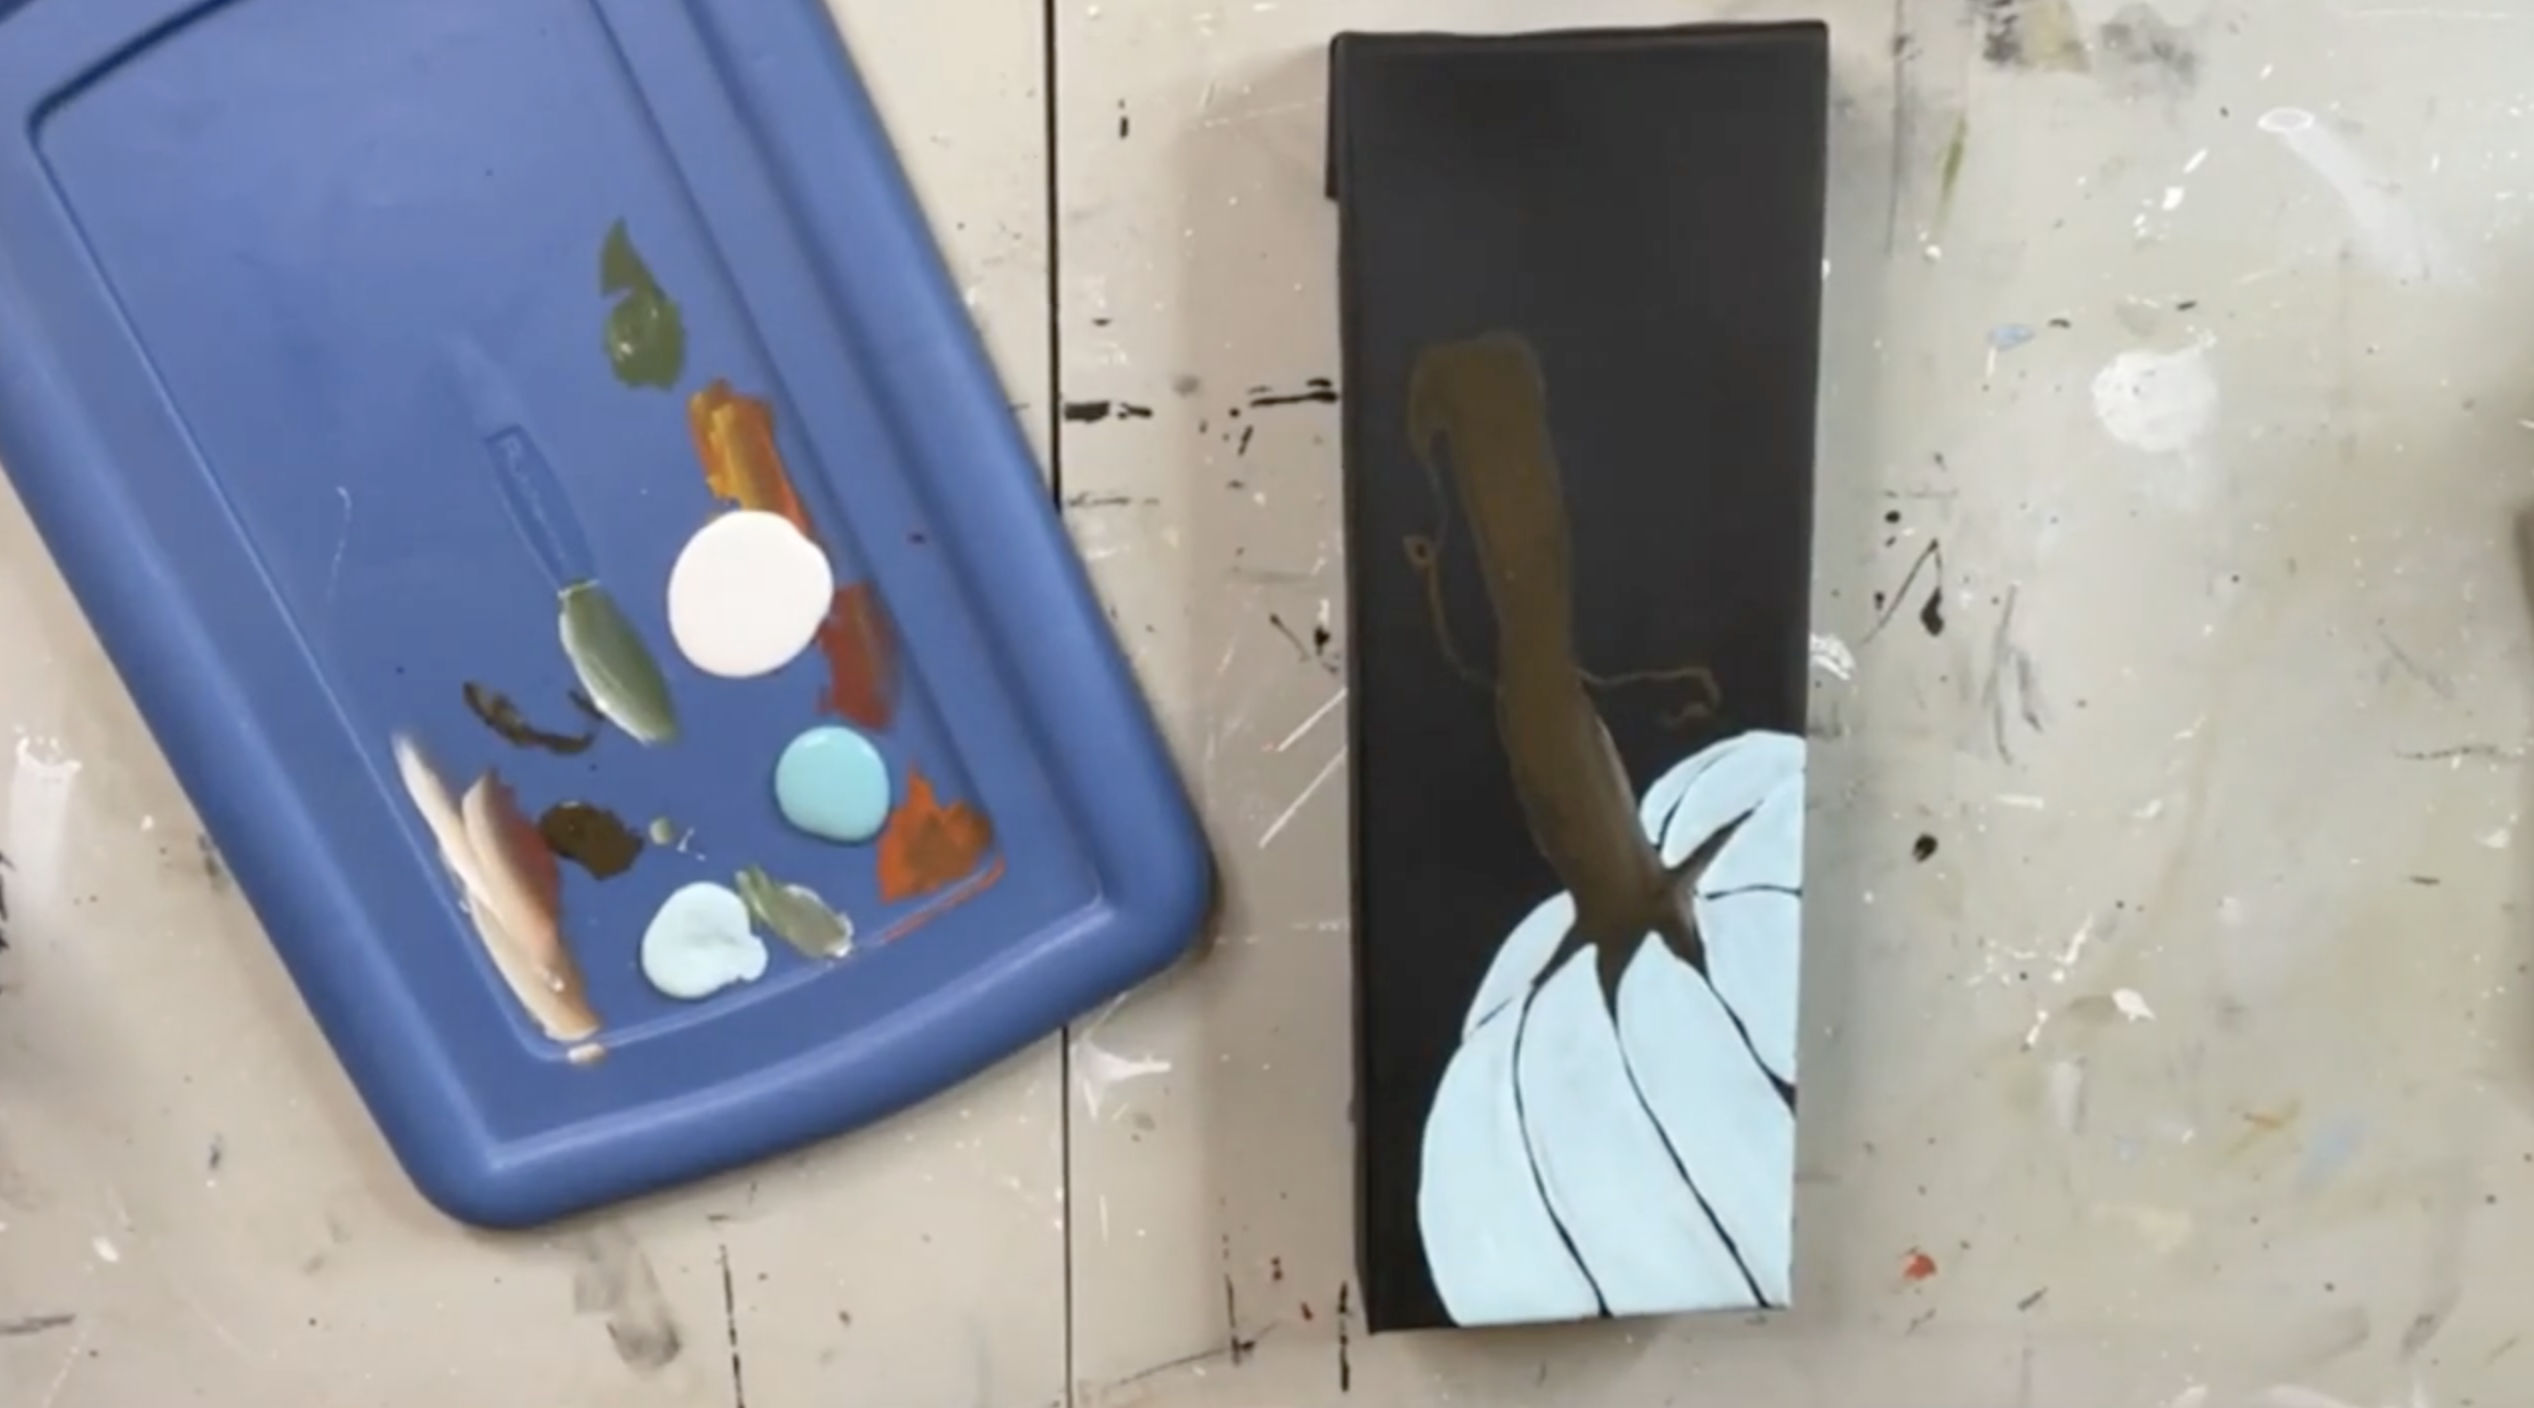
Start with your lighter blue, Spa Blue, and a #6 flat brush or approximately ¼-inch brush.
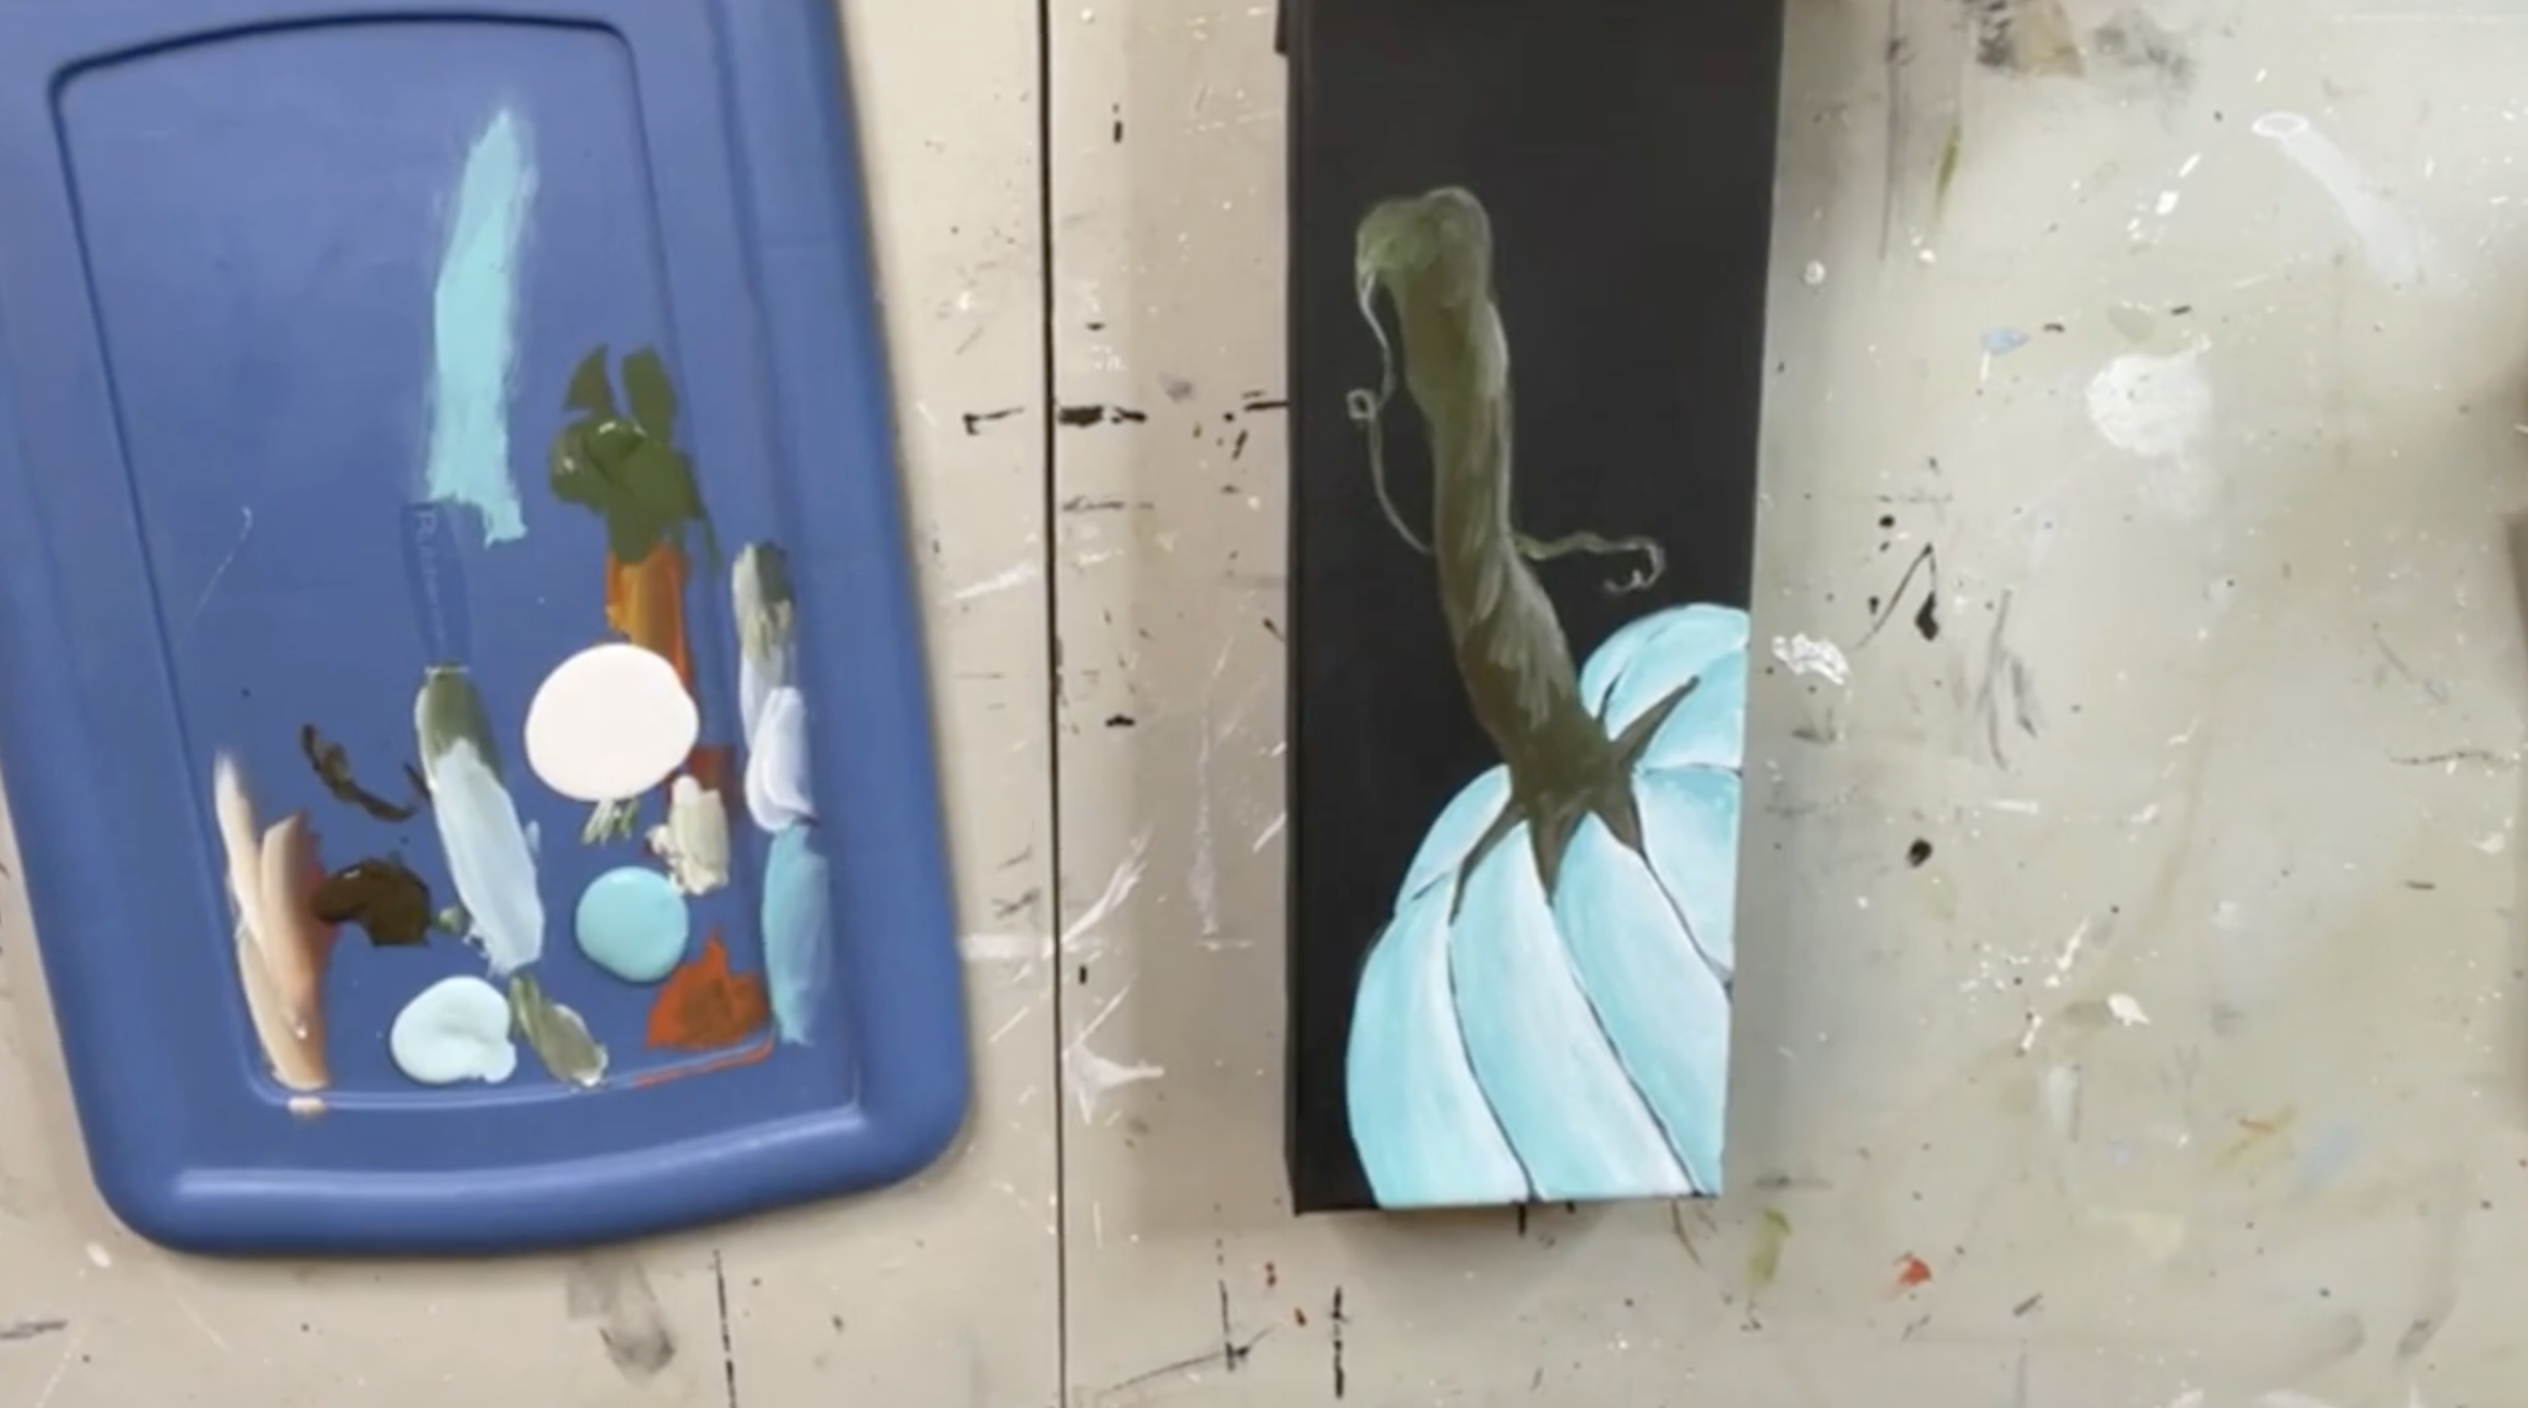
Paint each individual section of the pumpkin separately. Don’t worry about getting perfectly smooth coverage. As you work, leave a very thin line of the black background showing between the pumpkin sections. That little bit of black will immediately start giving the pumpkin some definition and depth. Continue until all of the pumpkin sections have a base coat of Spa Blue.
Step 3: Base Coat the Stem
While the blue paint dries, move up to the pumpkin stem. Use Raw Umber to paint the entire stem and the little curly vine coming off of it.
The brown may look very dark against the black canvas at this point, and that’s okay. We’re going to layer green and white over it later to make the stem stand out.
Step 4: Shade the Pumpkin with Darker Blue
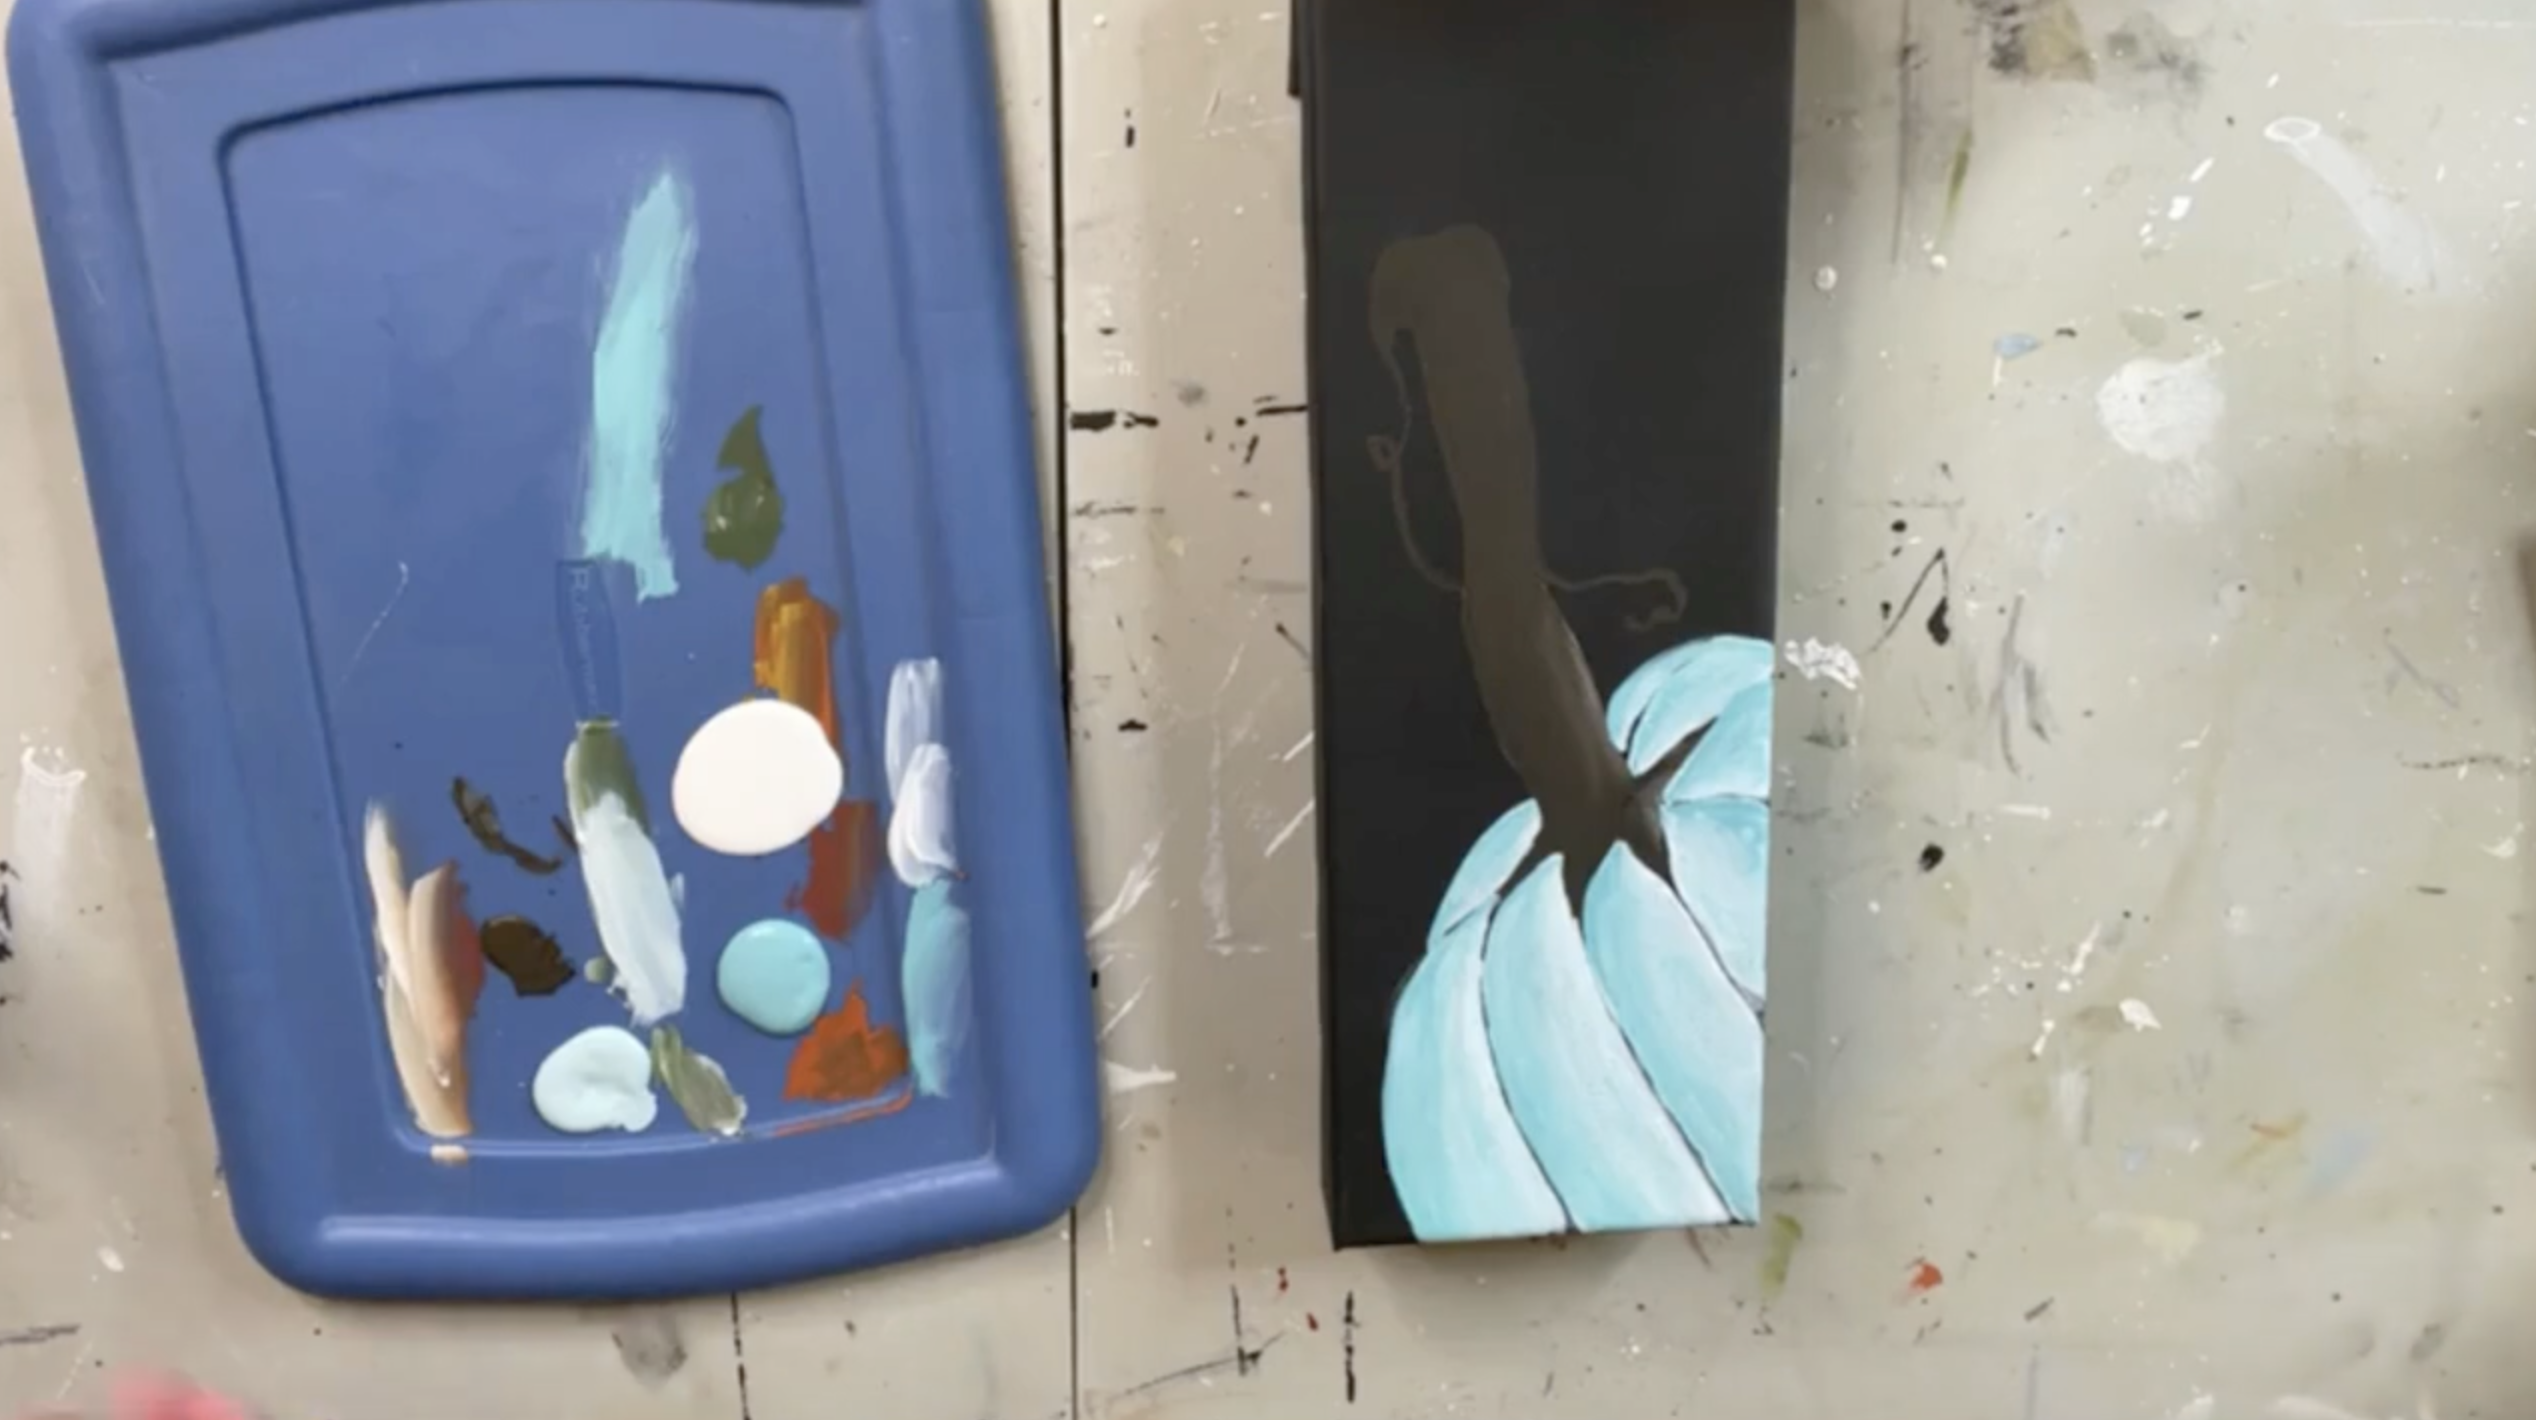
Now we can start giving those pumpkin sections some dimension. Pick up a little Aqua Sky on the corner of your brush. Beginning with the sections on one side of the pumpkin, add the darker blue along one edge of each section. Blend the darker color inward toward the center so you don’t have a hard line.
As you work across the pumpkin, switch the side where you place the shadow so the shading follows the rounded shape of the pumpkin. If the paint isn’t blending easily, add a tiny bit of water to your brush.
Step 5: Add White Highlights
Now use white on the opposite side of each pumpkin section from your darker blue. Brush the white along the edge and gently blend it toward the center. The combination of dark blue on one side and white on the other starts creating that rounded, dimensional pumpkin shape.
You can still allow some of those thin black lines to peek through between the sections. They’re part of what makes the blue pumpkin pop against the background.
Step 6: Soften Everything with a Dry Brush
Grab a clean, dry bristle brush. Pick up just a small amount of darker blue, work most of it into the bristles, and lightly scrub it over portions of your white highlights. Then repeat with a little white over some of the blue.
This softens the contrast and gives the pumpkin a more abstract, layered look rather than making every highlight and shadow look perfectly placed.
Step 7: Layer Color into the Stem
Come back to your brown stem and re-wet portions of it with Raw Umber. While that brown is wet, scrub in a little Avocado Green. Don’t cover all of the brown - you want both colors showing.
Continue layering brown and green until you have a nice variation of color. Then add a little white to your dirty brush and work it into selected areas for highlights.
The messier you are here, the better! Pumpkin stems are gnarly and irregular, so there’s no reason to make yours perfectly smooth.
Step 8: Detail the Base of the Stem
Use a smaller round brush to bring green down into the little sections where the stem meets the pumpkin. Add touches of Raw Umber over the green, then go back and forth between your colors until you like the amount of dimension.
There’s no need to completely blend these colors. Let the individual streaks of brown, green, and lighter highlights remain visible.
Step 9: Highlight the Curly Vine
Use a tiny liner brush to add a thin line of Avocado Green along one side of the brown vine. Then add the tiniest amount of white along the other side.
Those two little highlights are enough to pull the vine forward so it doesn’t disappear into the black background.
Step 10: Add Starfire Glass
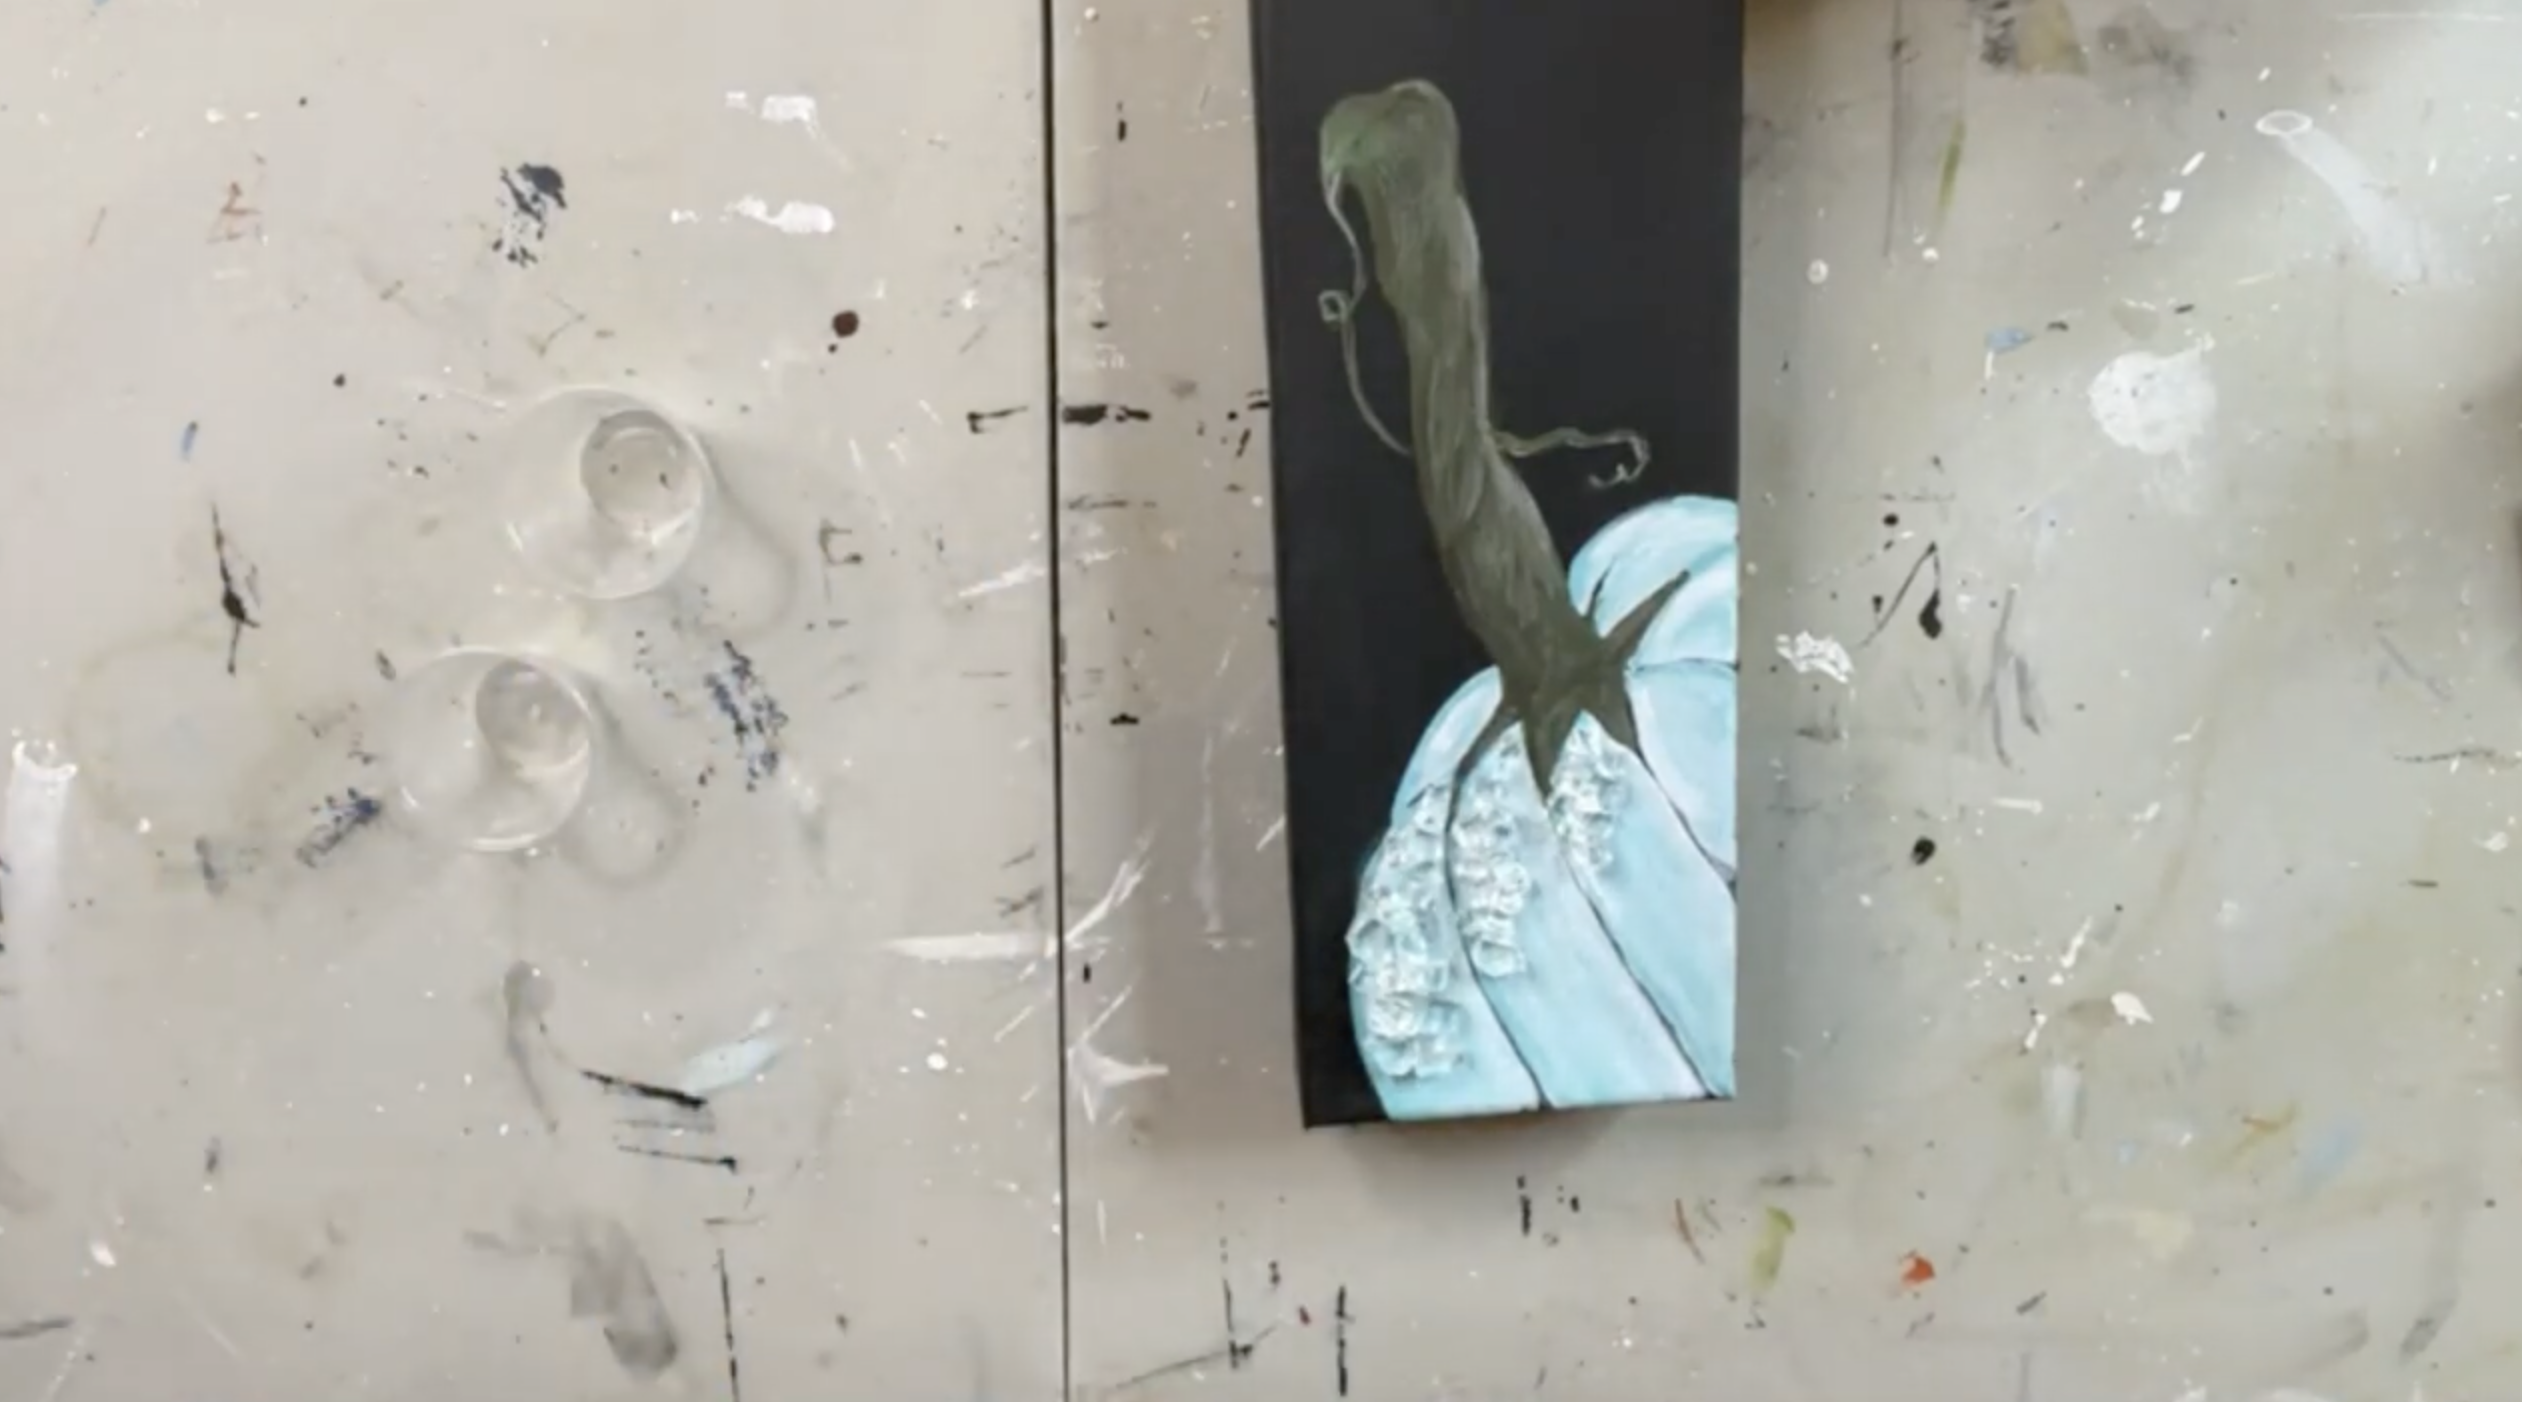
Now we get to add just a little sparkle! Place small pieces of Starfire crushed glass onto a few of the pumpkin sections. I used roughly a tablespoon or less.
Rather than covering the whole pumpkin, keep the glass concentrated in just a few areas. It gives the pumpkin almost a frosted look without hiding all of your painting underneath.
You can also use clear glass if that’s what you have. Starfire is completely clear, while the clear glass used in this has a slight blue hue that would also work beautifully with this pumpkin.
Step 11: Mix a Small Batch of Resin
Because we’re only using a small amount of glass, you don’t need much resin for this project.
Mix:
- ¼ ounce resin
- ¼ ounce hardener
This gives you ½ ounce total.
Stir the two parts together thoroughly for about three minutes, making sure everything is completely combined.
Step 12: Resin the Glass and Canvas
Begin by drizzling resin directly over your Starfire glass, making sure the pieces are coated. Then pour the remaining resin onto the canvas and spread it across the surface.
Take your time working the resin right up to the curved edges of the canvas. In this project, the resin is kept on the front rather than intentionally coating the sides, which also helps avoid unnecessary drips and saves resin.
Step 13: Pop the Bubbles
Once the canvas is completely covered, look closely for any skipped spots and touch them up with a little additional resin.
Then use a small torch or heat tool to quickly pop any bubbles on the surface. An embossing heat gun can also work for this step.
Give the canvas one final check to make sure the resin is evenly distributed, then leave it flat and undisturbed to cure.
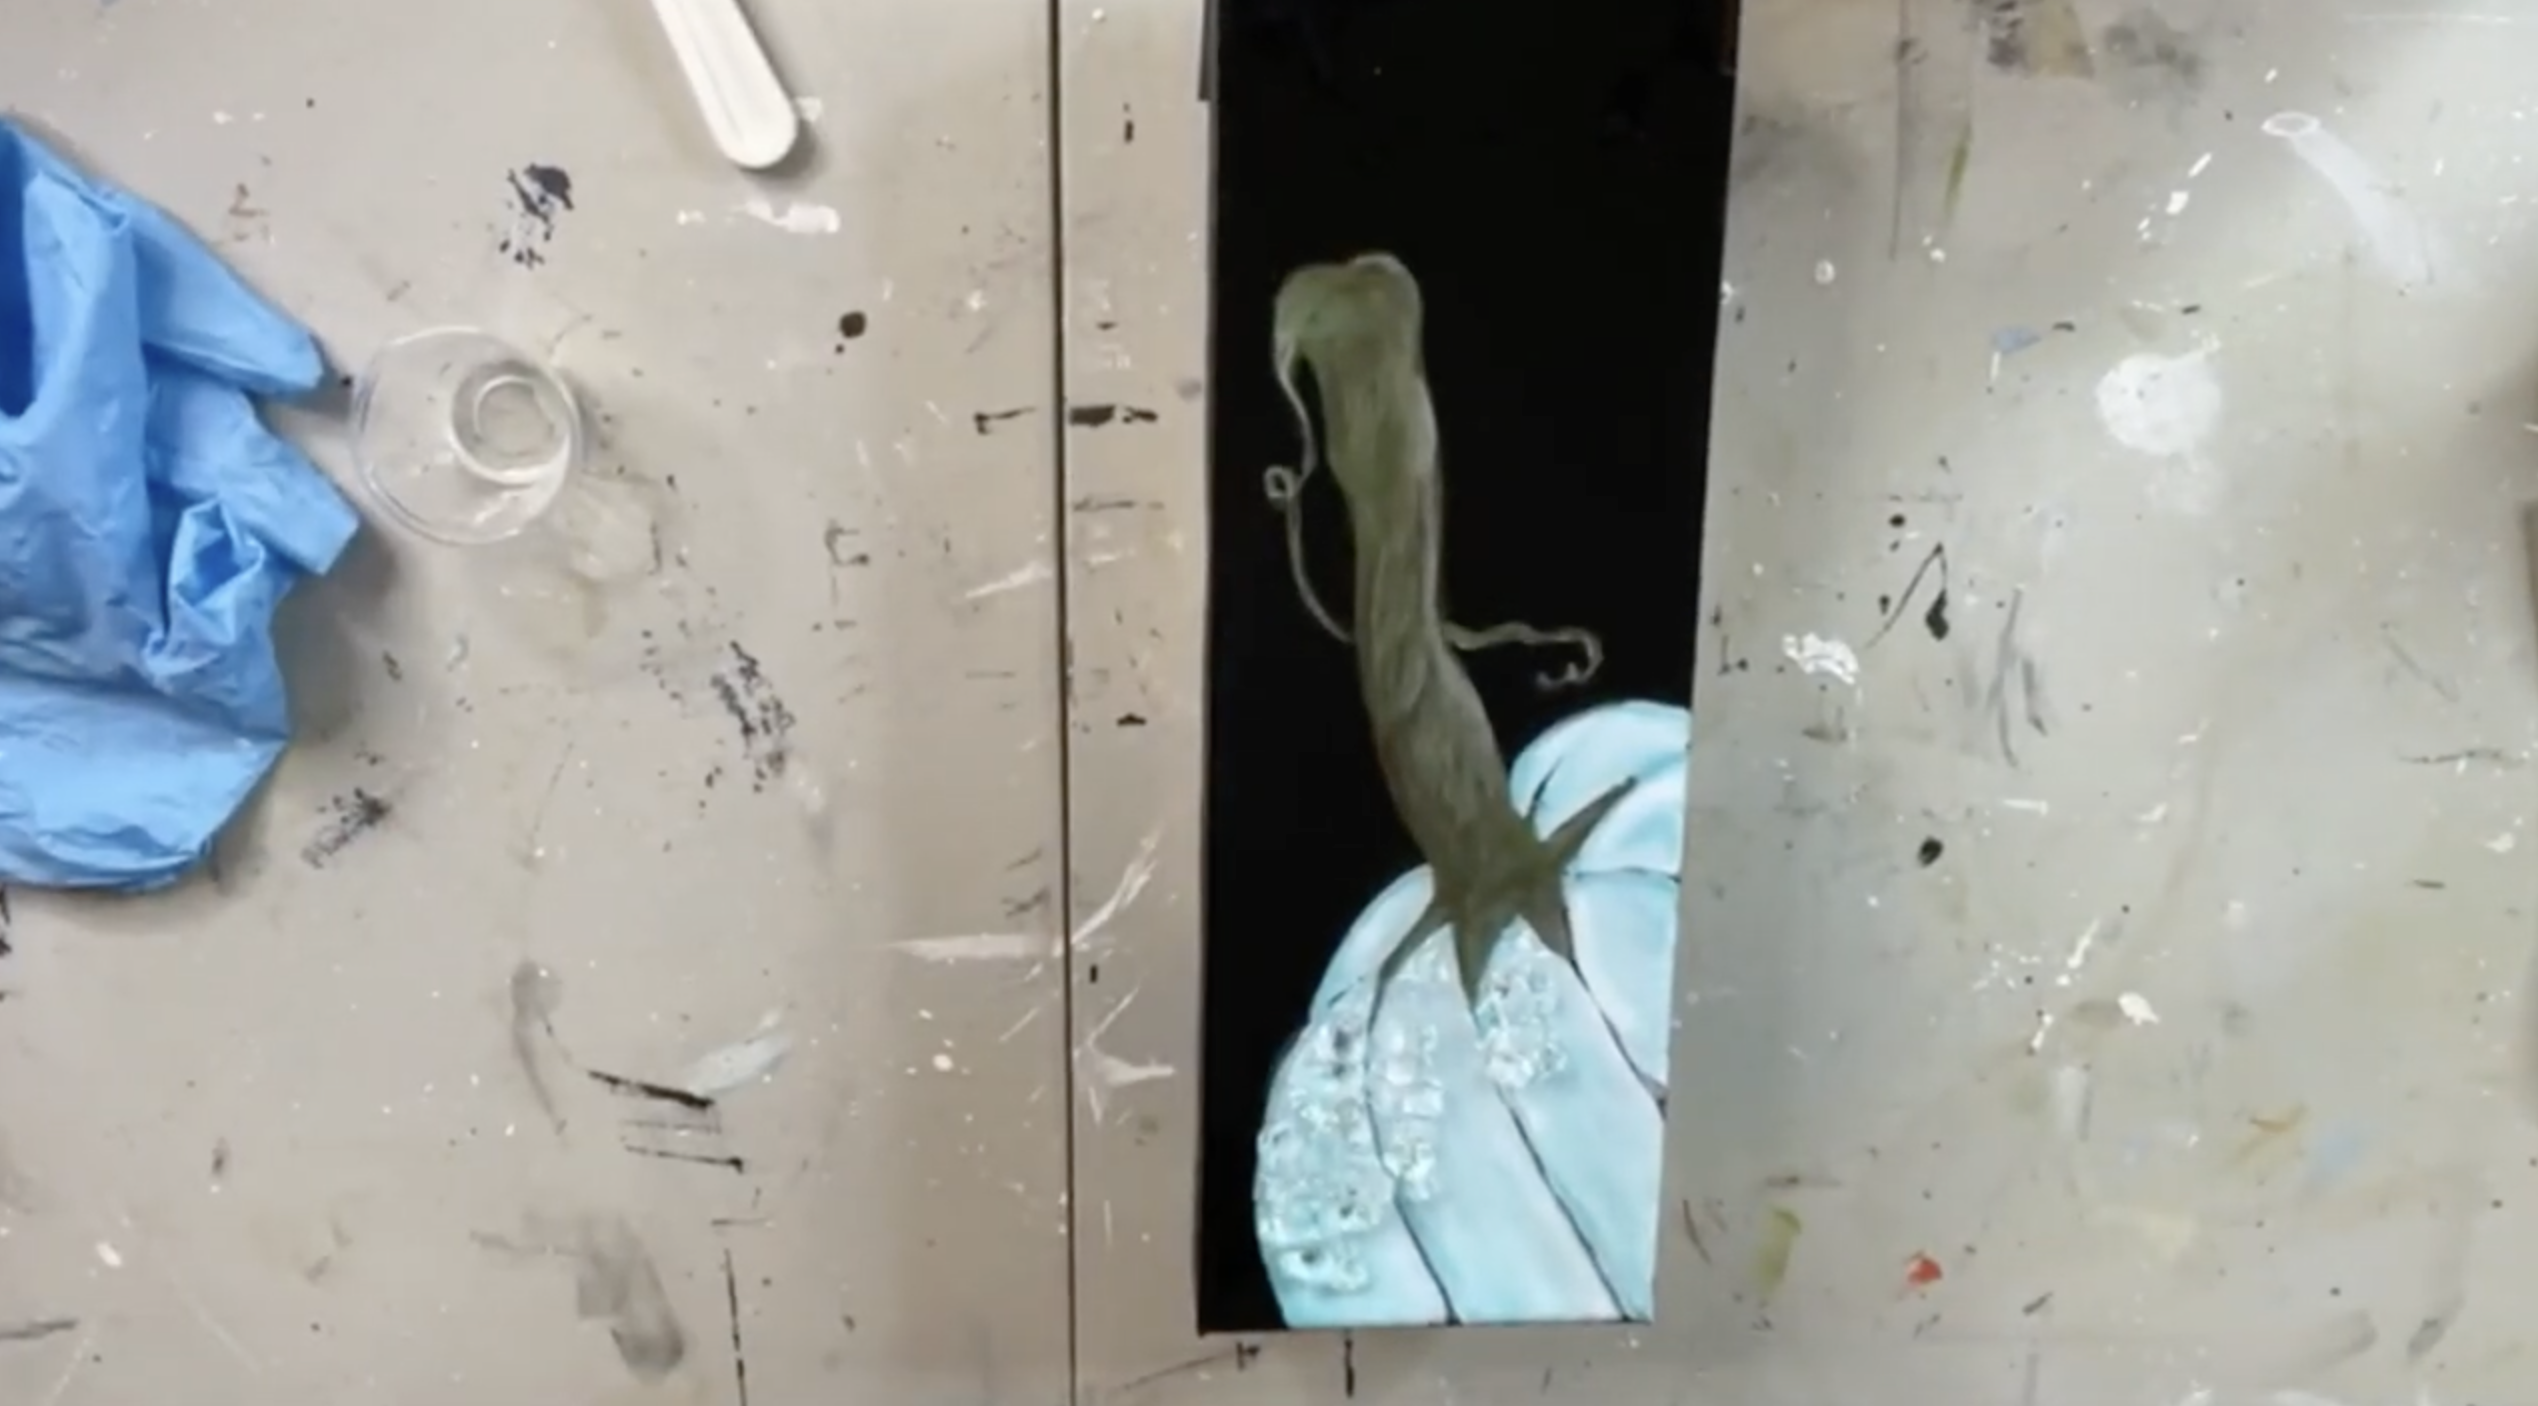
Your Blue Pumpkin Is Finished!
I love how different this pumpkin looks against that solid black background. The blue and white highlights really stand out!
And you definitely don’t need to cover the whole thing in glass to get that Art Shattered look. Just those few little sections of Starfire add enough sparkle to catch the light without taking away from the painted pumpkin.
You could easily use this same technique to create a whole collection of pumpkins - blue, white, orange, green, or whatever colors you love for fall!
If you're a member of The Shattered Circle, you'll find this tutorial in your classroom under Art Shattered Weekly Facebook Lives, search for "Blue on Black Pumpkin".
If you don’t want to miss my Facebook LIVE art instruction, make sure you are on my texting list. I always text 10 minutes before I’m going to go LIVE, so you won’t ever miss it. You can text “Hey Cindy” to 901-519-2923.
Want more inspiration and artwork?
- My website artshattered.com with resources, shop, and more!
- My creative membership The Shattered Circle, where you can explore the world of glass art with online workshops, a supportive community, and more!
- My mini creative membership Just A ‘Lil Bit Monthly Glass Art Club, where you’ll get a new quick and easy online tutorial for just a lil' bit of sparkle in your life!
- My Facebook page where I share free LIVE tutorials and inspiration
- My YouTube channel which has tons of free art lessons right at your fingertips.
