
Courtney's Dolphin 🐬
This dolphin canvas is a fun, beginner-friendly way to combine simple acrylic painting with reflective glass, resin, and seed beads. The soft blue background gives the piece an ocean feel, while the silver reflective glass turns the dolphin into the focal point. A few white seed beads around the tail and blowhole finish it off with the look of splashing water.
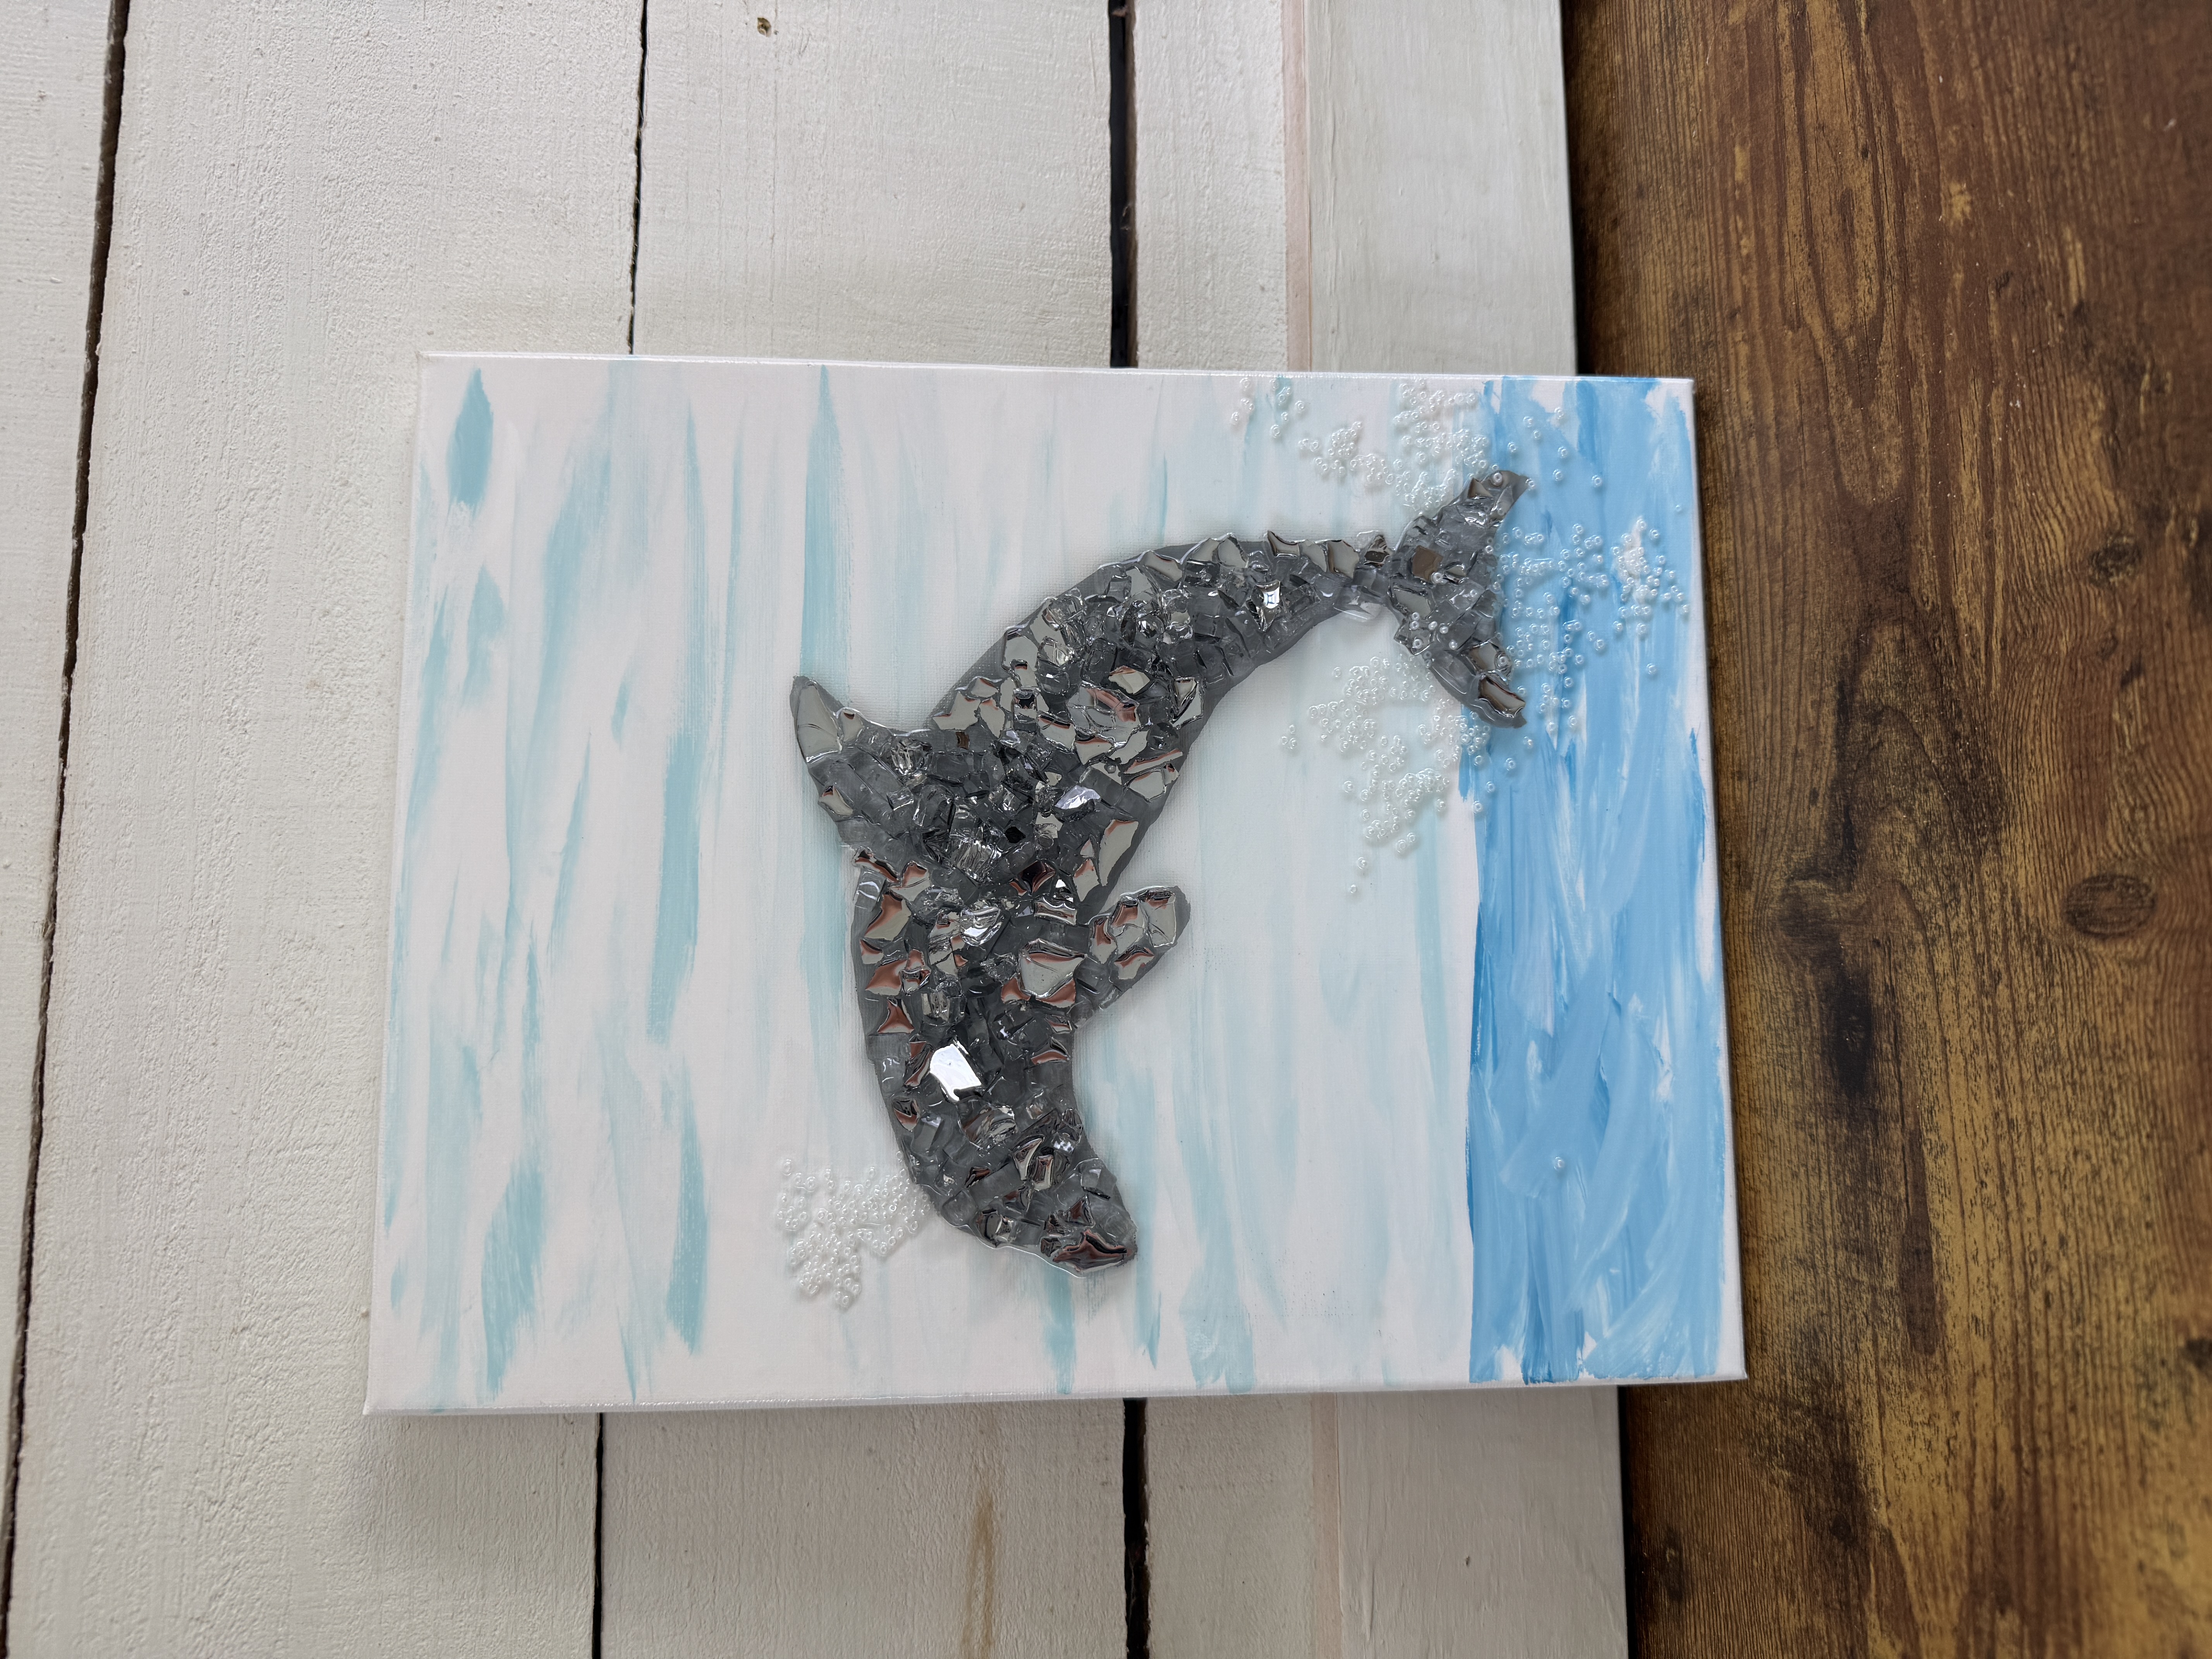
Step 1: Paint the Background White
Begin by covering the entire canvas with white paint. Work fairly quickly because the background will be blended wet-on-wet with the blue colors. If you are using a larger canvas or tend to paint more slowly, work in sections so the white stays wet enough to blend. Use a large flat brush and keep the paint moving across the canvas until you have an even coat.
While the white is still wet, add a small amount of Spa Blue to your brush. Dab off any excess before touching the canvas so you do not create a heavy blue patch.
Hold the brush more parallel to the canvas and sweep the color back and forth through the white. This creates a softer, more organic sky instead of obvious brush lines. Continue blending the Spa Blue through most of the upper section, leaving plenty of white visible.
Step 2: Paint the Water
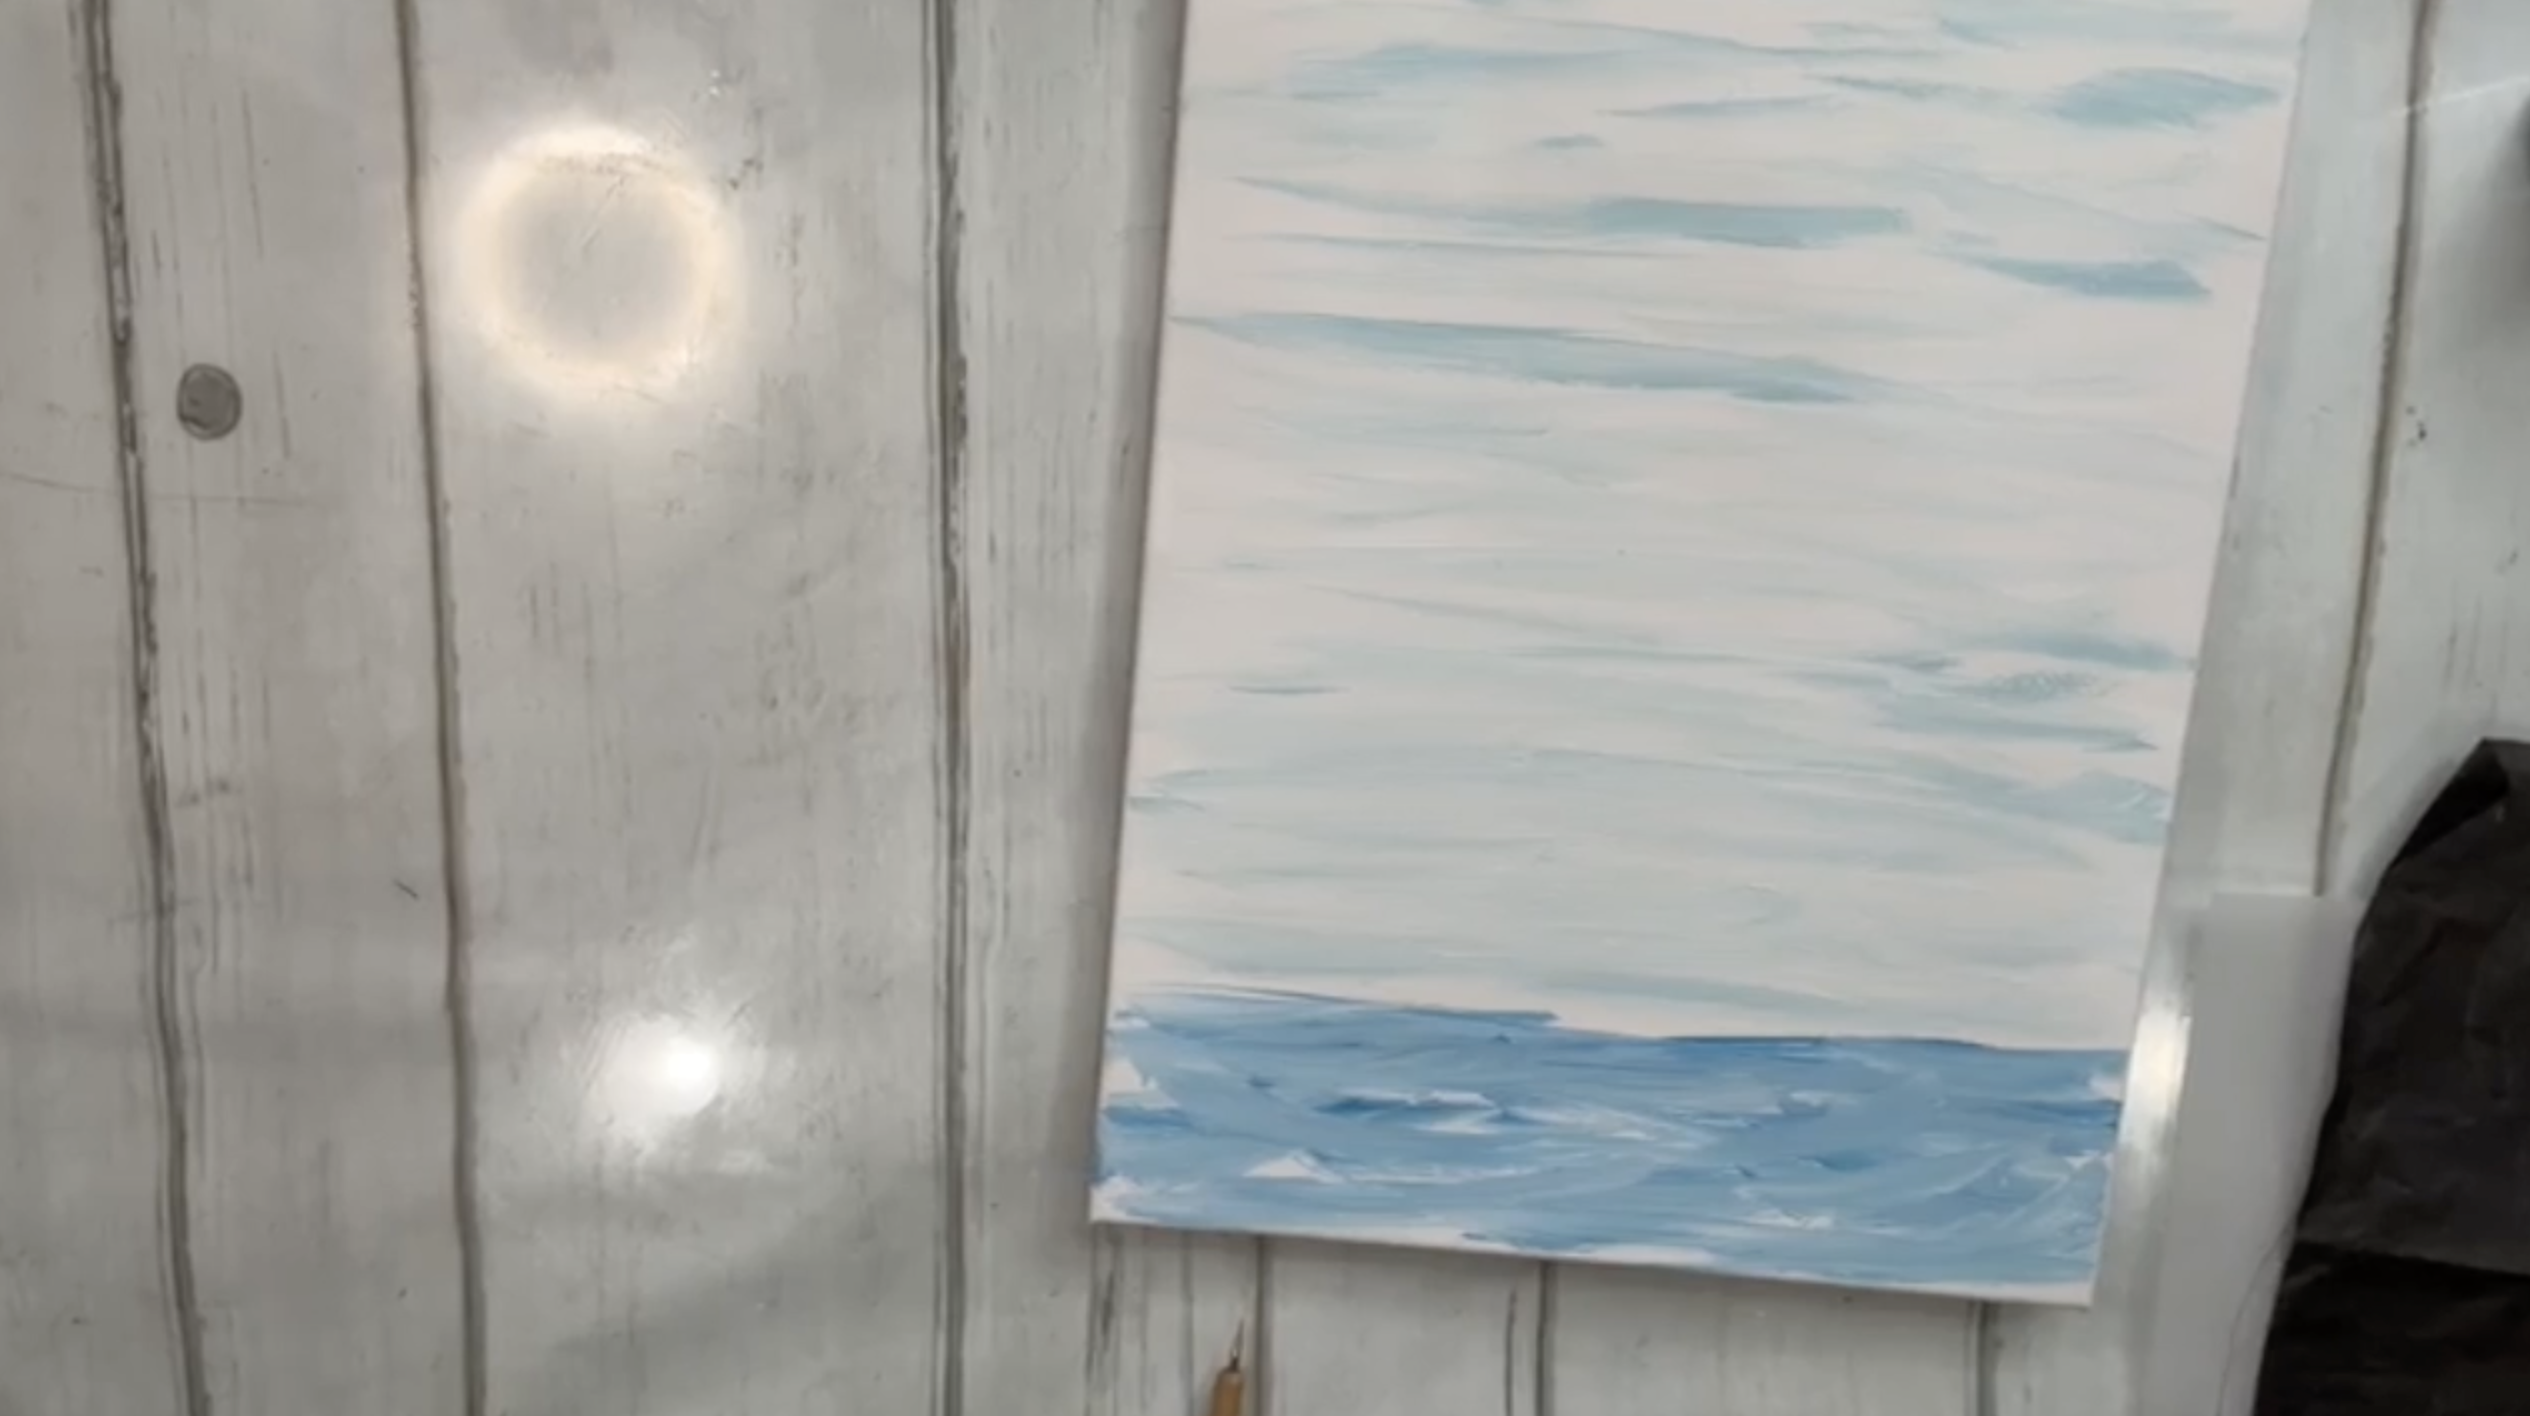
Leave roughly the bottom three inches of the canvas for the ocean. Paint that section with white first, then add Calypso Blue while the paint is still wet.
Instead of continuously scrubbing the brush back and forth, lift the brush between strokes. This creates broken, splashy marks that look more like moving water. Blend just enough white into the Calypso Blue to keep the ocean lively rather than flat.
Allow the background to dry completely before tracing the dolphin.
Step 3: Position and Trace the Dolphin
Place the dolphin tracer on the canvas so the tail dips slightly into the painted water. This placement is important because the seed beads will later create the look of a splash around the tail.
Tape the tracer in place and slide graphite paper underneath. Trace the dolphin lightly, moving your hand rather than rubbing it across the graphite paper. Pressing or dragging too hard can leave unwanted graphite marks on the background.
Step 4: Paint the Dolphin Gray
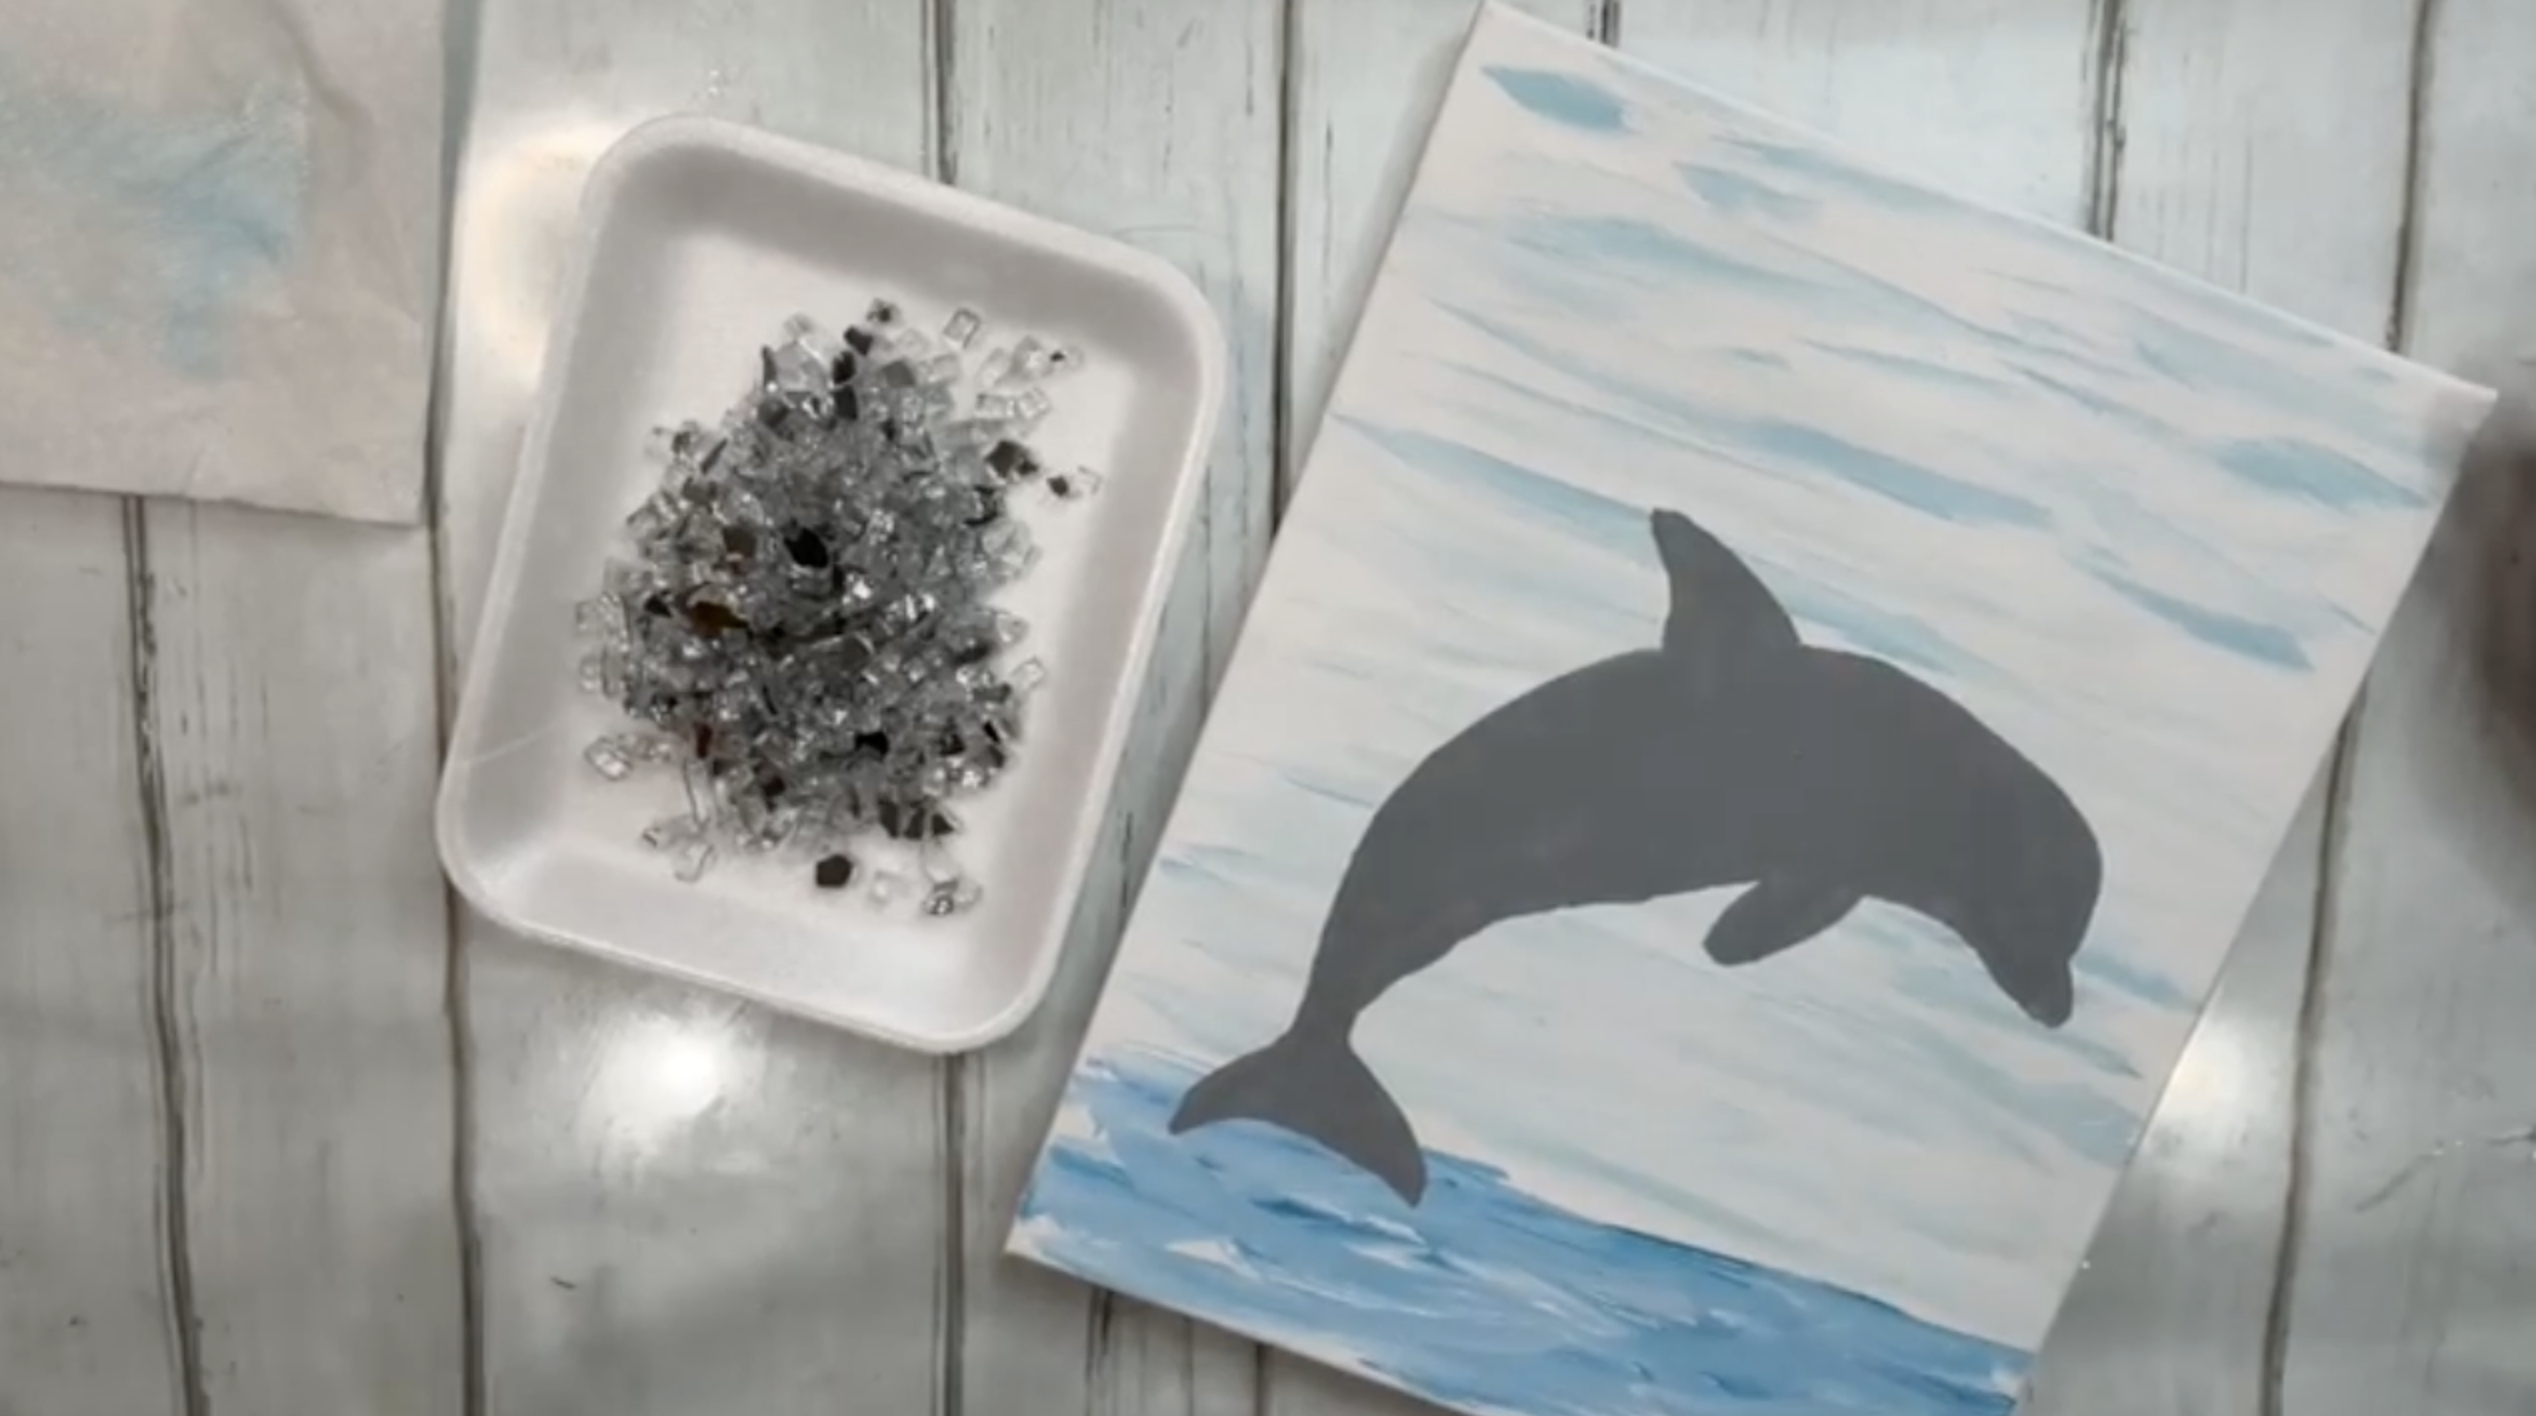
Paint the entire dolphin with gray acrylic paint using an angled brush. Make sure the paint reaches all the way to the tracer lines so none of the graphite remains visible around the edges.
This painted layer becomes the base beneath the glass, so it does not need complicated highlights or shadows. The reflective glass will provide most of the dimension and movement in the finished dolphin. Allow the gray paint to dry completely.
Step 5: Add the Silver Reflective Glass
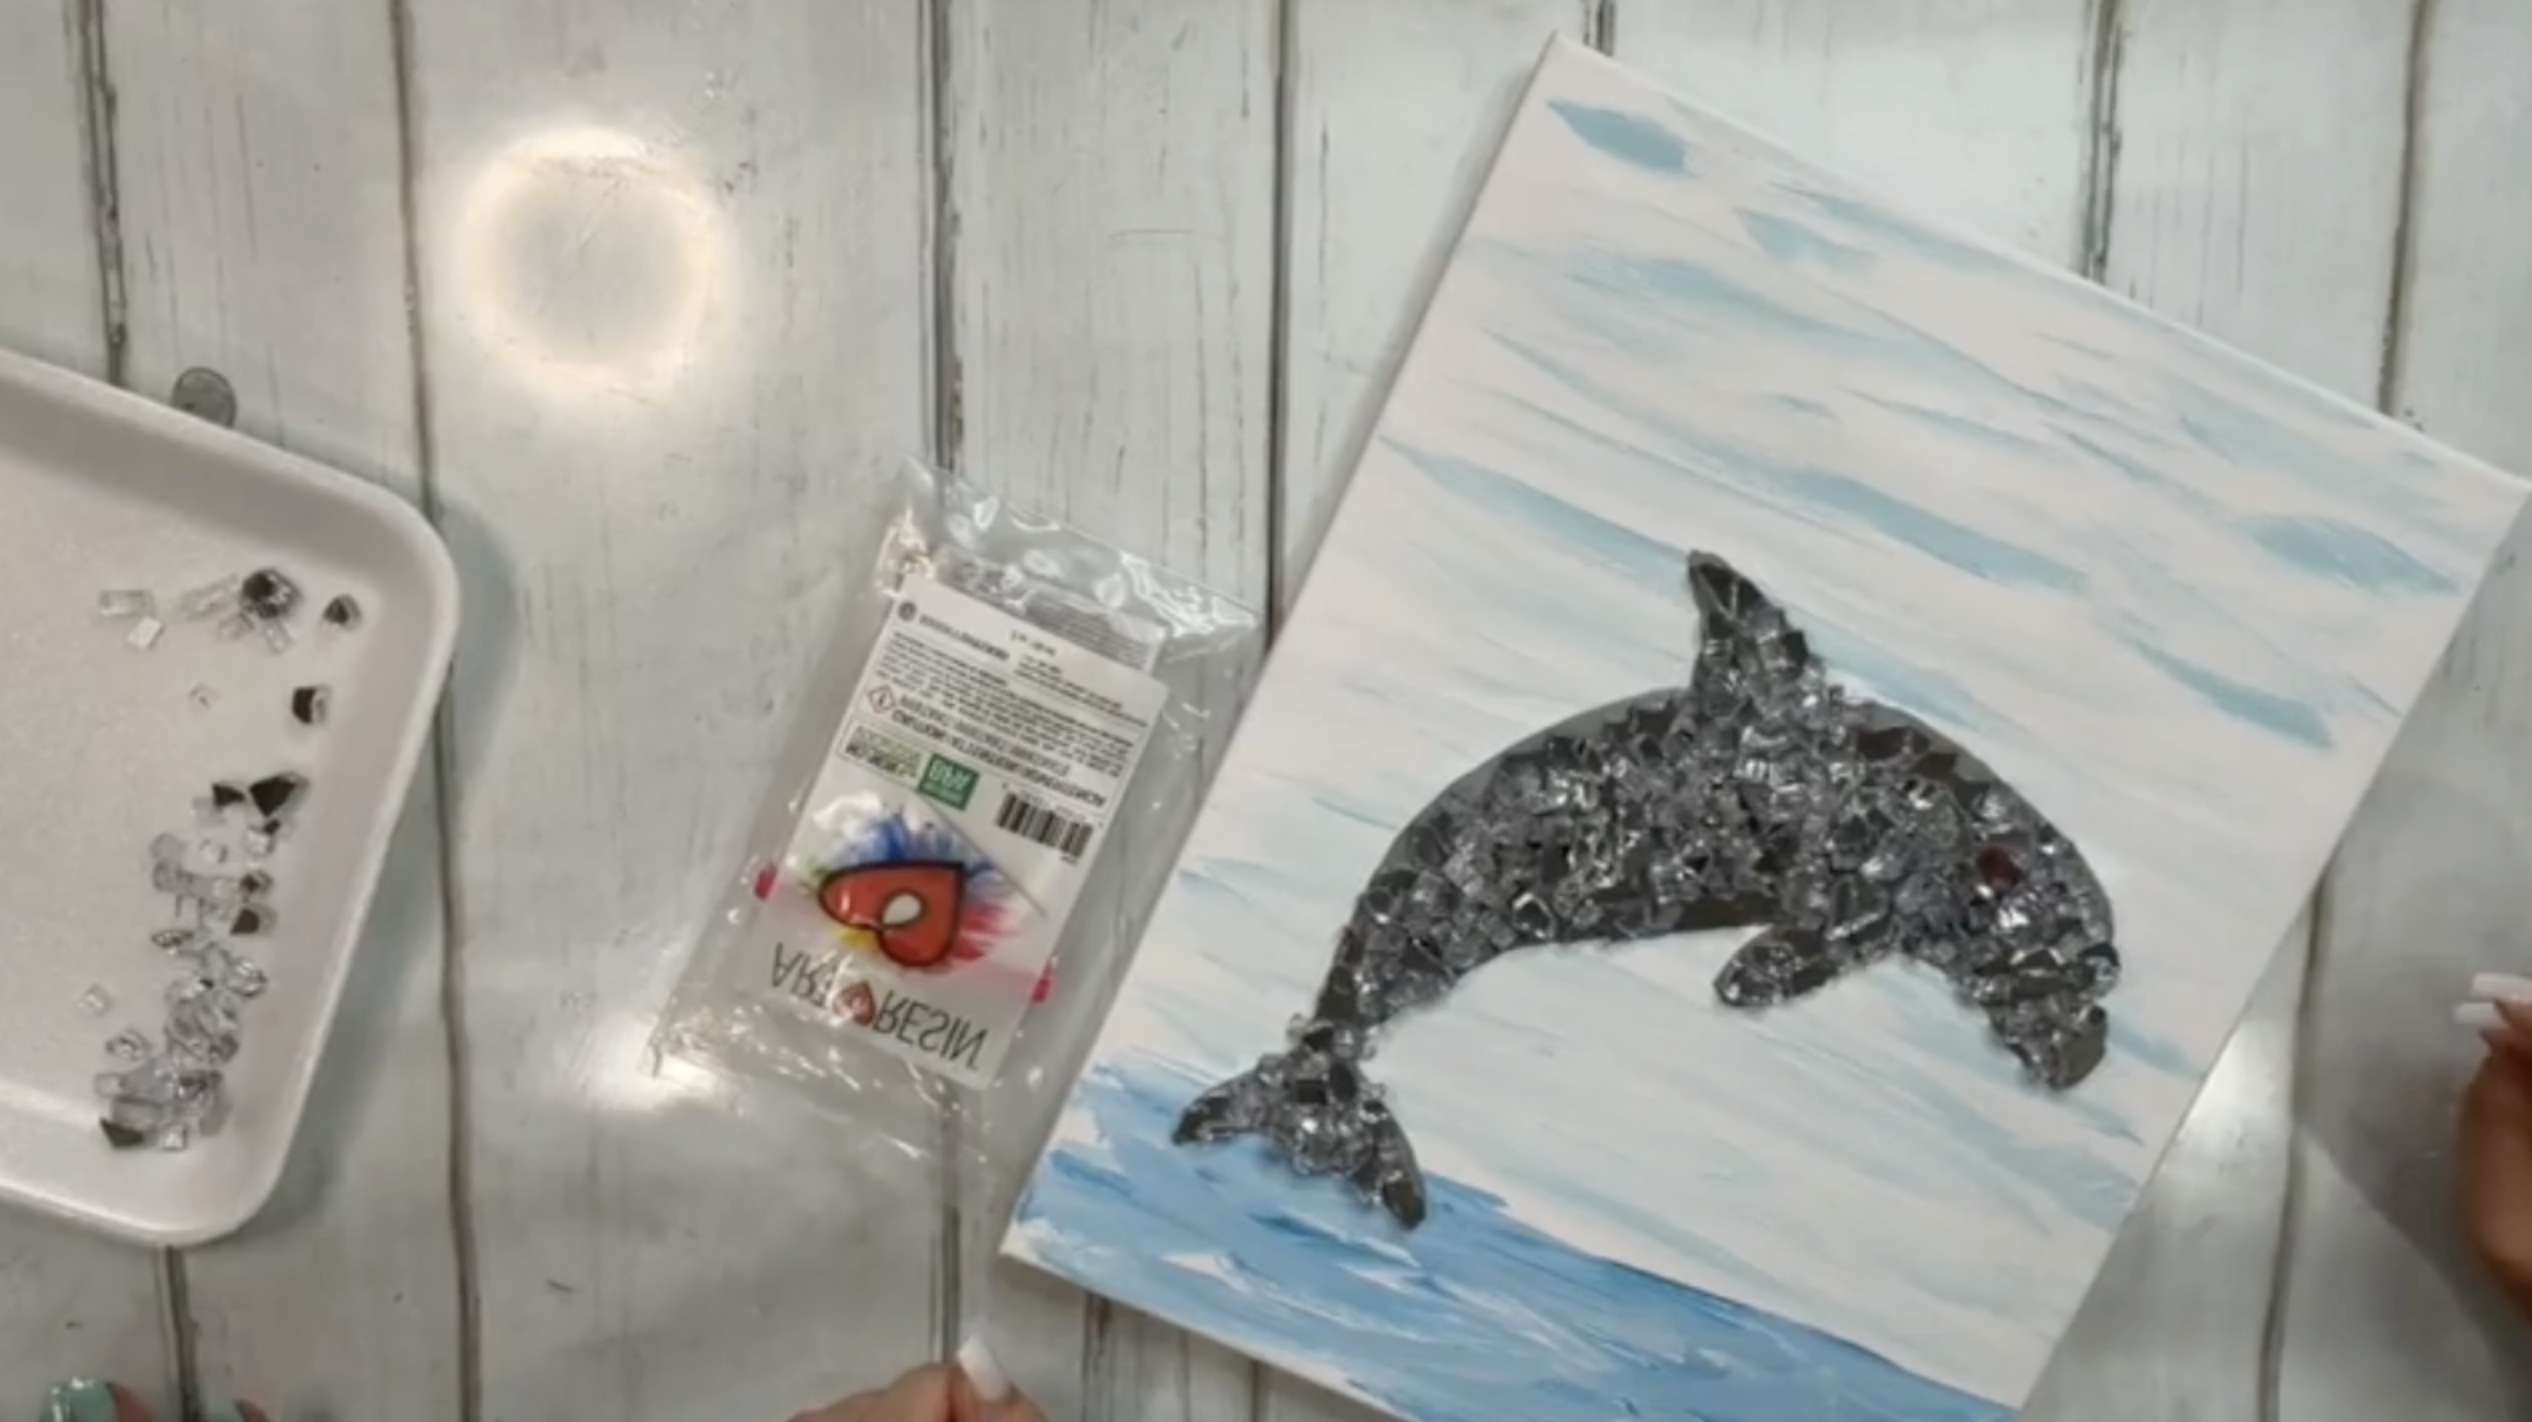
Pour some Silver Reflective glass onto a palette or plate and begin arranging it over the dolphin.
Start with the detailed areas such as the fins, nose, and tail. Choose glass pieces that fit those smaller shapes, then work your way into the larger center section. Once the outer shape is established, you can add more glass more freely through the body.
Keep checking that the glass stays inside the painted dolphin outline. If anything shifts, simply move it back into place before resin is added.
Step 6: Mix the Resin
For this project, use a 2-ounce Art Resin burst pack. Remove the divider between the resin and hardener, then knead and squeeze the pouch for three full minutes so the two parts mix completely.
Once mixed, put on gloves, cut a corner from the pouch, and squeeze the resin into a small cup. Mixing it in the pouch is convenient, but transferring it to a cup makes it easier to control when applying it to the artwork.
Step 7: Apply the Resin
Begin by drizzling resin directly over the Silver Reflective glass. Be generous enough that the resin flows over the tops of the pieces and between them.
Continue until the entire dolphin is coated. Once the glass begins to look glossy and the resin starts settling around the edges, you should have enough coverage.
Pour some of the remaining resin onto the exposed painted background above and below the dolphin. Use your gloved fingers or a silicone spreader to move the resin evenly across the canvas, working right up against the glass and out toward the edges. Check under the fins, chin, and tail for small dry areas that are easy to miss.
Step 8: Remove Resin Bubbles
Use a heat gun to pop bubbles and help smooth the resin. Keep the heat moving continuously and do not hold it too close to one spot.
As the resin levels out, inspect the surface for pinholes, dry areas, dust, or shifted glass. Make any adjustments while the resin is still workable.
Step 9: Add Beads
While the resin is wet, sprinkle White Ceylon seed beads around the dolphin’s tail where it meets the water.
Concentrate some of the beads close to the tail, then scatter smaller amounts outward so they look like splashing water rather than a solid pile. You can use your fingers, a small cup, or a silicone tool to control the placement.
For an extra detail, add a small group of White Ceylon seed beads above the dolphin’s blowhole. Arrange them in a loose upward spray so they resemble a little burst of water.
Step 10: Let the Artwork Cure
Set the canvas on a level surface and allow the resin to cure according to the manufacturer’s instructions. Keep the piece protected from dust and avoid touching or moving it while the resin is still soft. Once cured, the Silver Reflective glass will have a glossy, dimensional finish and the white seed beads will give the dolphin a playful sense of movement.
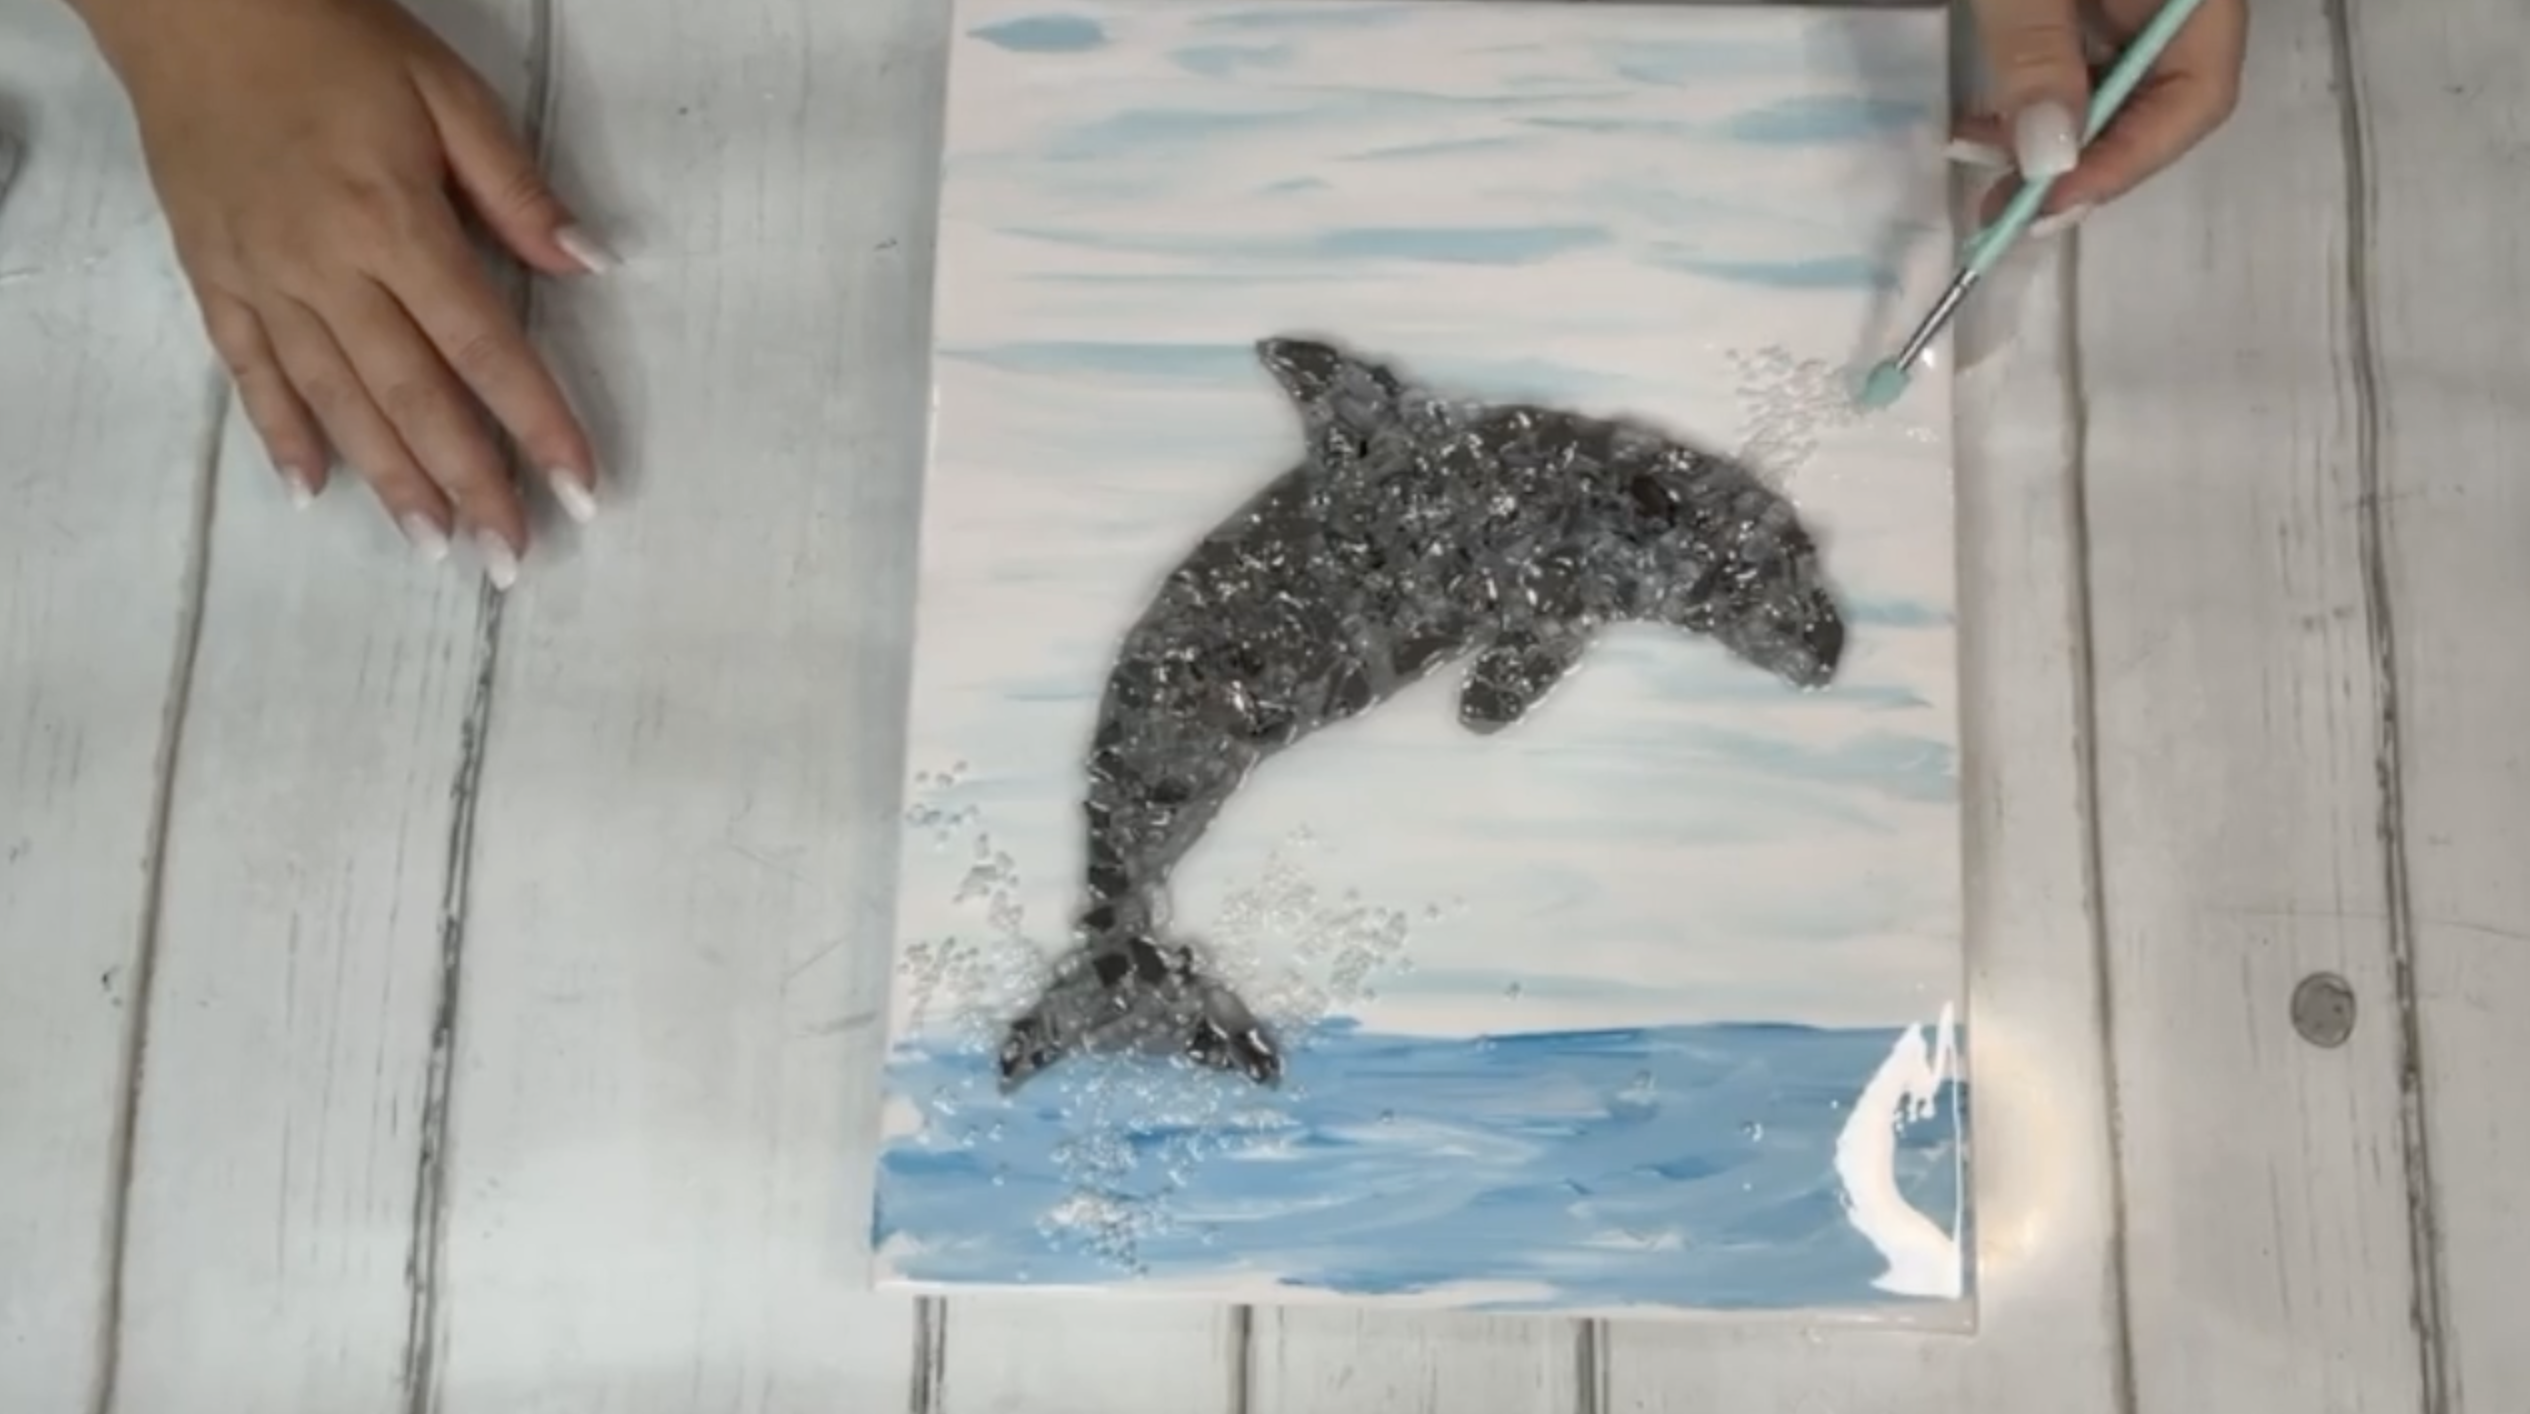
This dolphin glass and resin canvas is a great example of how a very simple painting can become something much more dimensional once glass and resin are added. The soft white-and-blue background keeps the scene light, the silver glass gives the dolphin plenty of shine, and the seed bead splashes make it feel like it is jumping right out of the water.
If you're a member of The Shattered Circle, you'll find this tutorial in your classroom under Art Shattered Weekly Facebook Lives, search for "Courtney's Dolphin".
If you don’t want to miss my Facebook LIVE art instruction, make sure you are on my texting list. I always text 10 minutes before I’m going to go LIVE, so you won’t ever miss it. You can text “Hey Cindy” to 901-519-2923.
Want more inspiration and artwork?
- My website artshattered.com with resources, shop, and more!
- My creative membership The Shattered Circle, where you can explore the world of glass art with online workshops, a supportive community, and more!
- My mini creative membership Just A ‘Lil Bit Monthly Glass Art Club, where you’ll get a new quick and easy online tutorial for just a lil' bit of sparkle in your life!
- My Facebook page where I share free LIVE tutorials and inspiration
- My YouTube channel which has tons of free art lessons right at your fingertips.
