
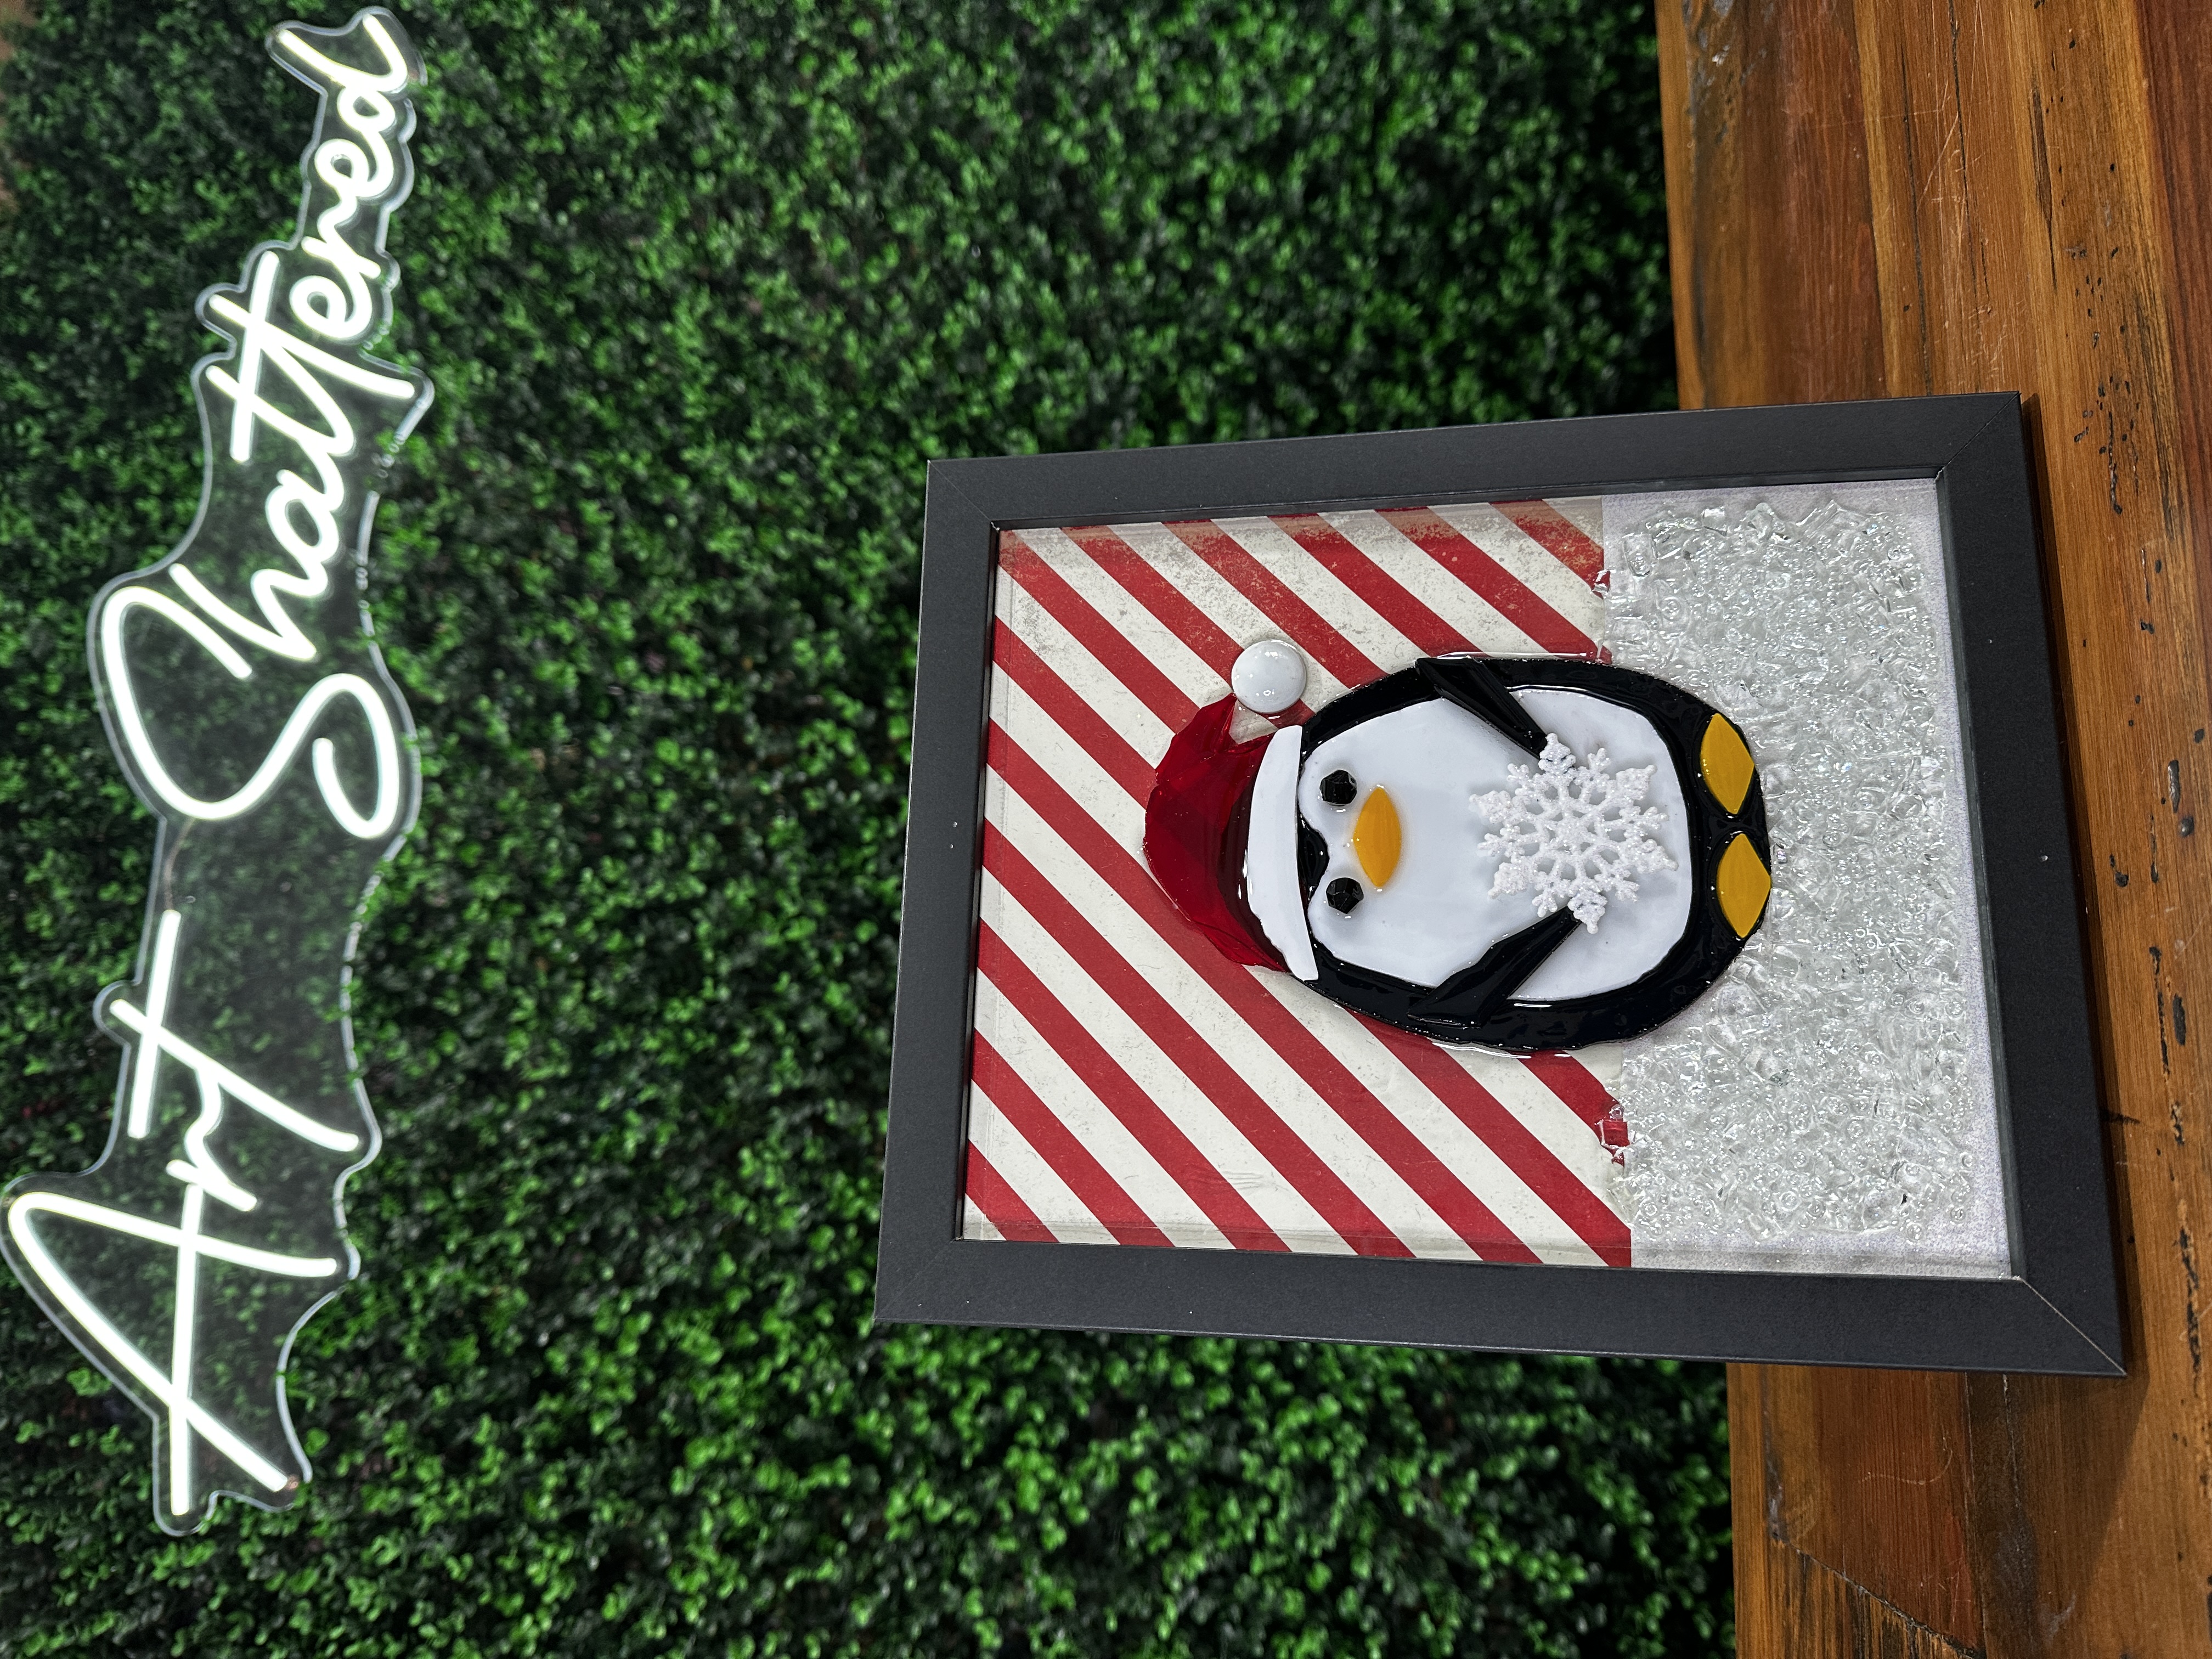
Floating Frame Penguin 🐧
Looking for a fun new glass art project that pairs perfectly with your Snowman Frame? This adorable Floating Penguin will melt your heart! Made on a floating glass frame from Hobby Lobby, this project combines painting, cutting, and resin techniques to create a wintery keepsake you can display (and even change backgrounds for!) all season long.
Step 1: Prepare Your Frame
Start by removing the screws and opening the back of your floating frame. Take out one piece of glass (this will be your working surface) and lay it flat on a towel to protect it from scratches. Apply masking tape around all four edges to create a clean border, leaving about ⅜ inch between the tape and the glass edge. This tape not only defines the boundary of your artwork but also ensures the finished glass will fit smoothly back into the frame once the resin is dry. Burnish the tape firmly with your fingers or a scraper to seal any gaps and prevent resin from leaking underneath. Finally, clean your glass thoroughly with alcohol wipes and let it dry completely before moving on.
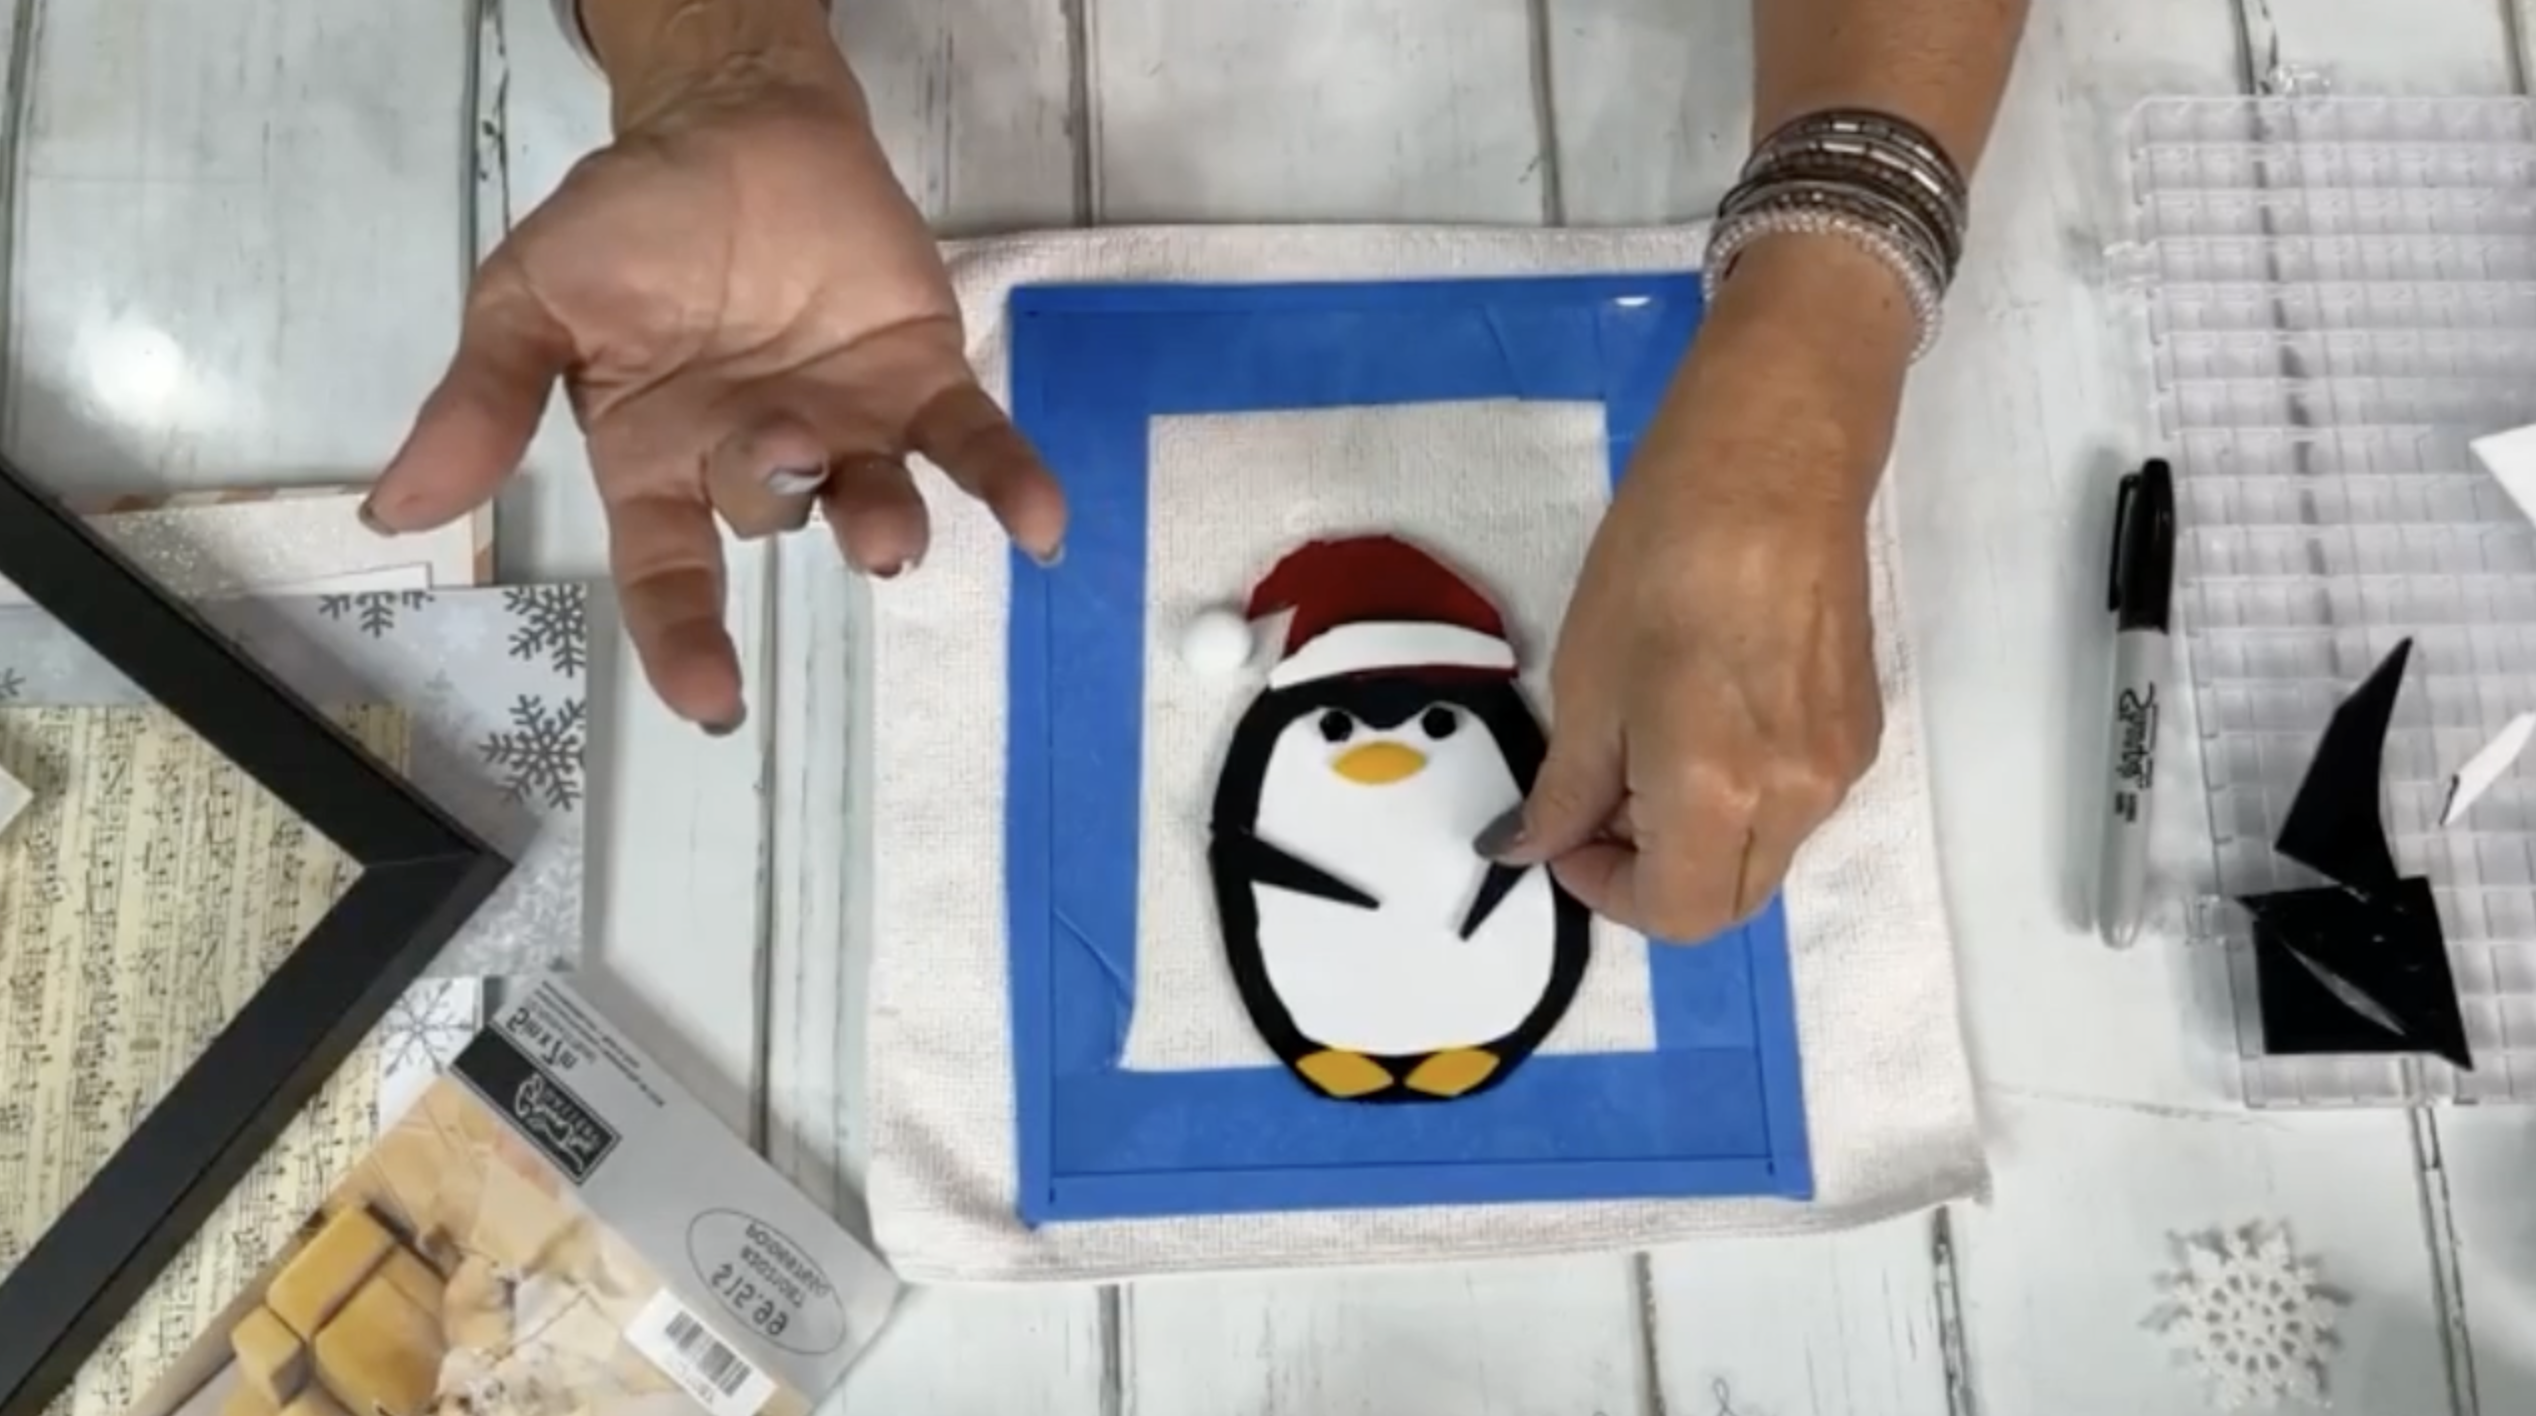
Step 2: Cut Your Penguin Shapes
On your piece of black glass, draw a large oval or egg shape with a Sharpie to form the penguin’s body. Using a glass cutter, score from edge to edge - always starting and ending slightly off the glass to prevent cracking. Break away pieces carefully along the score lines until you have a smooth oval shape. Then use your wheeled nippers to trim and refine any uneven edges. Once the shape feels right, hone the edges with a stone to remove sharp points.
Repeat this process with white glass to create a smaller oval for the penguin’s belly, leaving a narrow black border visible around the edge. Don’t worry about perfection - penguins are naturally lumpy and that just adds to their charm!

Step 3: Add Personality with Details
This is where your penguin really comes to life! Use the small yellow petal-shaped glass pieces for his beak and feet, and two tiny black beads for eyes. For wings, nip two small curved pieces from your leftover black glass scraps. To make the Santa hat, use red glass for the body and white glass for the fur trim, then add a flat glass gem at the tip as a pom-pom. If the hat sits high on the penguin’s head, glue an extra scrap piece underneath for support.
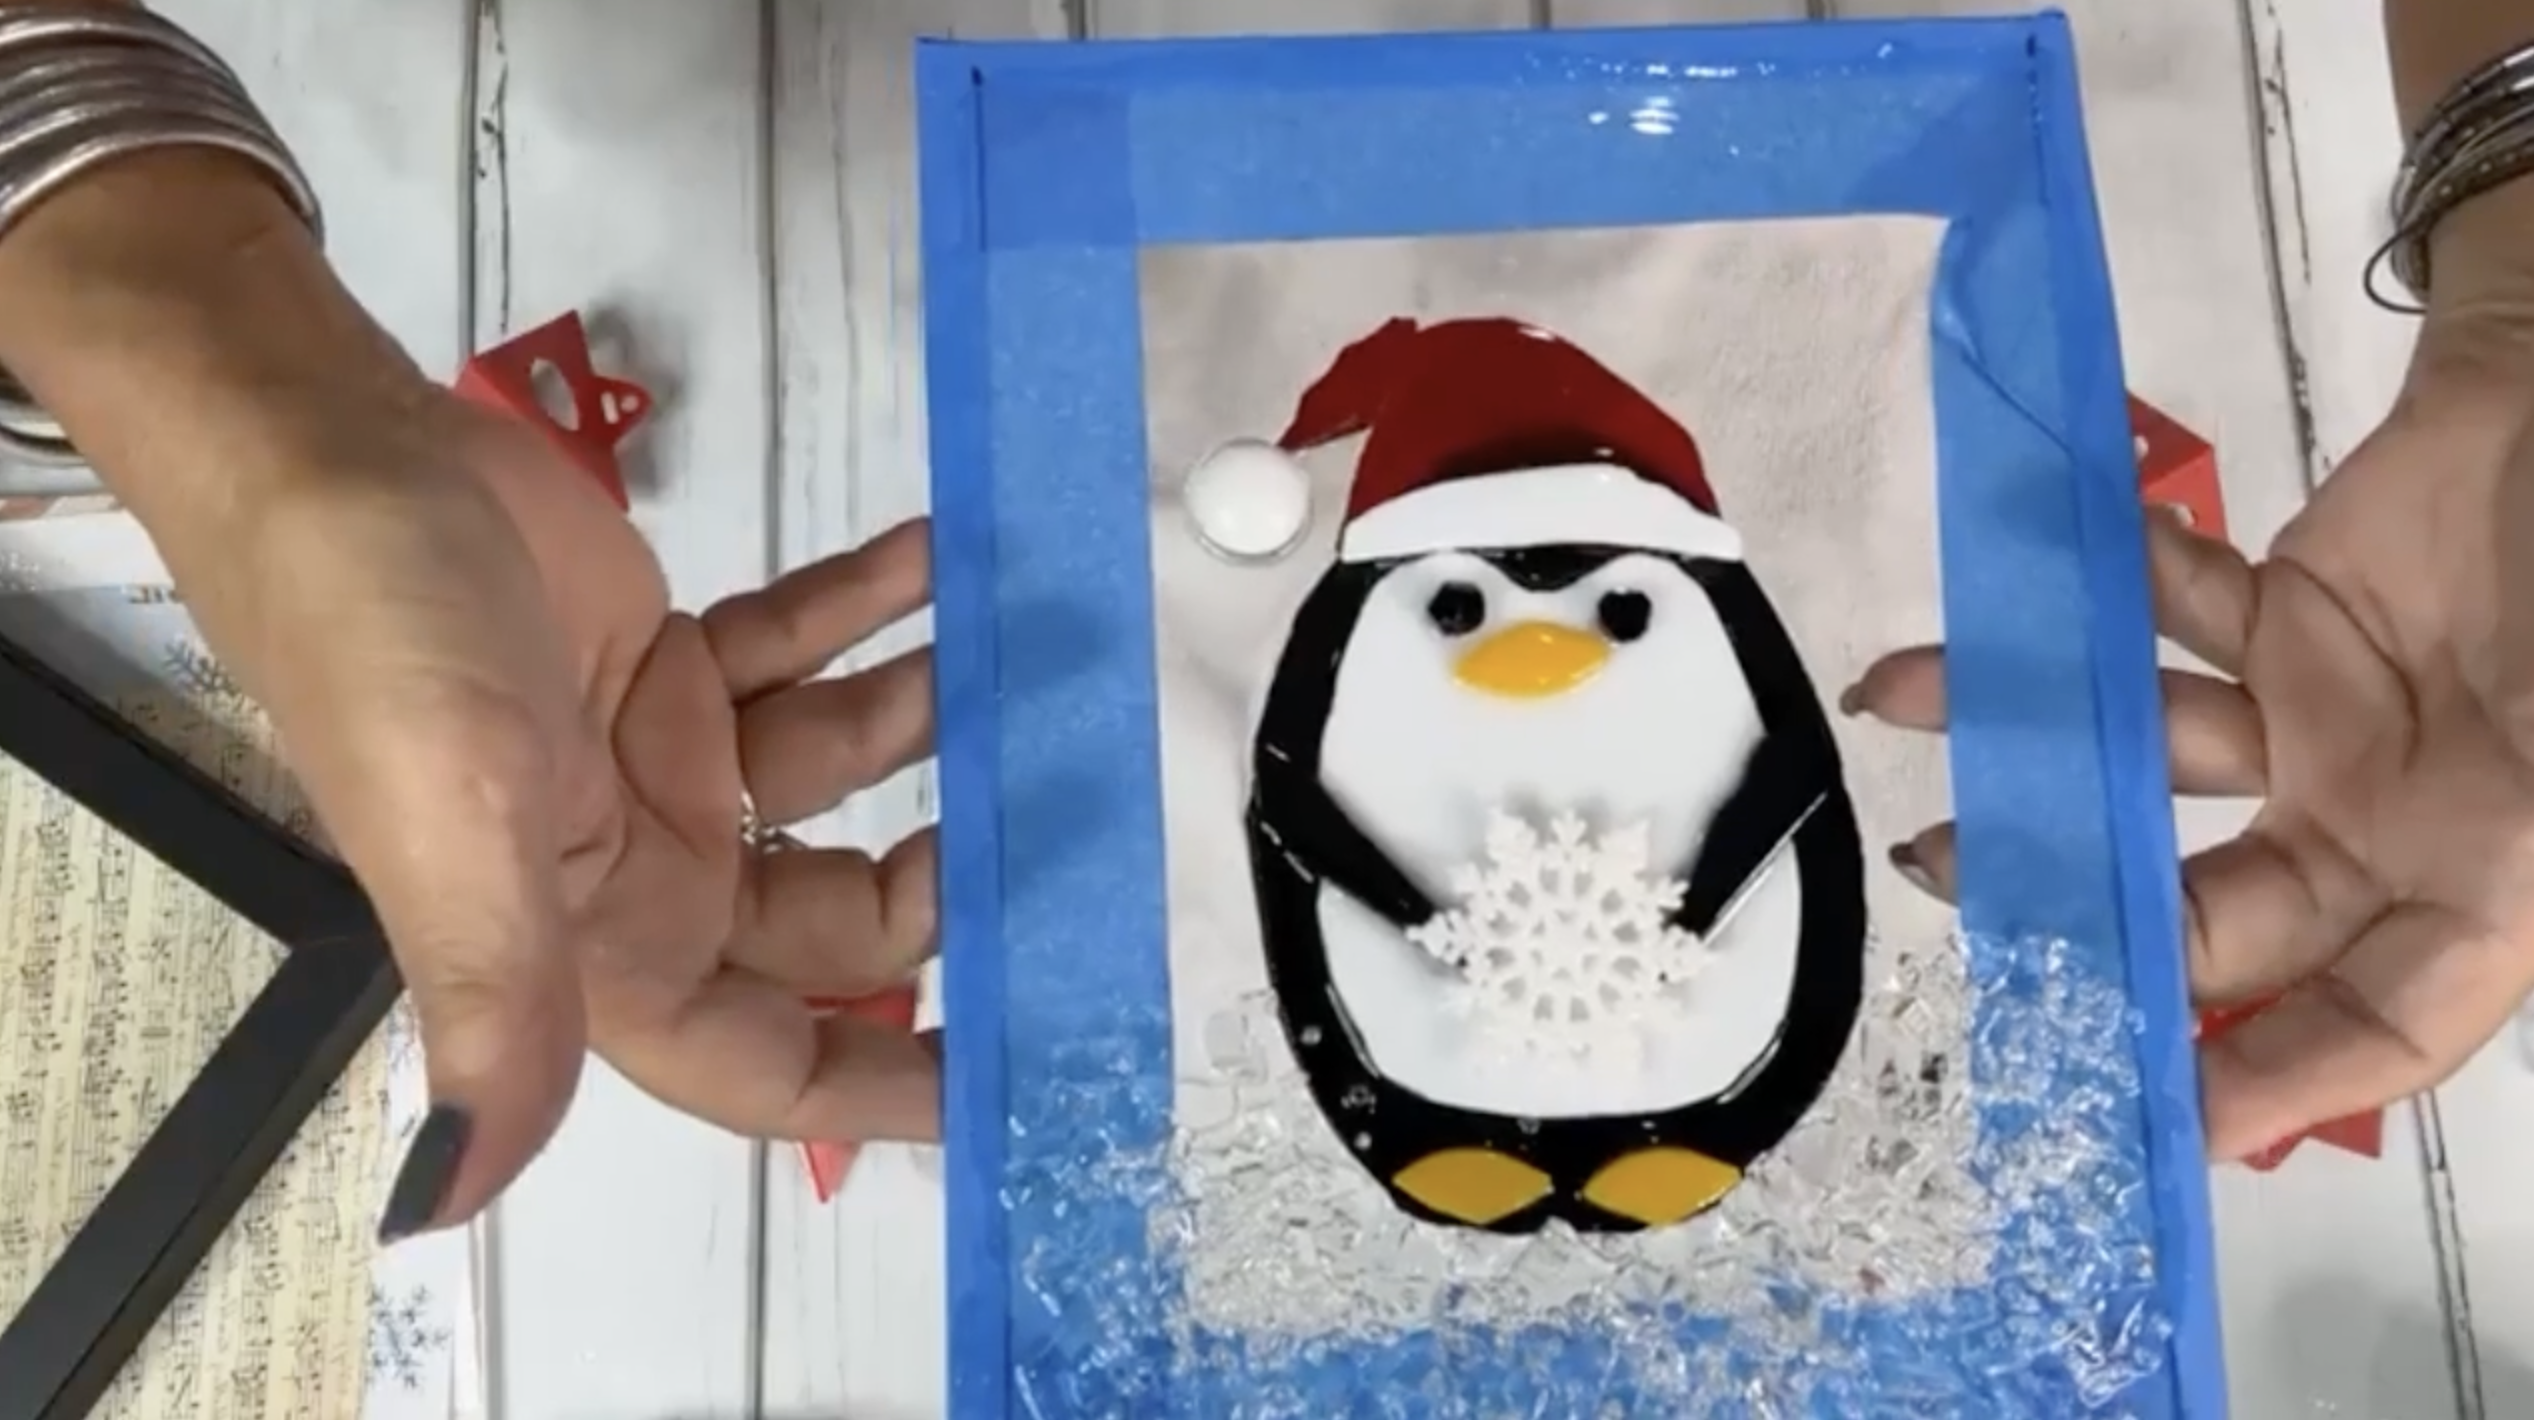
Arrange all the pieces on your glass to preview how they’ll fit together. You can also add a fun prop in his flippers - try a small snowflake embellishment or a miniature strand of lights for a festive touch.
Step 4: Mix and Apply Resin
Once you’re happy with your layout, it’s time to mix your resin. Put on gloves and combine ½ ounce of resin with ½ ounce of hardener (for a total of 1 ounce). Stir slowly for three minutes, scraping the sides and bottom of your cup as you go to ensure a thorough mix. Avoid stirring too vigorously to prevent bubbles.
Pour a small amount of resin directly onto the taped glass and use a silicone spatula or applicator to spread it evenly across the surface.
Step 5: Assemble Your Penguin
Now the fun part, putting it all together! Apply a thin layer of resin to the back of your black glass body and place it about one inch above the bottom tape line. Next, coat the back of your white belly oval with resin and press it in place on top of the black shape. Add resin to the back of each small piece (feet, beak, wings, hat, and eyes) and gently press them into position. Use a toothpick or stir stick to nudge pieces around as needed. Once everything looks just right, drizzle a light coat of resin over the top to secure all the pieces and create a glossy, unified finish.
Sprinkle Starfire crushed glass at the bottom of your piece to create a shimmering snowbank or iceberg. Use your spatula to gently coat the glass bits with a bit more resin until they’re fully saturated and glossy. Then, sprinkle a few crystal luster seed beads to mimic sparkling ice and mix in white seed beads to add snowy texture. Once you’re happy with the look, lightly run your heat gun over the resin again to remove bubbles and even out the finish.
Step 7: Cure and Clean
Allow your penguin to cure flat for at least 24 hours. After the resin has hardened, use a heat gun on low to gently warm the tape edges and peel them away for a crisp border. If you see any leftover Sharpie lines or adhesive residue, remove them with an alcohol wipe. Take a moment to clean the back of the glass completely before assembling the frame.
Step 8: Choose a Background
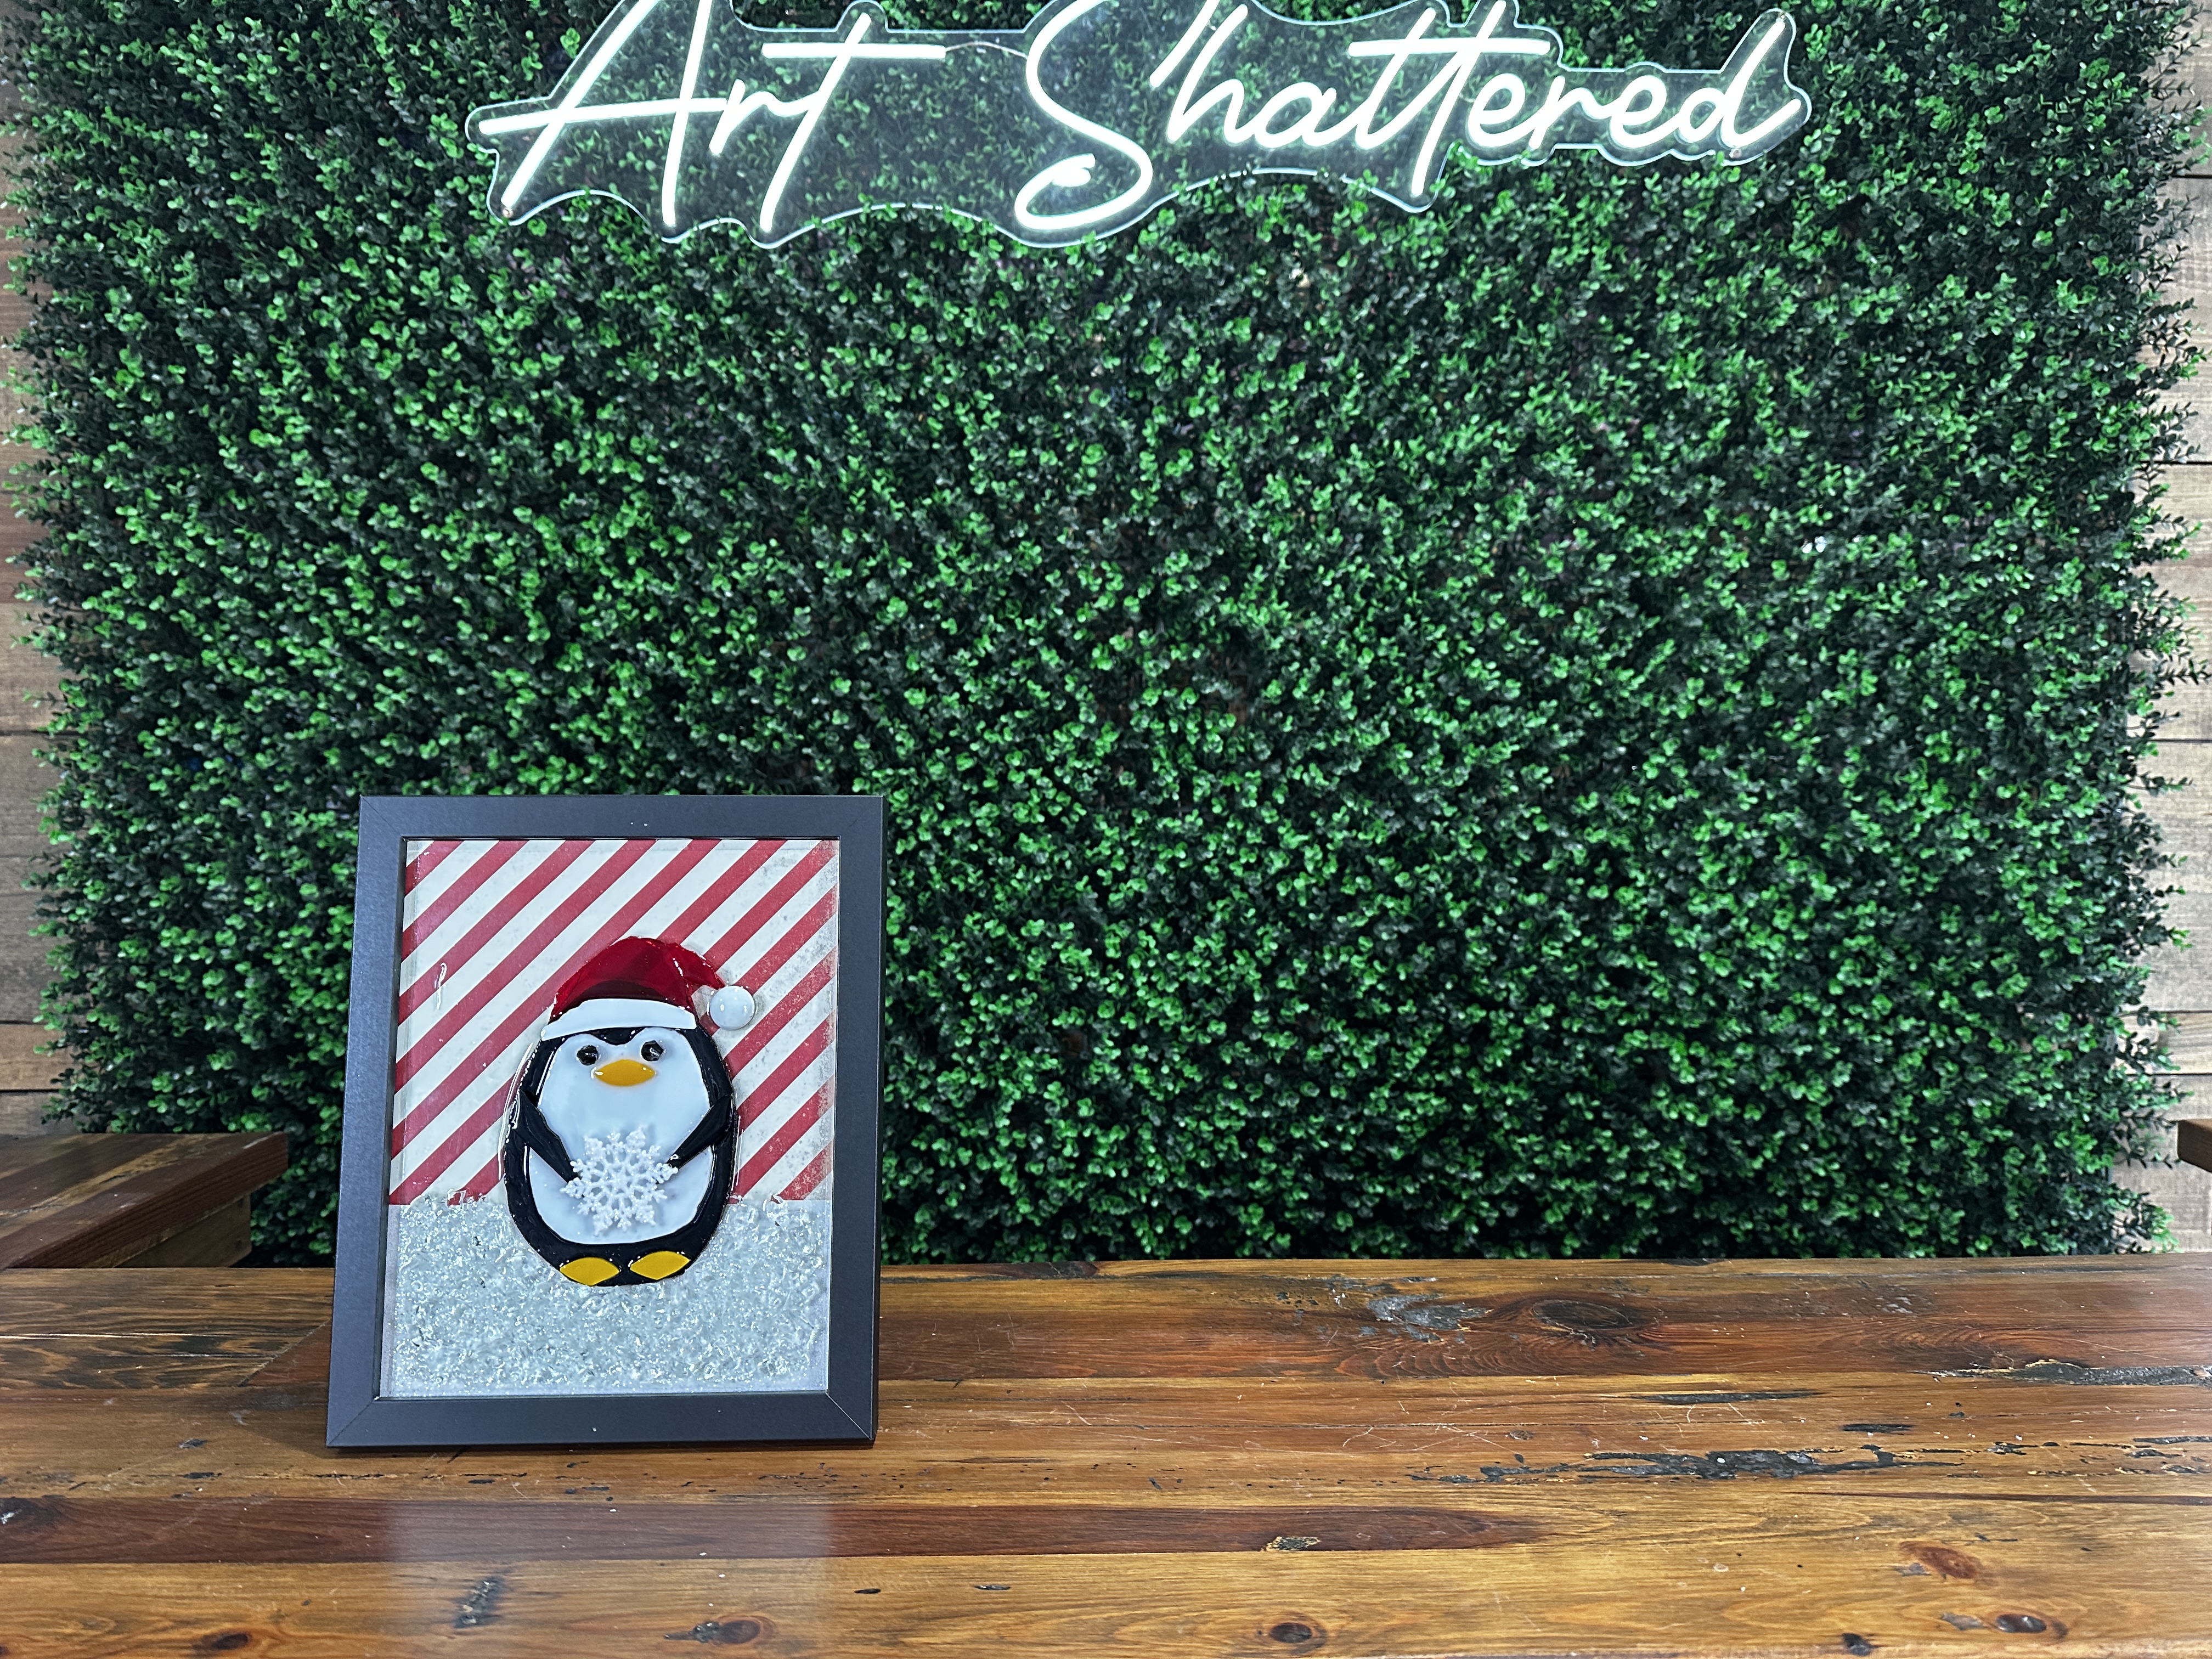
Your penguin’s background adds the final touch of personality! You can go with a glittery white paper that looks like snow, or try a red-and-white striped design for a playful candy-cane effect. Trace your glass onto the paper, cut it to fit, and layer it behind your artwork inside the frame. For a softer, natural look, try cutting the bottom of your “snow” paper into gentle mounds instead of a straight line - it makes the scene feel more like rolling snowdrifts. Because this project uses a floating frame, you can easily swap backgrounds anytime for a whole new look.
Step 9: Frame & Display
Slide the finished glass artwork back into your frame, secure it with the screws, and admire your penguin’s frosty charm! The black frame makes the colors and textures pop beautifully, and the clear glass design gives the illusion of your penguin floating on an iceberg. Try pairing it next to your Snowman Frame from a previous project, or create an entire winter family by making several in different sizes.
If you don’t want to miss my Facebook LIVE art instruction, make sure you are on my texting list. I always text 10 minutes before I’m going to go LIVE, so you won’t ever miss it. You can text “Hey Cindy” to 901-519-2923.
Want more inspiration and artwork?
- My website artshattered.com with resources, shop, and more!
- My creative membership The Shattered Circle, where you can explore the world of glass art with online workshops, a supportive community, and more!
- My mini creative membership Just A ‘Lil Bit Monthly Glass Art Club, where you’ll get a new quick and easy online tutorial for just a lil' bit of sparkle in your life!
- My Facebook page where I go LIVE every Wednesday night.
- My YouTube channel which has tons of free art lessons right at your fingertips.
