
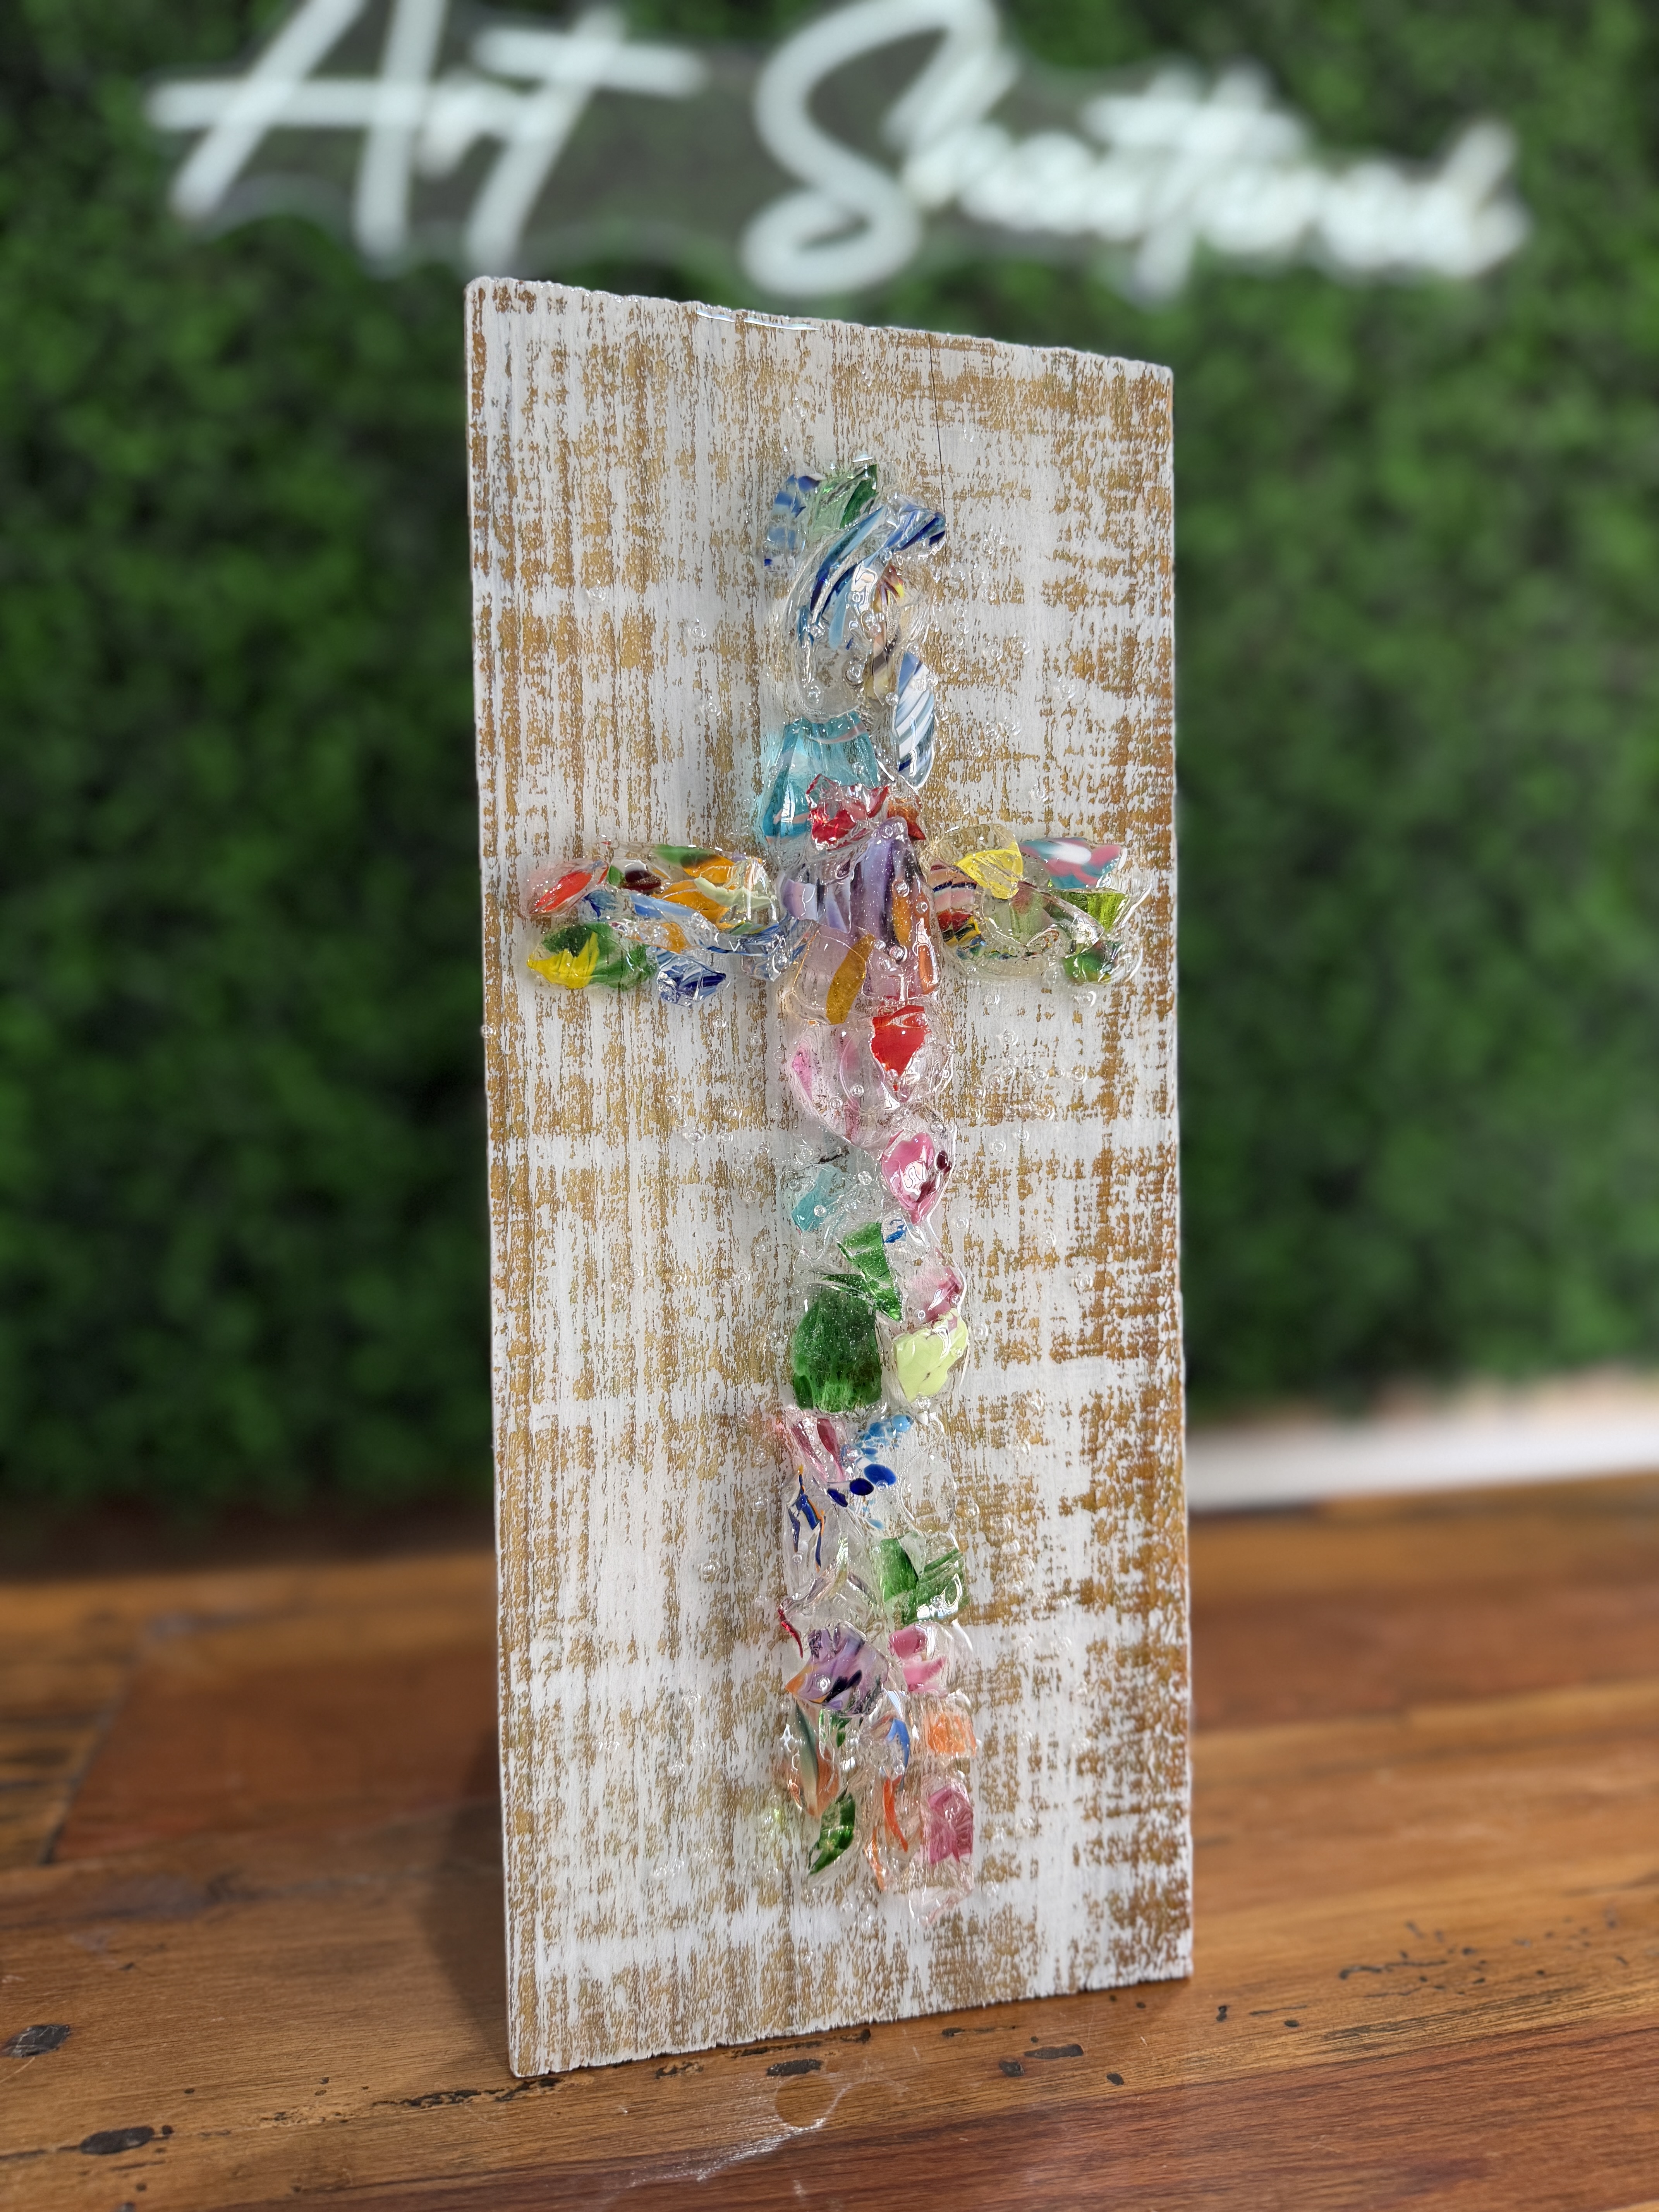
Glass Chip Cross ✝️
If you have some scrap wood lying around, this is the perfect rustic art piece to create for the Easter season! Today we’re turning a simple, scrappy fence post into a beautiful glass cross wall art piece using paint, glass chips, and resin. It’s rustic, colorful, meaningful, and honestly… way easier than it looks. This is a perfect beginner-friendly mixed media project, and it’s a great way to use up glass scraps or try something new with resin art.
Step 1: Prep Your Wood Surface
Start by sanding your wood to smooth out any rough edges or splinters. Since wood is porous, sealing it first is an important step you don’t want to skip. Apply two coats of a clear sealer, allowing each coat to dry completely before moving on.
This step helps prevent your paint and resin from soaking unevenly into the wood, giving you a more polished and durable final piece.
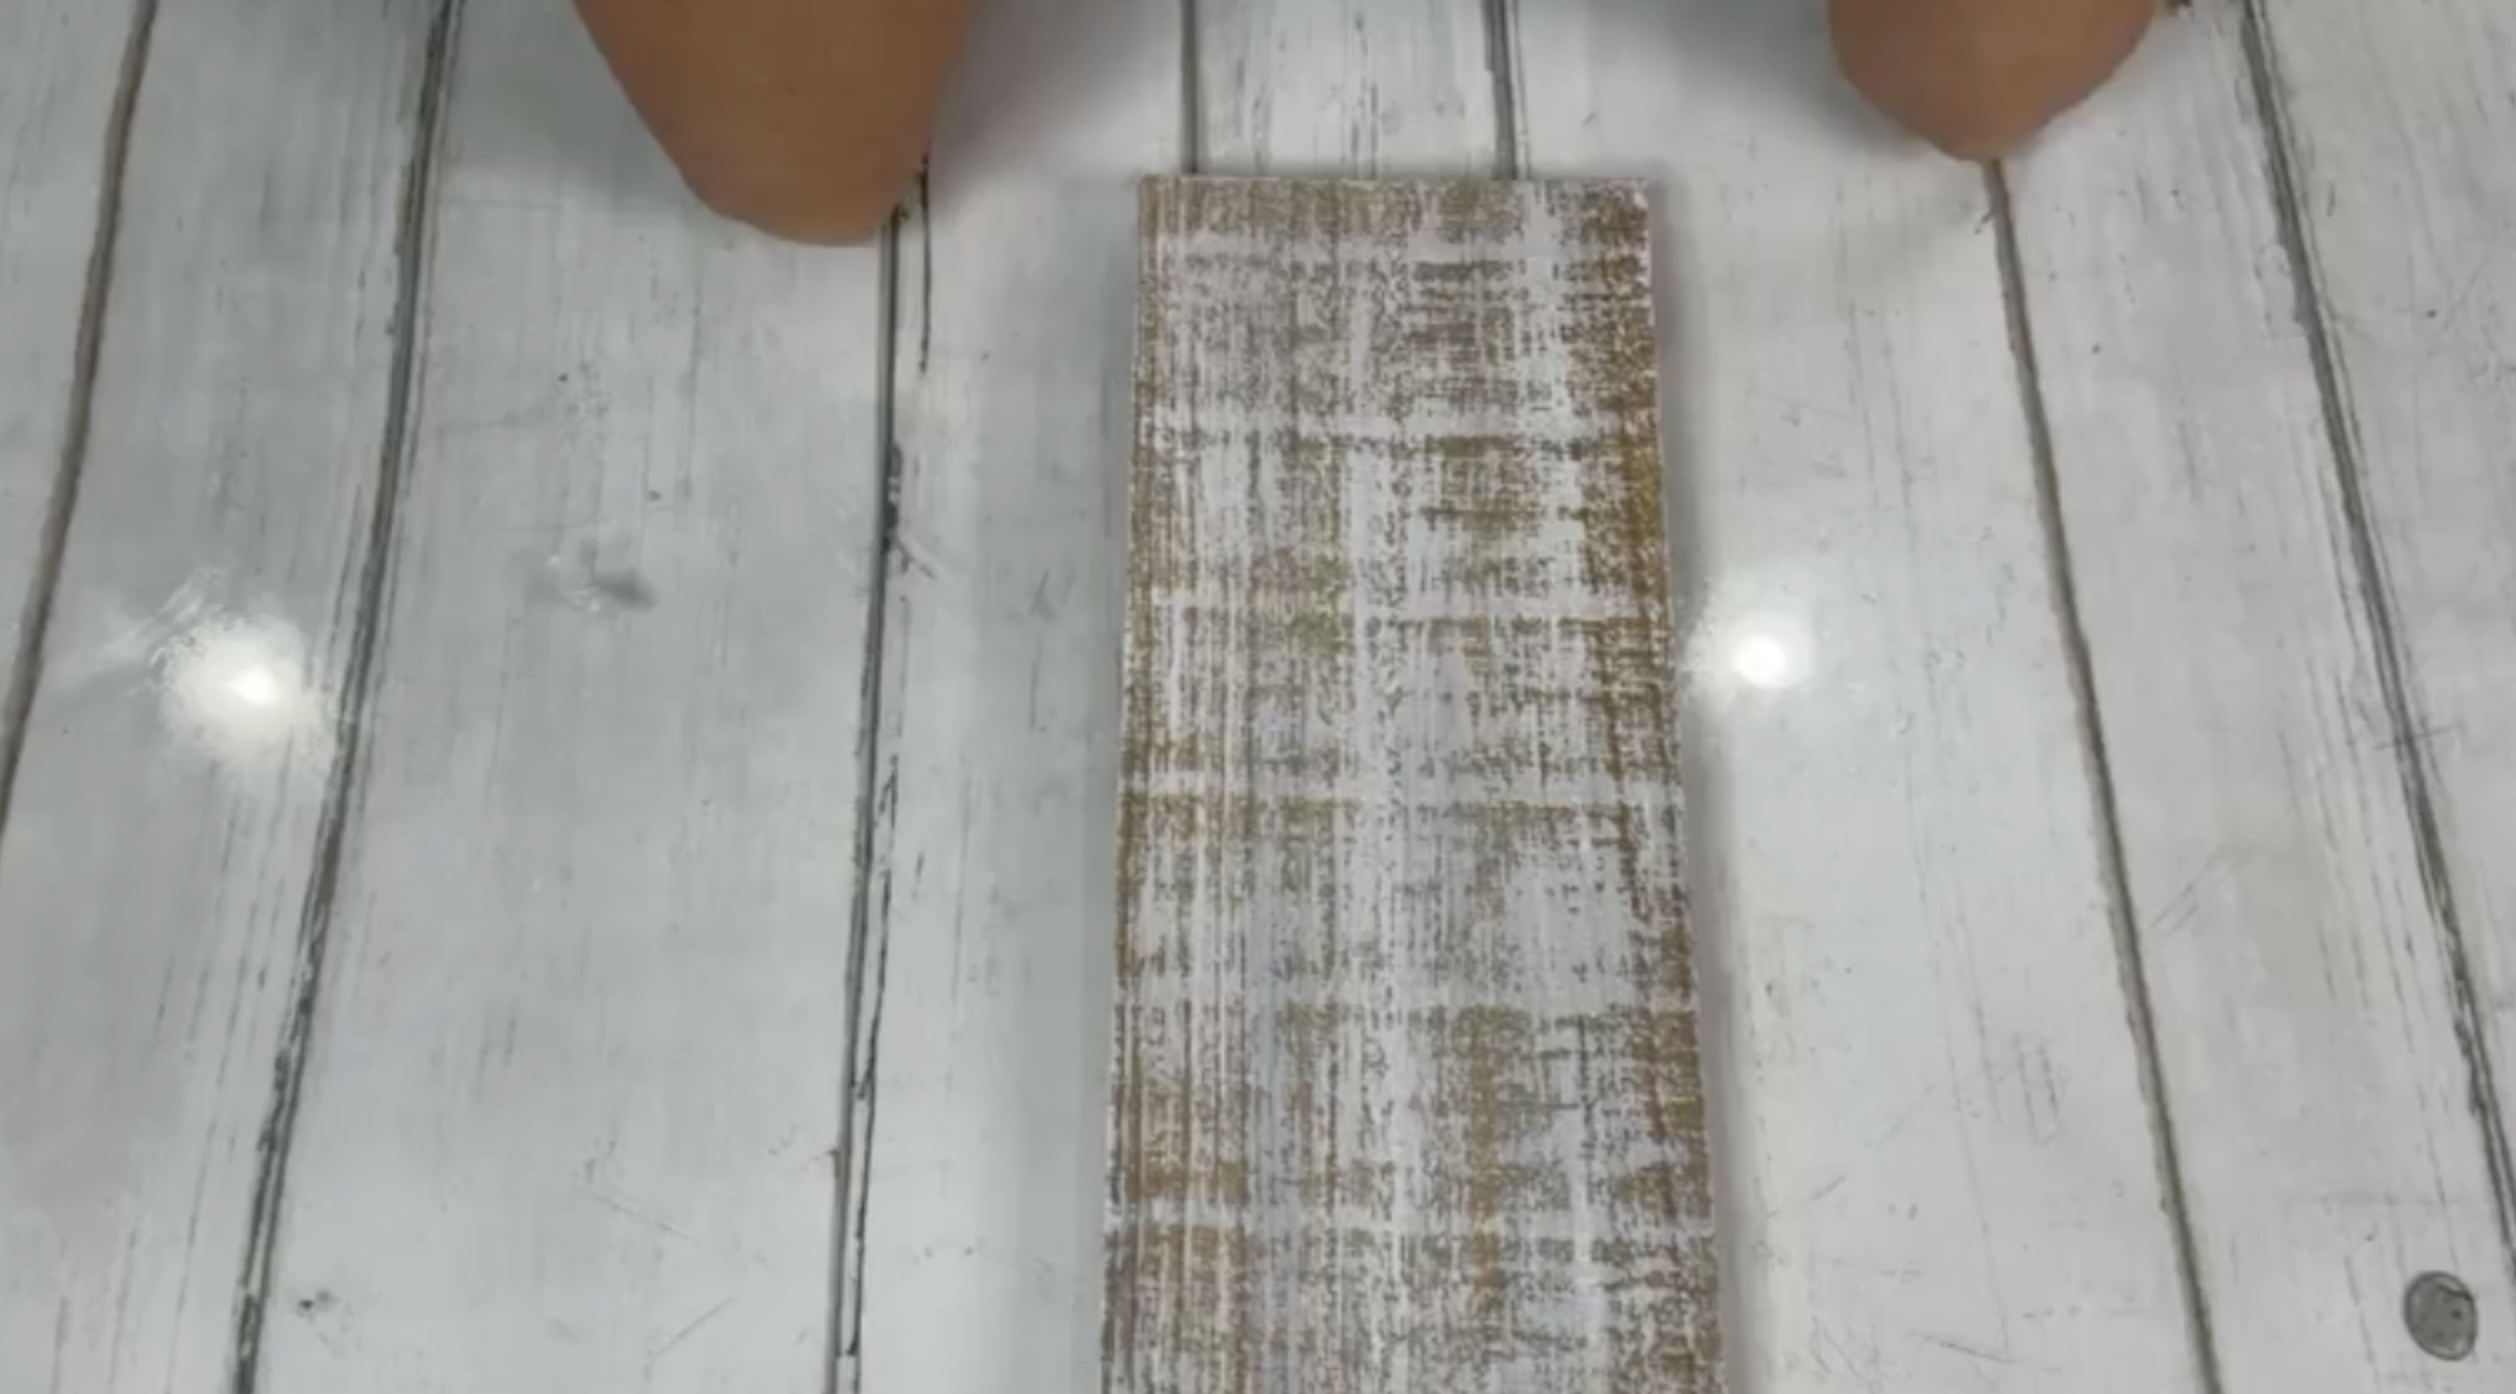
Step 2: Create a Rustic Whitewashed Background
Once your board is prepped, it’s time to add that soft, weathered background. Using a completely dry chip brush, lightly dip just one side into white paint. Then gently drag the brush downward across the surface of the wood.
This dry brushing technique allows the paint to catch only on the raised areas, creating that beautiful rustic texture while still letting the natural wood show through. Work slowly and build the color gradually - less is more here, and you can always go back in and add a little extra if needed.
Allow your painted board to dry completely before moving on.
At this stage, your board should have a soft, distressed white finish with visible wood grain peeking through, which will create the perfect backdrop for your glass cross.
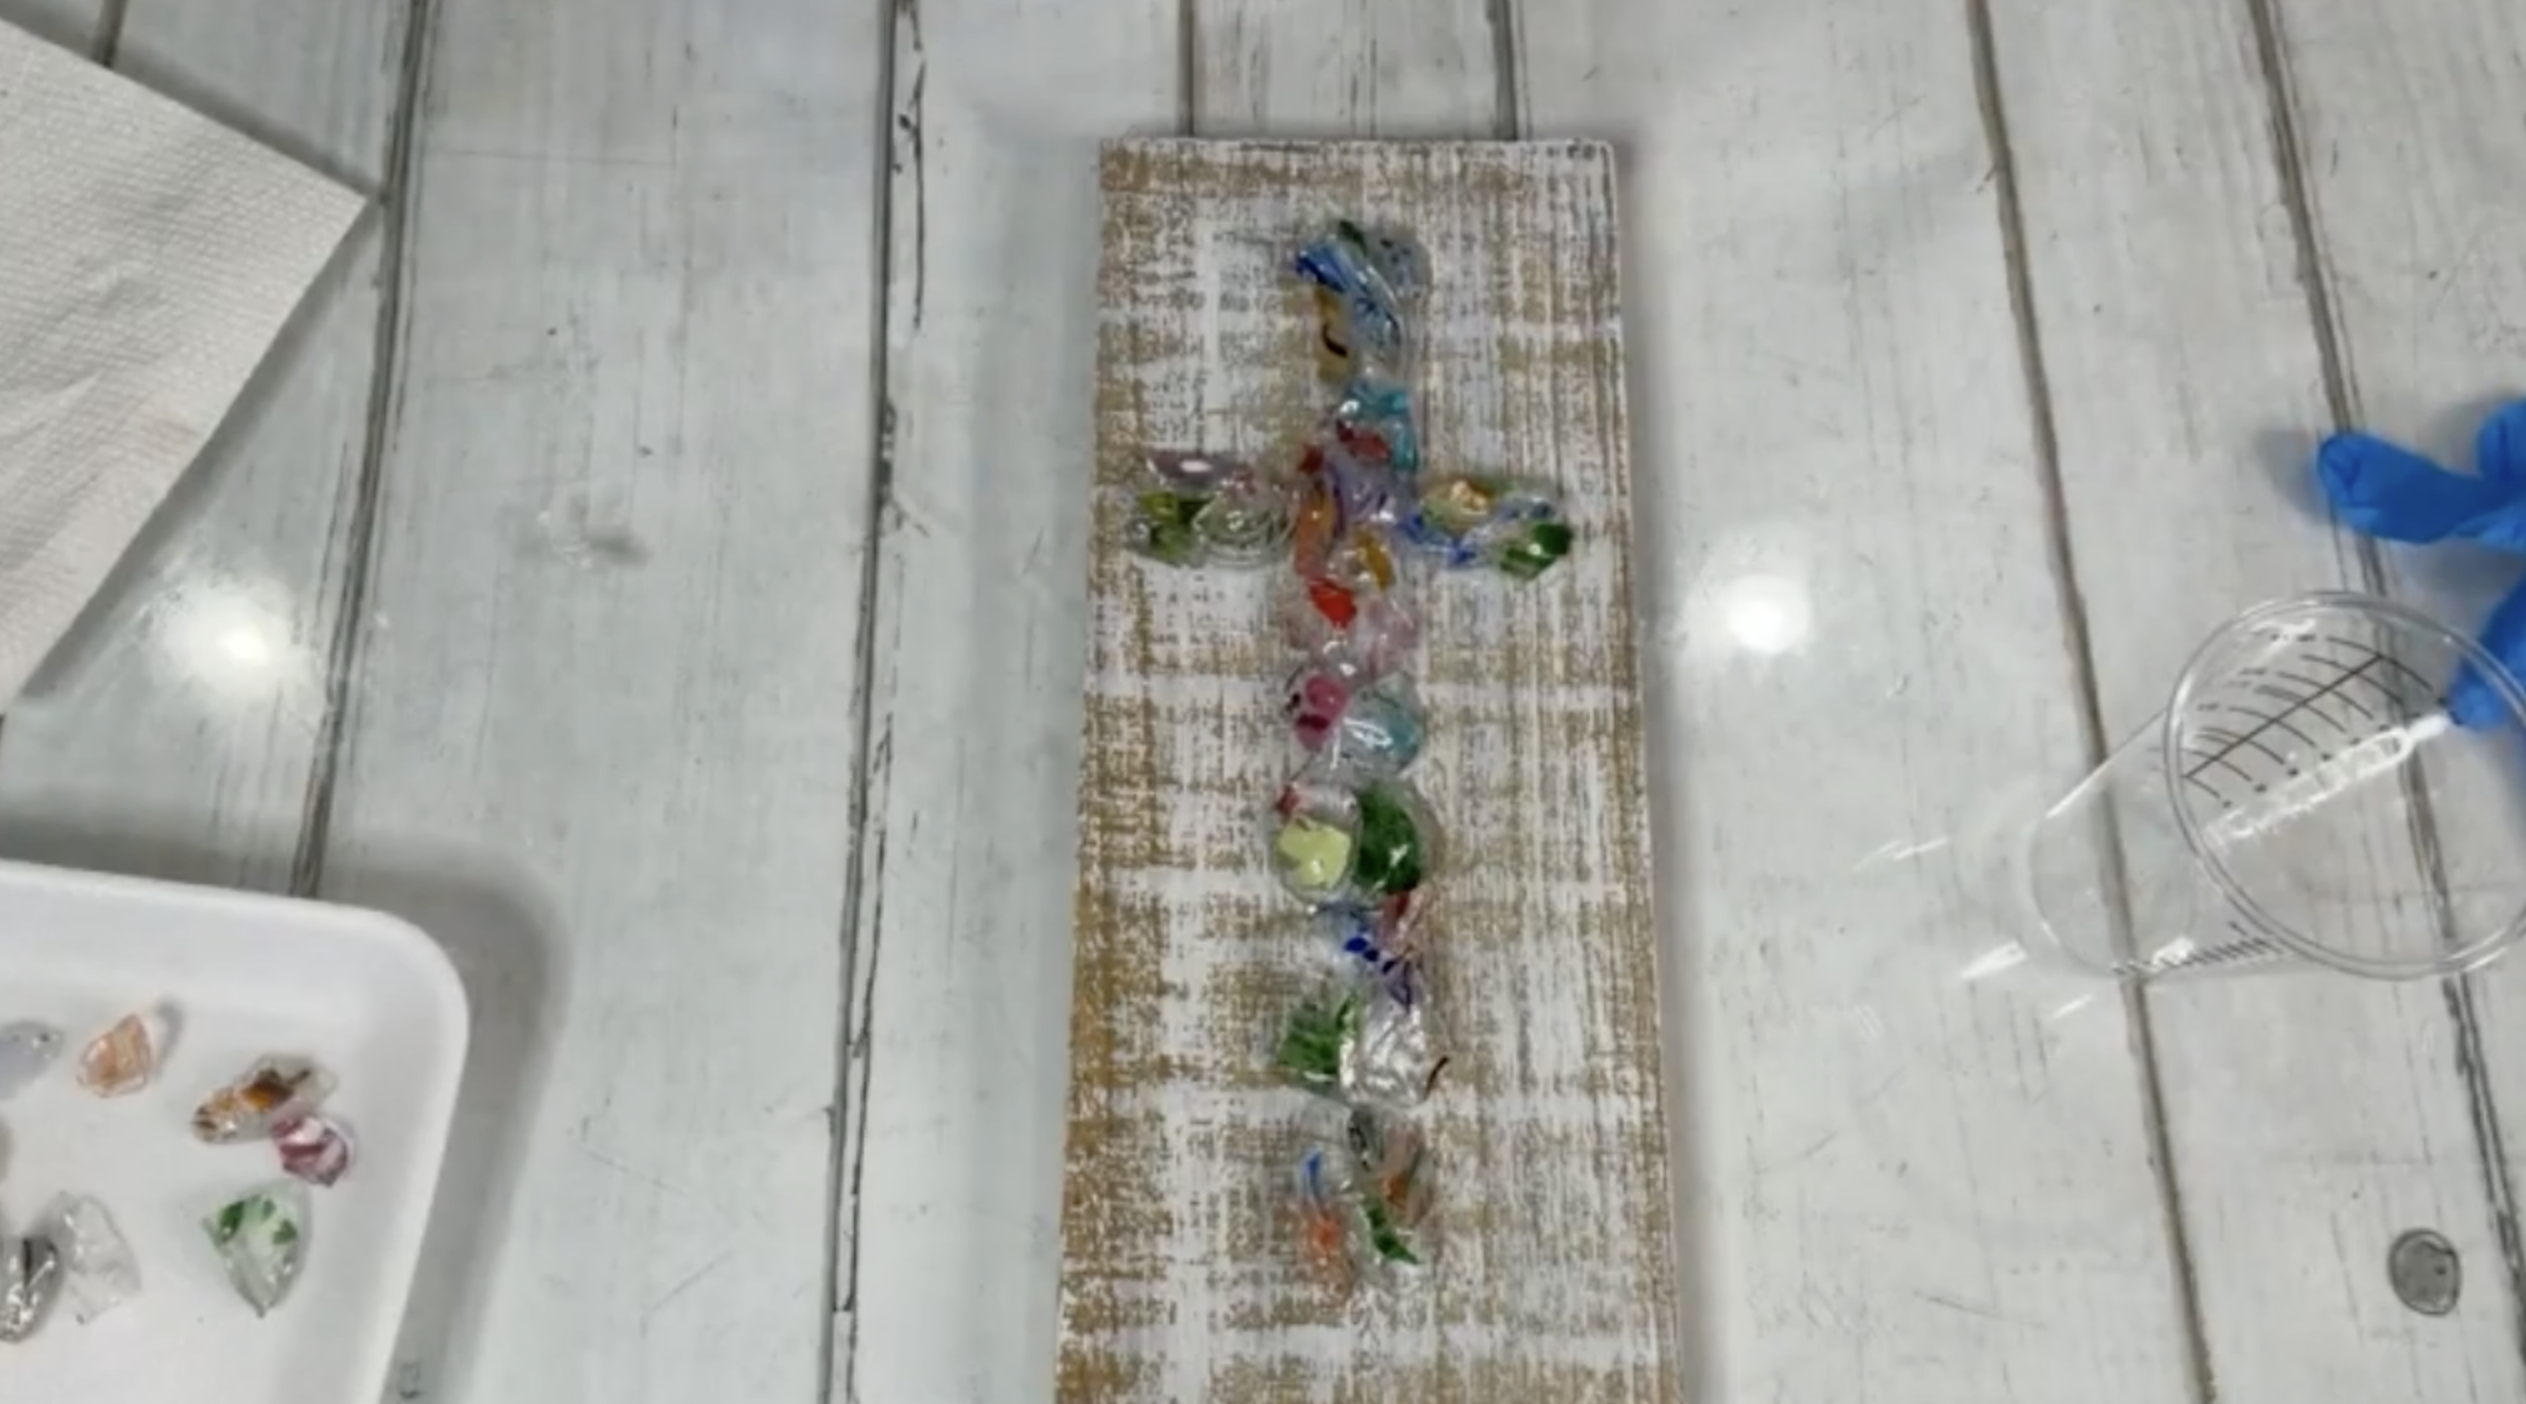
Step 3: Design Your Glass Cross Layout
Before reaching for the glue, take a few minutes to lay out your glass pieces directly on the board. Start by forming the vertical line of the cross, then add the horizontal section.
Using your larger glass pieces first will help you establish the overall shape and structure. Once that foundation is in place, you can begin filling in around it with smaller pieces. Think of this step like assembling a puzzle - you’re building the base before committing to anything permanently.
Step 4: Glue Down the Glass Pieces
Once you’re happy with your layout, begin gluing your glass pieces down using a small amount of tacky glue. Work in sections so you can maintain control and avoid shifting pieces around.
As you go, continue filling in gaps with smaller glass chips to create more dimension and visual interest. This is where your cross really starts to come to life, so take your time and adjust as needed.
Step 5: Mix Resin for Your Project
Now it’s time to seal everything in place. Mix your resin according to the instructions, typically using a 1:1 ratio of resin and hardener. For a project this size, about 2 ounces total should be more than enough.
Stir slowly for a full three minutes, making sure to scrape the sides and bottom of your cup as you go. This ensures everything is fully mixed and helps prevent curing issues later.
Step 6: Apply Resin to Seal the Glass
Begin by drizzling resin directly over the glass cross to secure all the pieces. Then gently spread the remaining resin across the wood surface.
Because you’re working on wood, you may notice that the resin doesn’t level perfectly evenly, and that’s okay. The slight variation adds to the handmade, rustic feel of the piece.
If you notice any spots that could use a little more color or balance, you can still add a few extra glass pieces while the resin is wet. Simply place them where needed and add a small amount of resin over top to secure them. This is a great way to make final adjustments and really customize your design.
Use a heat gun or torch to gently remove any bubbles from the resin surface. Keep the heat moving at all times to avoid scorching.
Once you’re satisfied, allow your piece to cure fully according to your resin’s instructions. This is the final step that brings everything together and gives your artwork that glossy, finished look.
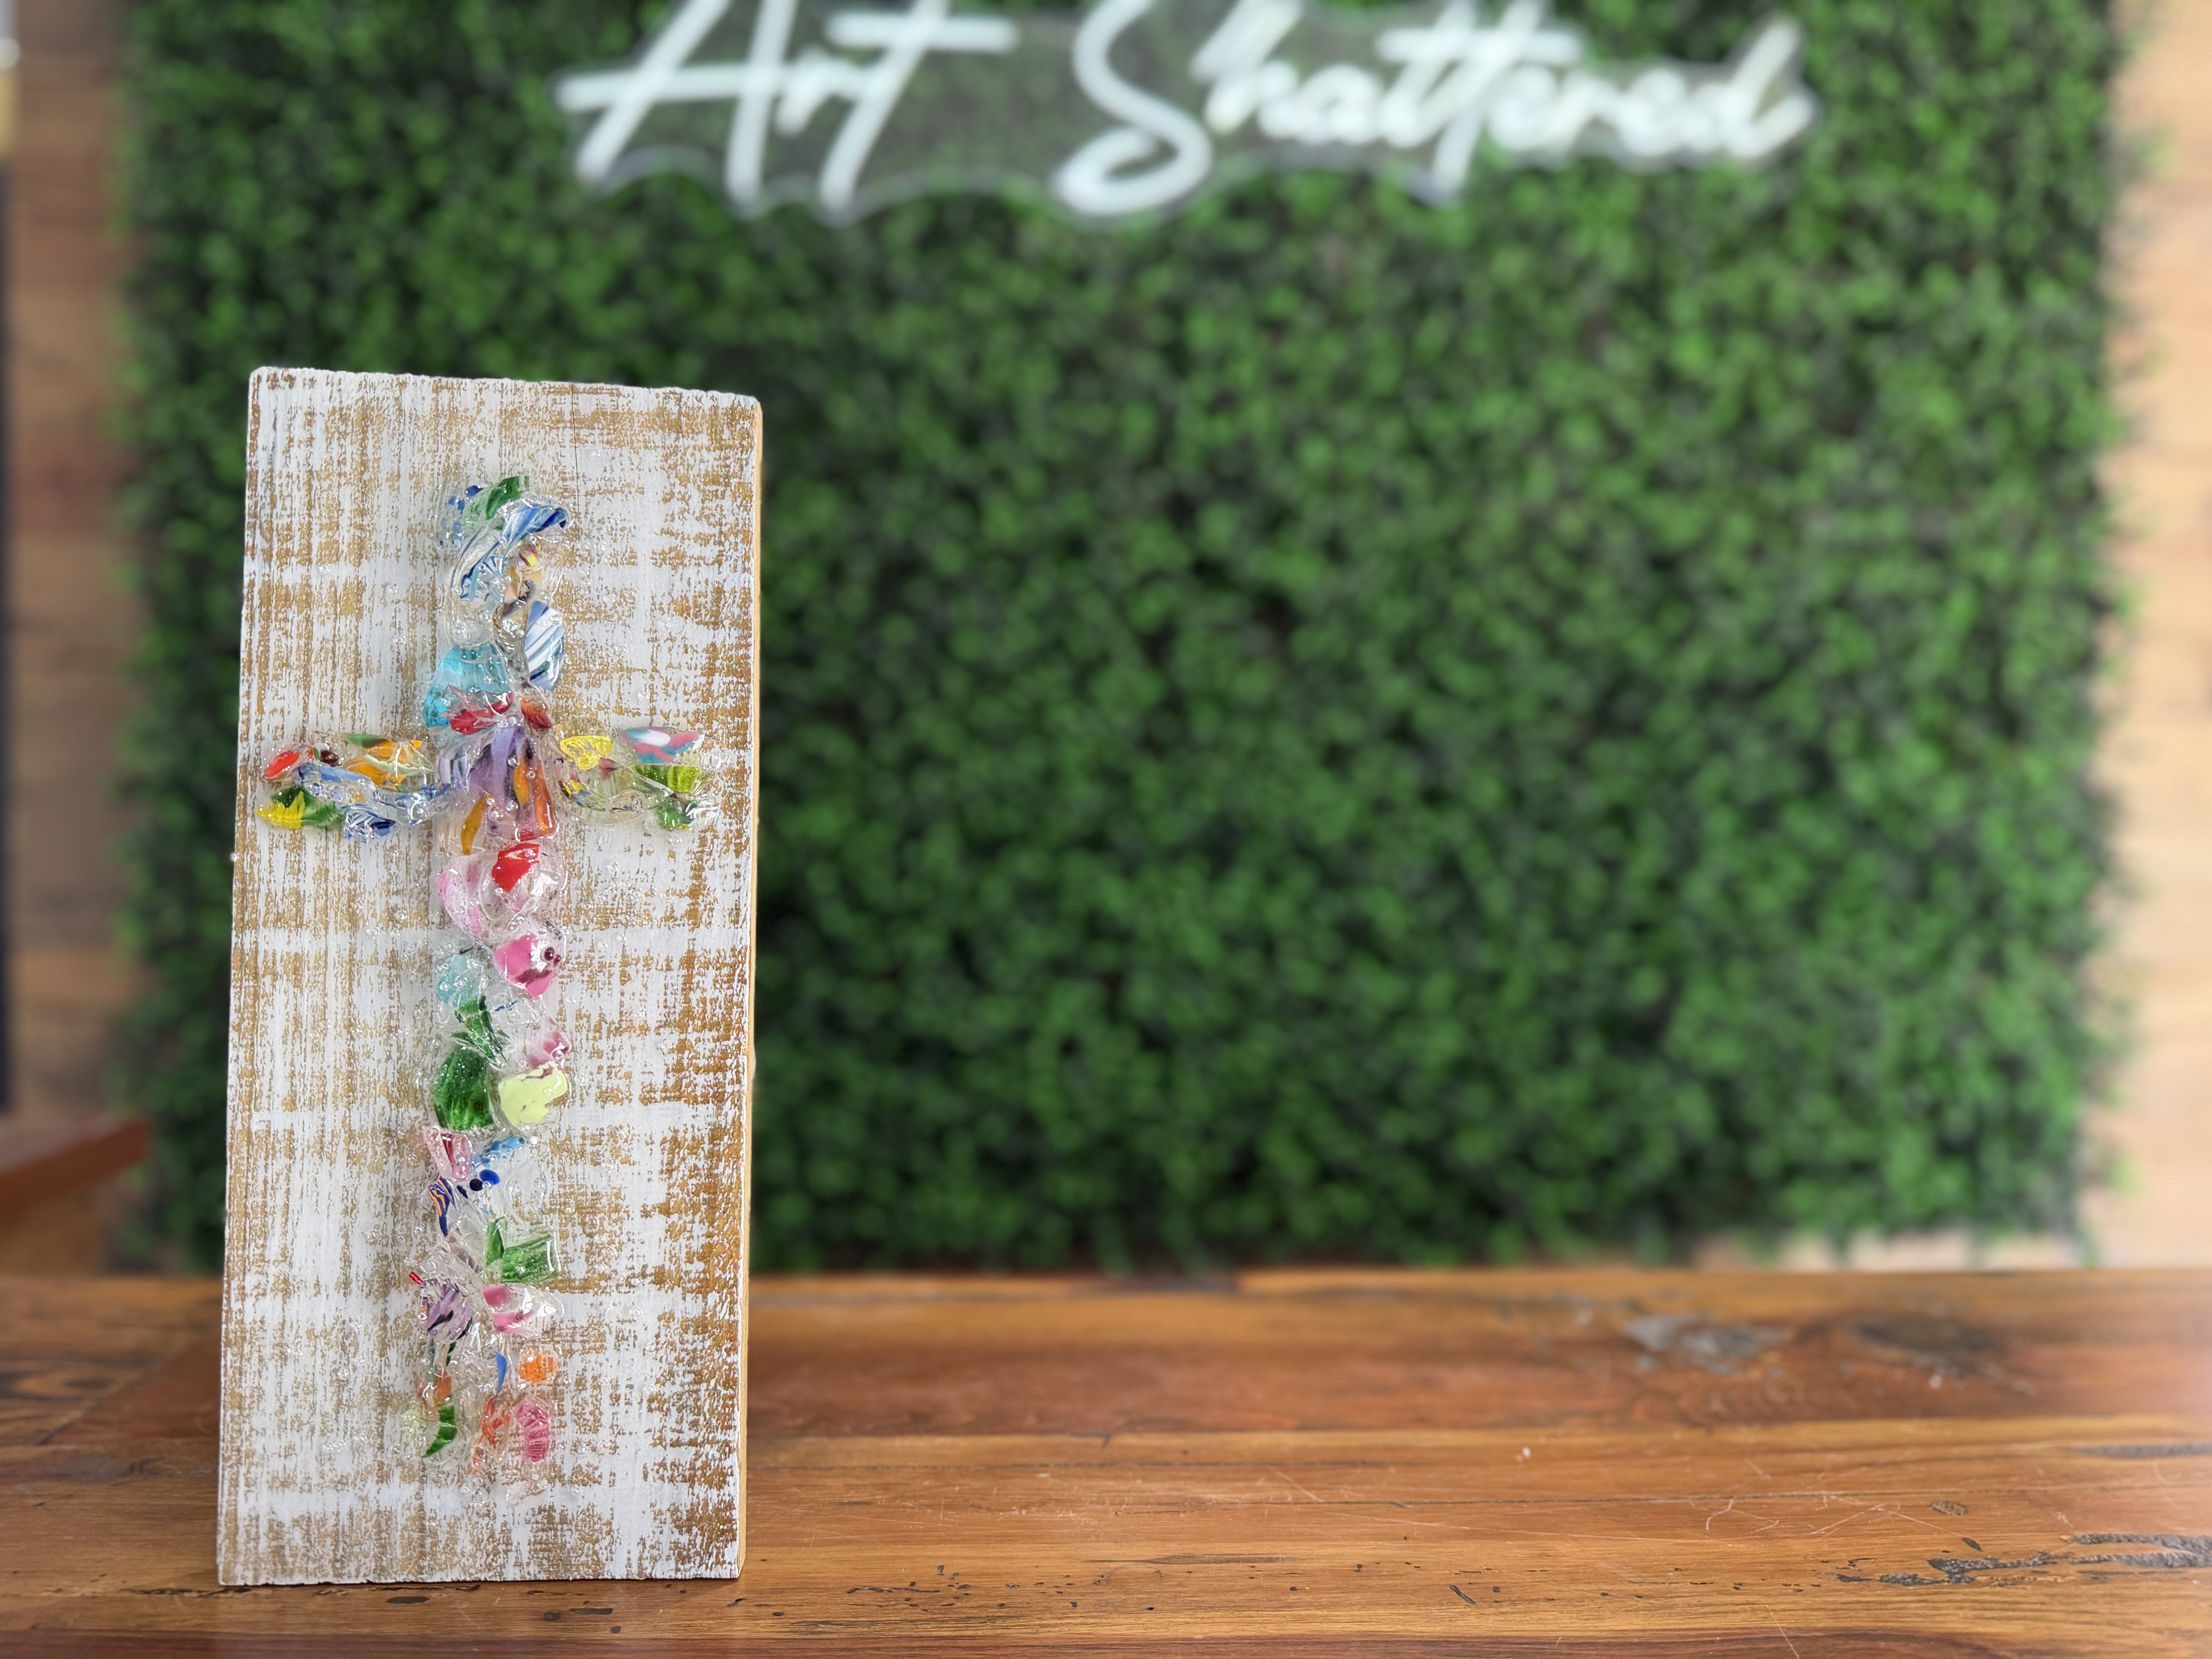
When it’s fully cured, you’ll have a stunning glass cross wall art piece that blends rustic wood with vibrant, light-catching glass. It’s meaningful, unique, and completely customizable based on the materials you choose!
If you're a member of The Shattered Circle, you'll find this tutorial in your classroom under Art Shattered Weekly Facebook Lives, search for "Glass Chips Cross".
If you don’t want to miss my Facebook LIVE art instruction, make sure you are on my texting list. I always text 10 minutes before I’m going to go LIVE, so you won’t ever miss it. You can text “Hey Cindy” to 901-519-2923.
Want more inspiration and artwork?
- My website artshattered.com with resources, shop, and more!
- My creative membership The Shattered Circle, where you can explore the world of glass art with online workshops, a supportive community, and more!
- My mini creative membership Just A ‘Lil Bit Monthly Glass Art Club, where you’ll get a new quick and easy online tutorial for just a lil' bit of sparkle in your life!
- My Facebook page where I go LIVE every Wednesday night.
- My YouTube channel which has tons of free art lessons right at your fingertips.
