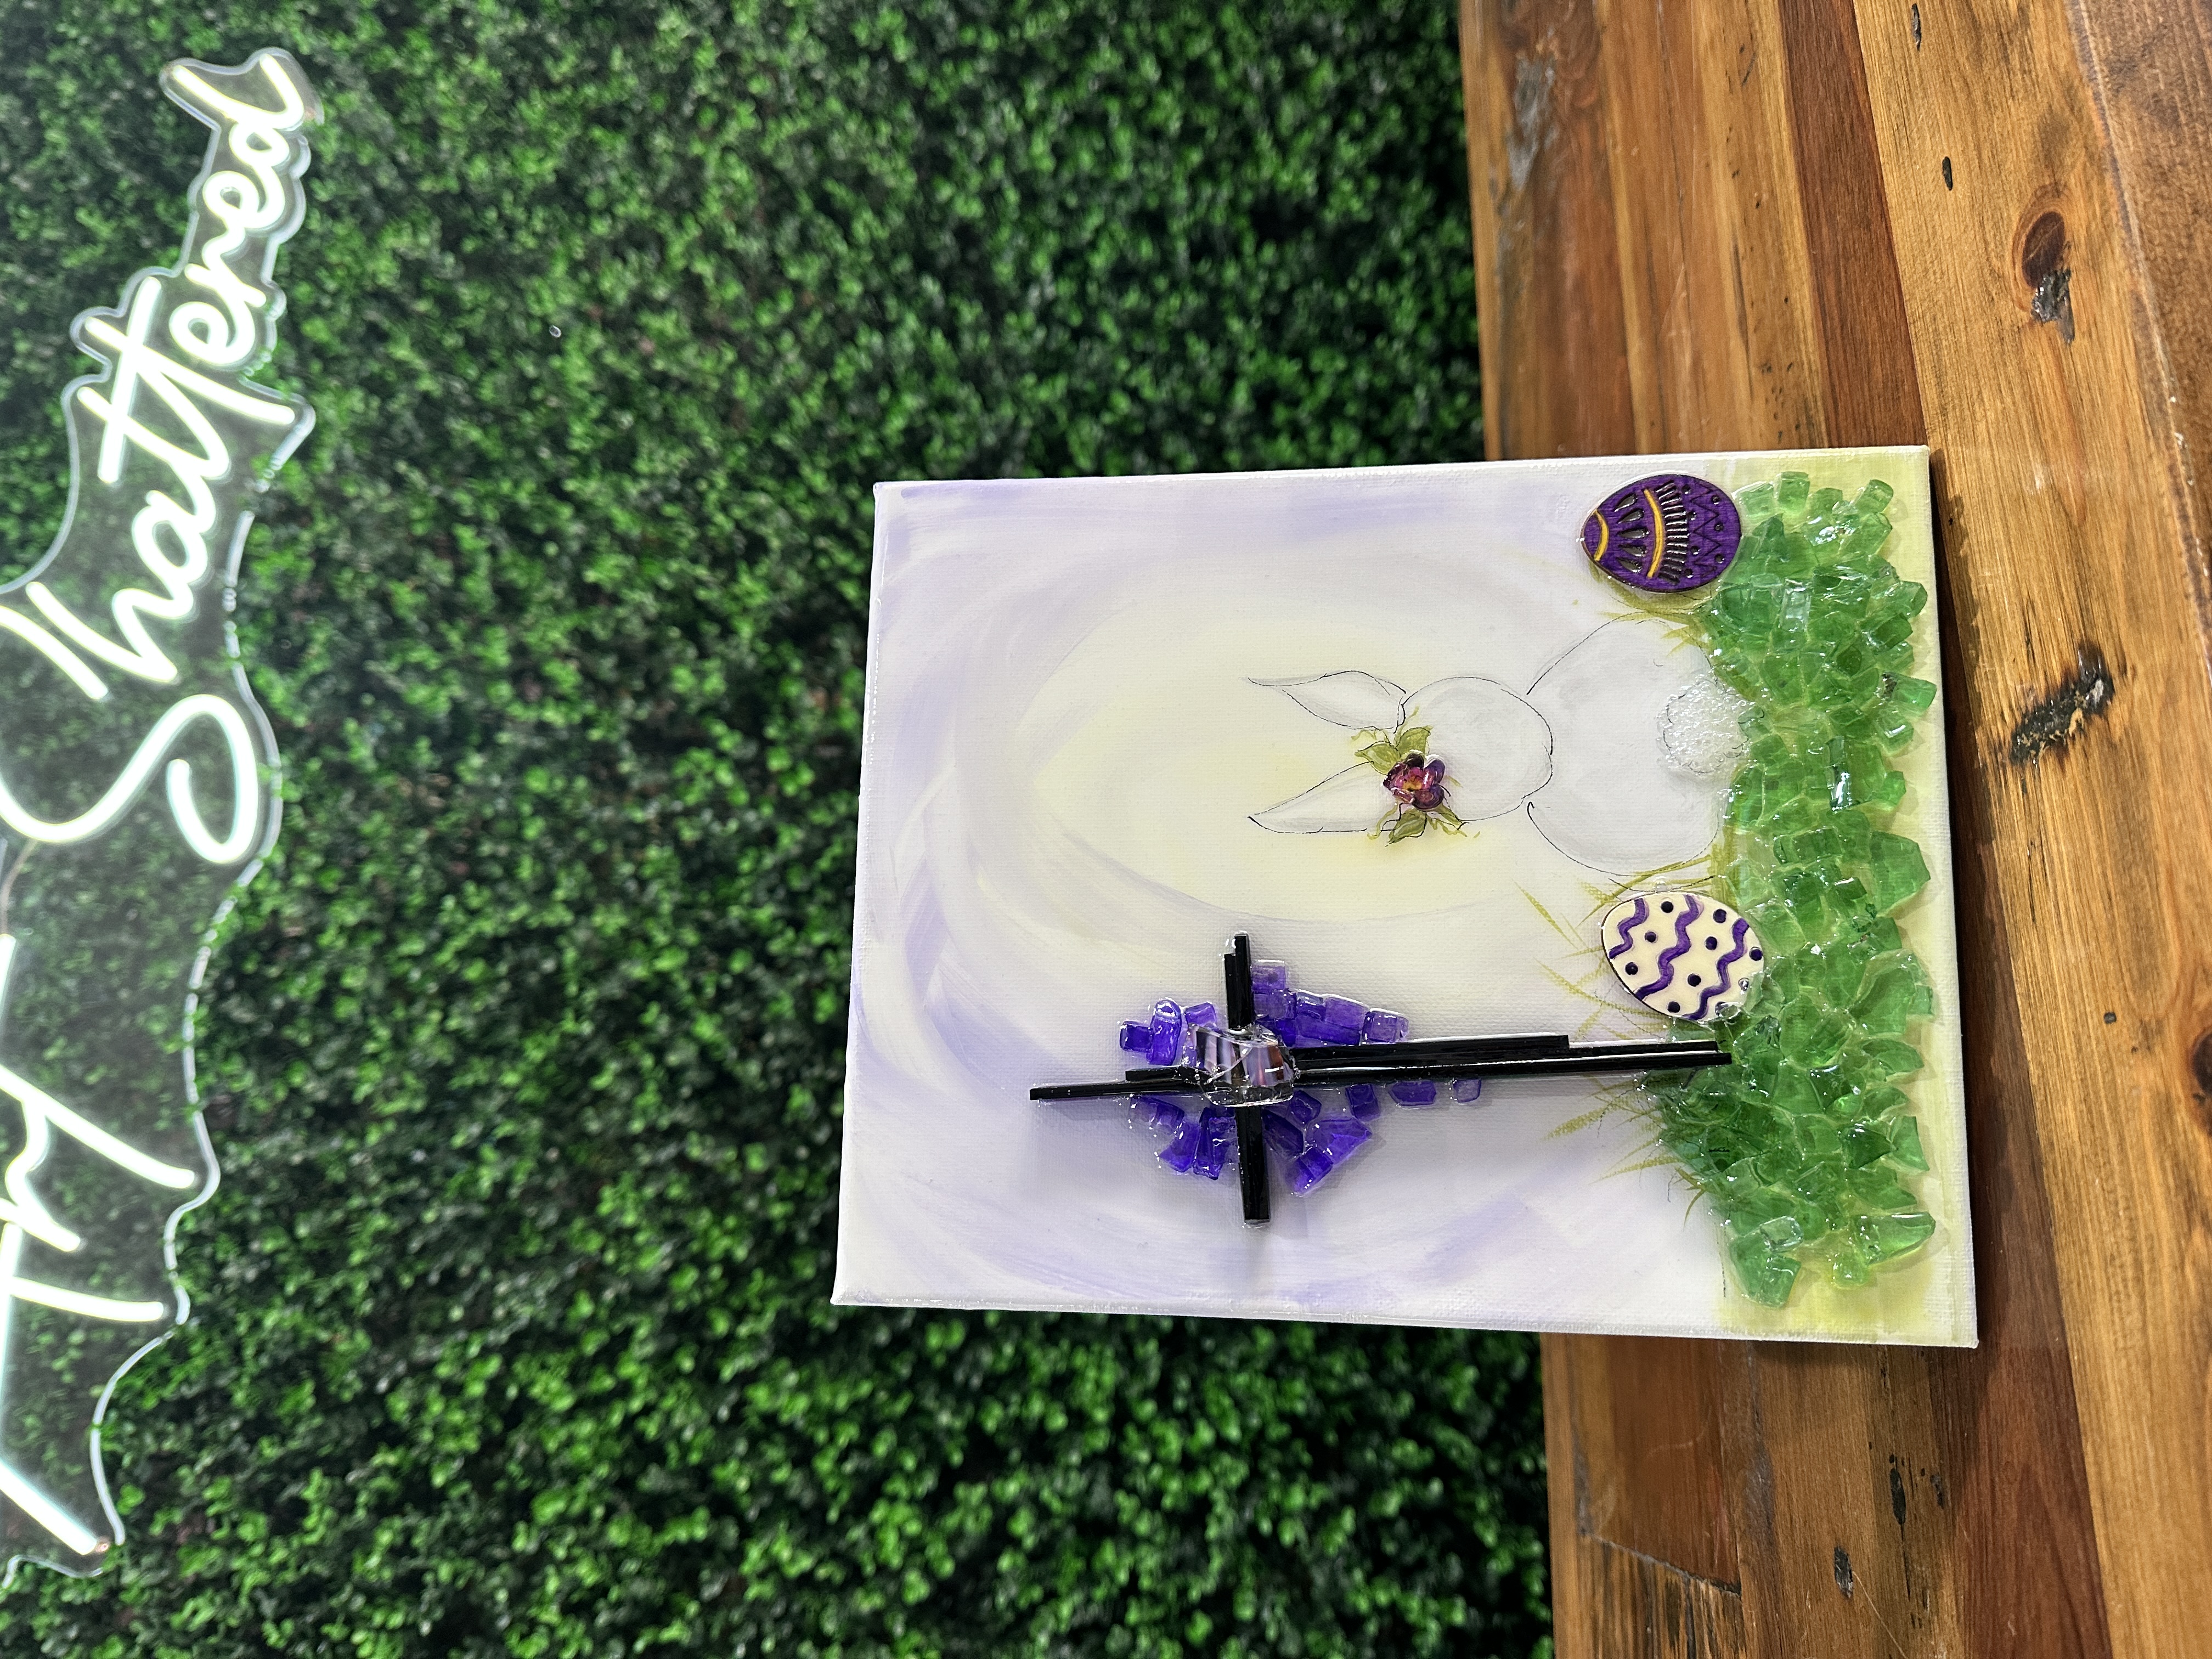
Step 1: Trace the Bunny
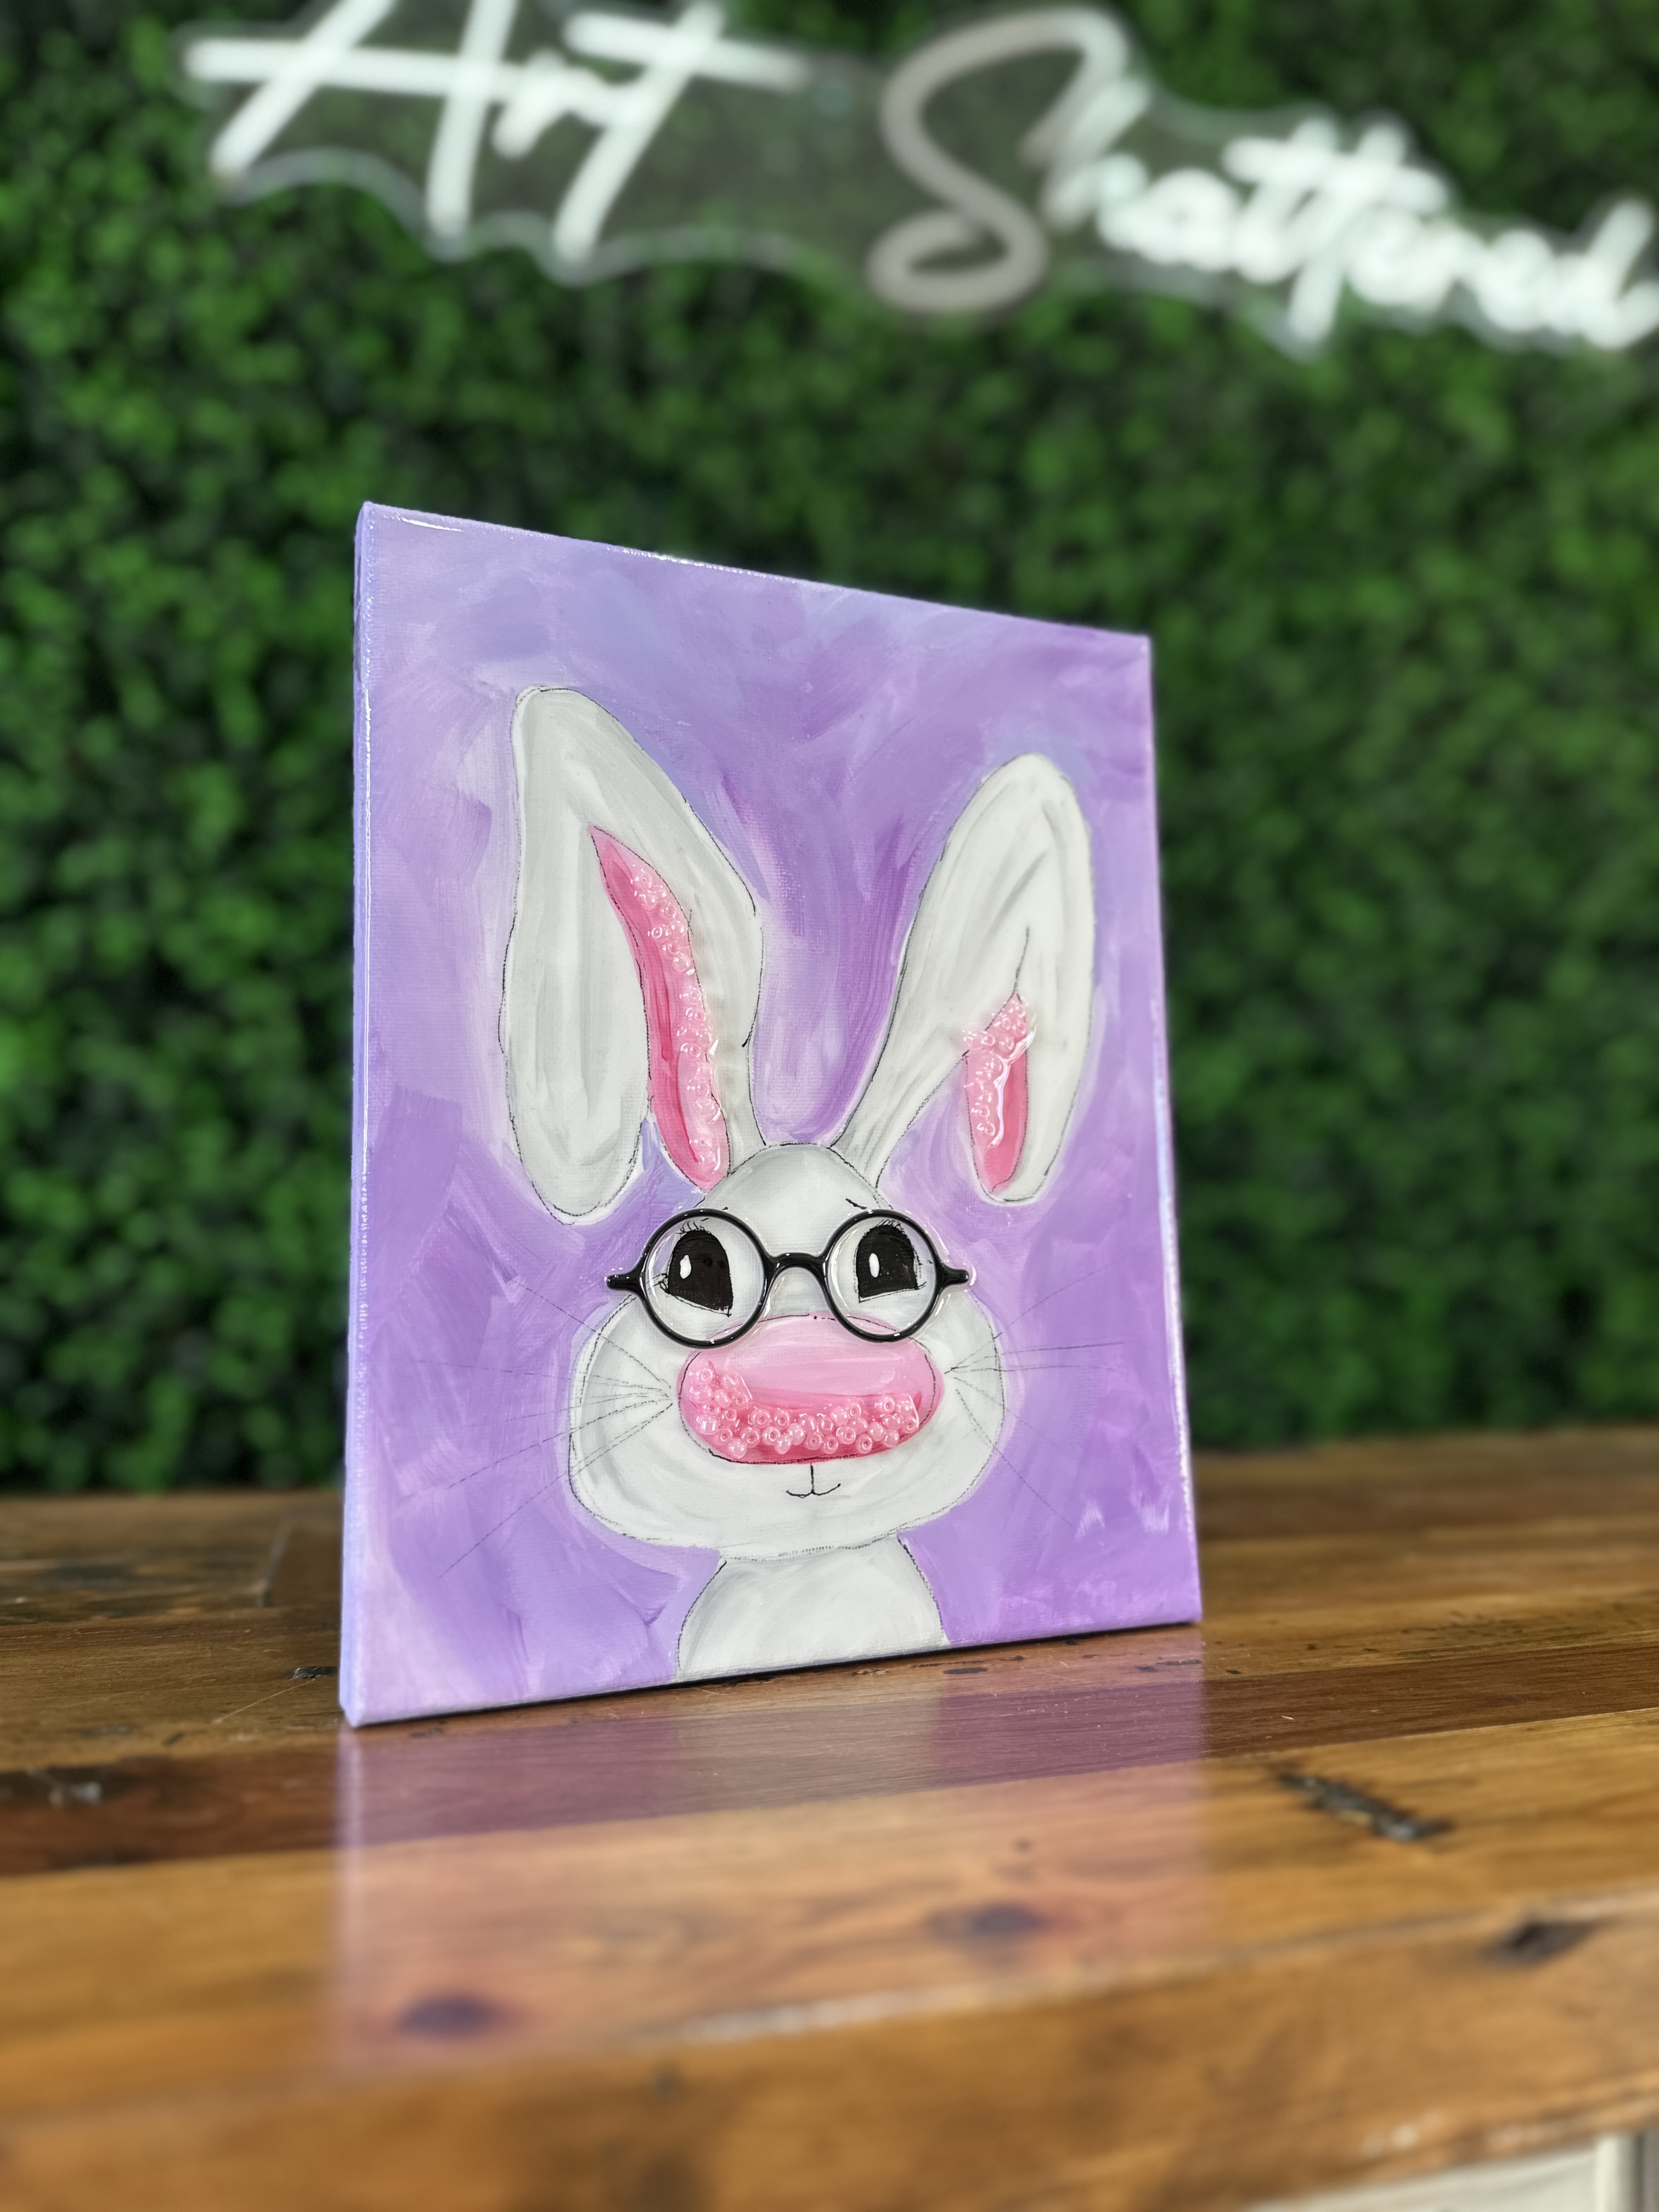
Start by placing your bunny tracer on the blank canvas and shifting it until the spacing feels balanced, leaving room for two button flowers on one side and one on the other. Tape the tracer down so it can’t wiggle while you trace. Slide your graphite paper underneath and trace the bunny’s head, body, and both ear shapes, including the inner ear sections, but skip tracing the tail because you’ll be creating that with glass later.
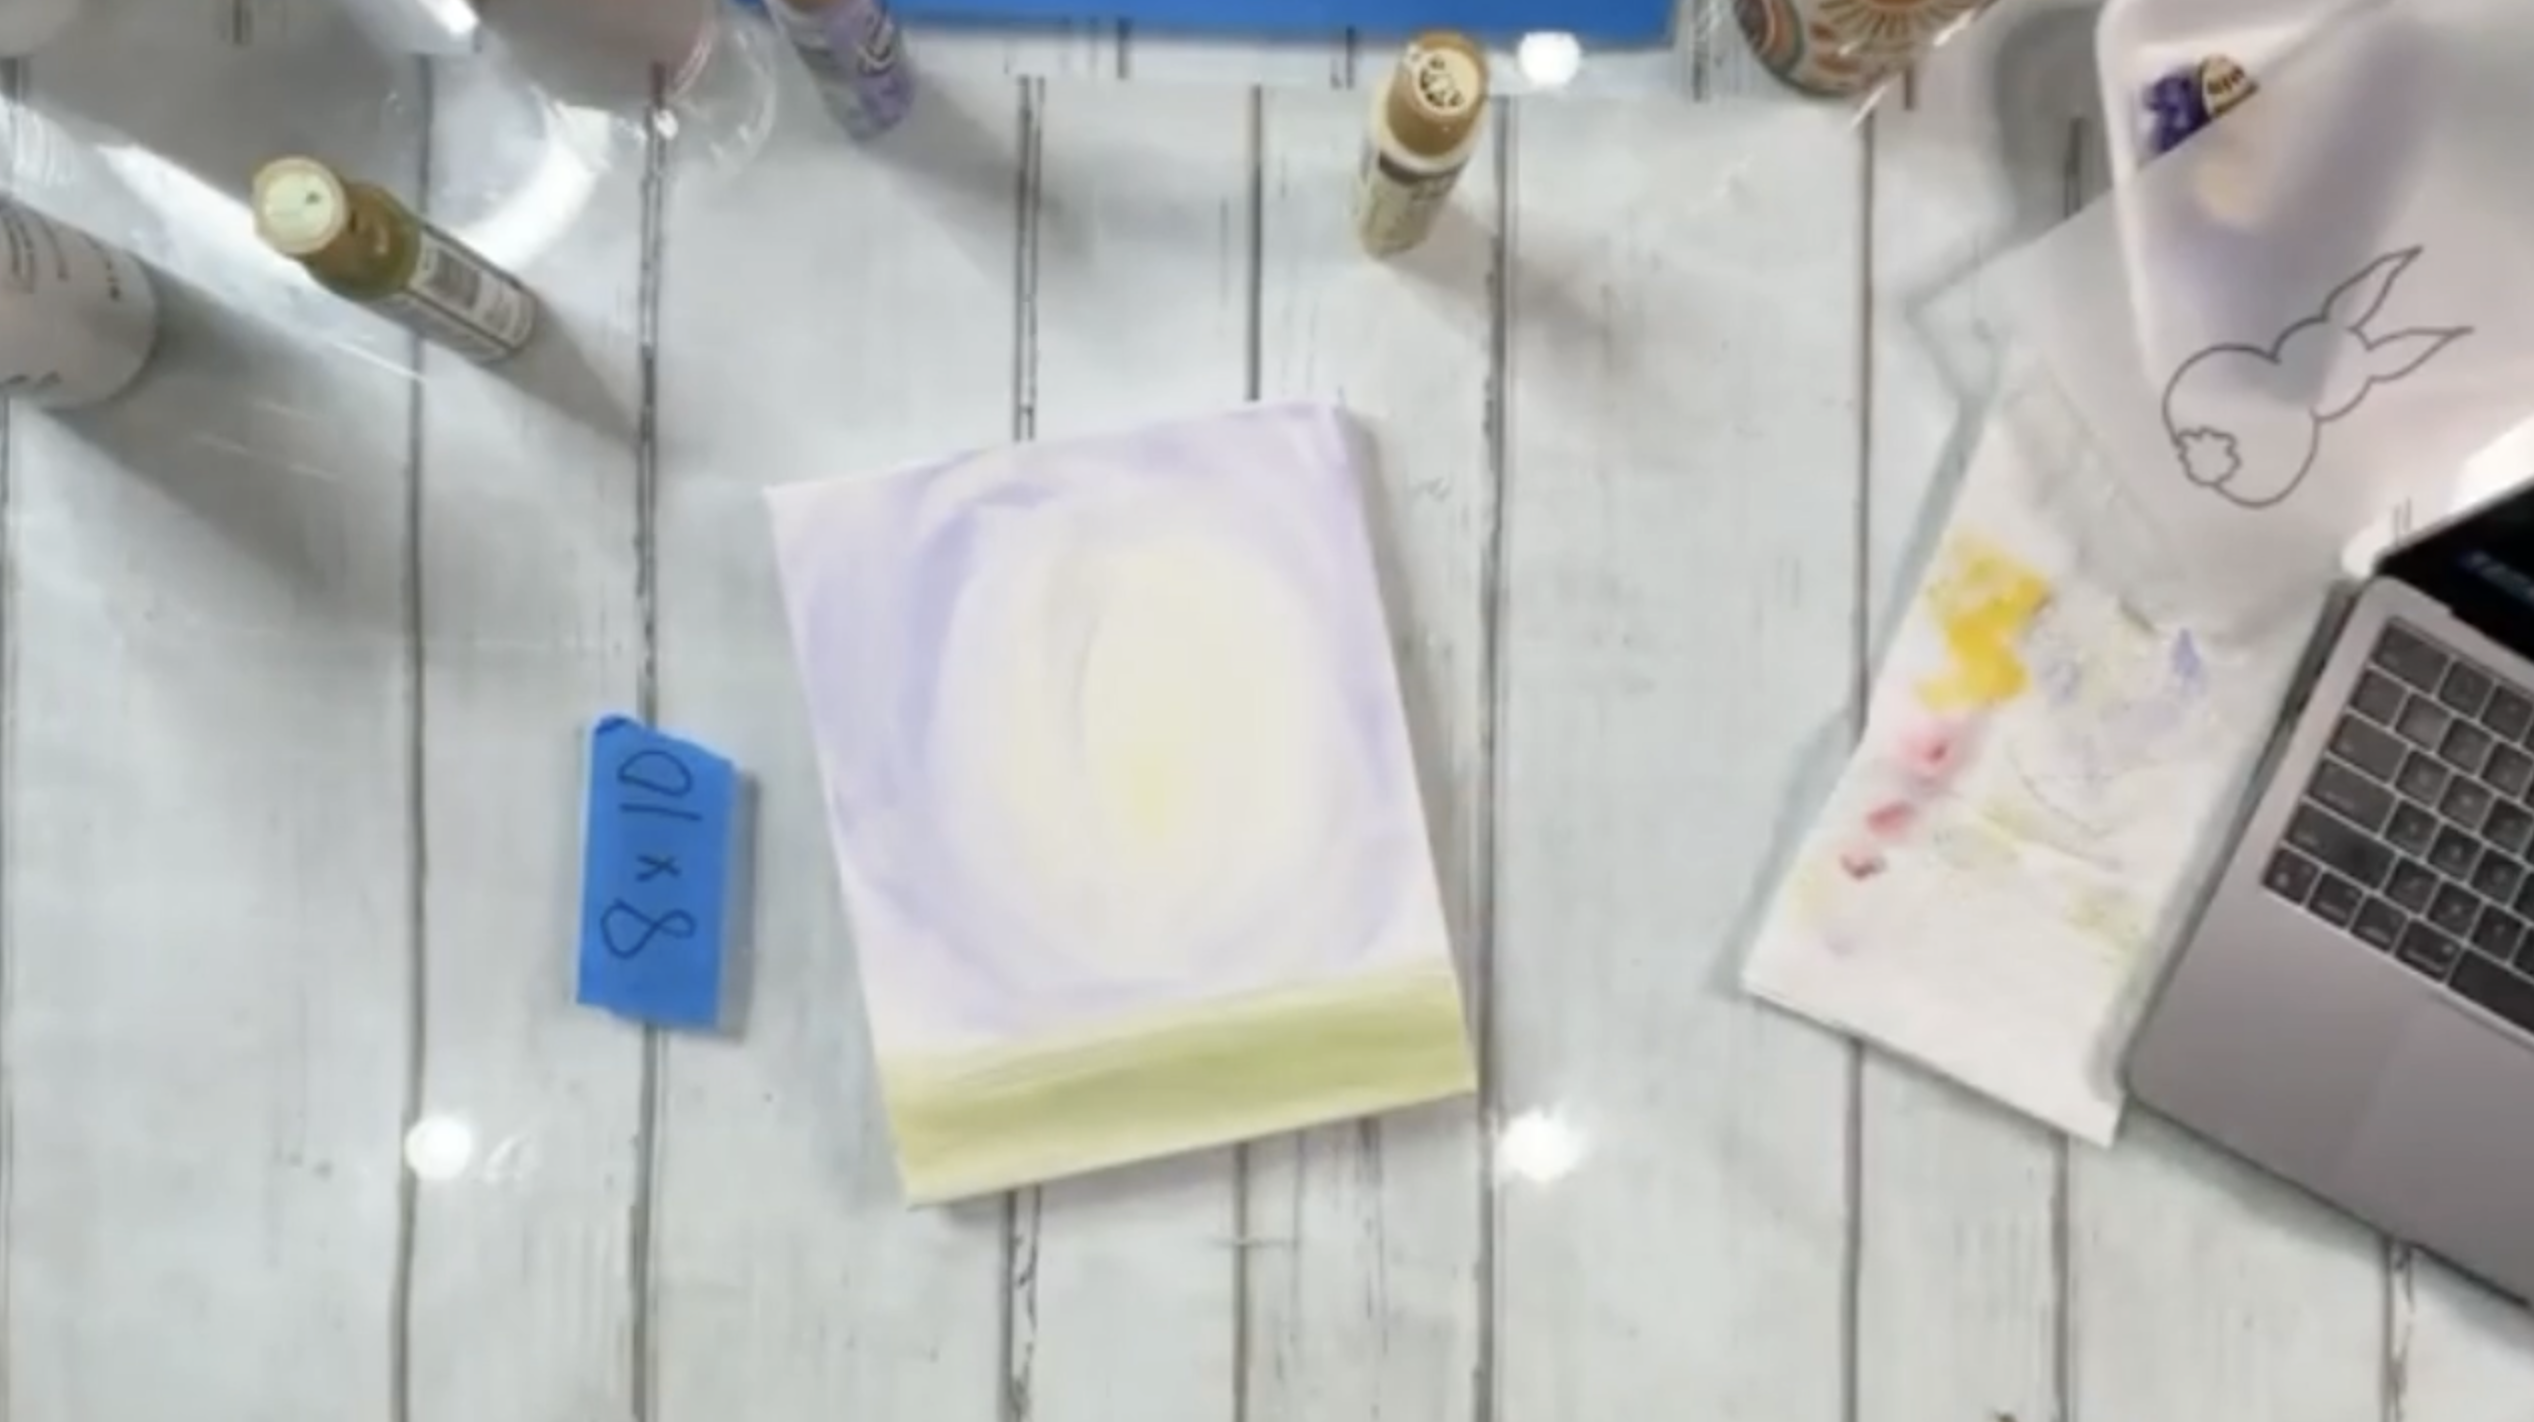
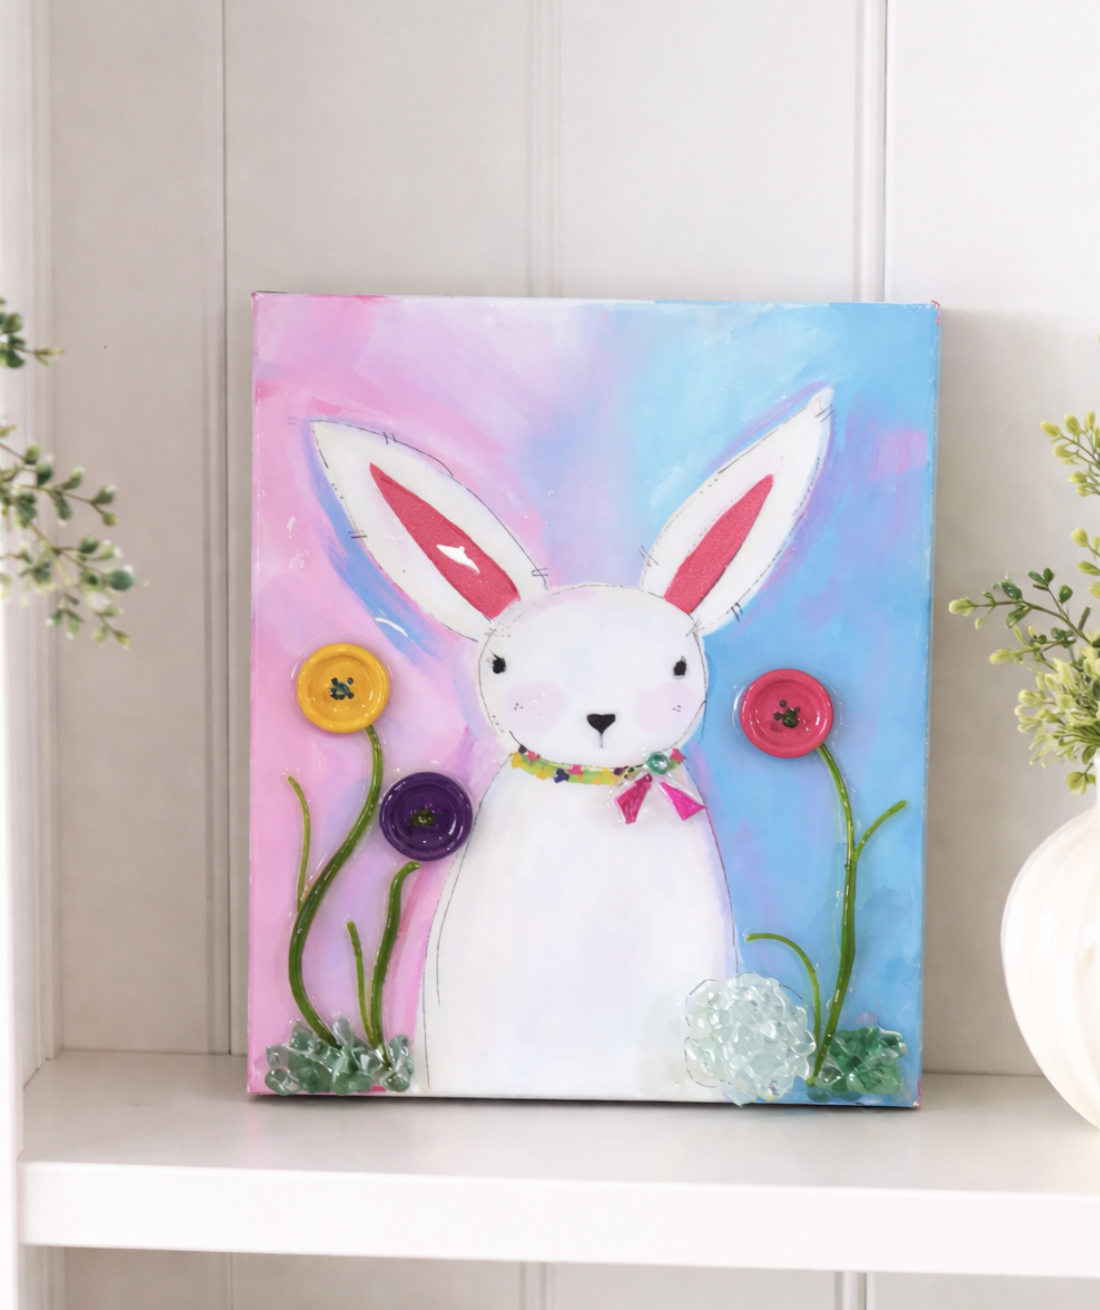
Step 2: Paint the Loose, Blended Background (Blue to Pink)Start by putting white down first on one side of the canvas, working loosely around the bunny outline. Blend Mermaid Blue into that white near the edge, then fade it inward by picking up more whi
...