
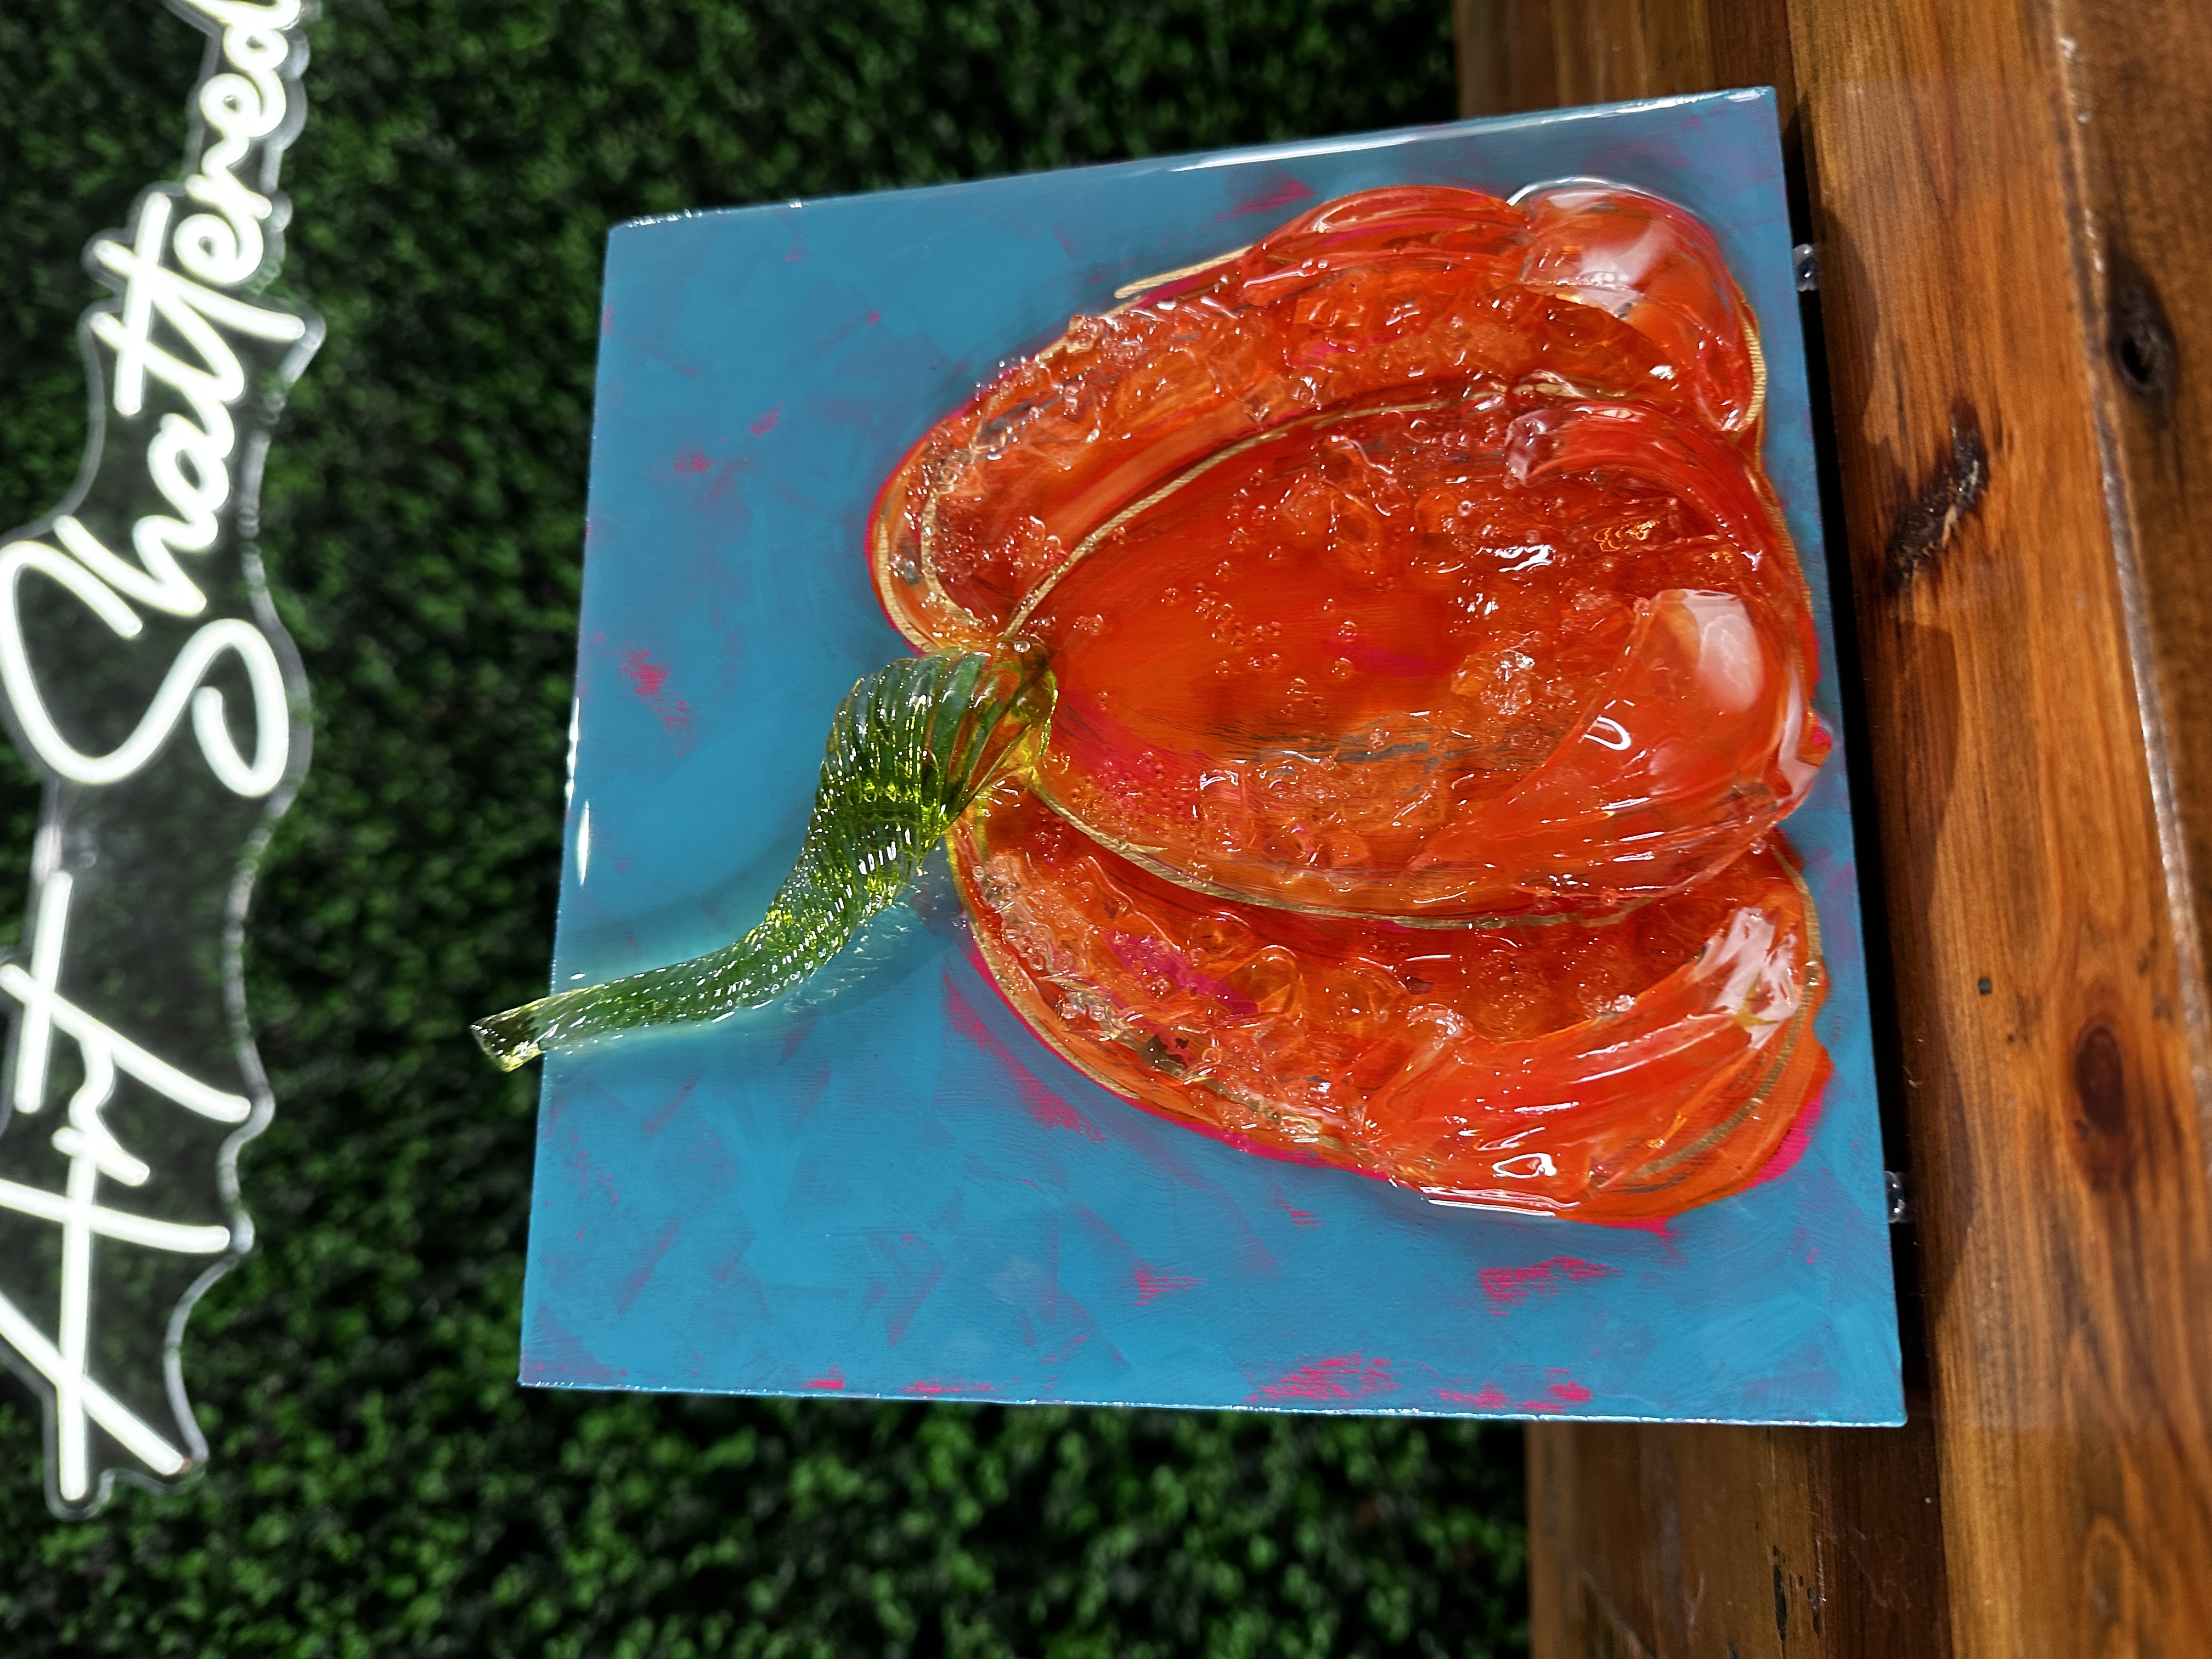
Glass Stem Pumpkin 🎃
Pumpkin season is here, and this project is a playful twist on traditional fall art. We’re combining paint, glass, and resin on an 8x8 canvas to create a textured pumpkin with a glossy finish. This piece is easy enough for beginners but gives you the depth and sparkle of a more advanced mixed media project.
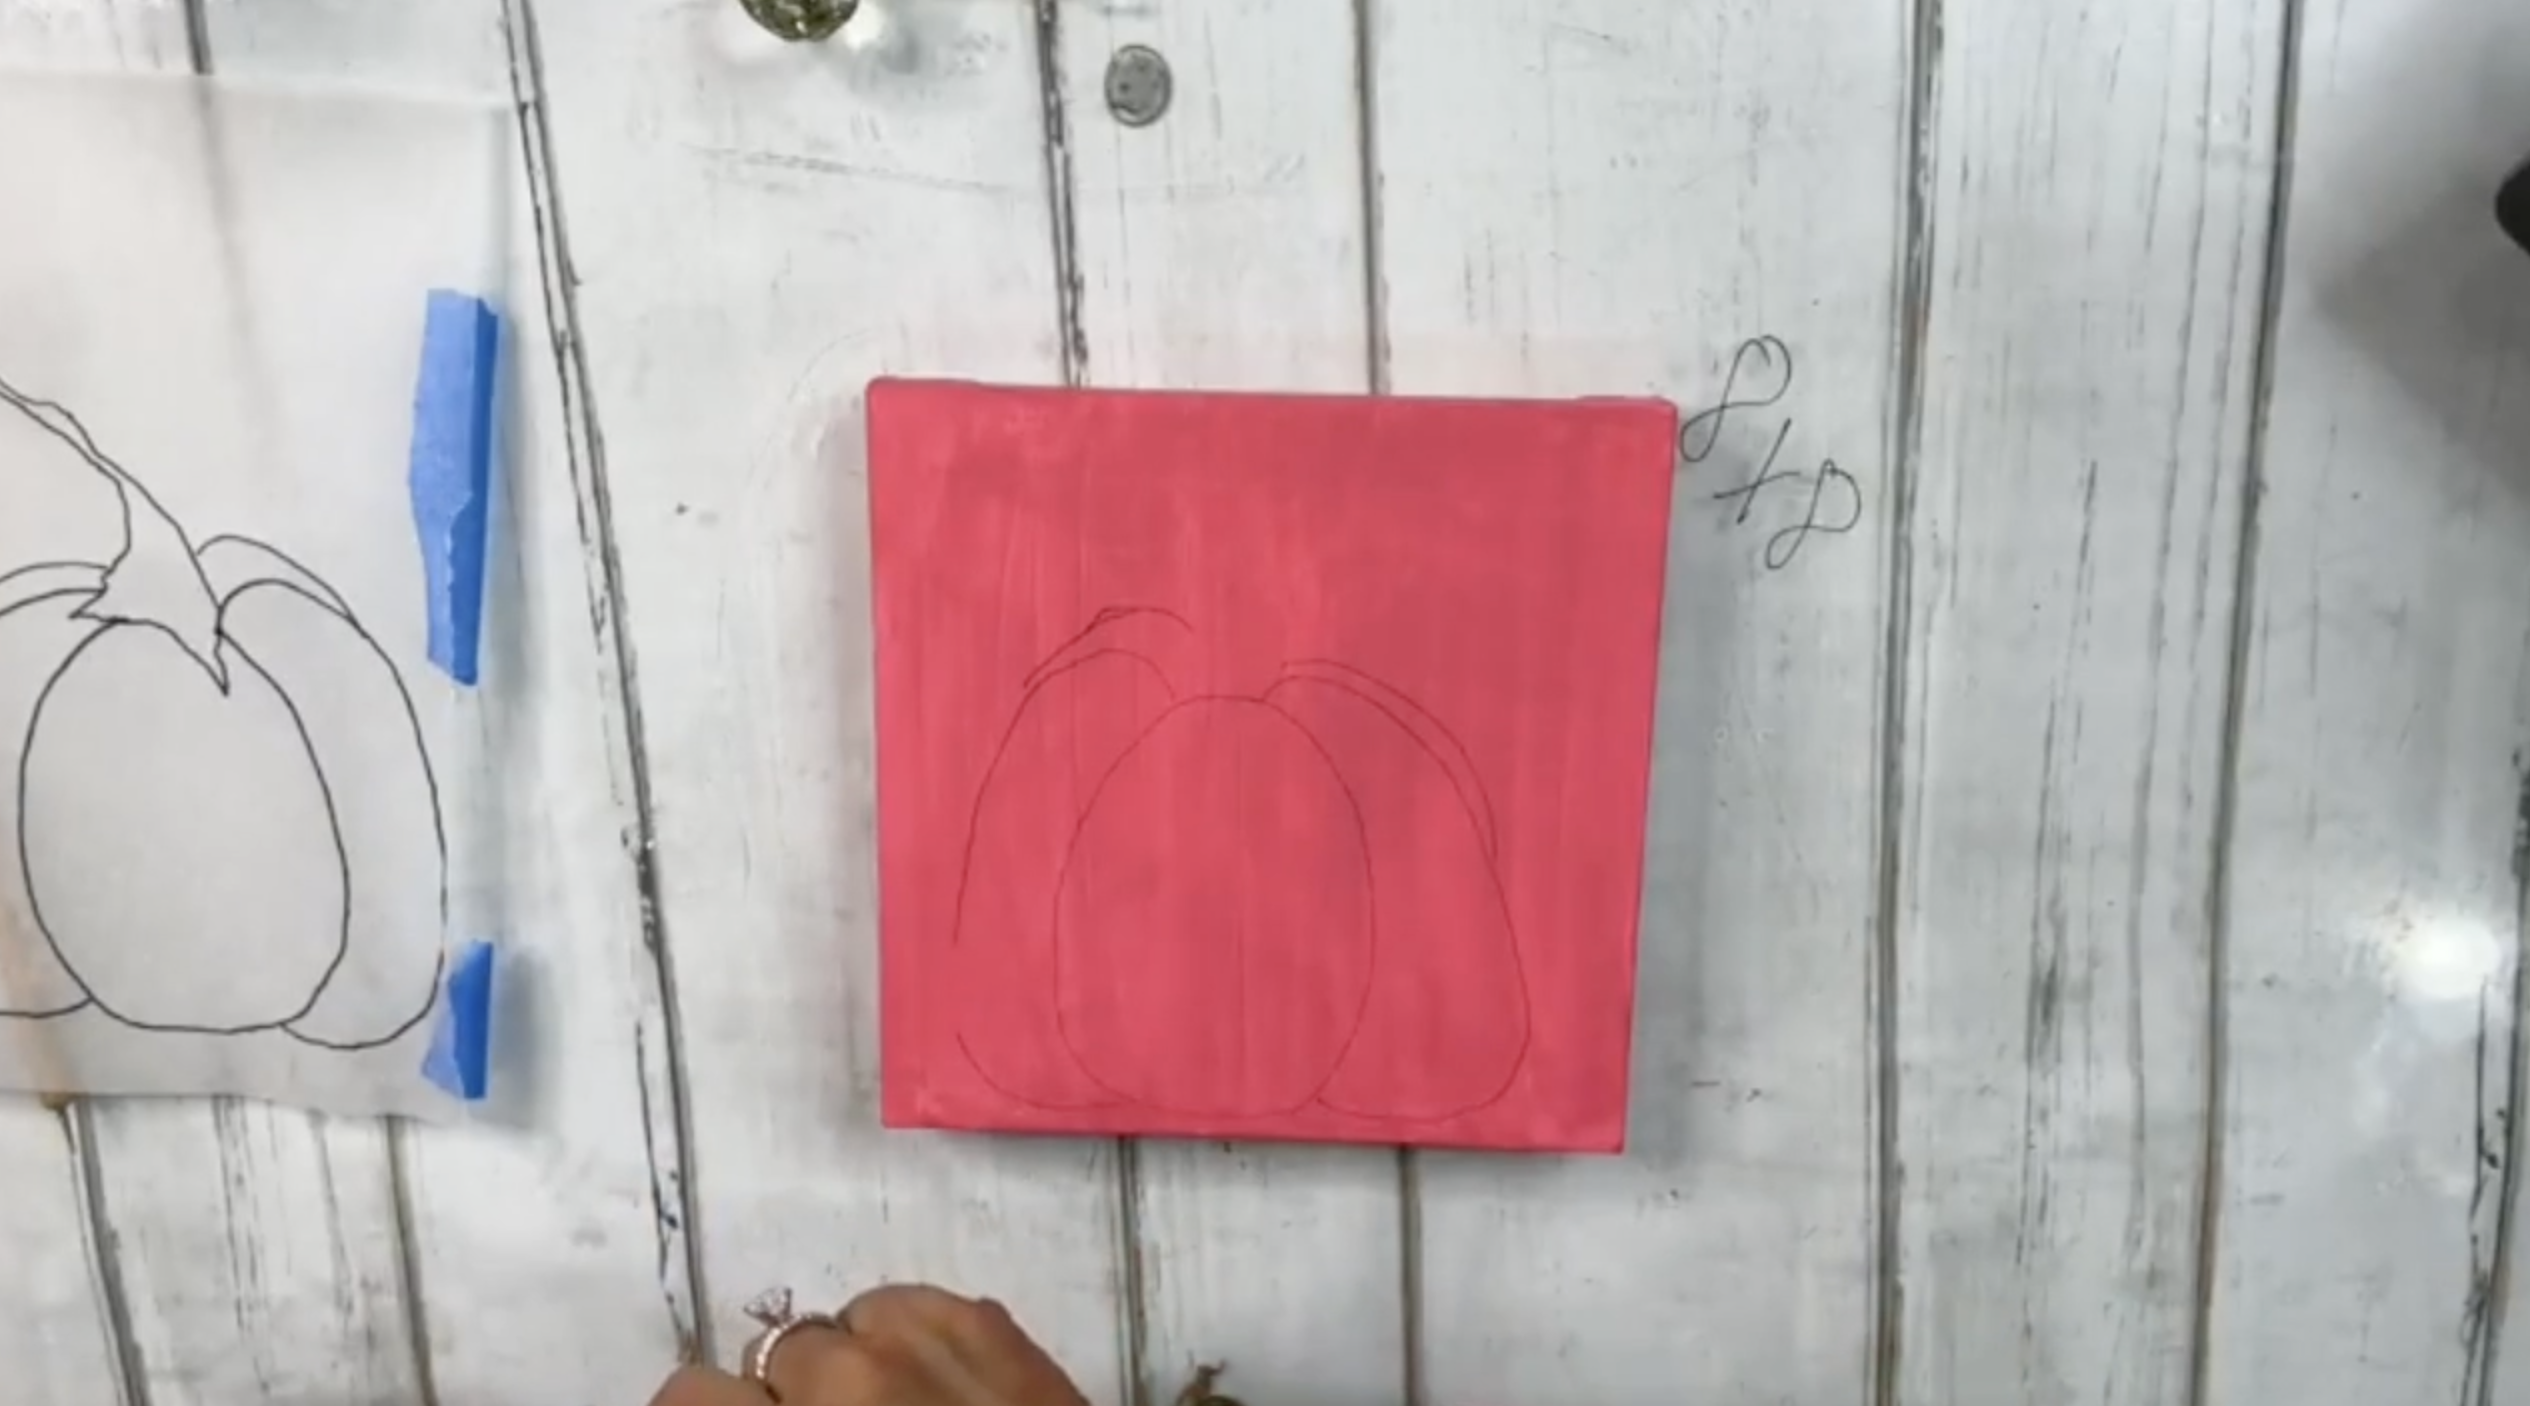
Step 1: Prep Your Canvas
For this project, I started with an 8x8 canvas. To break up the intimidation of a blank white canvas, I painted the surface with a coat of bright pink (Dragonfruit). This is one of my favorite tricks - covering the canvas in a bold base color helps loosen you up and makes the painting process less intimidating. Plus, letting some of that underlayer peek through adds unexpected pops of color in the finished piece.
You can either trace a pumpkin outline or freehand it. The shape is simple: think of an egg with a flat bottom for the center section, then add parentheses shapes on each side to build the pumpkin’s curves. Pumpkins come in all shapes and sizes, so don’t worry about perfection. If you’d like, leave space at the top for a glass stem instead of painting one in.
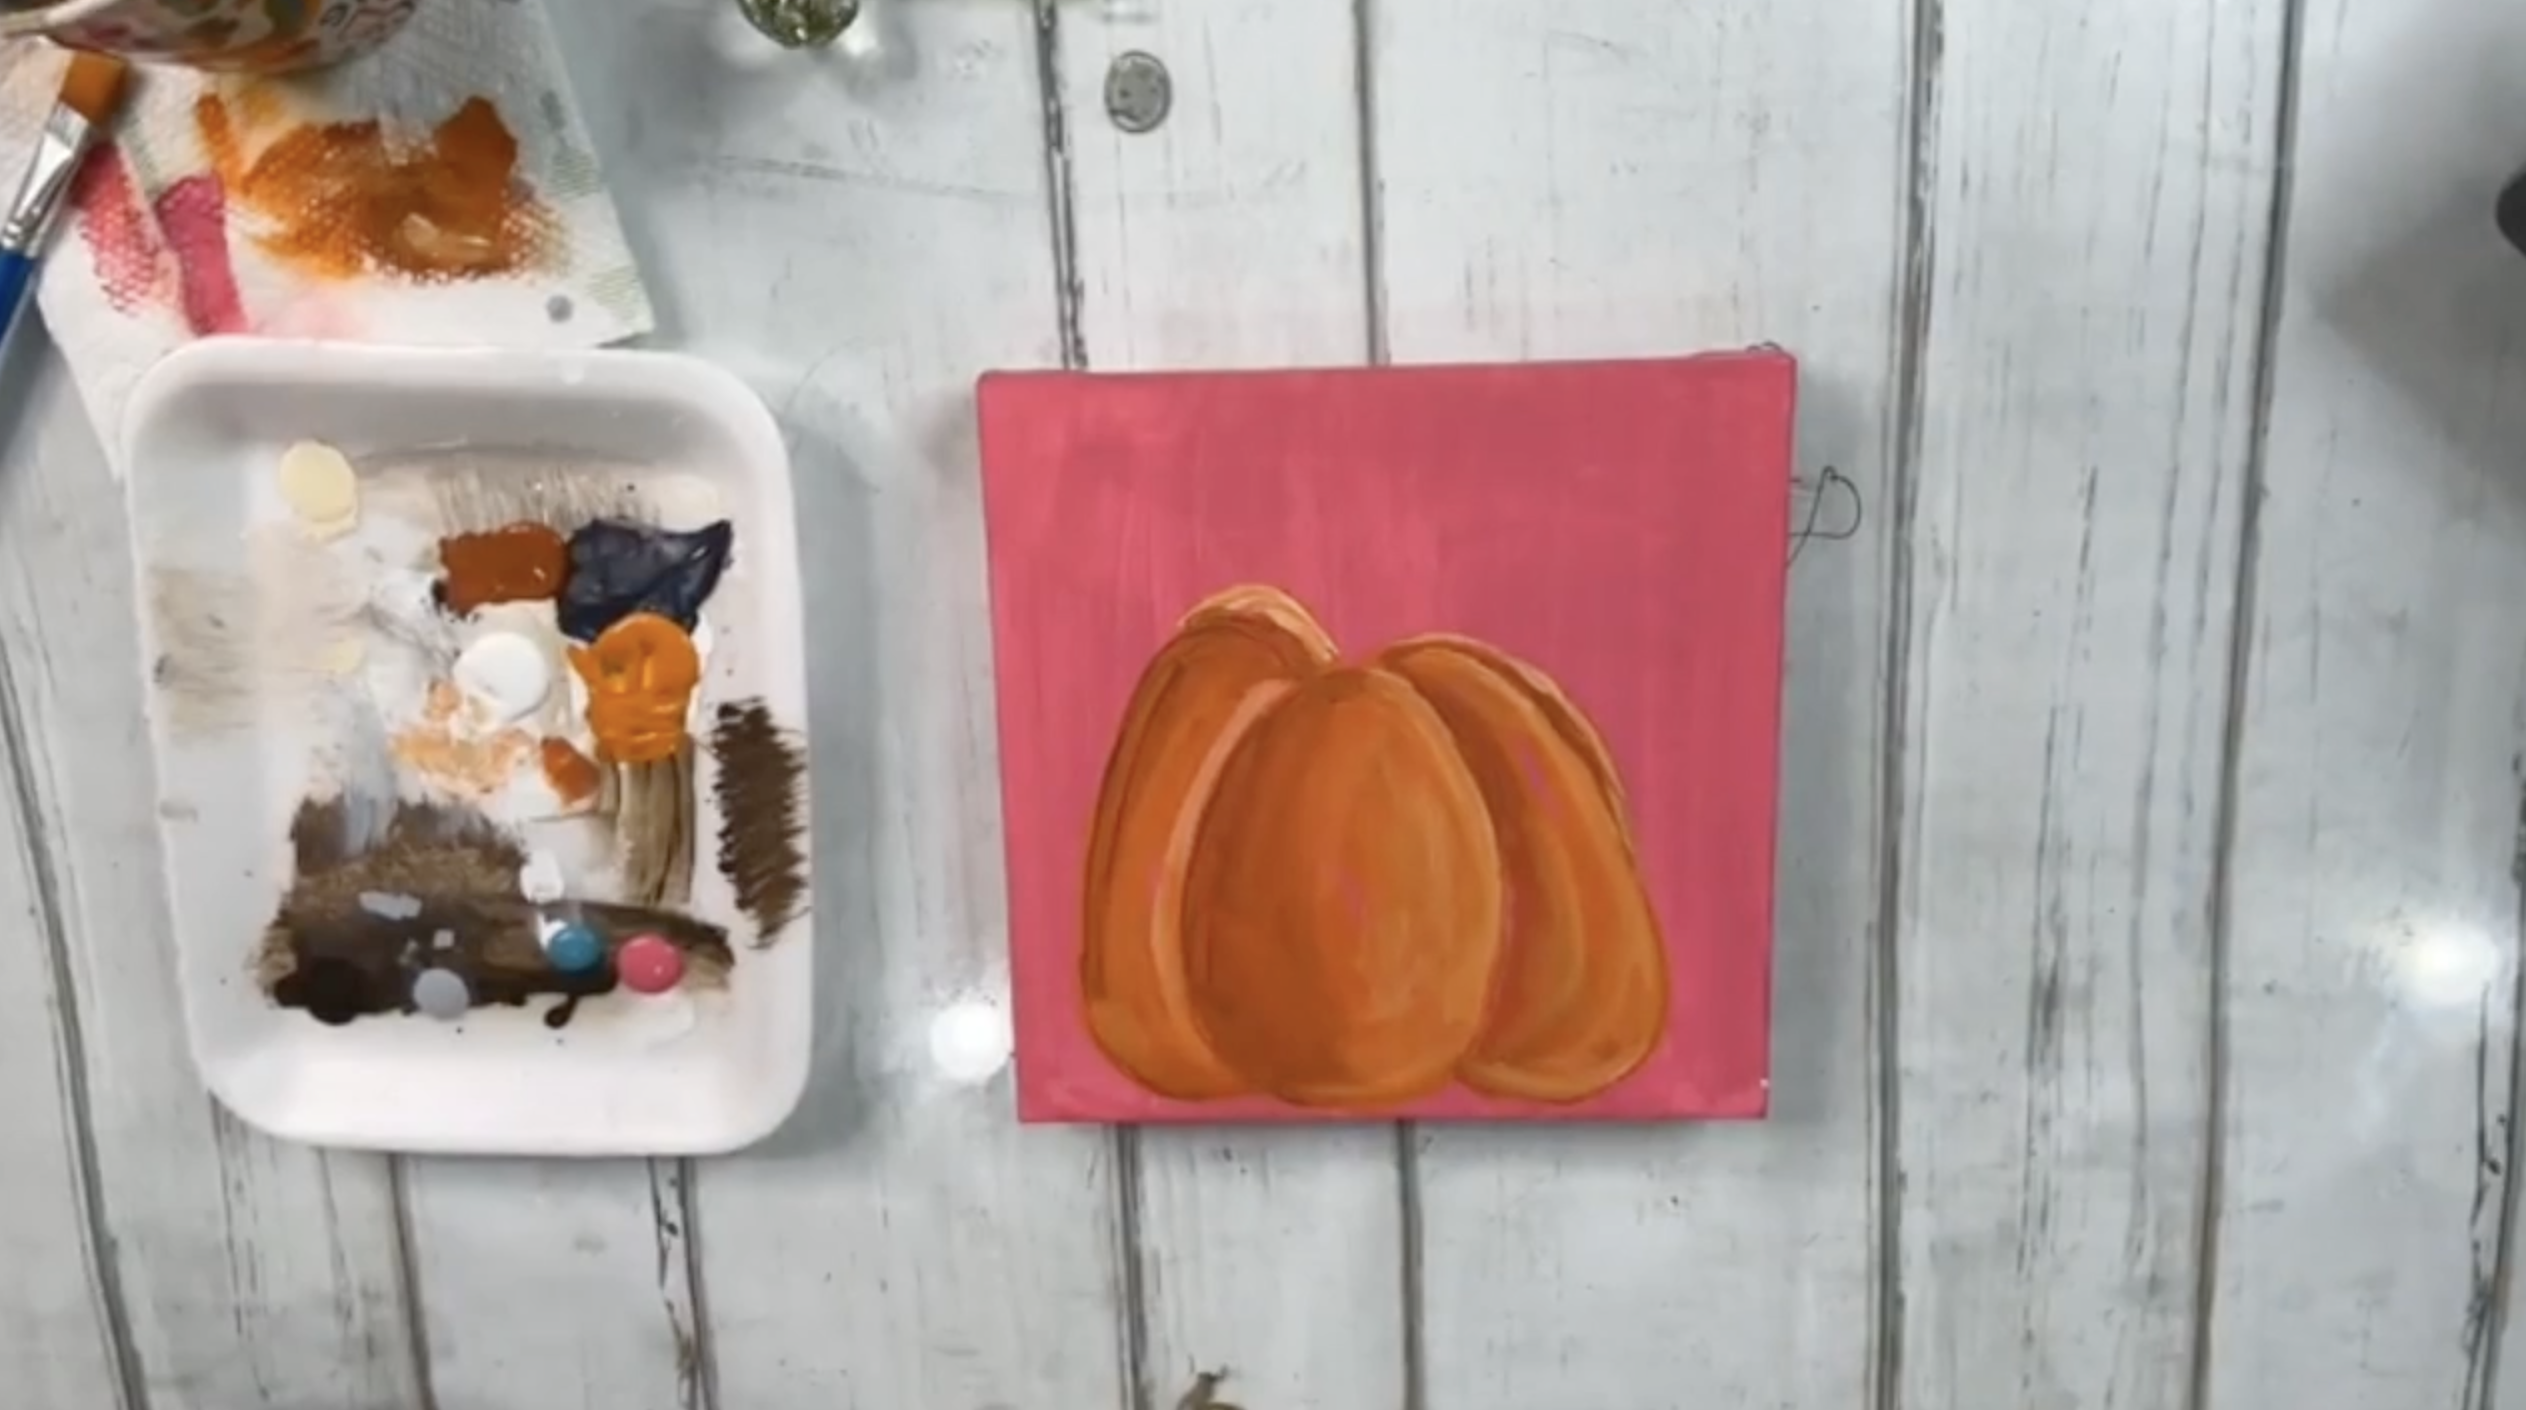
Step 3: Paint the Pumpkin
I used three paint colors for the pumpkin: Spiced Pumpkin (a mid-tone orange), Red Spice (a darker, burnt orange), and white. Work on one section of the pumpkin at a time. Using a half-inch brush, start with the mid-tone color, brushing loosely over the canvas and allowing some pink to show through. Next, add shading with Red Spice on one side of each pumpkin section and white to create lighter highlights along the opposite side. Repeat this same technique for each pumpkin section and dry with a heat tool.
Step 4: Add Pops of Color and Details
Dip just one edge of your brush into bright pink or turquoise, then drag it lightly across different areas of your pumpkin. This creates subtle streaks of unexpected color that give the piece energy and texture. Repeat the same dry-brush technique with white for highlights. Keep it random and playful!
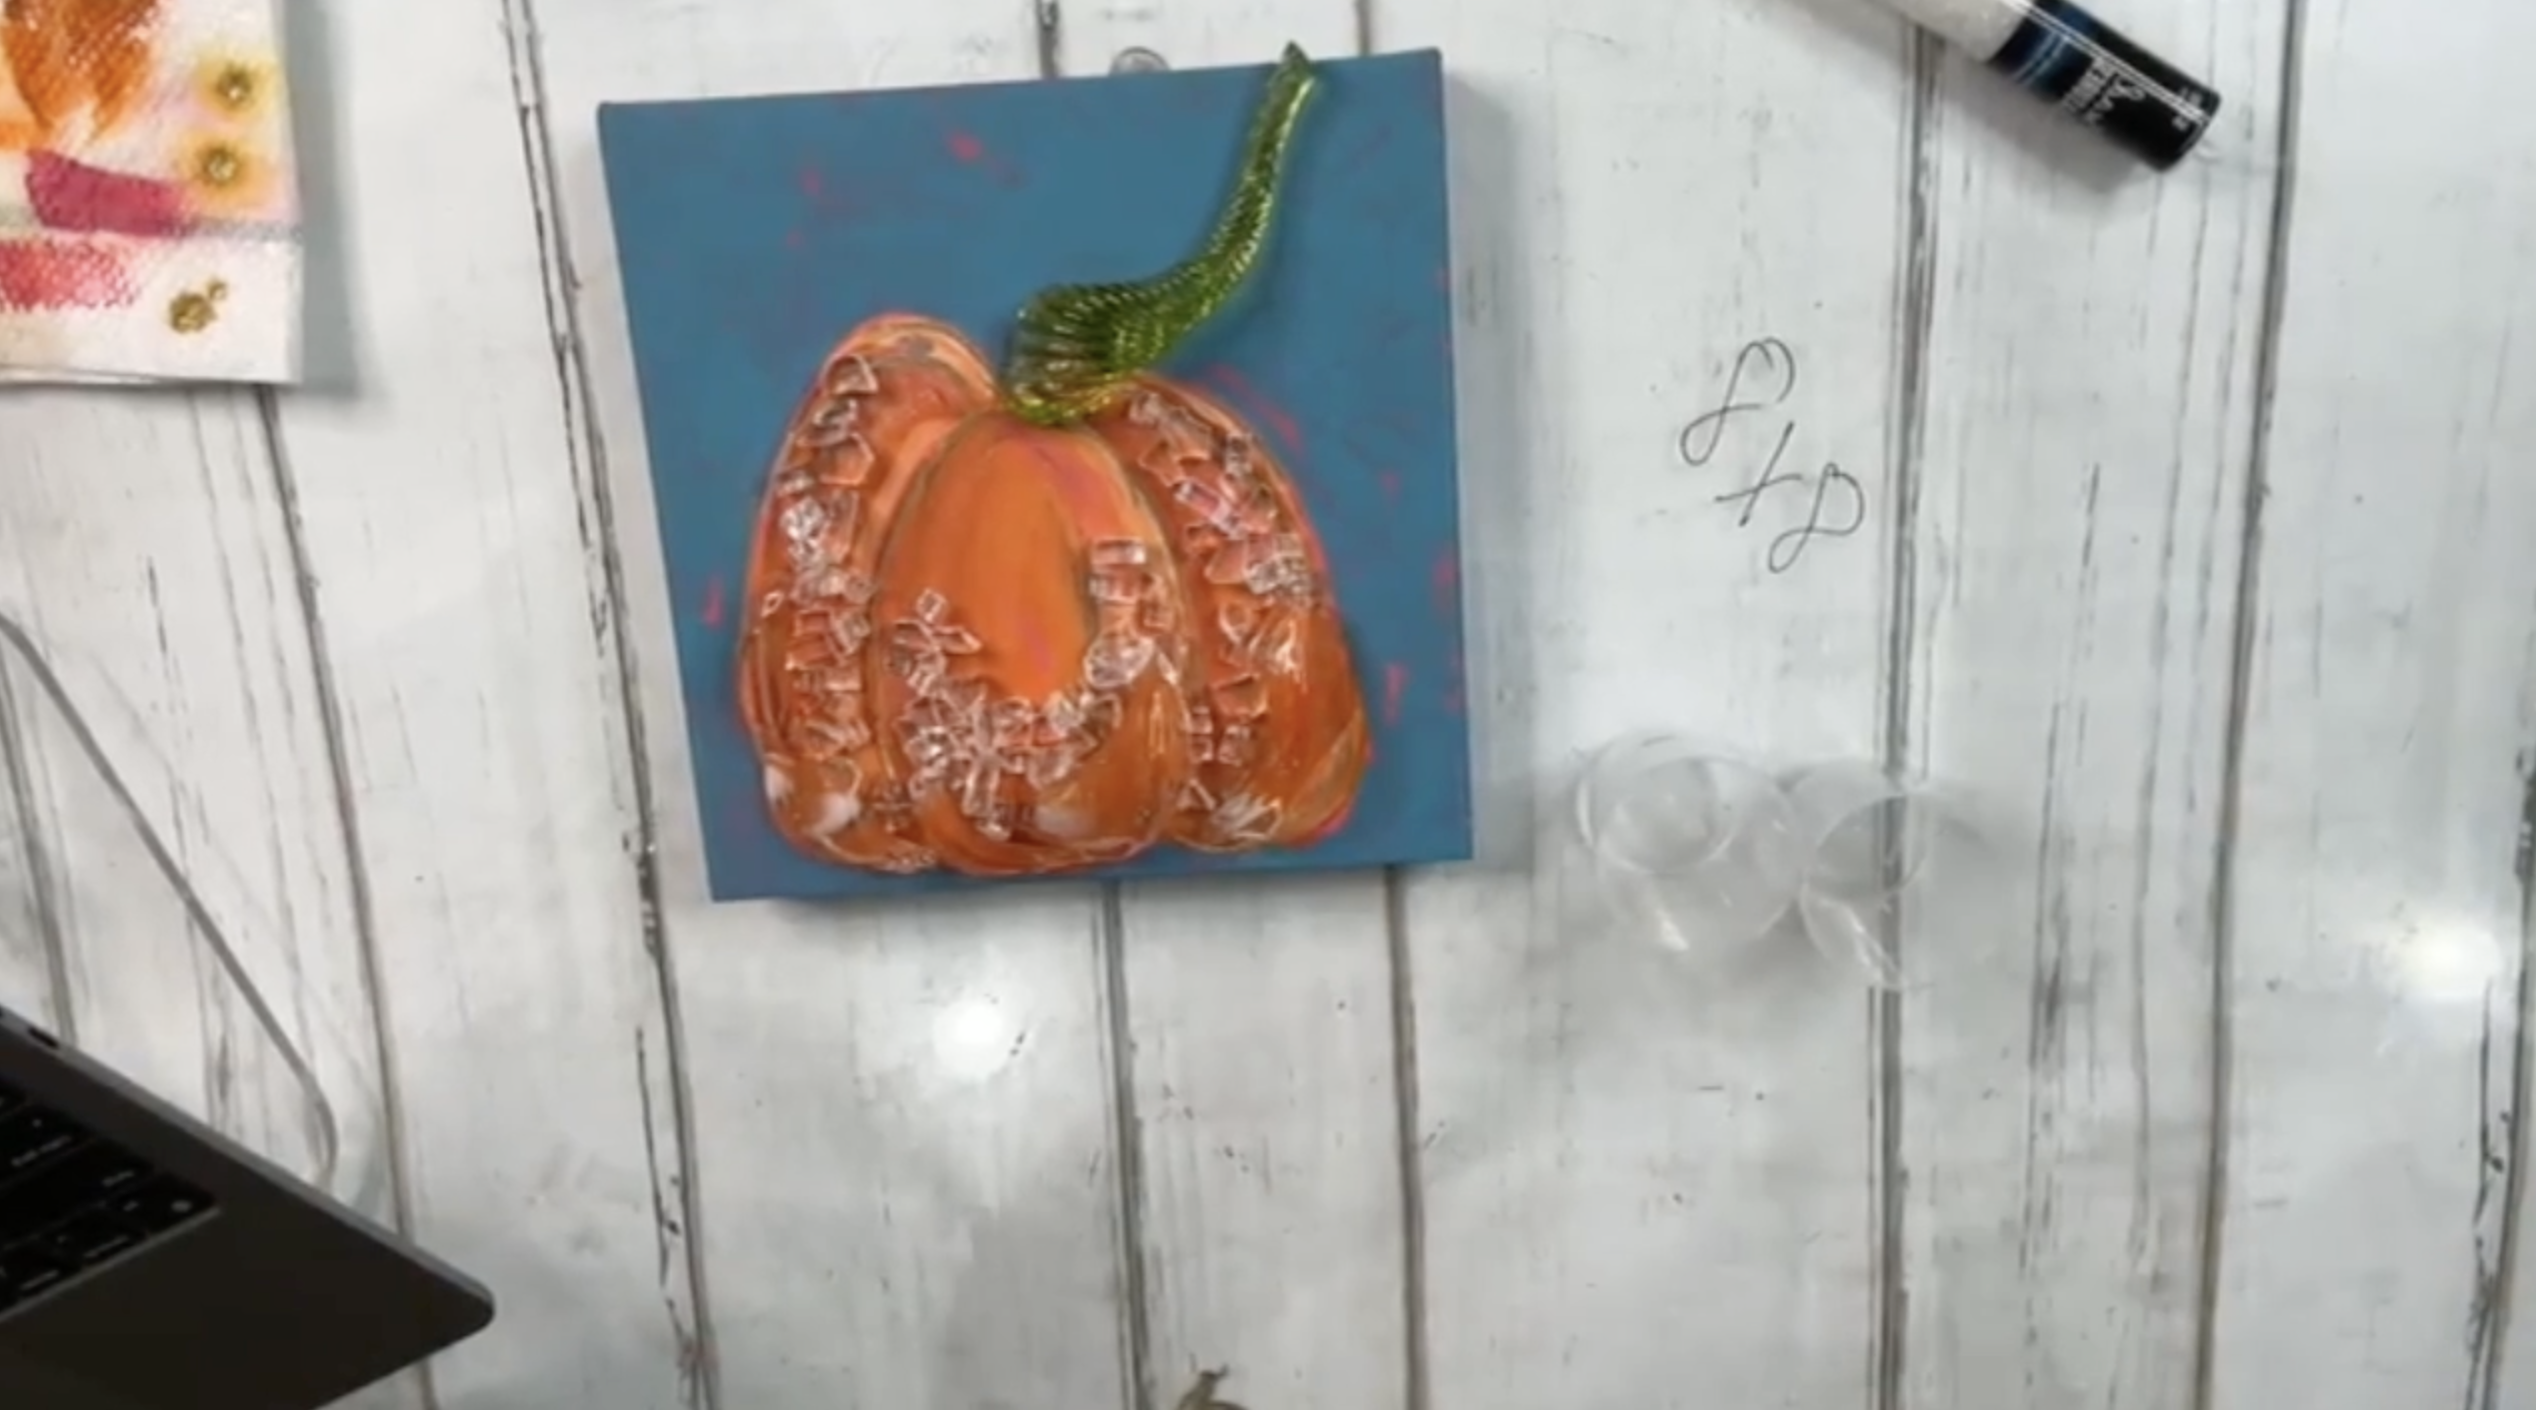
For the background, I brushed on Desert Turquoise, letting the pink show through in spots. The imperfect coverage makes the pumpkin pop! Paint the sides of your canvas as well. Dry with a heat tool.
Use a Gold Posca Pen to add detail lines and highlights to your pumpkin, using short and quick strokes.

Step 4: Add Glass
Now it’s time to add sparkle. I chose a green glass stem to attach at the top and pulled out a few orange glass nuggets to tuck onto the pumpkin’s surface. Arrange them so they enhance the curves of your painted sections without covering too much. For extra dimension, sprinkle in a bit of Starfire glass.
Step 5: Mix and Apply Resin
Mix equal parts resin and hardener (about ¾ oz each for an 8x8 canvas) and stir slowly for three minutes, scraping the sides and bottom of your cup. Drizzle the resin over your pumpkin, spreading it carefully to cover the paint and glass. Coat the stem separately with resin before placing it back onto the canvas.
Use a heat gun to pop bubbles. Elevate your canvas so drips can fall freely as it cures.
To create the look of morning frost on your pumpkin, sprinkle a few clear seed beads (I used transparent crystal size 12/0) into the resin while it’s still wet.

If you don’t want to miss my Facebook LIVE art instruction, make sure you are on my texting list. I always text 10 minutes before I’m going to go LIVE, so you won’t ever miss it. You can text “Hey Cindy” to 901-519-2923.
Want more inspiration and artwork?
- My website artshattered.com with resources, shop, and more!
- My creative membership The Shattered Circle, where you can explore the world of glass art with online workshops, a supportive community, and more!
- My mini creative membership Just A ‘Lil Bit Monthly Glass Art Club, where you’ll get a new quick and easy online tutorial for just a lil' bit of sparkle in your life!
- My Facebook page where I go LIVE every Wednesday night.
- My YouTube channel which has tons of free art lessons right at your fingertips.
