
Grape Snow Cone 🍇
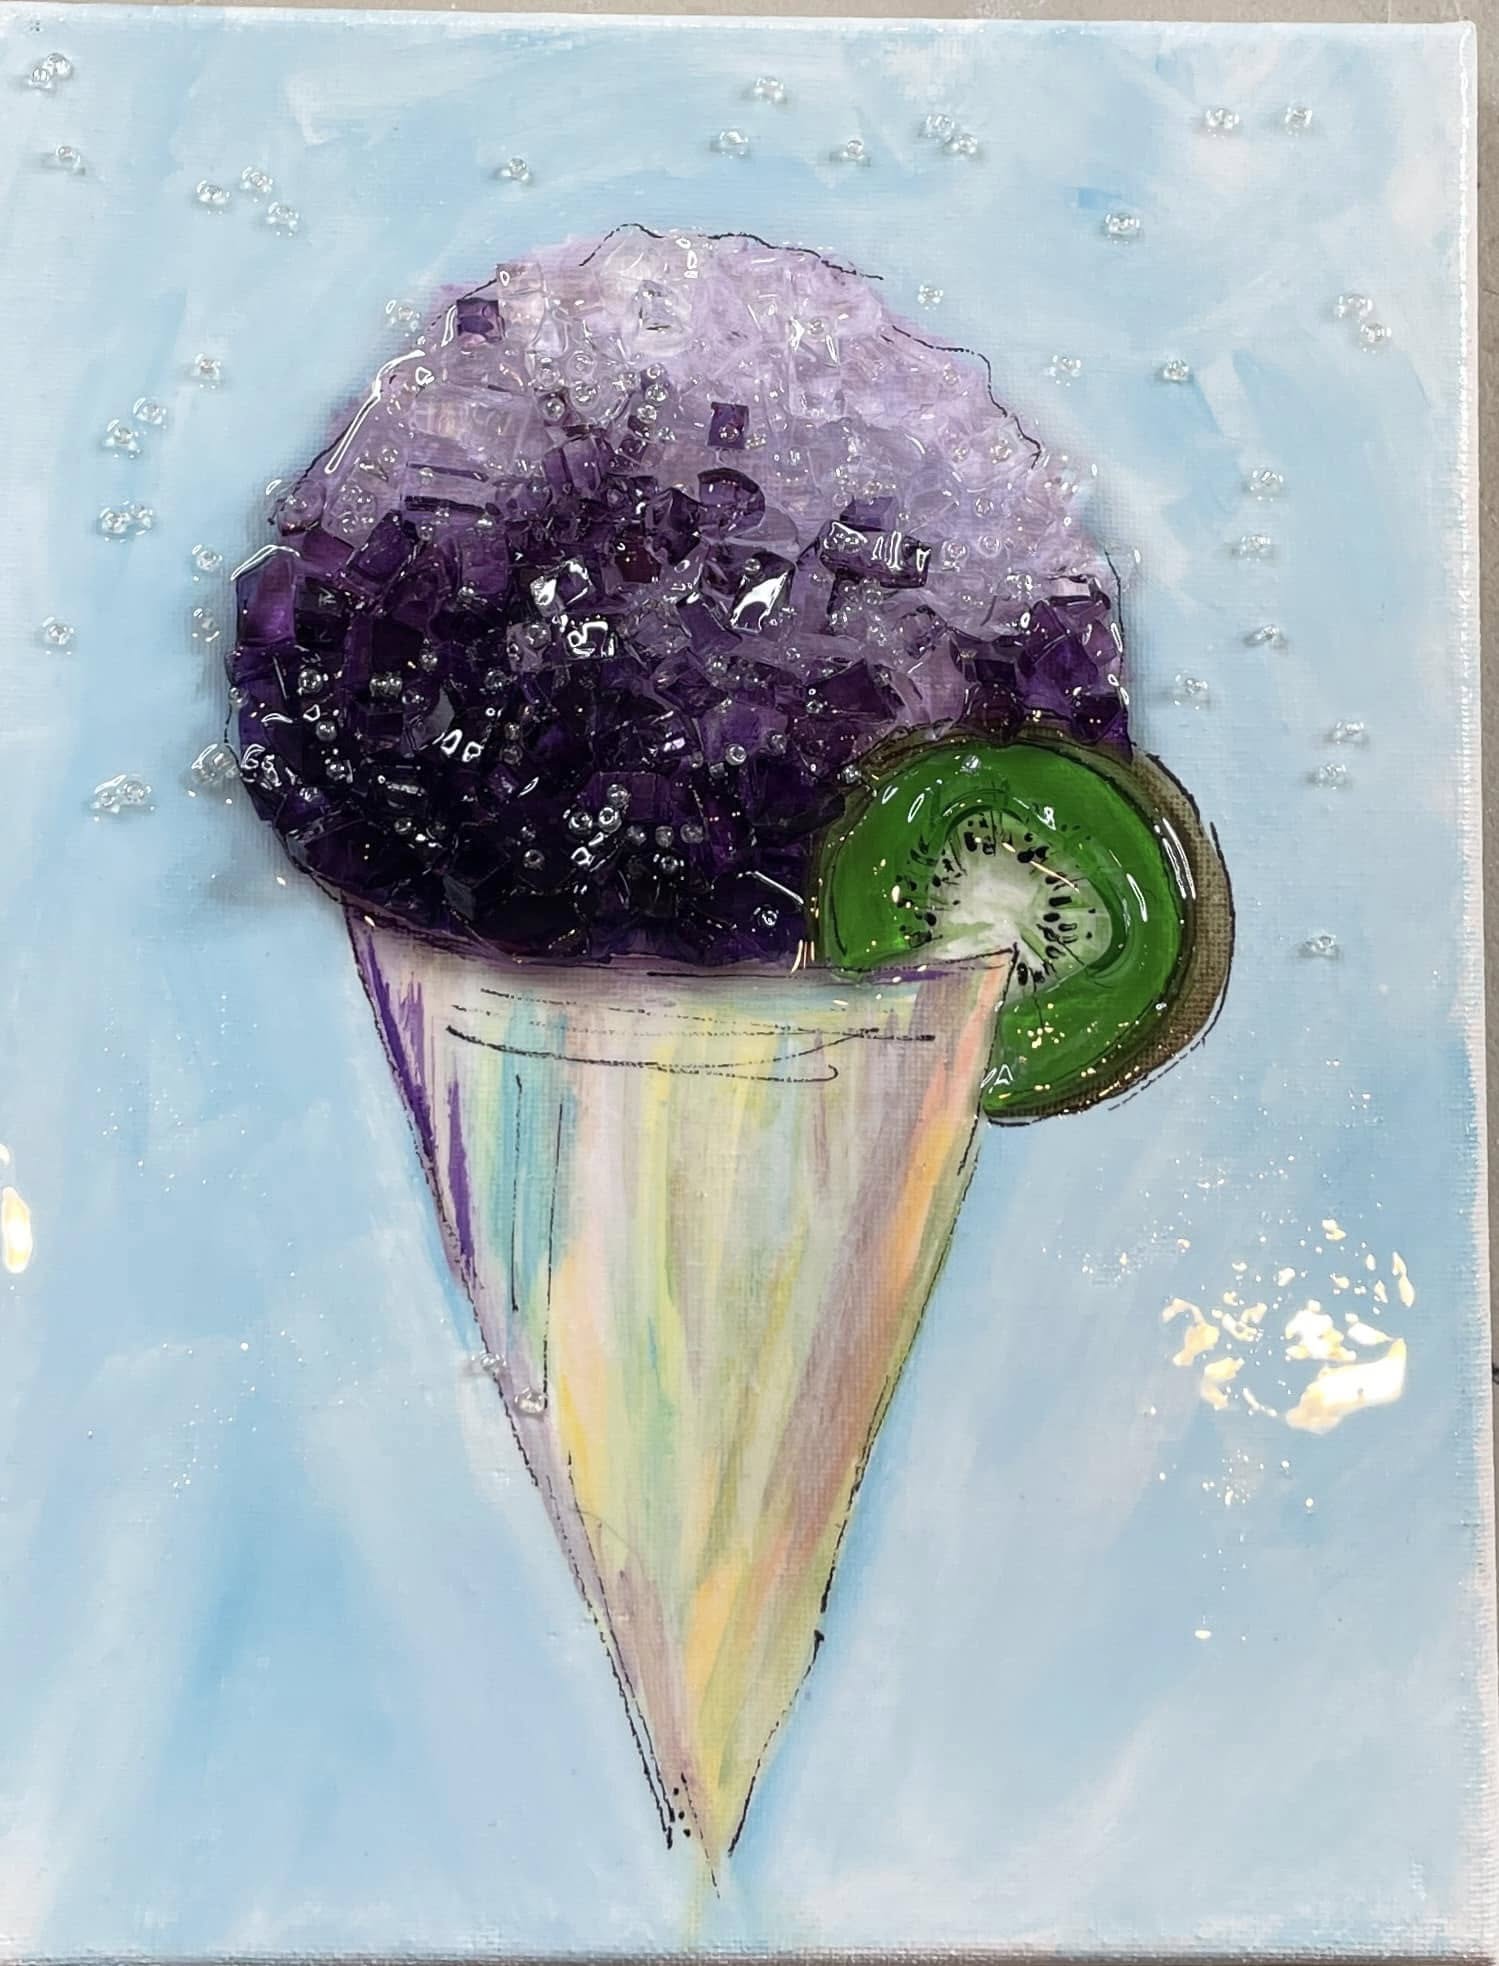
This grape snow cone project is the final piece in the snow cone series, and it might be the sweetest one yet. Using an 8x10 canvas, acrylic paint, purple-tinted Starfire glass, clear glass, resin, seed beads, and a painted kiwi accent, this project creates a bright and playful summer art piece full of sparkle, color, and dimension!
Step 1: Tint the Purple Glass
Before starting the project, tint clear Starfire glass with Krylon Stained Glass Spray in Royal Purple. Lightly mist the glass in several thin coats, allowing each layer to dry before adding another. This creates a rich grape-purple glass color while still allowing light to shine through.
If possible, let the tinted glass dry overnight and rinse away any outdoor dust or debris before using it in your artwork.
Step 2: Trace the Snow Cone
Place the snow cone tracer on your 8x10 canvas and secure it with a small piece of tape. Slide graphite paper underneath and trace only the cone and the icy snow cone top. Skip the fruit shape for now since the kiwi placement will be added later based on the size of your glass ring.
Remove the tracer once the snow cone shape has transferred clearly.
Step 3: Paint the Background
Paint around the snow cone with white acrylic paint, working one half of the canvas at a time. While the white paint is still wet, blend in a little Indian Turquoise around the outer edges to create a soft blue summer background.
Repeat the same process on the other side of the canvas. Keep the background loose and blended so it feels light, breezy, and similar to the other snow cone pieces in the series.
Step 4: Paint the Snow Cone Cup
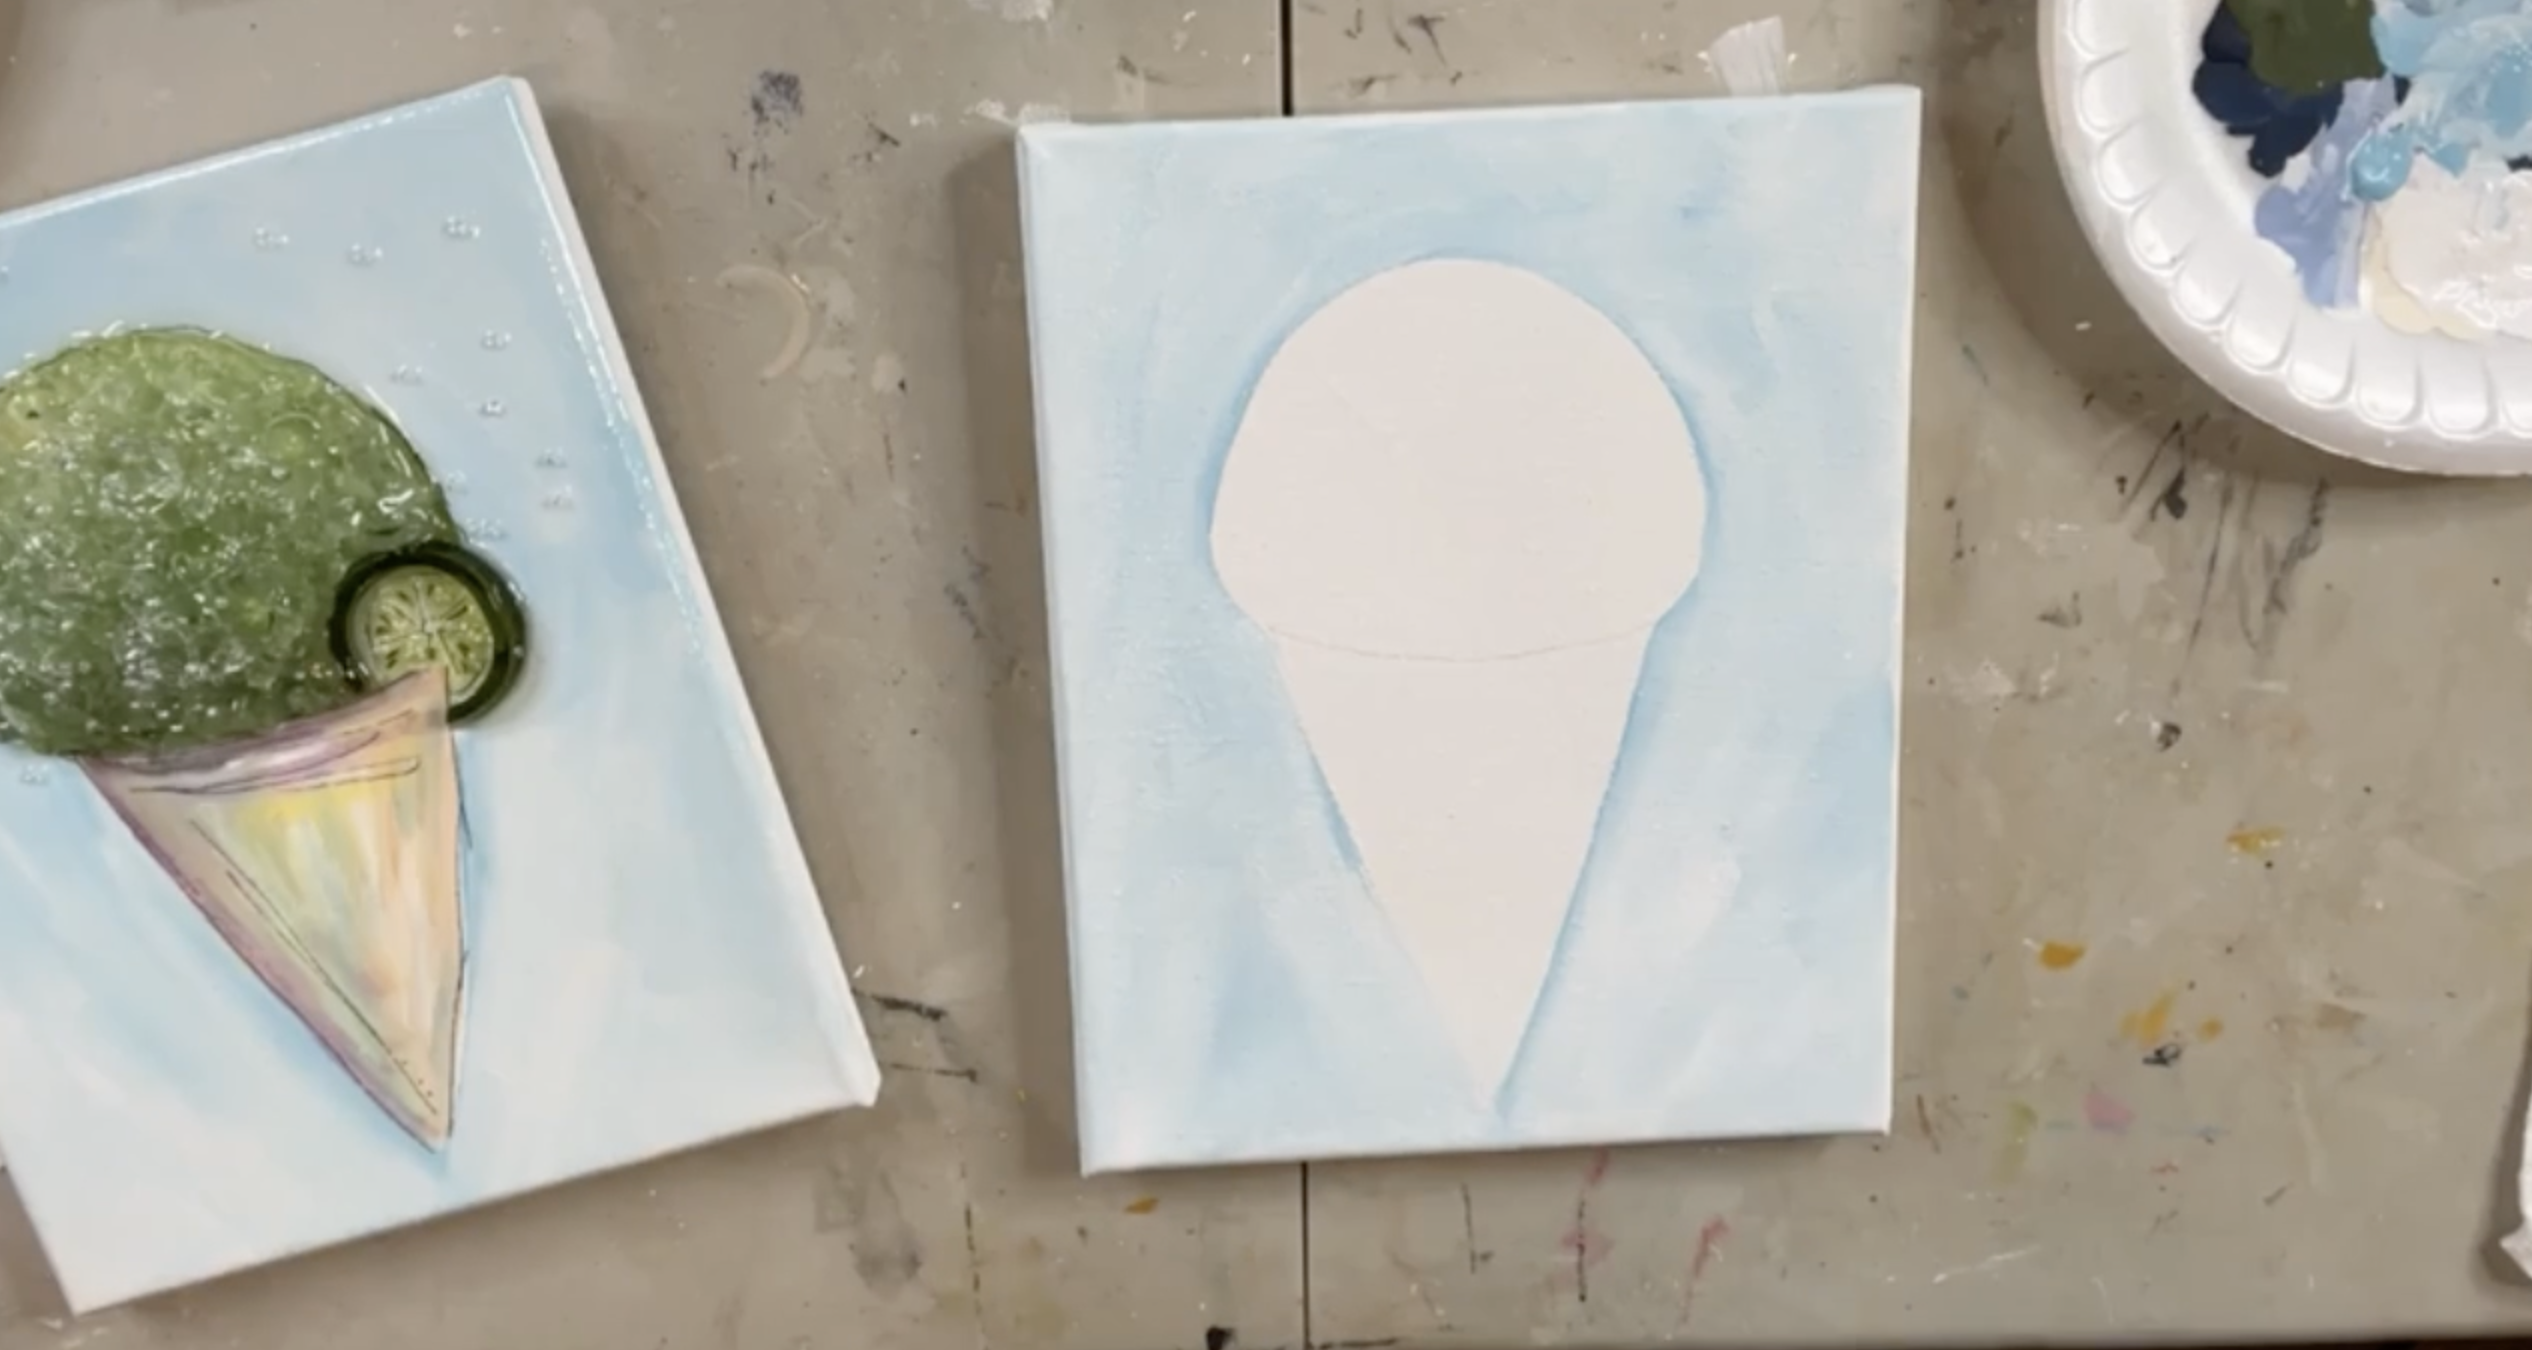
Fill the cone area with white paint first. While the white is still wet, add small touches of orange, yellow, green, blue, and purple. Blend the colors loosely into the white so the cone has a soft, colorful, watercolor-style look.
Since this is a grape snow cone, add a little extra purple near the cone so it feels connected to the flavor. If the colors become too bright, let the paint dry and add a thin whitewash over the top to soften everything.
Step 5: Paint the Grape Snow Cone
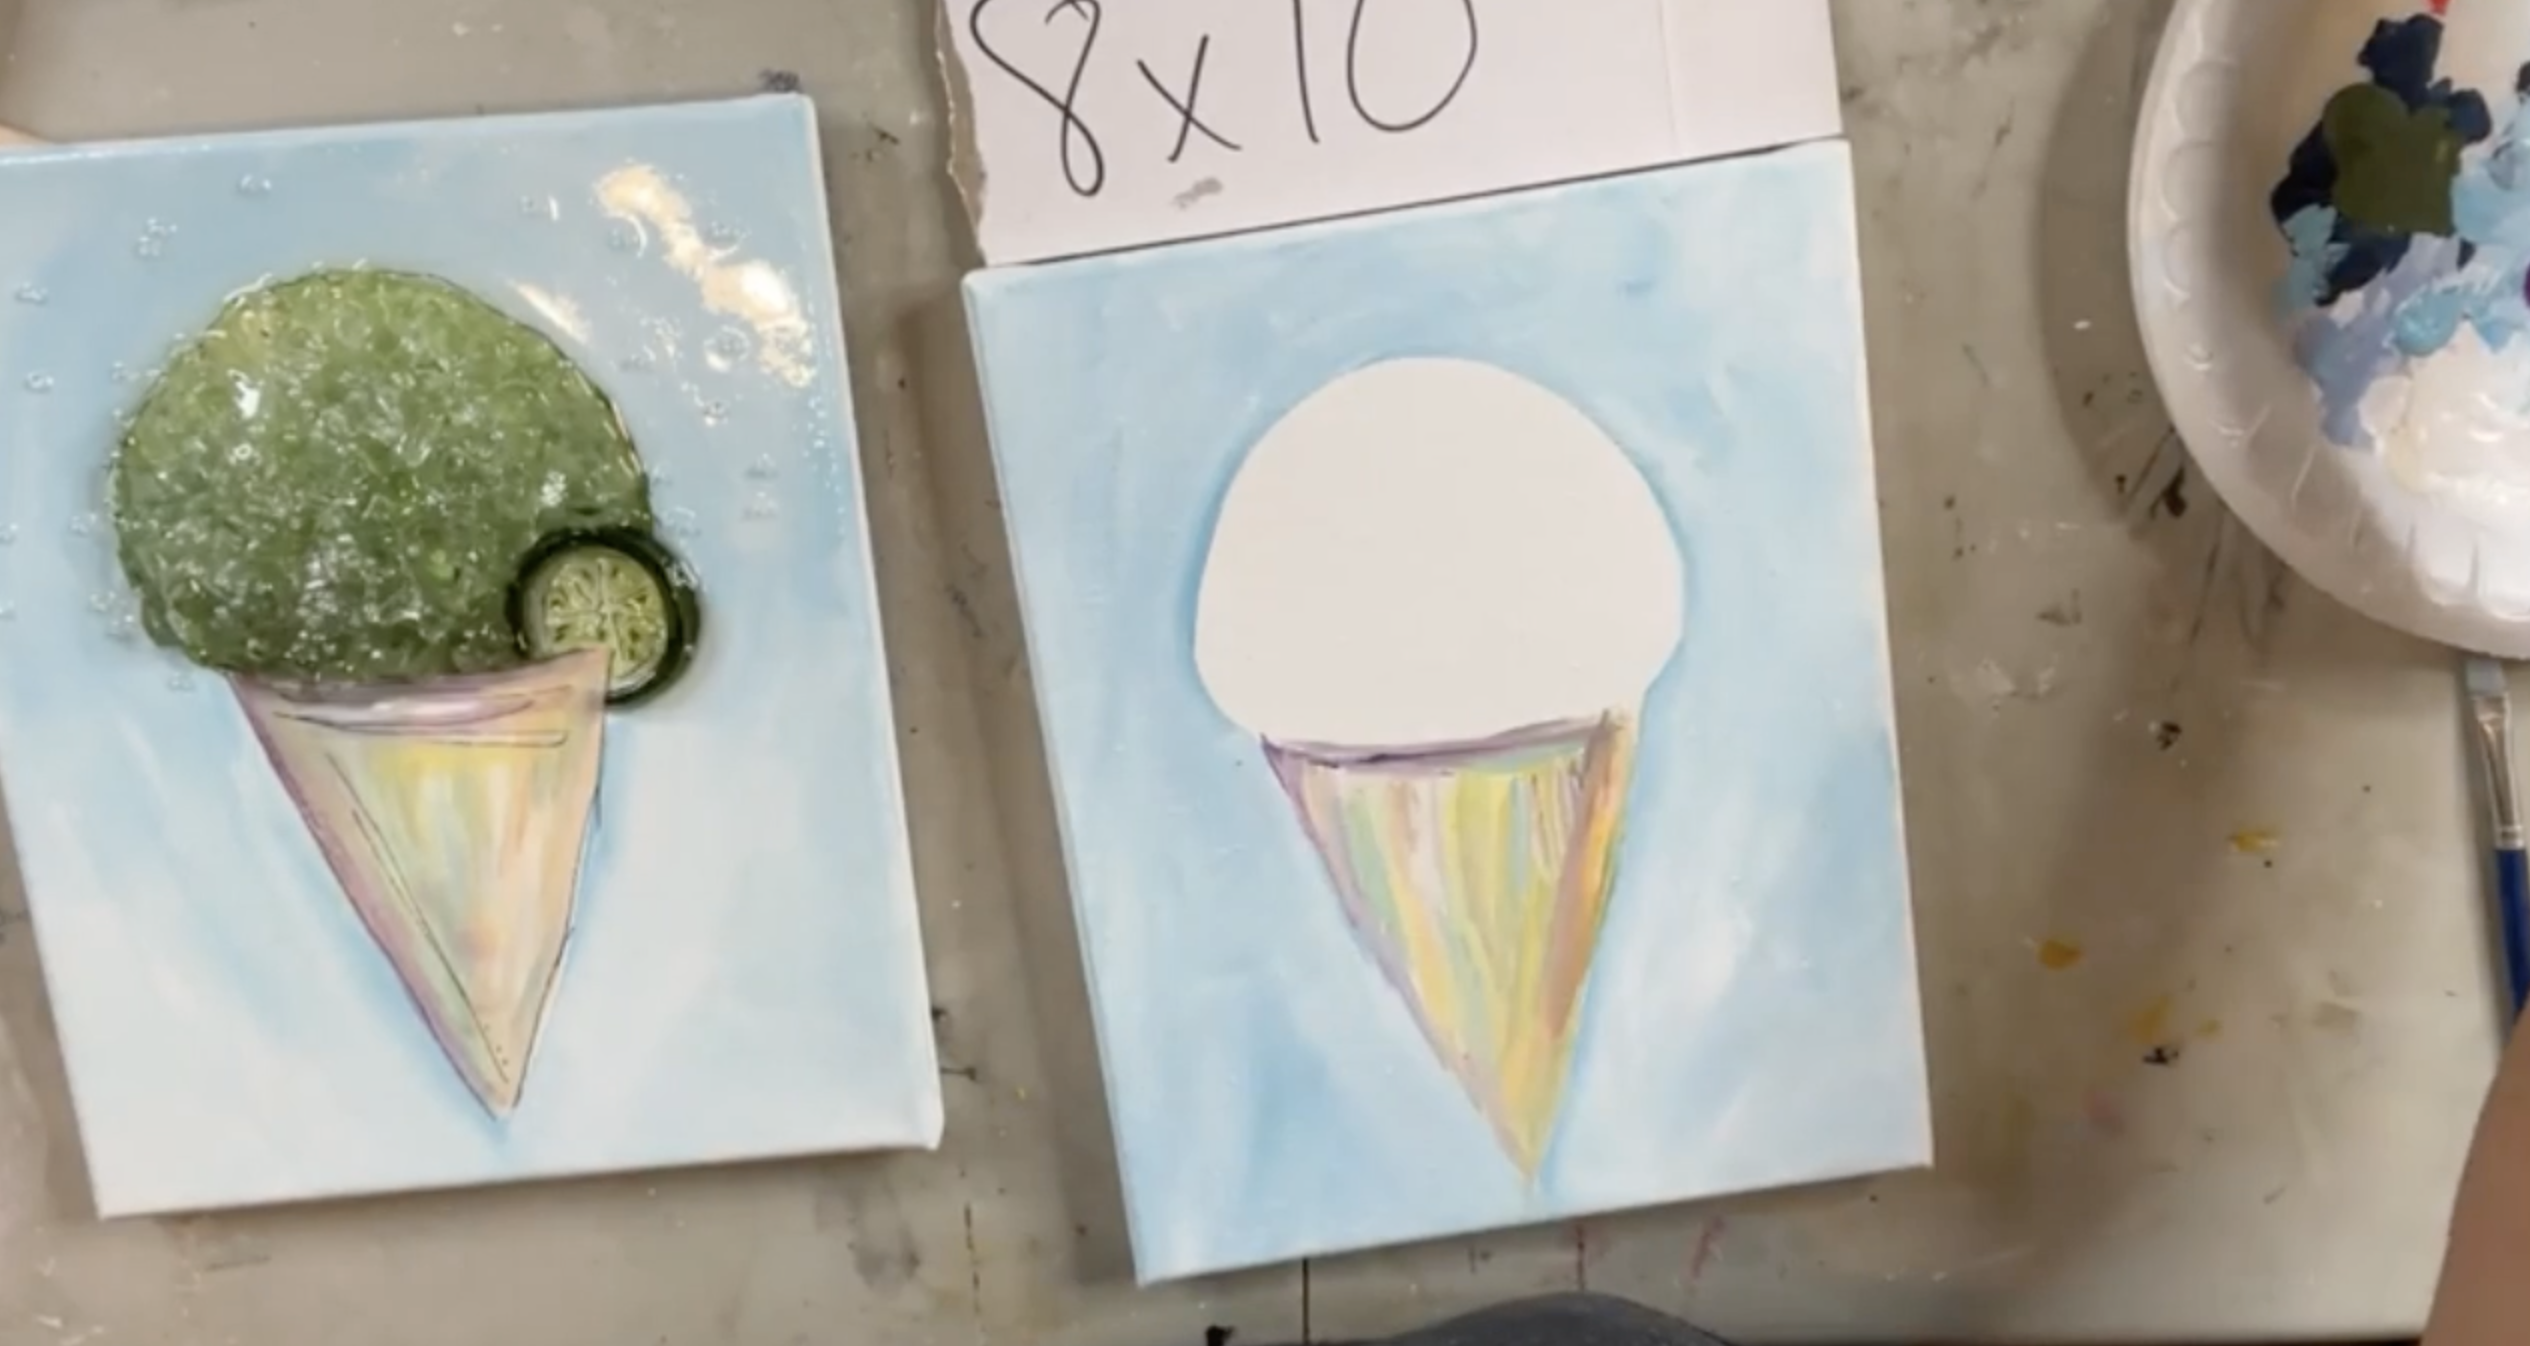
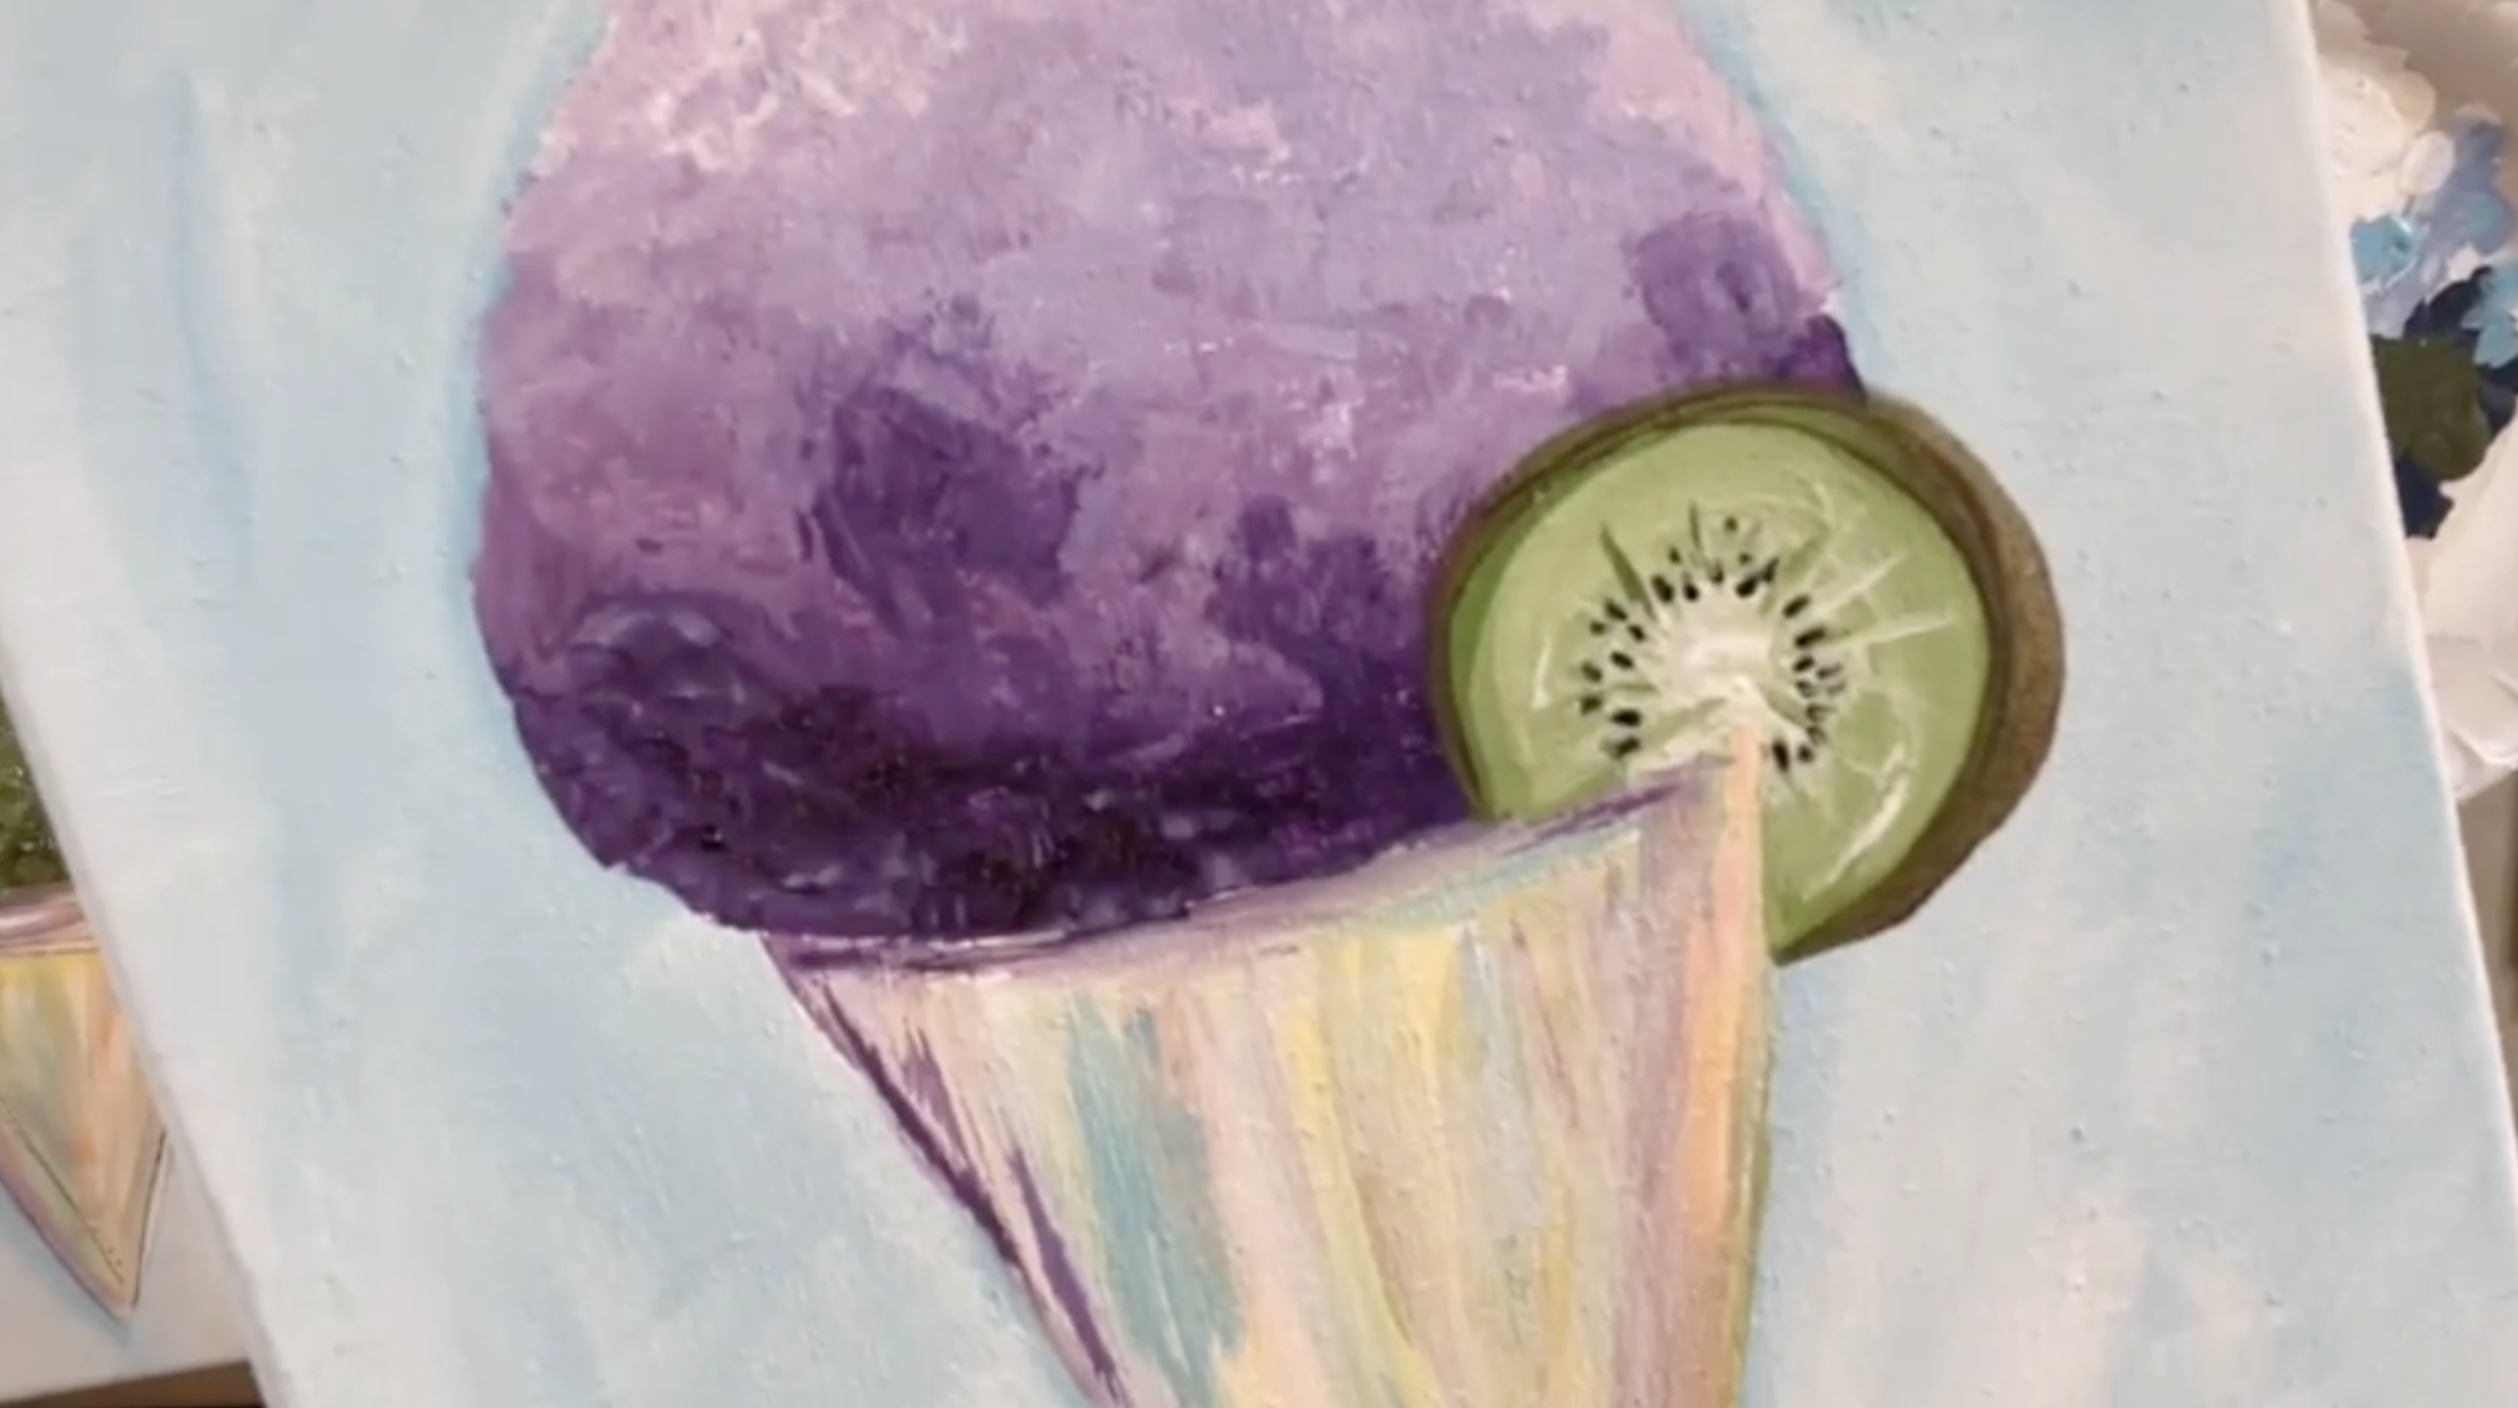
Start the icy snow cone top with Delta Purple at the bottom. This is where the grape syrup would be darkest because all the flavor settles toward the bottom of the ice.
Next, blend Eggplant into the middle section, followed by Wisteria and white toward the top. Use a pouncing motion with your brush instead of smooth strokes so the paint begins to look like crushed ice.
The goal is a gradual transition from dark purple at the bottom to pale lavender and white at the top.
Step 6: Soften and Blend the Ice
Continue pouncing the colors together until there are no harsh bands. Add a little more dark purple near the bottom if needed, then soften the top with white to create that “ice with less syrup” look.
Do not worry about perfection here. Much of the painted snow cone will show through the glass, but the glass will add most of the final sparkle and dimension. Let dry.
Step 7: Sketch the Kiwi Placement
Place your green glass bottle ring on the side of the snow cone where you want the kiwi slice to sit. Lightly trace around it with a pencil to mark the placement.
This gives you a guide for painting the kiwi underneath the glass ring.
Step 8: Paint the Kiwi Slice
Mix Grass Green with white to create a bright kiwi base color. Paint the circular kiwi shape inside your pencil guide. Add a darker green around the outer edge, then add brown around the outside to create the fuzzy kiwi skin.
Add a lighter white-green center, then use small strokes of darker green radiating outward from the middle. Finish with tiny black dots around the center to create the kiwi seeds.
Step 9: Add Pen Details
Once the paint is dry, use an archival illustration pen to add loose sketchy details. Outline the snow cone cup, the snow cone top, and the kiwi. Add small lines around the kiwi center and a few dots for extra detail.
Keep the lines loose and imperfect. This gives the piece a whimsical mixed media feel.
Step 10: Add the Glass
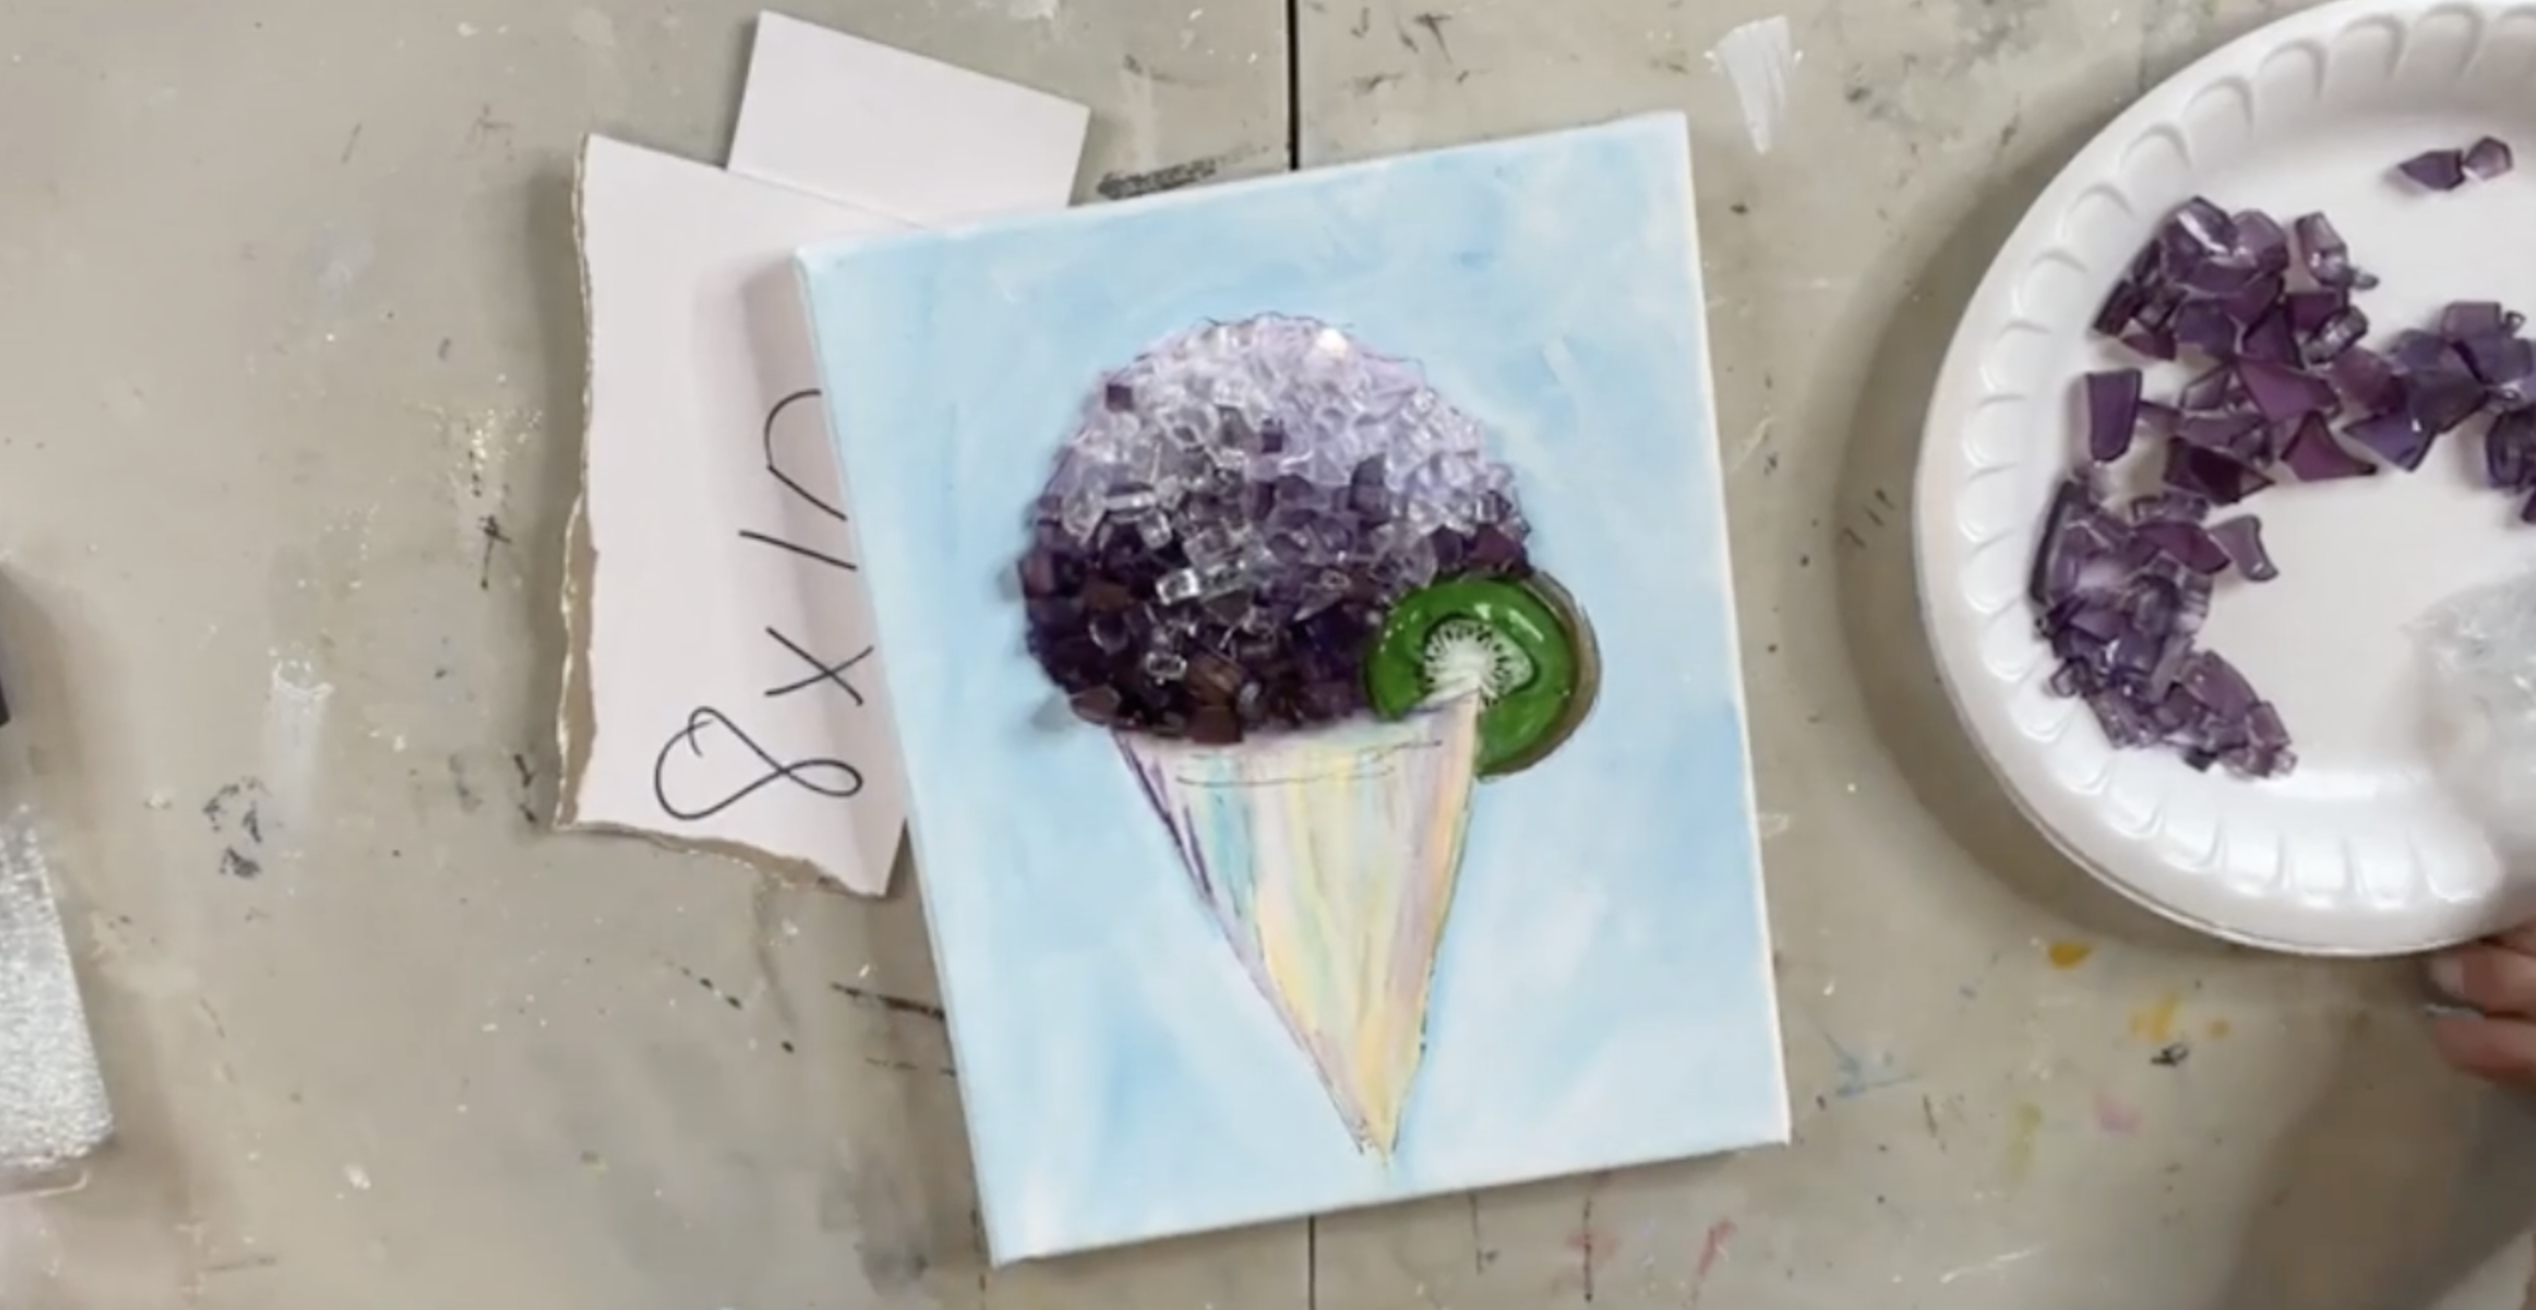
Begin adding purple-tinted Starfire glass to the bottom portion of the grape snow cone where the painted purple is darkest. Then add clear Starfire glass toward the top where the ice is lighter.
Blend a few purple pieces upward and a few clear pieces downward so the transition feels natural. Layer the glass to create a chunky, icy, dimensional snow cone effect.
Step 11: Add the Kiwi Glass Ring
Place the green glass bottle ring over the painted kiwi slice. Make sure the brown outer edge still shows around the glass so it reads clearly as kiwi.
You can add a little resin underneath the glass ring later to help secure it.
Step 12: Mix the Resin
Mix 1 ounce total of Art Resin using equal parts resin and hardener. Stir slowly for three full minutes, scraping the sides and bottom of the cup as you mix.
For an 8x10 snow cone canvas, 1 ounce is enough to cover the glass and the painted surface.
Step 13: Apply Resin
Start by adding resin under the kiwi glass ring, then place the ring back onto the canvas. Drizzle resin over the purple and clear glass, making sure each piece is coated.
Use a silicone spreader or gloved finger to pull the remaining resin across the rest of the canvas. Spread it evenly to the edges and check for any dry spots.
Use a heat gun to pop bubbles in the resin. Keep the heat moving and avoid holding it too close to one spot.
If you see dust or tiny debris, use a toothpick to lift it out before the resin begins to cure.
Step 14: Add Seed Beads
While the resin is still wet, sprinkle clear seed beads into the snow cone and around the top area. These little beads create the look of icy crystals and add the perfect finishing sparkle.
Add just a few scattered beads around the background for a fun, frosty effect.
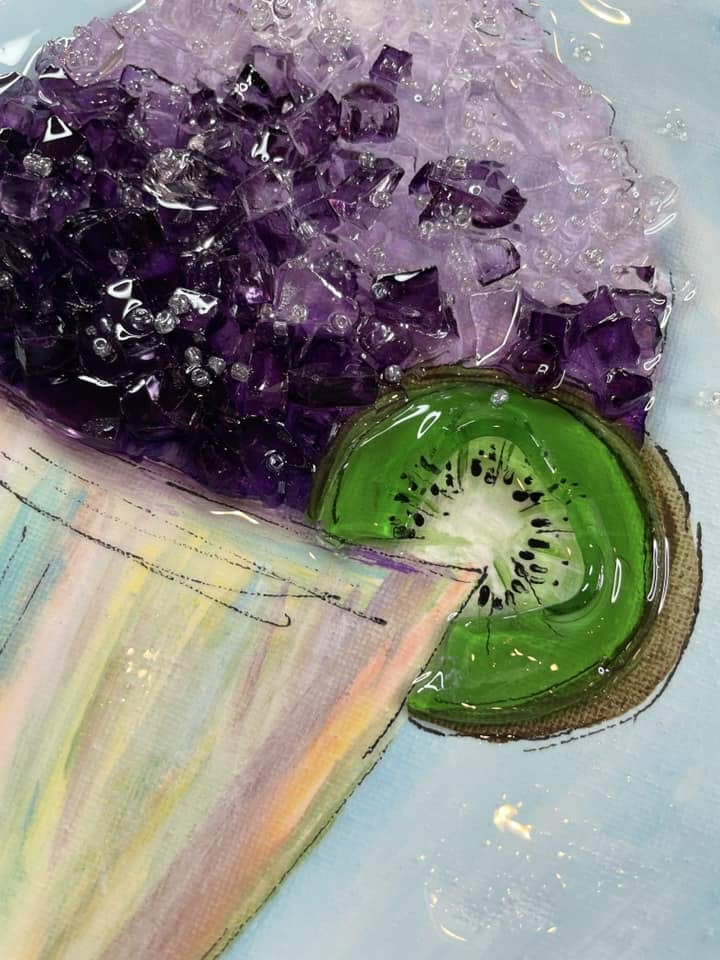
This grape snow cone glass and resin canvas is colorful, playful, and full of summer personality. The deep purple glass, soft lavender highlights, glossy kiwi slice, and sparkling seed beads make the entire piece feel bright and refreshing.
Displayed on its own or alongside the strawberry, lemon, and lime snow cone canvases, this grape version makes the sweetest finishing touch to a fun summer art series!
If you're a member of The Shattered Circle, you'll find this tutorial in your classroom under Art Shattered Weekly Facebook Lives, search for "Grape Snow Cone".
If you don’t want to miss my Facebook LIVE art instruction, make sure you are on my texting list. I always text 10 minutes before I’m going to go LIVE, so you won’t ever miss it. You can text “Hey Cindy” to 901-519-2923.
Want more inspiration and artwork?
- My website artshattered.com with resources, shop, and more!
- My creative membership The Shattered Circle, where you can explore the world of glass art with online workshops, a supportive community, and more!
- My mini creative membership Just A ‘Lil Bit Monthly Glass Art Club, where you’ll get a new quick and easy online tutorial for just a lil' bit of sparkle in your life!
- My Facebook page where I go LIVE every Wednesday night.
- My YouTube channel which has tons of free art lessons right at your fingertips.
