
Grape Snow Cone 🍇
This grape snow cone project is the final piece in the snow cone series, and it might be the sweetest one yet. Using an 8x10 canvas, acrylic paint, purple-tinted Starfire glass, clear glass, resin, seed beads, and a painted kiwi accent, this project creates a bright and playful summer art piece full of sparkle, color, and dimension!
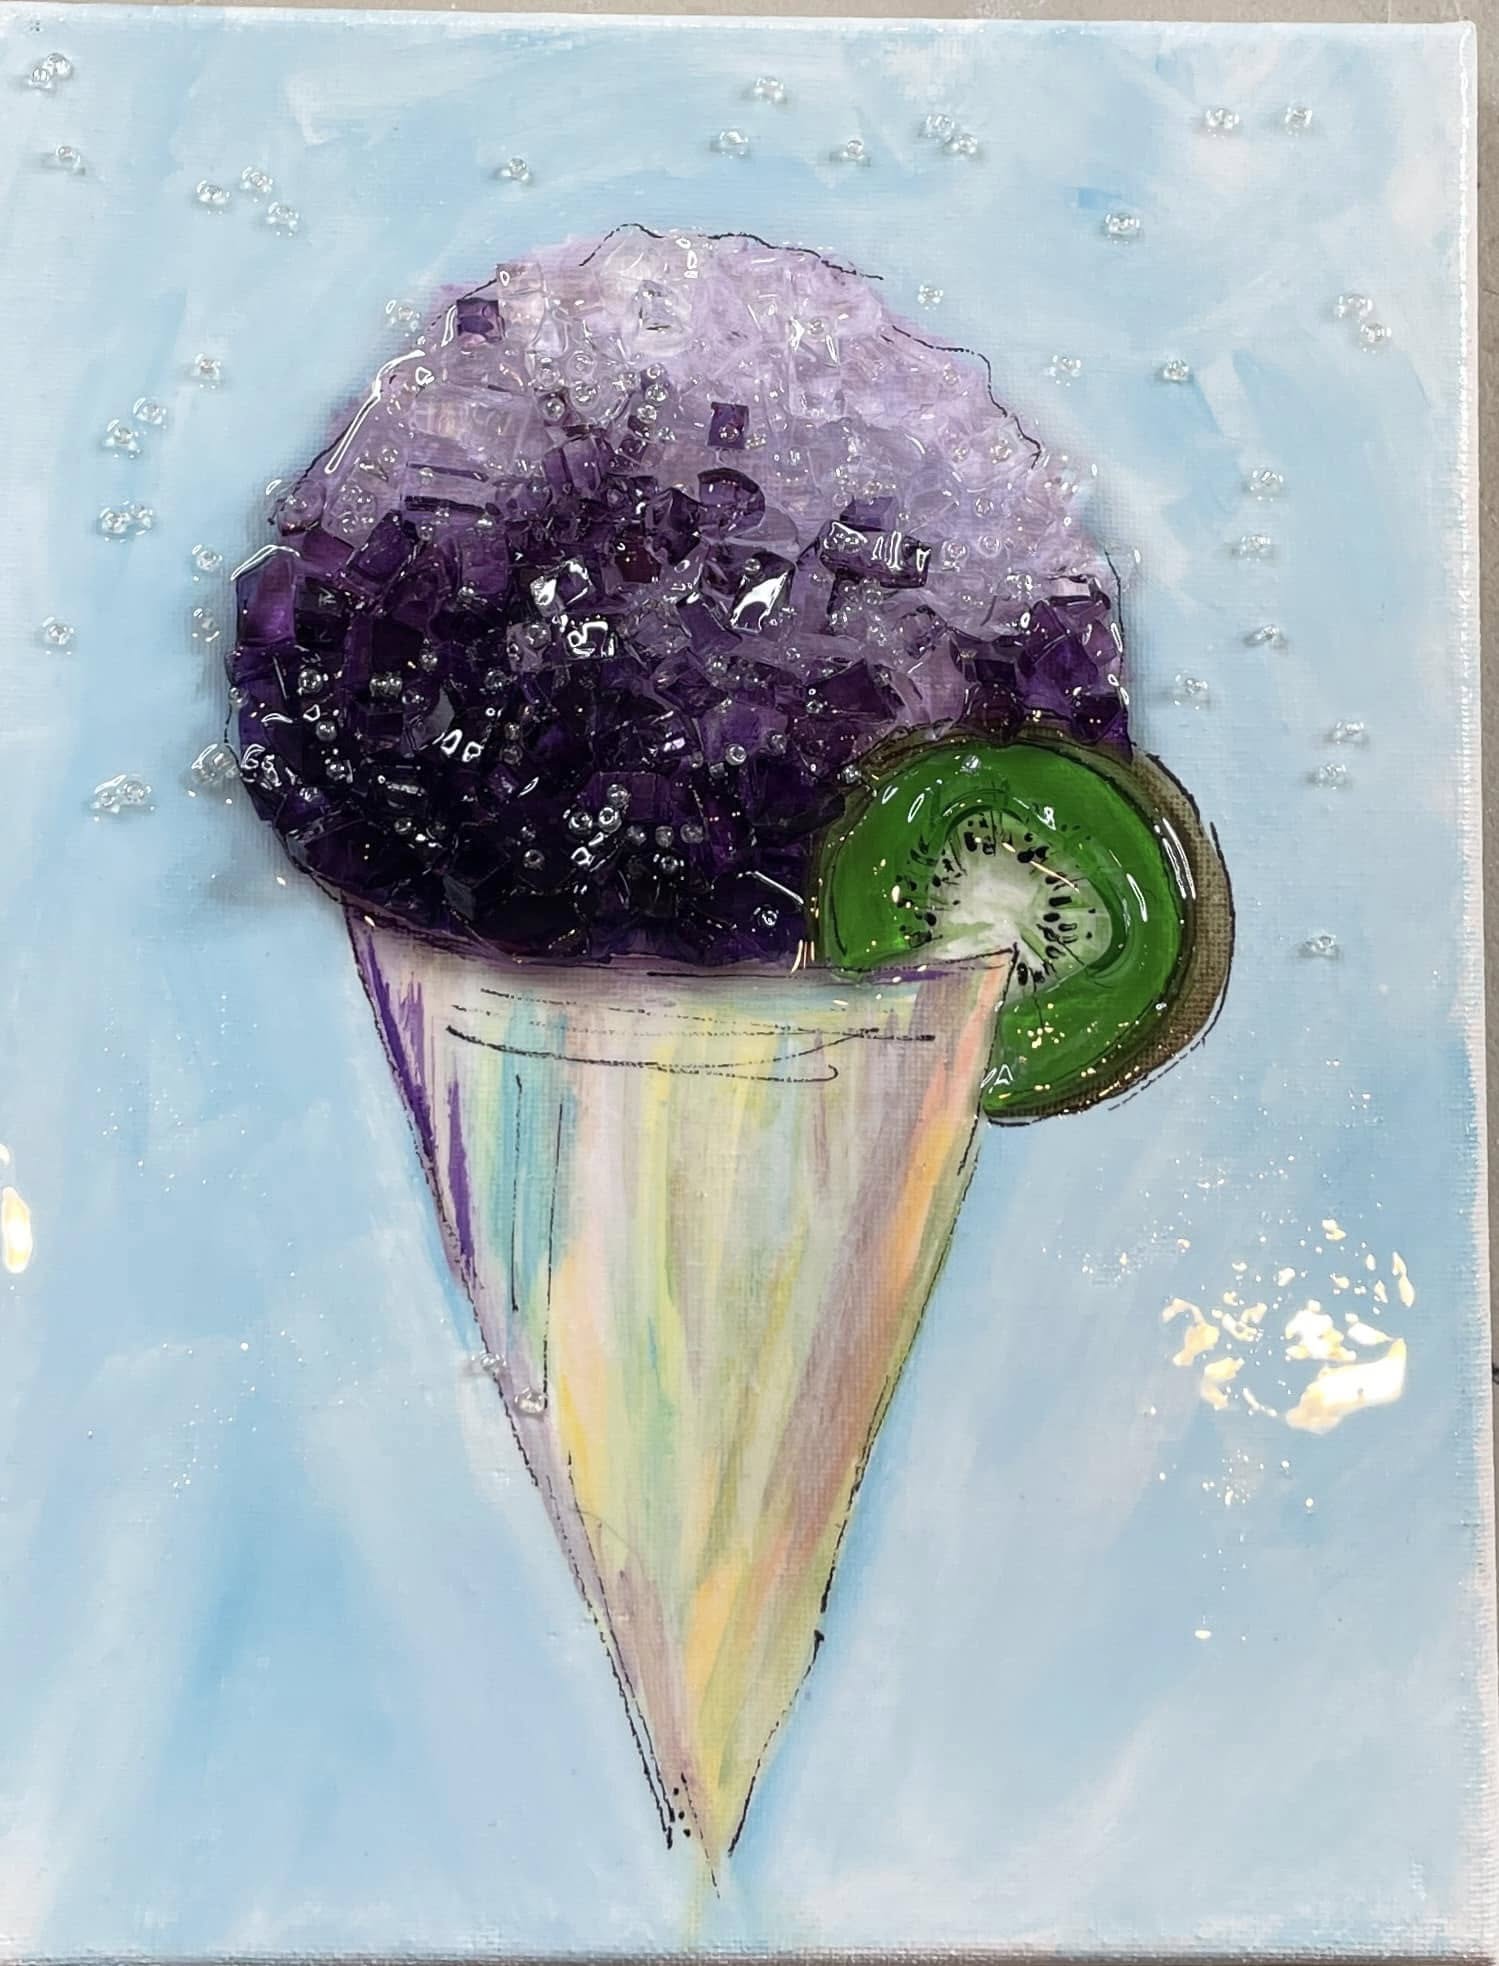
Step 1: Tint the Purple Glass
Before starting the project, tint clear Starfire glass with Krylon Stained Glass Spray in Royal Purple. Lightly mist the glass in several thin coats, allowing each layer to dry before adding another. This creates a rich grape-purple glass color while still allowing light to shine through.
If possible, let the tinted glass dry overnight and rinse away any outdoor dust or debris before using it in your artwork.
Step 2: Trace the Snow Cone
Place the snow cone tracer on your 8x10 canvas and secure it with a small piece of tape. Slide graphite paper underneath and trace only the cone and the icy snow cone top. Skip the fruit ...
Lemon Drop Daiquiri Snow Cone 🍋
This lemon snow cone project is the perfect summer mixed media art piece. It combines soft acrylic painting, bright citrus colors, sparkling glass, resin, and tiny seed bead “ice crystals” to create a dimensional snow cone canvas that looks fresh, fun, and full of sunshine!
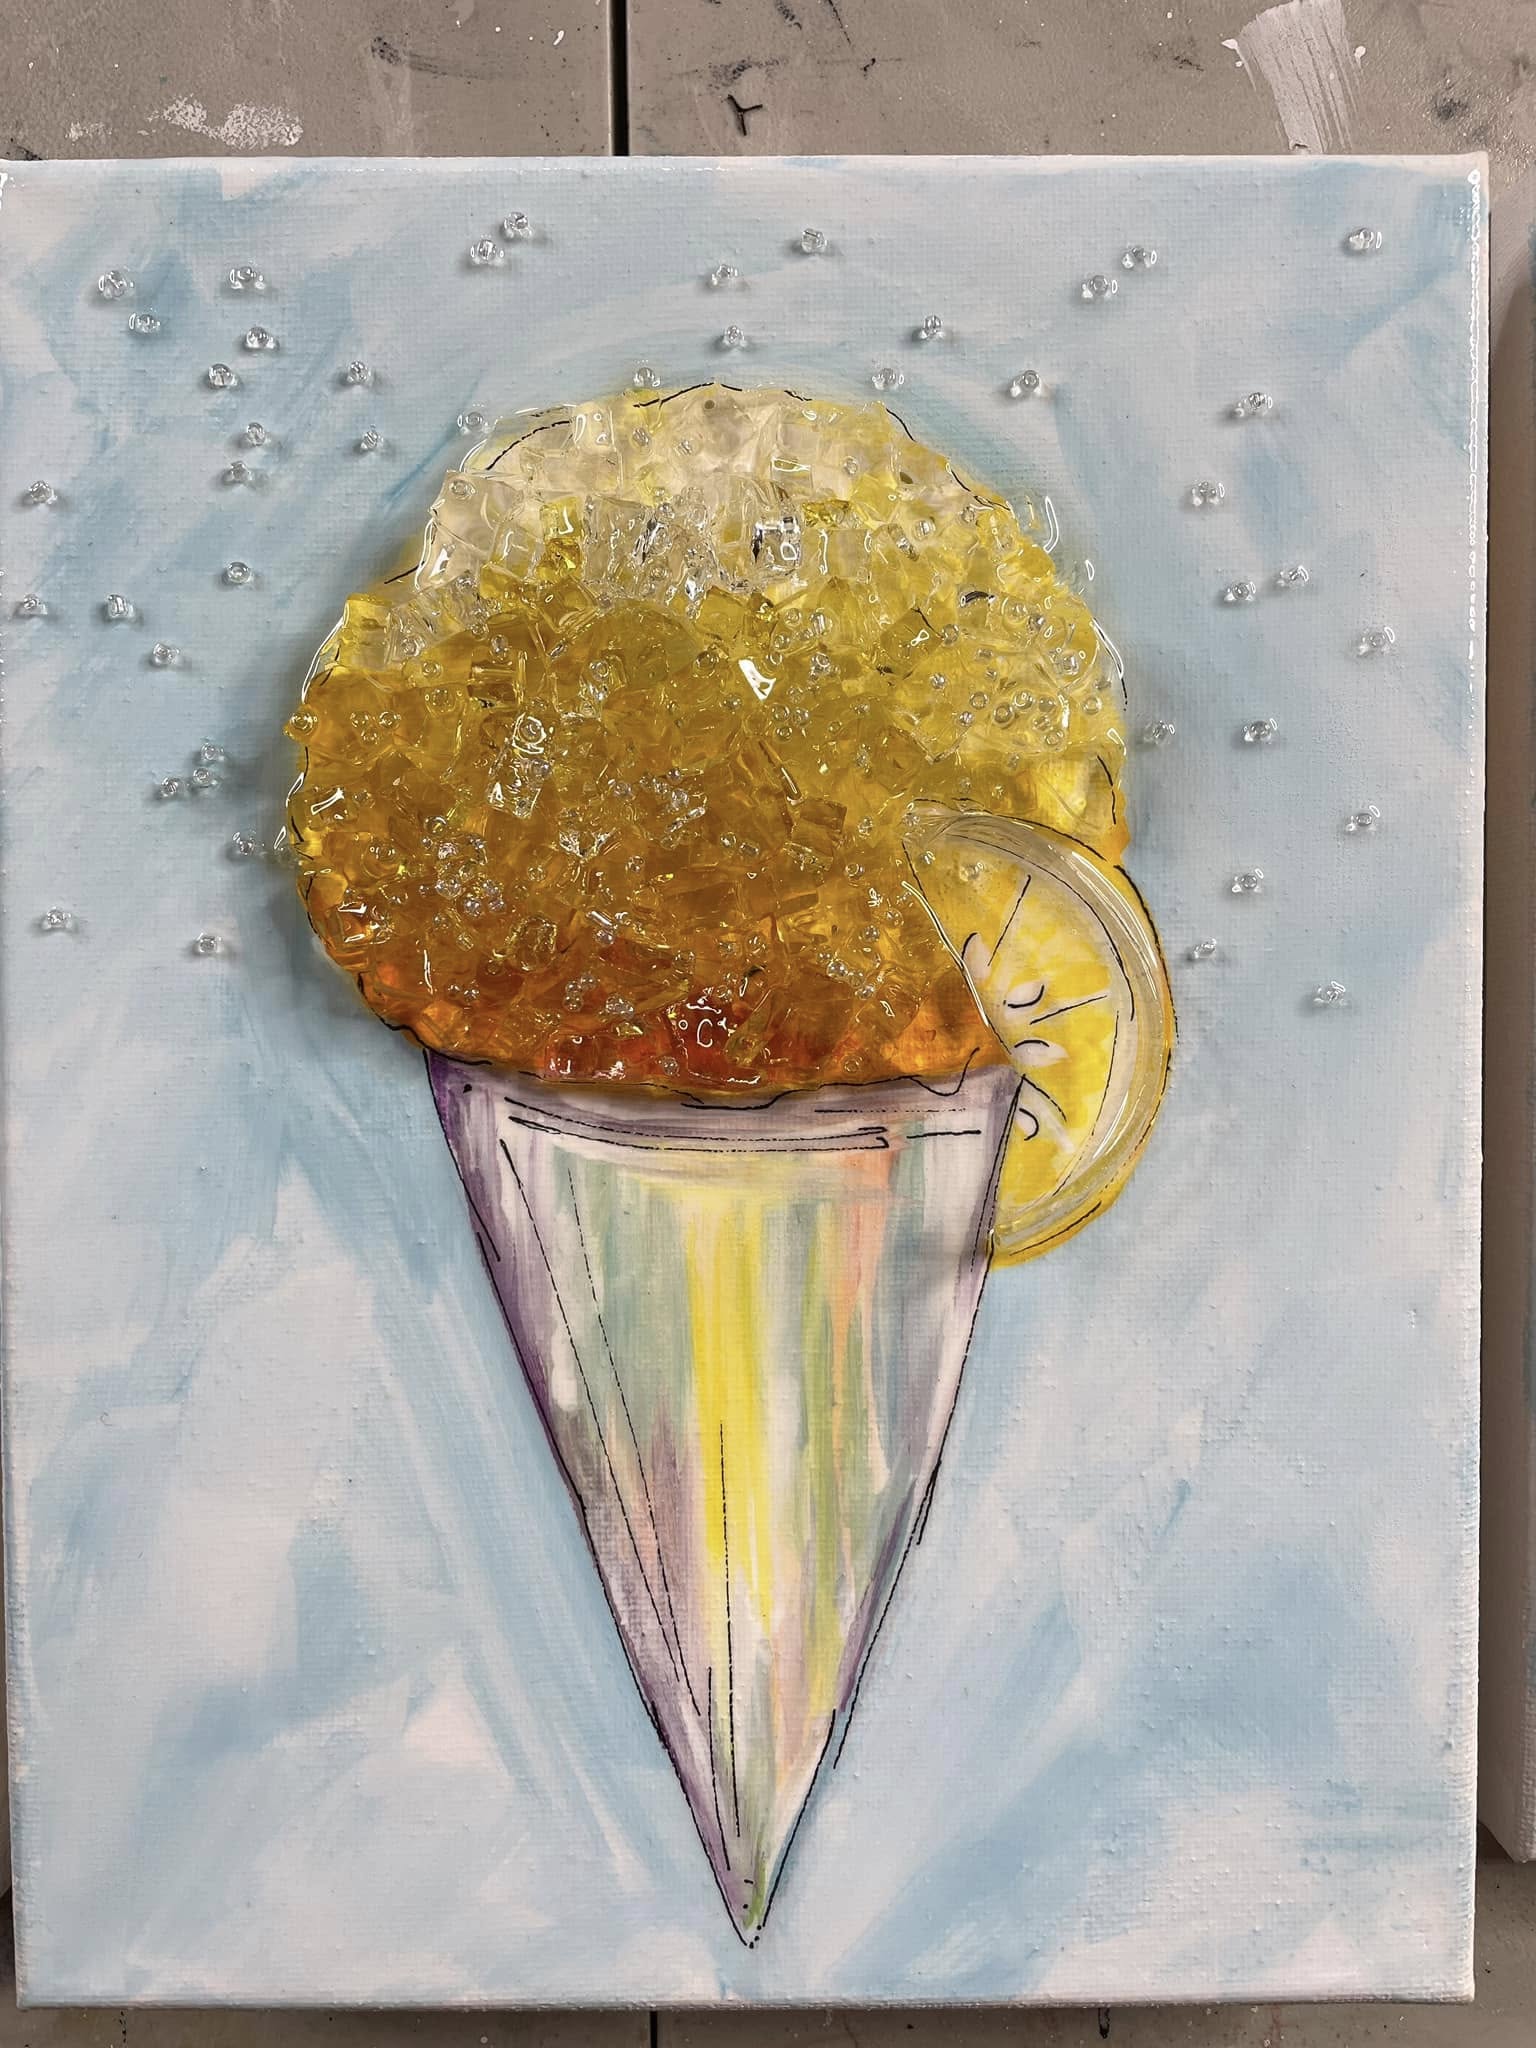
Step 1: Transfer the Snow Cone Design
Start by placing your snow cone tracer on the canvas and sliding transfer paper underneath. Trace the icy snow cone top and the cone shape onto the canvas. For this version, leave off the fruit detail at first because the lemon slice will be added later once the placement are decided.
Step 2: Paint the Background
Begin the background with white paint. Paint one half of the canvas first so you can work wet-on-wet before the paint dries. While the white paint is still wet, add a little Indian Turquoise and blend it loosely into the background using soft, messy brushstrokes. Repeat on the other half of the canvas.
The background should feel light, breezy, and summery. It doe...
Strawberry Daiquiri Snow Cone 🍓
This strawberry daiquiri snow cone project is such a fun summer mixed media piece. Using an 8x10 canvas, acrylic paint, glass, and resin, you’ll create a colorful snow cone with a juicy orange slice and a dimensional glass topping that looks sparkly, icy, and delicious!
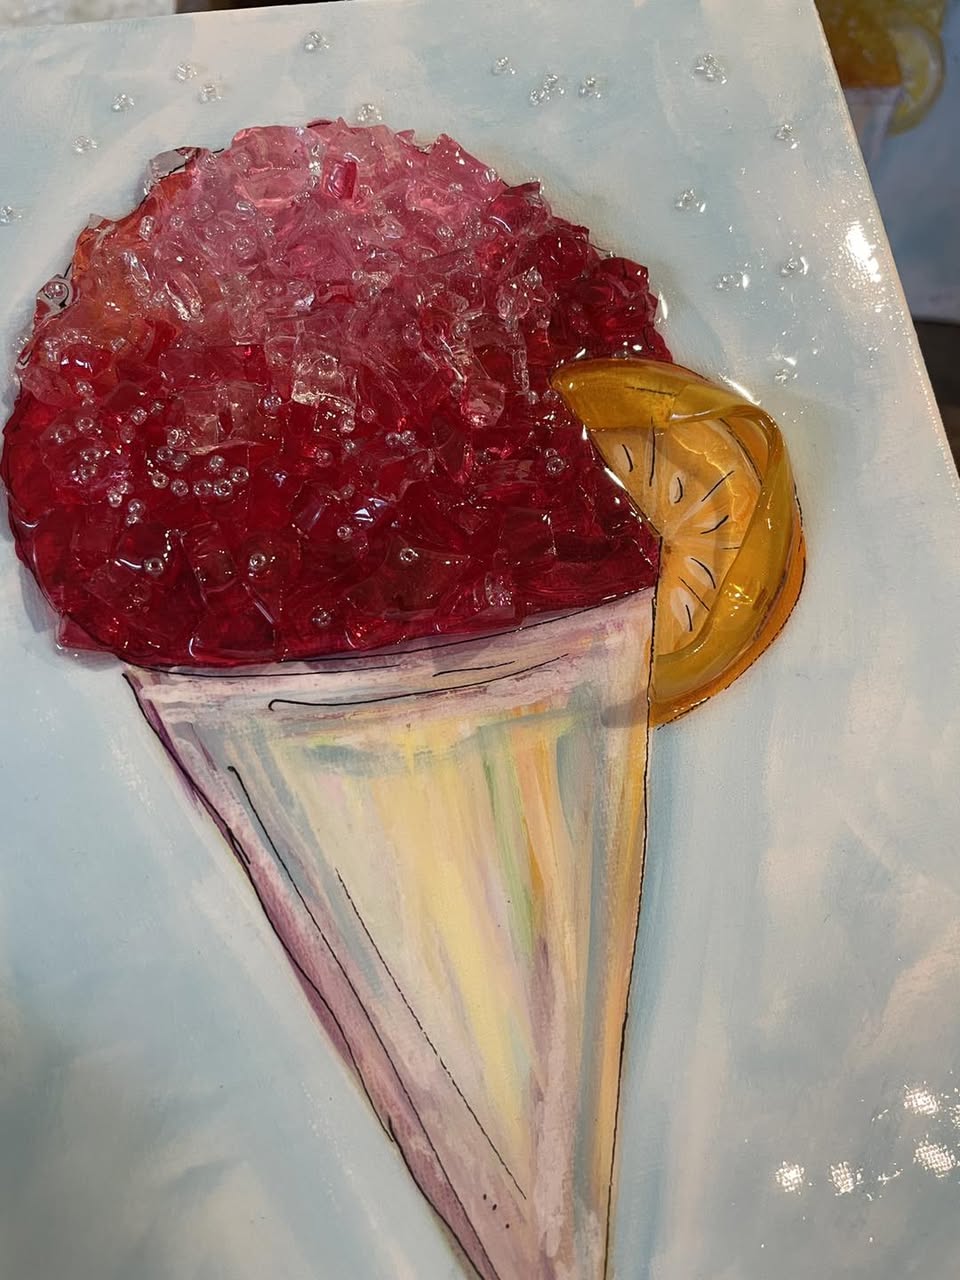
Step 1: Trace the Snow Cone Design
Start by placing your snow cone tracer on the 8x10 canvas. Slide transfer paper underneath the tracer and carefully trace the cone shape and the icy snow cone top. You do not need to trace the orange slice at this point because that will be positioned and painted later. Before moving on, lift one edge of the paper and check that your design transferred clearly.
Step 2: Paint the Background
Use white acrylic paint and Indian Turquoise to create a soft, blended background. Begin by painting one side of the canvas white around the snow cone shape. While the white paint is still wet, dip into a small amount of Indian Turquoise and blend it around the outside edge of the snow cone.
U...
Margarita Snow Cone ☀️
Today, we are going to make a summery snow cone and see how we like it! I am actually going to do a series of snow cones, and this one is the first. This one will be a green snow cone with a lime (And you are going to love what we're doing with the lime - a bottle ring from Etsy!) We are using an 8x10 canvas with some acrylic paint and glass.

First, we will trace our snow cone onto the canvas. Tape your tracer to your canvas, place graphite paper underneath, and trace your snow cone with your stylus.
Paint your snow cone base with white paint (we'll add a little more color later, just so it pops.) Then, we're painting the background with white and Indian Turquoise blue.

Next, we're painting the actual snow cone with a couple different green colors. I'm using a light and a dark green. I'm also adding some Lemon Yellow. Using a smaller brush, blend the colors from the bottom to the top - dark to light. I'm also blotting in some white paint to lighten it up.

For the base of ...
