
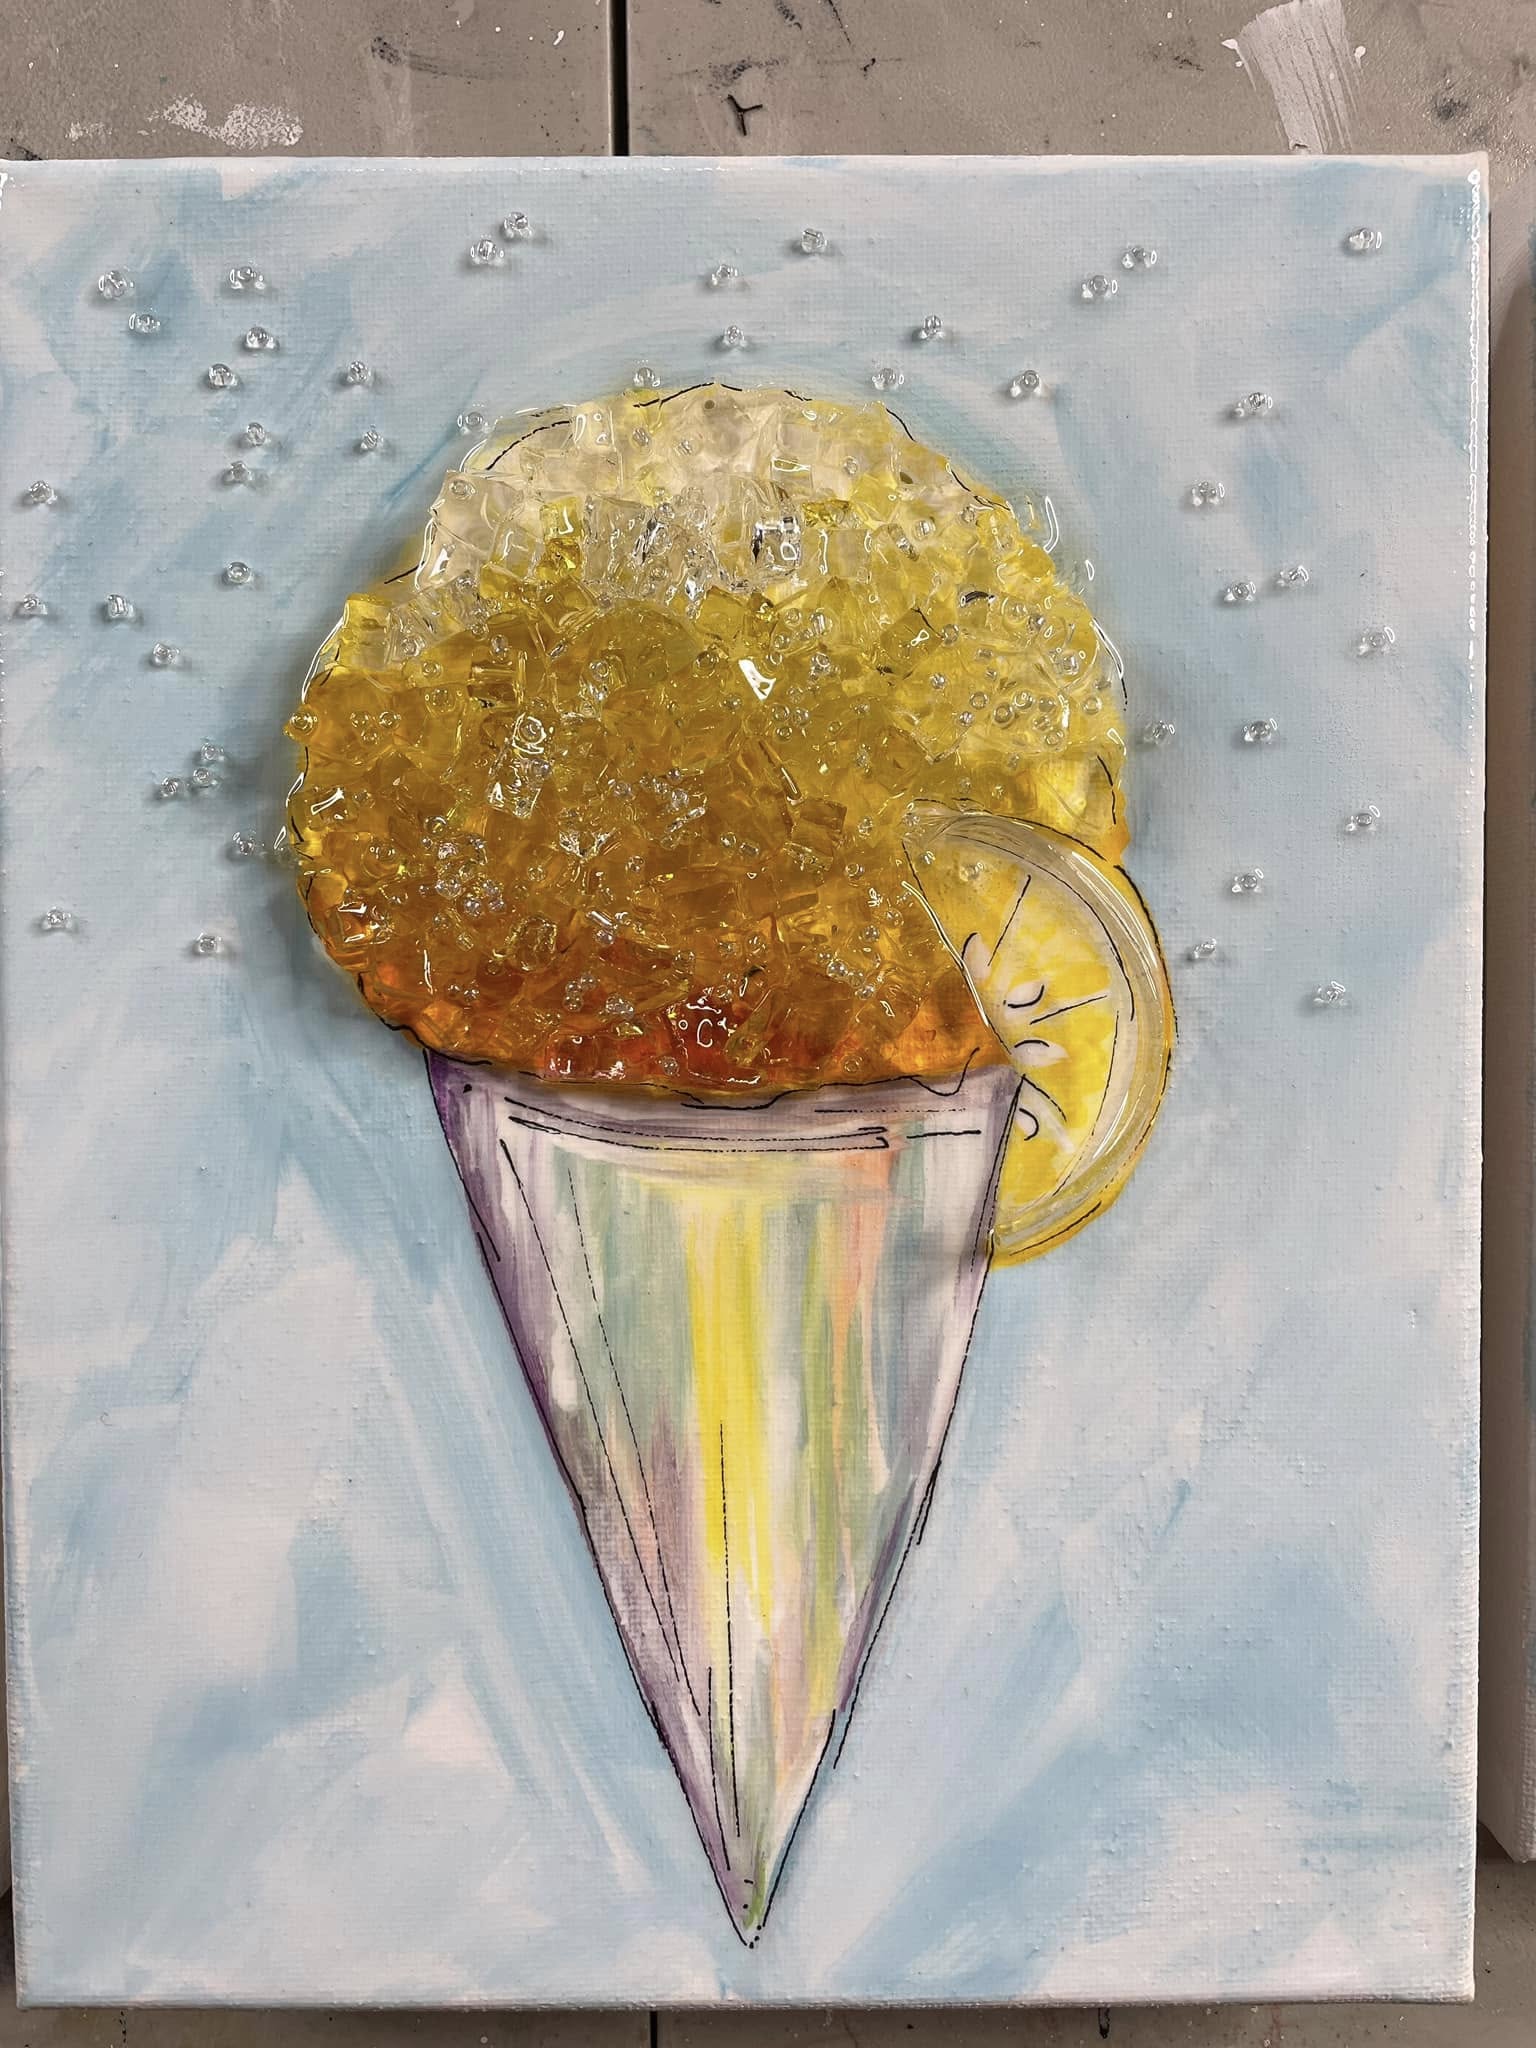
Lemon Drop Daiquiri Snow Cone 🍋
This lemon snow cone project is the perfect summer mixed media art piece. It combines soft acrylic painting, bright citrus colors, sparkling glass, resin, and tiny seed bead “ice crystals” to create a dimensional snow cone canvas that looks fresh, fun, and full of sunshine!
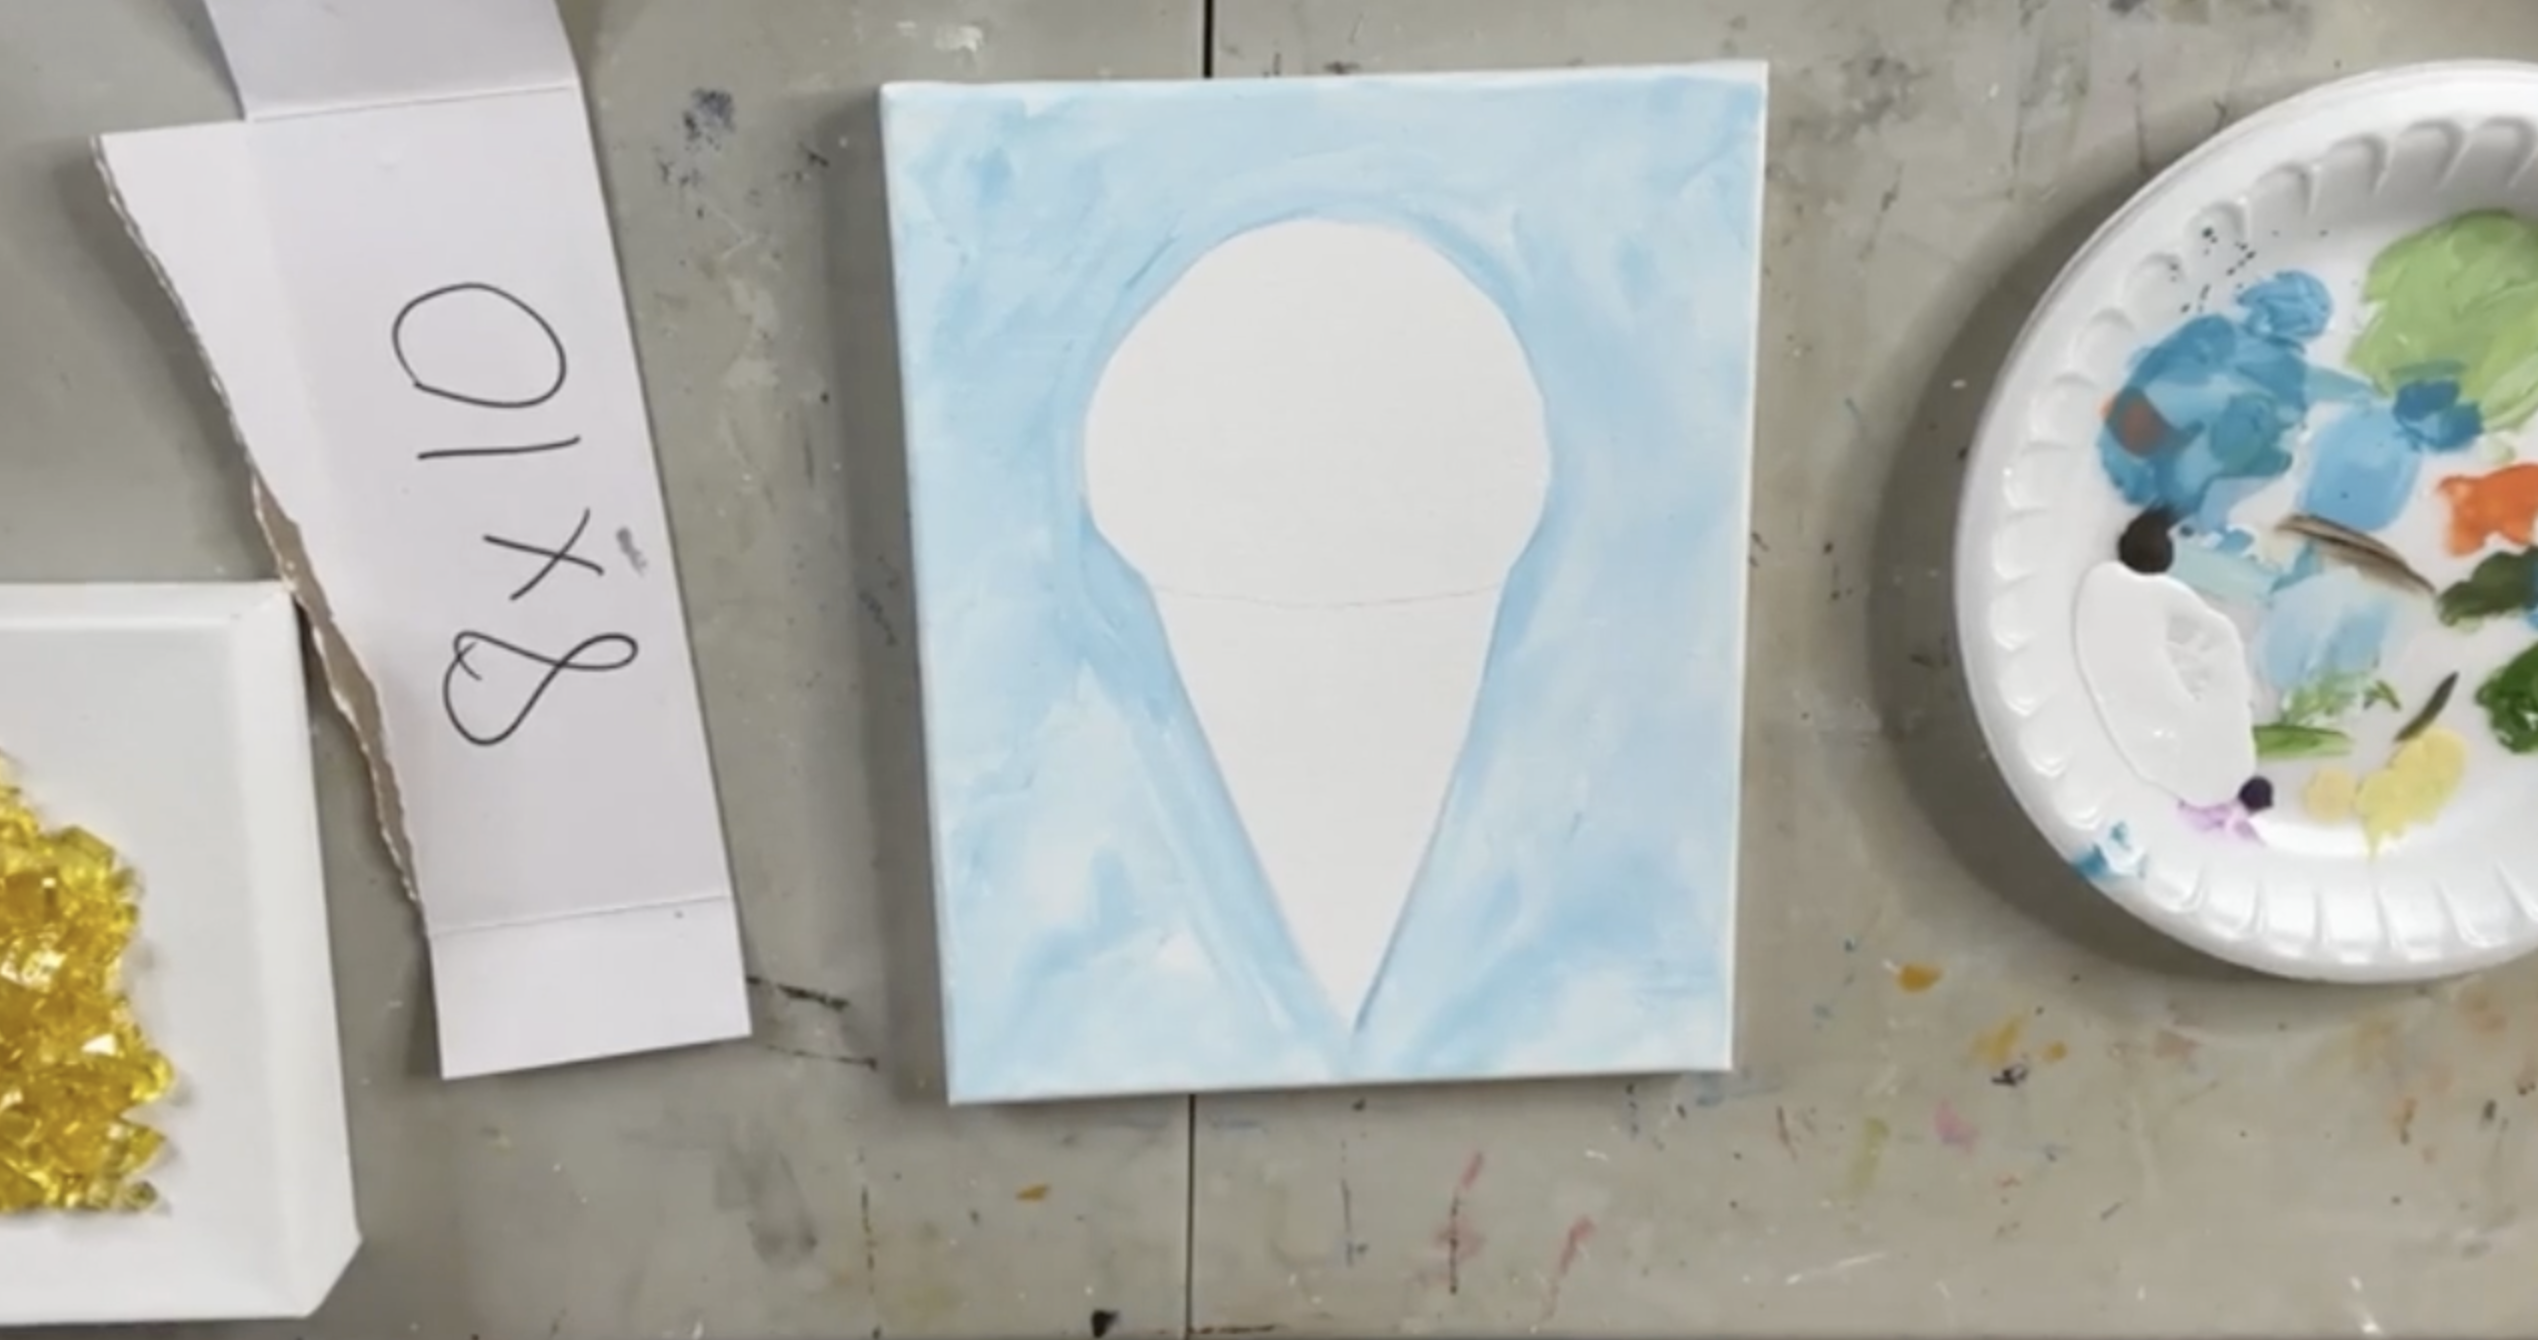
Step 1: Transfer the Snow Cone Design
Start by placing your snow cone tracer on the canvas and sliding transfer paper underneath. Trace the icy snow cone top and the cone shape onto the canvas. For this version, leave off the fruit detail at first because the lemon slice will be added later once the placement are decided.
Step 2: Paint the Background
Begin the background with white paint. Paint one half of the canvas first so you can work wet-on-wet before the paint dries. While the white paint is still wet, add a little Indian Turquoise and blend it loosely into the background using soft, messy brushstrokes. Repeat on the other half of the canvas.
The background should feel light, breezy, and summery. It does not need to be perfectly blended. A little variation in the blue and white makes the finished piece feel more playful. Let dry.
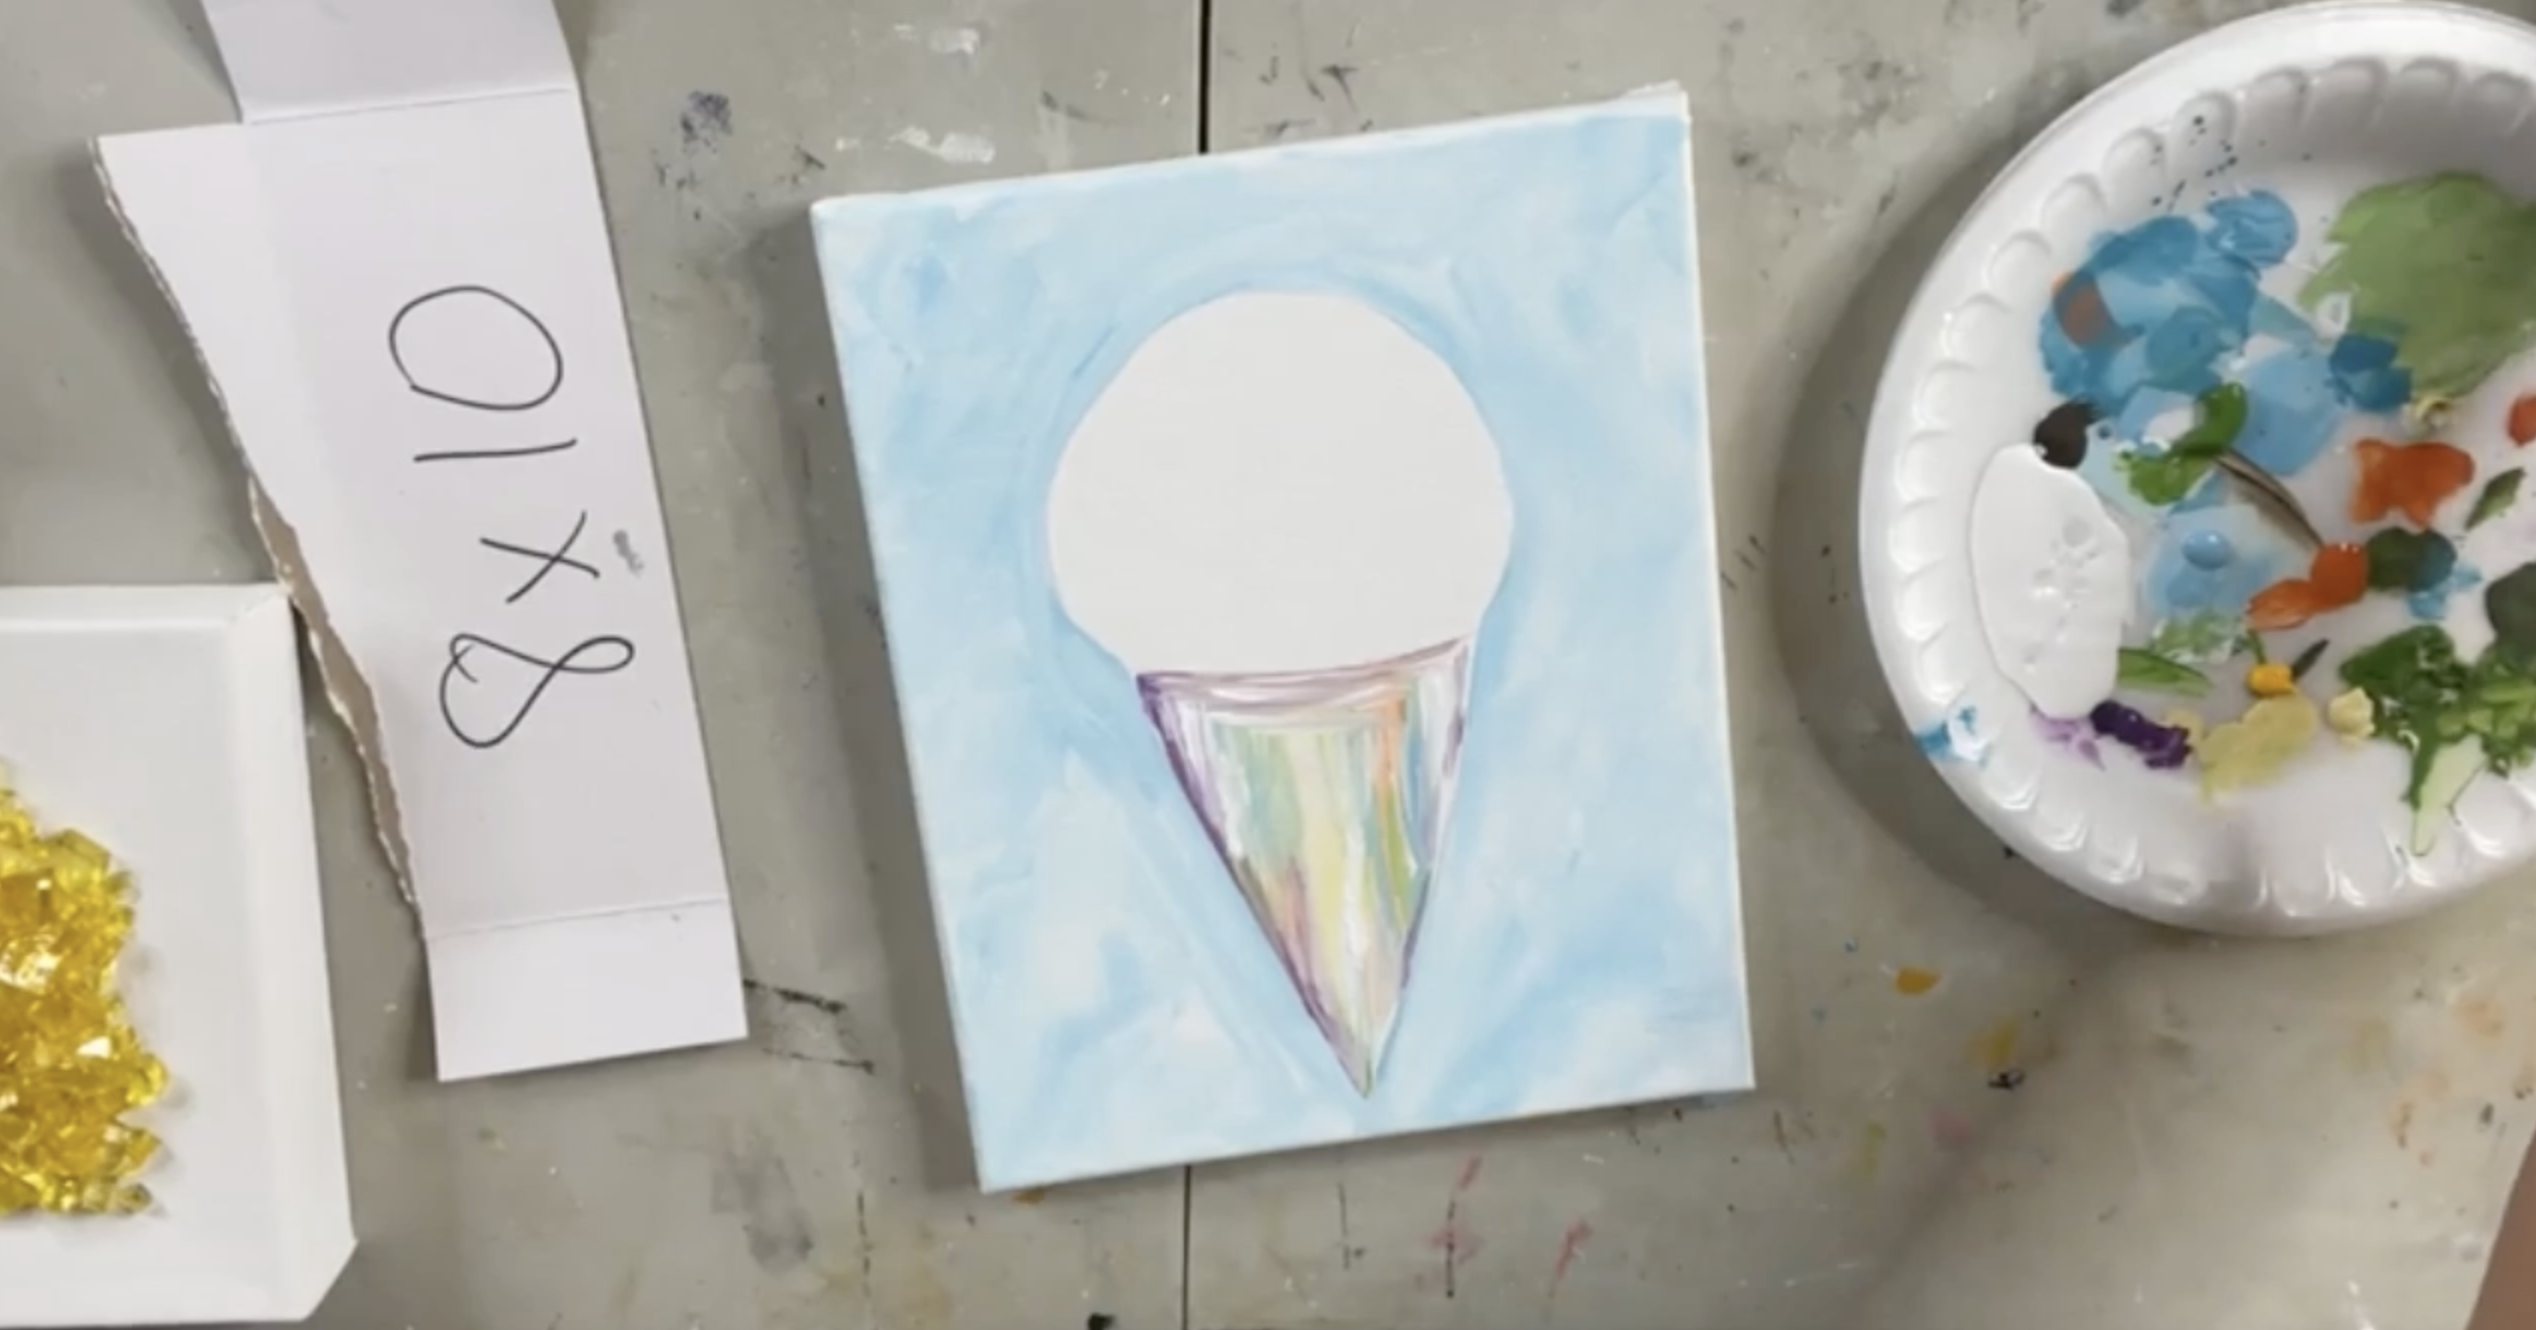
Step 3: Paint the Snow Cone Cup
Paint the cup area white first. While the white is still wet, add small touches of yellow, orange, green, blue, and purple. There is no exact pattern for this step. The goal is to create a colorful, watercolor-style cone with soft vertical color movement.
Once the first layer dries, use a watery white wash over the cone to tone down any colors that feel too bright. Add a little yellow back in so the cone still ties in with the lemon snow cone flavor.
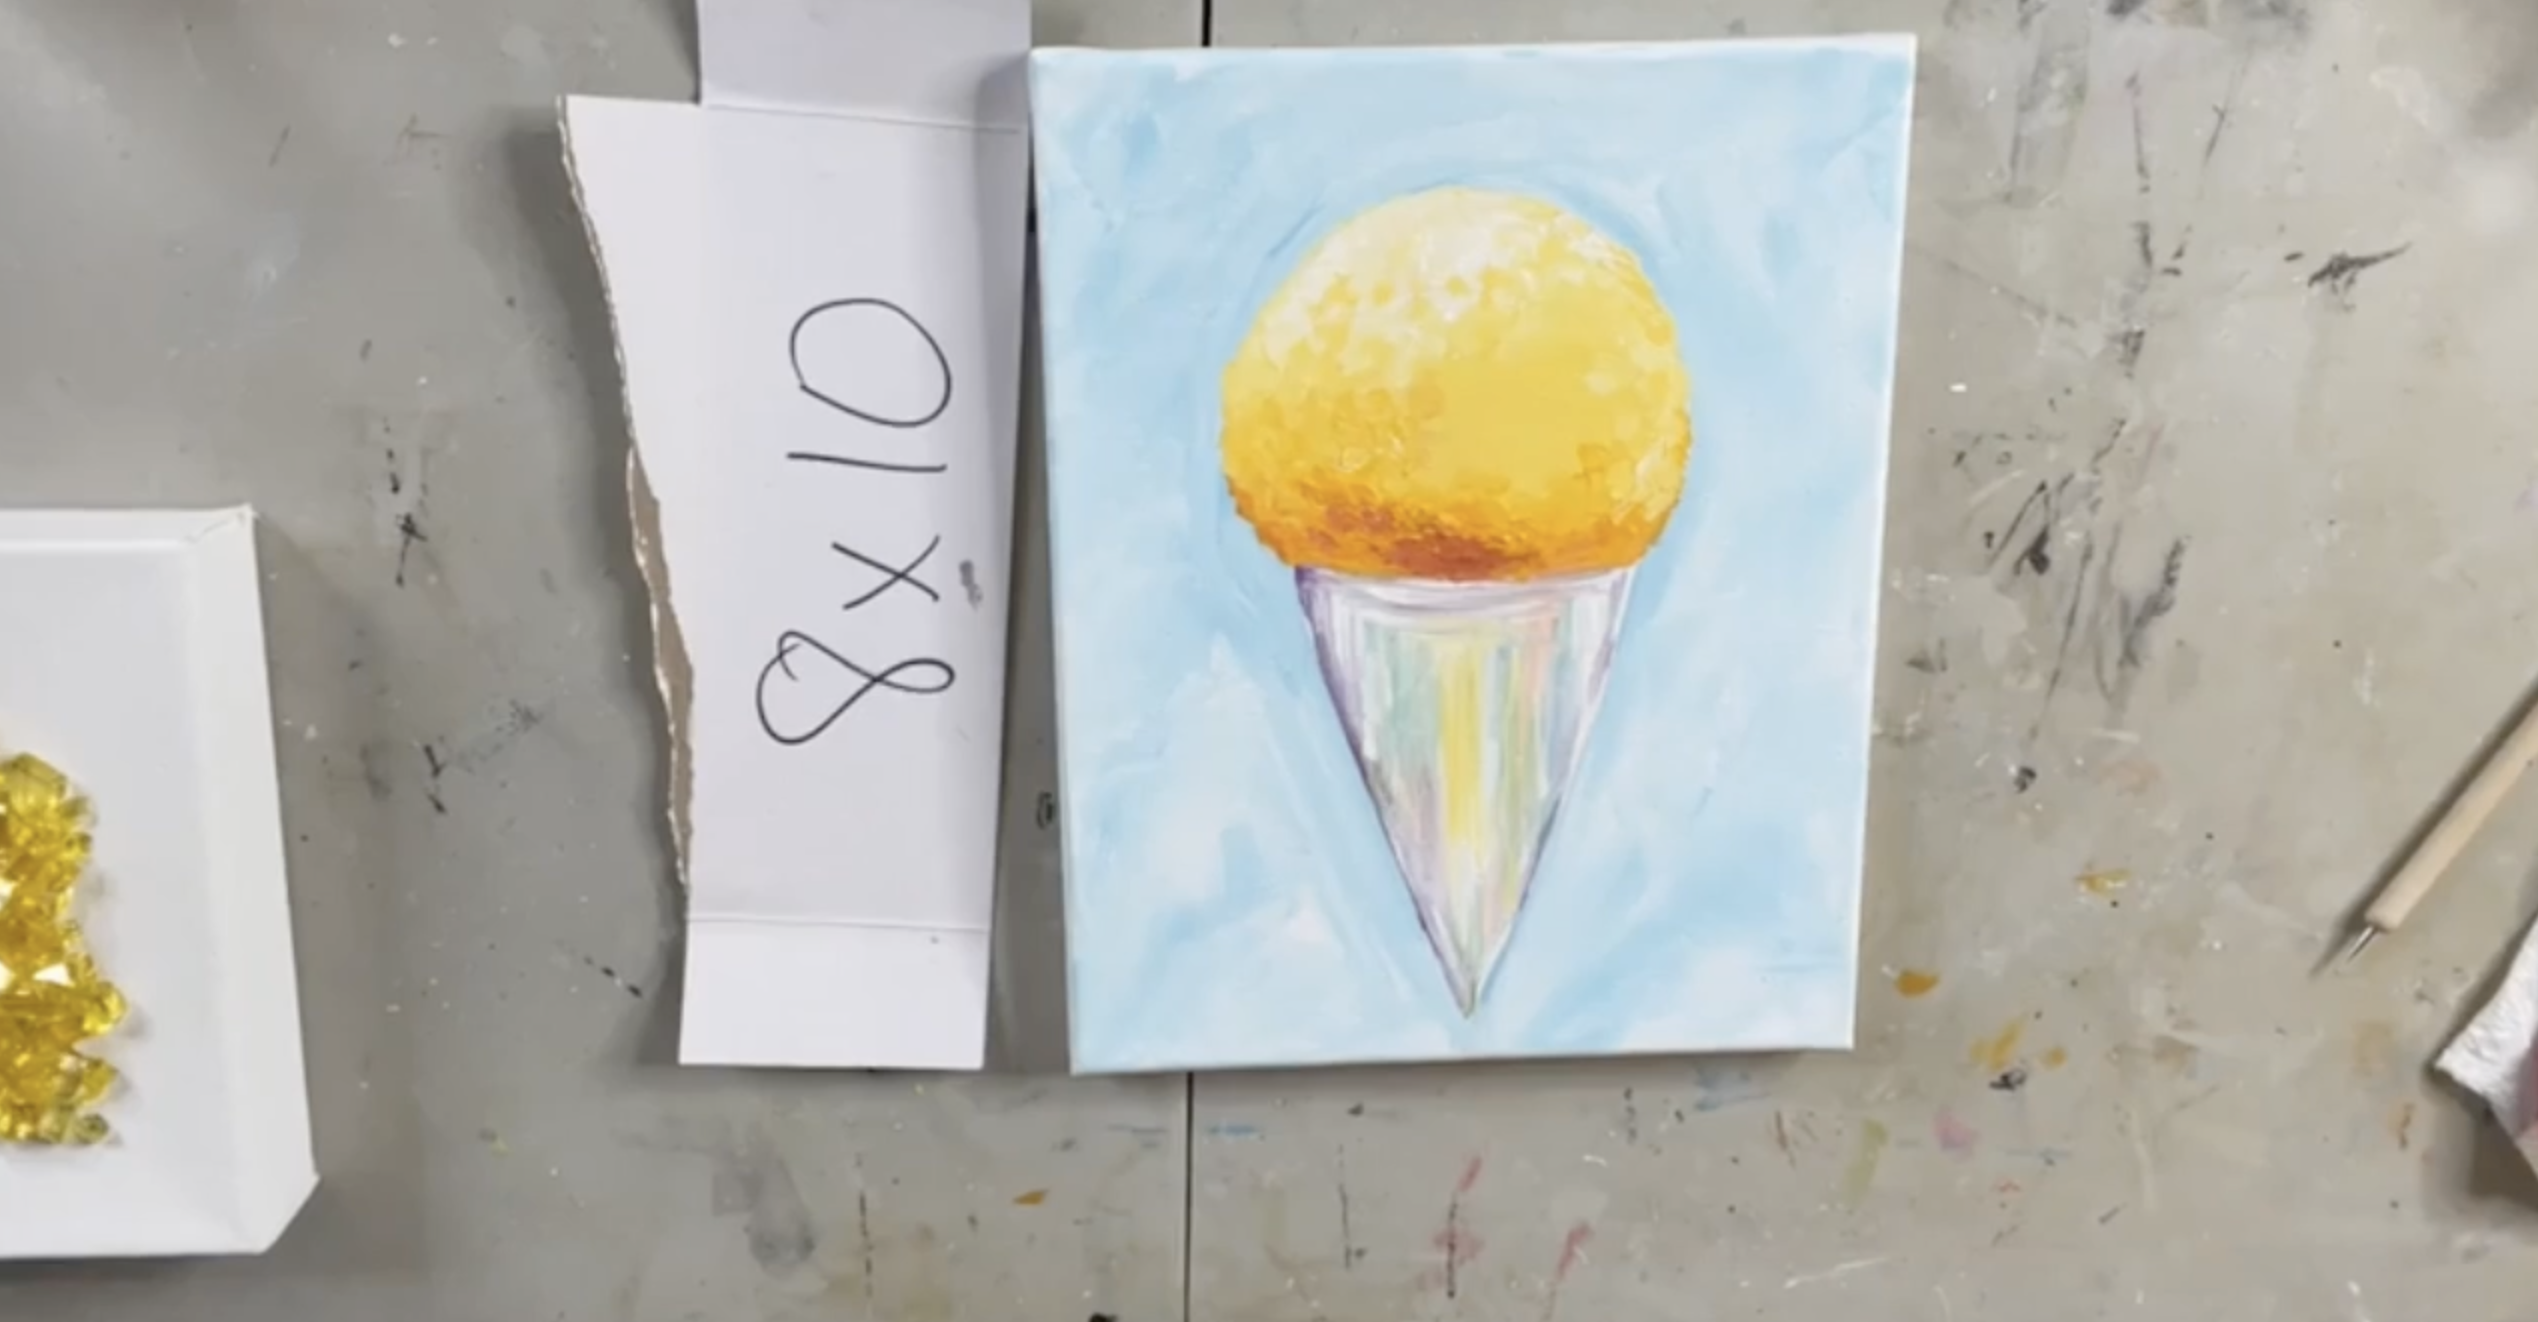
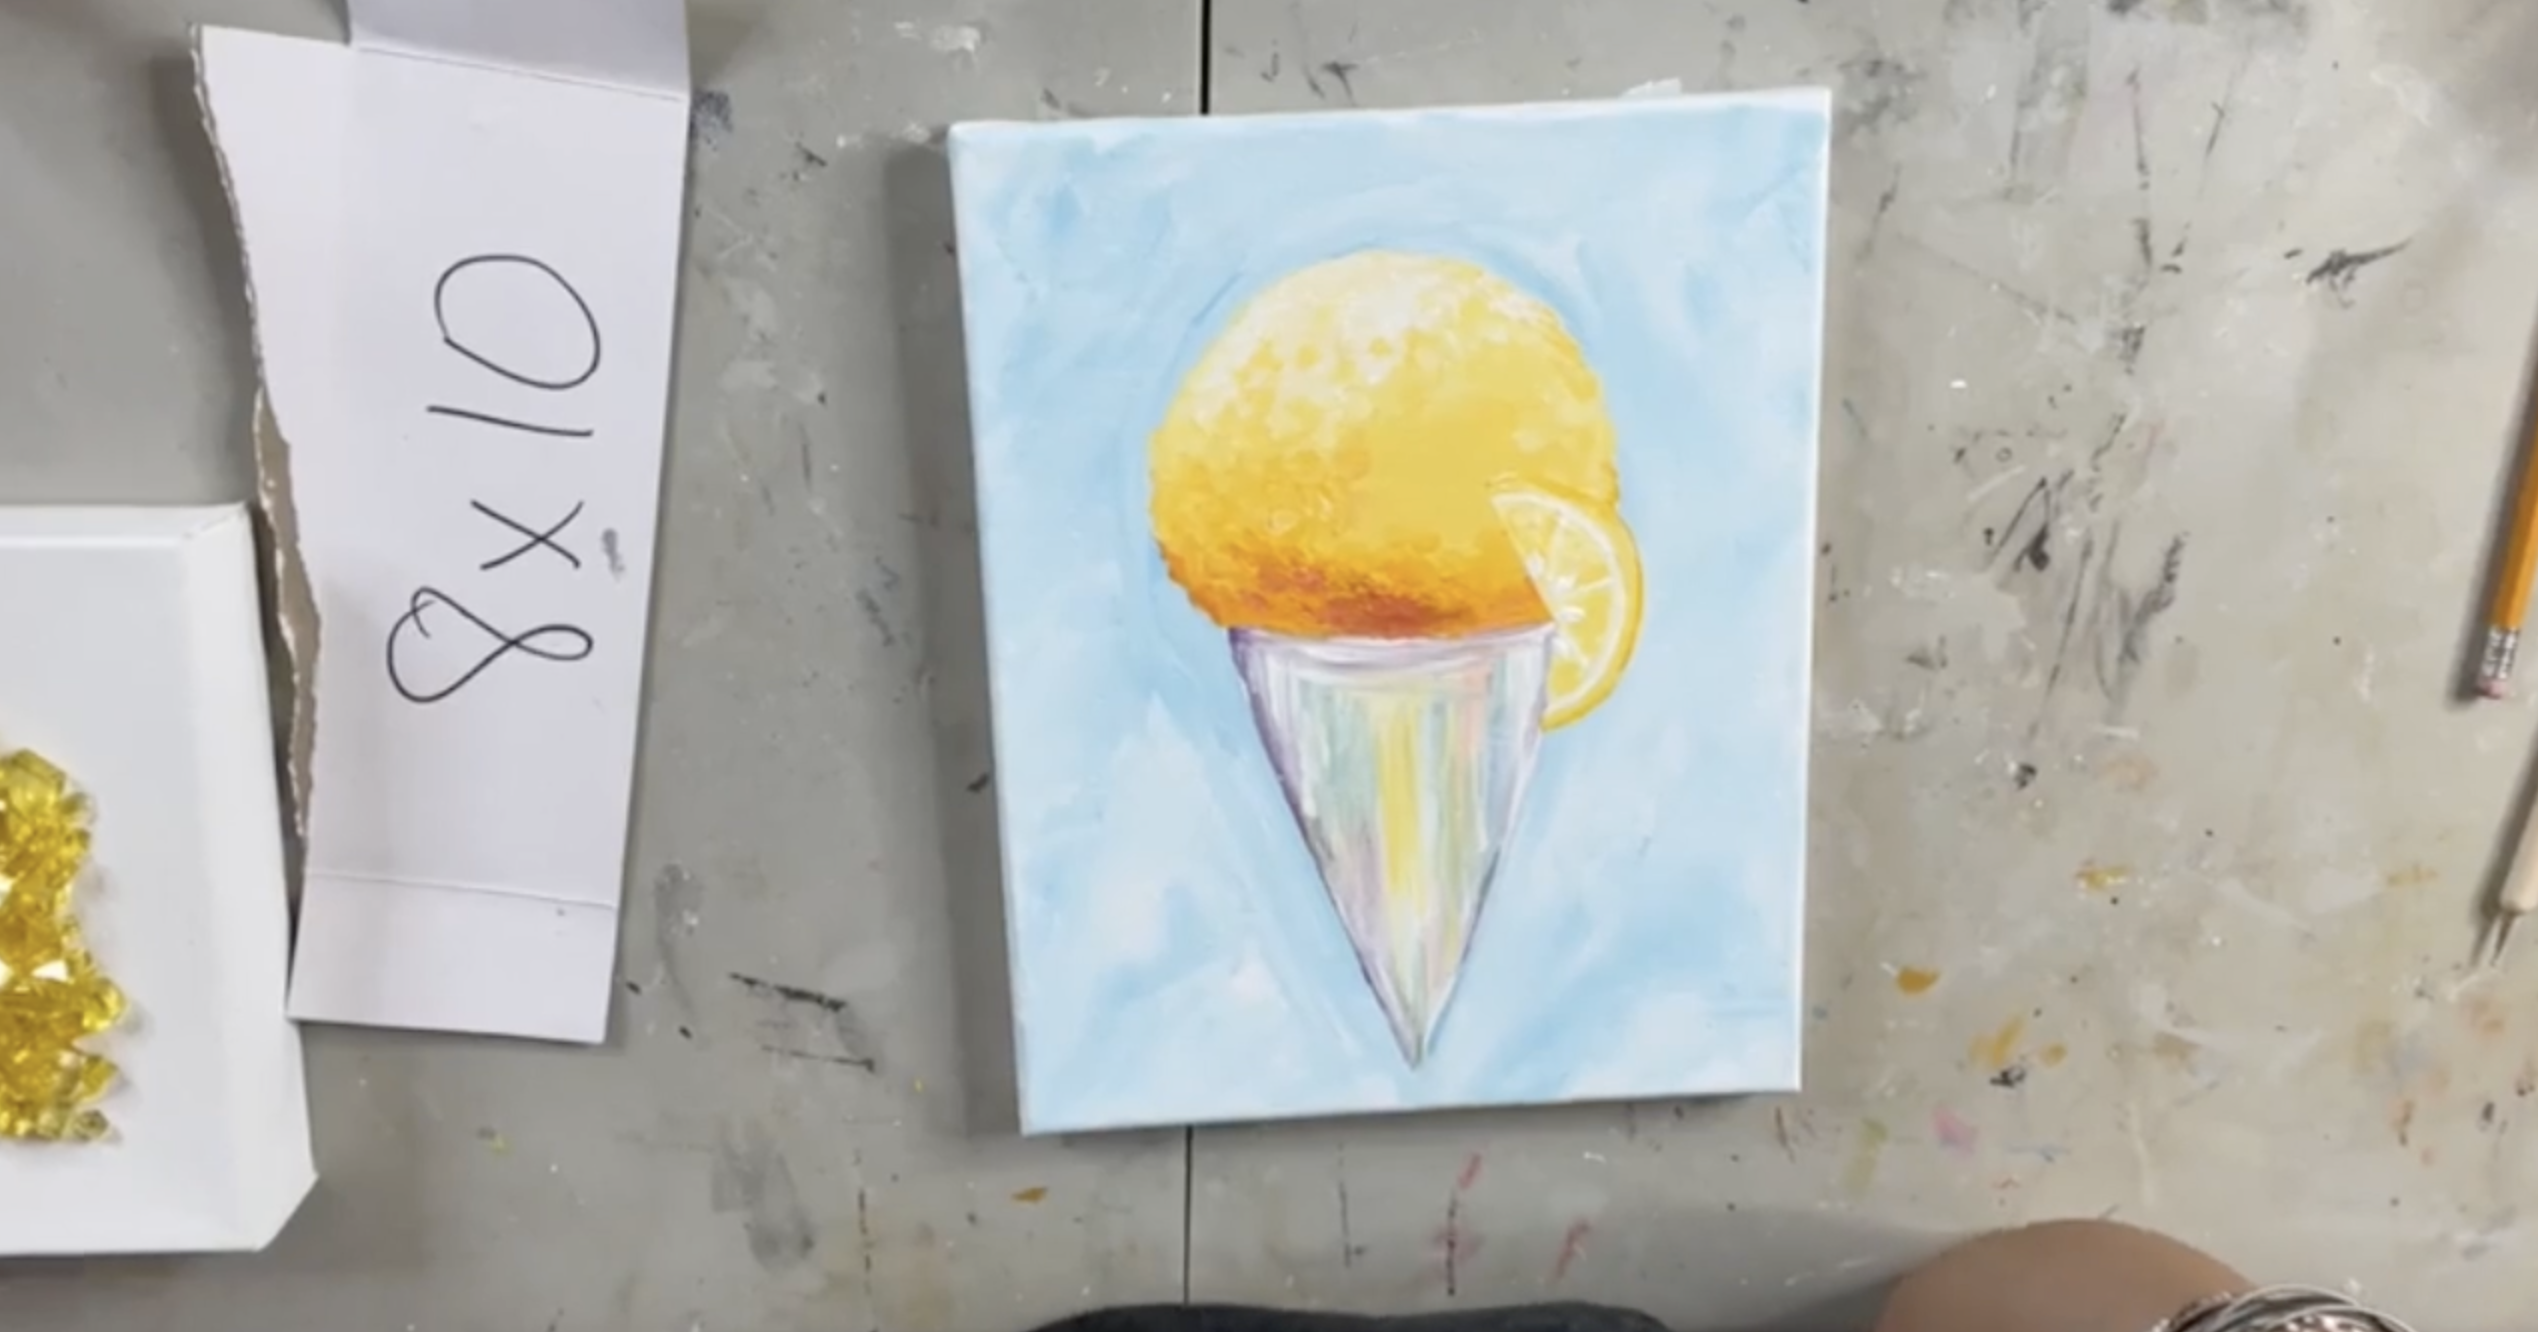
Step 4: Paint the Lemon Snow Cone
Start the snow cone top with a little orange near the bottom where the syrup would be darkest. Blend School Bus Yellow into the orange, then continue working upward with lighter yellow tones. Add Lemonade Yellow toward the top and blend in white so the upper part looks lighter, like the syrup has drained down into the bottom of the snow cone.
Use a pouncing motion with the tips of your brush instead of smooth strokes. This helps the painted area look more like crushed ice.
Step 5: Add More Depth to the Ice
Once the first layer is dry, add a few more touches of orange and yellow where you want deeper flavor color. Then blend white into the top again to keep the icy effect. The goal is a gradual shift from deeper golden yellow at the bottom to pale icy yellow near the top. Let dry.
Step 6: Create the Lemon Slice
Use a curved piece of glass from a bottle ring or similar glass piece for the lemon rind. If needed, cut it down by scoring the inside curve with a glass cutter and snapping it carefully.
Place the glass rind where you want the lemon slice to sit, then lightly sketch around it with a pencil. Paint the lemon slice underneath using yellow, white, and a little darker yellow for the rind and sections. Keep the inside of the lemon very pale, almost white-yellow, so it looks fresh and citrusy.
Step 7: Add Lemon Details
Use white to paint the thin inner lines of the lemon slice and add small lemon seed shapes. Add a little darker yellow around the rind and between sections to give the lemon more definition. Dry the area completely before adding pen work. Let dry.
Step 8: Add Pen Details
Use an archival graphic pen to loosely outline the snow cone, cone, lemon slice, and fruit sections. Keep your lines sketchy and imperfect with short strokes rather than a perfect outline. Add a few little dots and simple vertical lines on the cone for extra detail.
This step gives the project that whimsical mixed media look and helps the lemon slice and cone stand out.
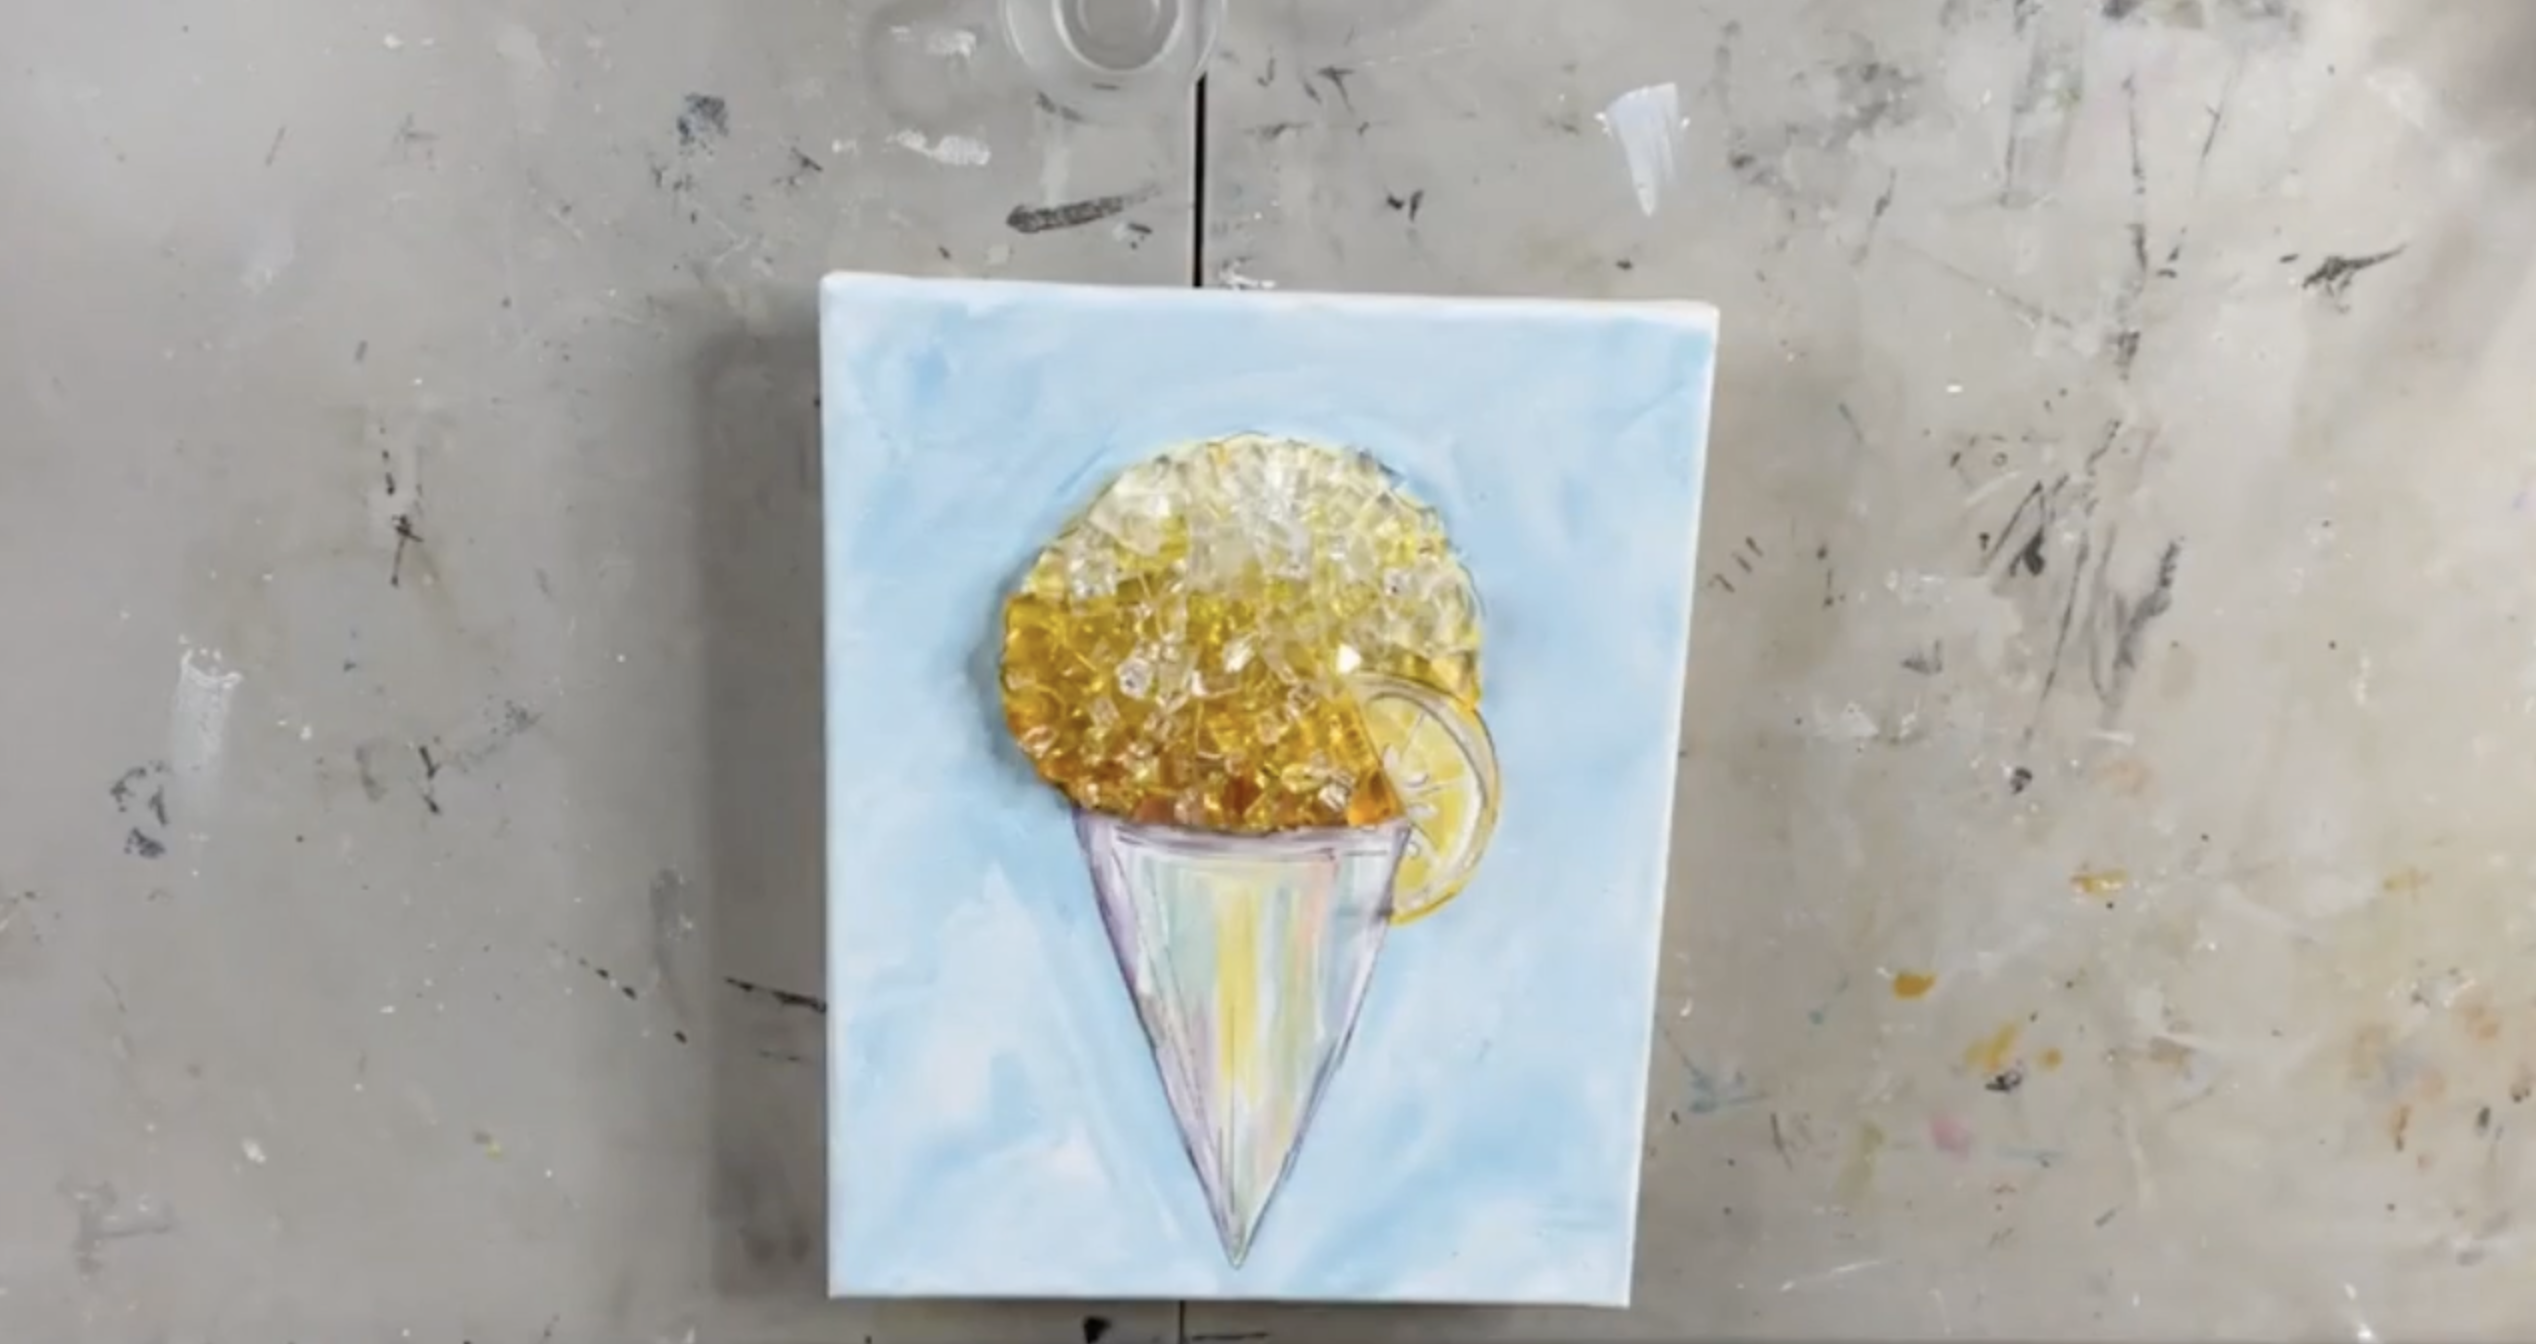
Step 9: Add the Glass
Use yellow-tinted Starfire glass on the lower portion of the snow cone where the yellow flavor is strongest. Then add clear Starfire glass toward the top where the snow cone is lighter.
Layer the glass so it looks chunky and dimensional, just like real shaved ice. Blend a few small yellow pieces up into the clear glass and a few clear pieces down into the yellow section so there is not a harsh line between the two.
Step 10: Add the Lemon Rind Glass
Place the curved glass lemon rind over the painted lemon slice. Before securing it permanently, make sure it touches the snow cone and sits naturally along the edge.
This little glass detail makes the lemon slice feel dimensional and ties it into the rest of the glass-covered snow cone.
Step 11: Mix the Resin
Put on your rubber gloves. Mix 1 ounce total of Art Resin using 1/2 ounce resin and 1/2 ounce hardener. Pour both parts into one cup and stir slowly for three full minutes, scraping the sides and bottom as you mix.
The resin should be fully combined before pouring so it cures properly.
Step 12: Apply the Resin
Elevate the canvas on risers before adding resin. Add a small amount of resin under the curved lemon glass, then press it into place. You can also dip the glass edge lightly into resin so it is fully coated.
Next, drizzle resin over the glass snow cone, working methodically so every piece of glass is covered. The resin will settle between the glass pieces and secure everything to the canvas.
Step 13: Coat the Canvas
Use the remaining resin to coat the rest of the canvas. A silicone makeup brush or resin spreader works well for pulling resin toward the edges. You can also use a gloved finger to make sure the resin reaches all edges and corners.
Check for any skipped spots before moving on.
Look closely for dust, glitter, or tiny debris in the resin. Use a toothpick to lift out anything you see. Then use a heat gun or torch to pop bubbles, keeping the heat moving so you do not scorch the resin.
Step 14: Add Ice Crystal Seed Beads
While the resin is still wet, sprinkle tiny iridescent seed beads onto the snow cone and around the top area. These look like little ice crystals and add the perfect finishing sparkle.
It’s easiest to add these after the resin is already spread, so you have more control and don’t have to work around them.
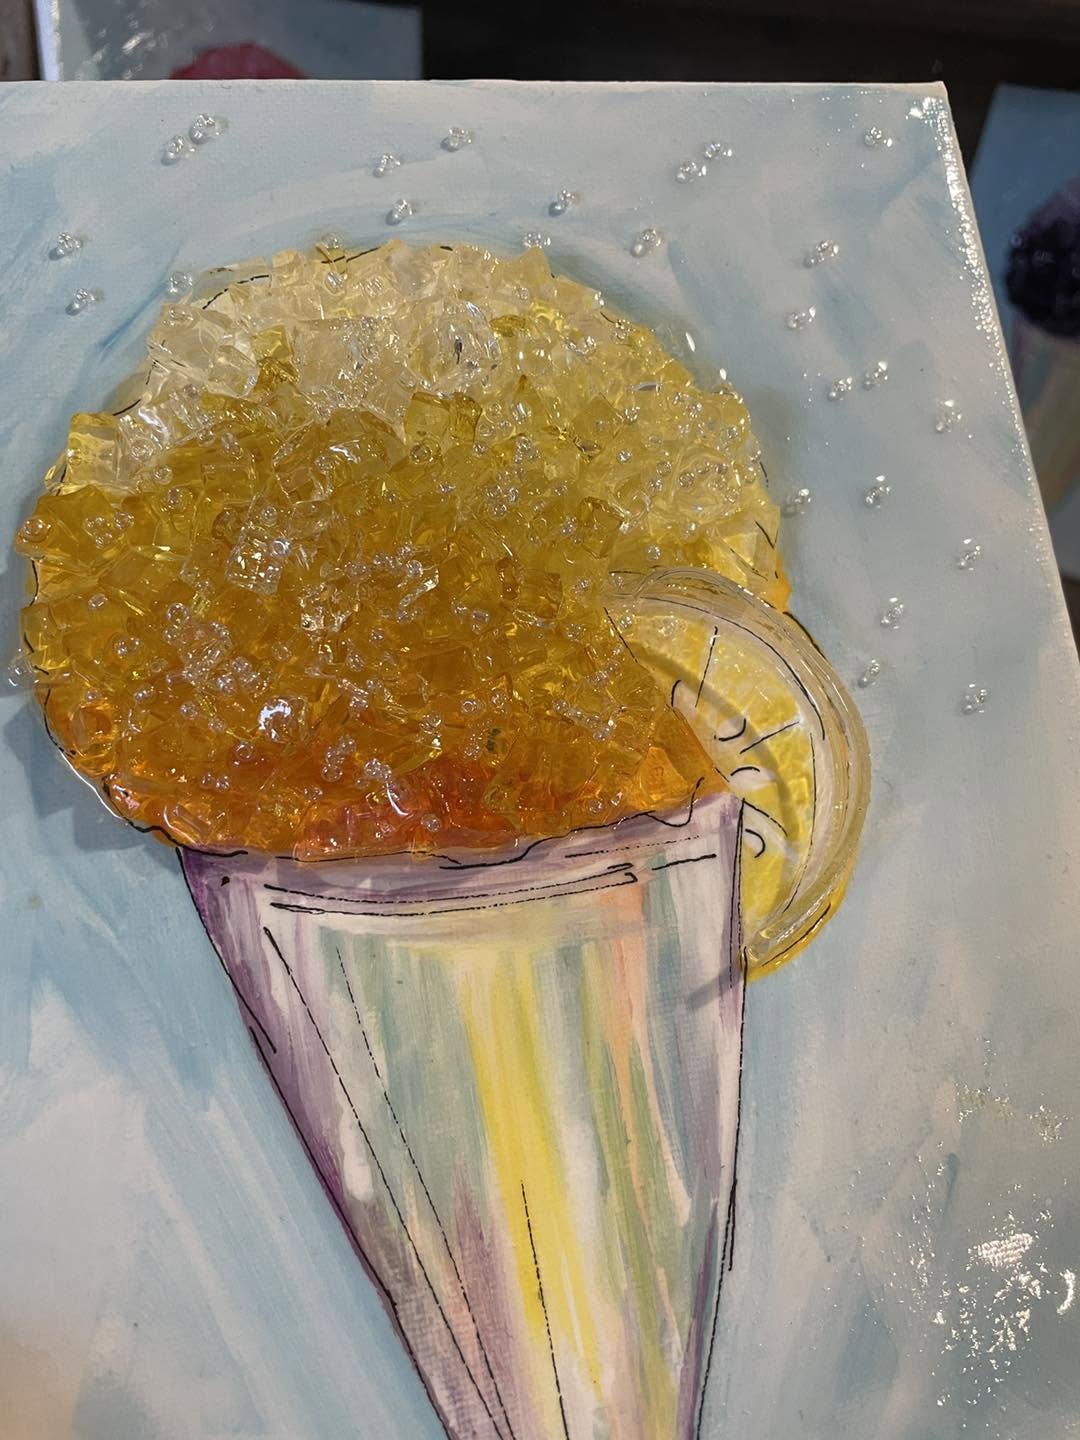
This lemon snow cone glass and resin project is bright, cheerful, and perfect for summer. The yellow glass, pale citrus slice, icy seed beads, and glossy resin finish make the whole piece feel refreshing and fun.
It would be adorable displayed on its own or as part of a full snow cone series with different flavors, fruits, and glass colors!
If you're a member of The Shattered Circle, you'll find this tutorial in your classroom under Art Shattered Weekly Facebook Lives, search for "Lemon Drop Daiquiri Snow Cone".
If you don’t want to miss my Facebook LIVE art instruction, make sure you are on my texting list. I always text 10 minutes before I’m going to go LIVE, so you won’t ever miss it. You can text “Hey Cindy” to 901-519-2923.
Want more inspiration and artwork?
- My website artshattered.com with resources, shop, and more!
- My creative membership The Shattered Circle, where you can explore the world of glass art with online workshops, a supportive community, and more!
- My mini creative membership Just A ‘Lil Bit Monthly Glass Art Club, where you’ll get a new quick and easy online tutorial for just a lil' bit of sparkle in your life!
- My Facebook page where I go LIVE every Wednesday night.
- My YouTube channel which has tons of free art lessons right at your fingertips.
