
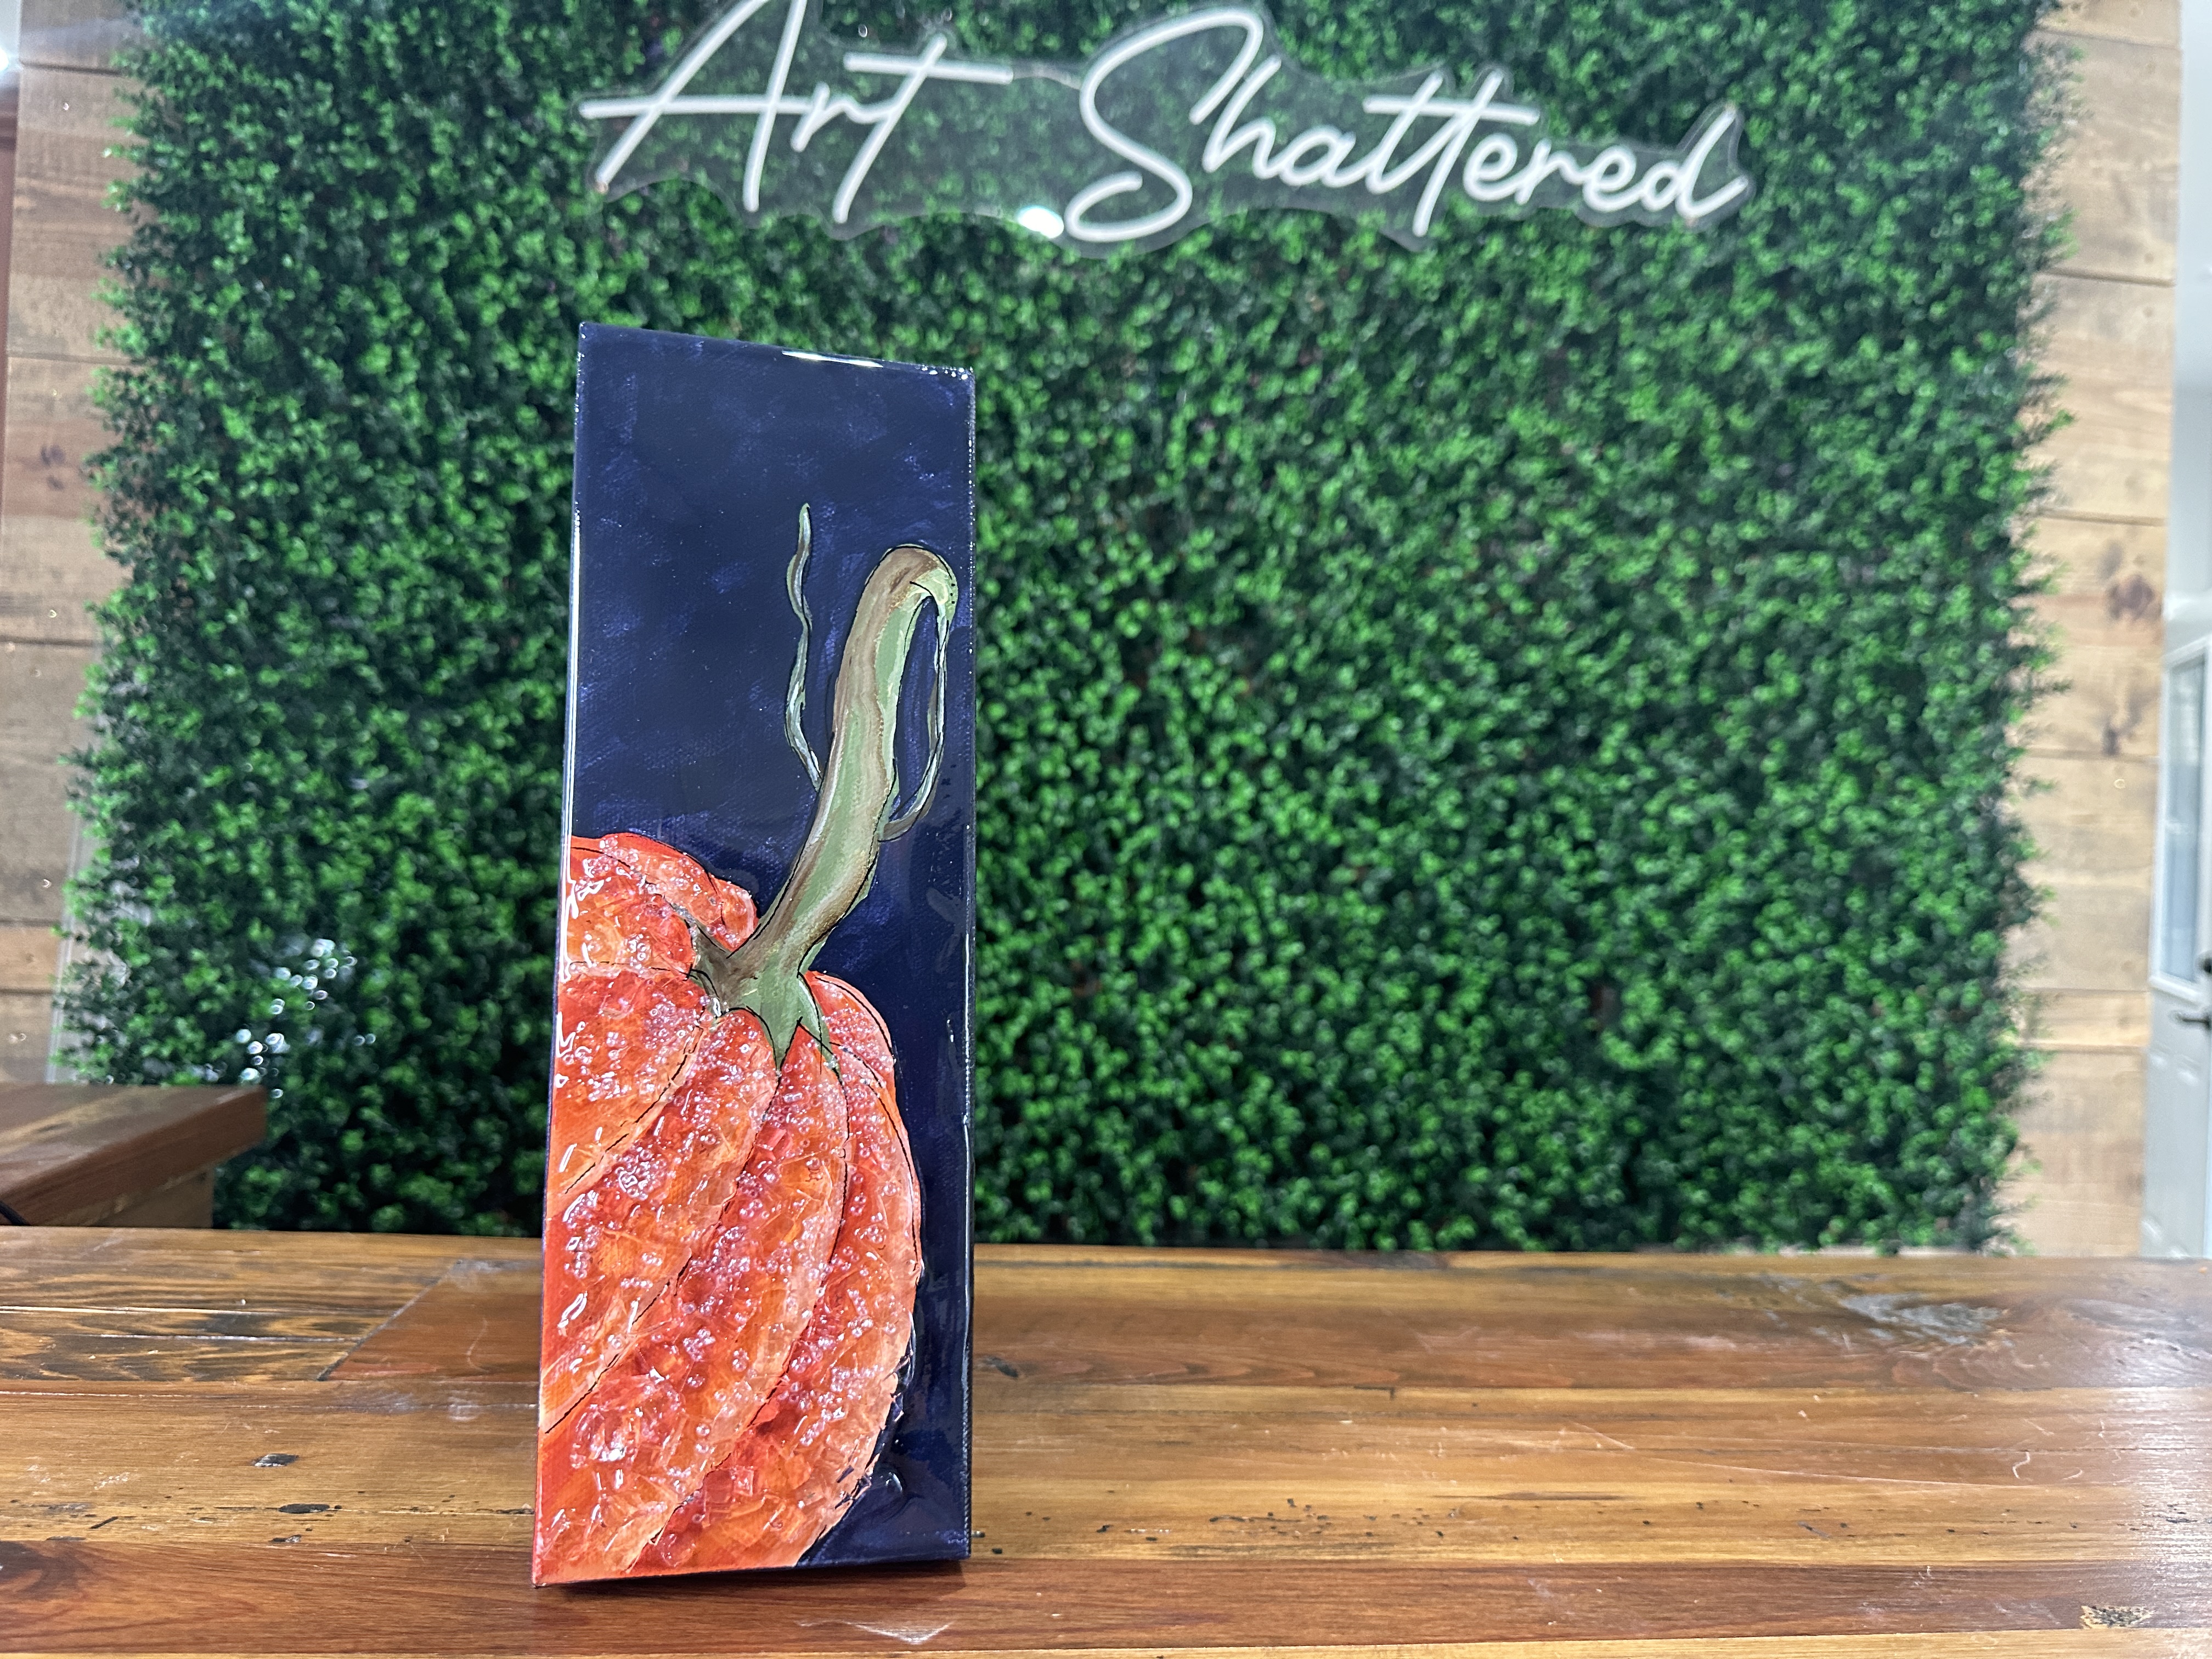
Midnight Pumpkin 🎃
We’re back with a cozy fall favorite - an orange pumpkin with a rustic green-and-brown stem on a dramatic dark background. This is an “oldie but goodie” project that originally featured a black backdrop, but today we’re switching it up with a rich navy (Payne’s gray). The result? A bold, dimensional pumpkin with highlights, shadows, glass sparkle, and a glossy resin finish.
Step 1: Trace the Pumpkin
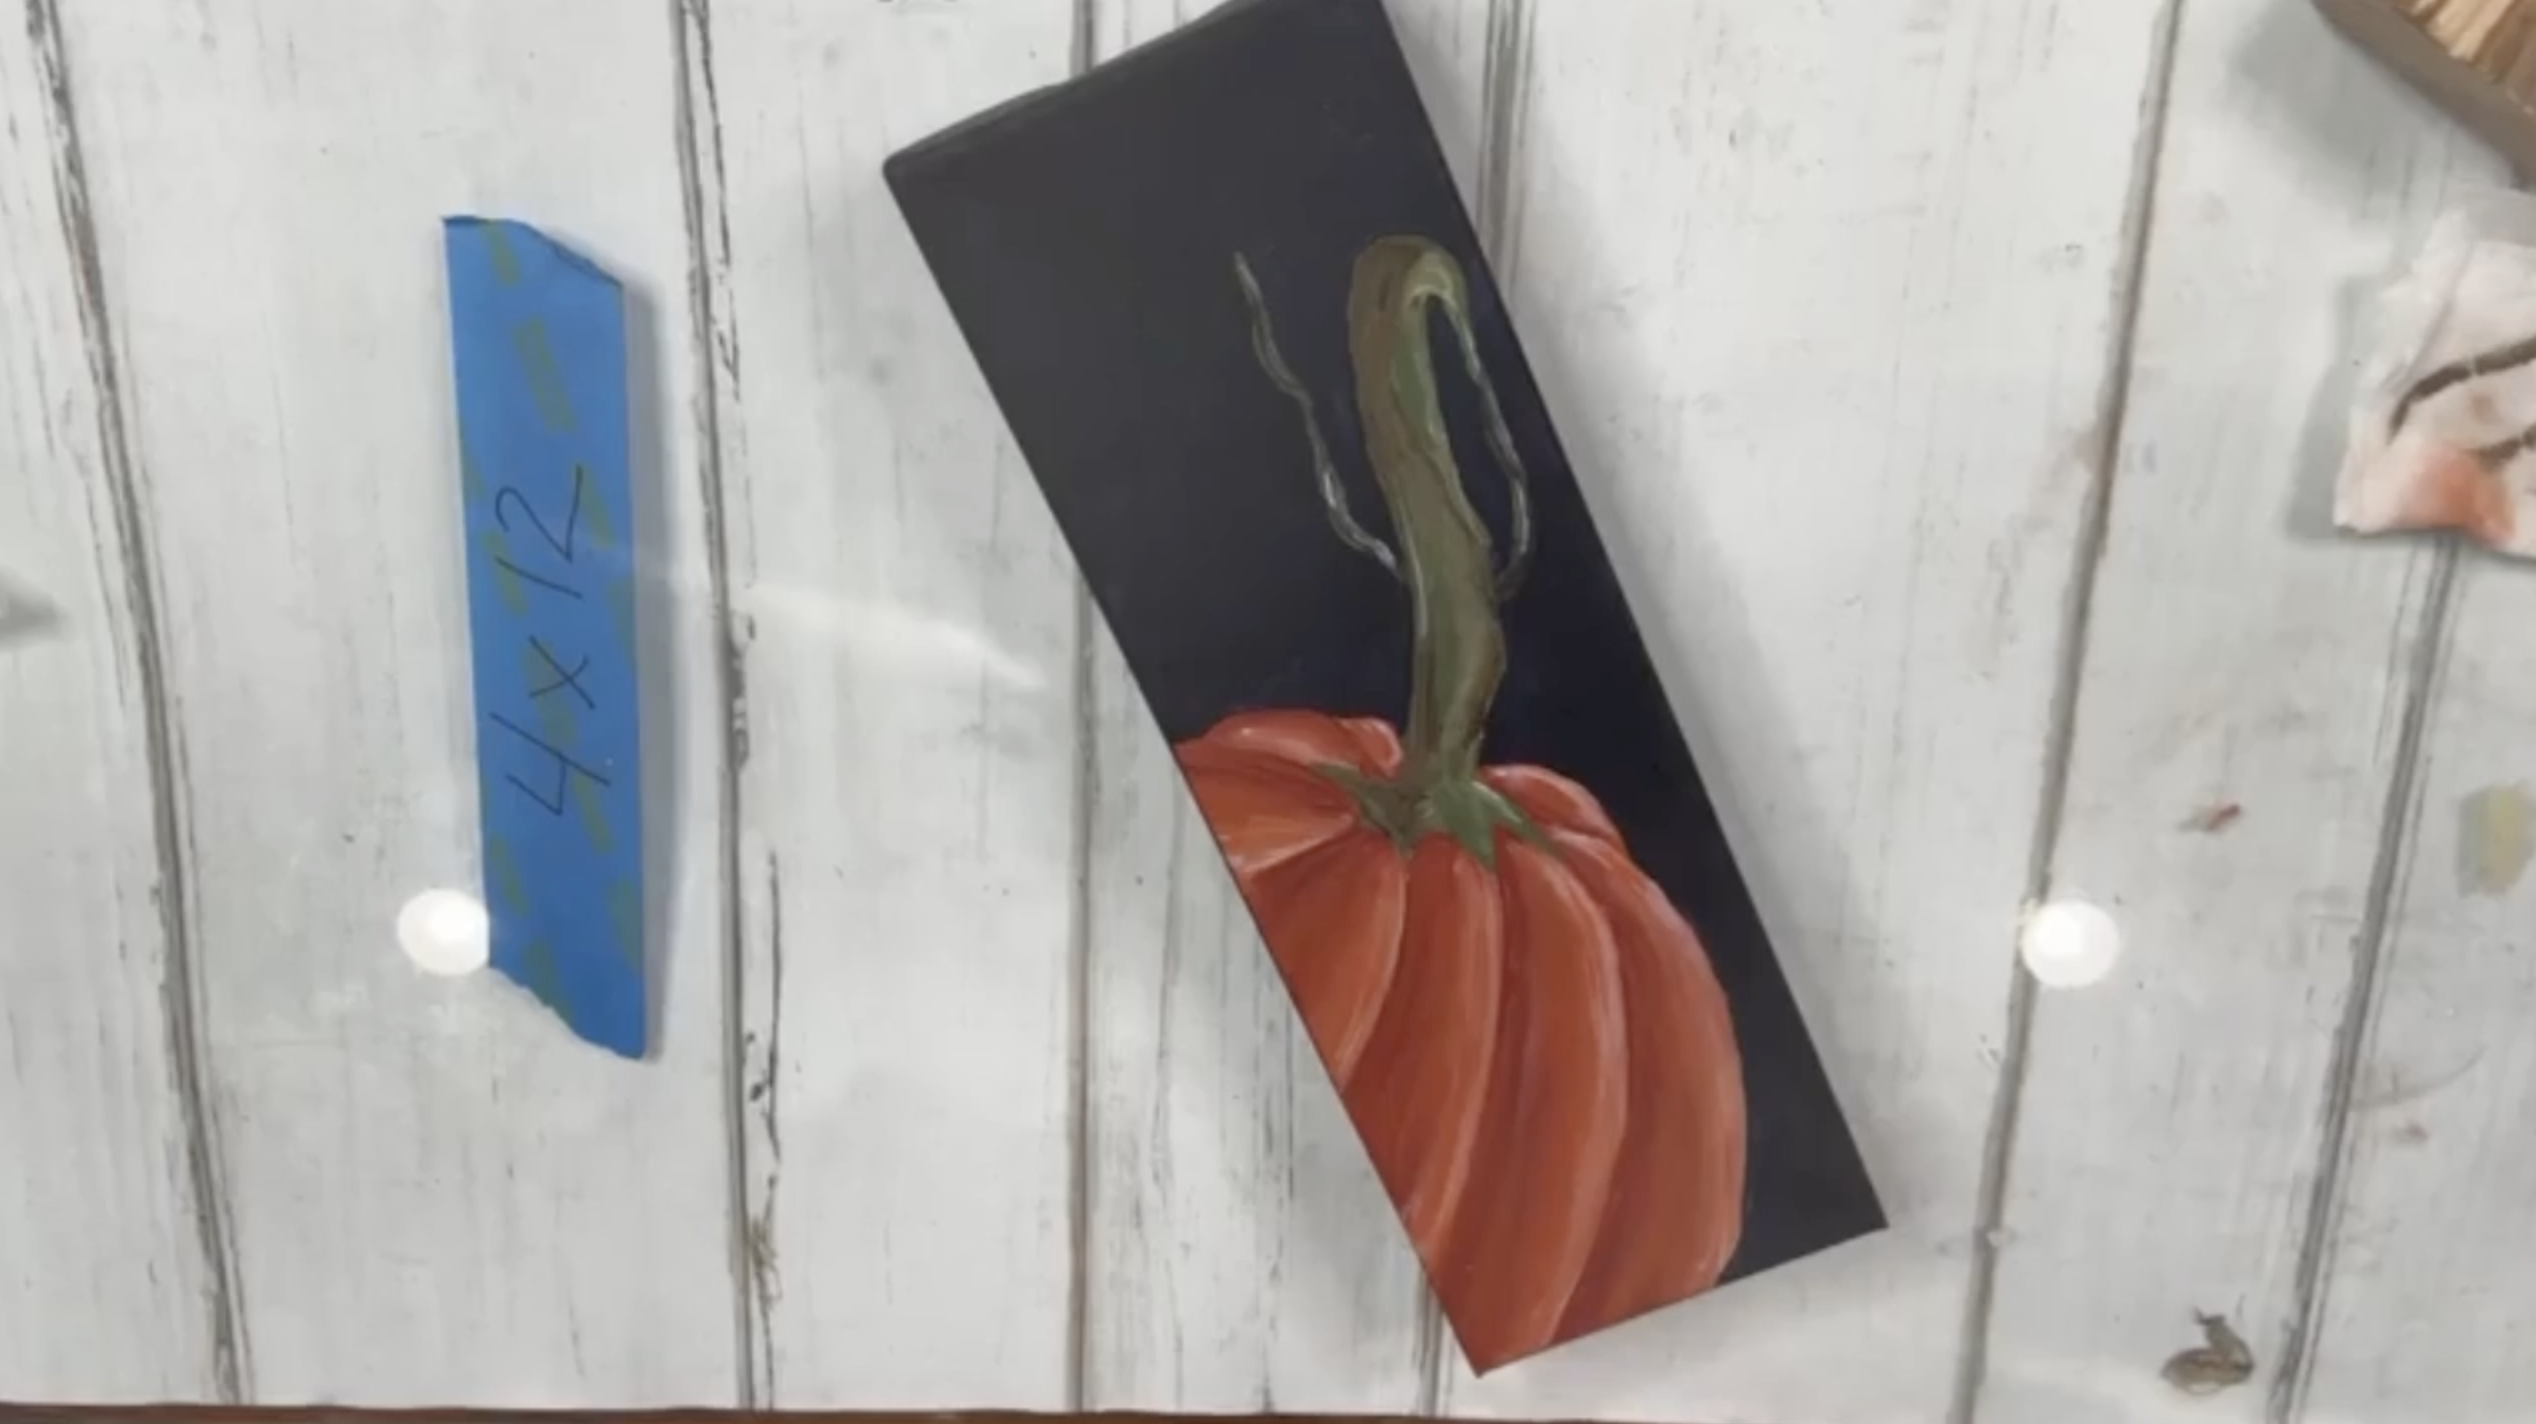
Secure your tracer to the canvas, tucking it slightly to the left so the pumpkin shape runs off the edge for a more natural look. Place graphite paper underneath and use a stylus or a pencil to trace the outline, including the stem. Leave the stem point simple for now - you’ll extend and detail it after painting the background.
Step 2: Base Coat the Pumpkin
Load your angled brush with Burnt Orange and paint one section at a time, following the tracer lines. Think of it like coloring in a coloring book - this is just your “ground coat” to block in color before adding shadows and highlights.
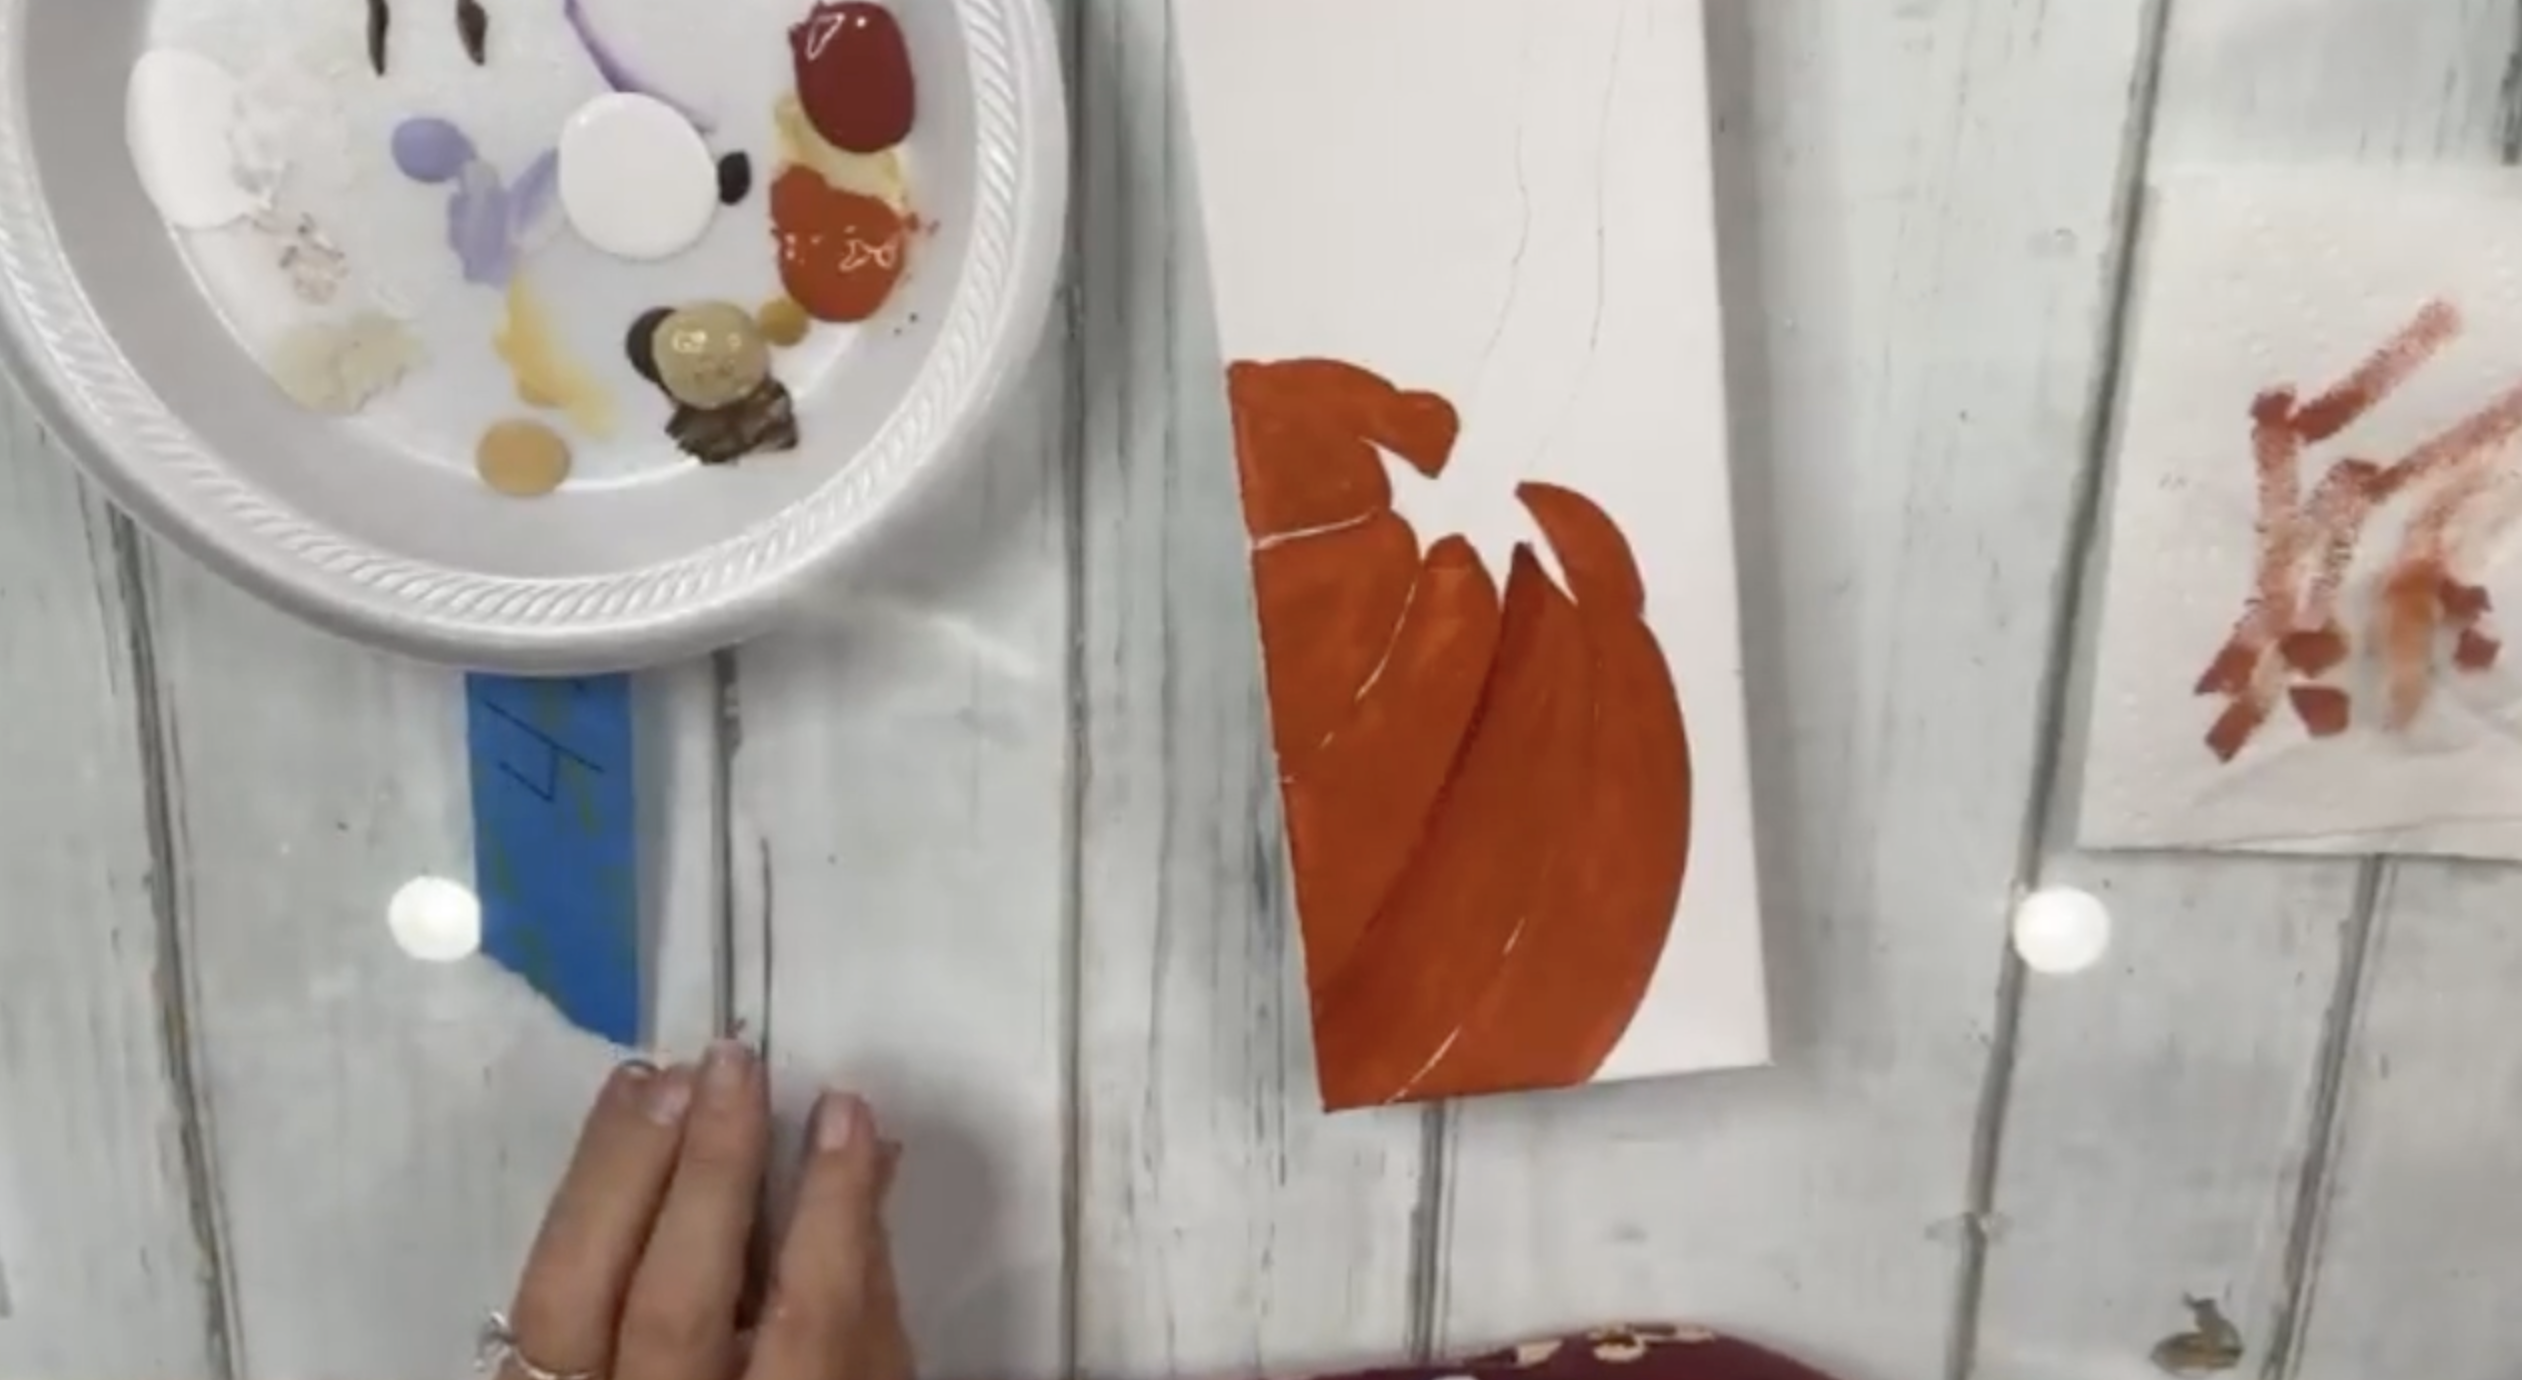
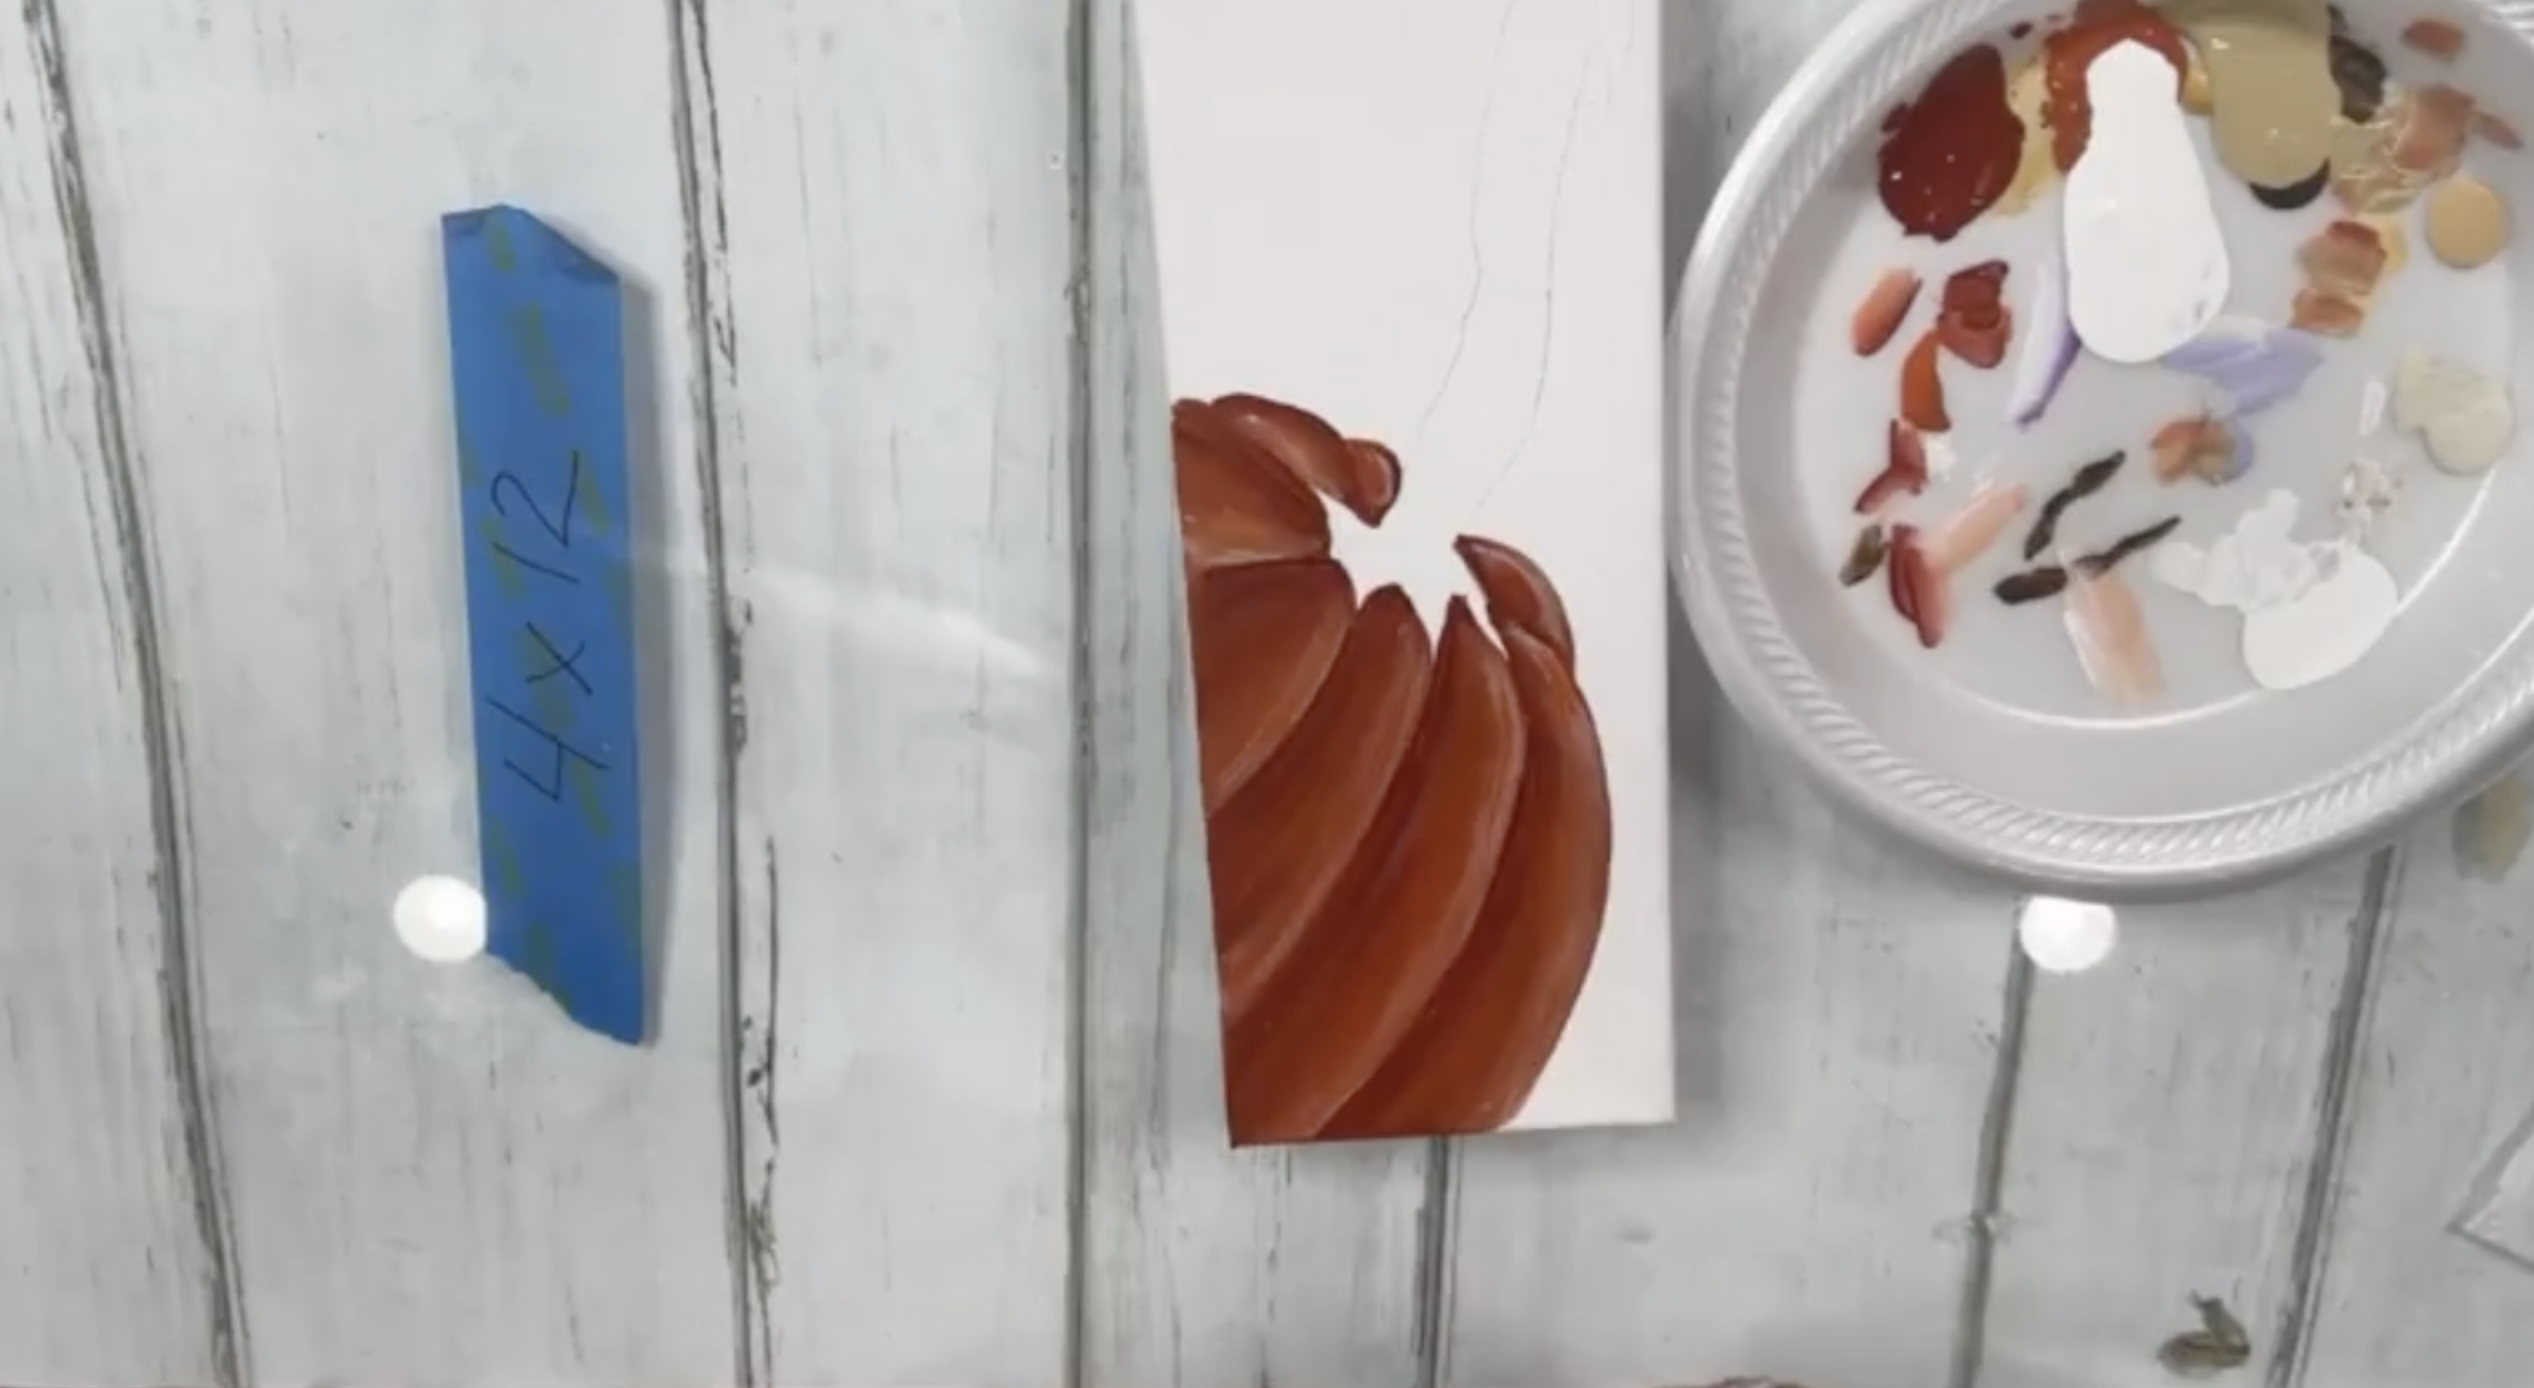
Step 3: Add Shadows and Highlights
While the orange paint is still damp: Load just one corner of your brush with Heritage Brick and sweep it along the left side of each section for shadow. Wipe off your brush, load a little Camel, and brush it along the right side of each section for highlight. Repeat for every section of the pumpkin. Don’t worry about perfection - messy, loose strokes look more dimensional!
Dip just the corner of your brush in white and lightly swish across the highlighted (Camel) side of each section. This blends the colors and adds subtle shine. Layer more orange or brick red back in if needed.
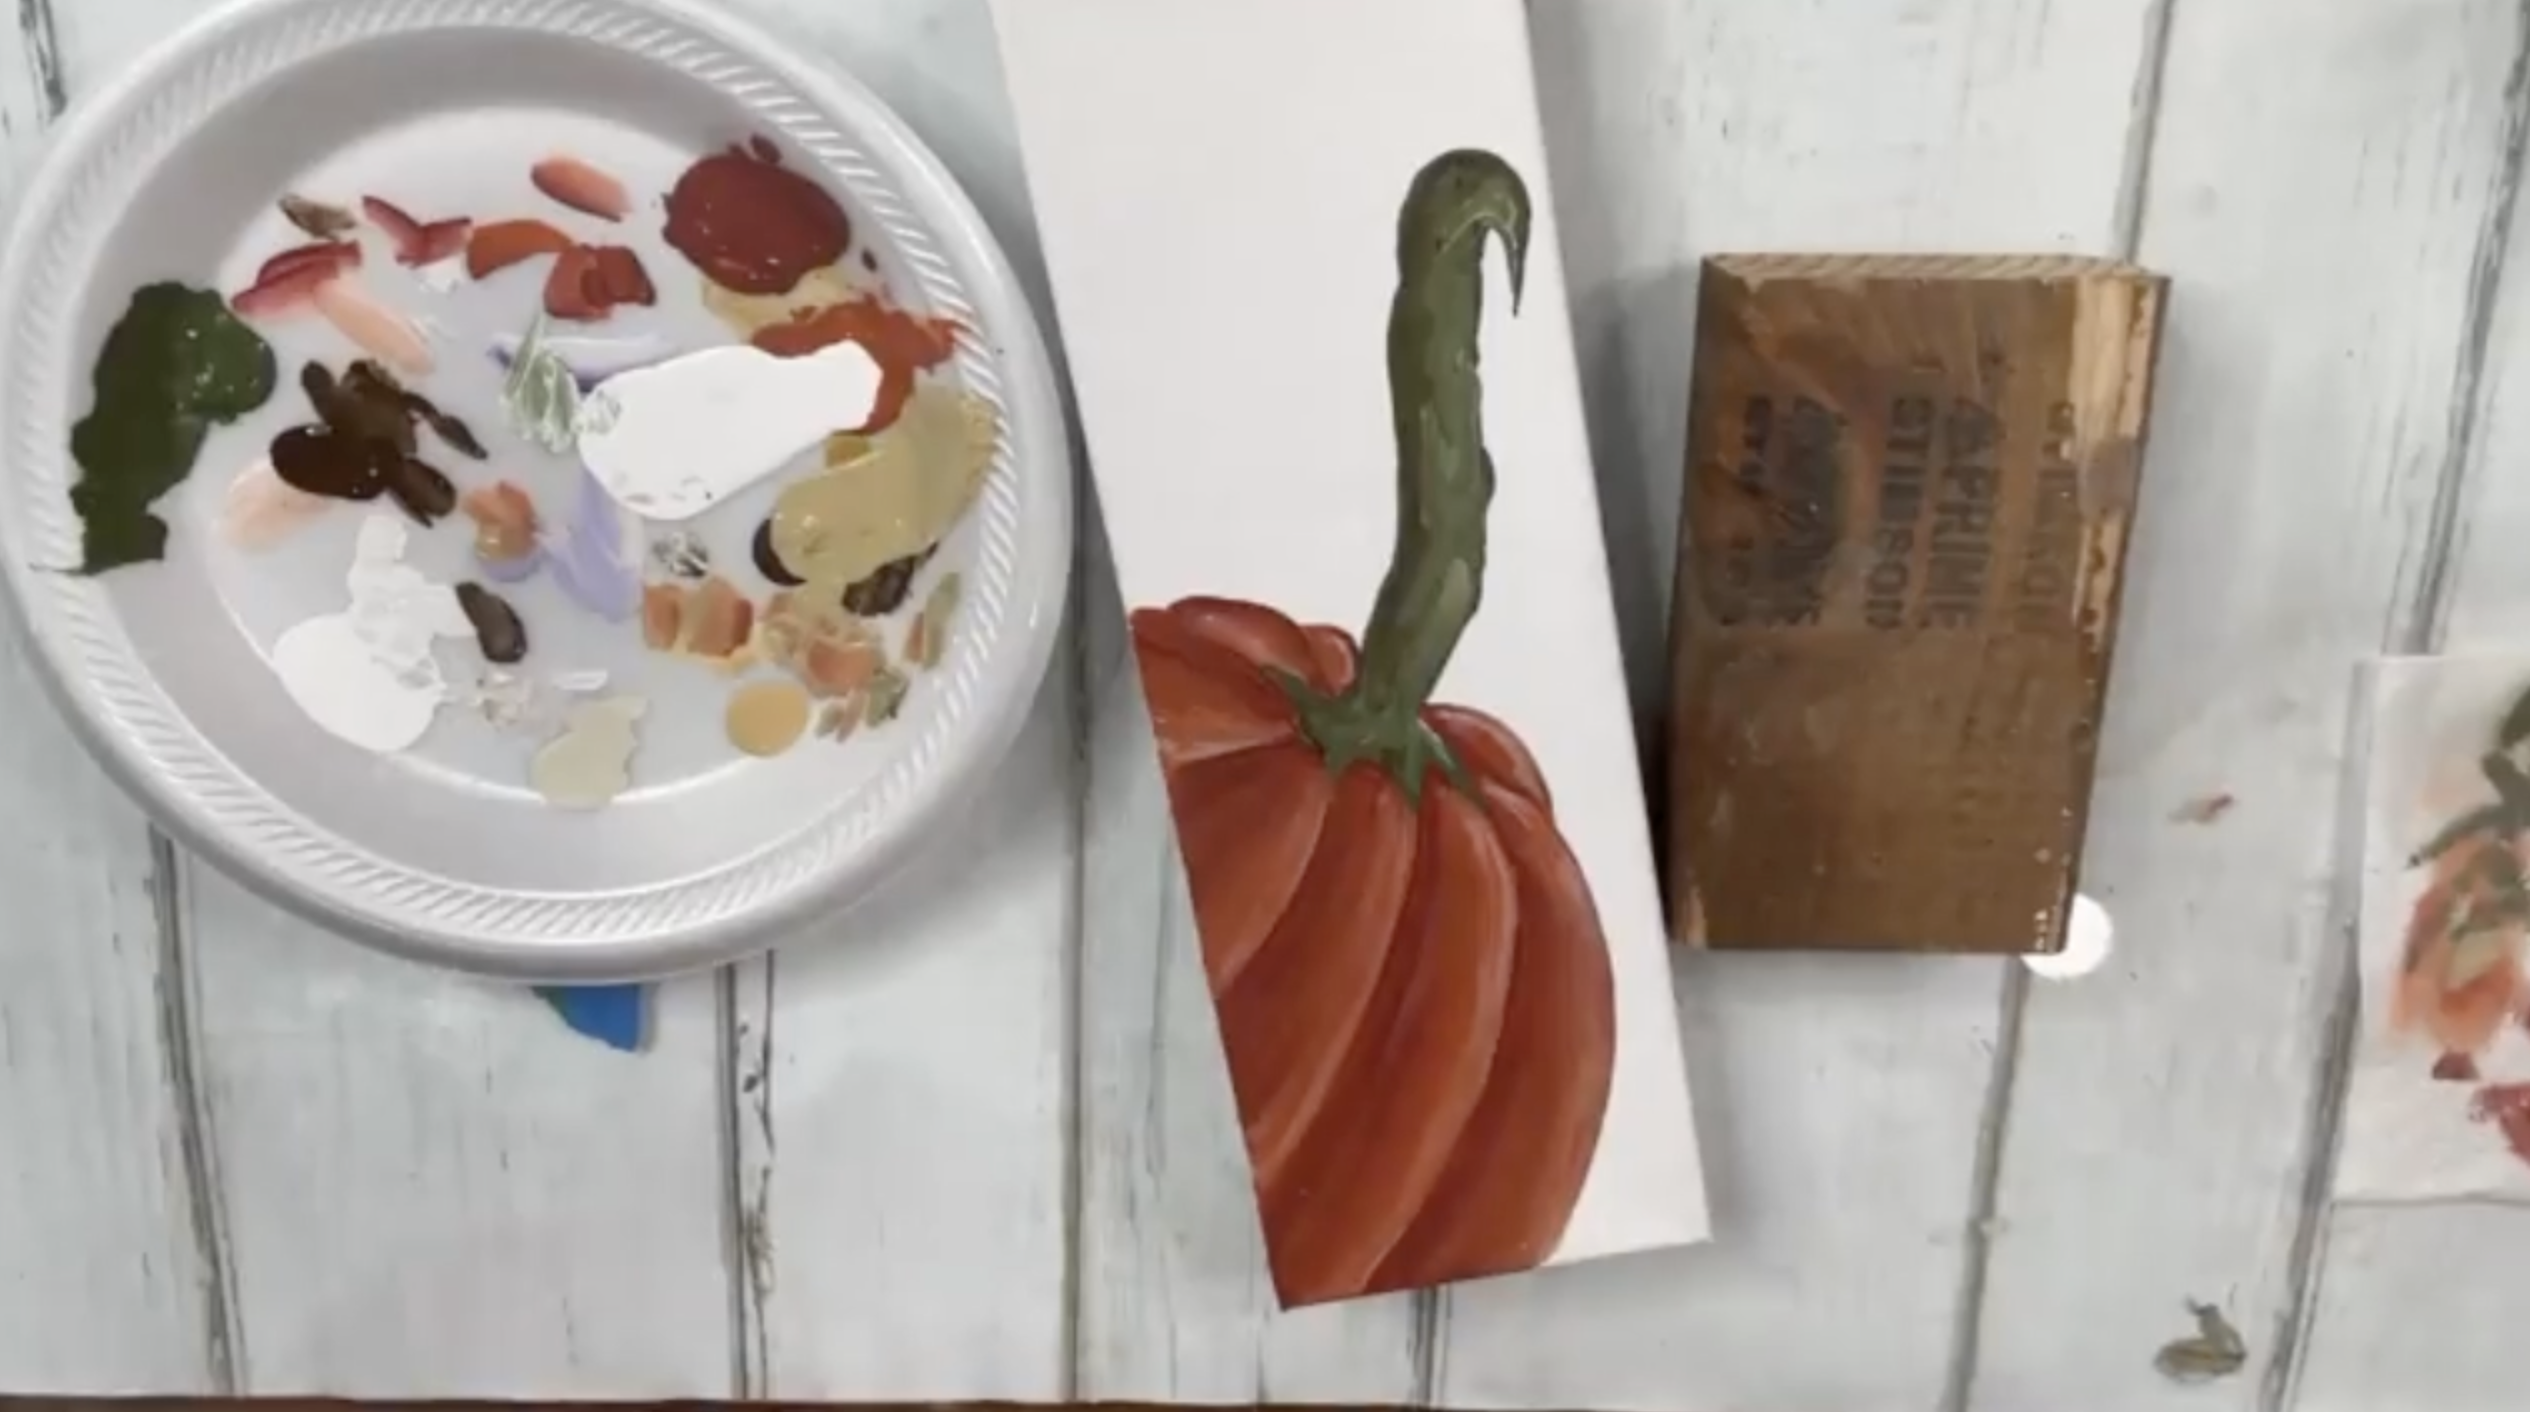
Step 4: Paint the Stem
Switch to your round brush. Load up with Avocado Green and roll the bristles to form a point. Start at the base of the stem with a light touch, then press down as you move upward to create thick-and-thin lines. Fill in the shape with crinkly, jagged strokes - pumpkin stems are rarely perfect.
Add rustic touches:
-
A little white mixed with green for highlights
-
A little Burnt Umber for earthy shadows
-
Optional: Mix Camel into green for a sunlit look
Step 6: Choose and Paint the Background
For this tutorial, we used Payne’s Gray, a very dark navy. Using a larger brush or sponge brush, carefully cut in around the pumpkin edges and cover the rest of the canvas. This will likely need two coats for full coverage. Dry completely before moving on.
Once your background is dry, use your round brush to extend the stem upward into the navy area for a natural, flowing look. Add touches of green, brown, and white for dimension. Dry with a heat tool.
Step 7: Outline with a Posca Pen
Use a 0.7 mm Posca pen or similar paint marker to loosely outline your pumpkin sections and stem with quick strokes or dot-dash lines. This adds definition and helps the pumpkin pop against the dark background.
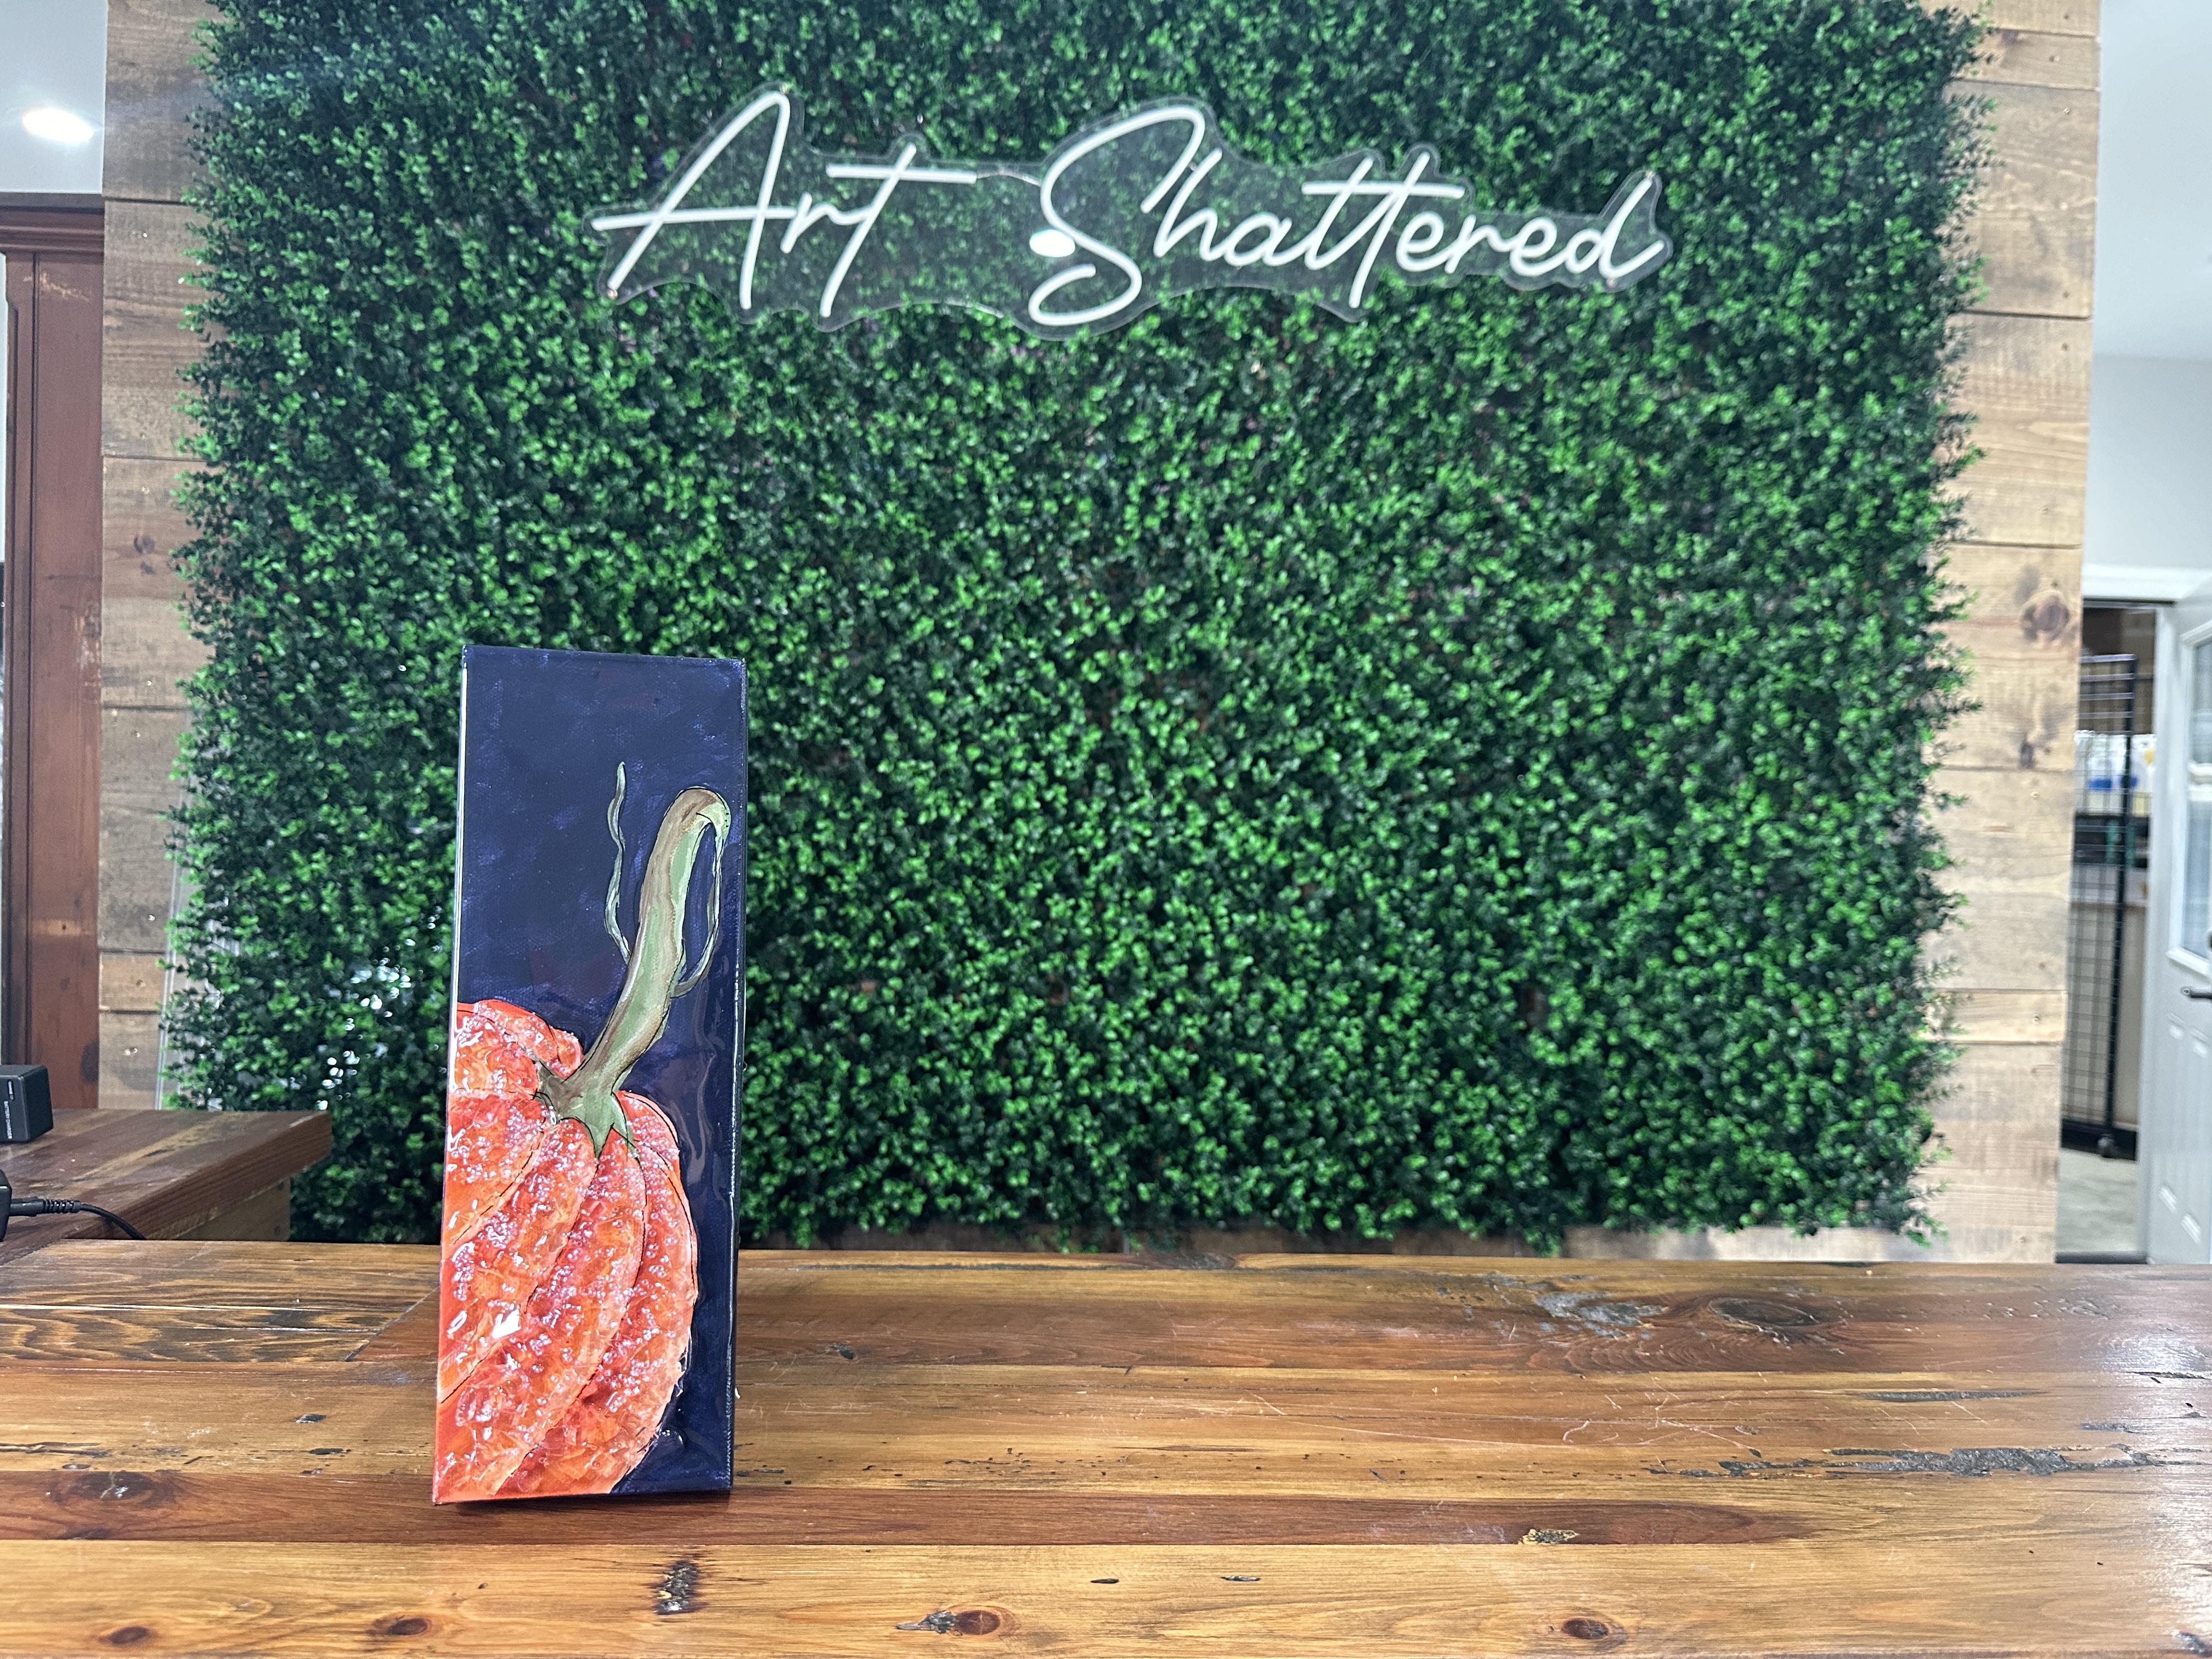
Step 8: Add Glass & Resin
Sprinkle Starfire glass over sections of the pumpkin for sparkle. You don’t need to cover the entire pumpkin - be random for a more natural look.
Mix your resin slowly and gently (about 3 minutes) at a 1:1 ratio of resin to hardener. Pour over the glass, letting it saturate every nugget. Spread with a gloved finger if needed.
Pop bubbles with a heat gun. For a frosty, glistening effect, sprinkle clear crystal-luster seed beads on top of the wet resin. Tap off excess and drizzle any leftover resin lightly over the beads to lock them in place.
Wipe away any resin drips from the canvas edges. Let your piece cure according to your resin’s instructions (usually 24 hours).
If you don’t want to miss my Facebook LIVE art instruction, make sure you are on my texting list. I always text 10 minutes before I’m going to go LIVE, so you won’t ever miss it. You can text “Hey Cindy” to 901-519-2923.
Want more inspiration and artwork?
- My website artshattered.com with resources, shop, and more!
- My creative membership The Shattered Circle, where you can explore the world of glass art with online workshops, a supportive community, and more!
- My mini creative membership Just A ‘Lil Bit Monthly Glass Art Club, where you’ll get a new quick and easy online tutorial for just a lil' bit of sparkle in your life!
- My Facebook page where I go LIVE every Wednesday night.
- My YouTube channel which has tons of free art lessons right at your fingertips.
