
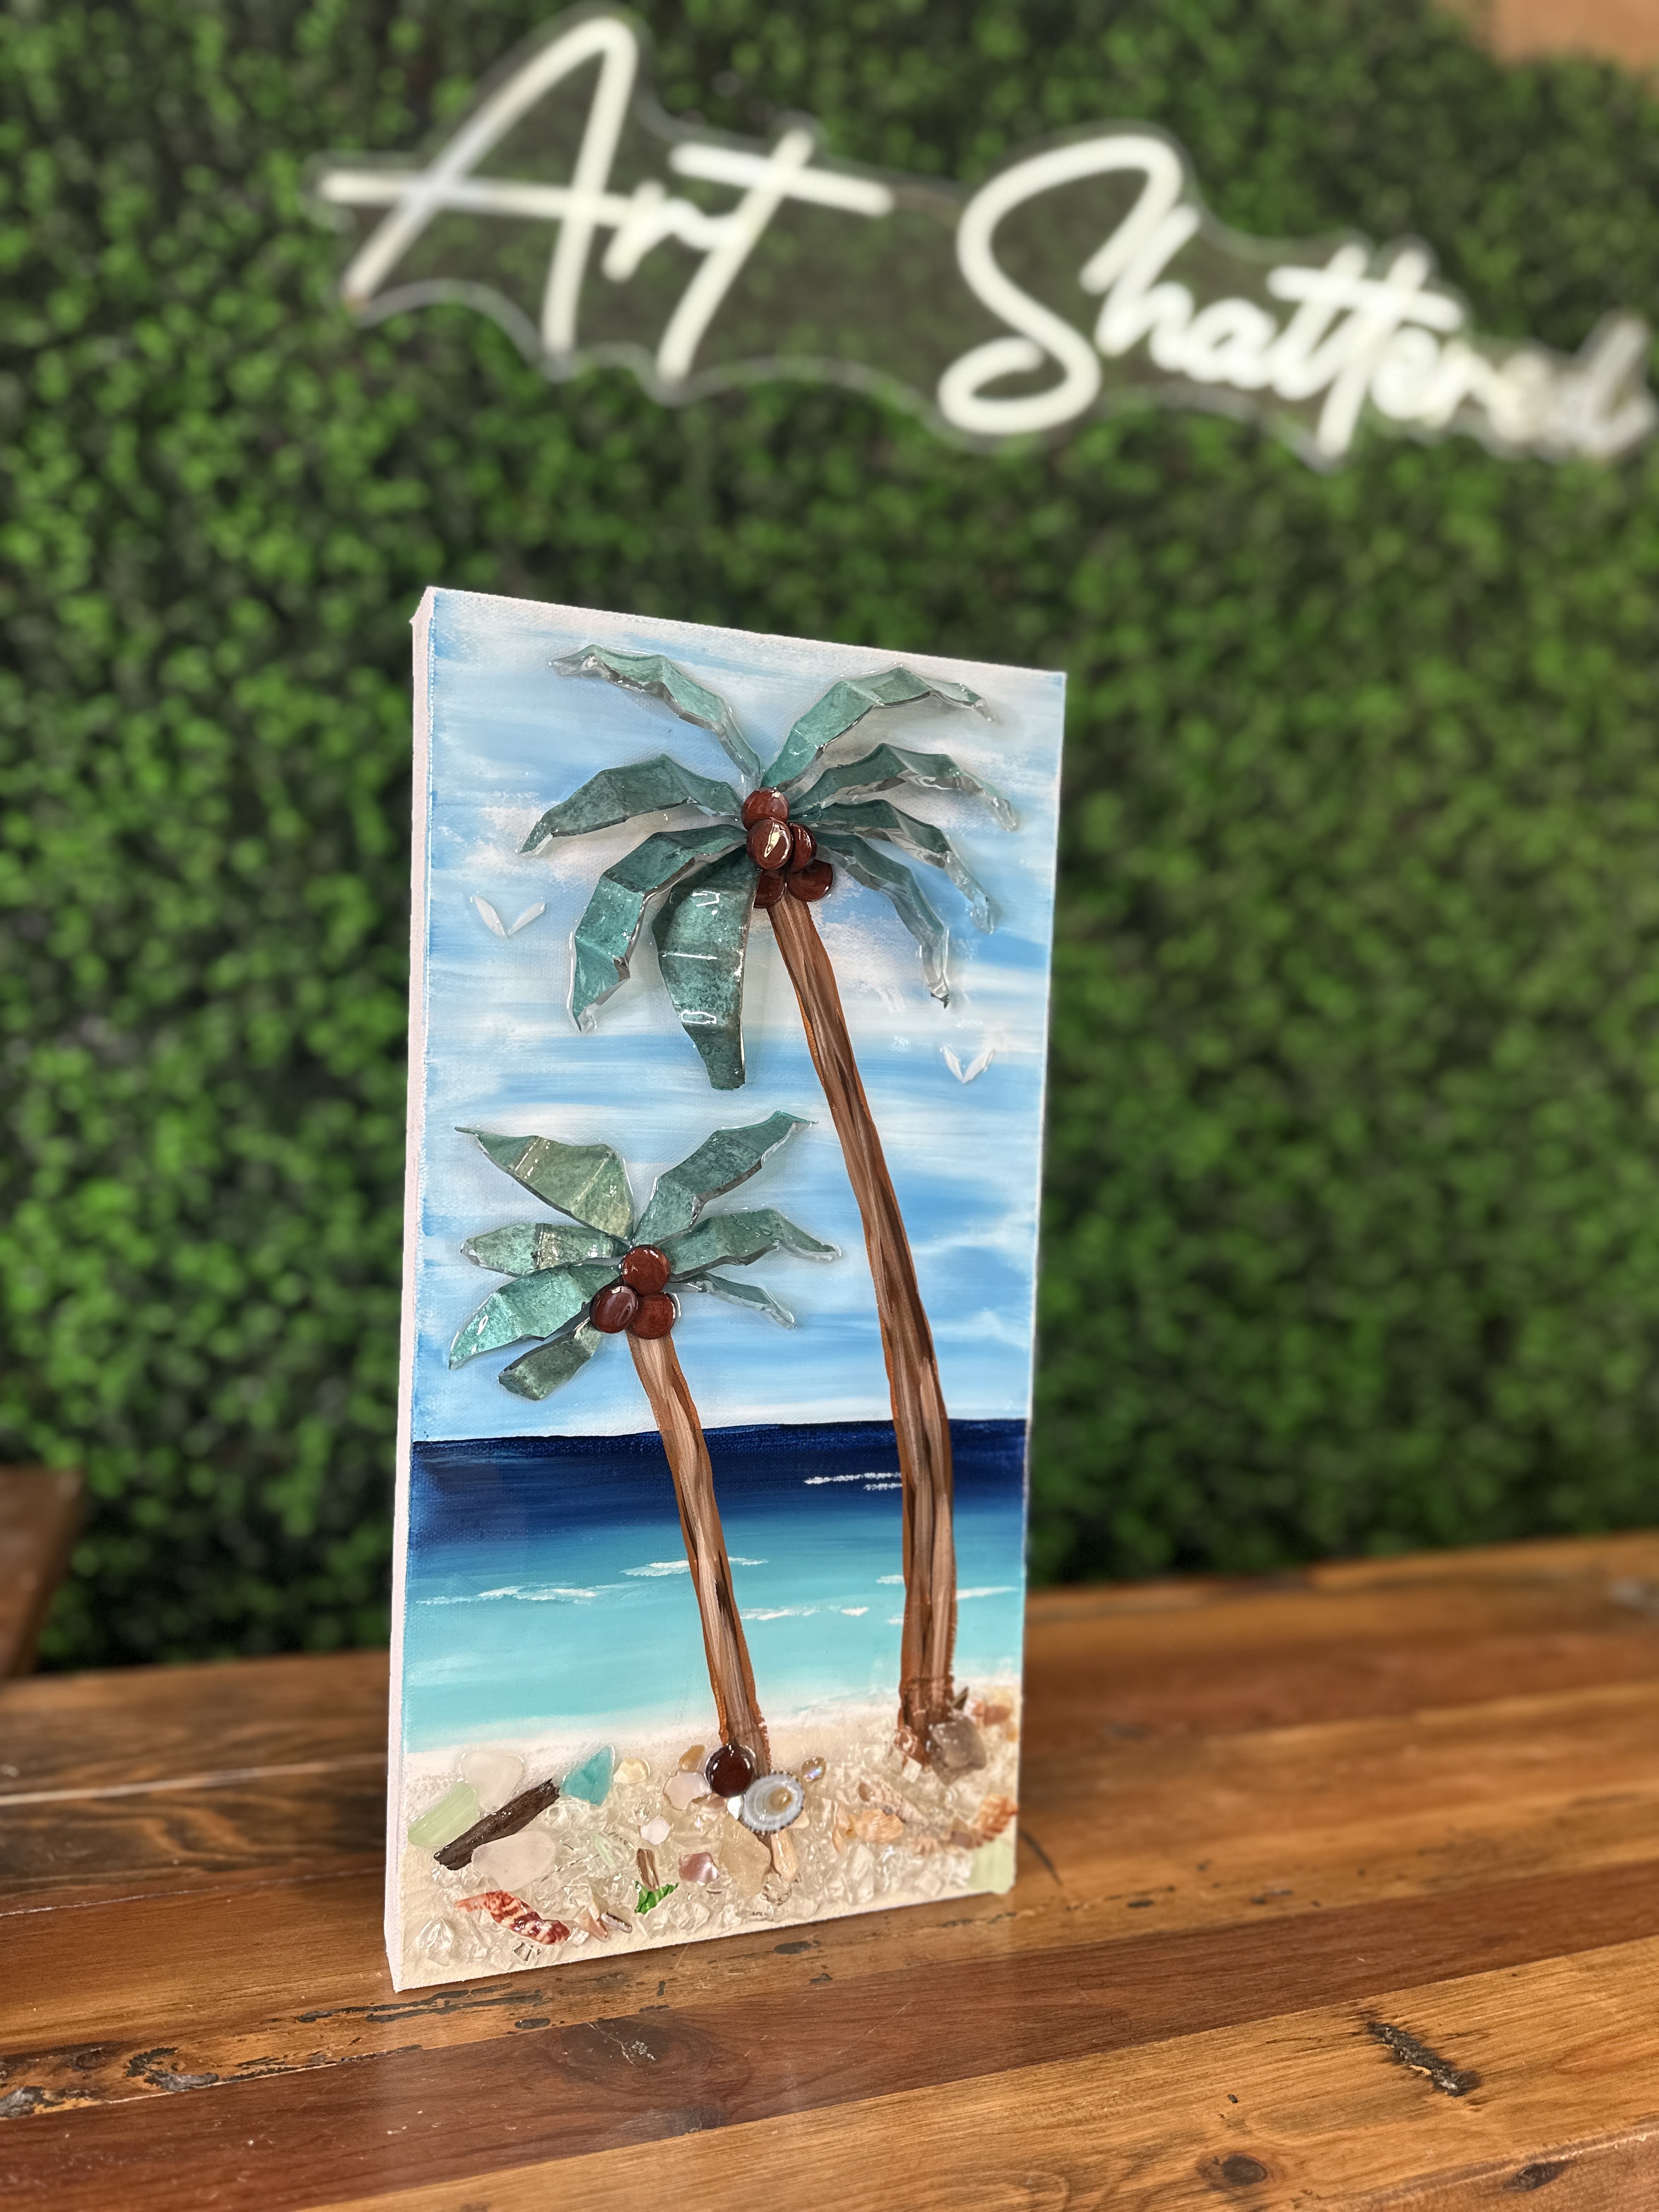
Palm Tree 🏝️
If you’ve ever looked at a pretty vase and thought, “I could make something out of that…”, this project is perfect for you! In this tutorial, we’re cutting up a recycled vase, painting a beachy background, and transforming it into a stunning tropical palm tree scene with glass, resin, seashells, and even coconuts. This piece is 8x16 inches and perfect for adding a touch of coastal charm to your home.
Step 1 – Safety First!
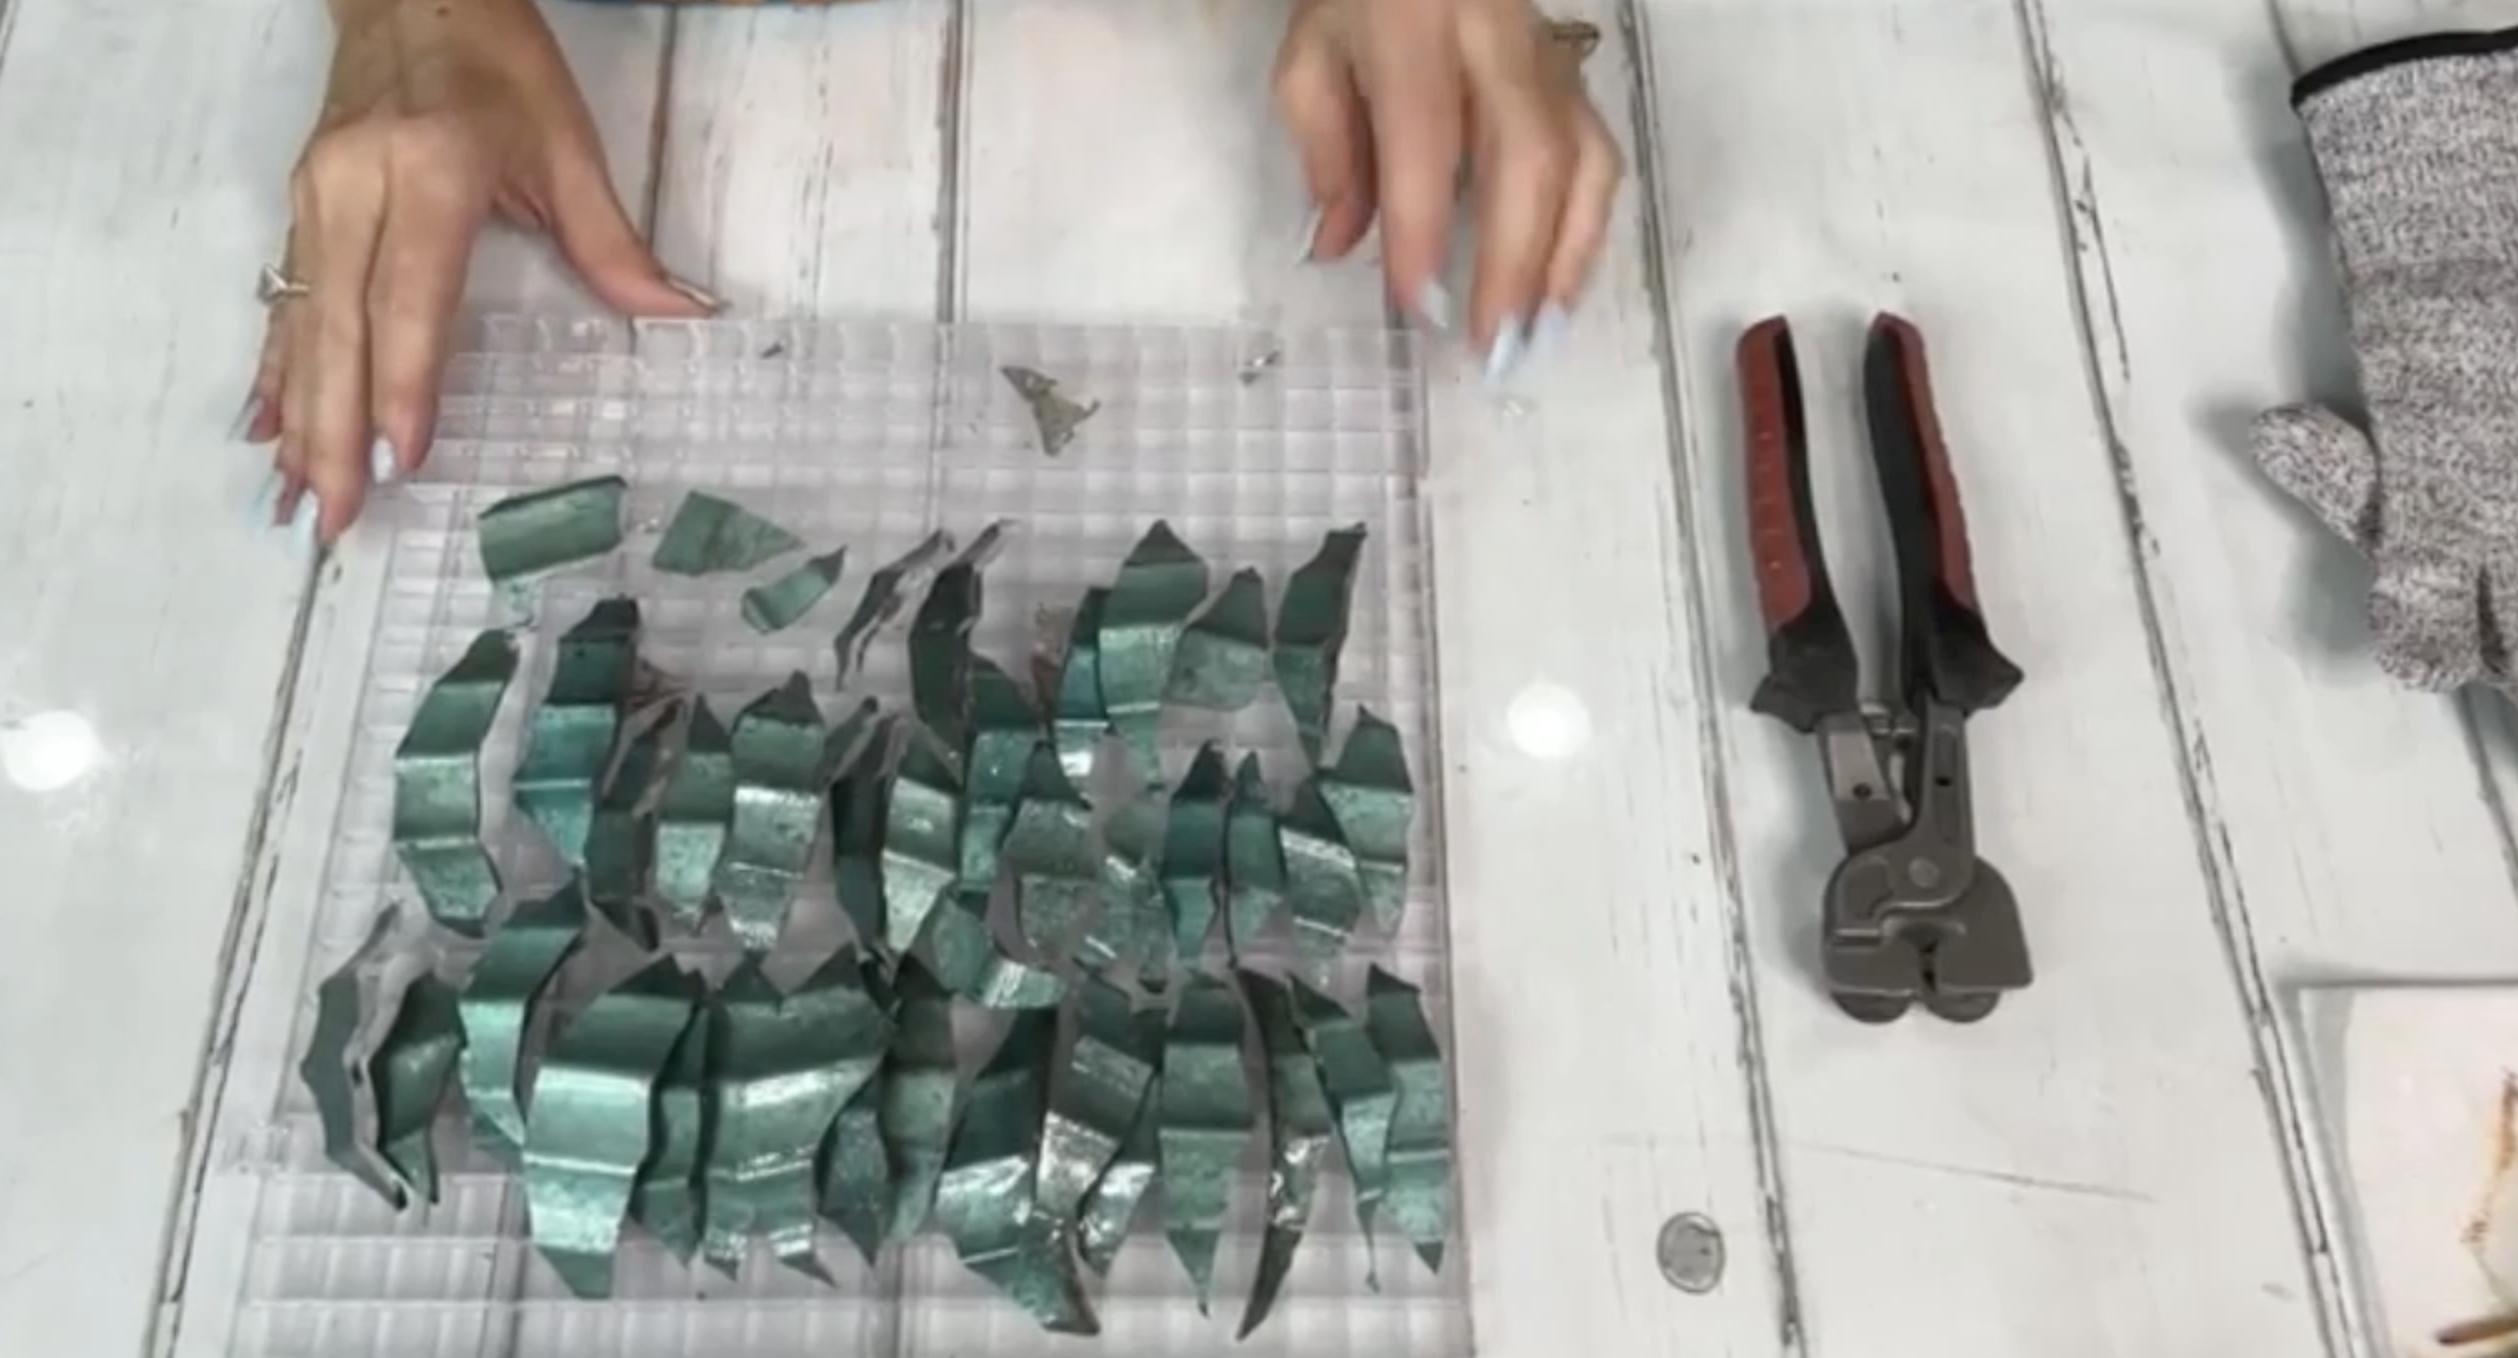
Before you start cutting glass, make sure you’re protecting yourself. Cutting vases with nippers can send tiny shards flying, so gloves and eye protection are a must. A simple pair of cut-resistant gloves from Amazon works great, and any safety glasses will do, even your everyday glasses can help protect your eyes. Place a grid or bin under your work area to catch little shards and chips, since they’ll fly as you nip. Once your vase pieces are cut, run the edges across a honing stone or sanding pad to dull the sharp points. It only takes a few swipes, and it makes your glass safe to handle when you start adding it to your art.
Step 2 – Prepare Vase Glass
Using a pair of wheeled nippers, carefully nip sections off your vase to create curved glass pieces. If your vase is fluted or textured, the cuts will naturally create interesting, organic shapes. Some pieces will be perfect for palm fronds, while others may be better for accents or smaller leaves. Don’t worry if every piece doesn’t come out perfectly, even the broken or oddly shaped ones can be used somewhere in your design. Lay them aside in a pile and start imagining how they’ll look arranged as trees.
Step 3 – Create a Sandy Base
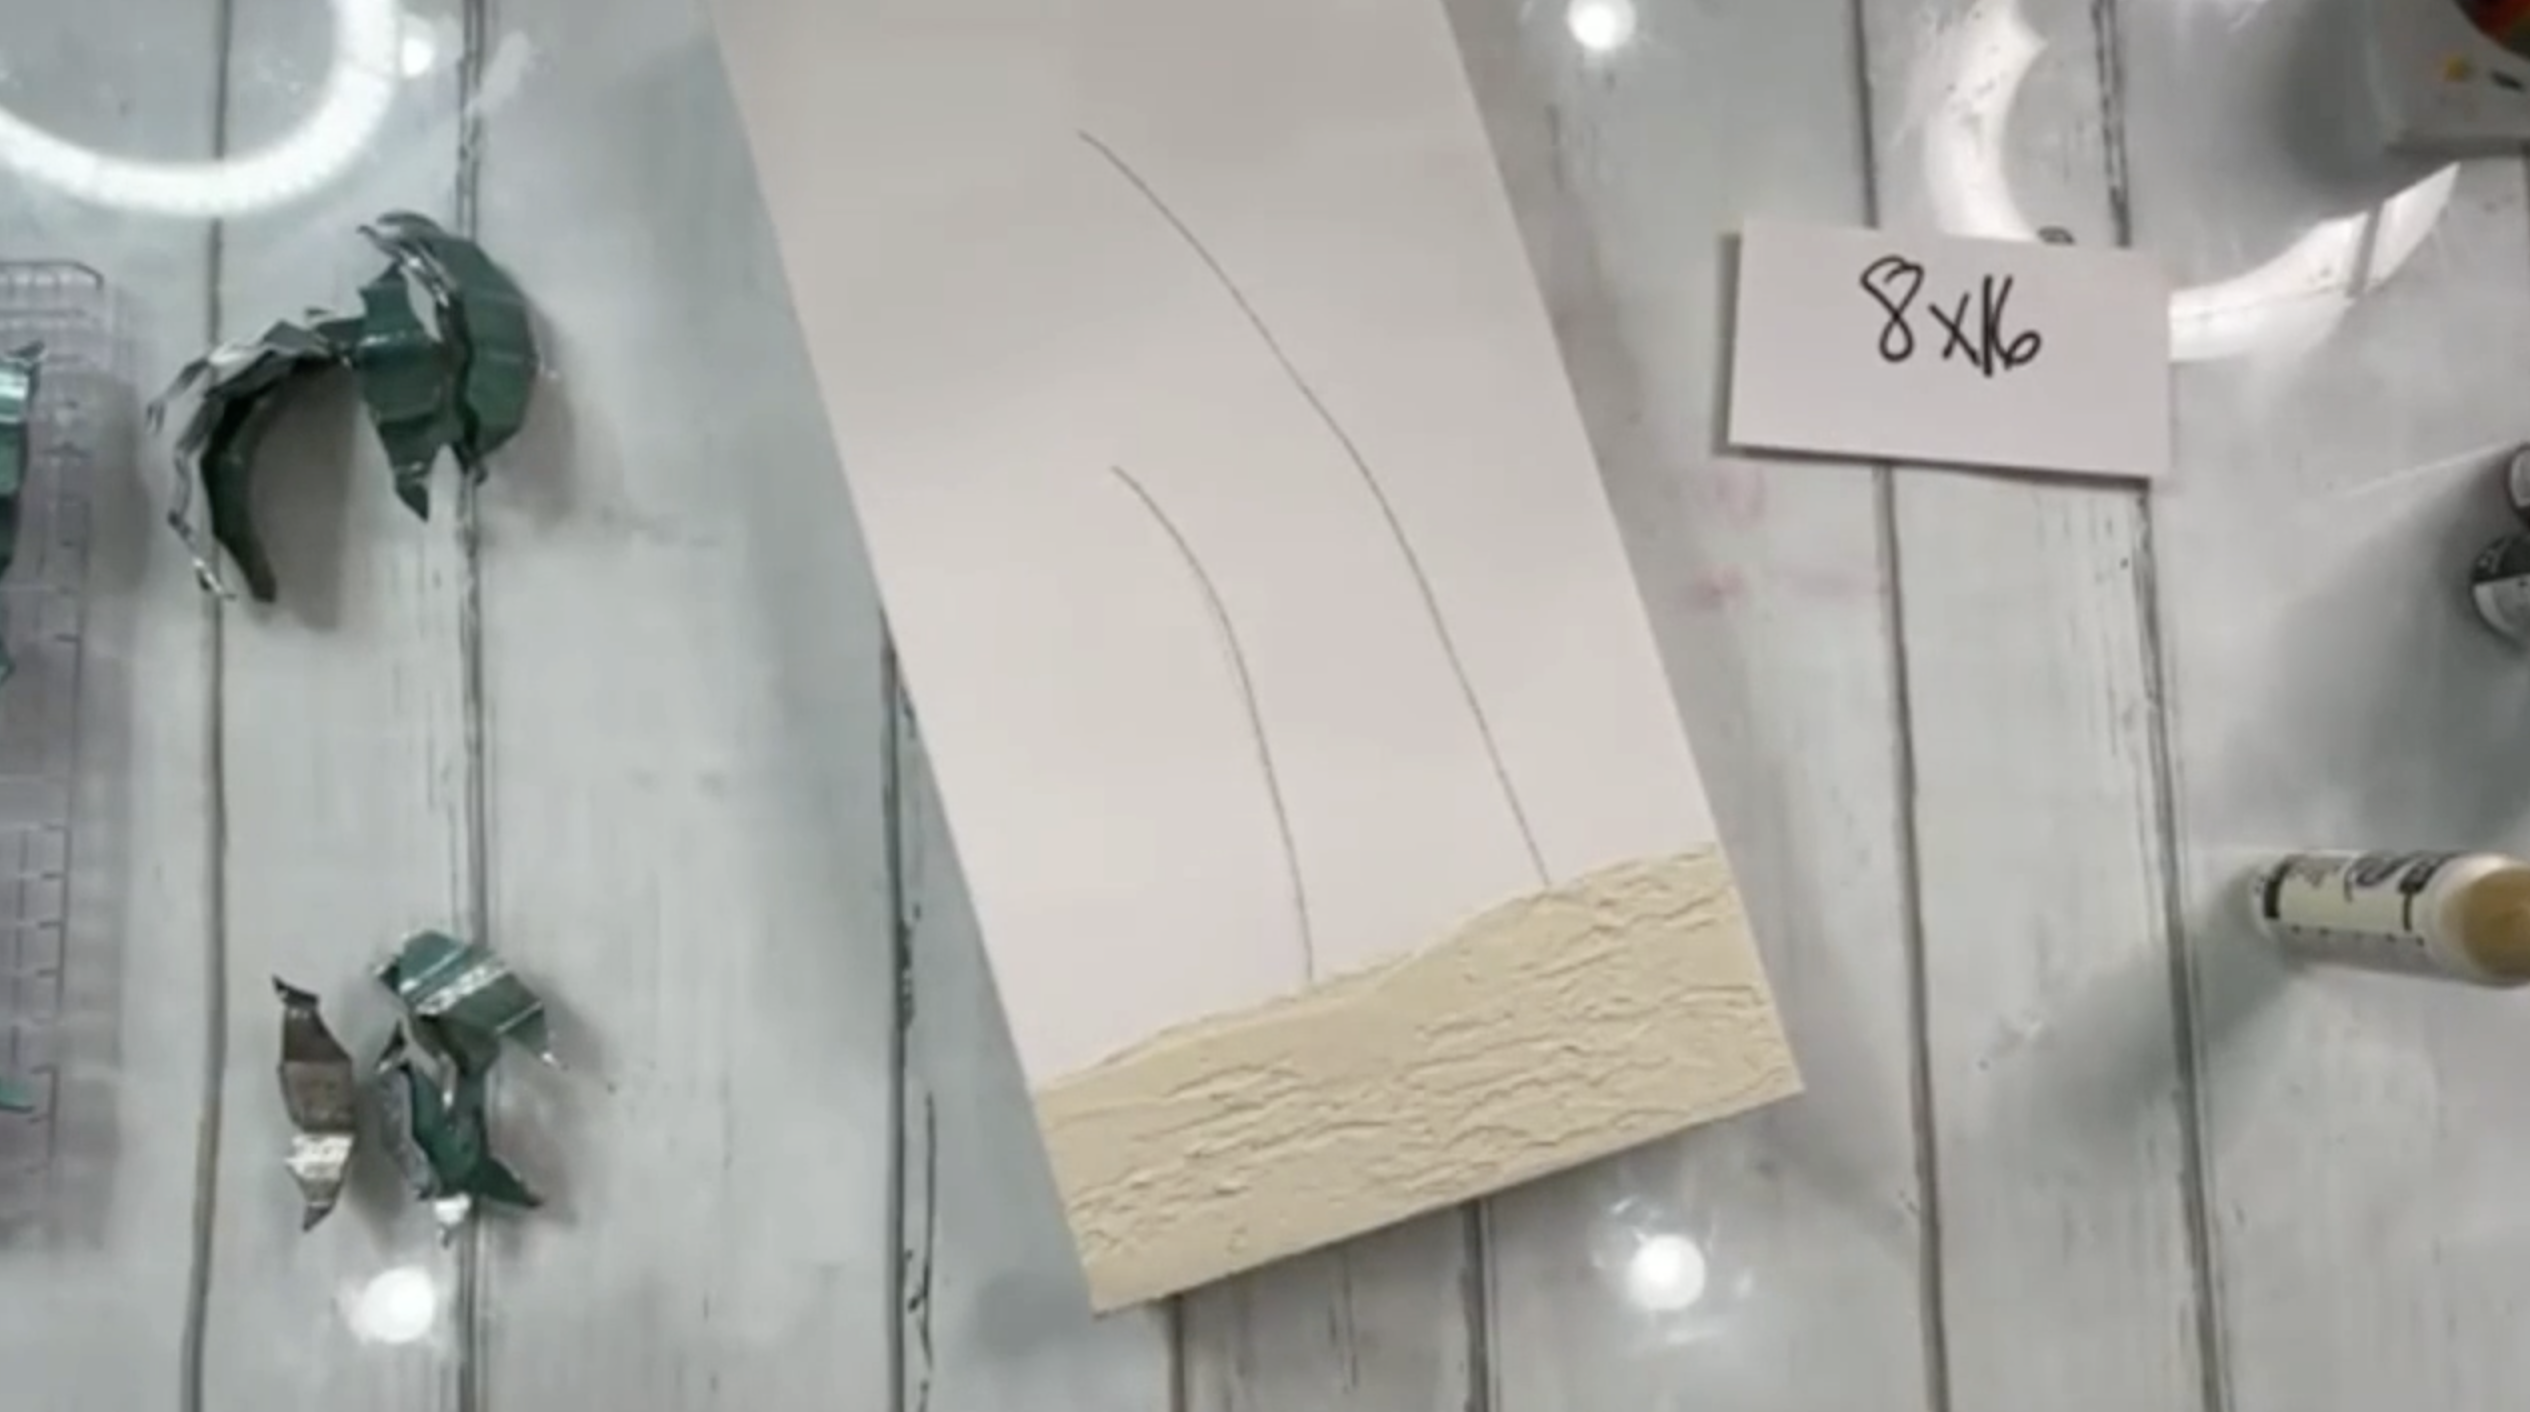
At the bottom of the canvas, we’re going to build a sandy beach. To do this, mix a little Bleached Sand acrylic paint into coarse texture gel until you have a color that resembles real sand. Using a palette knife, spread the mixture across the bottom three inches of your canvas. Don’t worry about making it perfectly smooth - in fact, it looks more natural with bumps and ridges. Pat the texture with the flat side of your knife to create a little variation, and let this area dry before moving on.
Step 4 – Paint the Sky
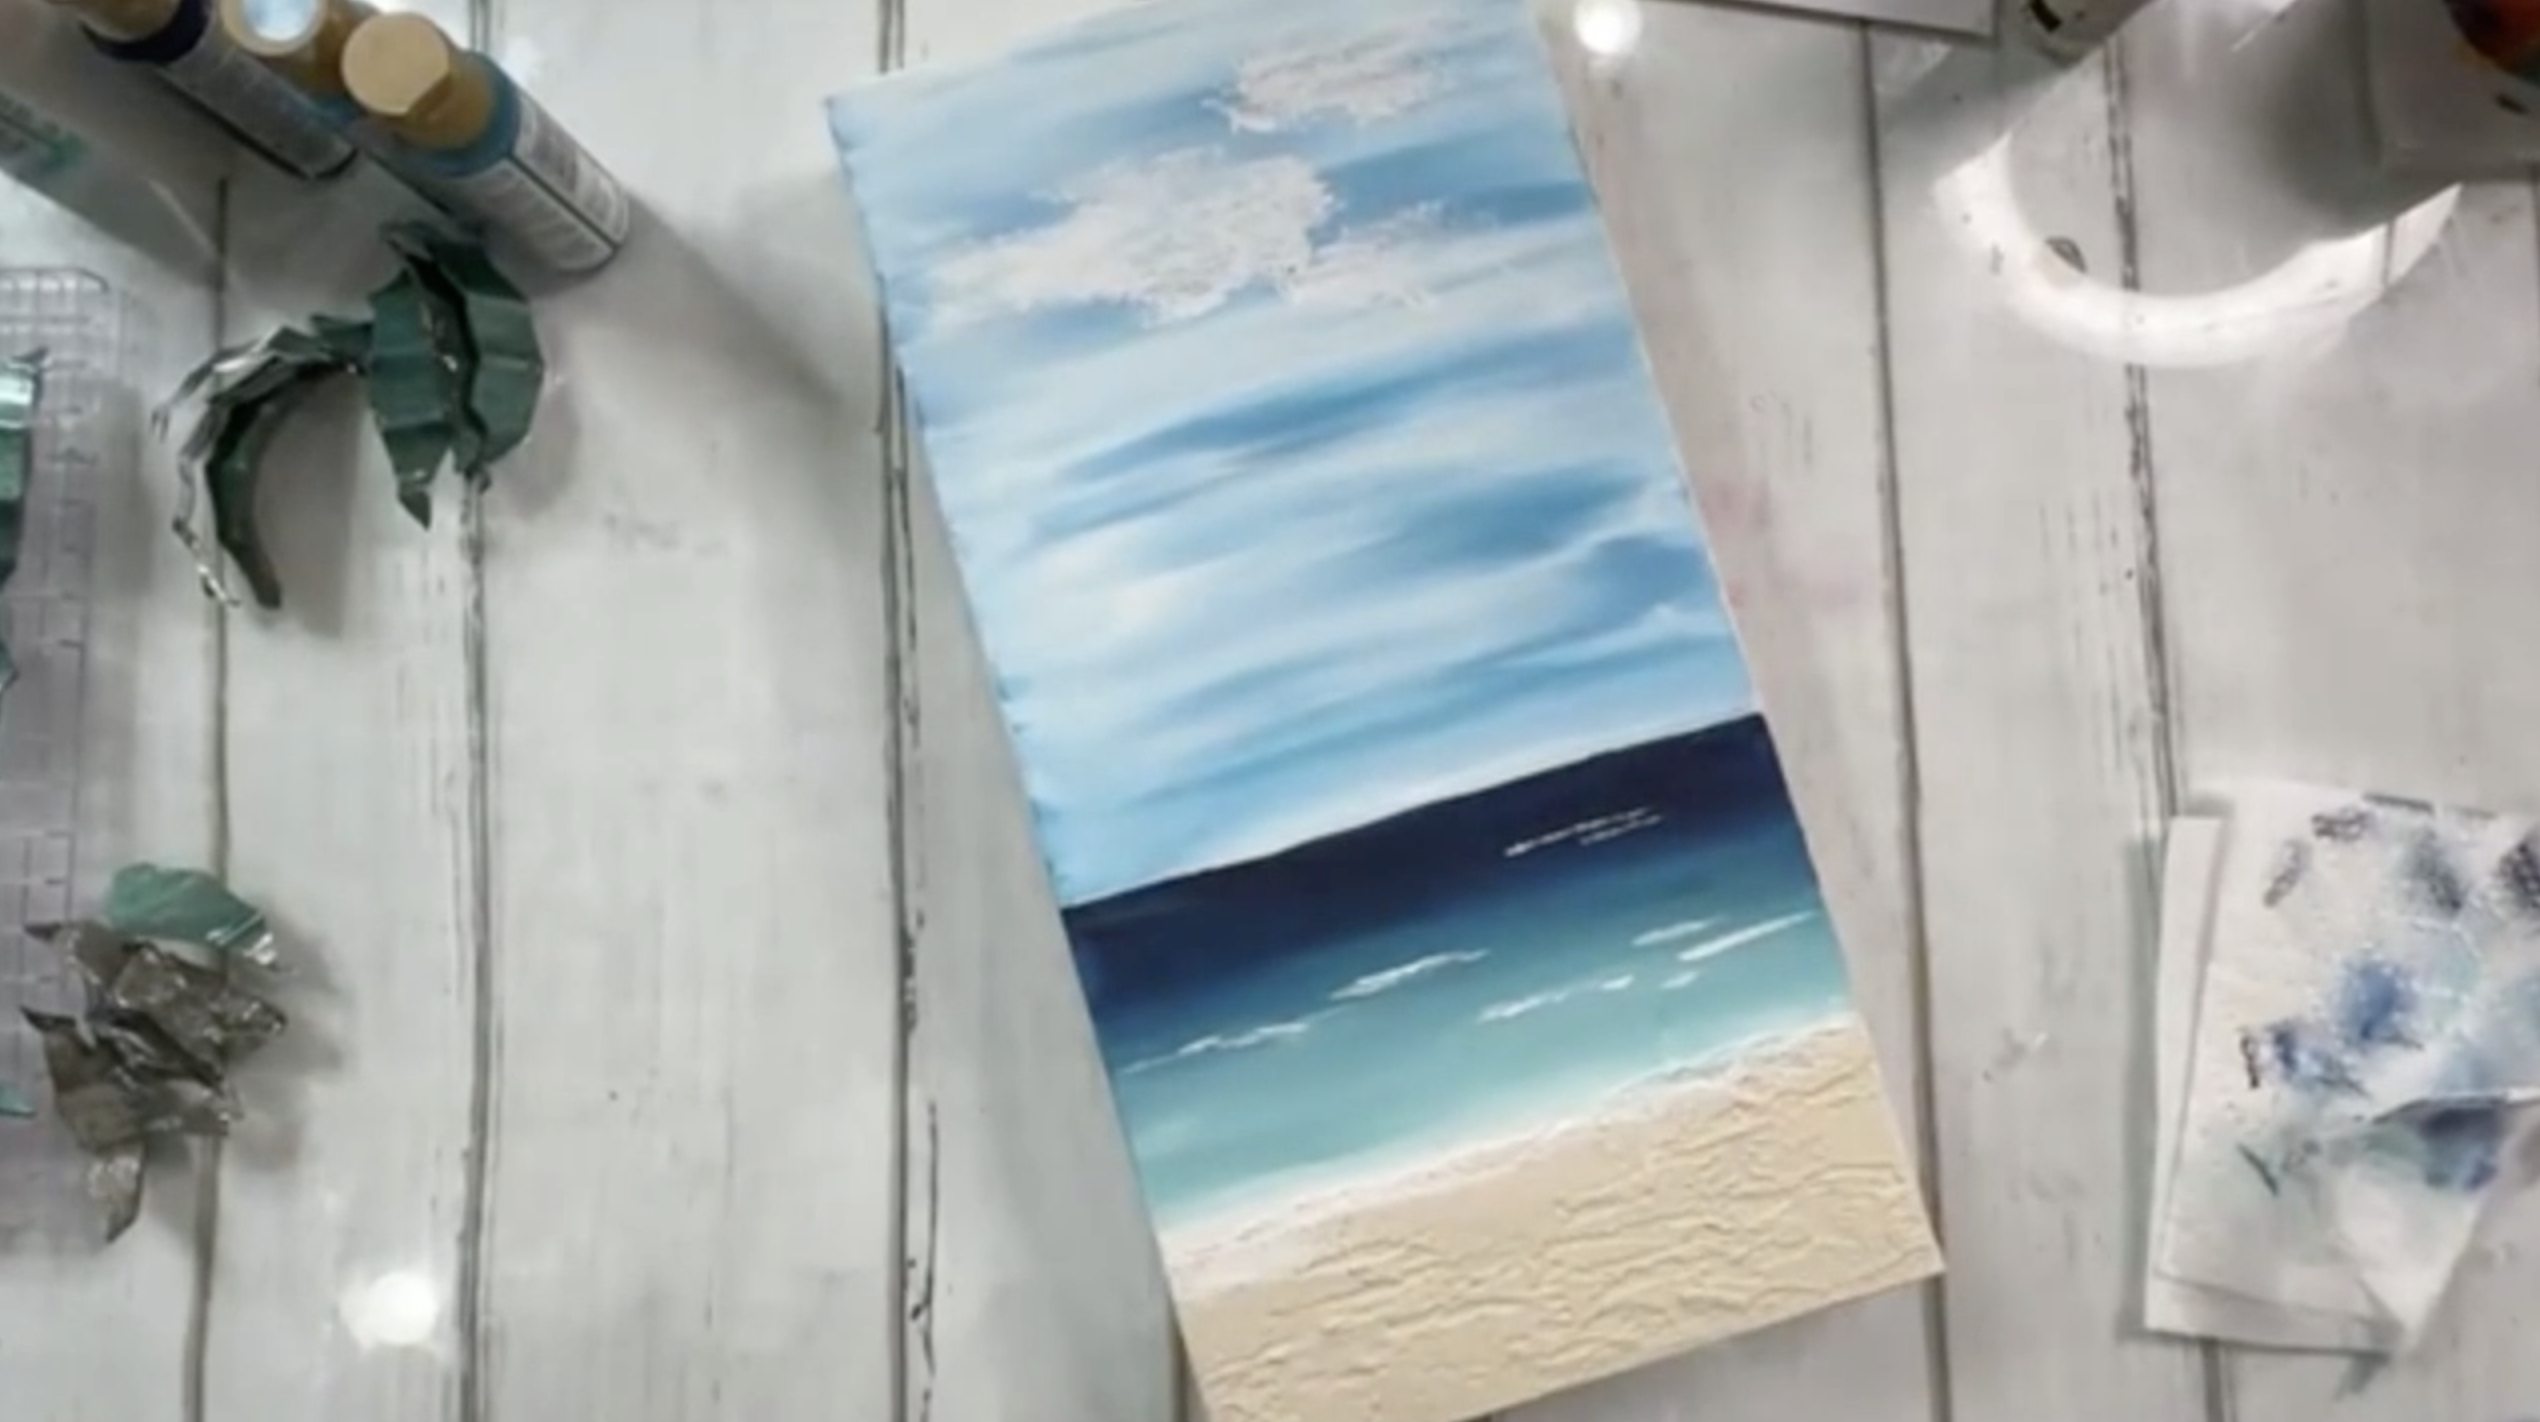
For the sky, cover the top half of your canvas with white paint first, then begin blending in turquoise blue as you work downward. Use long, horizontal strokes and allow the white and blue to mix slightly for a soft, cloudy effect. If you want more defined clouds, load your brush with a bit of white and press it flat against the canvas, wiggling slightly as you move across to create organic cloud shapes.
Step 5 – Paint the Ocean
The ocean will take up the middle section of your canvas, right between the sand and the sky. Start by painting a thin band of Prussian Blue along the horizon to create depth. Beneath that, blend in Desert Turquoise for a medium tone, and finish with Bahama Blue as the color nearest the shore. The trick is to let each shade softly overlap into the next so the water looks natural and smooth. Near the sand, pull some white across the edge to mimic ocean foam and beach waves. Keep your brush light as you wiggle it across, creating a few soft ripples that feel relaxed and imperfect, just like real waves. Dry with a heat tool.
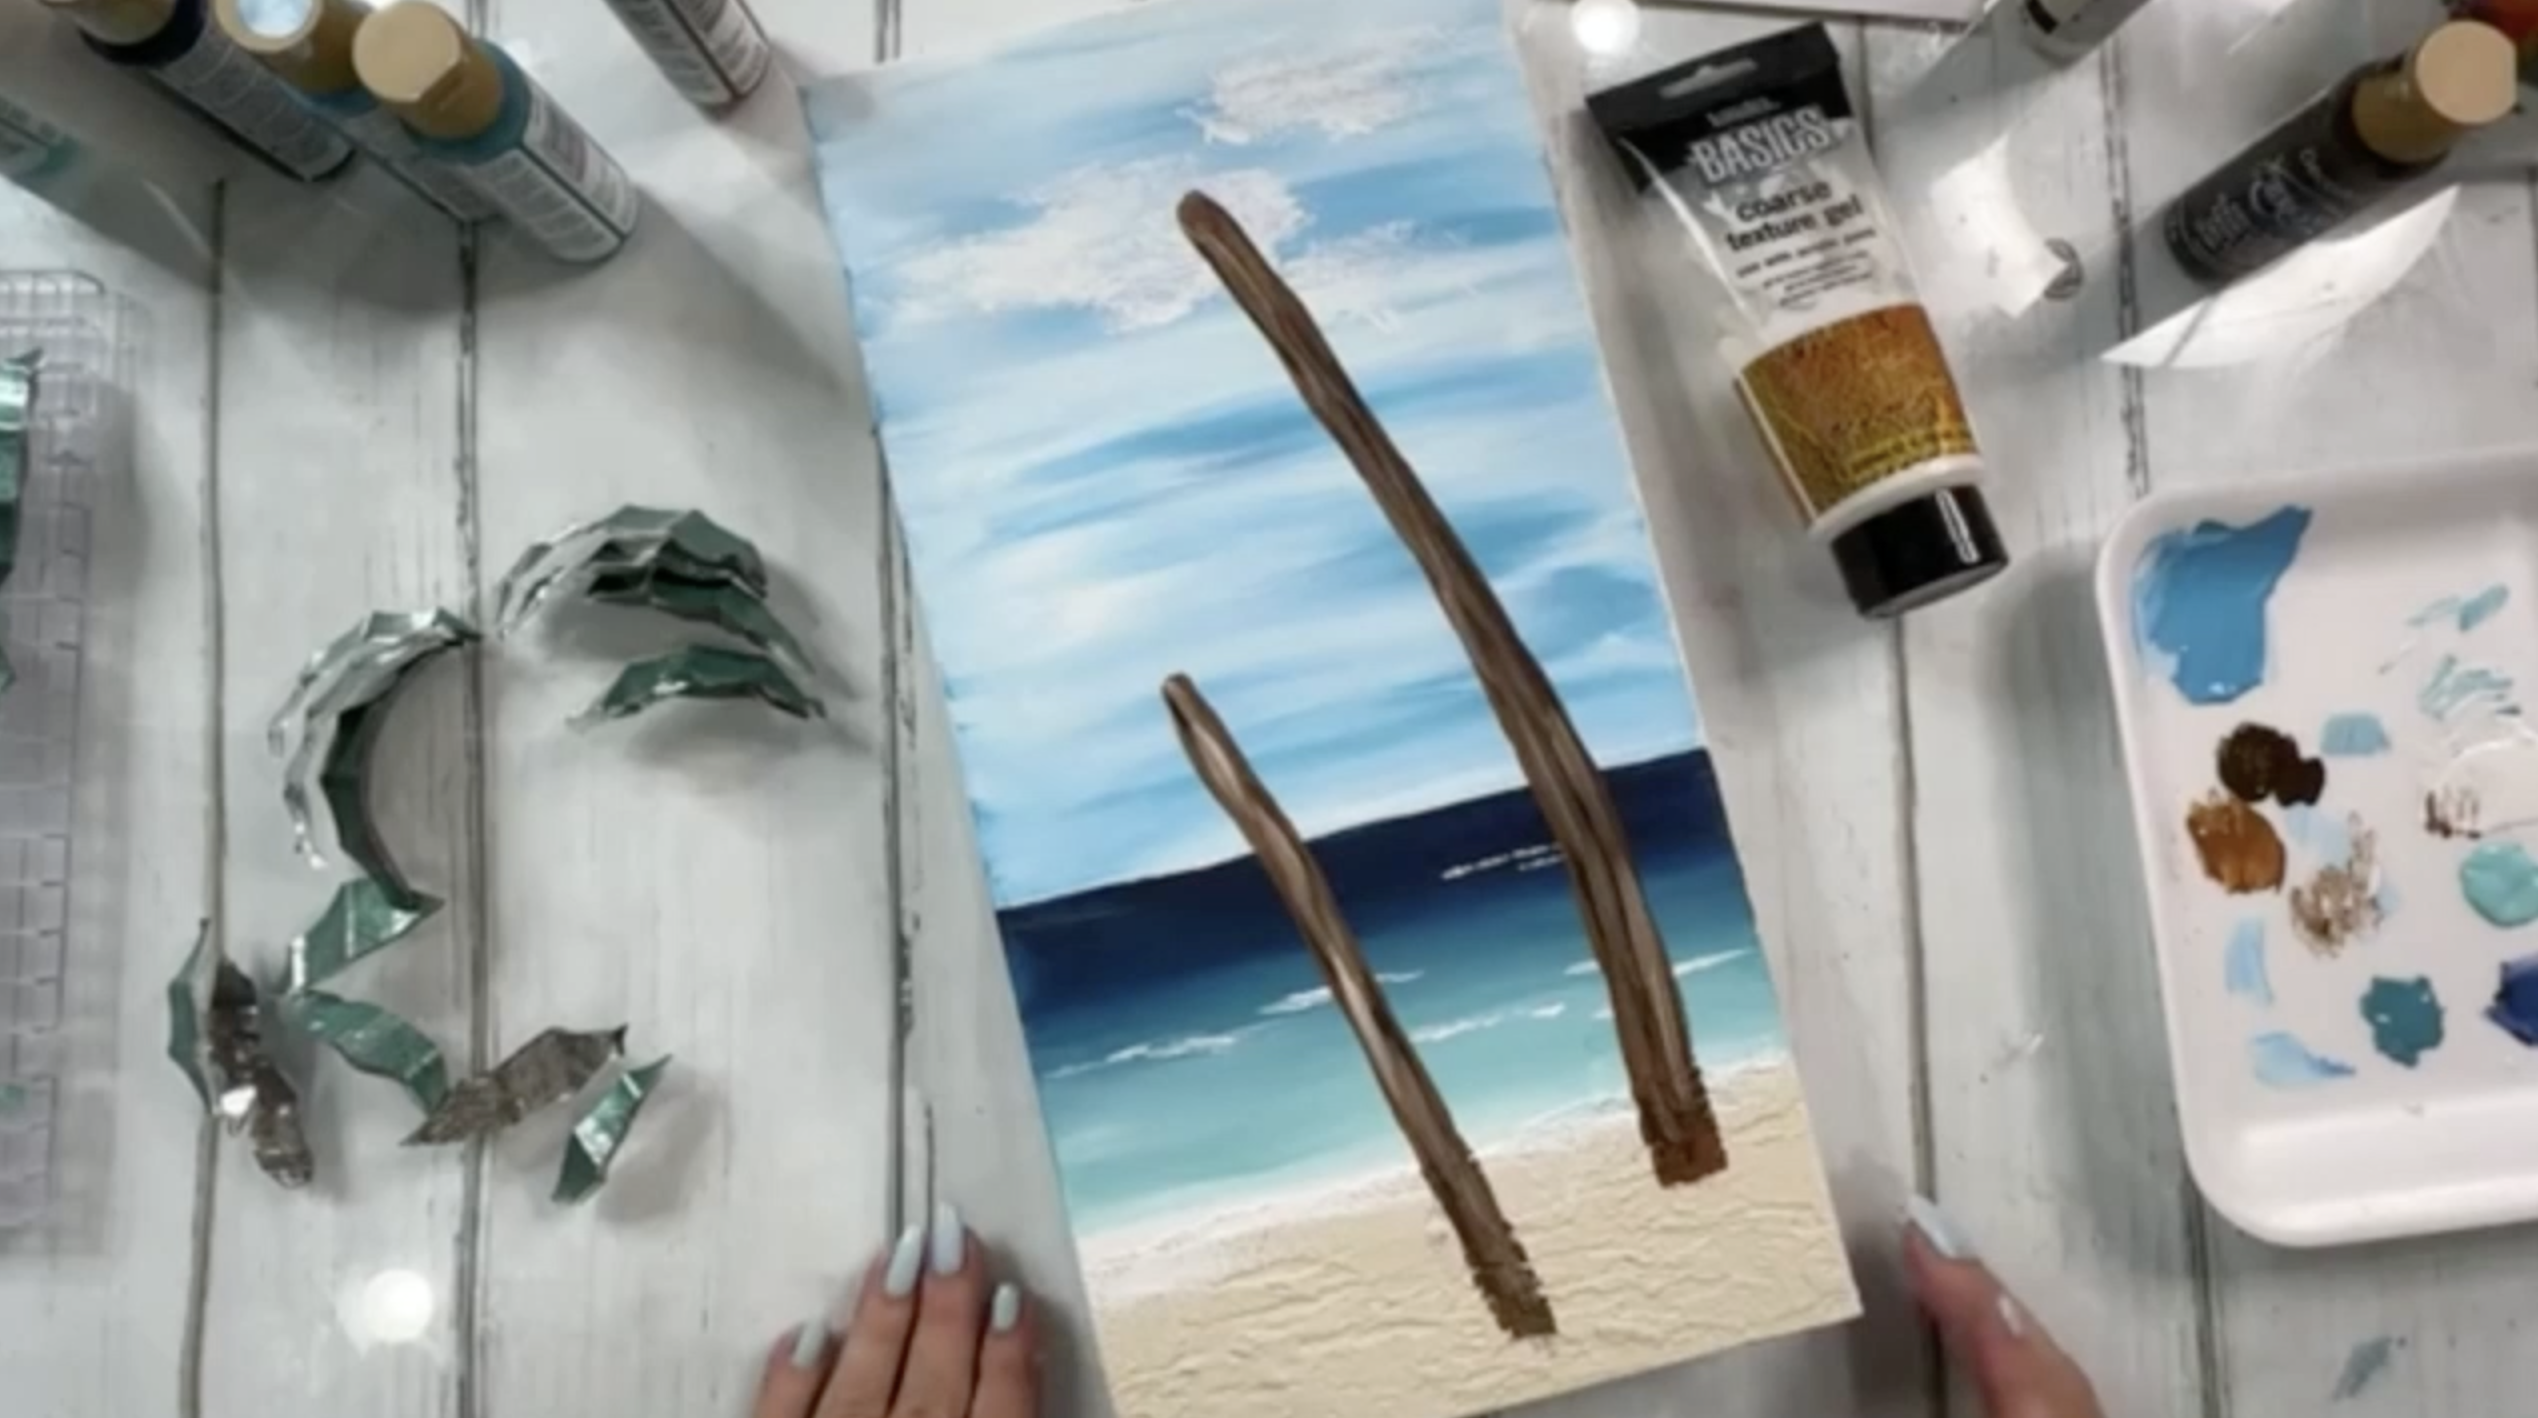
Step 6 – Paint Palm Tree Trunks
Once your background is dry, sketch the placement of your palm tree trunks with a pencil. Paint the trunks using a Milk Chocolate brown, then add depth with strokes of Burnt Umber and white. Don’t stress about making them perfectly straight or even. Palm trees have character, and their trunks often curve or thicken in uneven spots. Layer your brushstrokes to give the trunks some natural variation, and let them dry before moving on to the fronds.
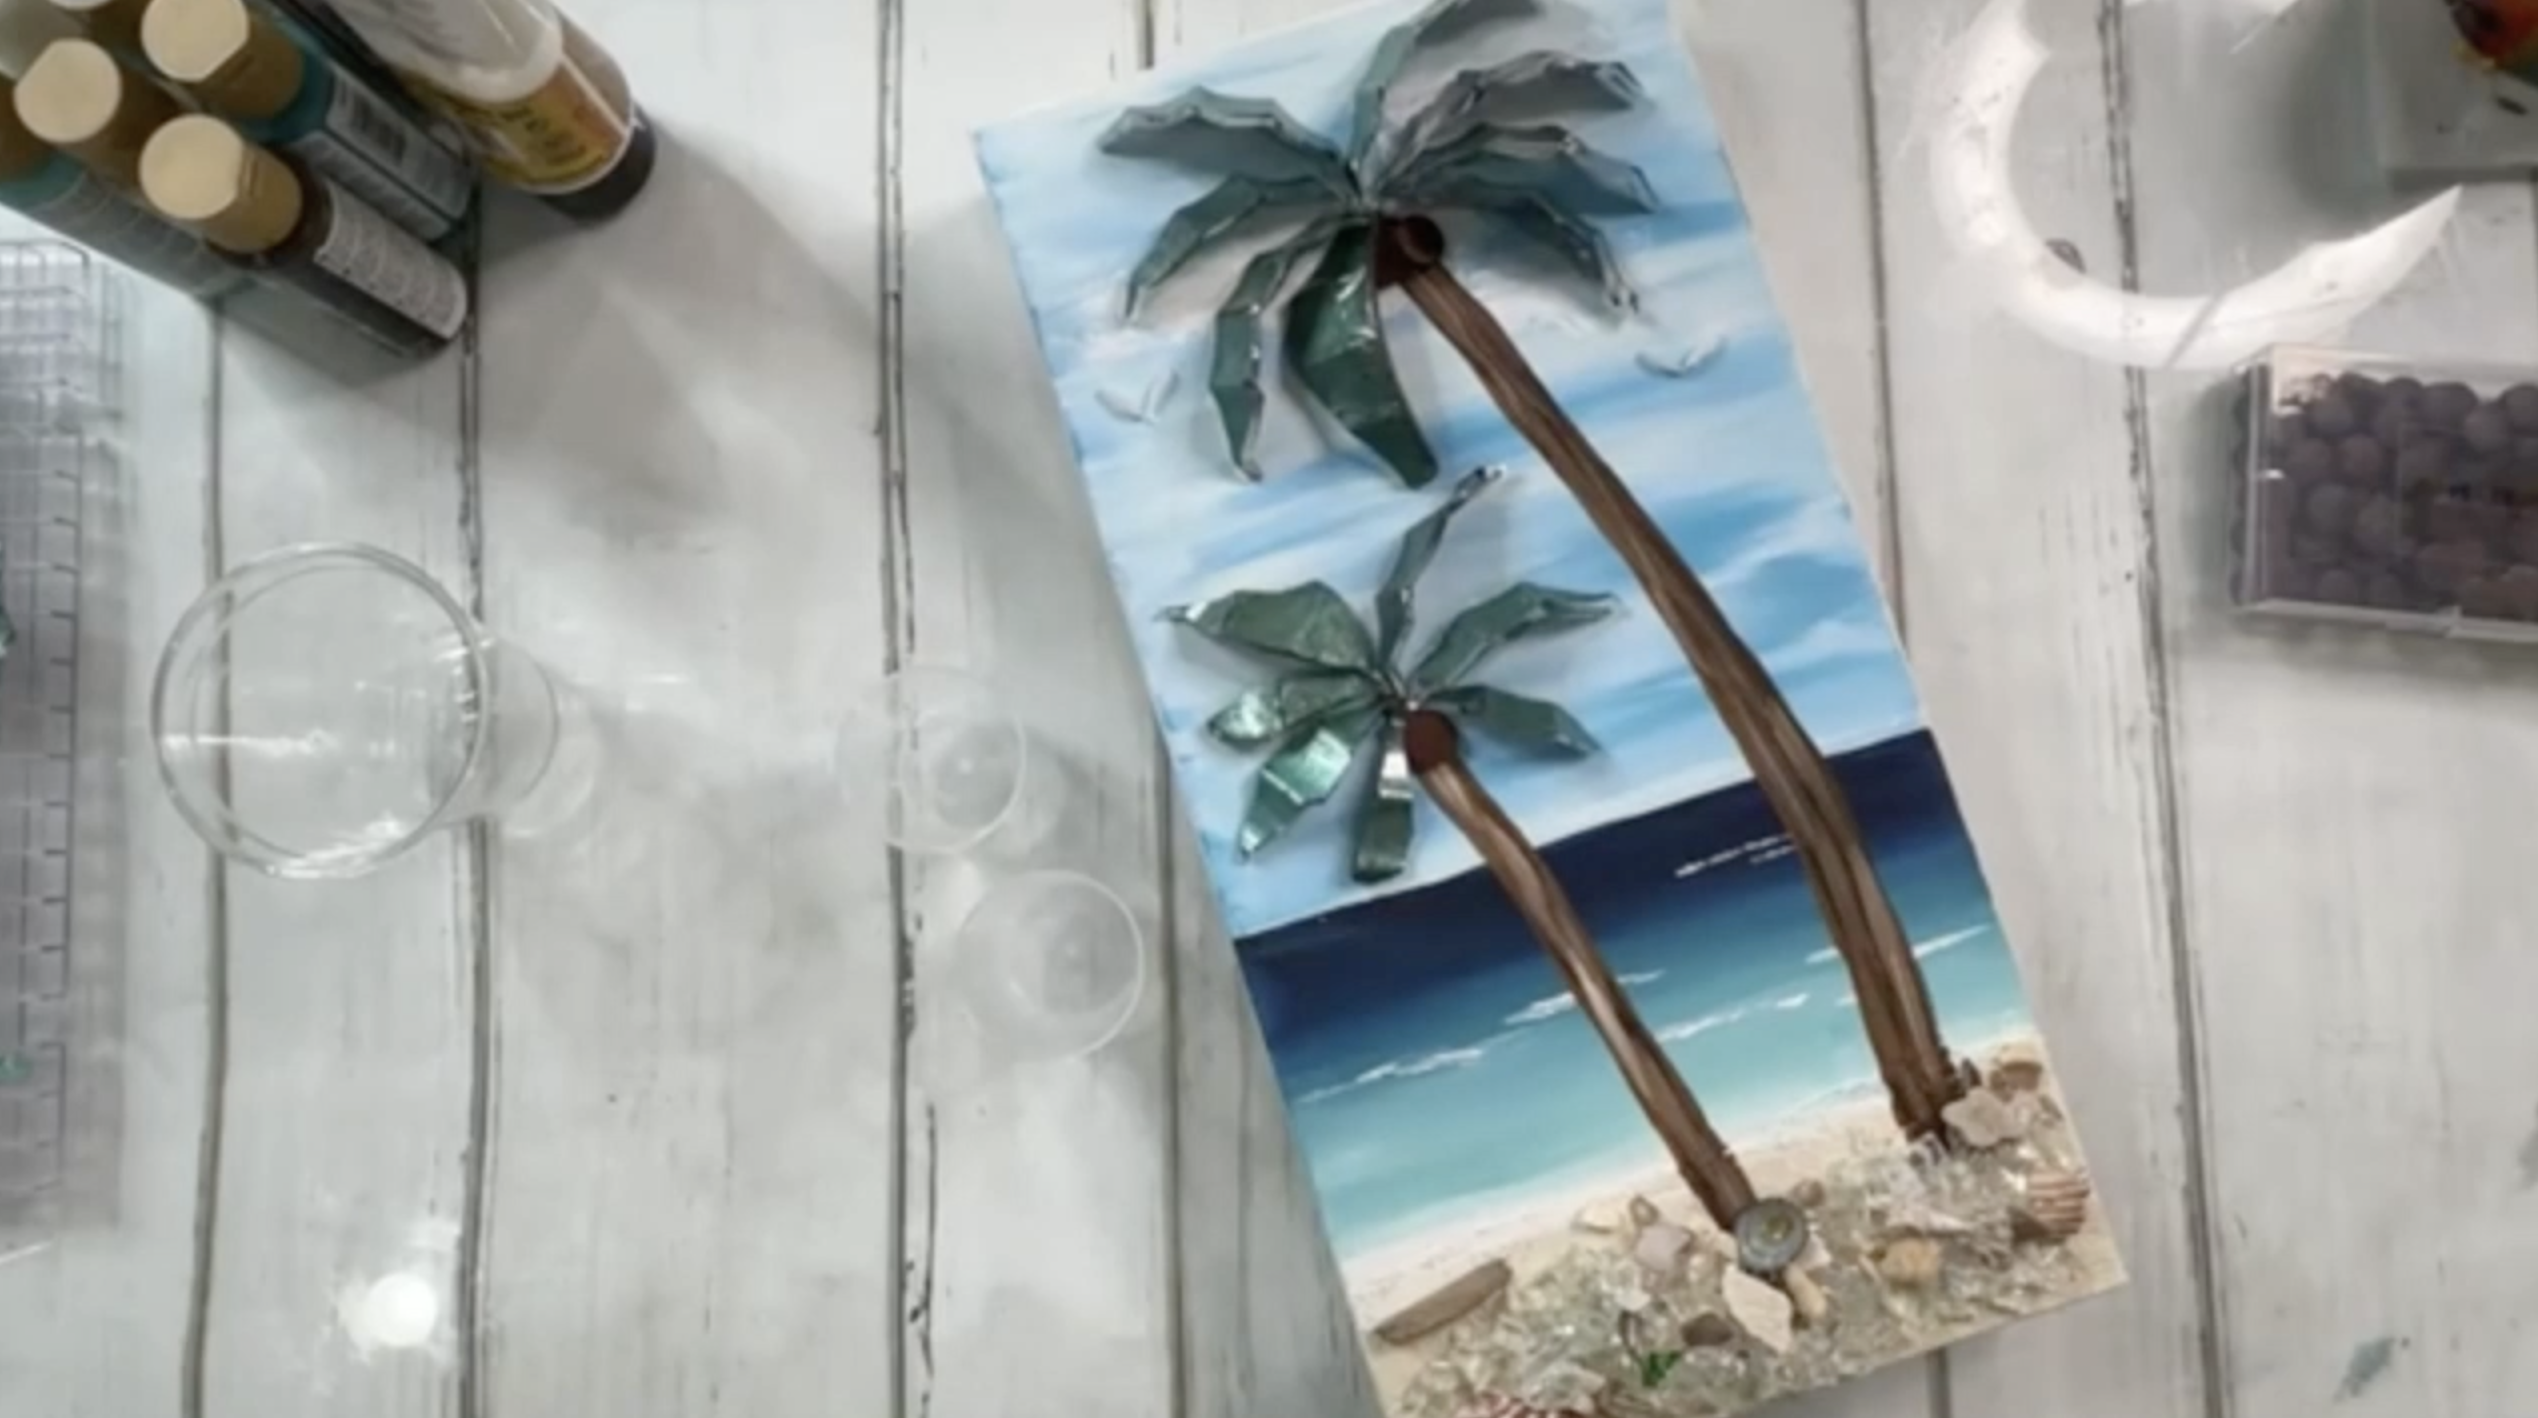
Step 7 – Add the Glass
Now comes the fun part - turning those recycled vase pieces into palm tree leaves. Arrange the curved glass sections at the top of each trunk, fanning them outward like fronds blowing in the breeze. Mix and match sizes, layering larger pieces on the outside and smaller ones in between for a fuller look. If you want a playful detail, you can even tuck a few round glass nuggets at the base of the fronds to create coconuts. Once you’re happy with the layout, leave everything in place for the resin step.
The base of your canvas is the perfect place to bring in natural details. Add a few seashells around the bottom of your trunks to hide their edges, sprinkle in some clear starfire glass for sparkle, and tuck in bits of driftwood for texture. If you want to go even further, cut a tiny V-shape from scrap glass and add it to the sky as a seagull. These little touches really bring the whole piece to life and make it feel like a true beach scene.
Step 8 – Mix & Pour Resin
Mix about three ounces of resin (1.5 oz. resin and 1.5 oz. hardener) and stir gently for three minutes. Pour the resin directly over your palm fronds, shells, and glass accents, letting it flow across the surface. Use a stick or your gloved finger to spread it evenly. Then pop any bubbles with a torch, heat gun, or even a spritz of isopropyl alcohol. Be generous on the edges of the glass fronds so the resin coats them fully.
One important note: don’t pour resin directly over frosted sea glass. If you do, it will lose its soft, frosty look. Instead, place the sea glass on top of the wet resin so only the underside touches, leaving the top matte and beautiful.
Let the canvas cure for at least 24 hours, or according to your resin instructions. Once it’s dry, you’ll have a sparkling tropical scene - painted sky and ocean, textured sandy beach, palm trees made from recycled vase glass, seashell accents, and even coconuts. The finished piece feels like a little slice of paradise, and the best part is that it’s made from simple materials you probably already have on hand.

If you don’t want to miss my Facebook LIVE art instruction, make sure you are on my texting list. I always text 10 minutes before I’m going to go LIVE, so you won’t ever miss it. You can text “Hey Cindy” to 901-519-2923.
Want more inspiration and artwork?
- My website artshattered.com with resources, shop, and more!
- My creative membership The Shattered Circle, where you can explore the world of glass art with online workshops, a supportive community, and more!
- My mini creative membership Just A ‘Lil Bit Monthly Glass Art Club, where you’ll get a new quick and easy online tutorial for just a lil' bit of sparkle in your life!
- My Facebook page where I go LIVE every Wednesday night.
- My YouTube channel which has tons of free art lessons right at your fingertips.
