
Plaster Cross ✝️
Today we’re creating a beautiful textured cross shelf-sitter featuring layered acrylic paint, metallic gold accents, modeling paste (or Venetian plaster), antiquing glaze, and a glossy resin finish. This project is simple, affordable, and completely customizable. No two crosses will ever look the same, and that variation is what makes them so special!
Step 1: Prep & Stain Your Wood
Start with your wood block and apply a dark walnut gel stain if you want a rich base tone. Work in small sections by brushing the stain on with a chip brush and wiping it off immediately with an old t-shirt or cloth. This keeps the finish even and prevents blotching. Once fully dry, cut your board into blocks if needed. The stained wood peeking through later layers adds warmth and character to the finished piece.
Step 2: Add Your Base Color (Palette Knife Technique)
Using a palette knife, apply your main color directly onto the wood surface. For this example, I’m using Ash gray, but the same process applies if you choose Desert Turquoise or any other color. Lightly skim the paint across the wood, allowing some of the stained wood to remain visible. The goal is not full coverage but movement and texture. After the main color is applied, use the same palette knife technique to lightly add white in select areas. Gently “tickle” the white across the surface so it blends naturally with the base color. This layering technique creates depth and prevents the background from looking flat or solid.
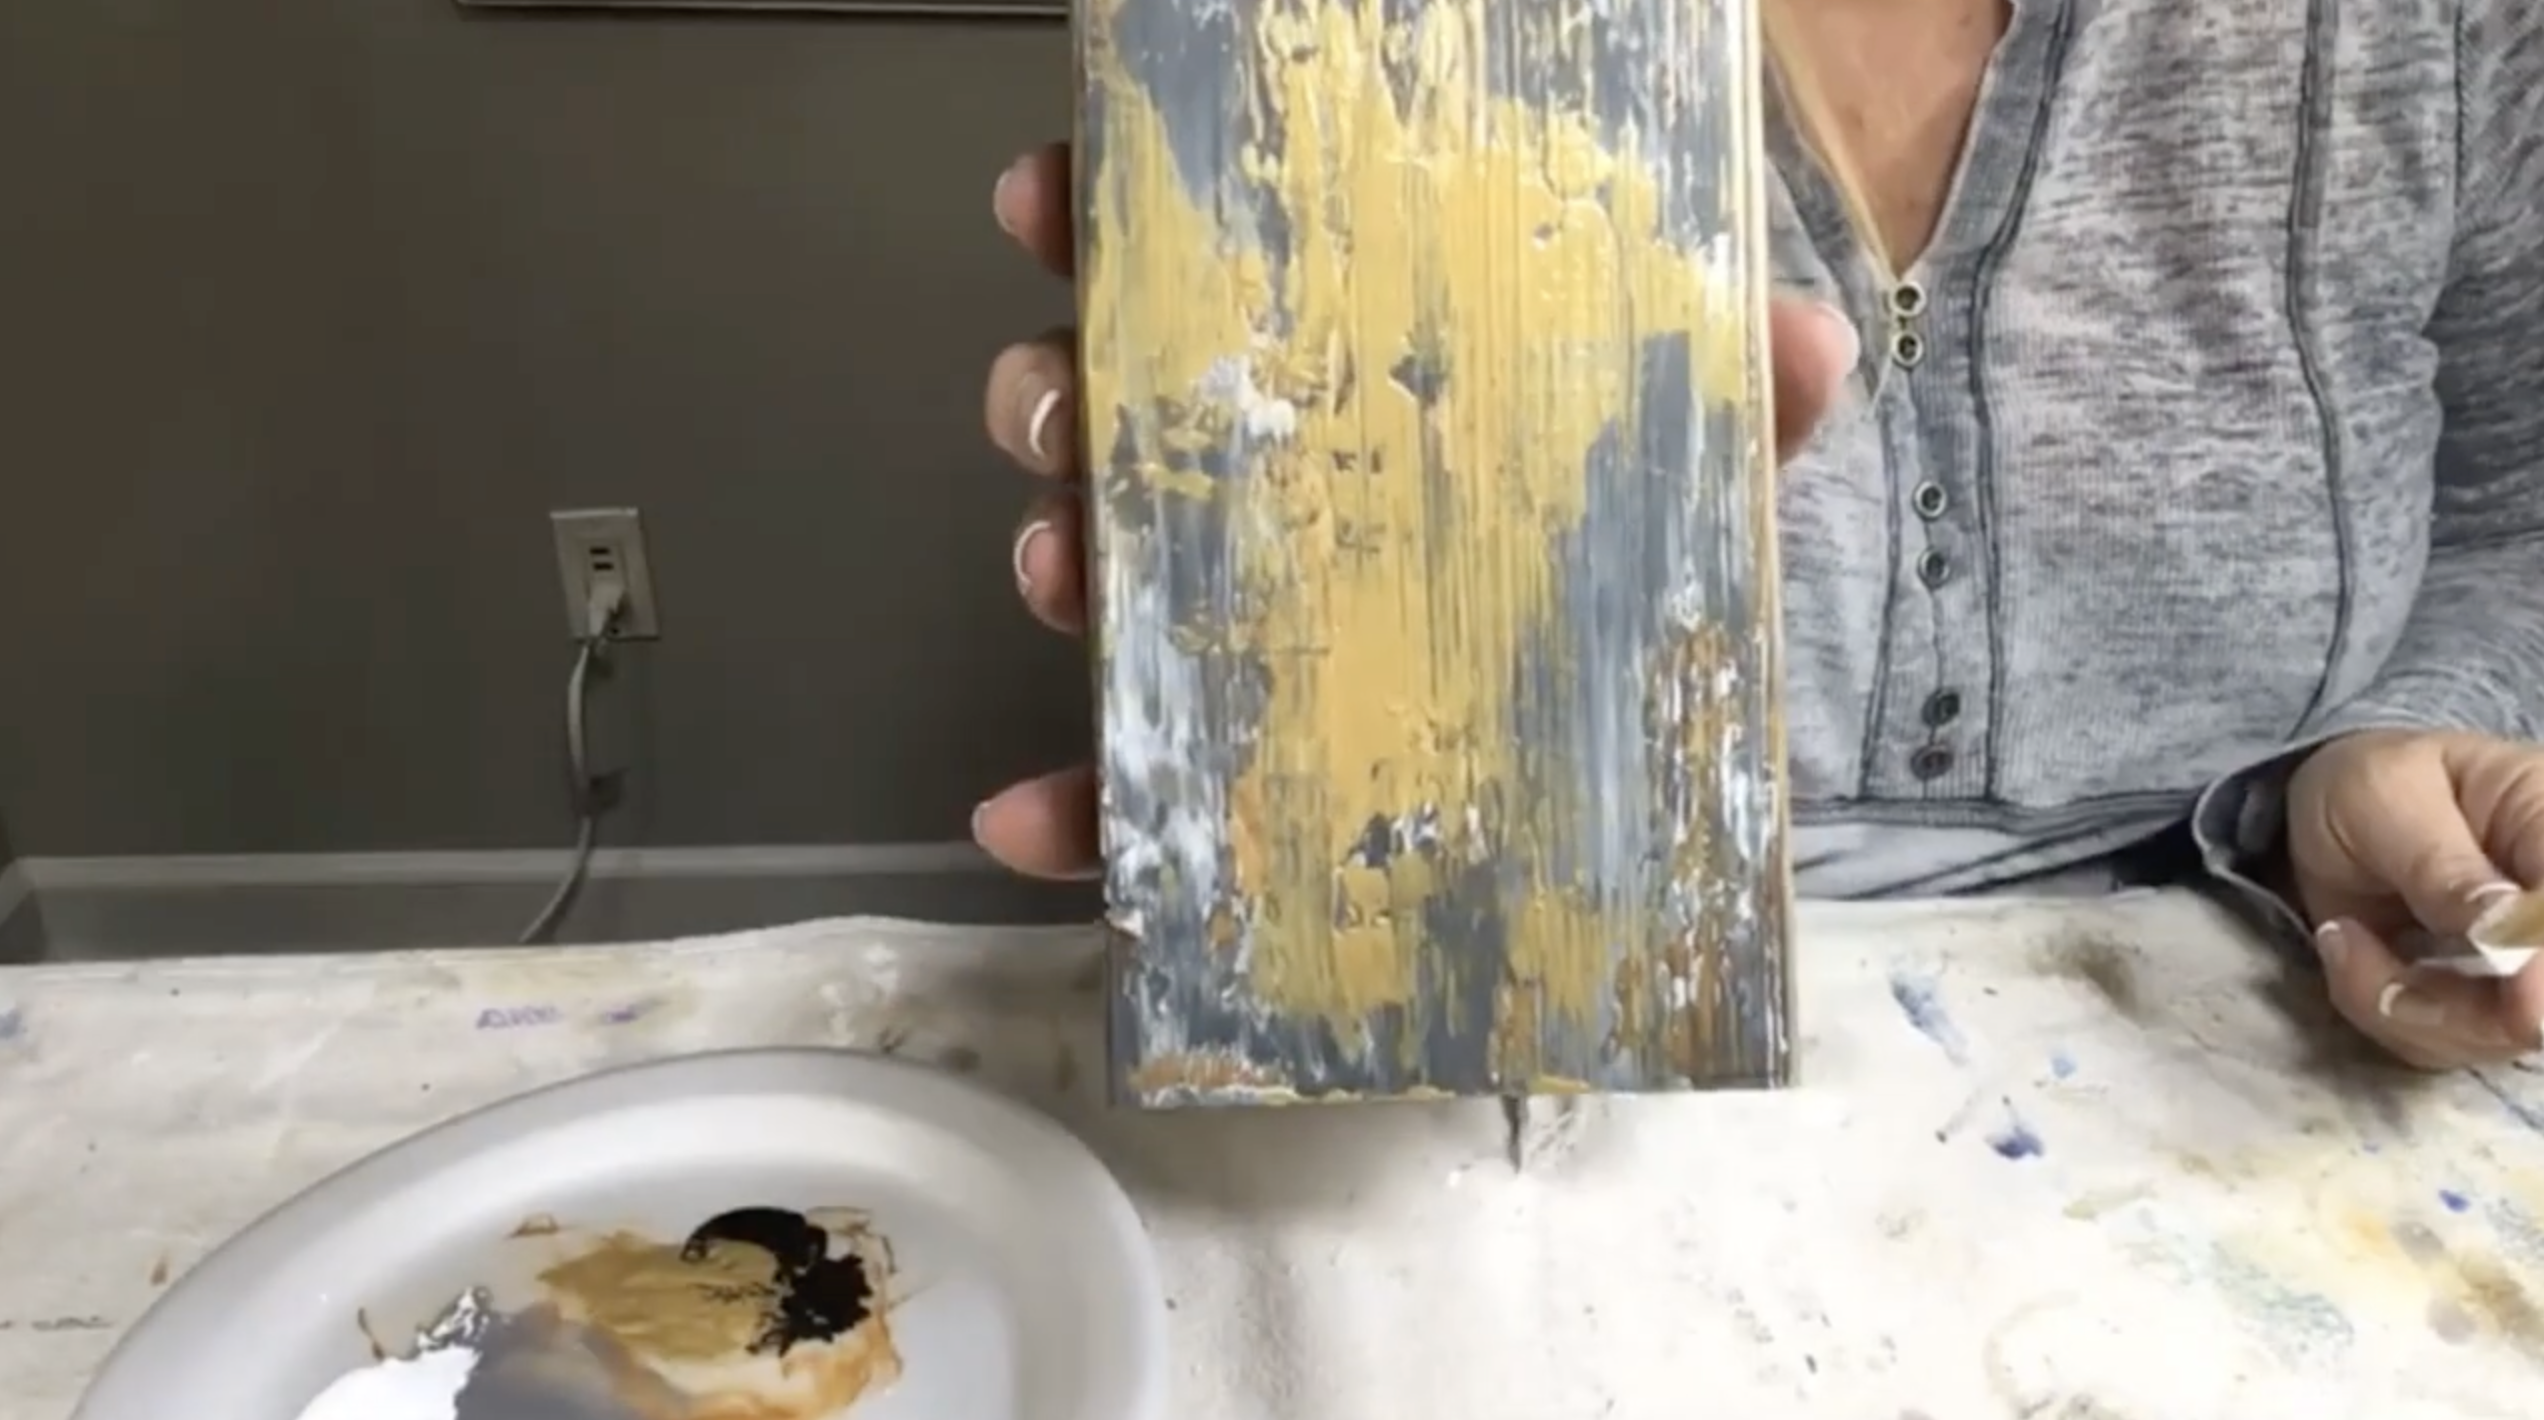
Step 3: Add Metallic Gold Under the Cross
Once the background is dry, it’s time to add metallic gold beneath where the cross will sit. Using FolkArt Metallic Antique Gold and your palette knife, lightly apply a strip down the vertical center of the board and a horizontal swipe where the arms of the cross will be. This subtle glow will sit behind the textured cross and make it pop once everything is assembled. Keep the gold controlled and concentrated toward the center so it enhances rather than overwhelms the layered background.
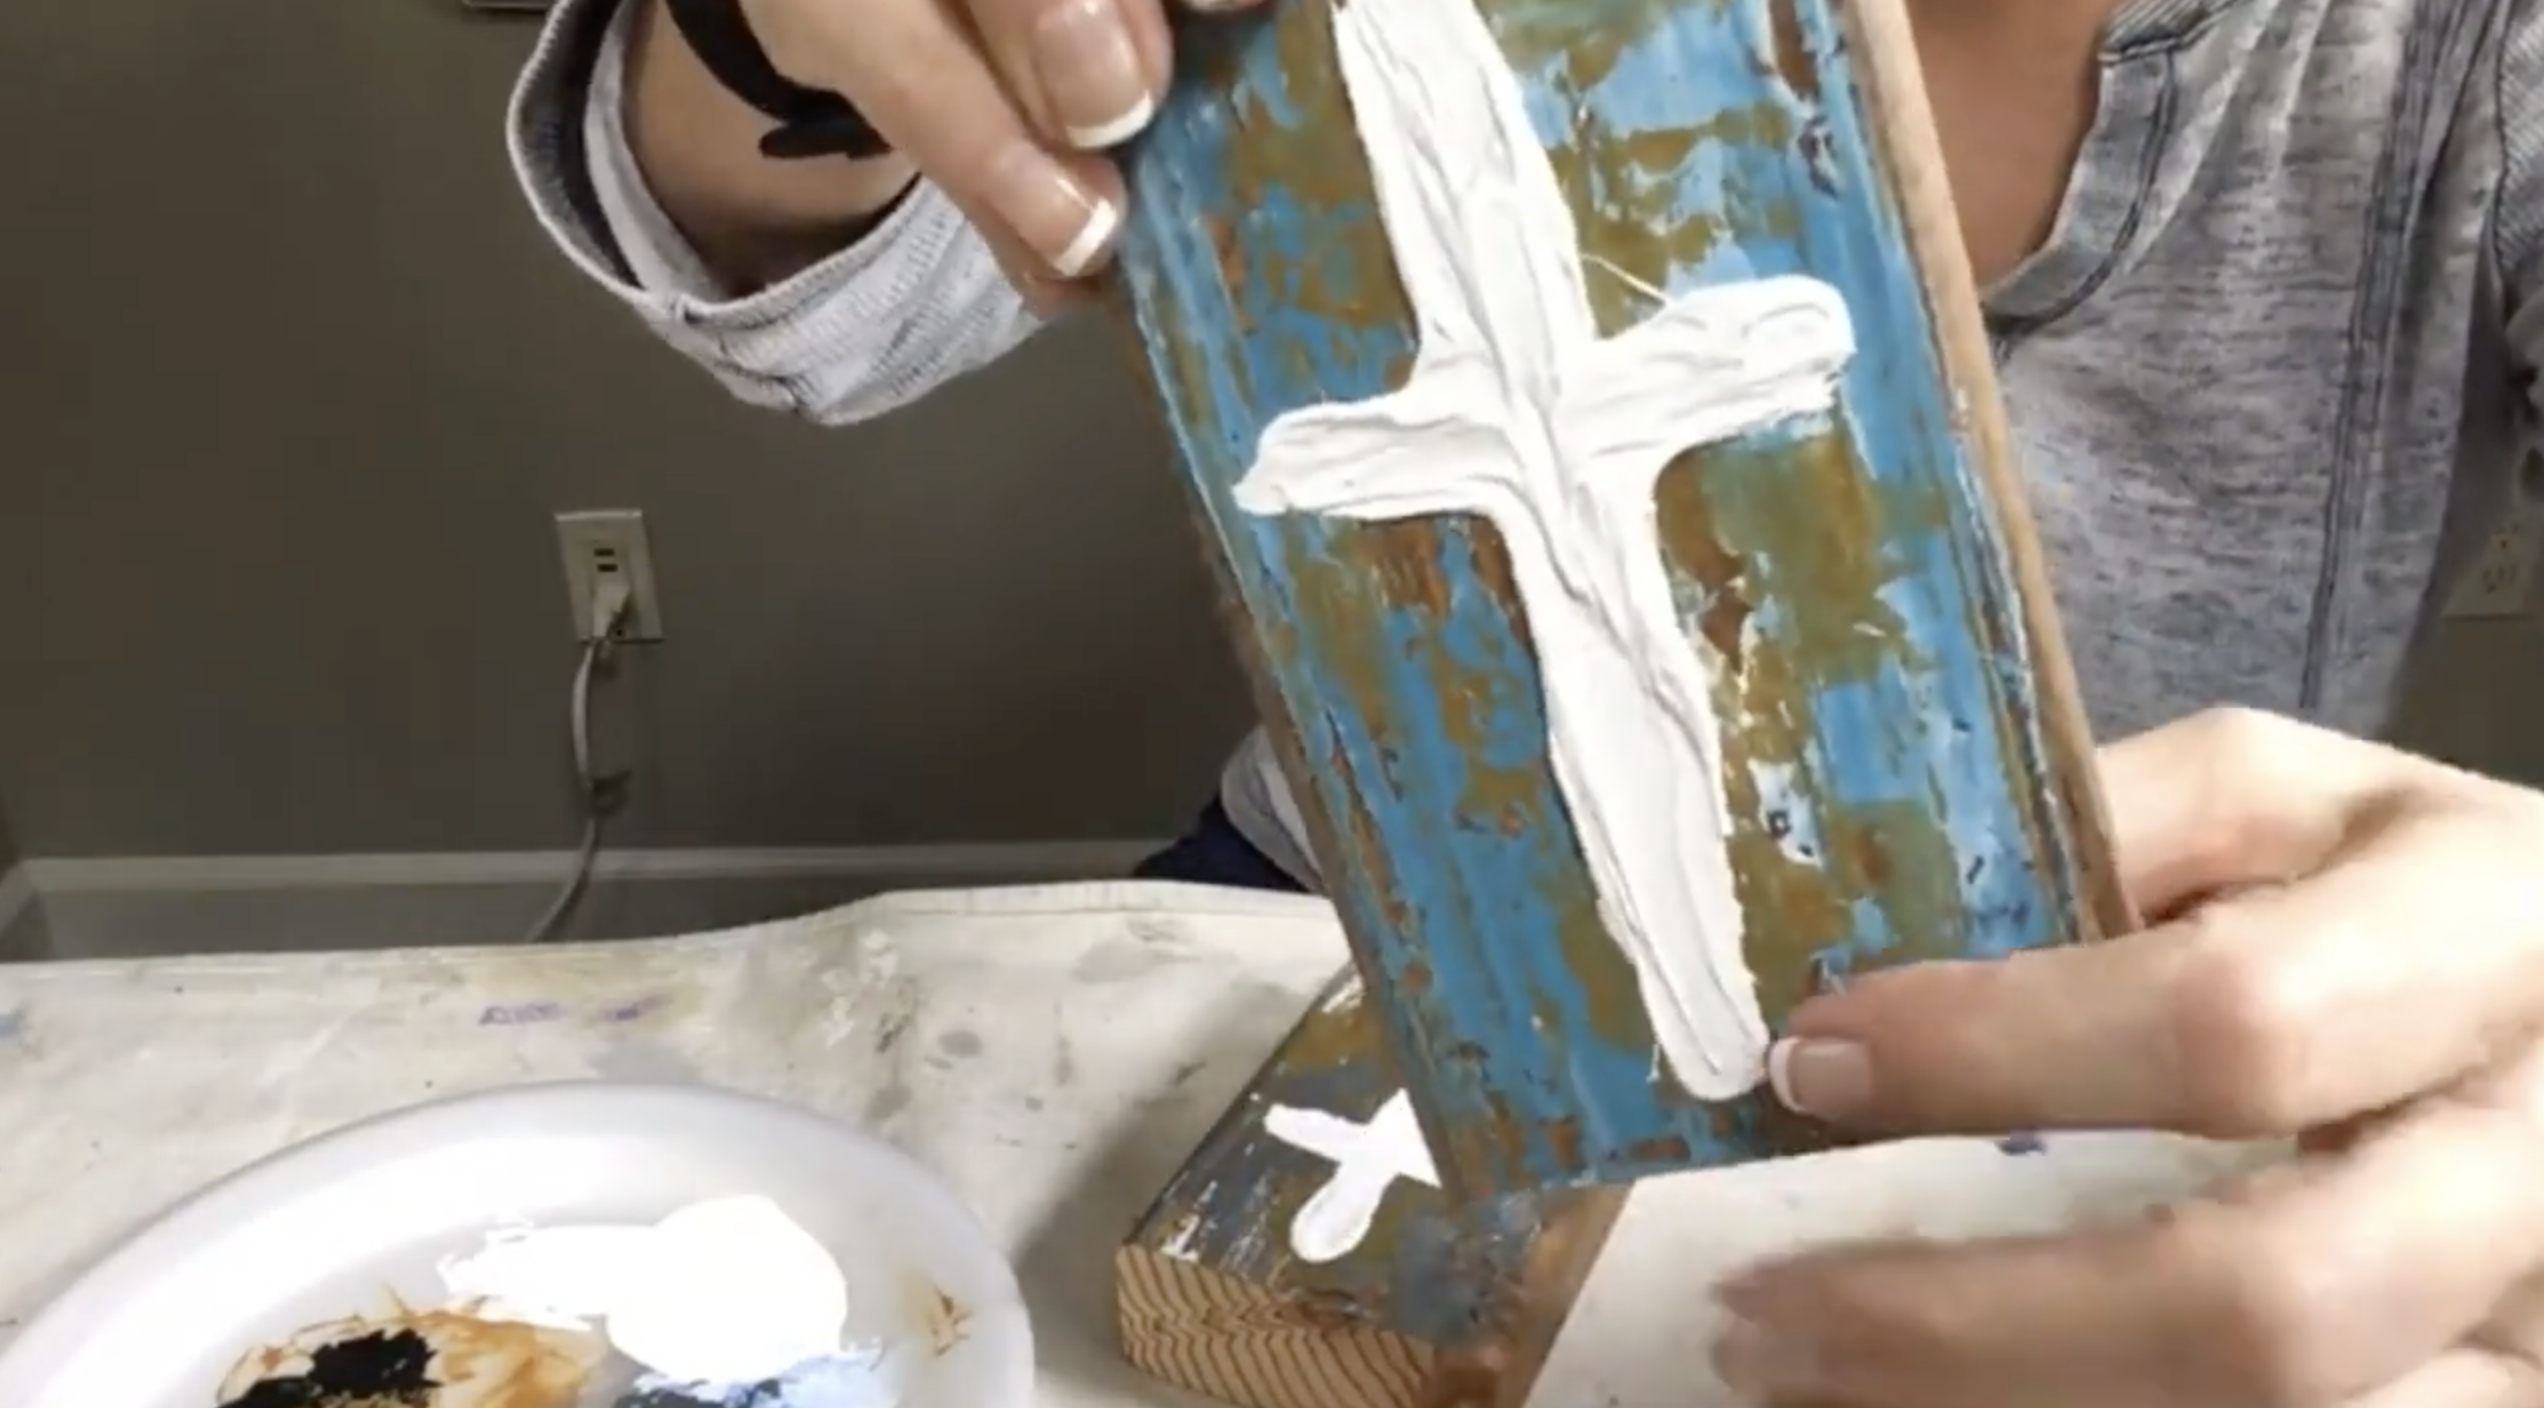
Step 4: Create the Textured Cross
To create the cross, use modeling paste or Venetian plaster applied with a narrow palette knife. Begin with the vertical stroke, applying a generous amount so it has noticeable dimension. Then add the horizontal arms, again allowing texture and natural knife movement to show. Venetian plaster is especially beautiful because it creates subtle crackling as it dries, adding even more character. Let this layer dry completely before moving on to glazing.
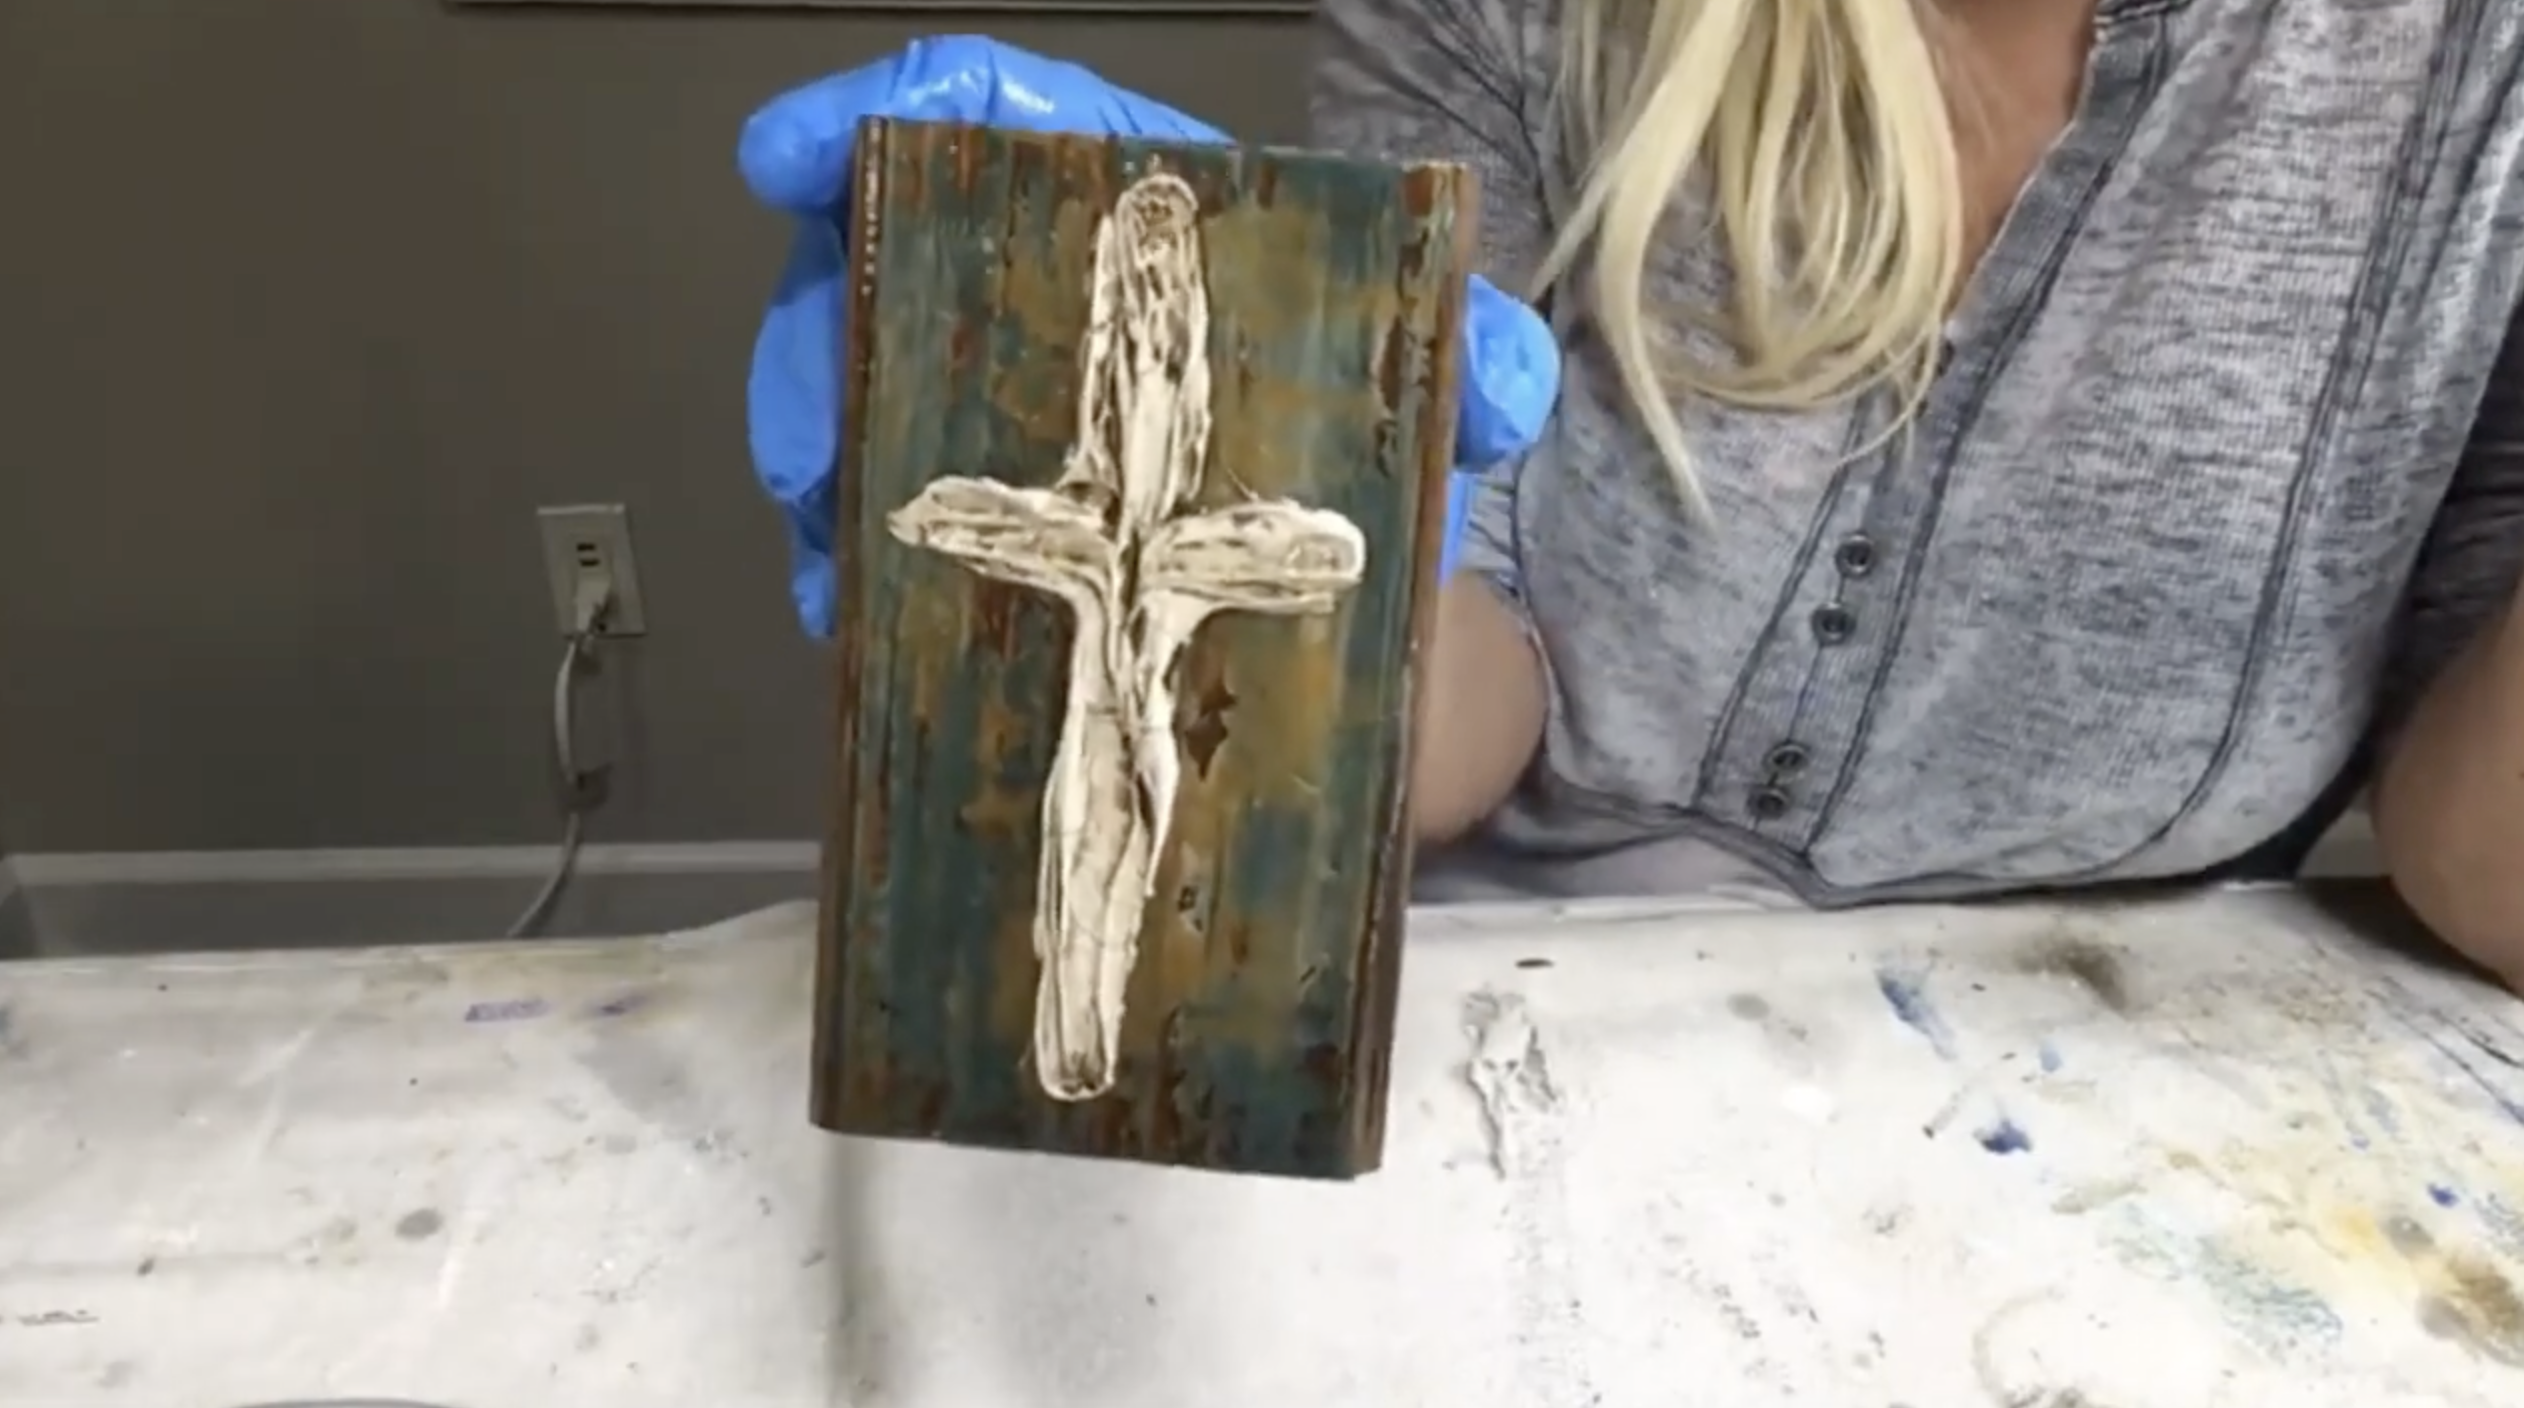
Step 5: Antique the Cross
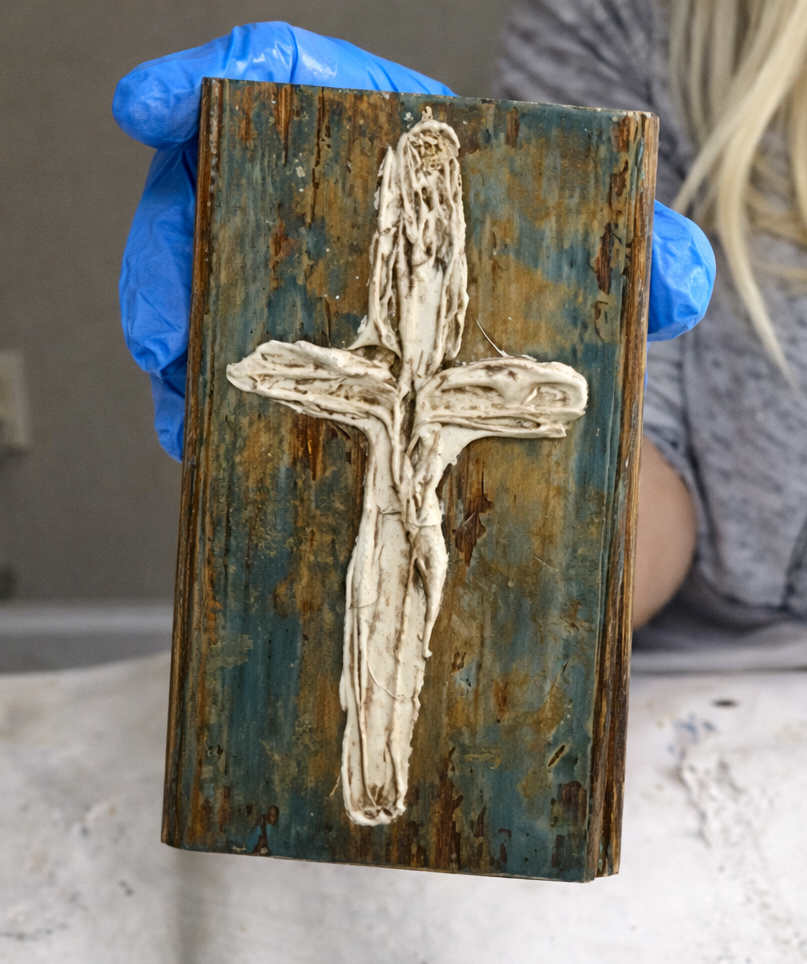
Once the cross is fully dry, apply FolkArt Antiquing Medium in Cocoa Bean over the entire textured surface using a chip brush. Work the glaze into all the crevices so it settles into the texture. After applying, gently wipe away the excess with a paper towel or soft cloth. Leave more glaze in the deeper areas to create an aged, distressed effect. This step transforms the cross from bright white into a beautifully antiqued focal point that complements the stained wood beneath.
Step 6: Add a Thin Coat of Resin
The final step is sealing everything with a thin layer of resin. Mix equal parts resin and hardener according to the manufacturer’s instructions. For this project, a very small amount goes a long way. Stir thoroughly for the recommended time to ensure proper curing. Pour a small amount directly onto the surface and use your gloved hand to spread it evenly into a thin coat. You only need enough resin to enhance the color and add shine. Lay the piece flat to cure so the resin doesn’t run. The resin deepens the colors, intensifies the metallic gold, and gives the entire project a polished finish.
This textured cross shelf sitter is simple enough for beginners yet detailed enough to feel special and handmade. The palette knife technique ensures that every background is unique, and the antiquing glaze adds warmth and character. The final resin coat enhances the depth and shine, bringing the entire piece to life. Each one tells its own story — and that’s exactly what makes handmade art so meaningful!
If you're a member of The Shattered Circle, you'll find this tutorial in your classroom under Art Shattered Weekly Facebook Lives, search for "Plaster Cross on Wood".
If you don’t want to miss my Facebook LIVE art instruction, make sure you are on my texting list. I always text 10 minutes before I’m going to go LIVE, so you won’t ever miss it. You can text “Hey Cindy” to 901-519-2923.
Want more inspiration and artwork?
- My website artshattered.com with resources, shop, and more!
- My creative membership The Shattered Circle, where you can explore the world of glass art with online workshops, a supportive community, and more!
- My mini creative membership Just A ‘Lil Bit Monthly Glass Art Club, where you’ll get a new quick and easy online tutorial for just a lil' bit of sparkle in your life!
- My Facebook page where I go LIVE every Wednesday night.
- My YouTube channel which has tons of free art lessons right at your fingertips.
