
Scream Ghost 👻
This little ghost is about as cute as they come! For this project, we're creating an adorable floating ghost on a 6x6 canvas using acrylic paint, crushed glass, resin, and a few fun fall embellishments. We've got a moody blue nighttime background, a sparkly white ghost, candy corn, tiny pumpkins, and even a little sunflower!
And don't worry if you're not a big painter. The ghost itself is super simple, and we're using glass to add all that fun texture and dimension. This is one of those projects where you can dig through your craft stash, pull out a few things you love, and see what happens!
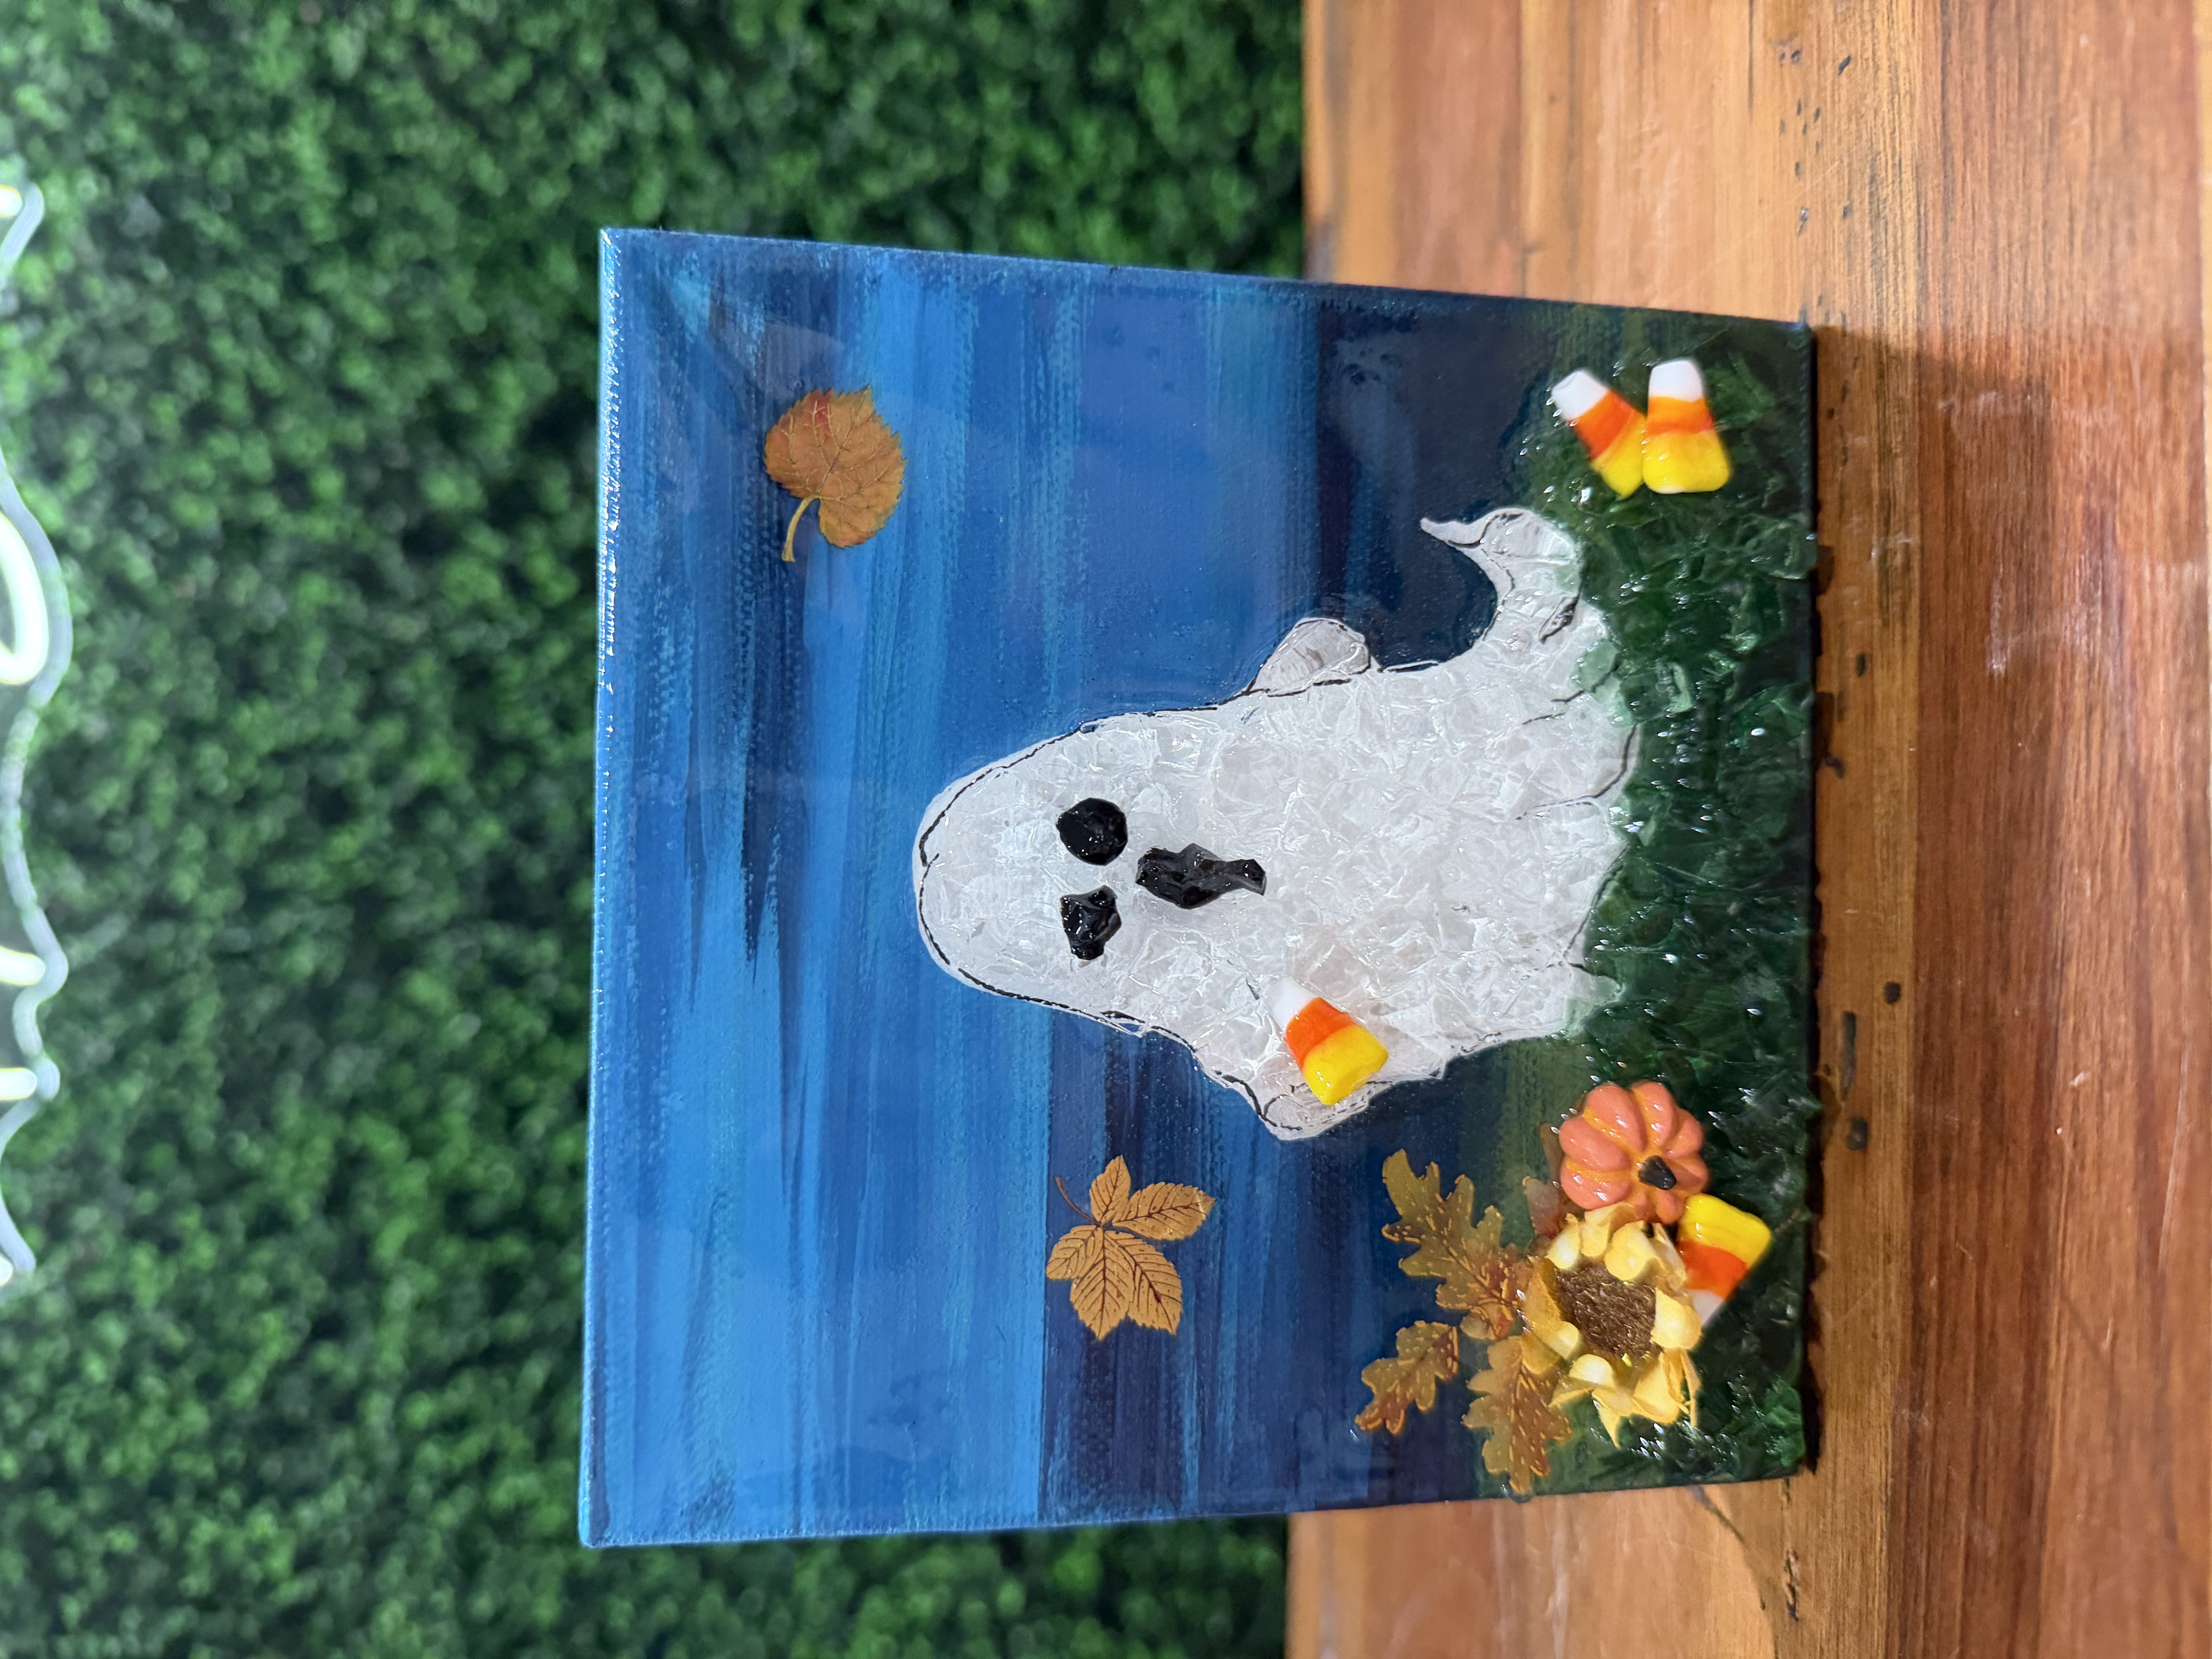
Step 1: Prepare Your Nighttime Background
We're starting with a 6x6 canvas that already has a painted nighttime background. For this project, I'm using our old Fireflies background, which has beautiful shades of blue that give us a moody evening sky.
If you're starting with a blank canvas, you'll want to paint your background first and let it dry completely. You can create a similar look by layering different shades of blue, with darker colors toward the bottom and lighter blue across the upper portion of the canvas.
We're going to add our little ghost right in the center, so don't worry about making the background too detailed.
Step 2: Transfer Your Ghost Design
Now let's get our ghost onto the canvas! I'm using a simple floating ghost tracer and white transfer paper. Normally, we might use black graphite paper, but because our background is dark blue, white transfer paper will make our lines much easier to see.
Position your ghost tracer in the center of the canvas and secure it with a little painter's tape. Slide the white transfer paper underneath with the transfer side facing the canvas, then trace around your ghost. Once you're finished, carefully lift the paper to make sure your design transferred.
Step 3: Paint Your Ghost White
We're going to start by painting our ghost with white acrylic paint. Because we're painting over a dark background, it will probably take more than one coat to get the coverage we want.
Use a small paintbrush to fill in the entire ghost shape, following the outline you transferred. Don't worry about getting every little curve exactly right. He's a ghost, after all! I actually like leaving a little bit of translucency because it makes him feel a little more ghostly.
Once you've finished your first coat, use your heat gun or hair dryer to dry the paint. Let the surface cool if needed, then go back in with a second coat of white. This will help brighten the ghost and cover more of that dark blue background.
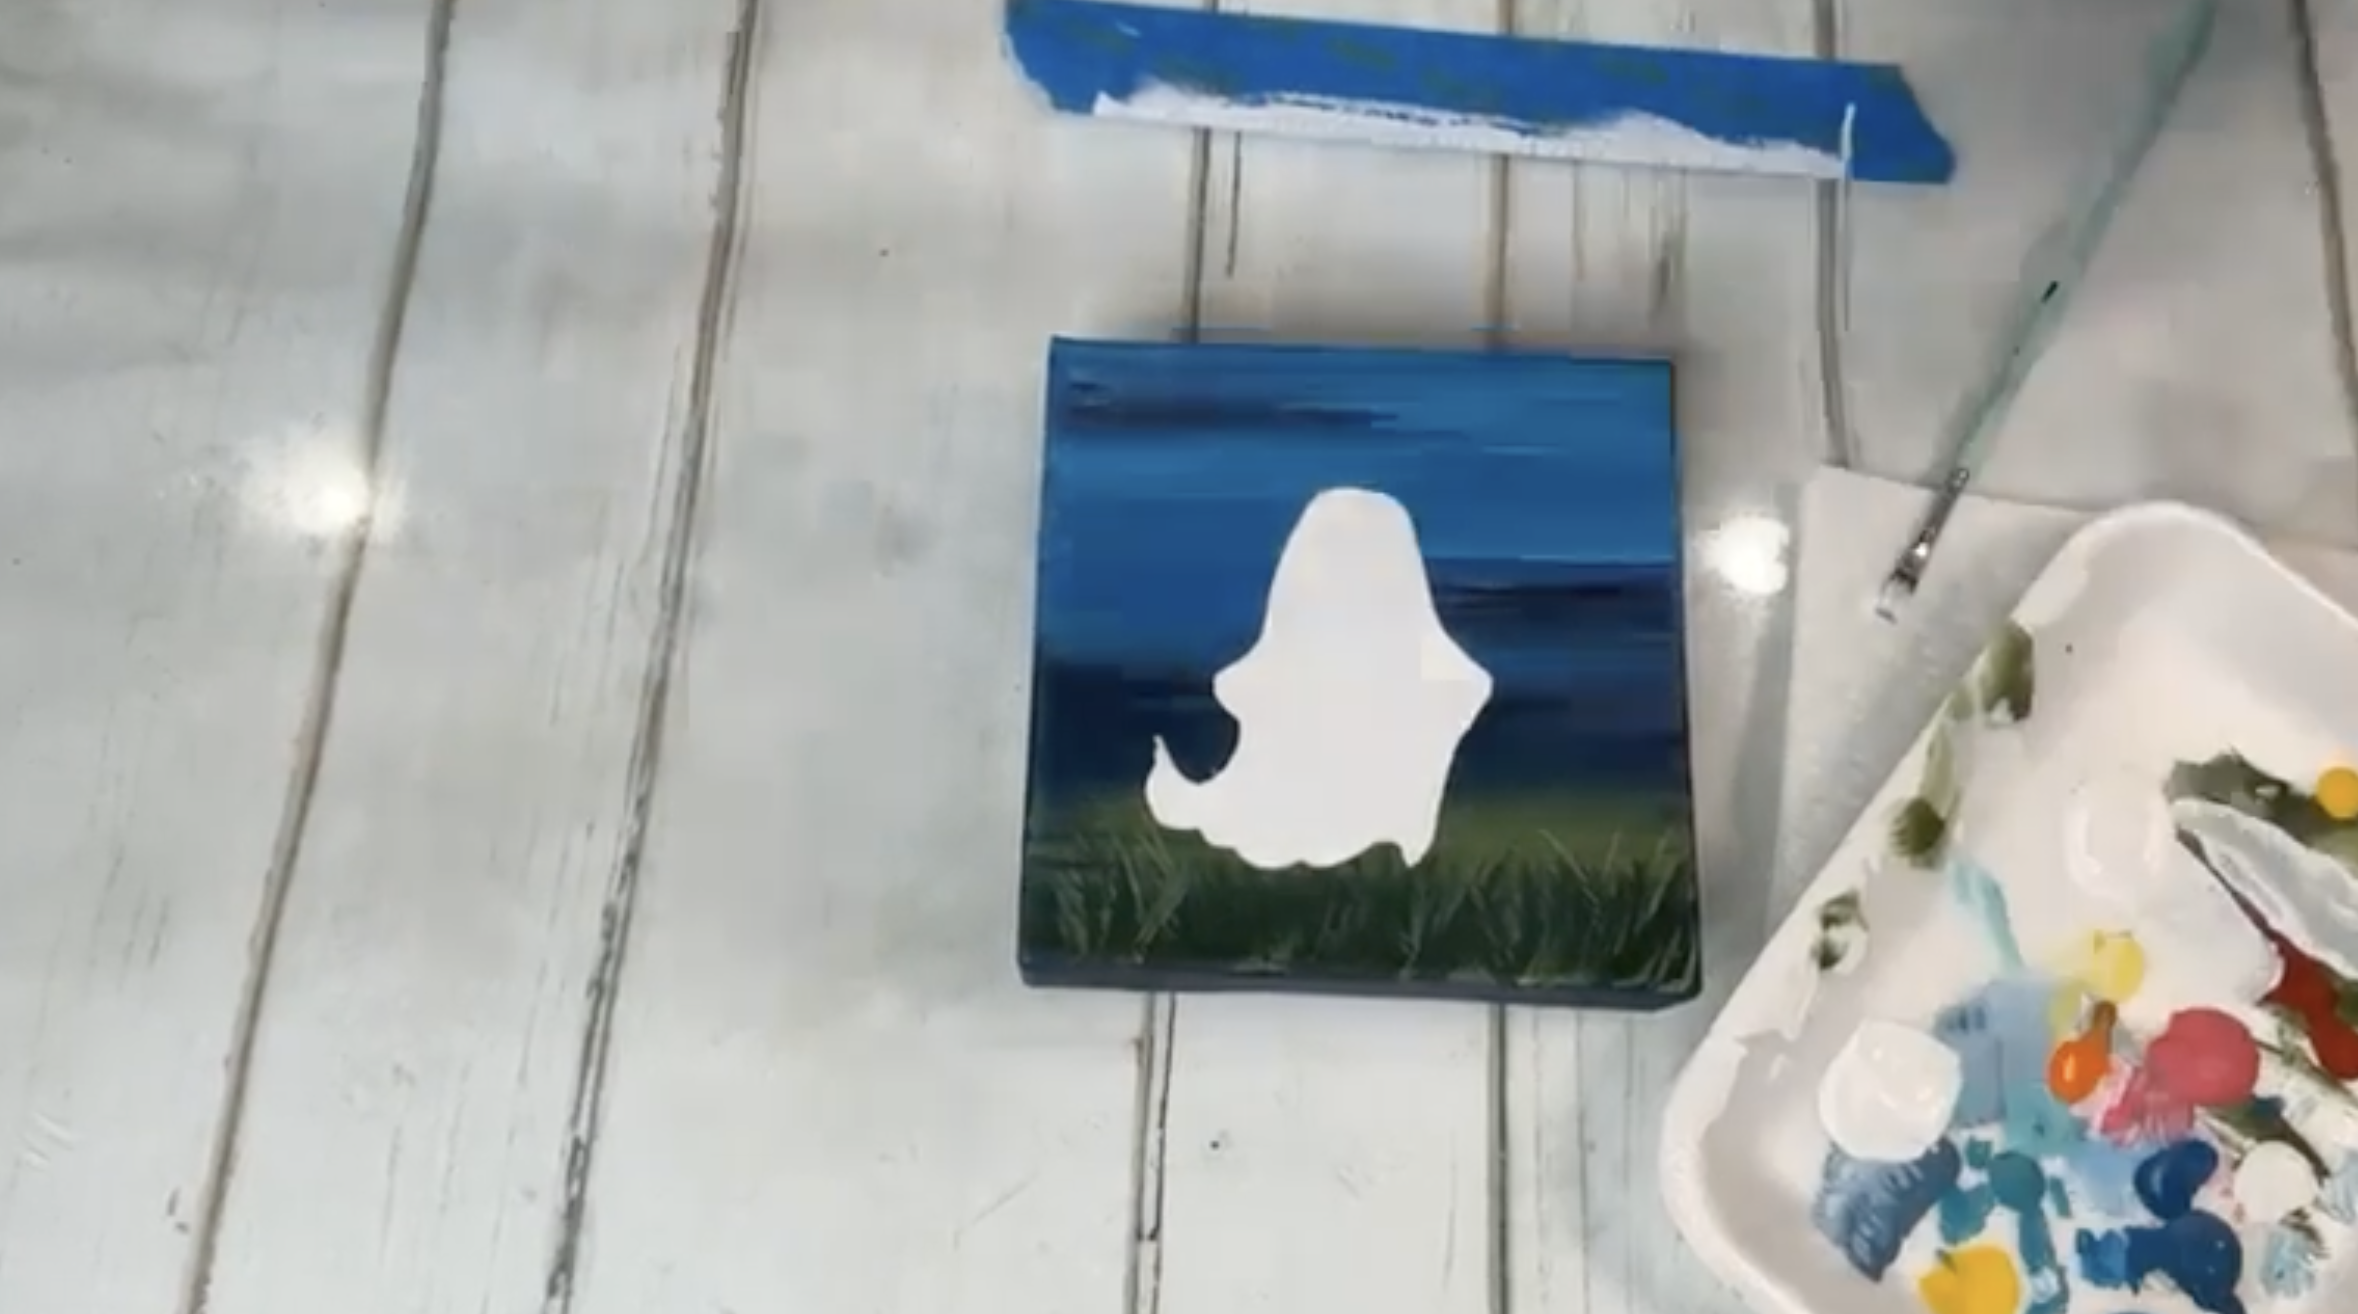
Step 4: Add Gray Shading for Dimension
Now that our ghost is painted, let's give him a little dimension. We don't want him looking completely flat against that pretty blue background!
Add a tiny amount of gray acrylic paint to your palette. I'm using a brush that still has a little white paint on it, then dipping just one corner into the gray. This helps keep the shading soft instead of creating harsh gray lines.
Start around the little sleeves where his invisible arms would be. Make a curved mark, almost like a parenthesis, to suggest where each arm opening begins. Then add a little gray along some of the swooping edges of his body and around the side of his head.
If you get too much gray in one area, just pick up a little white paint and feather it back out. You only need a few soft shadows to make your ghost look more dimensional.
Step 5: Outline Your Ghost
Once your shading is finished, dry the ghost completely. Then grab a black illustration pen and lightly outline the shape.
I like using short, loose strokes rather than trying to create one perfectly smooth line around the entire ghost. Follow the curves of his head, arms, and flowing bottom edge, adding just enough definition to help him stand out against the background.
Remember, we're about to add crushed glass, so these lines don't need to be heavy. We just want a little structure underneath all that sparkle.
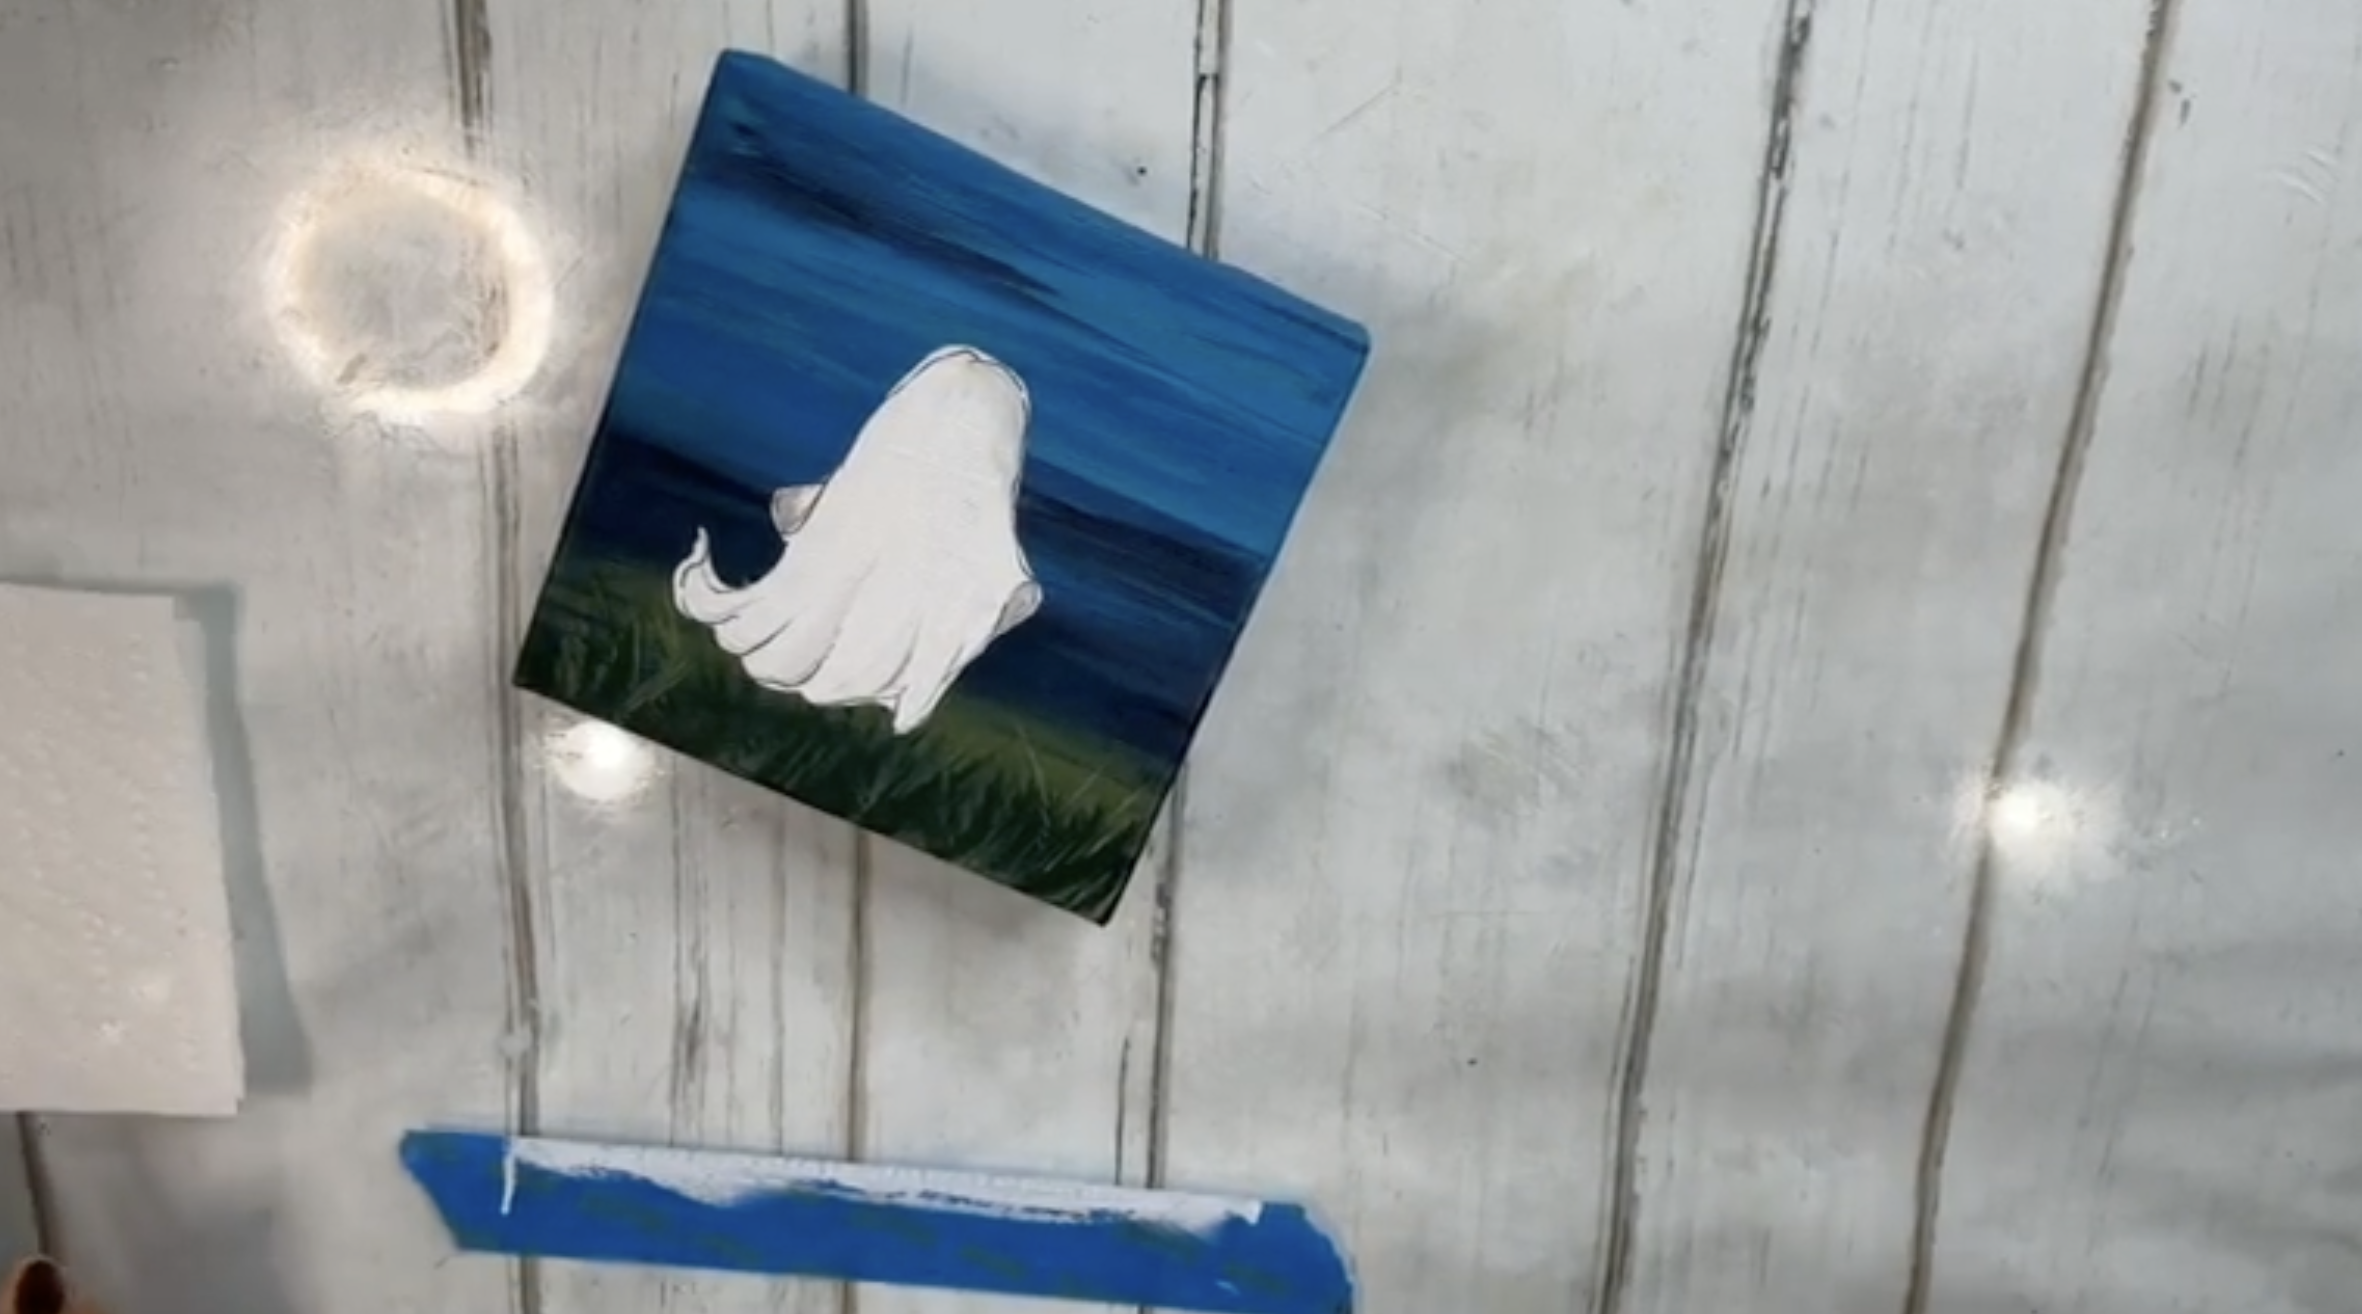
Step 6: Add Starfire Crushed Glass
Now for one of my favorite parts: the glass!
We're using Starfire crushed glass to give our ghost a beautiful, sparkly texture. Start arranging the glass inside the painted ghost shape, working from the head down toward the bottom.
I like to use a mixture of smaller and slightly larger pieces because it gives the ghost more dimension. Try to keep the glass inside your outline, but don't worry if a few pieces extend slightly beyond the edges.
As you work, adjust the pieces around the arms and the flowing bottom of the ghost. You want the overall shape to remain recognizable once everything is covered in glass.
And don't feel like you need to pile the glass on too heavily. Just enough to create that pretty texture is all we're looking for.
Step 7: Create the Ghost's Eyes
Our little ghost needs a face!
I experimented with a few different options for the eyes, including larger black beads, tiny seed beads, and small dark glass pieces. The larger pieces looked a little too big, and the tiny seed beads were too small, so I ended up choosing two smaller black glass nuggets.
Place your eyes near the upper center of the ghost's face, leaving a little space between them. Move them around until you like the expression.
Once you're happy with their placement, use a tiny drop of craft glue underneath each piece to hold it in place. You don't need much glue, just enough to keep those little eyes from sliding around while we finish the project.
Step 8: Give Your Ghost a Spooky Little Mouth
Now let's give our ghost a mouth! I wanted him to look a little surprised, almost like he's saying "Boo!"
Look through your darker glass pieces for one that's slightly longer or more oval-shaped than the eyes. I found a piece that worked nicely for an open, surprised mouth.
Position it vertically underneath the eyes and see how it looks. You can try a few different shapes until you find one that gives your ghost the expression you want. Once you've decided, add a tiny drop of glue underneath the glass and secure it to the canvas.
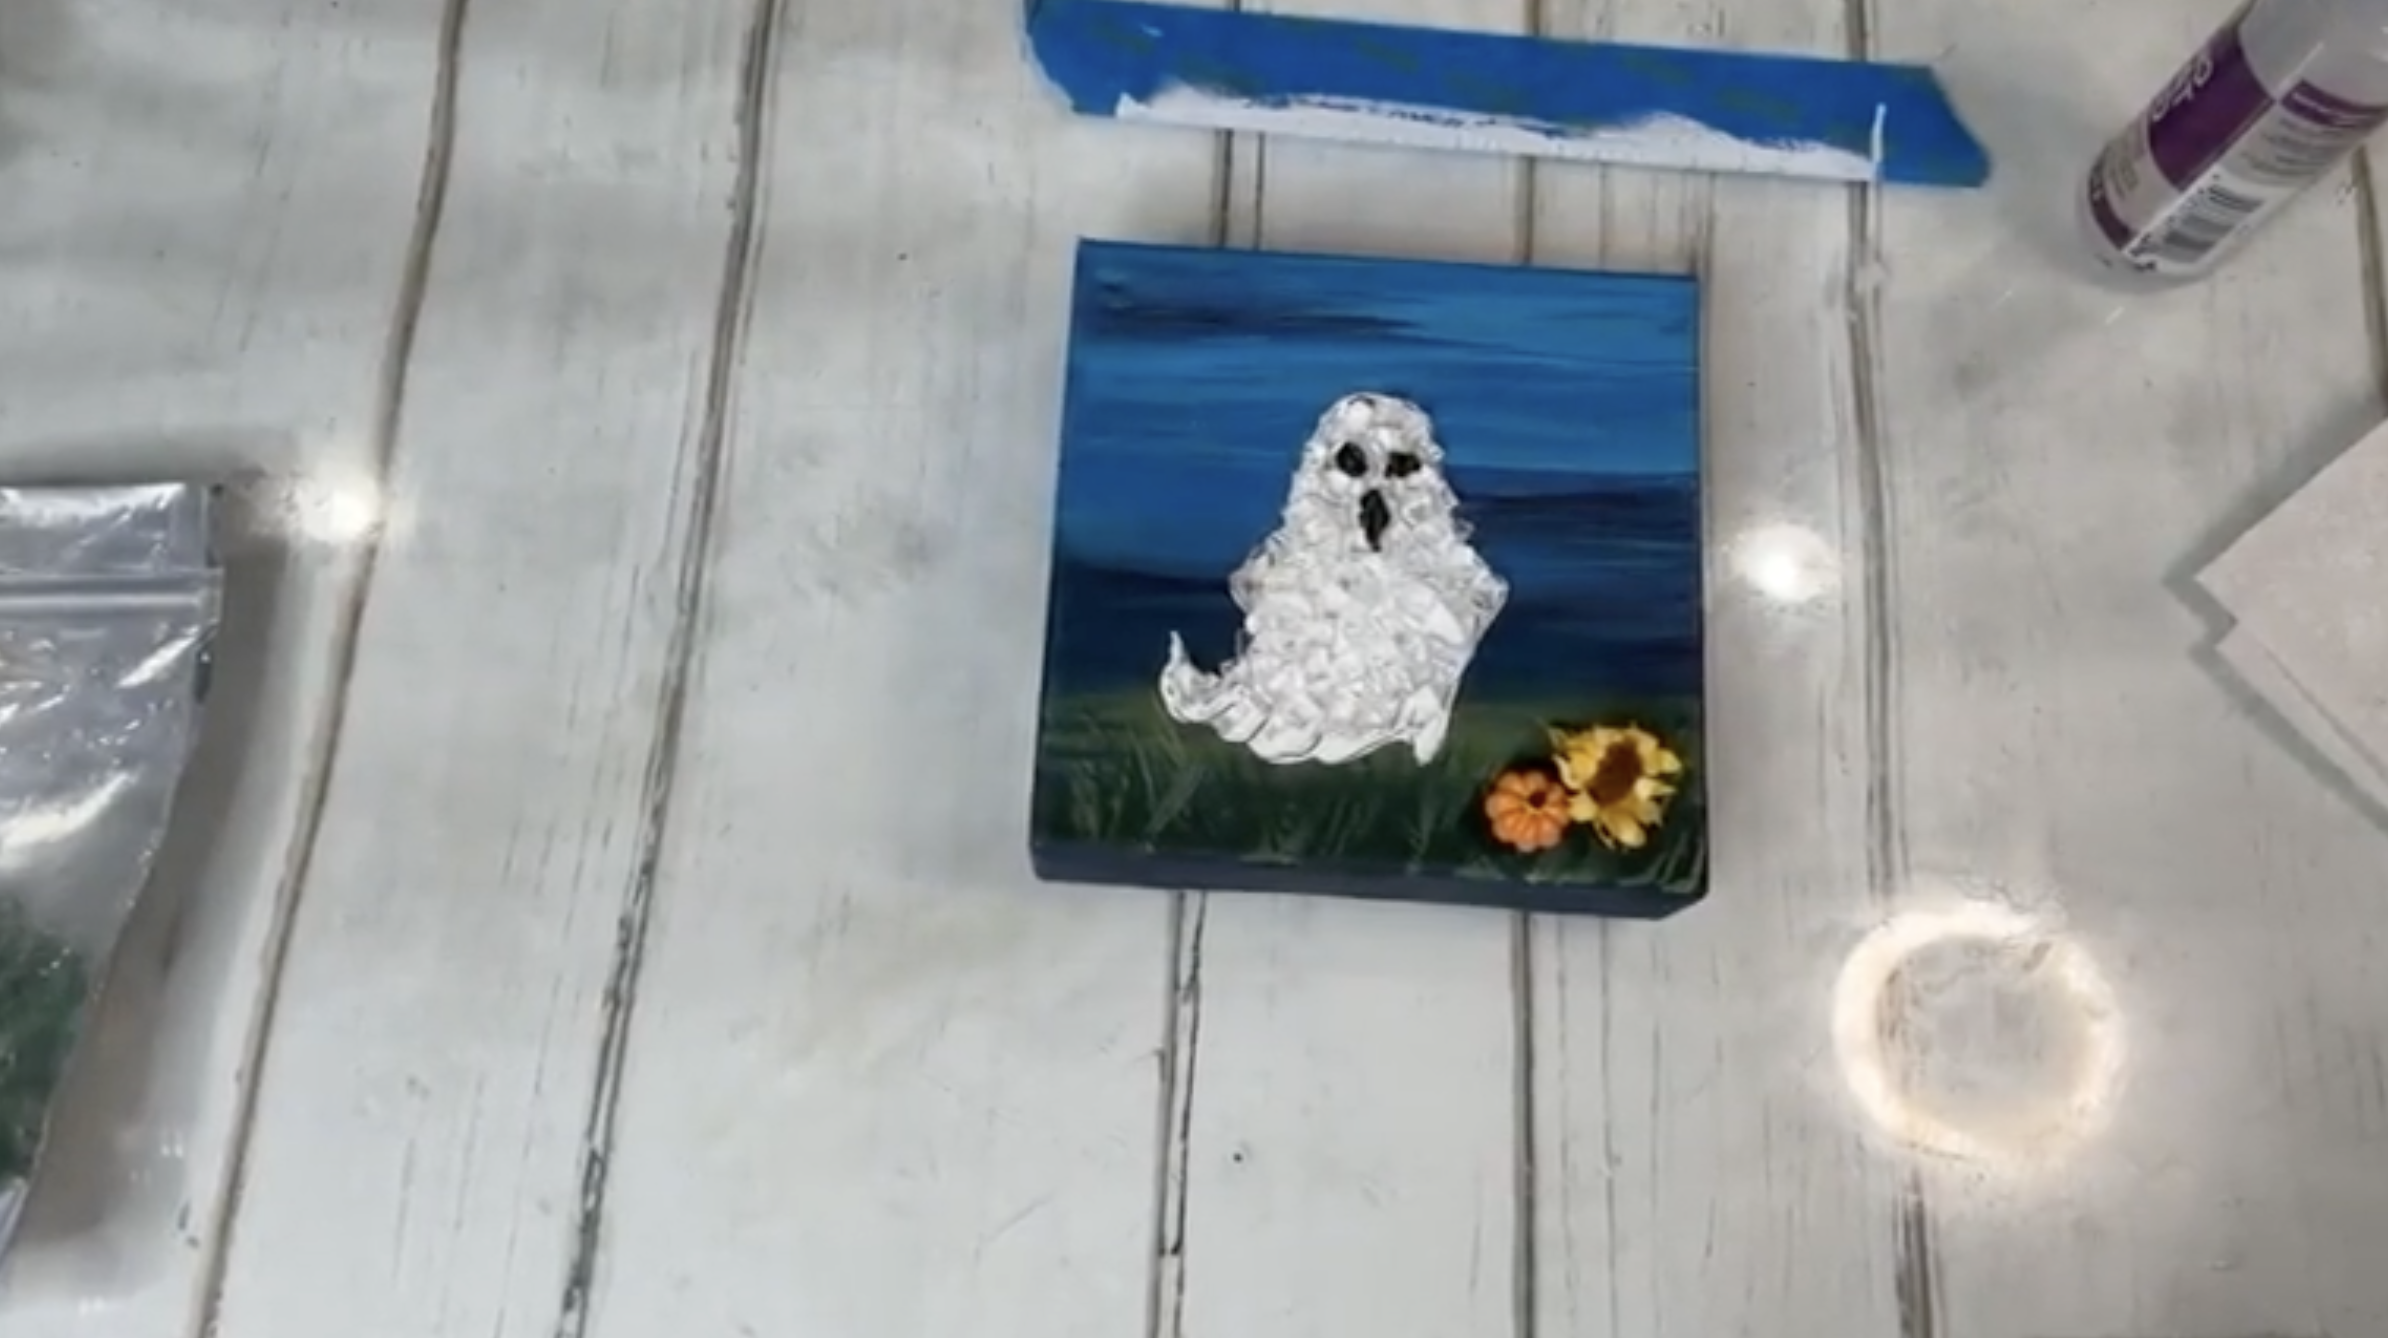
Step 9: Add Green Crushed Glass for Grass
Take some green crushed glass and arrange it along the bottom of the canvas to create a grassy area. You don't need to make a perfectly straight line. I like letting the glass form little uneven areas so it looks more natural.
Bring some of the green glass up around the bottom of the ghost, almost like he's floating just above the grass.
Step 10: Add a Mini Pumpkin and Sunflower
Now we're going to have a little fun with our embellishments!
I found the cutest tiny pumpkin and a miniature sunflower that I thought would look adorable in the grass. Start by positioning the pumpkin near the bottom of the canvas, slightly off to one side. I like tilting it a little so it looks like it's resting naturally in the grass.
Next, add your sunflower nearby. You can tuck the flower into the green glass and adjust the surrounding pieces until everything looks balanced.
Don't secure everything permanently just yet. We're going to add resin, and I want to keep the sunflower out of the resin so it doesn't change the way it looks.
Step 11: Add Decorative Fall Leaves
I also found some old fall leaf stickers in my craft stash, and I thought, why not give them a try? These have a pretty metallic look that works really well with the blue background and all our glass.
Carefully peel a few leaves from the backing and position them around the canvas. I added some near the grassy area and a couple higher up in the sky to make them look like they're blowing in the wind. You can angle them in different directions to create a little movement. I ended up using three leaves, which felt like just enough without making the canvas too busy.
Step 12: Give Your Ghost Some Candy Corn
I'm using miniature candy corn embellishments from Michaels for this part of the project. After moving things around, I decided I liked having one candy corn near his hand, almost like he's holding it and getting ready to take a bite! I also added a few pieces down in the grass near the bottom of the canvas.
Have fun experimenting with the placement. You can move everything around until it feels right. Sometimes less really is more, especially when you've already got glass, leaves, and other decorations going on.
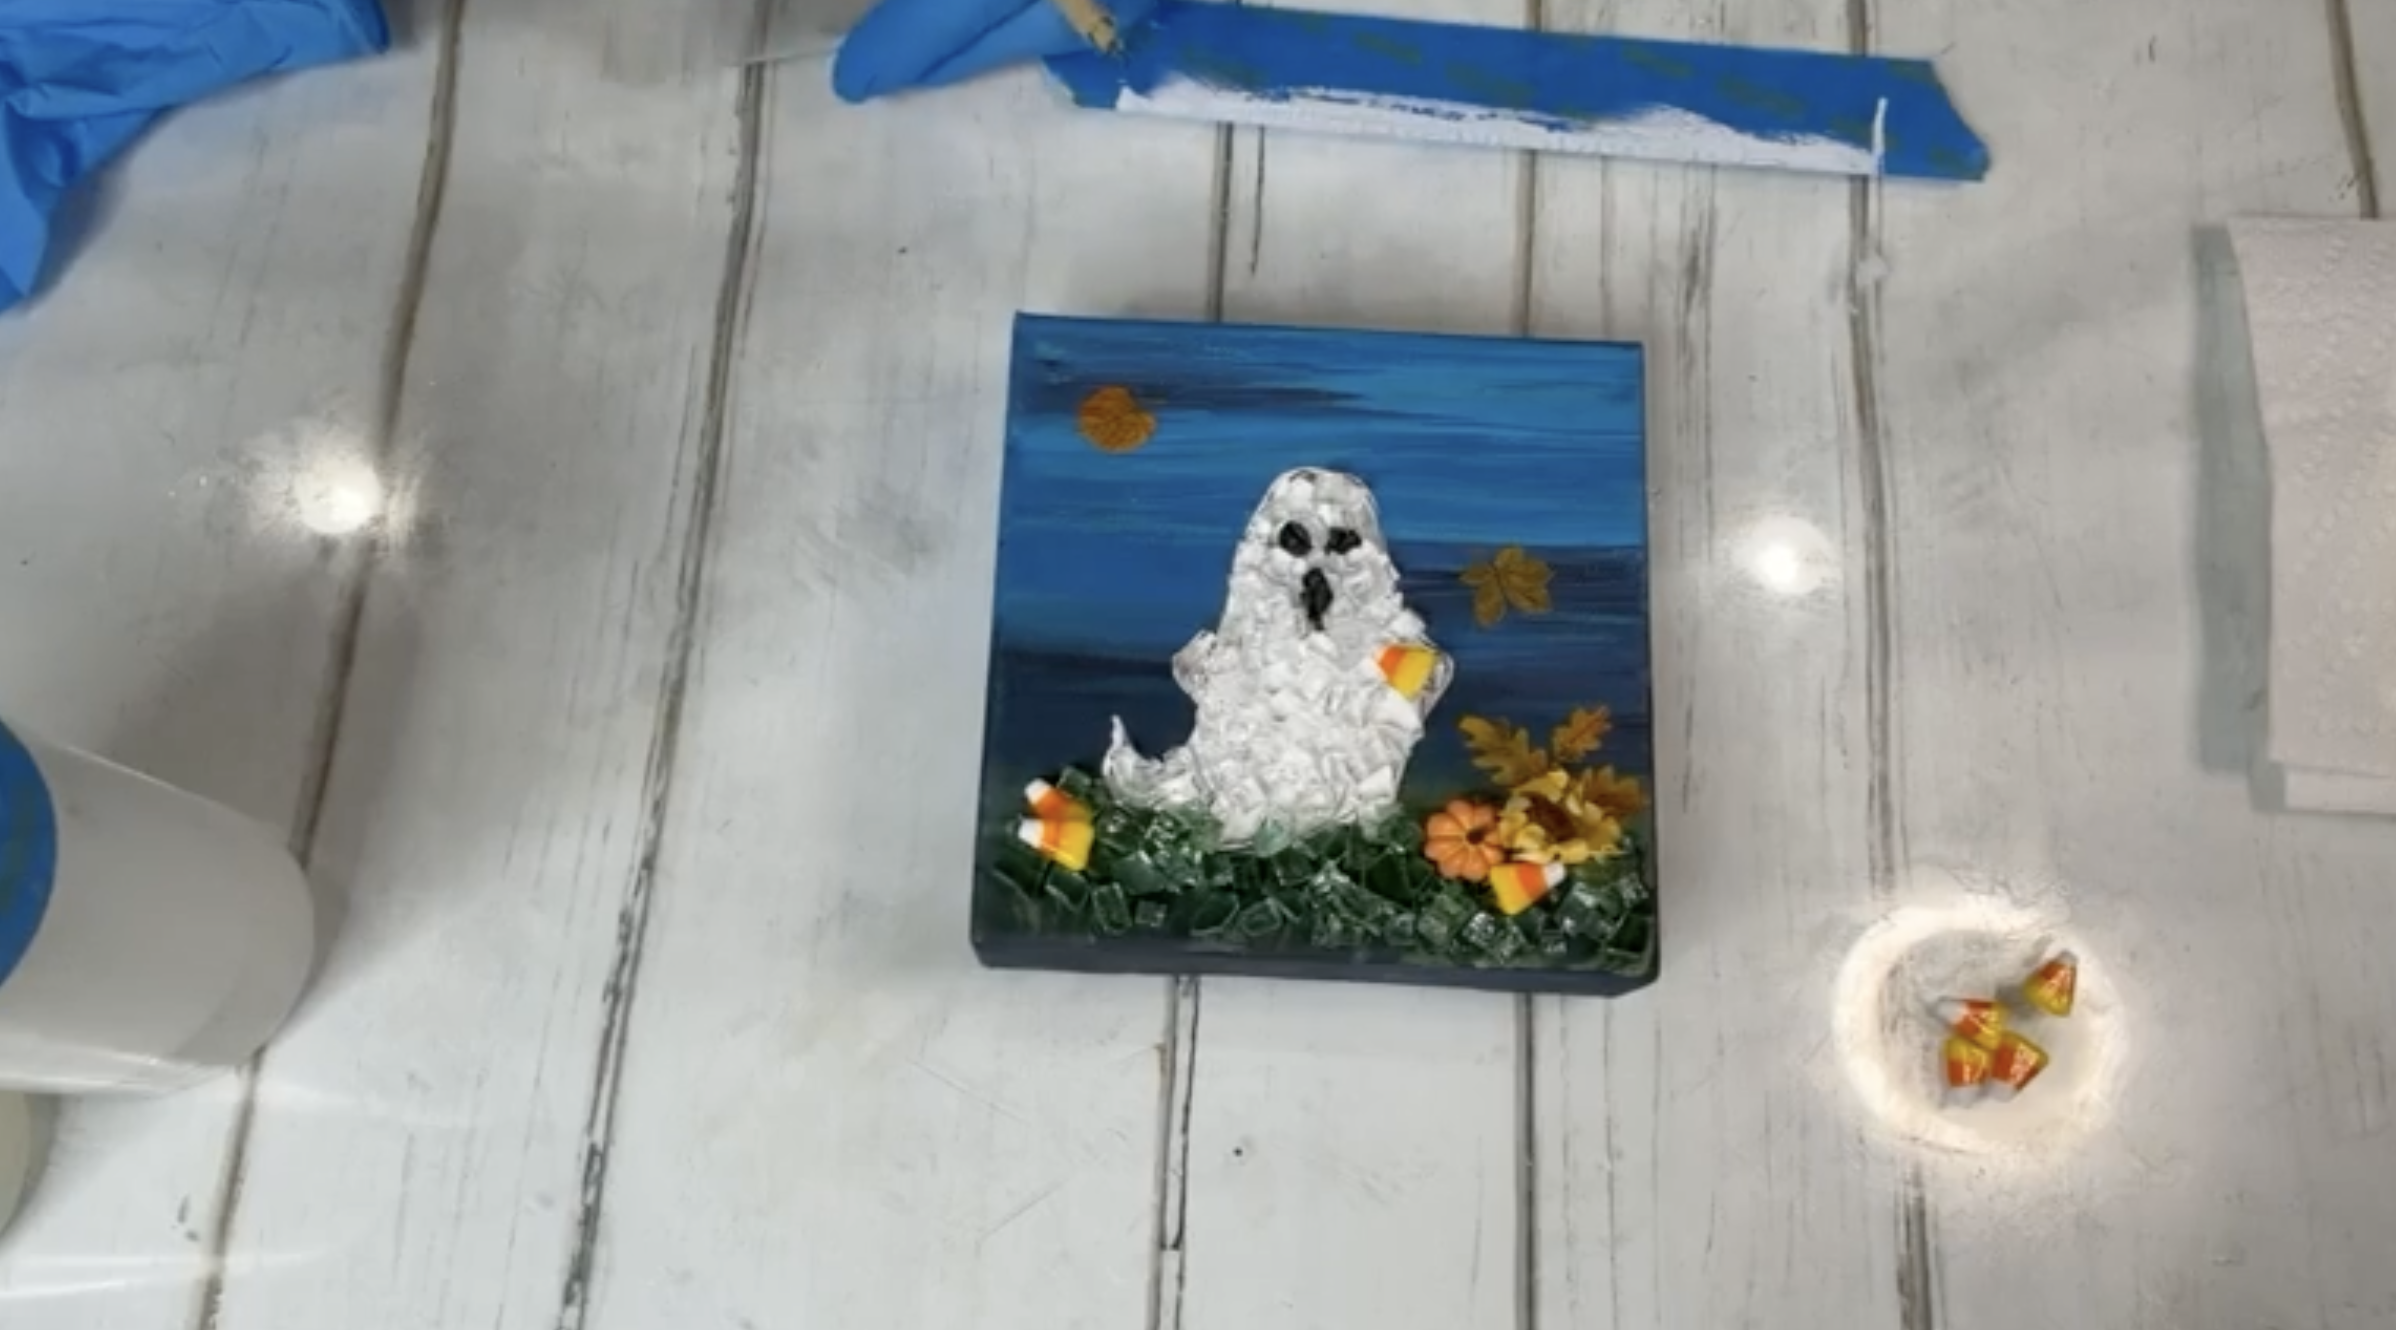
Step 13: Seal the White Paint Before Resin
Before adding resin, there's one important thing to remember when working with white acrylic paint. White paint can sometimes discolor or yellow underneath resin, so I recommend protecting it with a compatible, non-yellowing clear sealer.
You can use a brush-on sealer or a suitable spray sealer, such as one from Krylon or Rust-Oleum, as long as it's compatible with your paint and resin. Follow the product instructions and allow it to dry completely before moving on. This is especially important for our little ghost because we want to keep that white looking bright!
Step 14: Mix Your Resin
Now we're ready to secure everything with resin.
For this 6x6 canvas, I mixed approximately 1 ounce of resin total, using ½ ounce of resin and ½ ounce of hardener. This is based on the 1:1 mixing ratio of the resin used in the video, so always check the instructions for your specific product.
Put on your protective gloves, measure both parts carefully, and pour them into a mixing cup. Stir gently for 3 minutes, scraping the sides and bottom of the cup as you go.
You want everything thoroughly combined, but avoid whipping the resin because that can create extra bubbles.
Step 15: Apply Resin Over the Glass
Now let's bring everything together!
Start by carefully moving any embellishments you don't want covered in resin, especially the sunflower. Begin drizzling resin over the green crushed glass at the bottom of the canvas, then work your way up over the ghost. I like to drizzle instead of pouring everything into one big puddle. This allows the resin to flow over the tops and sides of the glass pieces and down to the canvas underneath.
Make sure you're getting resin into the spaces between the glass so everything will be secured once it cures. As the resin spreads, you'll notice the colors and textures becoming more vibrant. Even those little outline details around the ghost start showing through the glass again!
Continue spreading the resin across the canvas and around the edges as needed, making sure everything has a nice, even coating.
Step 16: Remove Bubbles and Replace Your Embellishments
Once your resin is in place, use your heat gun briefly and carefully, following the resin manufacturer's instructions, to help release any surface bubbles.
Take a close look at your canvas and remove any dust, hair, or debris that may have landed in the wet resin.
Now it's time to put that little sunflower back where we wanted it! I chose not to cover the flower completely in resin because it can change the appearance of certain embellishments. Gently position the sunflower back into the grassy area, making sure it's secure without coating the entire flower. Take one final look at your candy corn, pumpkin, and decorative leaves to make sure everything is sitting where you want it.
Step 17: Let Your Ghost Art Cure
Place your canvas on a level, protected surface where it can cure without being disturbed. Follow the curing instructions for your particular resin, since drying and full curing times can vary.
Avoid touching or moving the glass pieces while the resin is still wet, and don't wrap or display the canvas until it has cured enough to handle safely.
Once everything is completely cured, your adorable little ghost is ready to display for Halloween!
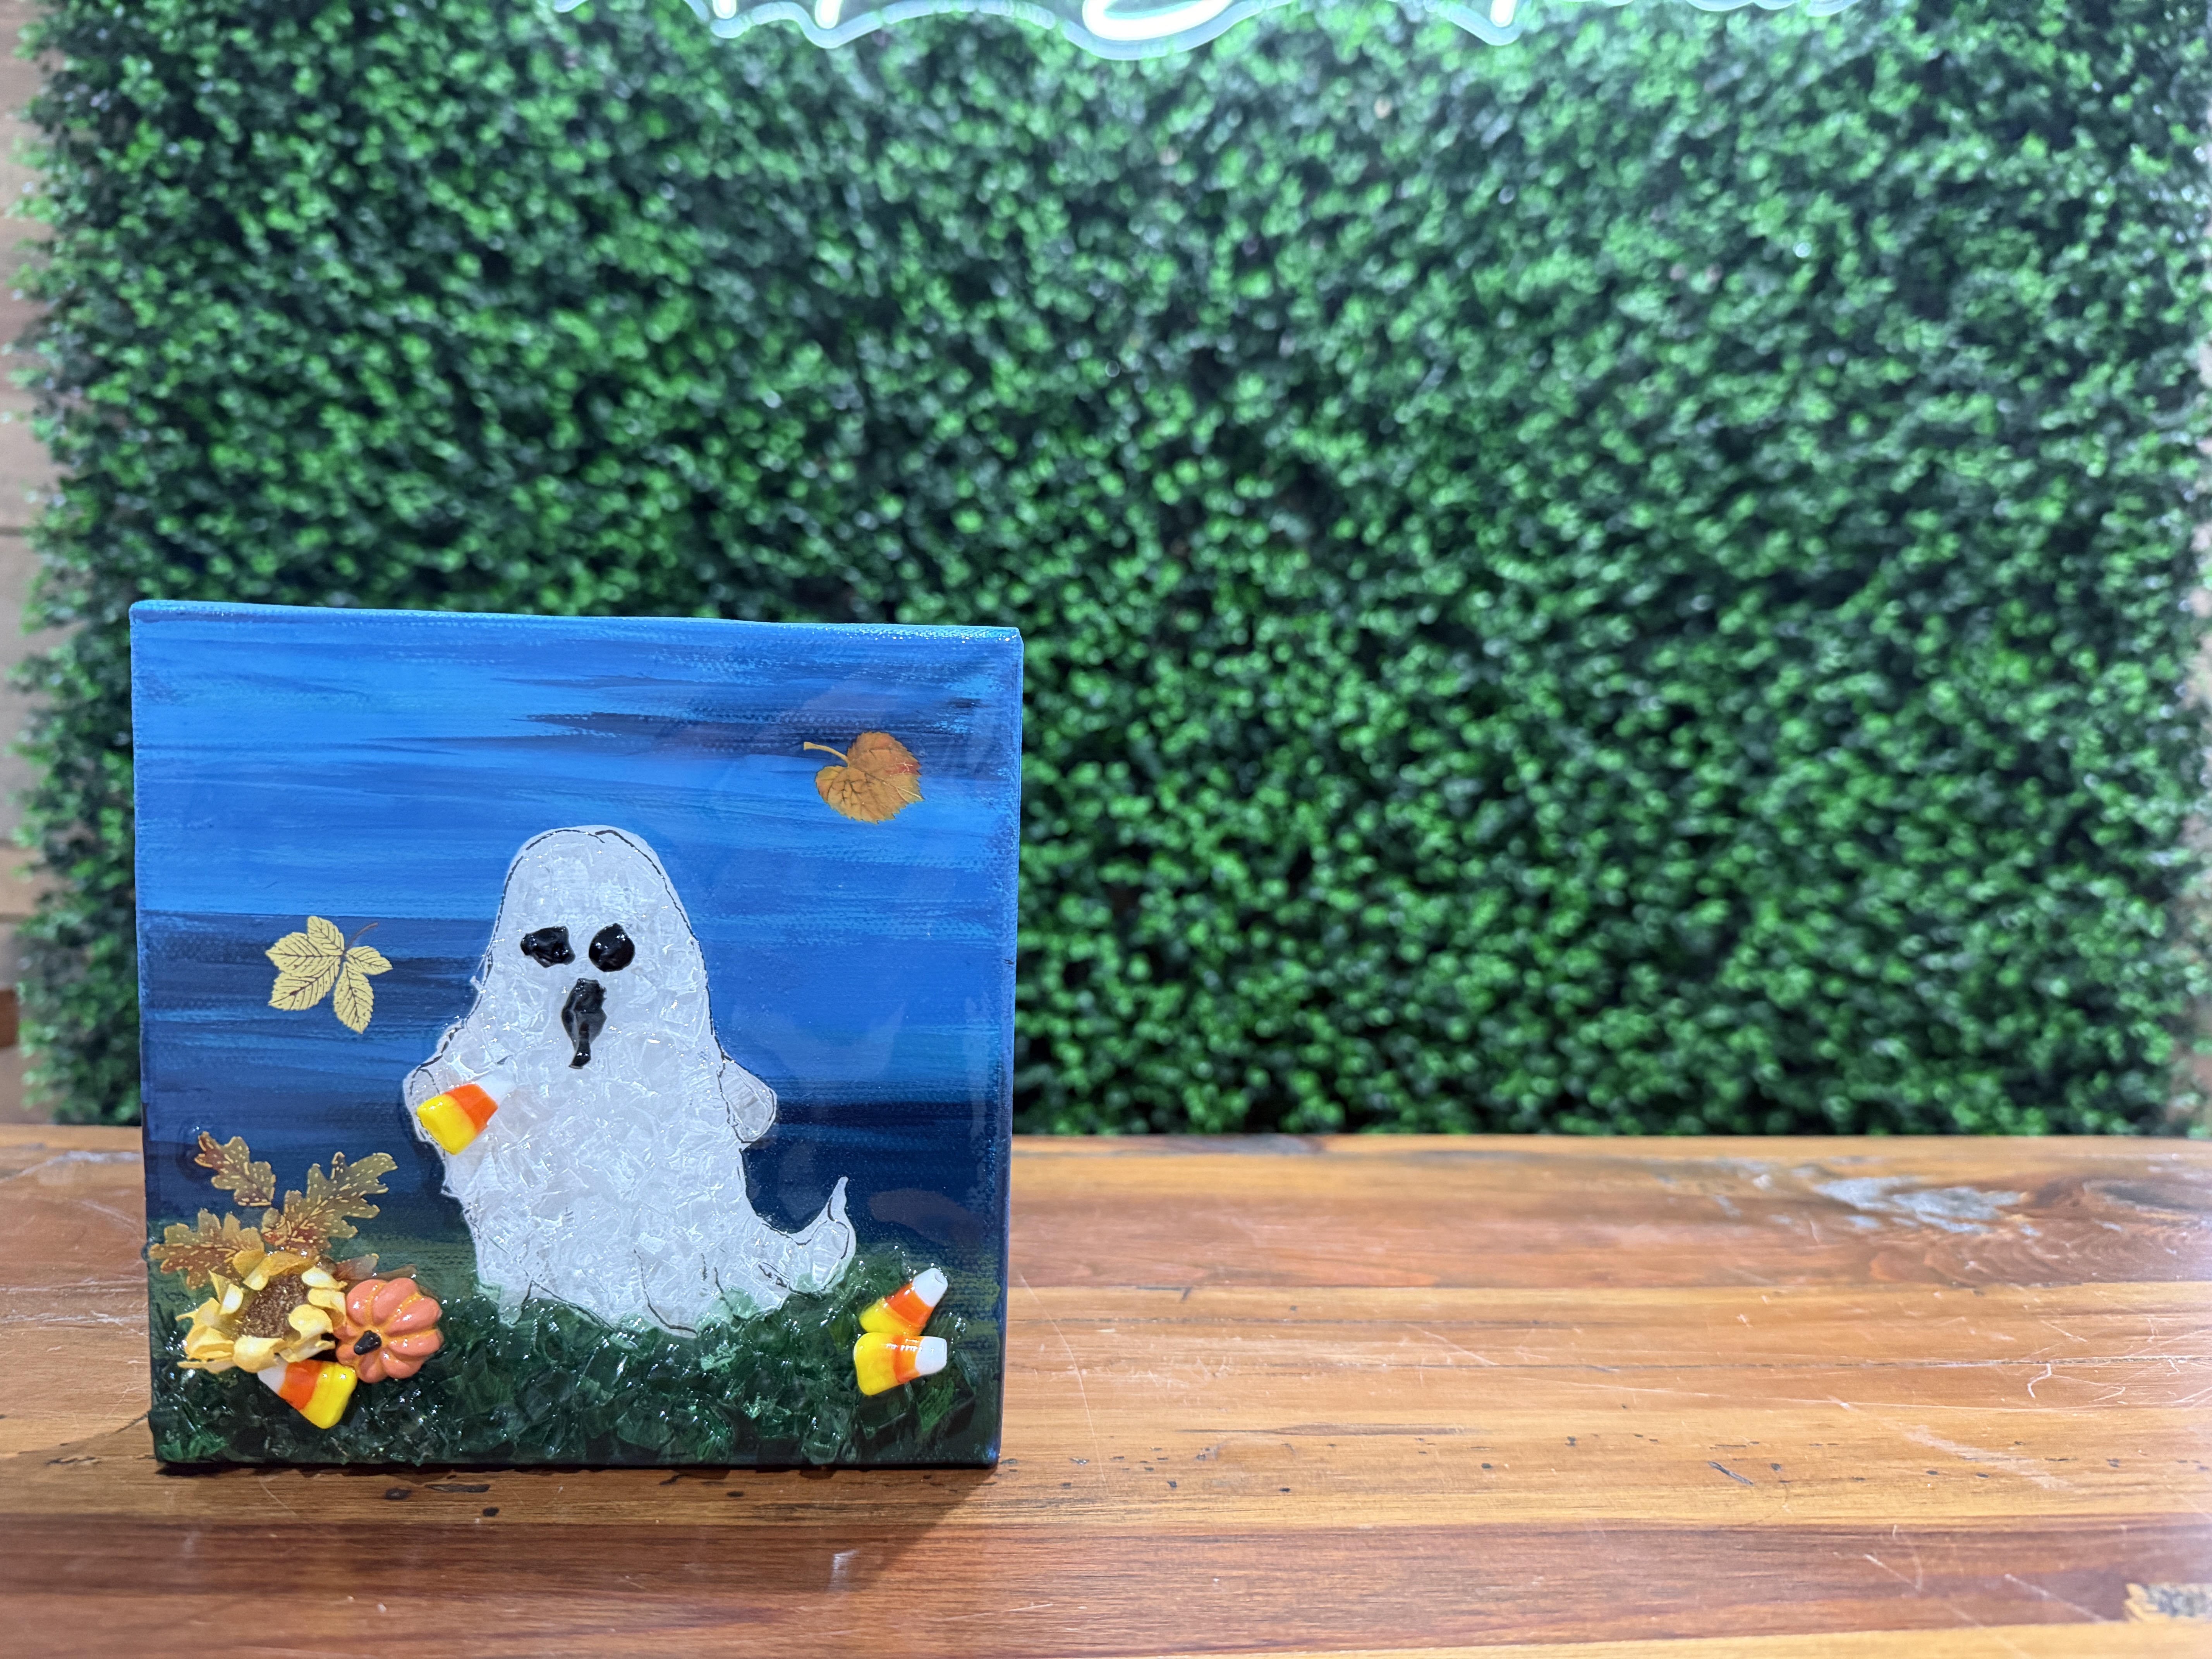
I just love how this little ghost turned out! He's a little spooky, a little silly, and full of personality.
The Starfire crushed glass gives him such a pretty sparkle, while the dark blue background makes that white ghost stand out. And all those little extras make the whole scene feel like a fun fall evening!
If you're a member of The Shattered Circle, you'll find this tutorial in your classroom under Art Shattered Weekly Facebook Lives, search for "Scream Ghost".
If you don’t want to miss my Facebook LIVE art instruction, make sure you are on my texting list. I always text 10 minutes before I’m going to go LIVE, so you won’t ever miss it. You can text “Hey Cindy” to 901-519-2923.
Want more inspiration and artwork?
- My website artshattered.com with resources, shop, and more!
- My creative membership The Shattered Circle, where you can explore the world of glass art with online workshops, a supportive community, and more!
- My mini creative membership Just A ‘Lil Bit Monthly Glass Art Club, where you’ll get a new quick and easy online tutorial for just a lil' bit of sparkle in your life!
- My Facebook page where I share free LIVE tutorials and inspiration
- My YouTube channel which has tons of free art lessons right at your fingertips.
