
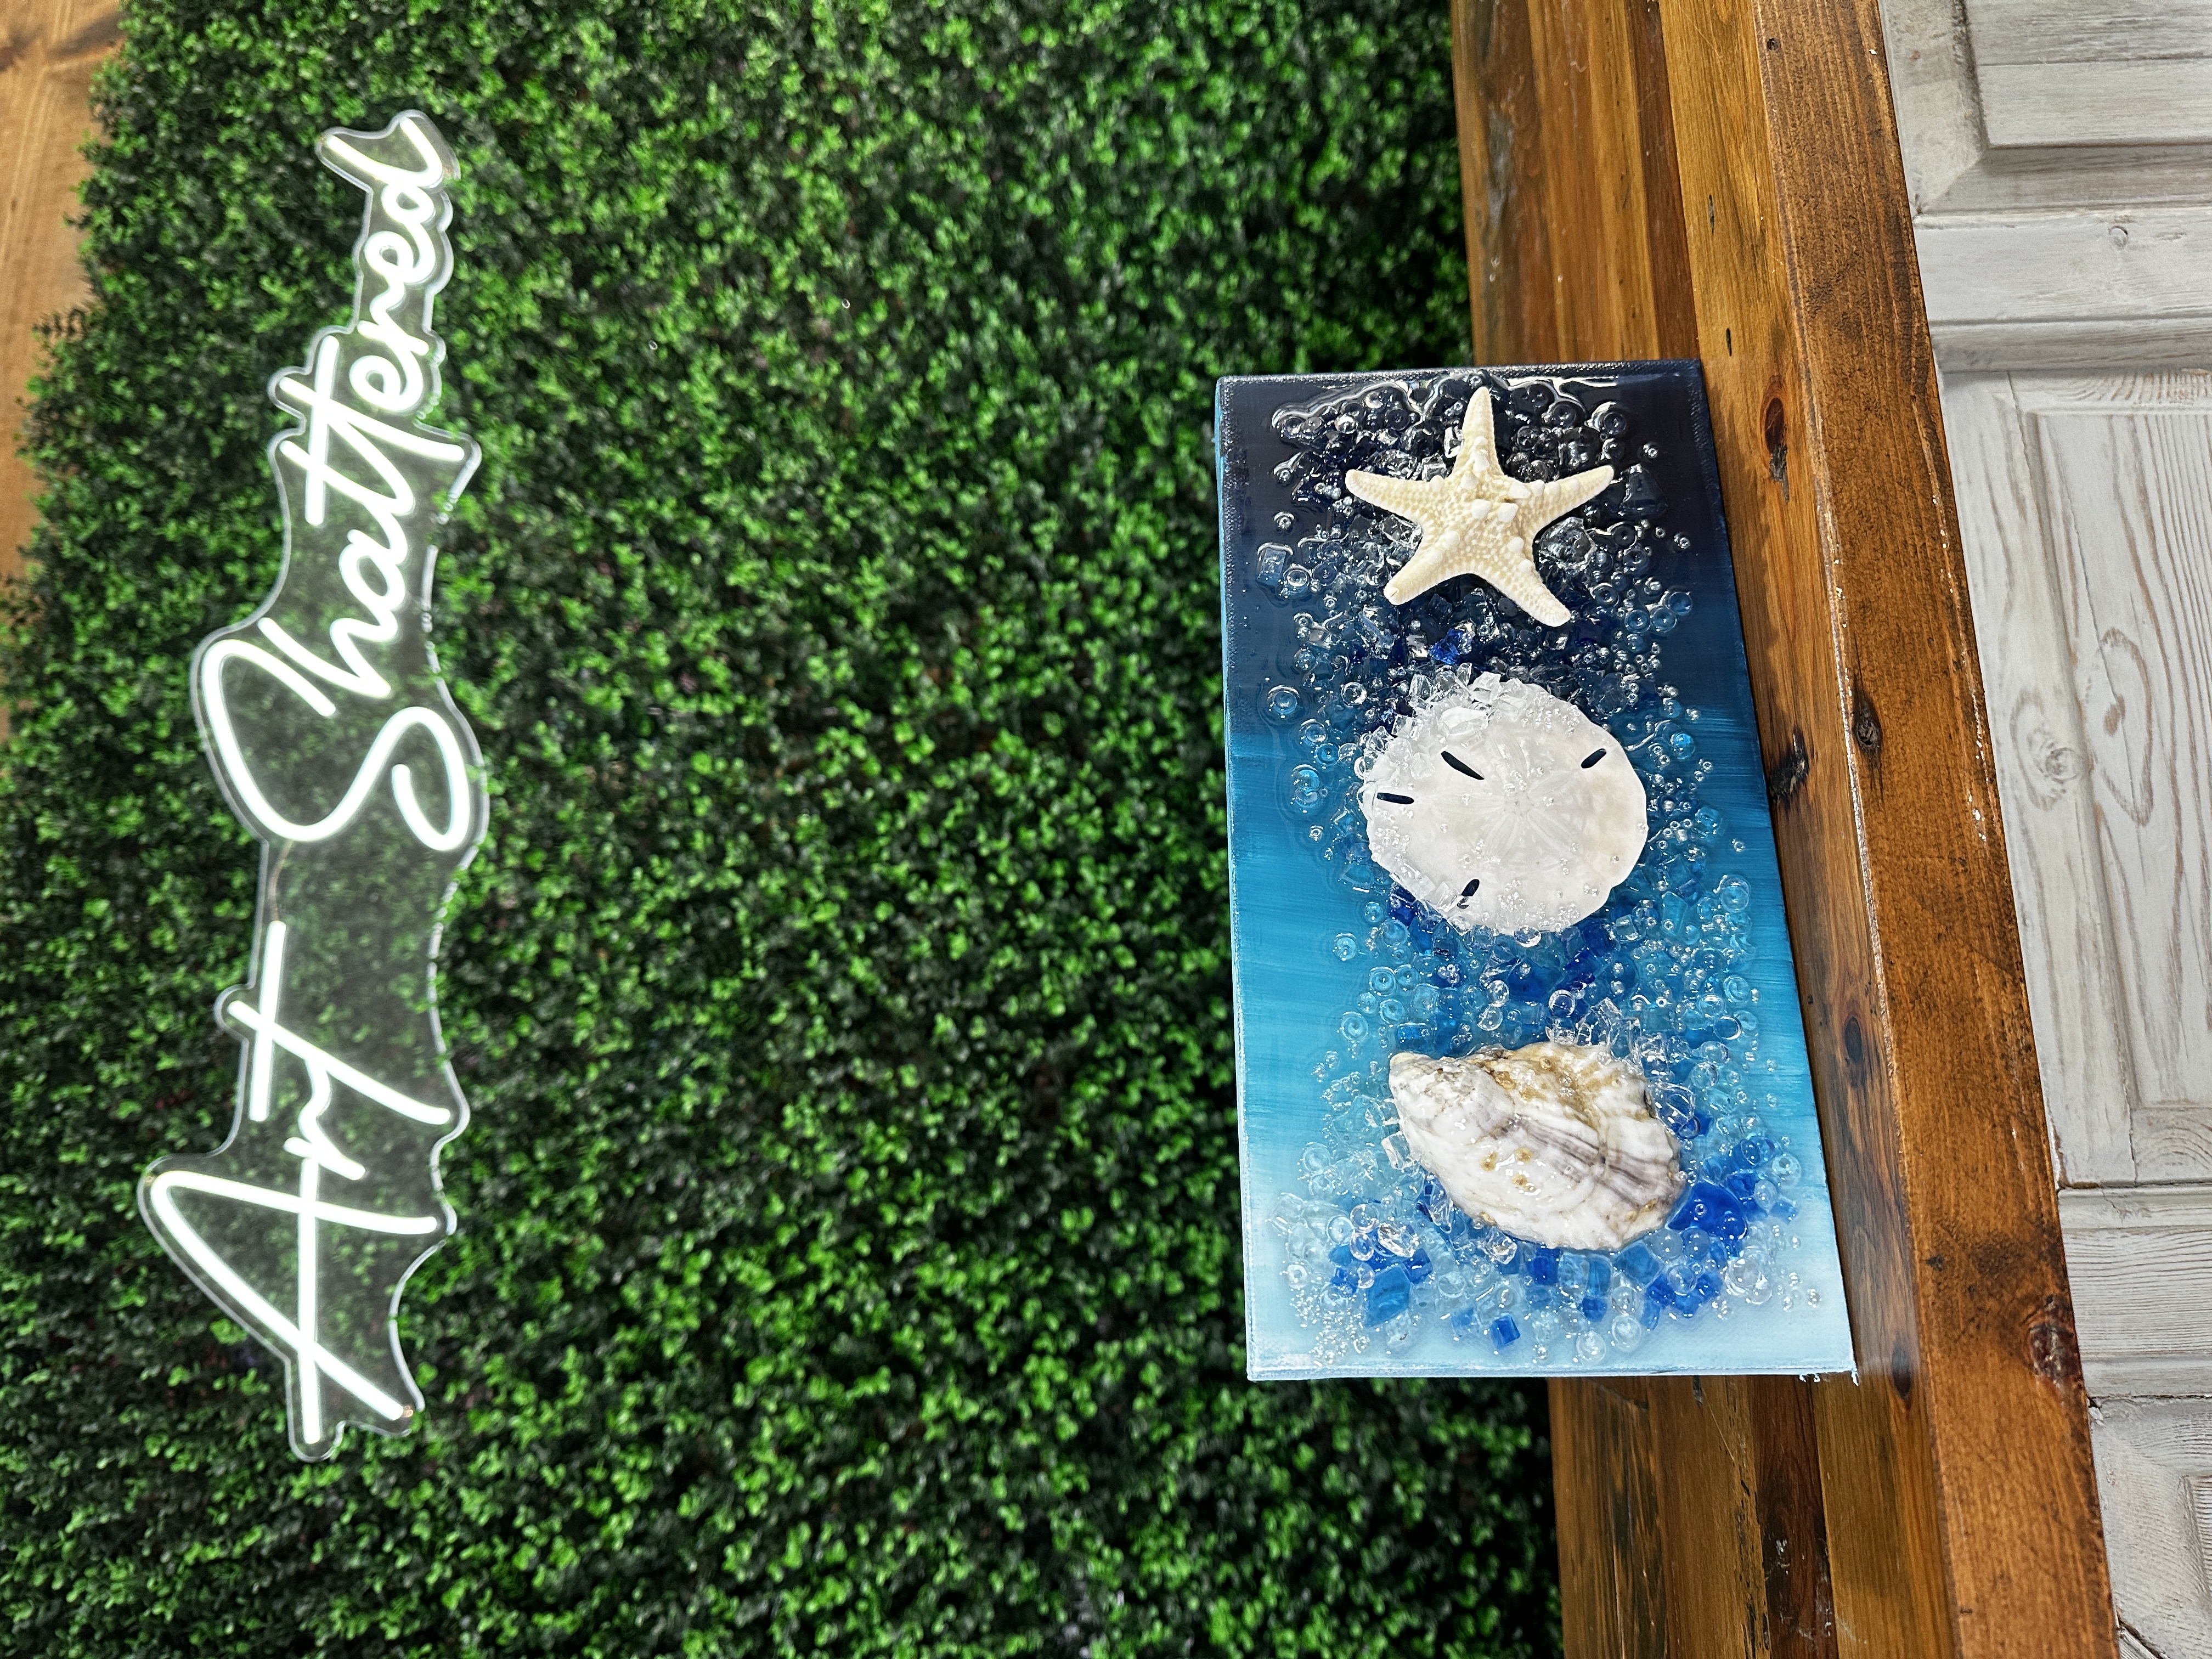
Seashell Trio with Ombre Background 🐚
If you’ve got a stash of seashells from a beach vacation and no idea what to do with them, this fun and easy art project is the perfect solution. In this tutorial, I’ll show you how to create a stunning ombre background, layer in crushed glass, and embed your favorite shells in resin to make a beautiful 6x12 coastal canvas that feels like a piece of the ocean right at home.
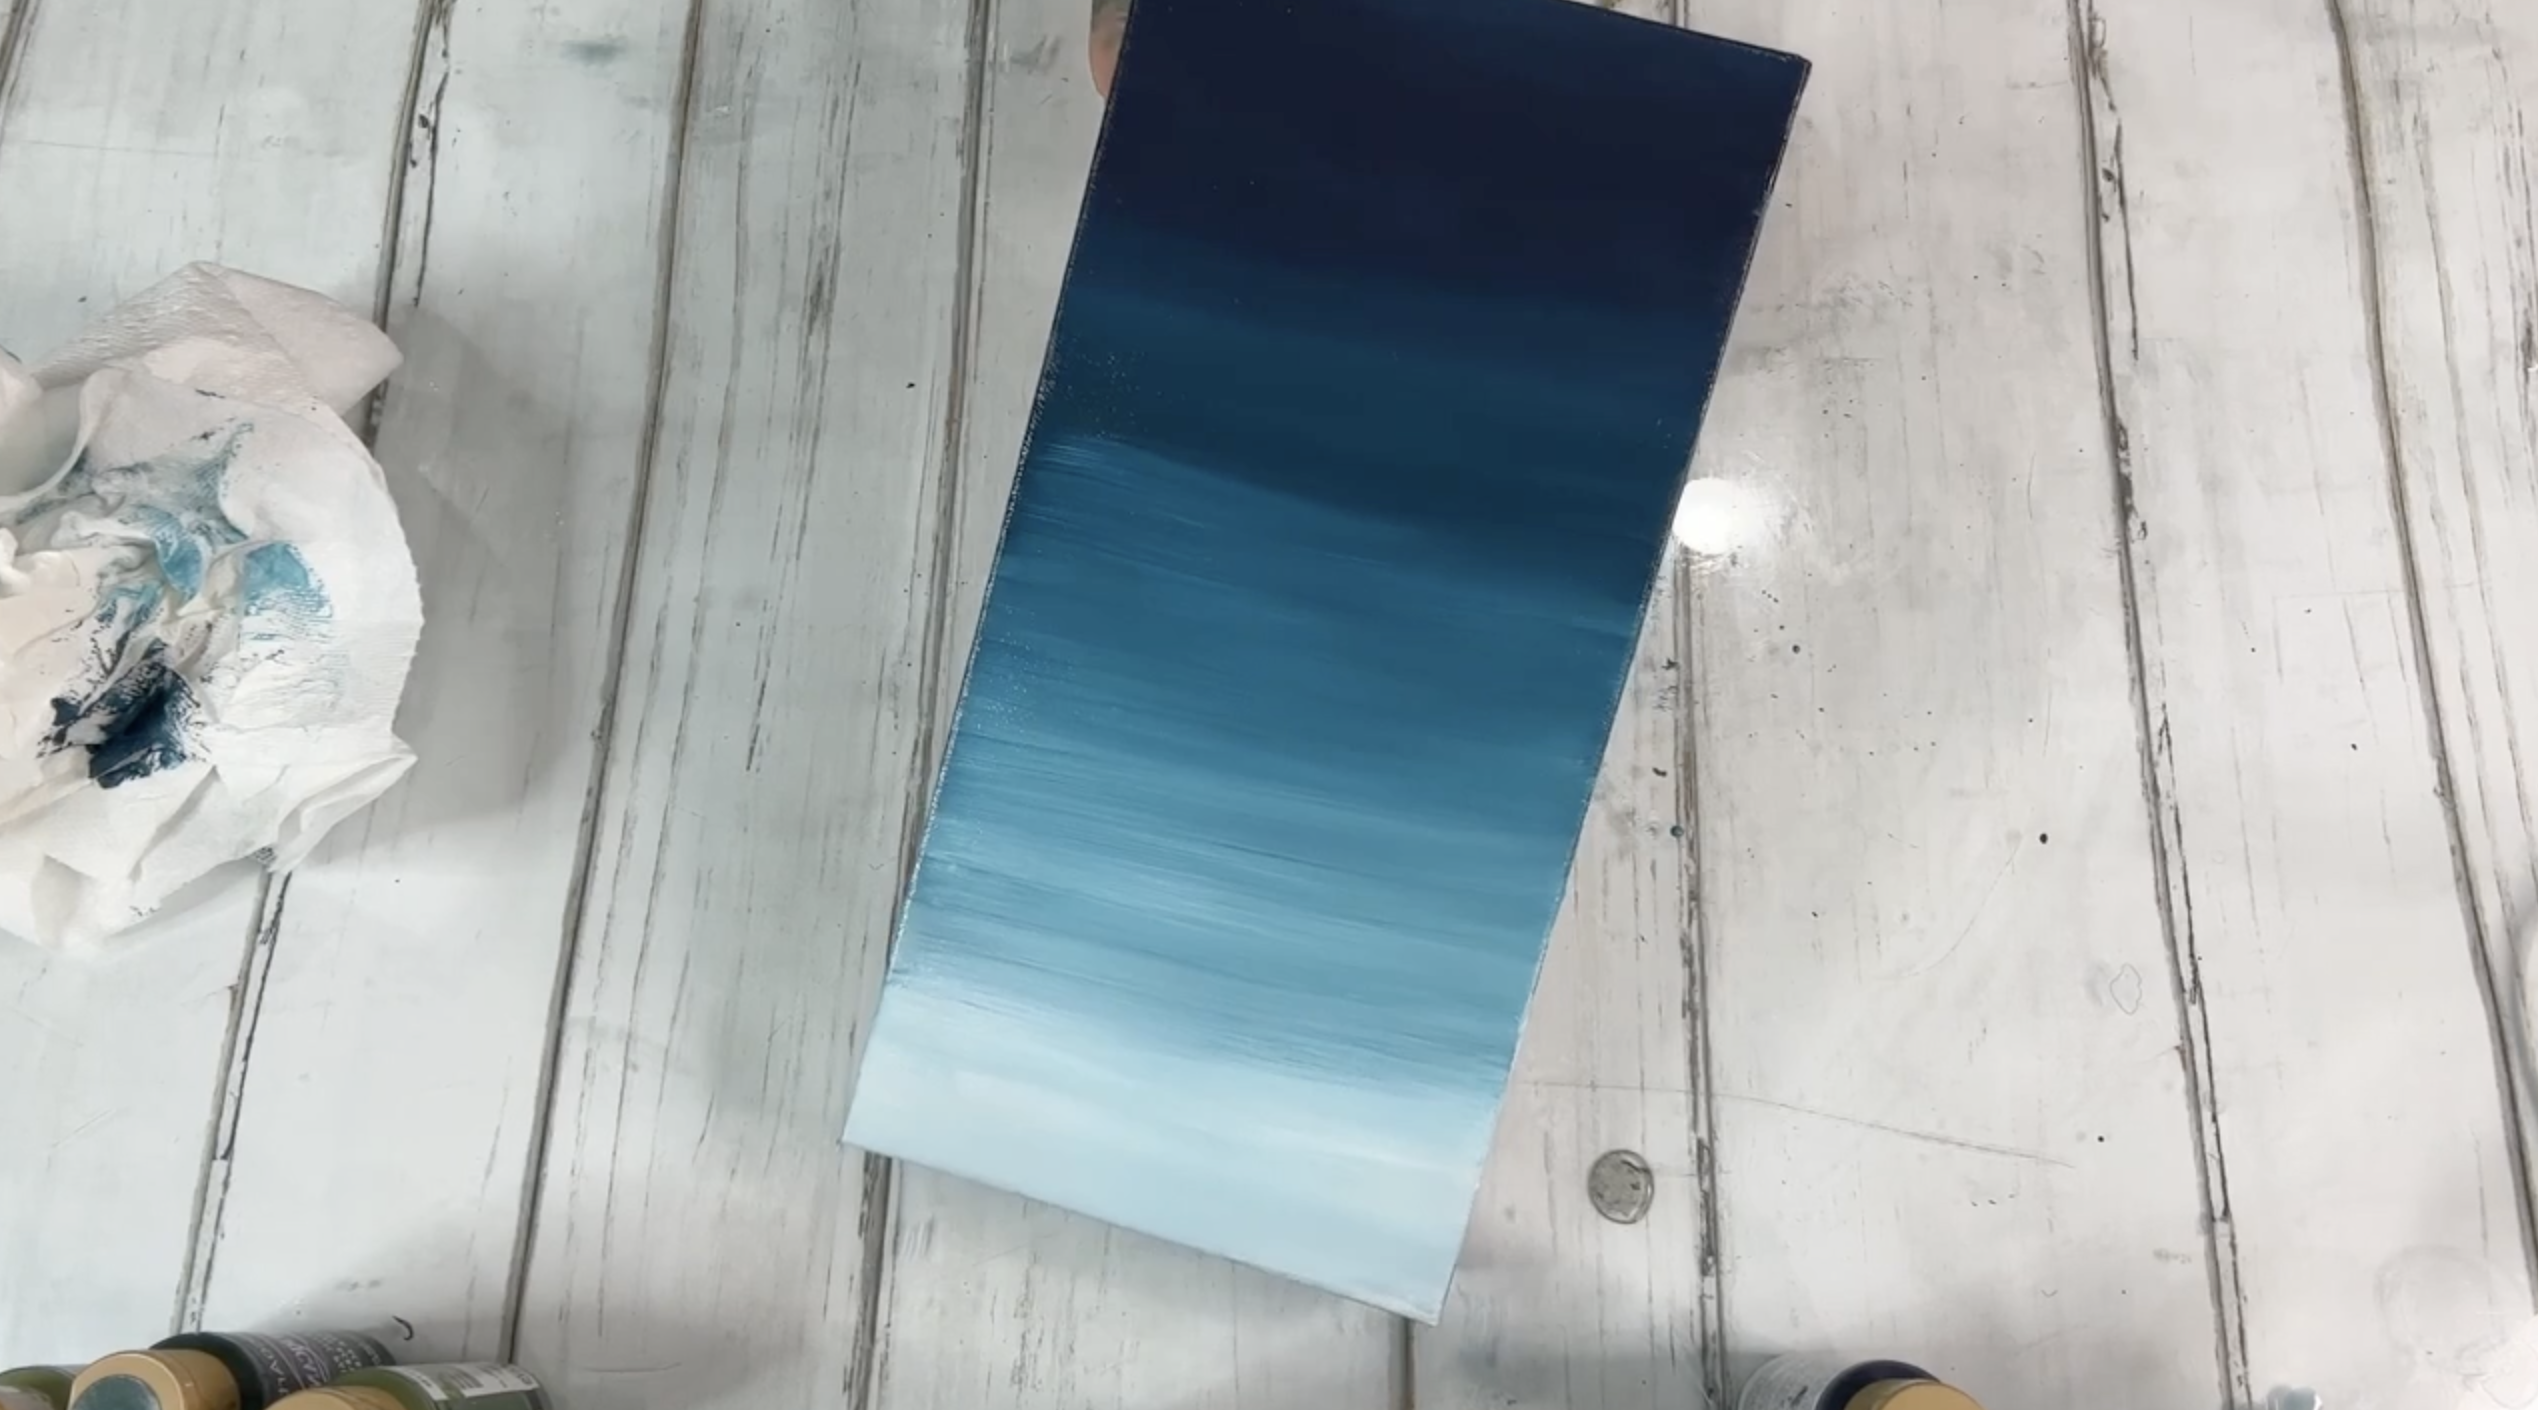
Step 1: Paint the Ombre Background
To start, I used a 6x12 canvas, but this technique works with any size. I chose three main colors: white, Desert Turquoise, and Midnight Blue for the ombre background. The trick to getting a smooth blend is to work wet-on-wet. I added dots of each color directly onto the canvas (white at the top, turquoise in the middle, blue at the bottom), then blended them together using a flat brush. Starting from the top with white, I worked my way down, gradually blending into the turquoise, and finally into the blue. I used light brush strokes and kept a steady rhythm, blending back and forth until the transitions were smooth. Once I was happy with the base layer, I dried it completely before doing a second pass using the same technique - this time adding a deeper Payne’s Gray at the bottom for extra depth.
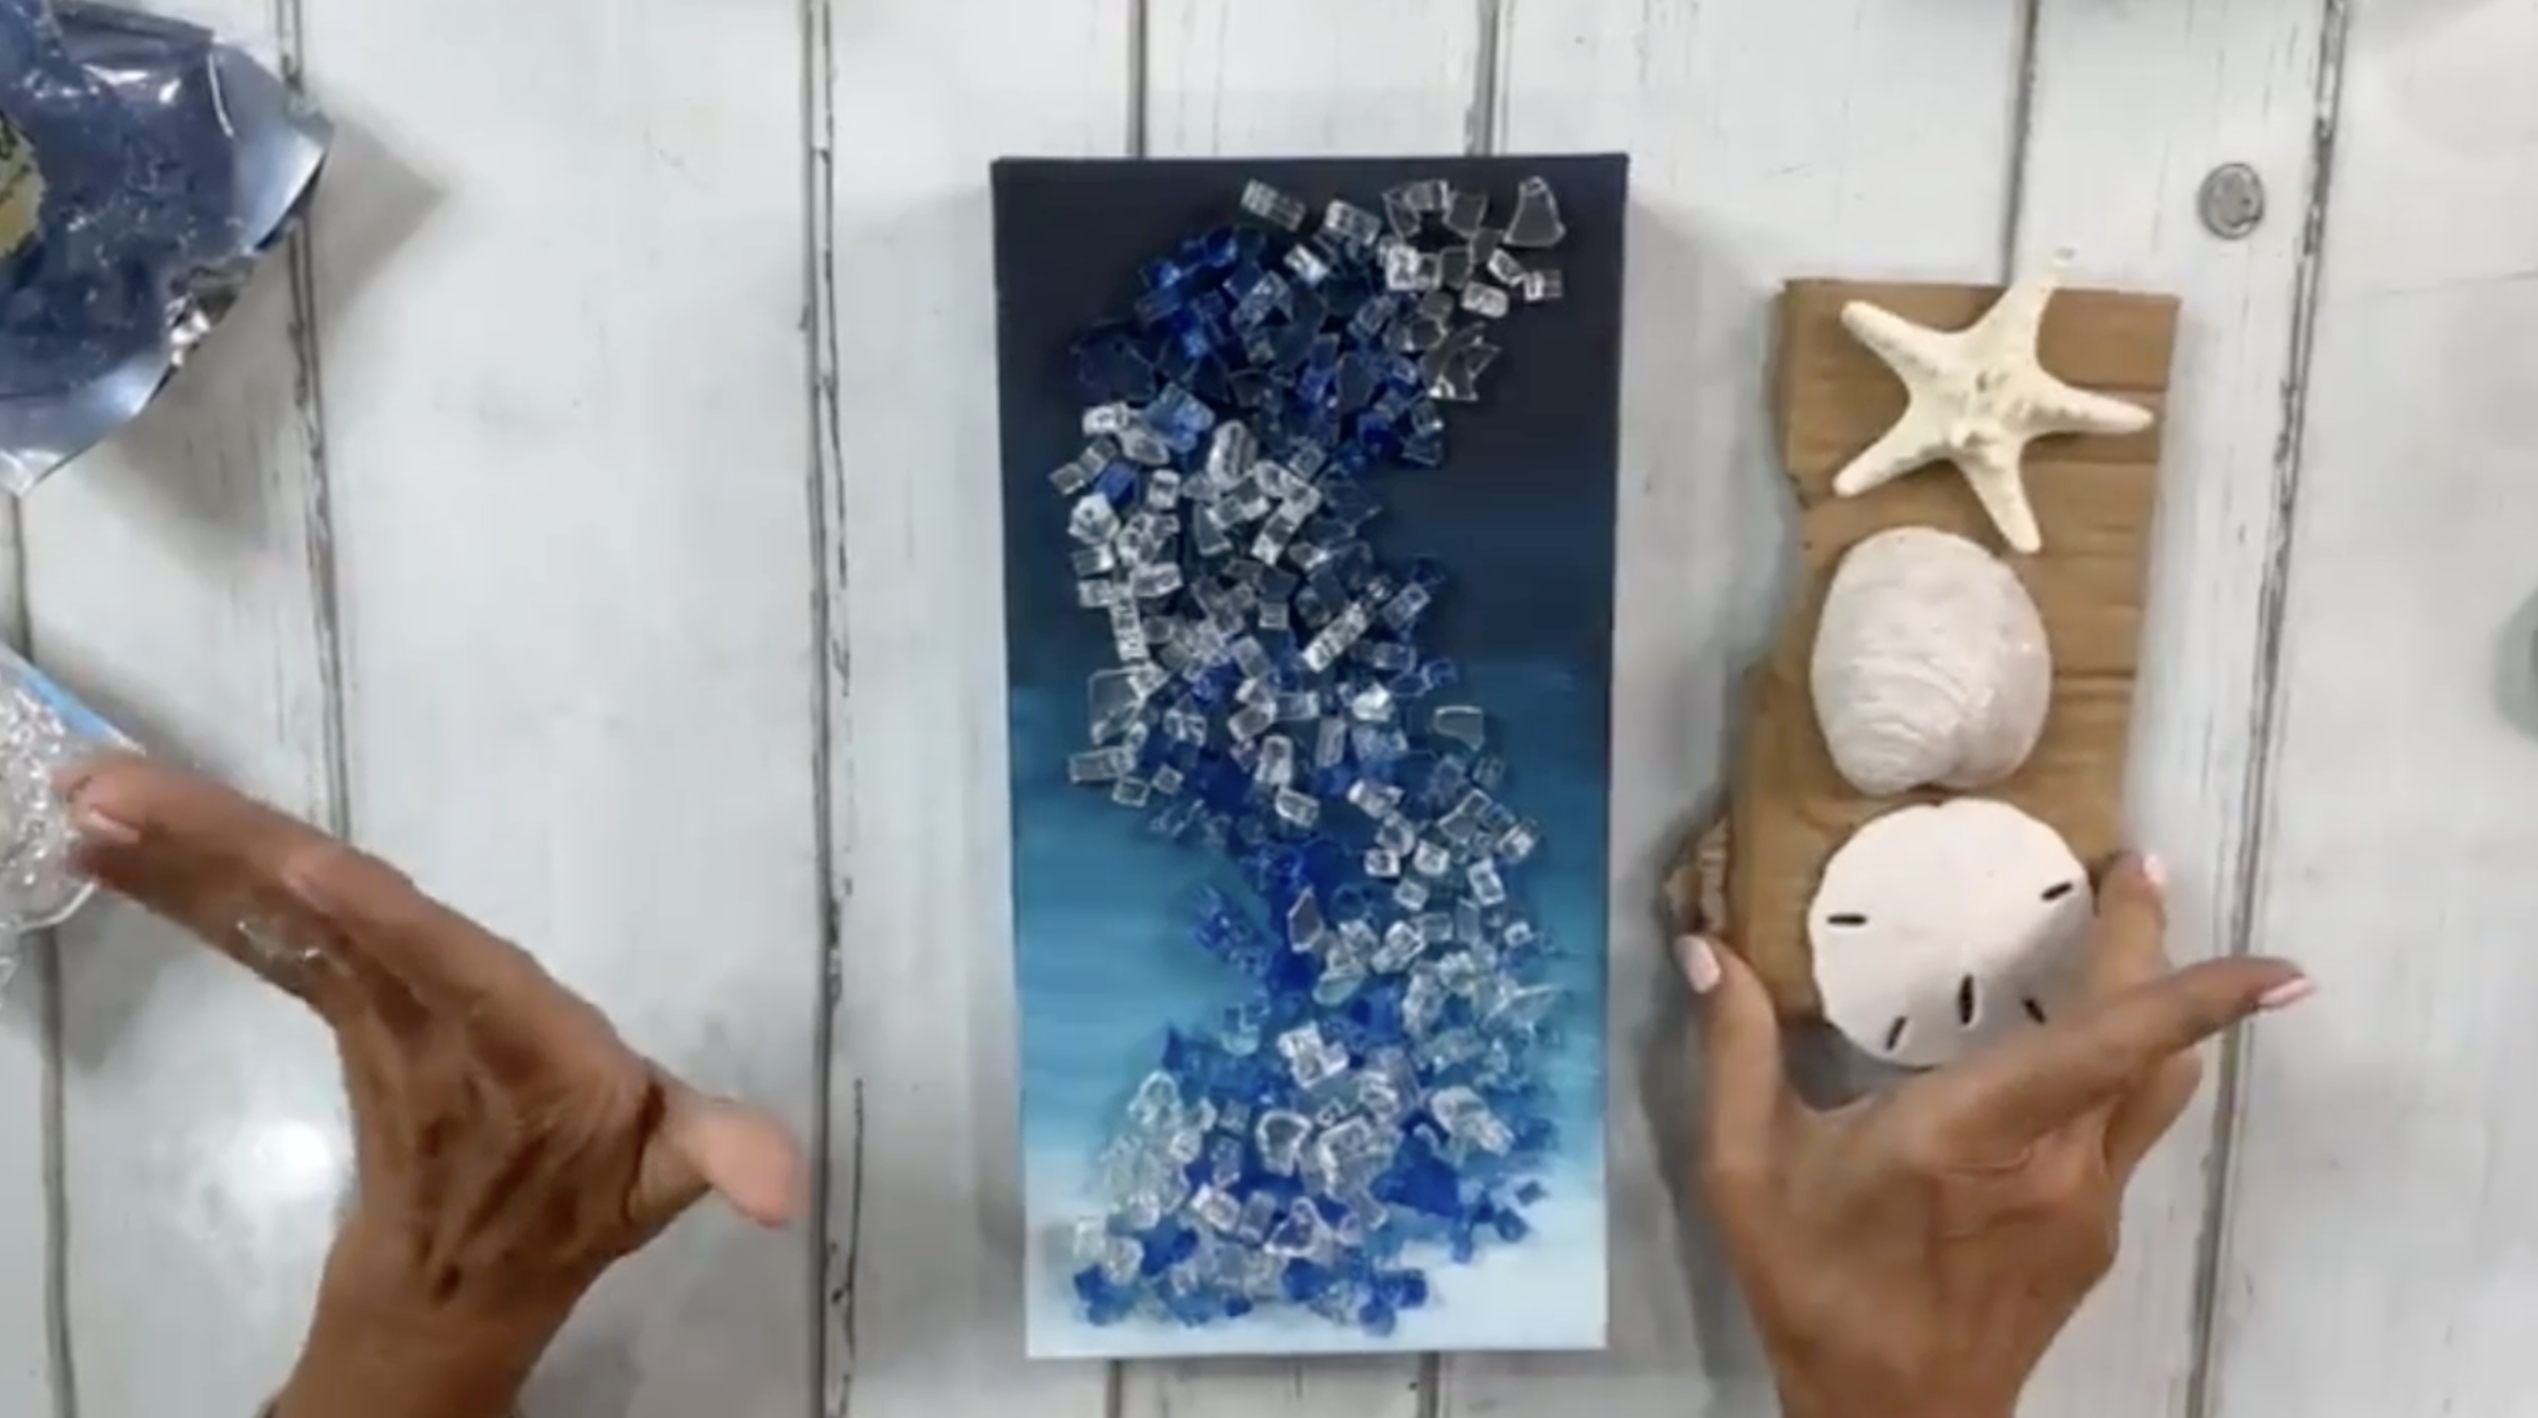
Step 2: Add Crushed Glass
After the painted background was dry, I added a soft S-shaped swirl of crushed glass through the center of the canvas. I used three colors: Pacific Blue, Cobalt, and Clear (or Starfire). The Pacific Blue added richness, the Cobalt gave it a pop, and the Clear let the background peek through. I loosely arranged the glass to keep it looking organic, not too perfect or staged, and left the edges of the canvas clear to let the ombre background shine.
Step 3: Mix and Pour the Resin
I mixed 4 ounces of Art Resin (2 oz resin and 2 oz hardener) and stirred for 3 minutes. Working slowly and carefully, I drizzled the resin over the glass using a popsicle stick. I made sure to coat everything lightly, using my gloved hand to smooth out drips and spread resin where needed.
Step 4: Add Seashells
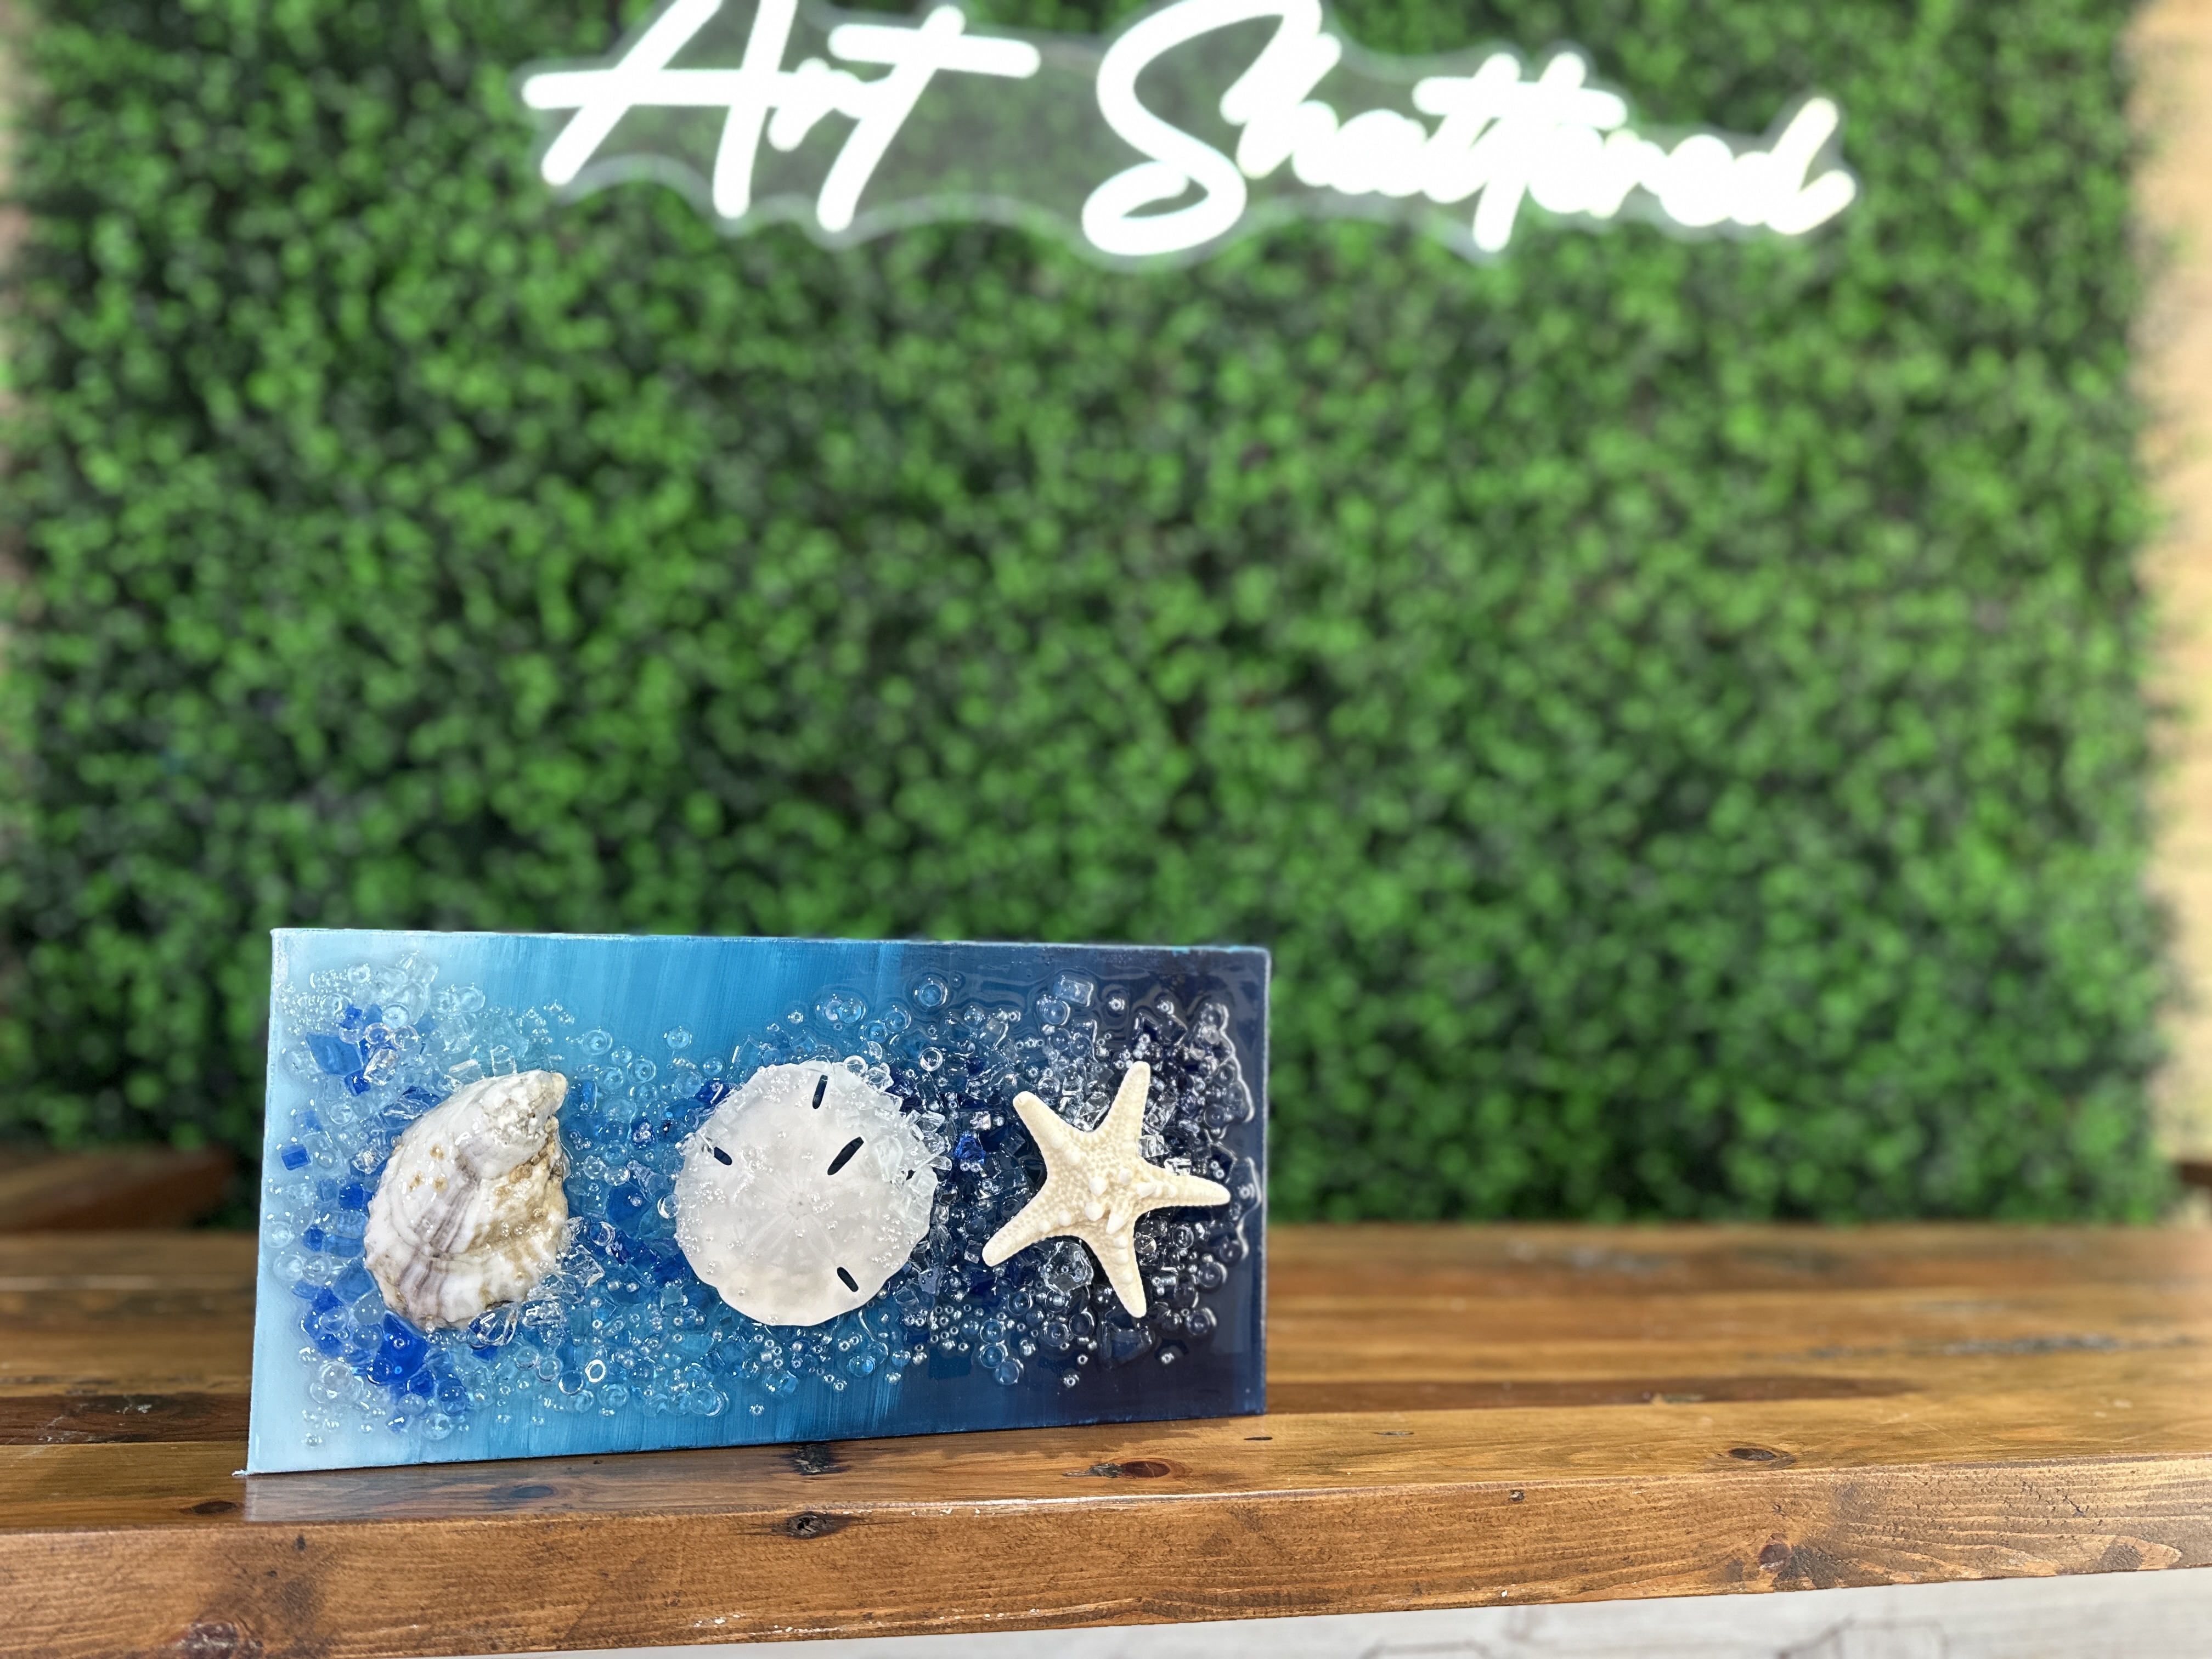
I chose three shells to be the stars of the show: a sealed sand dollar, a textured starfish, and an oyster shell. Before embedding, I lightly sprayed the sand dollar and starfish with a clear, non-yellowing acrylic sealer (at least one coat - two is better). I drizzled a little resin underneath each shell to anchor it in place, then gently pressed them into the glass. The positioning was intentional, creating visual balance with one shell toward the top, one in the center, and one near the bottom. Add more resin on top.
Step 5: Add Final Details
To finish the piece, I added acrylic bubbles and crystal luster seed beads for extra texture and shimmer. I sprinkled the bubbles along the edges of the glass and tucked the beads around the shells, especially near the sand dollar to help disguise where the resin had slightly discolored it. I even added a few tiny pieces of clear glass on top of the sand dollar for more sparkle and dimension. Once everything was in place, I used a heat gun to pop any bubbles and let the canvas cure undisturbed for at least 8 hours.
If you don’t want to miss my Facebook LIVE art instruction, make sure you are on my texting list. I always text 10 minutes before I’m going to go LIVE, so you won’t ever miss it. You can text “Hey Cindy” to 901-519-2923.
Want more inspiration and artwork?
- My website artshattered.com with resources, shop, and more!
- My creative membership The Shattered Circle, where you can explore the world of glass art with online workshops, a supportive community, and more!
- My mini creative membership Just A ‘Lil Bit Monthly Glass Art Club, where you’ll get a new quick and easy online tutorial for just a lil' bit of sparkle in your life!
- My Facebook page where I go LIVE every Wednesday night at 6:00 PM CST.
- My YouTube channel which has tons of free art lessons right at your fingertips.
