
Starfish Trio ⭐️
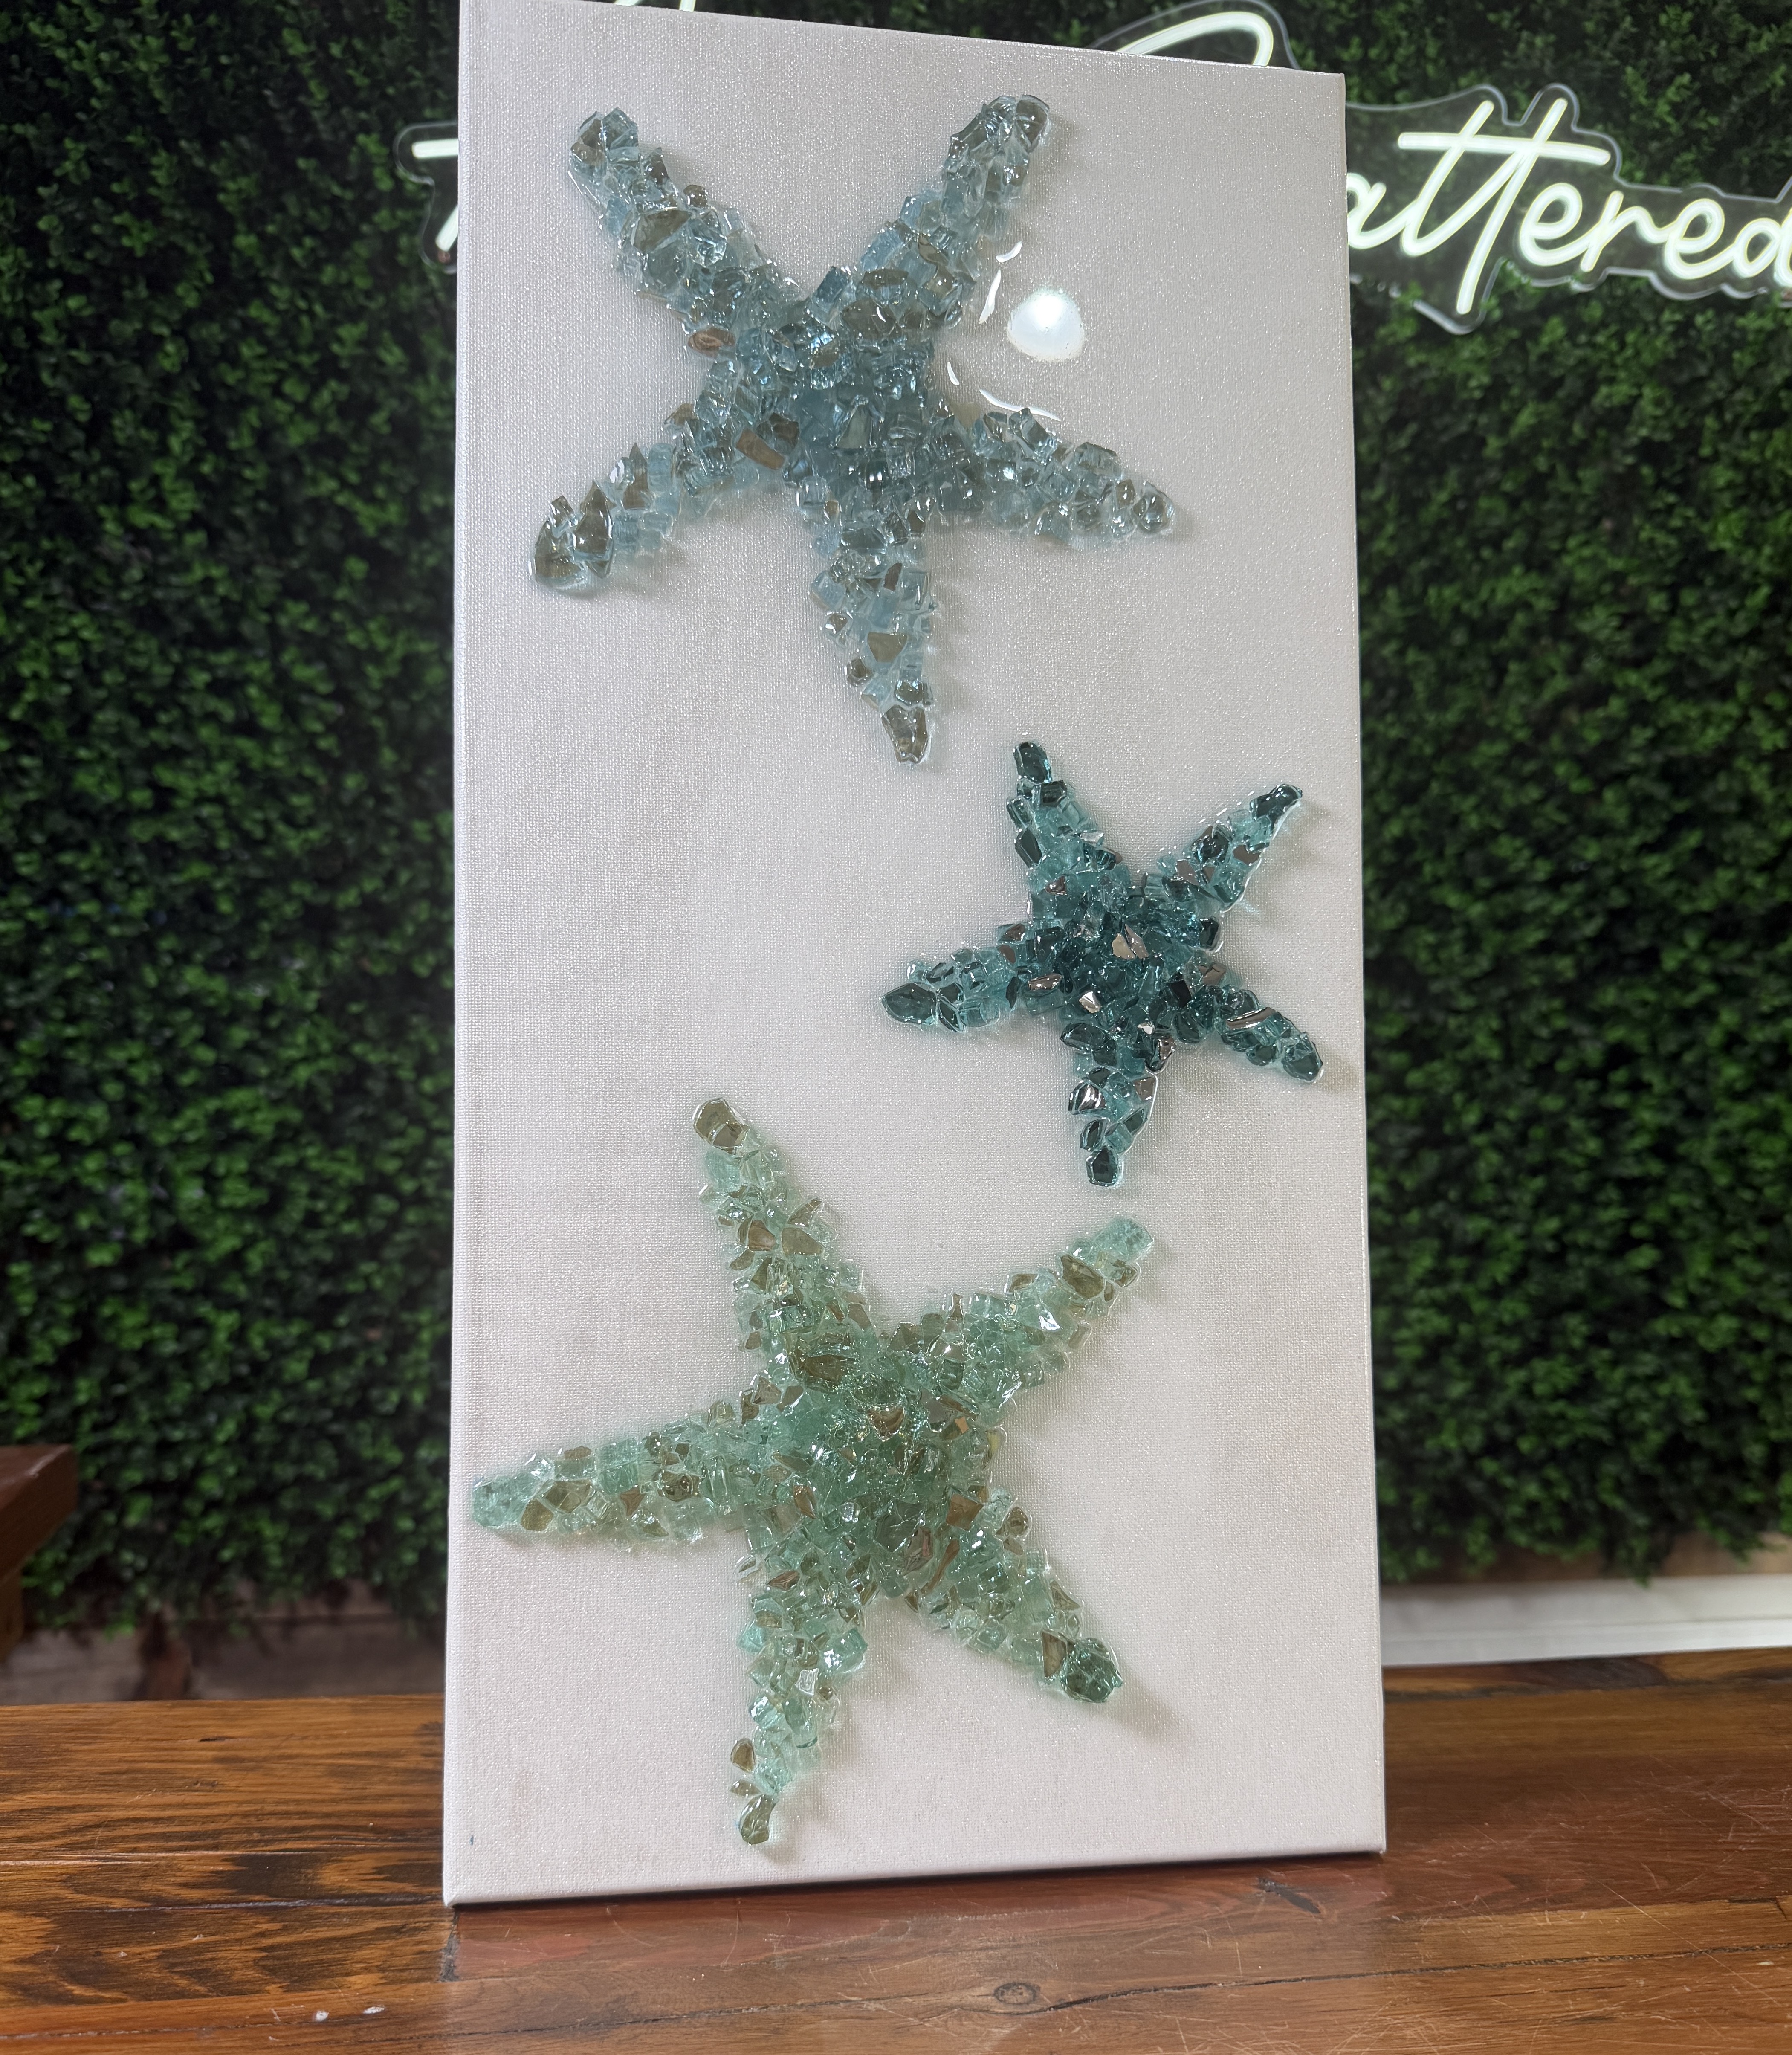
Create a clean, coastal statement piece using crushed glass, an iridescent background, and resin. This starfish canvas features three different shades of blue glass, with each starfish arranged by hand to keep its shape soft and rounded. The finished project is simple enough to fit into many decorating styles, but the reflective glass and pearly background give it plenty of texture and shine!
Step 1: Prepare the Iridescent Background
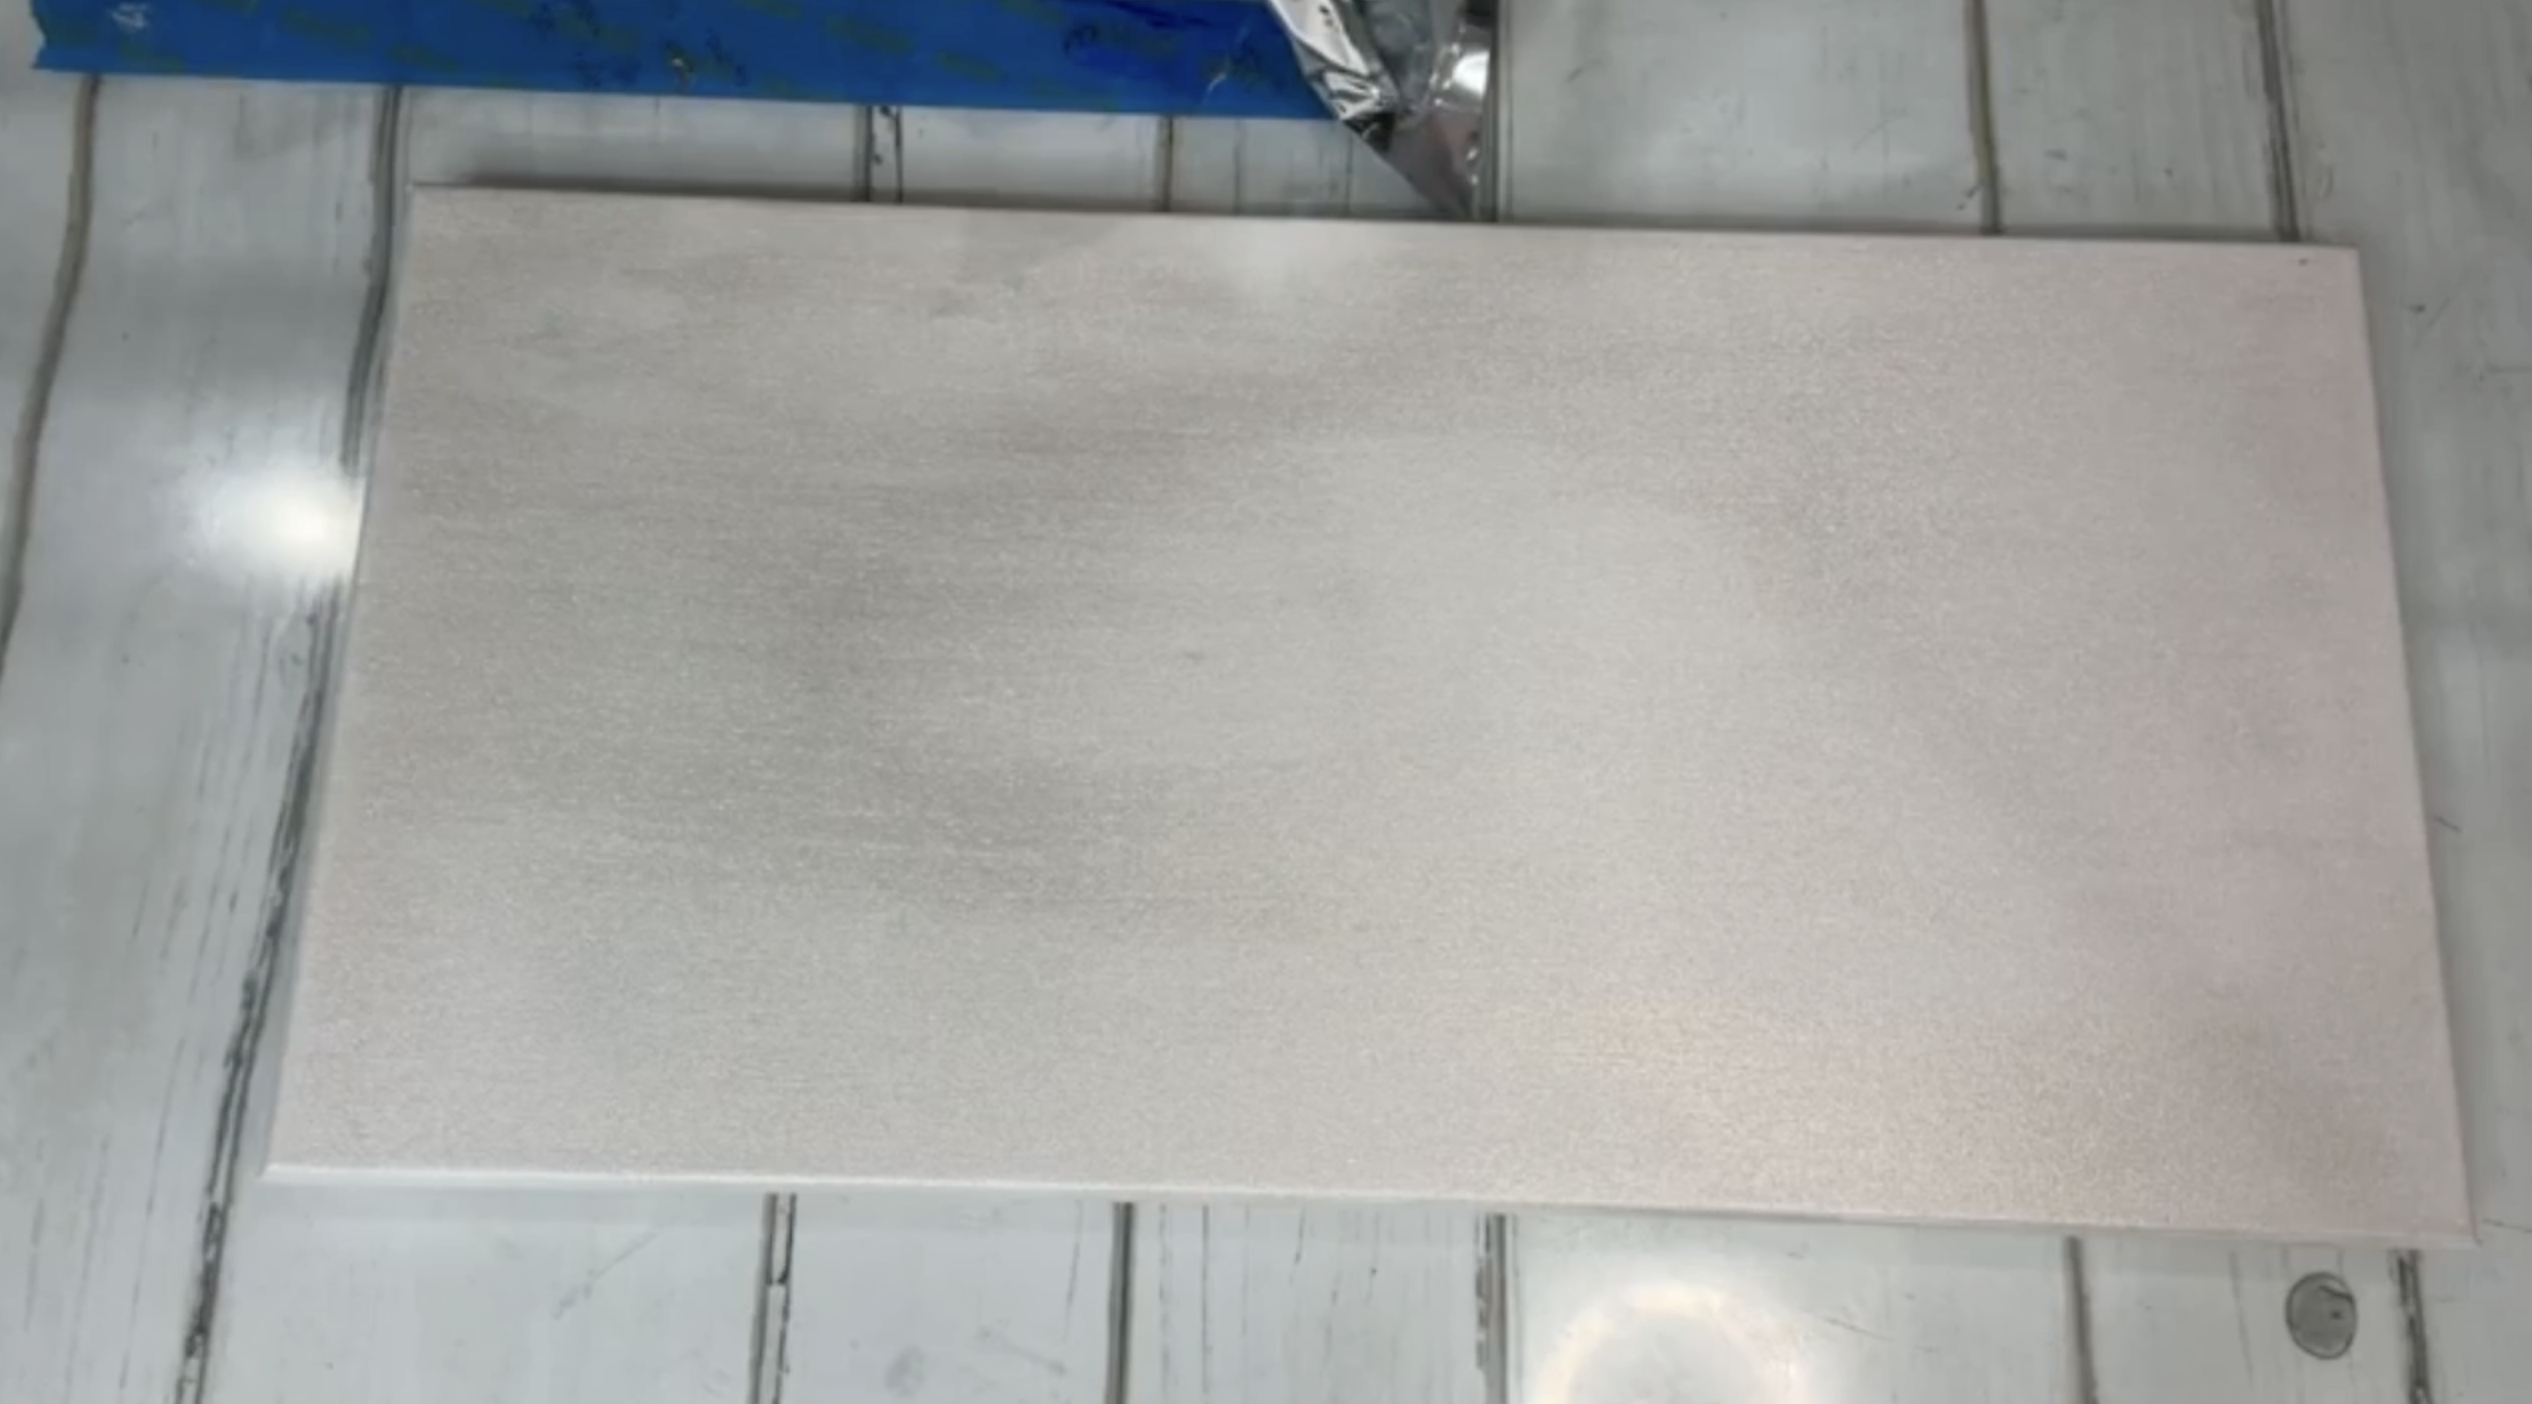
Begin with a 10" x 20" canvas. Apply Liquitex Basics Iridescent Medium to the front and sides using a spoon sponge brush. Work in one consistent direction so the background has a smooth, uniform texture.
This medium creates a soft pearly finish with subtle blue and purple flashes, which works especially well behind the blue crushed glass. Allow the canvas to dry completely before adding the starfish.
Step 2: Mark the First Starfish
Instead of tracing the entire starfish with graphite paper, place the sketch over the canvas and use a light blue watercolor pencil to make a small mark at the tip of each arm.
These marks give you the size and basic position without covering the iridescent background in dark tracing lines. Make sure the glass will cover each pencil mark as you build the shape.
Step 3: Understand the Starfish Shape
The most important part of creating a recognizable starfish is keeping everything rounded.
Avoid sharp tips and deep, pointed spaces between the arms. Those details can make the shape look like a traditional five-pointed star instead of a starfish.
As you work, remember:
- Keep the arm tips rounded.
- Keep the inside spaces rounded.
- Make the center wider and fuller.
- Allow each arm to taper gently toward the end.
Step 4: Build the Top Starfish
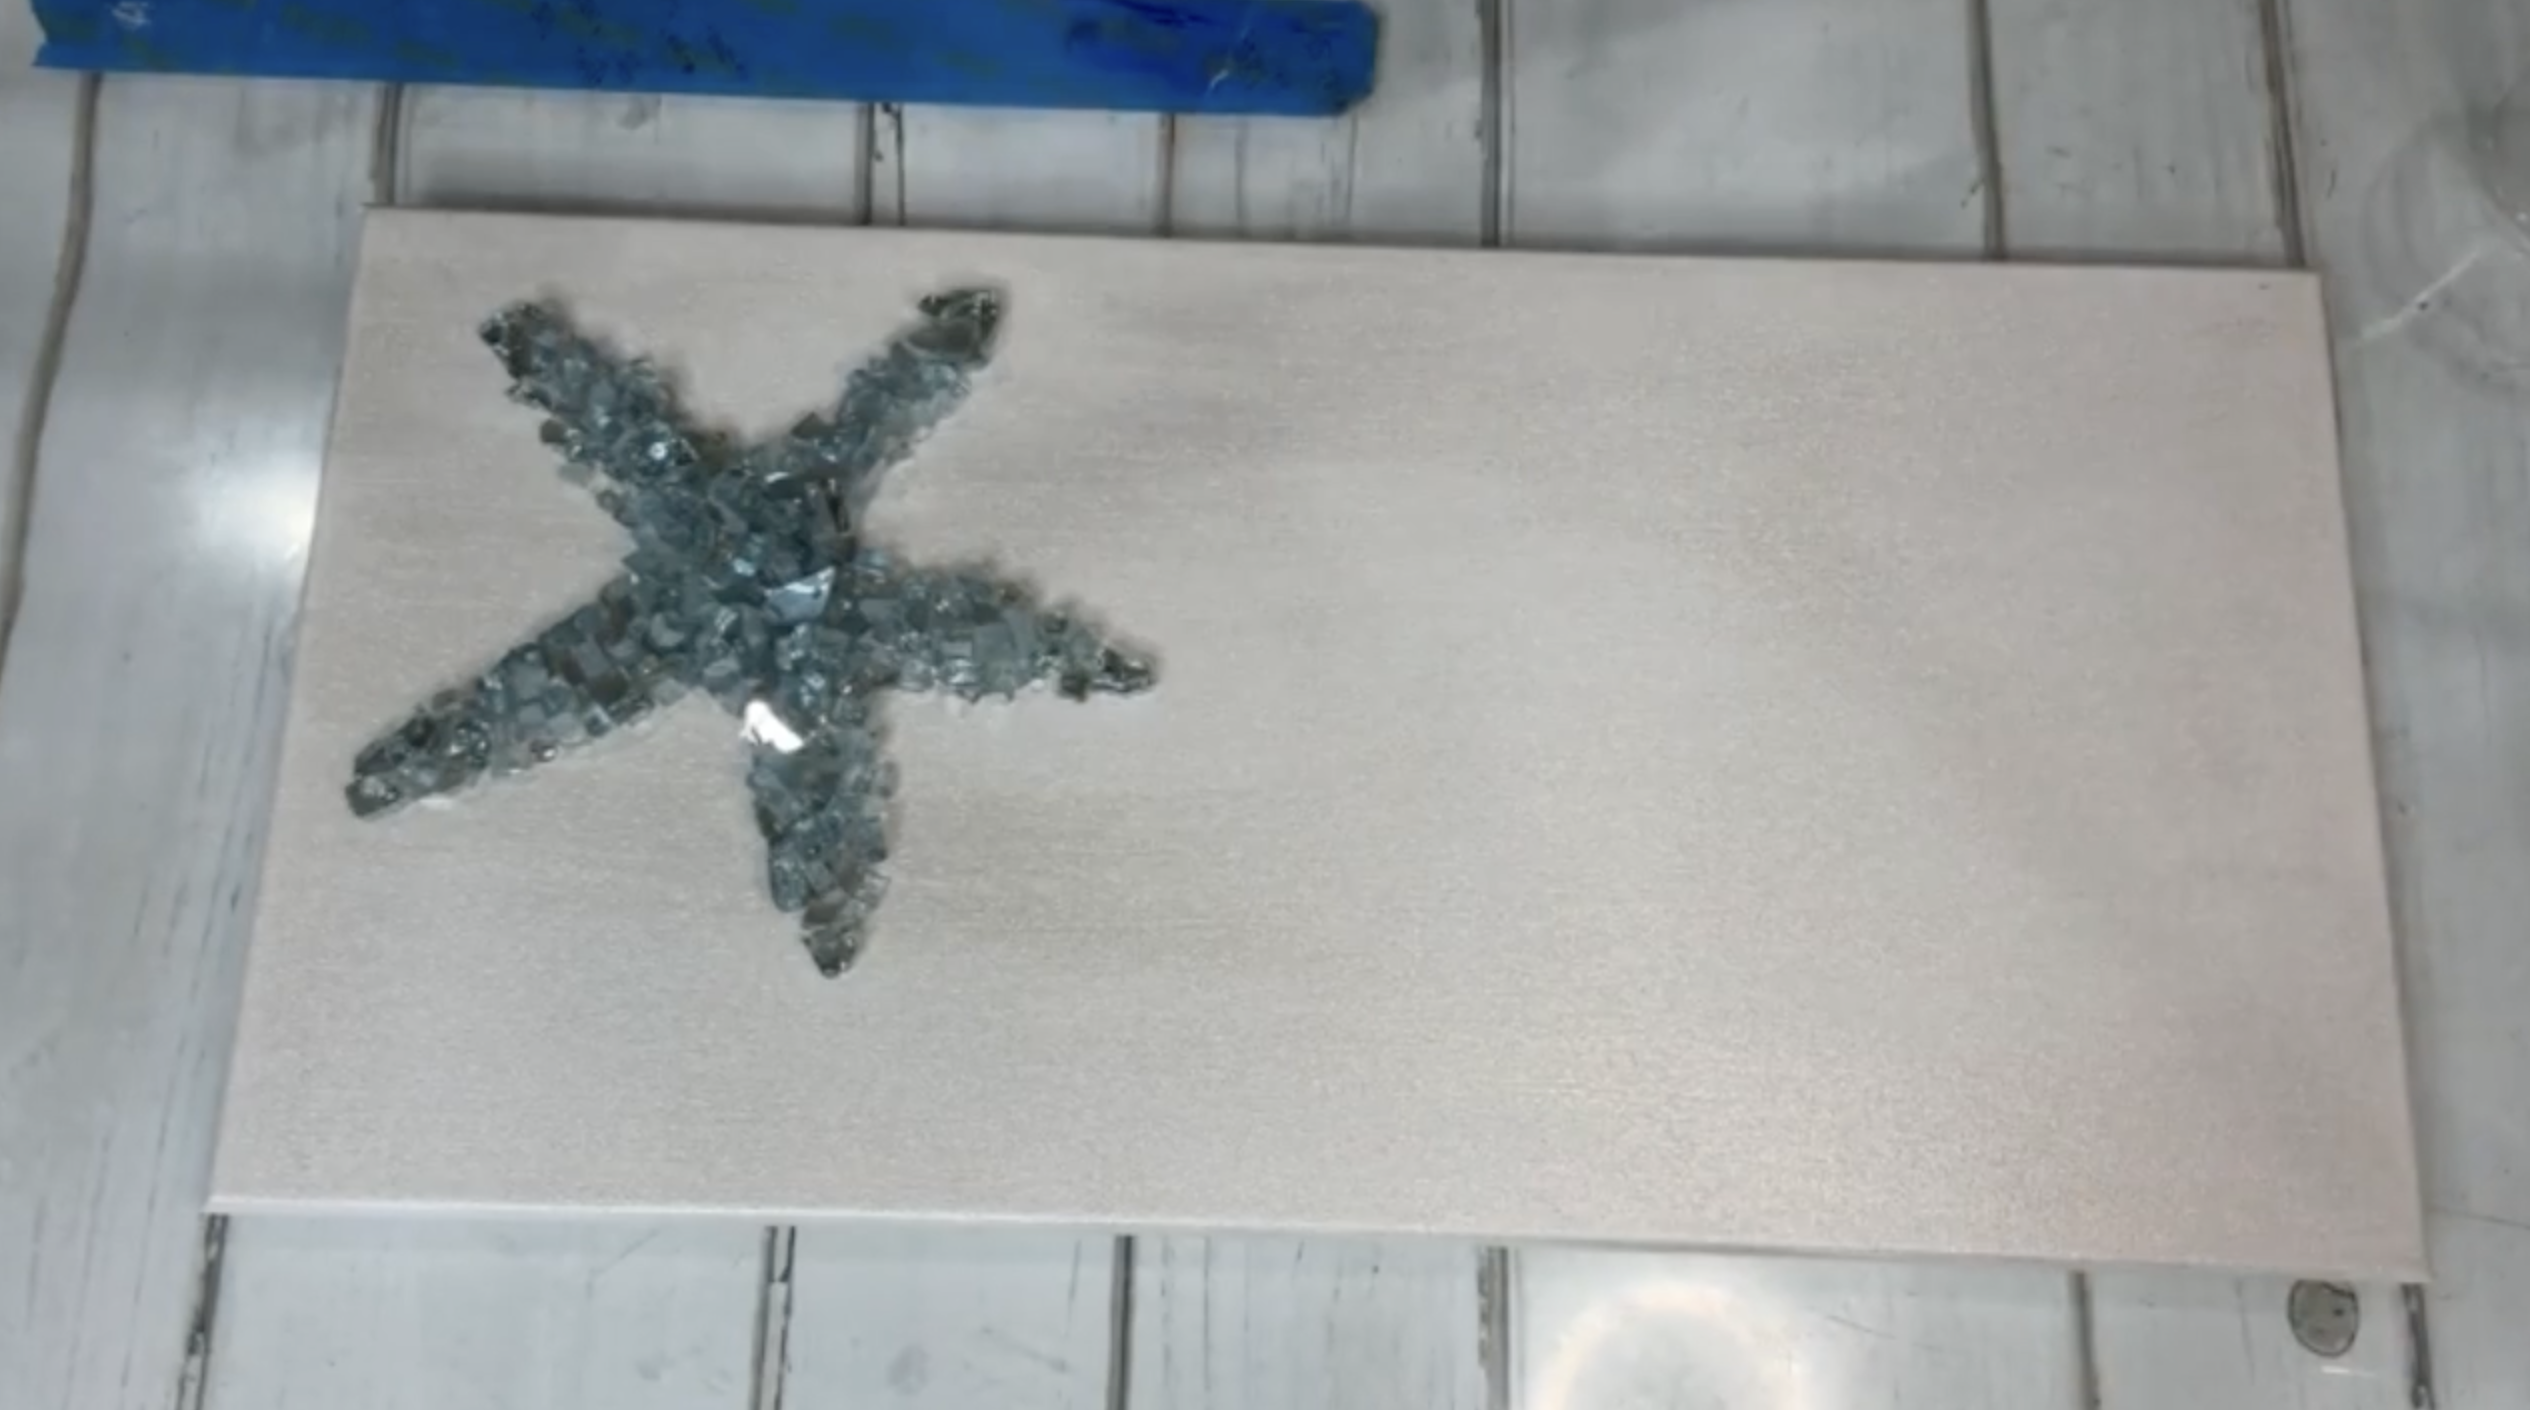
Use Light Azuria crushed glass for the first starfish. Place one piece of glass over each pencil mark at the end of the five arms. These pieces will act as guides and help you maintain the correct size.
Pour a small pile of glass into the center. Begin moving the pieces outward from the center toward each marked tip. Do not worry if it looks rough at first. Focus on establishing the five arms before refining the shape.
Step 5: Secure the Outer Edge
Apply a very thin line of clear craft glue around the outside edge of the starfish. This is not the final adhesive. The resin will permanently secure the glass later. The glue simply keeps the outline from shifting while you build the other starfish.
Use only a small amount so it does not become noticeable beneath the resin.
Step 6: Create the Bottom Starfish
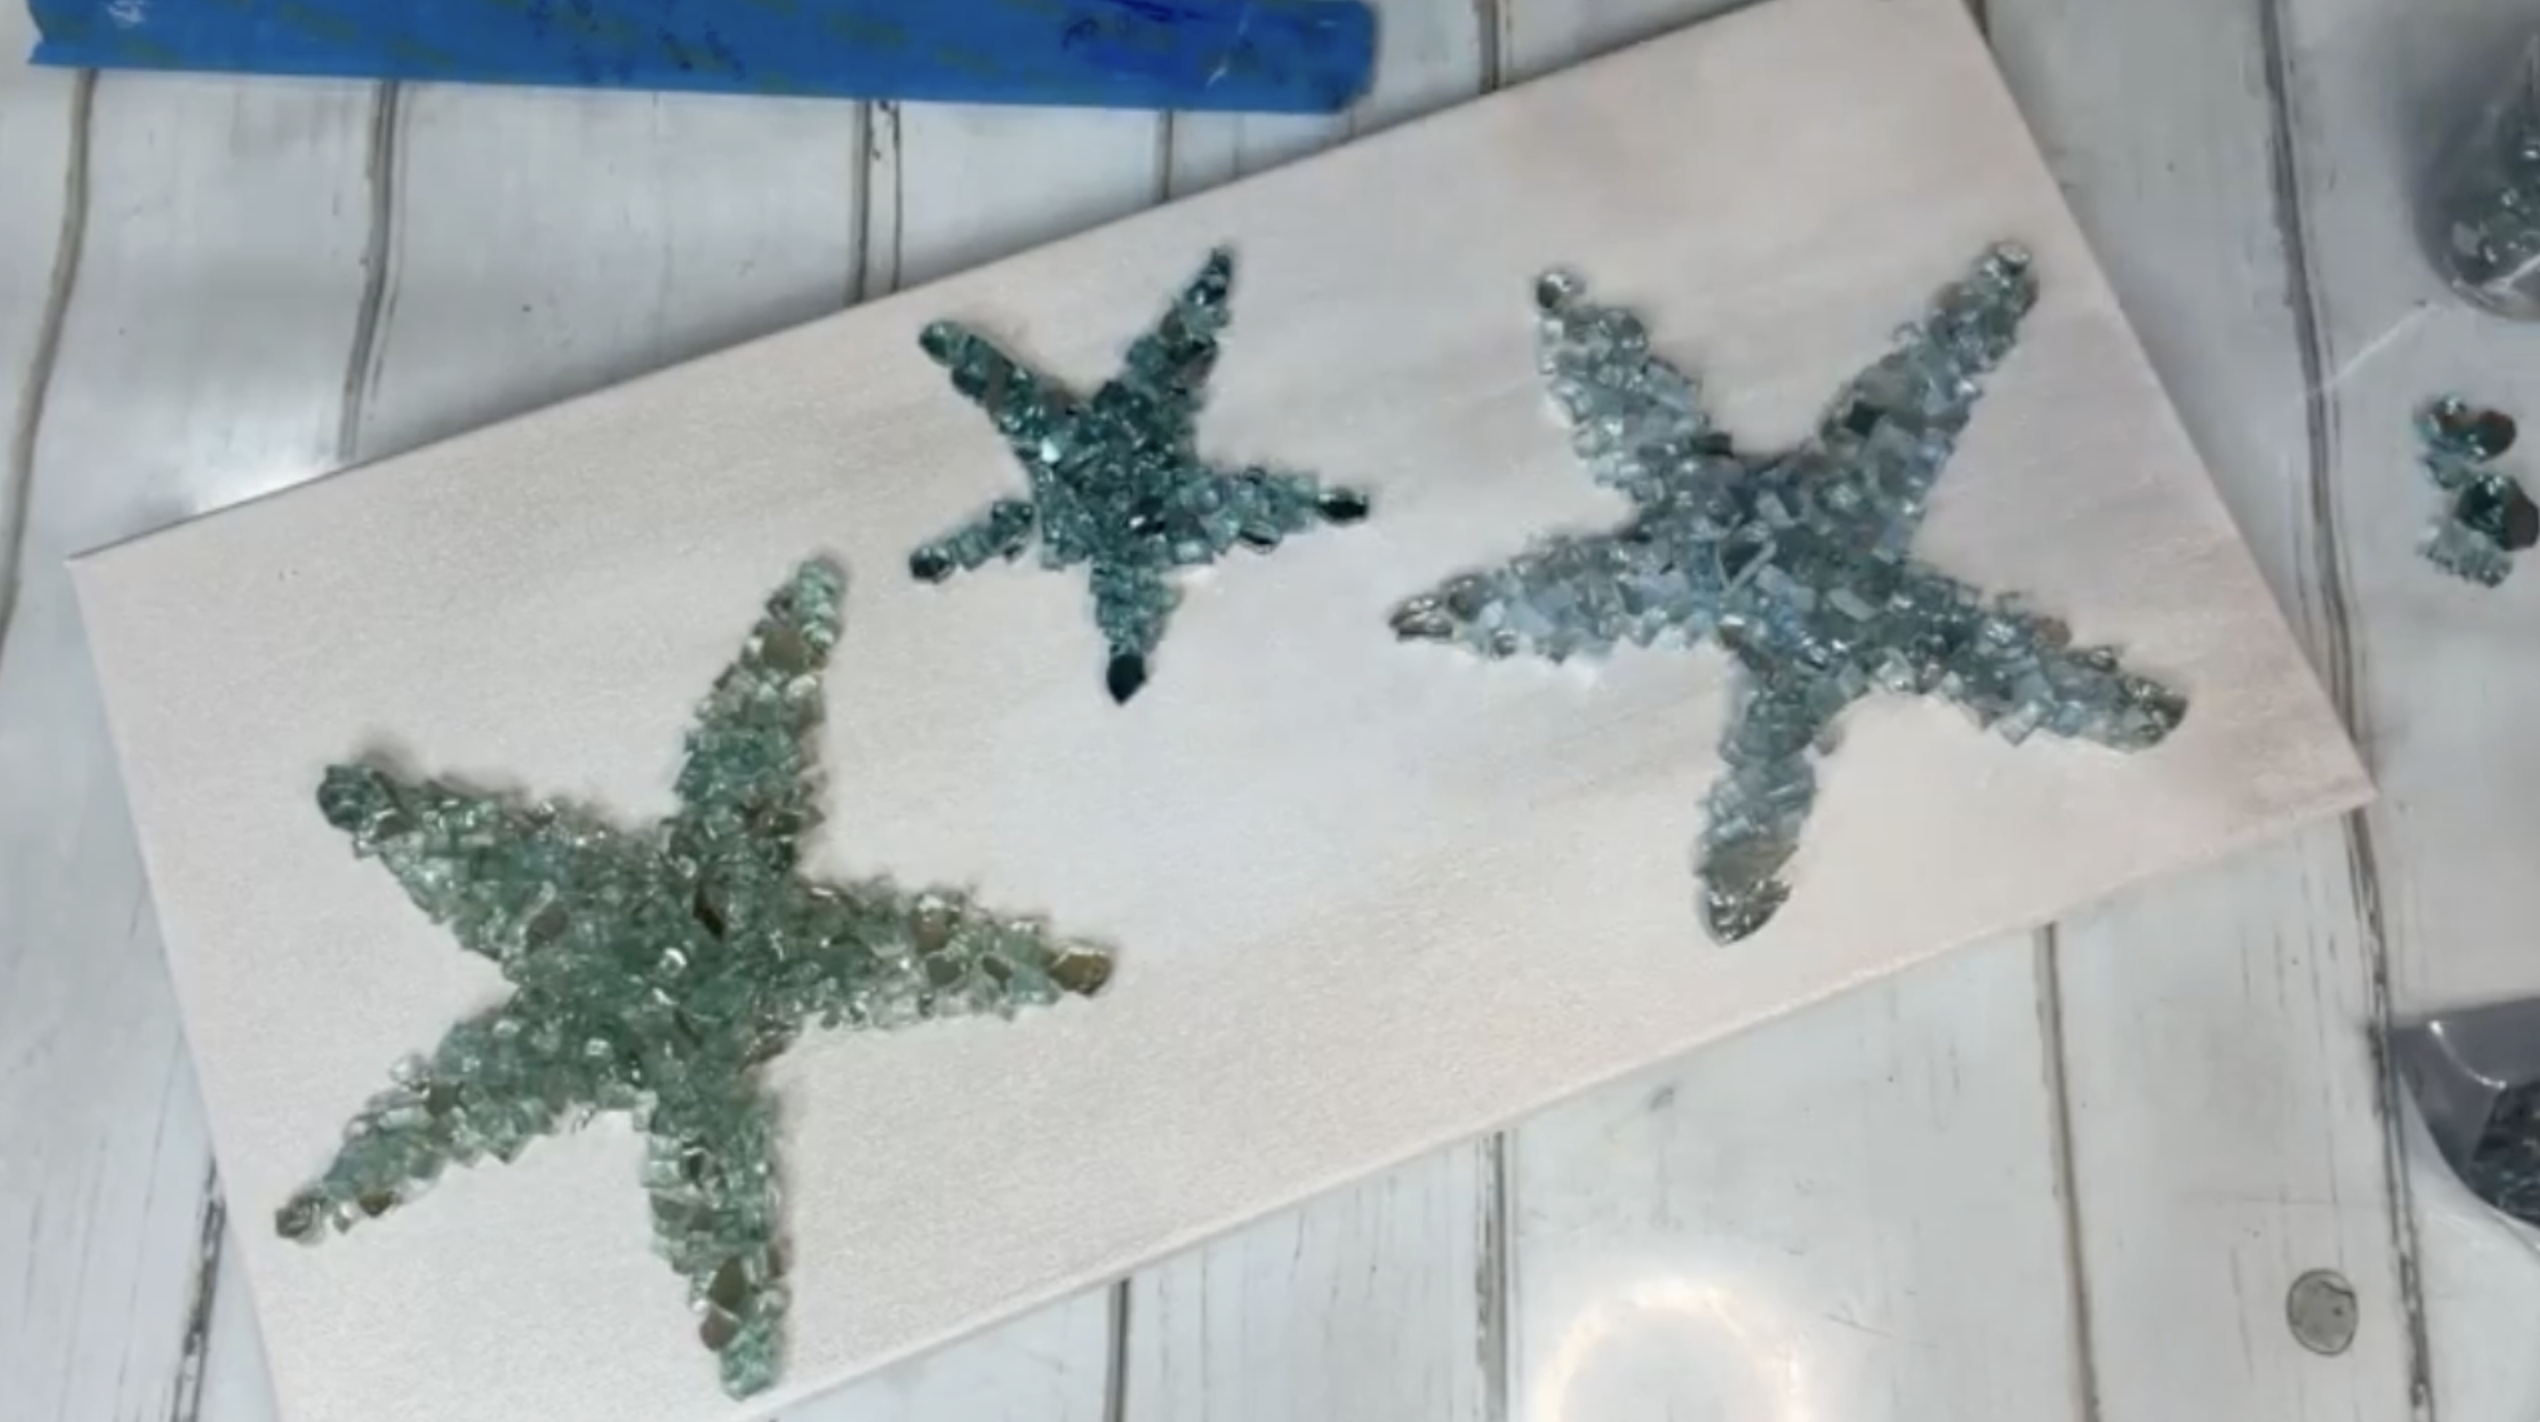
Position the larger starfish near the bottom of the canvas and mark the five arm tips with the watercolor pencil. Use Solex Reflective crushed glass for this starfish.
Place one glass piece at each arm tip, then add a pile of glass to the center. Work outward from the middle, building each arm one at a time.
Keep the center thick and the tips rounded. Adjust the glass until the larger starfish feels proportional to the top one without looking like an exact copy. Add a fine line of glue around the outer edge to hold the shape.
Step 7: Create the Center Starfish
The smallest starfish is placed between the other two and made with Dark Azuria crushed glass.
Because this one is smaller, use smaller pieces of glass whenever possible. Large pieces can make the arms feel heavy or uneven. You can lightly mark the five arm tips or simply eyeball the size and placement.
Build a small center pile and work outward. Continue checking that the tips and inside spaces remain rounded. Add a thin line of glue around the perimeter when the shape is complete.
Step 8: Mix the Resin
Put on gloves and prepare six ounces of resin using equal parts resin and hardener:
- Three ounces of resin
- Three ounces of hardener
Stir gently for three full minutes. Scrape the sides and bottom of the cup while mixing. Stirring too quickly can introduce unnecessary air bubbles, so keep your movements slow and steady.
Step 9: Apply the Resin
Begin by slowly pouring resin over each crushed glass starfish. Work across all five arms and the center, making sure the glass is thoroughly coated. The resin should move down between the pieces and secure them to the canvas.
Take your time around the arm tips so the glass does not shift out of position.
After coating the starfish, pour the remaining resin over the exposed background. Use your gloved hand or a resin spreader to move it across the entire canvas and out to the edges. Covering the whole surface creates a consistent glossy finish rather than leaving shiny starfish against an uncoated background.
Step 10: Pop the Bubbles
Pass a heat gun gently over the resin to release surface bubbles. Keep the heat source moving and avoid holding it too close to the glass or canvas. Check the piece again after a few minutes, as additional bubbles may continue rising.
Step 11: Allow the Artwork to Cure
Place the canvas on a flat, protected surface and leave it undisturbed. Follow the curing instructions for your resin before moving, hanging, or wrapping the piece. Keep it away from dust, pets, and anything that could fall into the wet surface.
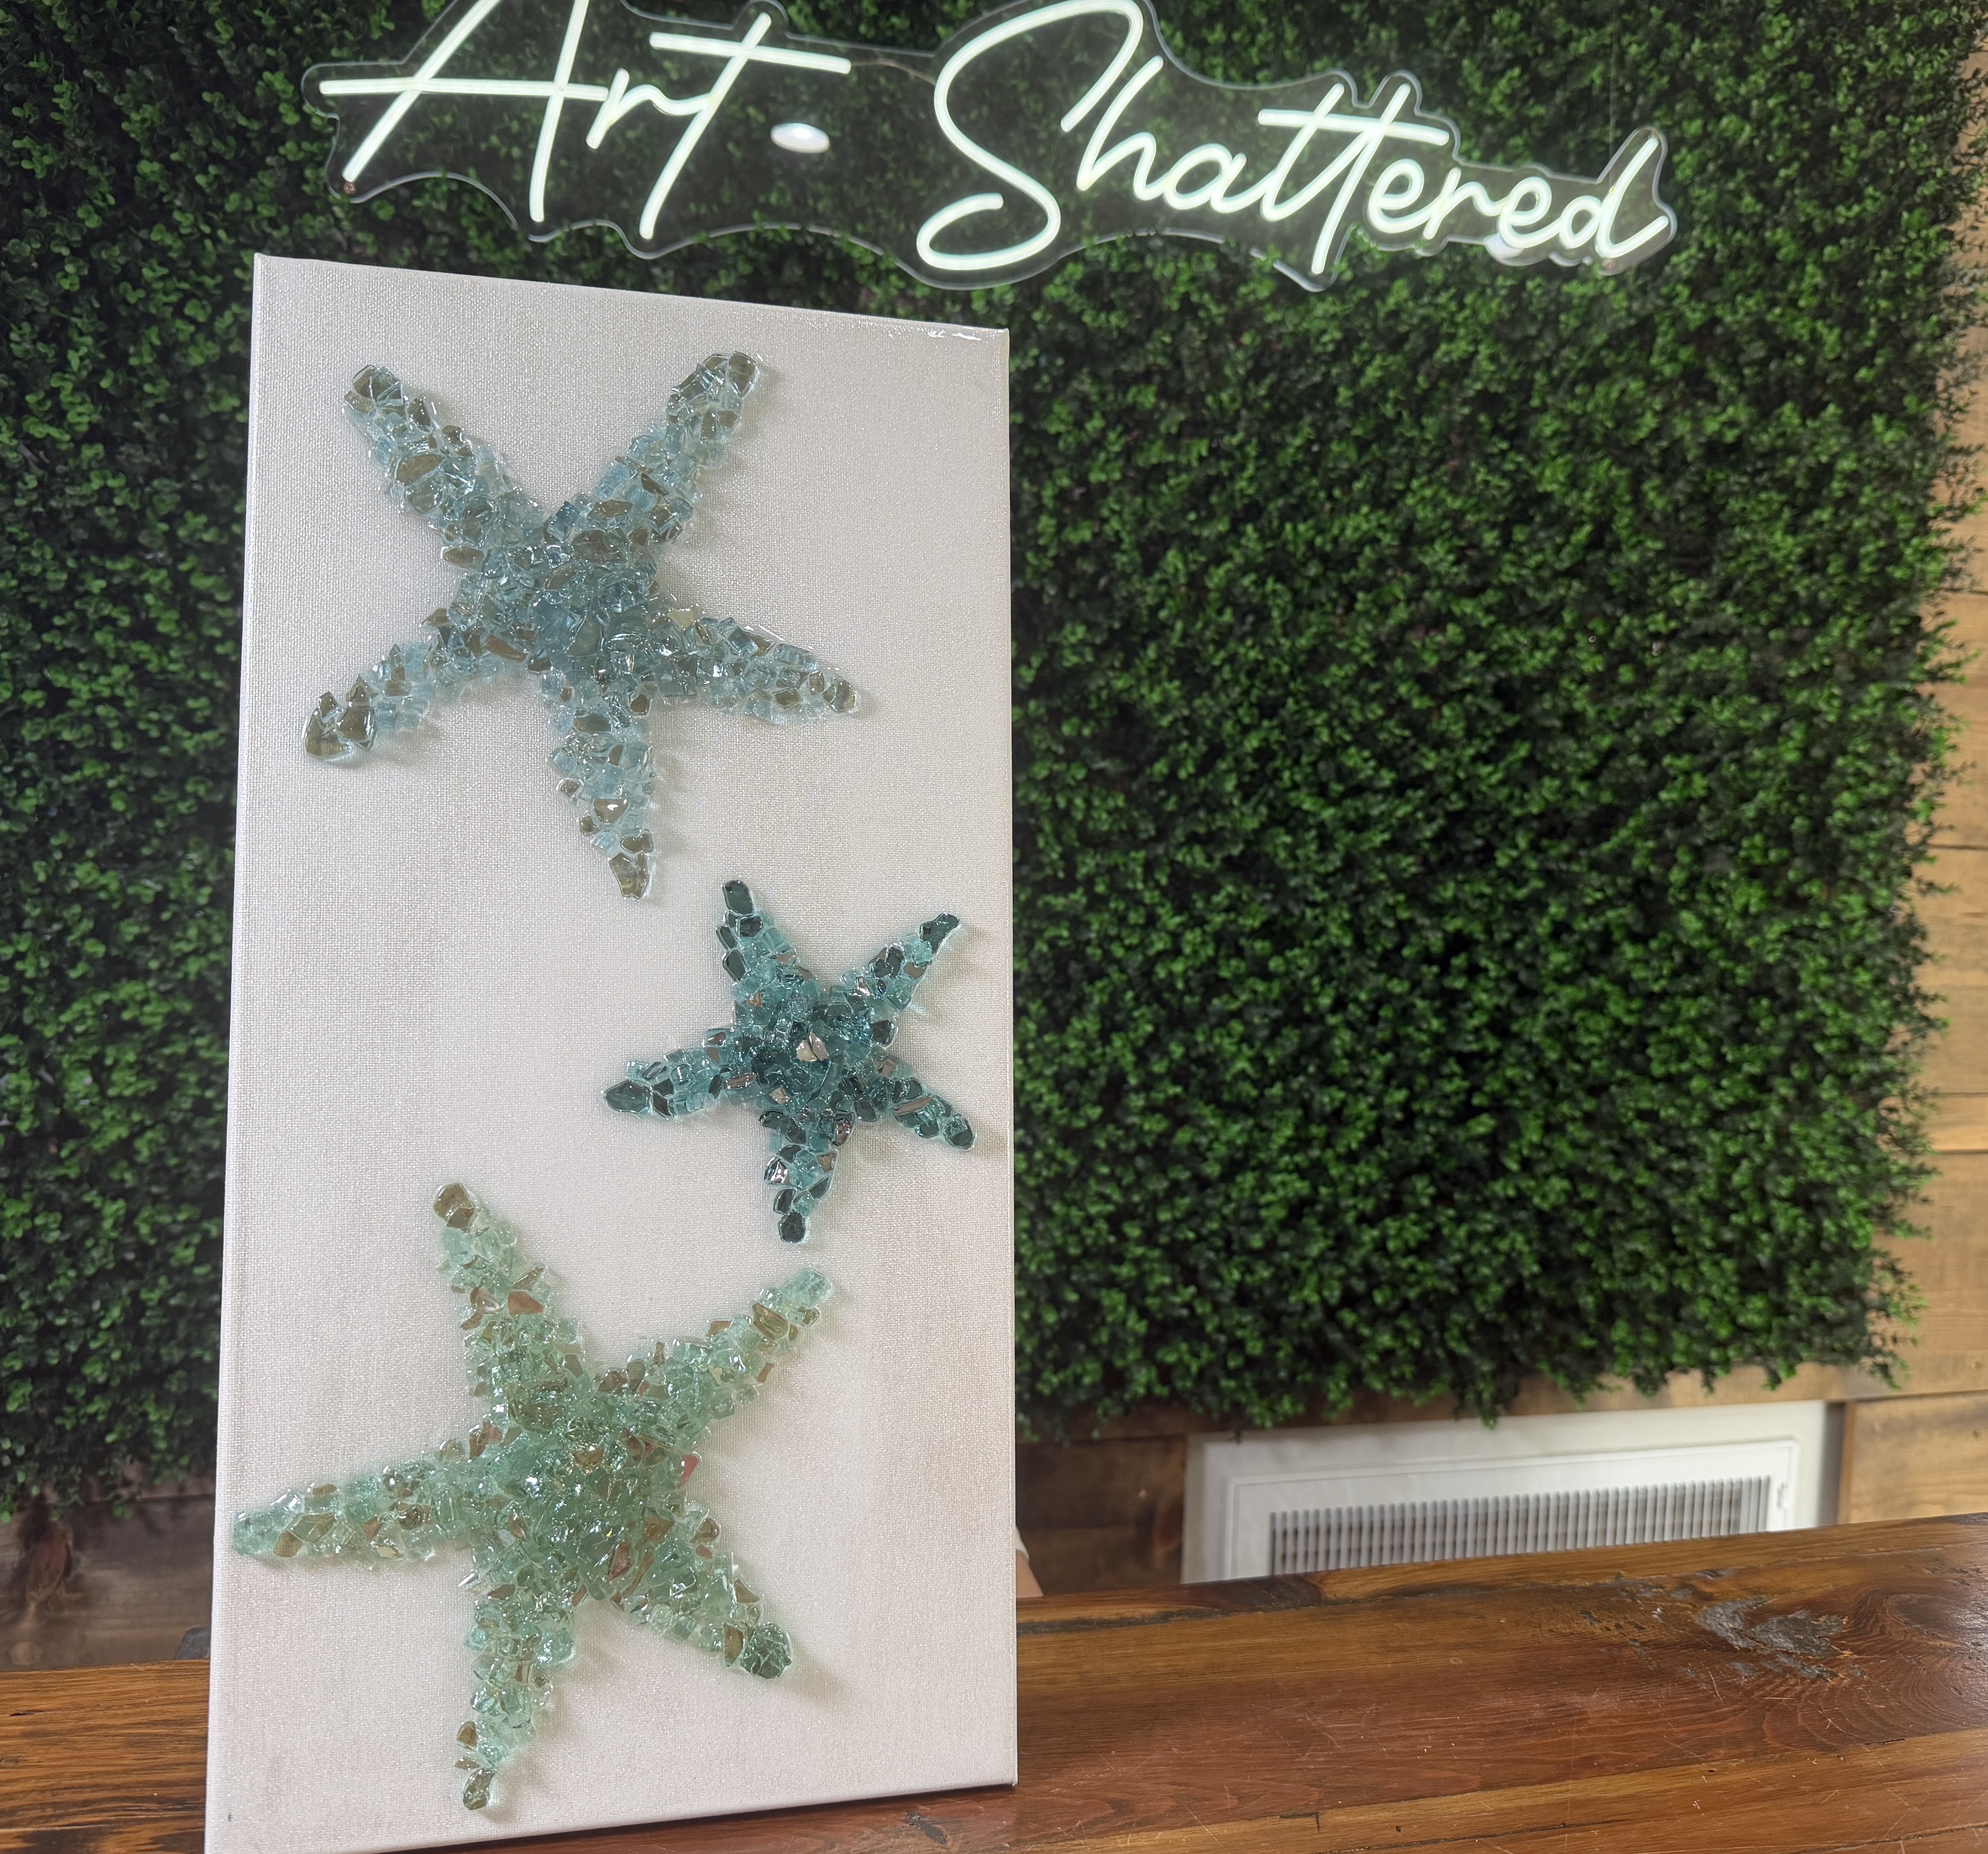
This crushed glass starfish canvas proves that a simple design can still have plenty of visual interest. The pearly iridescent background shifts subtly in the light, while Light Azuria, Dark Azuria, and Solex Reflective glass give each starfish its own color and personality!
