
Sunny Flower 🌻
This bright sunflower project is full of color, texture, and sparkle. We’re painting a loose, whimsical sunflower on a Mermaid Blue background, then adding crushed glass, seed beads, acrylic bubbles, and resin for a dimensional mixed media finish.
Step 1: Paint the Background
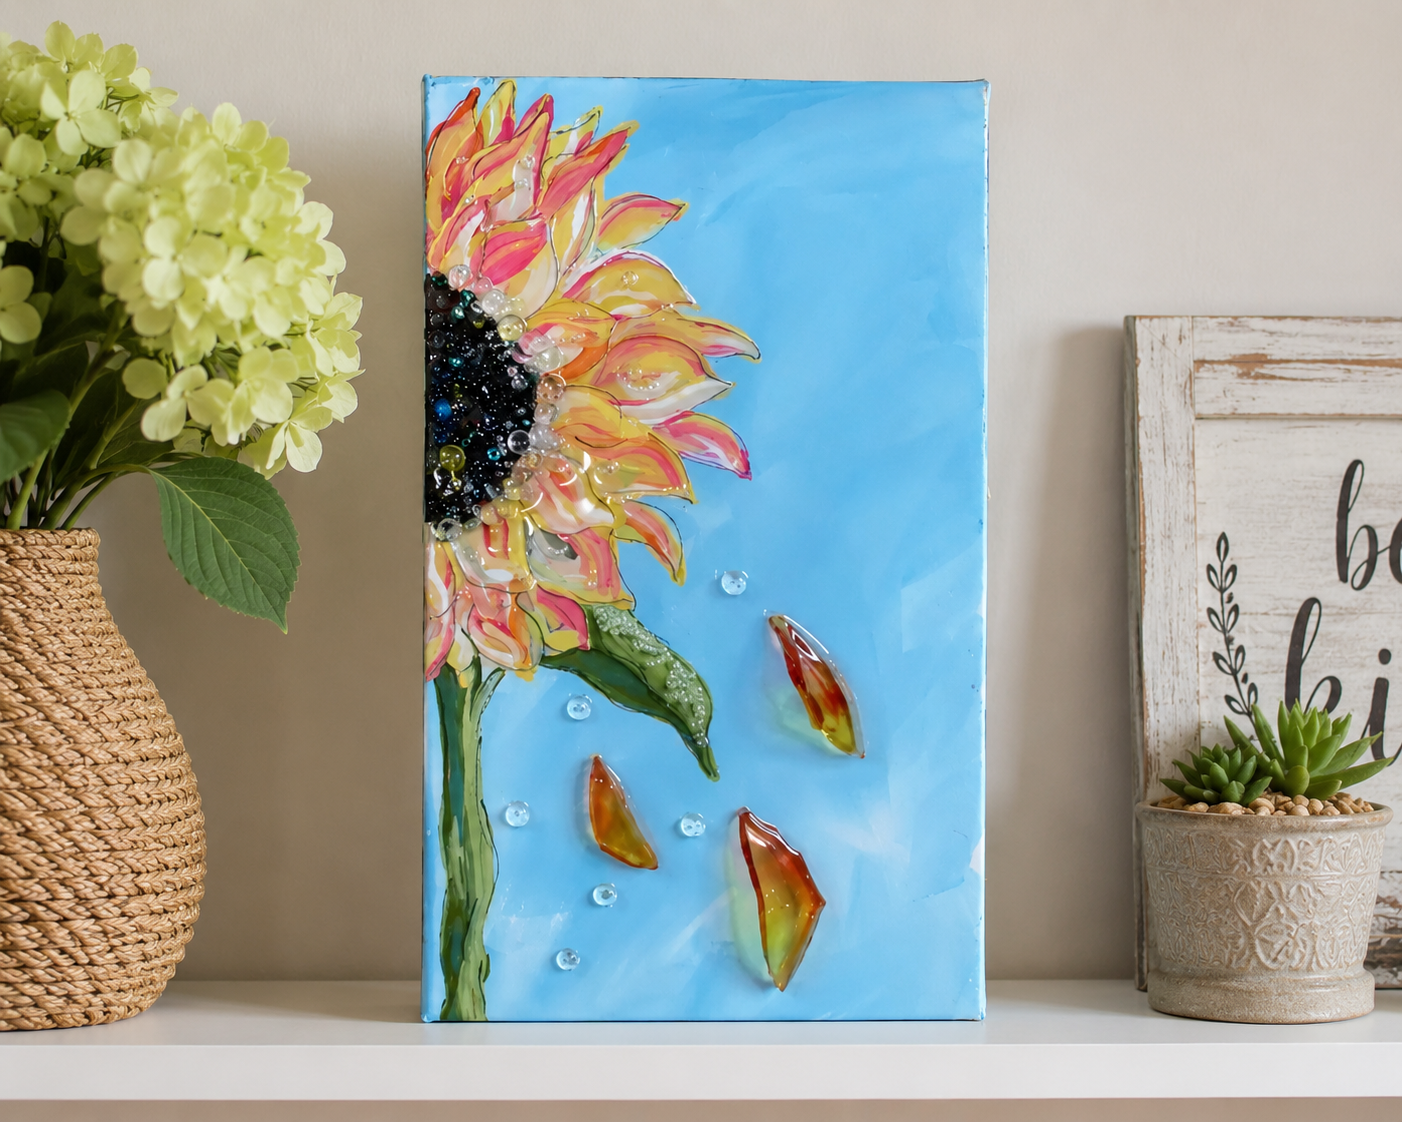
Start by adding white paint directly to your canvas and spreading it across the entire surface with a large brush. This gives the canvas a clean base. While the white is still wet, add Mermaid Blue and loosely blend it into the background. You don’t need it to be perfectly smooth. A little movement and variation makes the background more interesting.
Once the background is covered, dry it with a heat gun or hair dryer. Make sure the canvas is cool before moving on to the tracer step.
Step 2: Trace the Sunflower Design
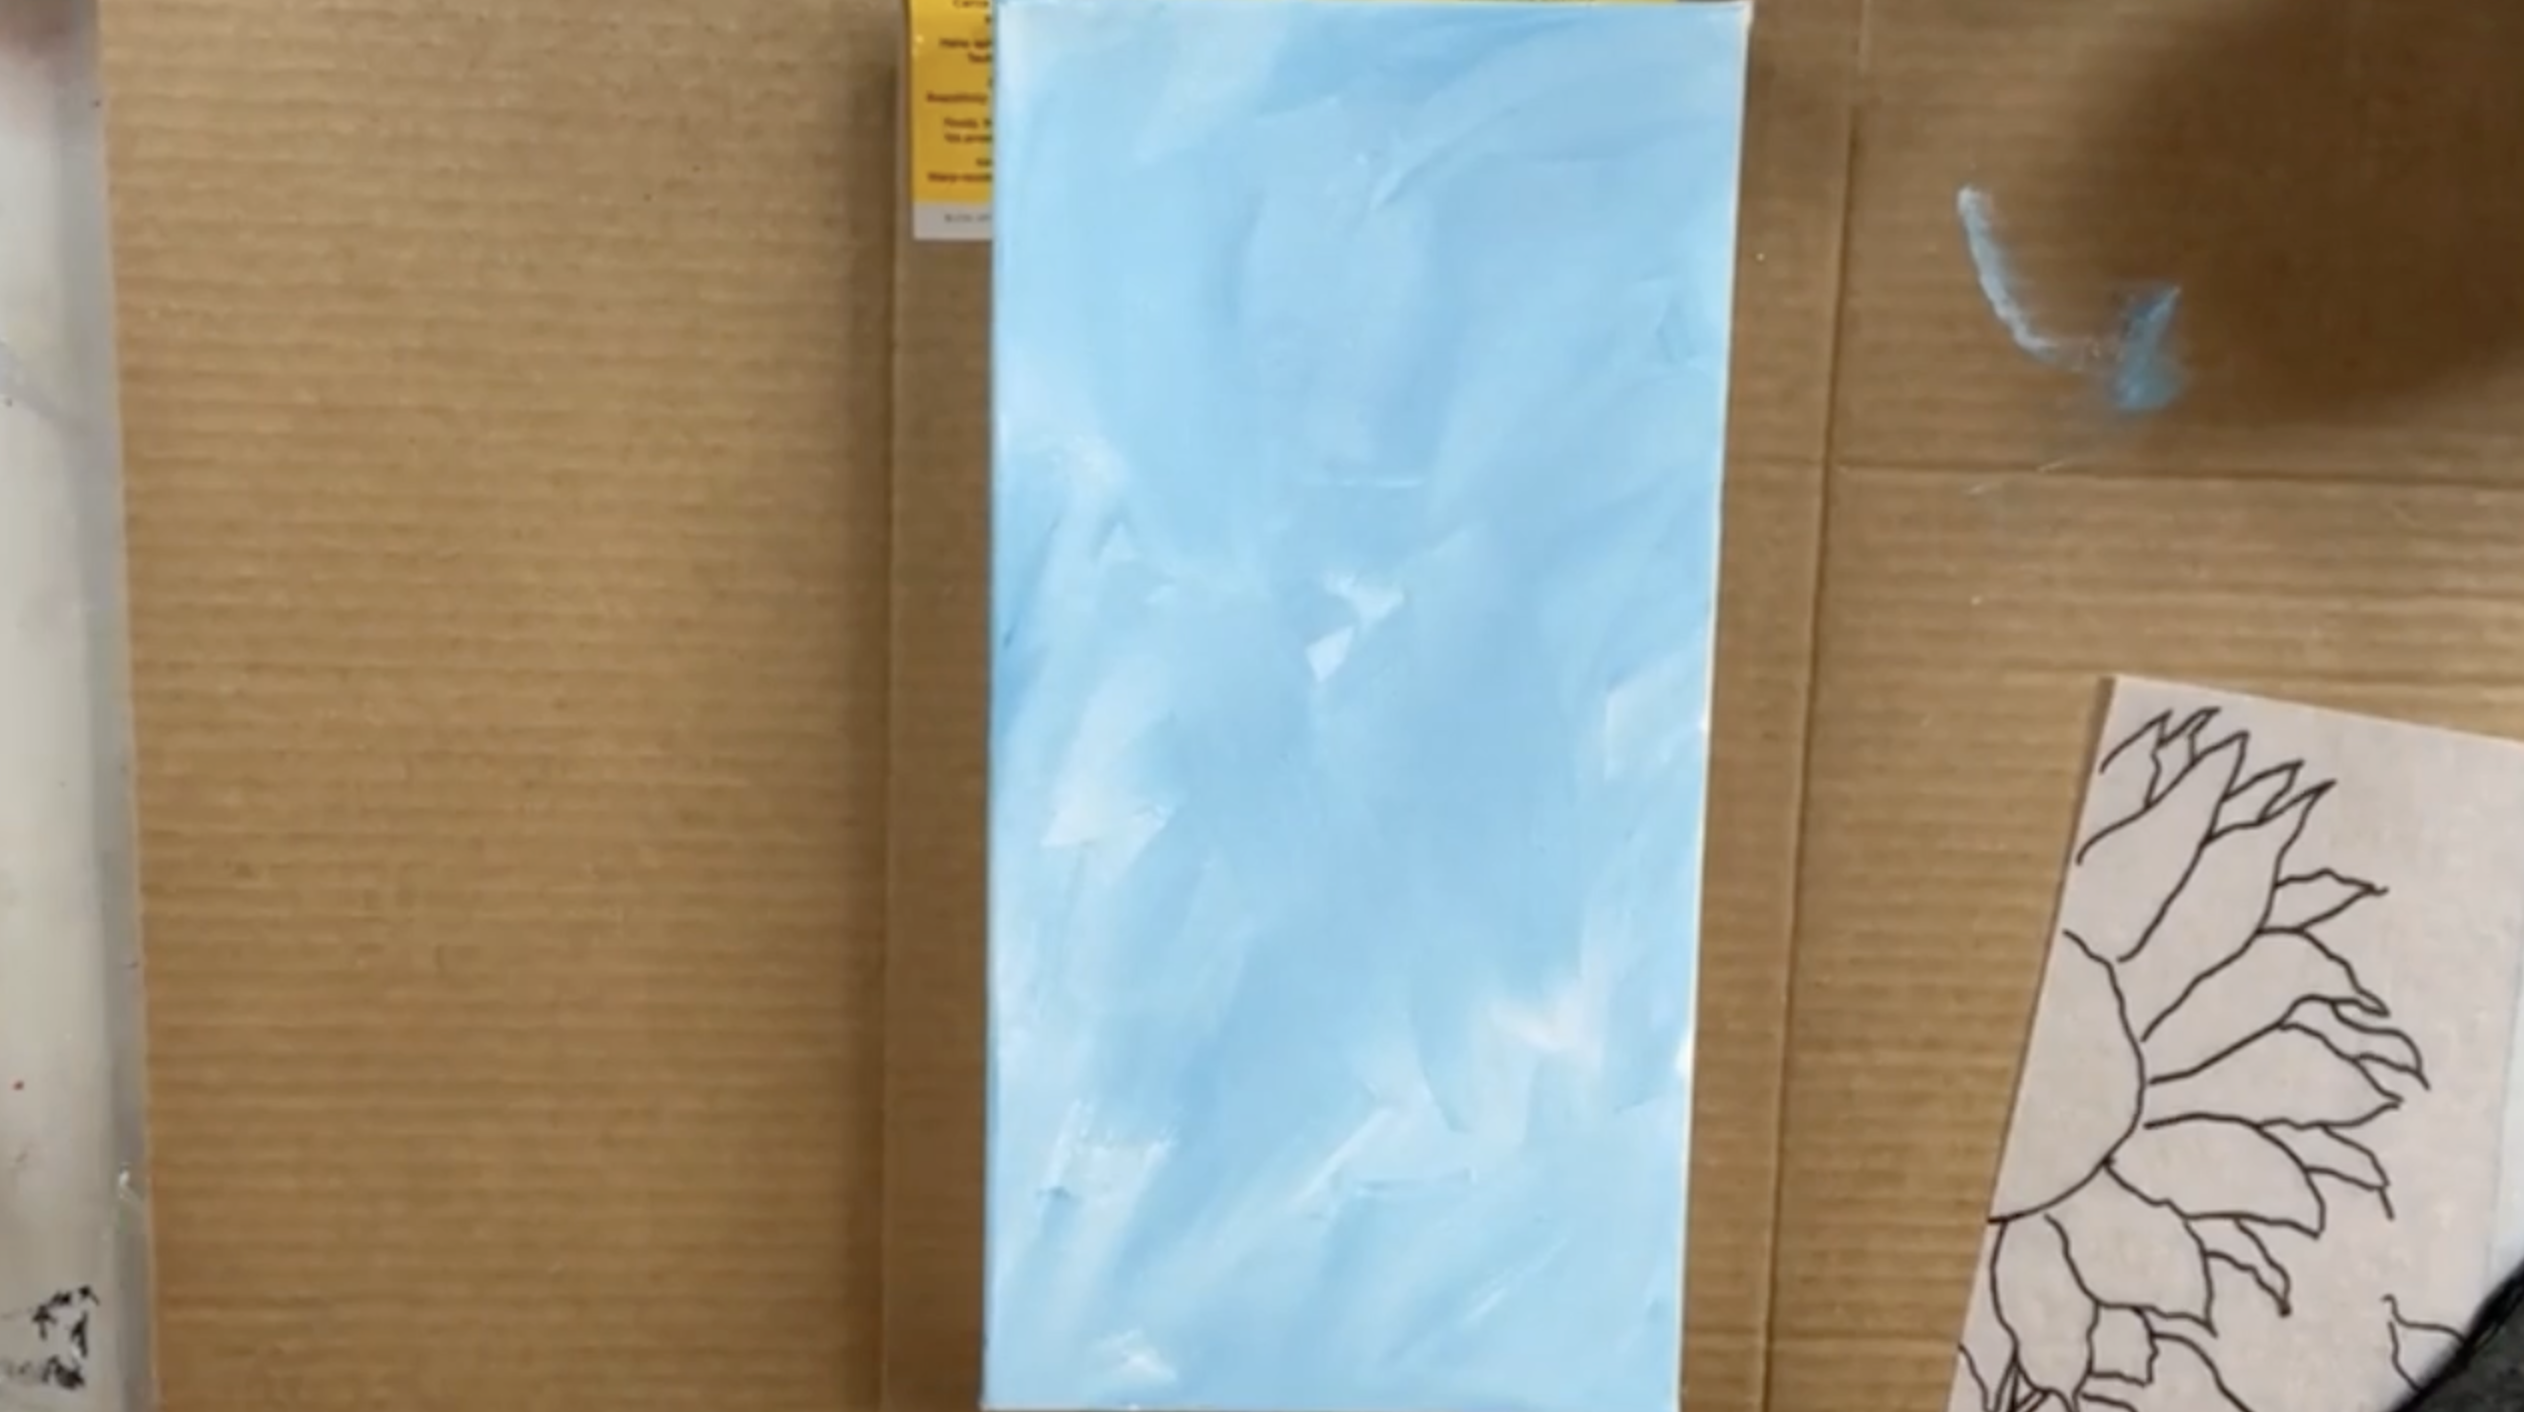
Place your sunflower tracer onto the canvas and tape it down so it doesn’t shift. Slide graphite paper underneath the tracer and use a stylus to transfer the design. Trace the sunflower center, petals, stem, and leaf.
The tracer also includes falling petals, but for this version, those will be made with tinted glass instead of paint. Once everything is traced, remove the paper and check that all your main lines transferred.
Step 3: Paint the Stem and Leaf
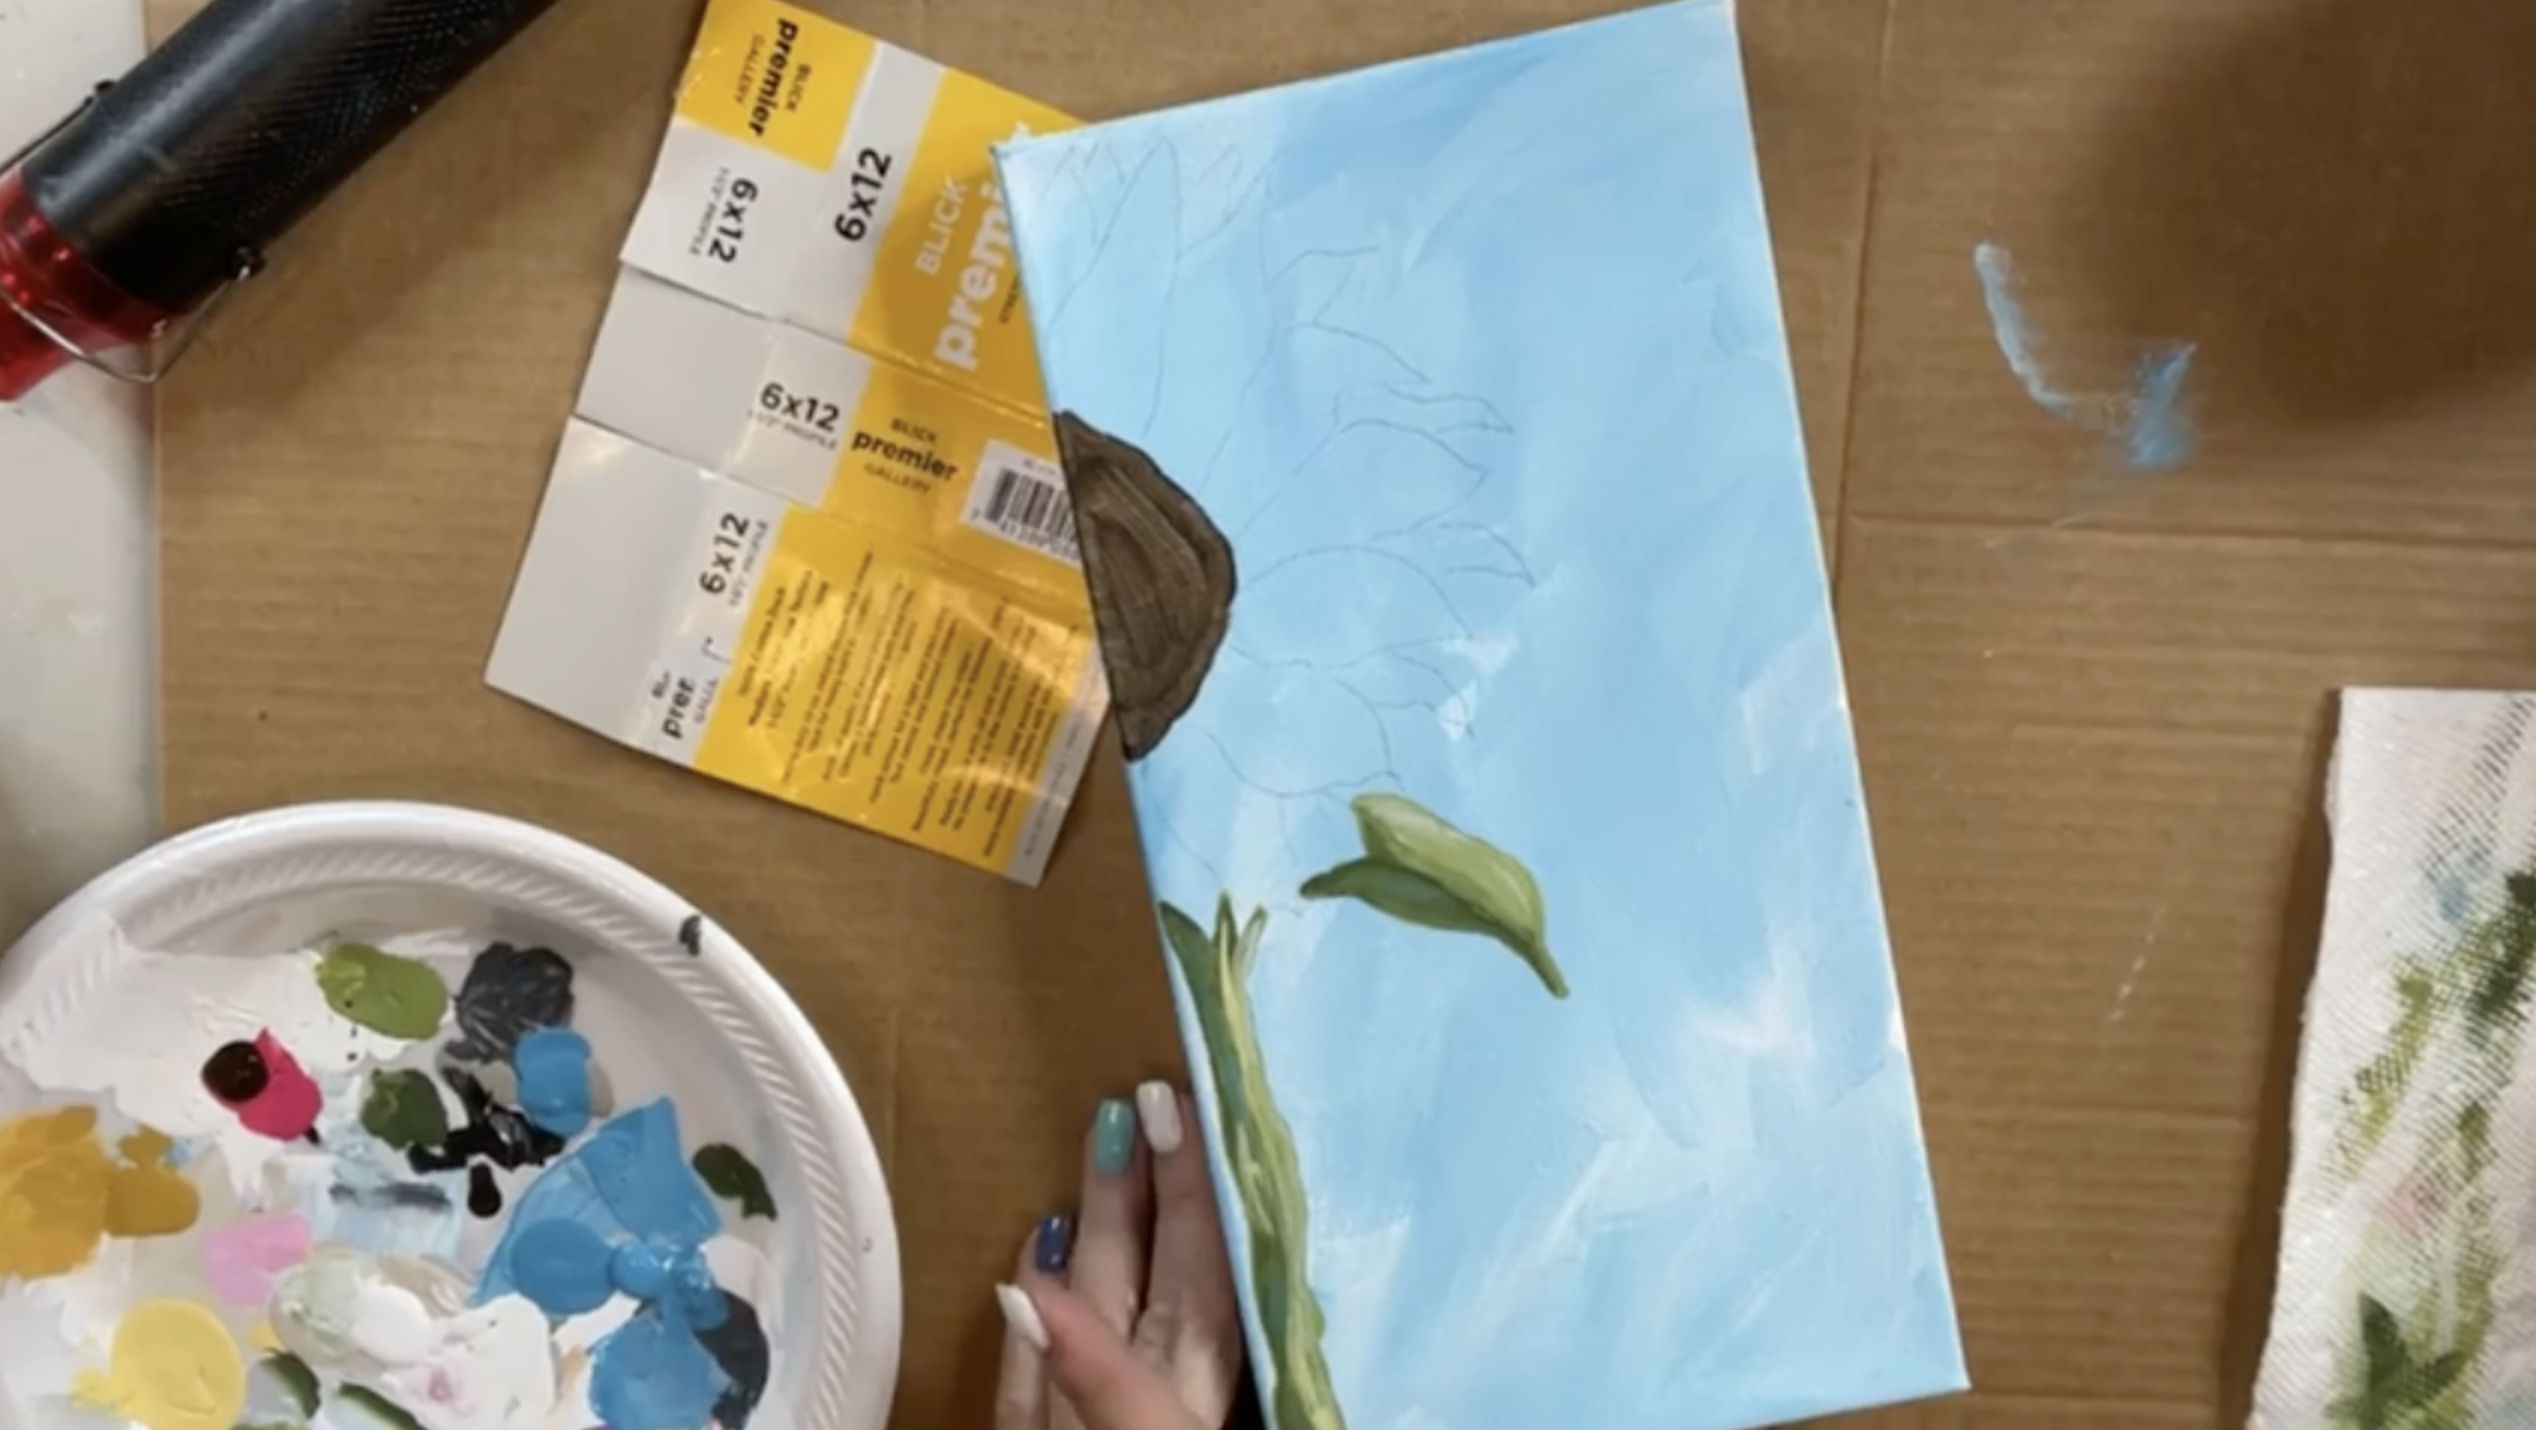
Use Hauser Green to paint the stem and leaf. Cover your graphite lines as you paint so they don’t show through later. Keep the stem a little organic instead of perfectly straight.
While the green is still wet, add Avocado Green to one side of the stem and leaf for shadow. Then add a little white to the opposite side for highlight. Blend it loosely while everything is wet. You can also add a small touch of Mermaid Blue and Sunflower Yellow into the leaf for extra color and interest.
Step 4: Paint the Sunflower Center
Add Traditional Burnt Umber to the center of the sunflower. This does not need to be perfect because glass will be added over top later. Just get a nice brown base down so the center has color underneath the glass.
Step 5: Paint the Sunflower Petals
For the petals, use a mix of Golden Straw, Sunflower Yellow, Warm Sunset, Dragon Fruit, white, and even a tiny touch of Mermaid Blue. Work petal by petal, adding color loosely and letting the shades blend together.
Start with yellow tones, then add orange, pink, and white for variation. Don’t rinse your brush between every color. Letting the paint blend on the brush helps create a softer look. The goal is a colorful sunflower that feels bright, fun, and a little unexpected.
Step 6: Add a Second Layer of Petals
After the first petal layer is down, add a few smaller petal shapes over top using the same colors. This gives the flower more depth and makes it feel fuller. If any colors get muddy, stop and let that section dry before adding more paint.
Touch up the sunflower center with more brown if your petal colors overlap too much.
Step 7: Add Pen Details
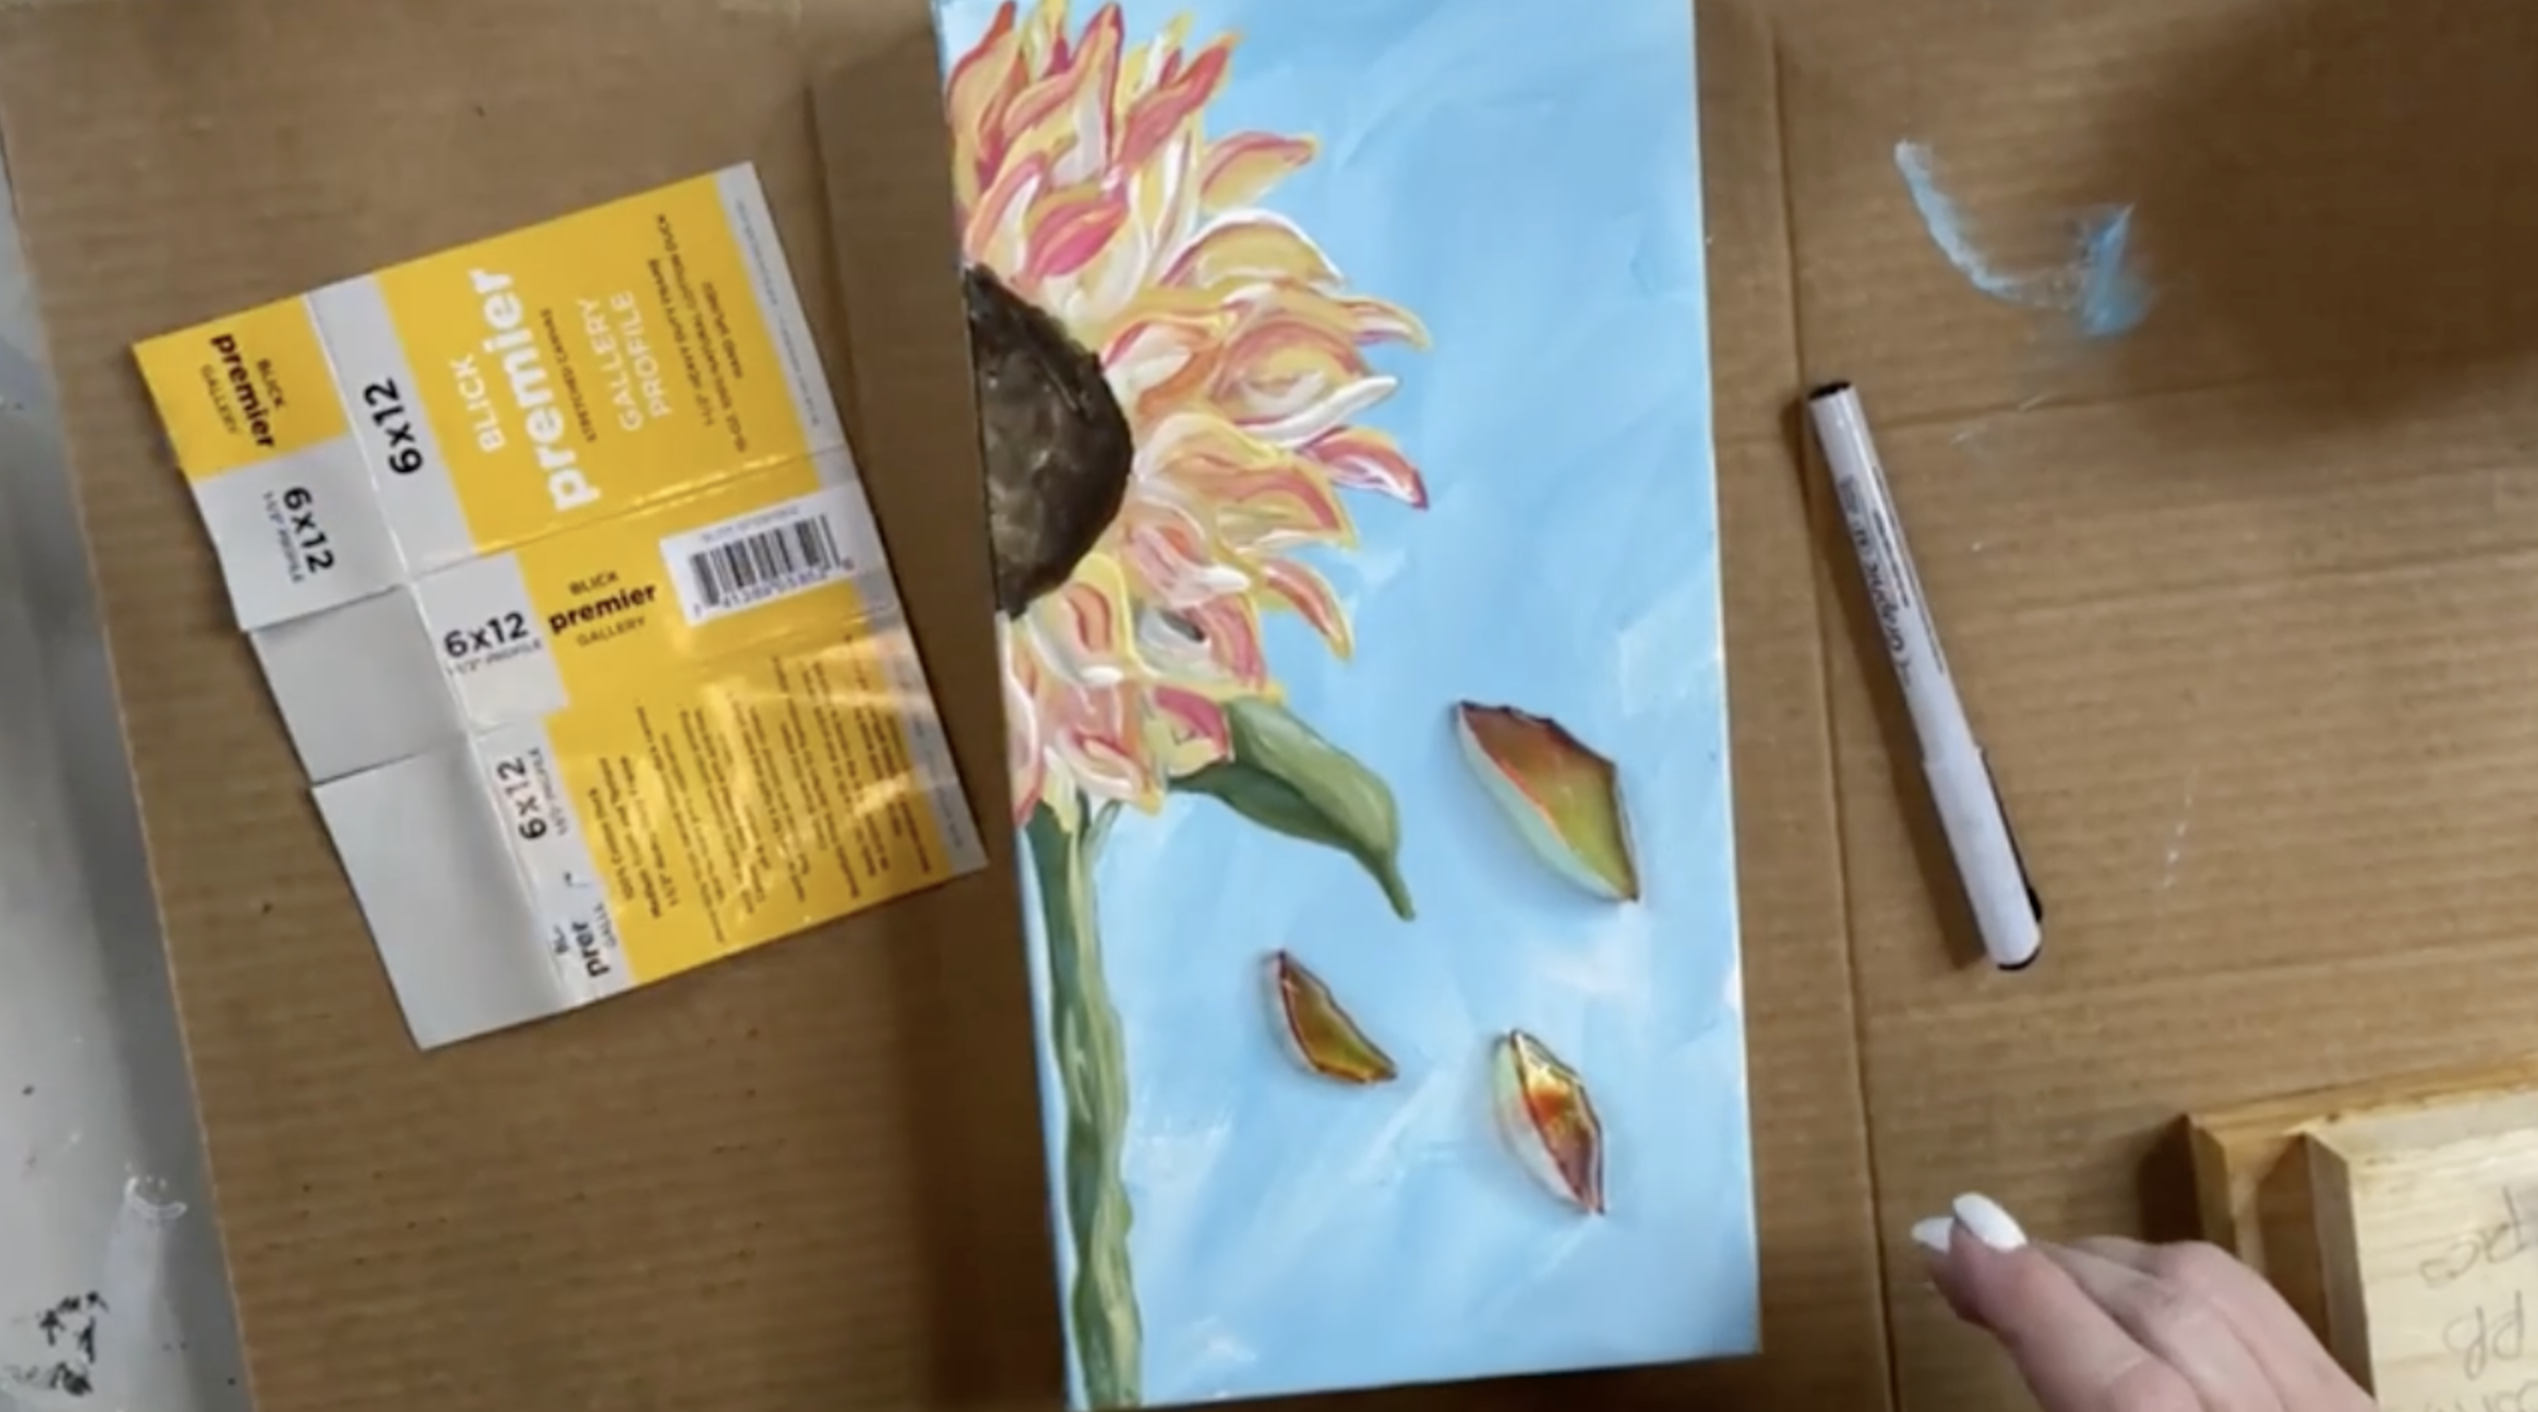
Once the paint is dry, use a fine-line graphic pen to add loose outlines and sketchy details. Hold the pen farther back so your lines stay relaxed and organic. Outline the stem, leaf, and petals using short strokes instead of one perfect continuous line.
This step brings the sunflower to life and gives it that whimsical, hand-drawn finish.
Step 8: Add the Falling Glass Petals
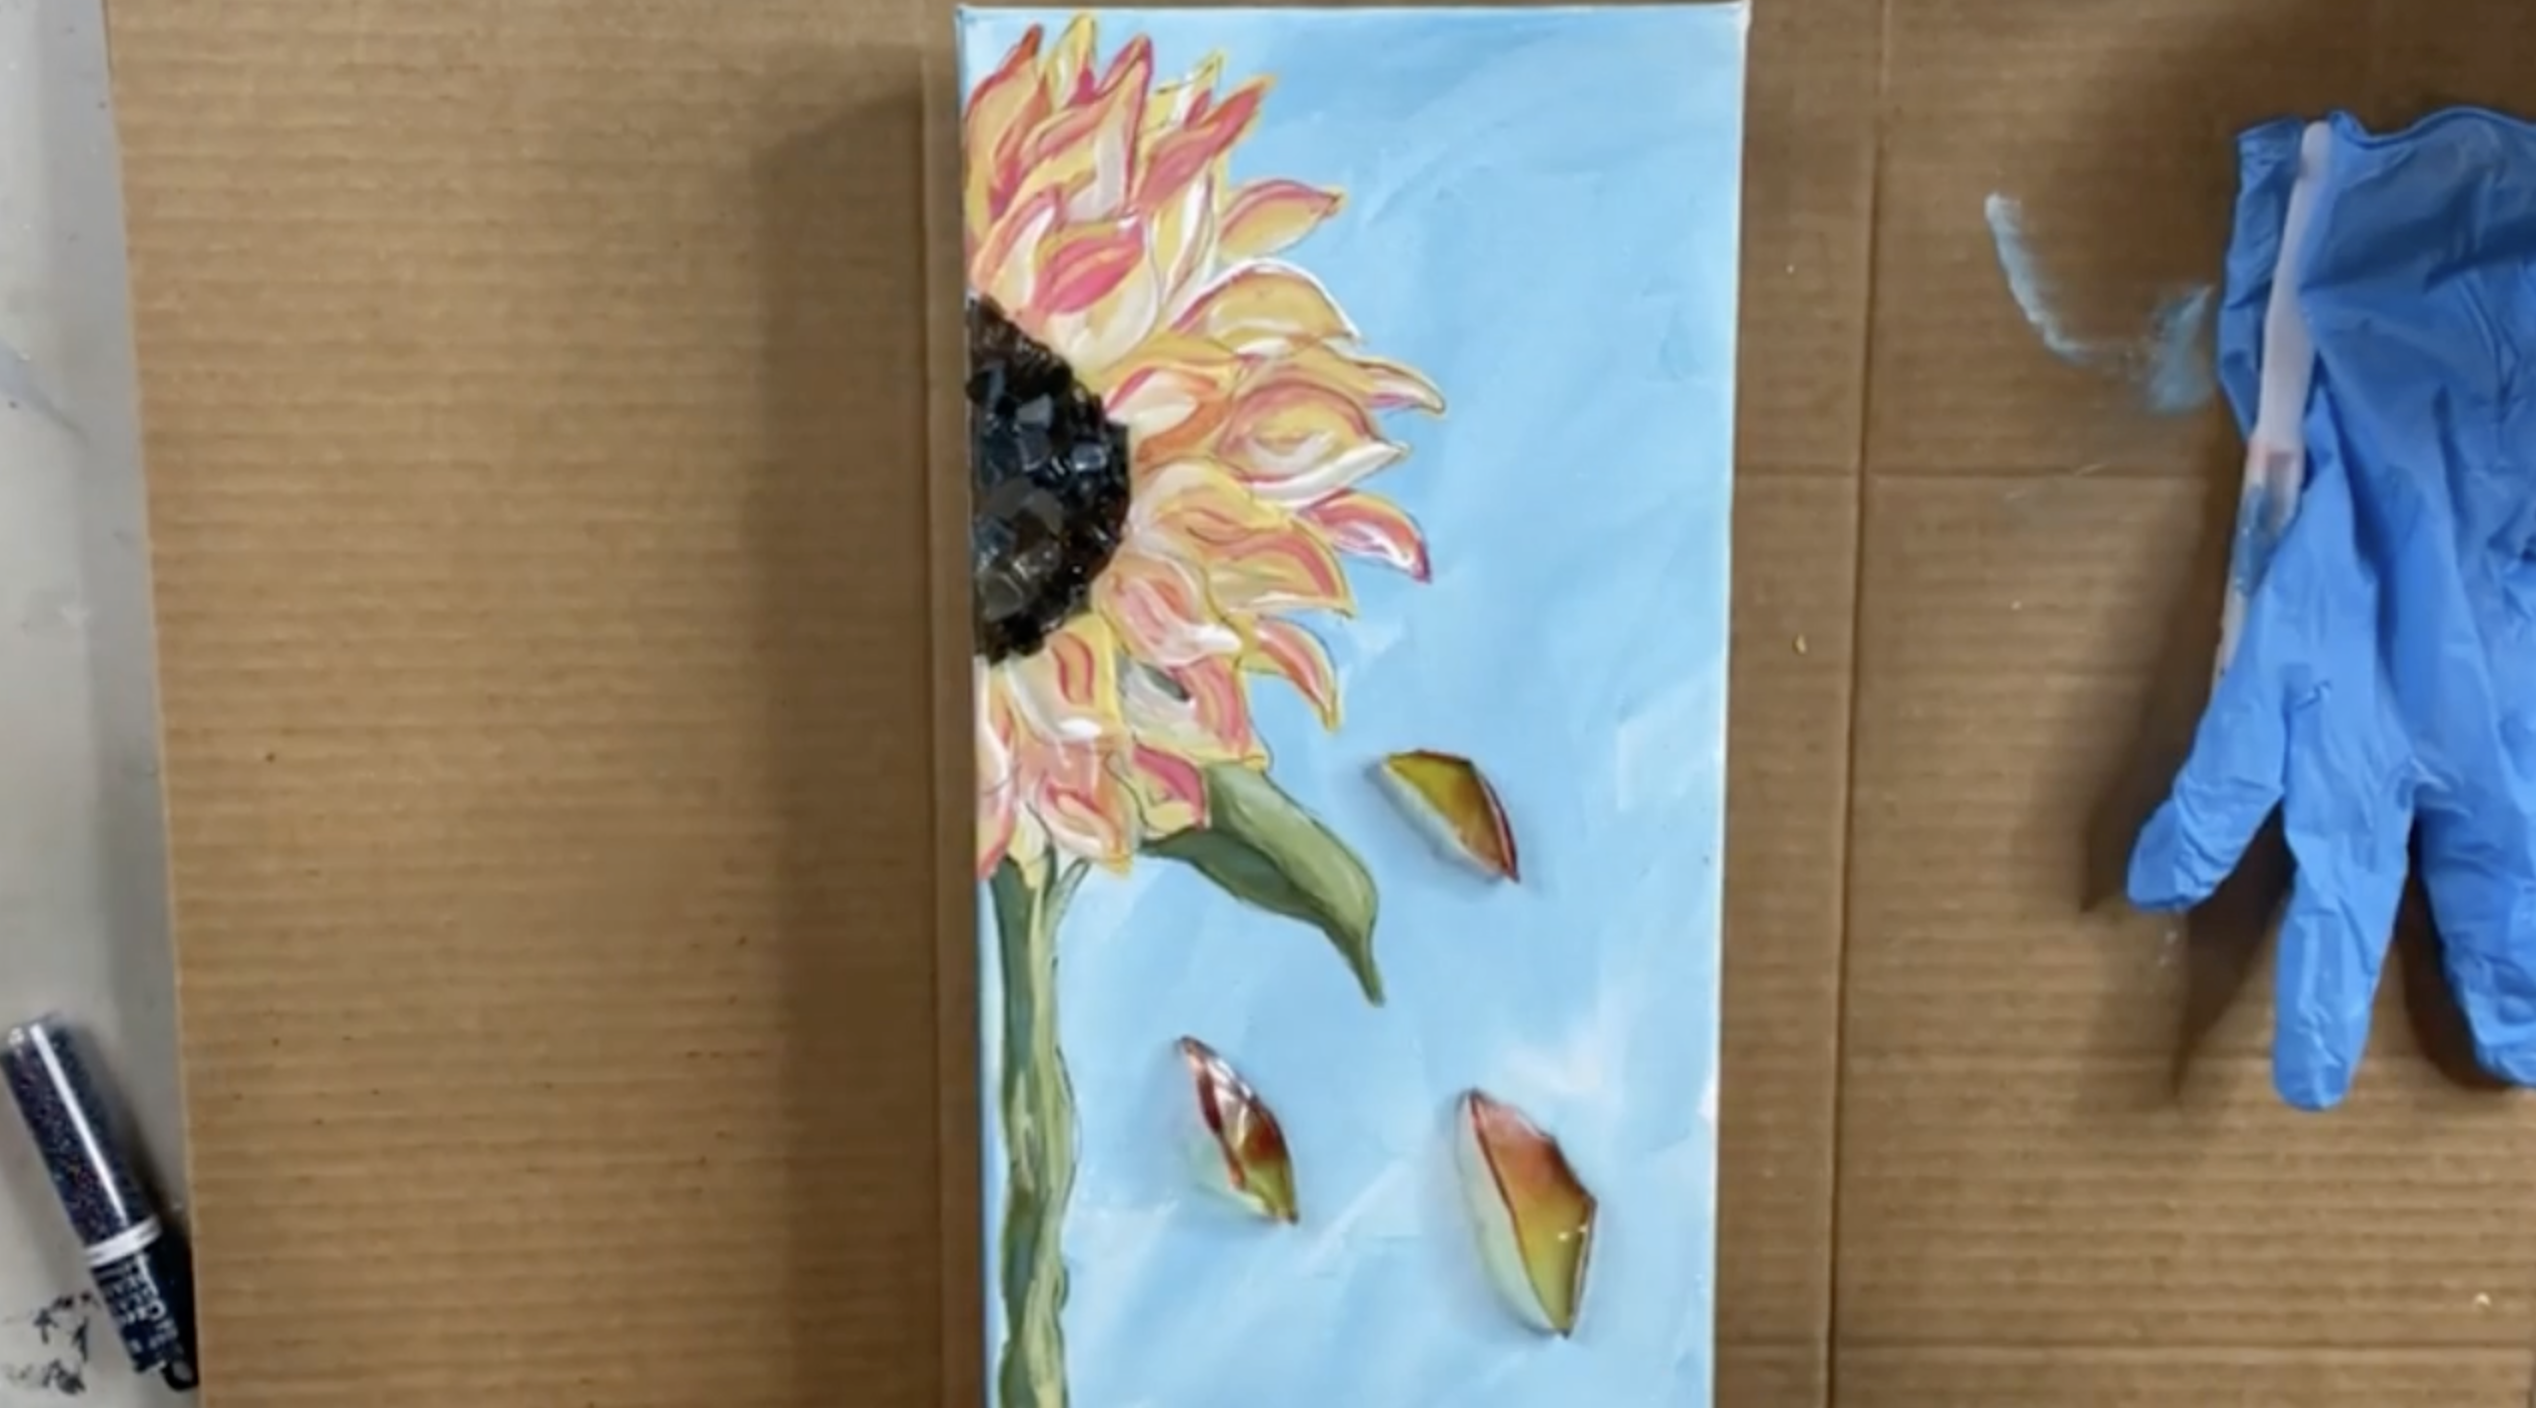
Use pieces of clear vase glass that have been cut with nippers and lightly spray painted in yellow, orange, and pink. Place a few pieces on the background so they look like petals falling from the sunflower. This adds movement and gives the piece a beautiful dimensional look.
Step 9: Add Glass to the Sunflower Center
Add a little glue to the sunflower center, then place small amounts of crushed glass over the brown paint. This project used gray glass, bronze glass, and Pacific Blue reflective glass. Use smaller pieces so they fit nicely inside the sunflower center.
You don’t need a ton of glass here. A little sparkle and texture goes a long way.
Step 10: Mix the Resin
Mix ArtResin using equal parts resin and hardener. For this project, use 1/4 ounce resin and 1/4 ounce hardener for 1/2 ounce total. Stir slowly for three full minutes, scraping the sides and bottom of the cup as you mix.
Step 11: Apply the Resin
Drizzle resin over the glass center first so all the pieces are secured. Then spread the remaining resin over the canvas with a gloved finger. Keep the resin thin near the edges if you don’t want drips.
Use a torch or heat gun to pop bubbles before adding seed beads.
Step 12: Add Seed Beads and Bubbles
Sprinkle seed beads into the wet resin on the sunflower center. This project used Czech seed beads in “The Sea” and “Amethyst” tones for extra color and sparkle. Add a few acrylic bubbles around the flower center and along the canvas if you want more dimension.
You can also add crystal luster seed beads around the edge of the sunflower center and leaf for extra shine.
Let the piece sit flat and undisturbed while the resin cures. Keep it covered with a box or protective cover so dust, pet hair, or curious hands don’t touch the wet resin.
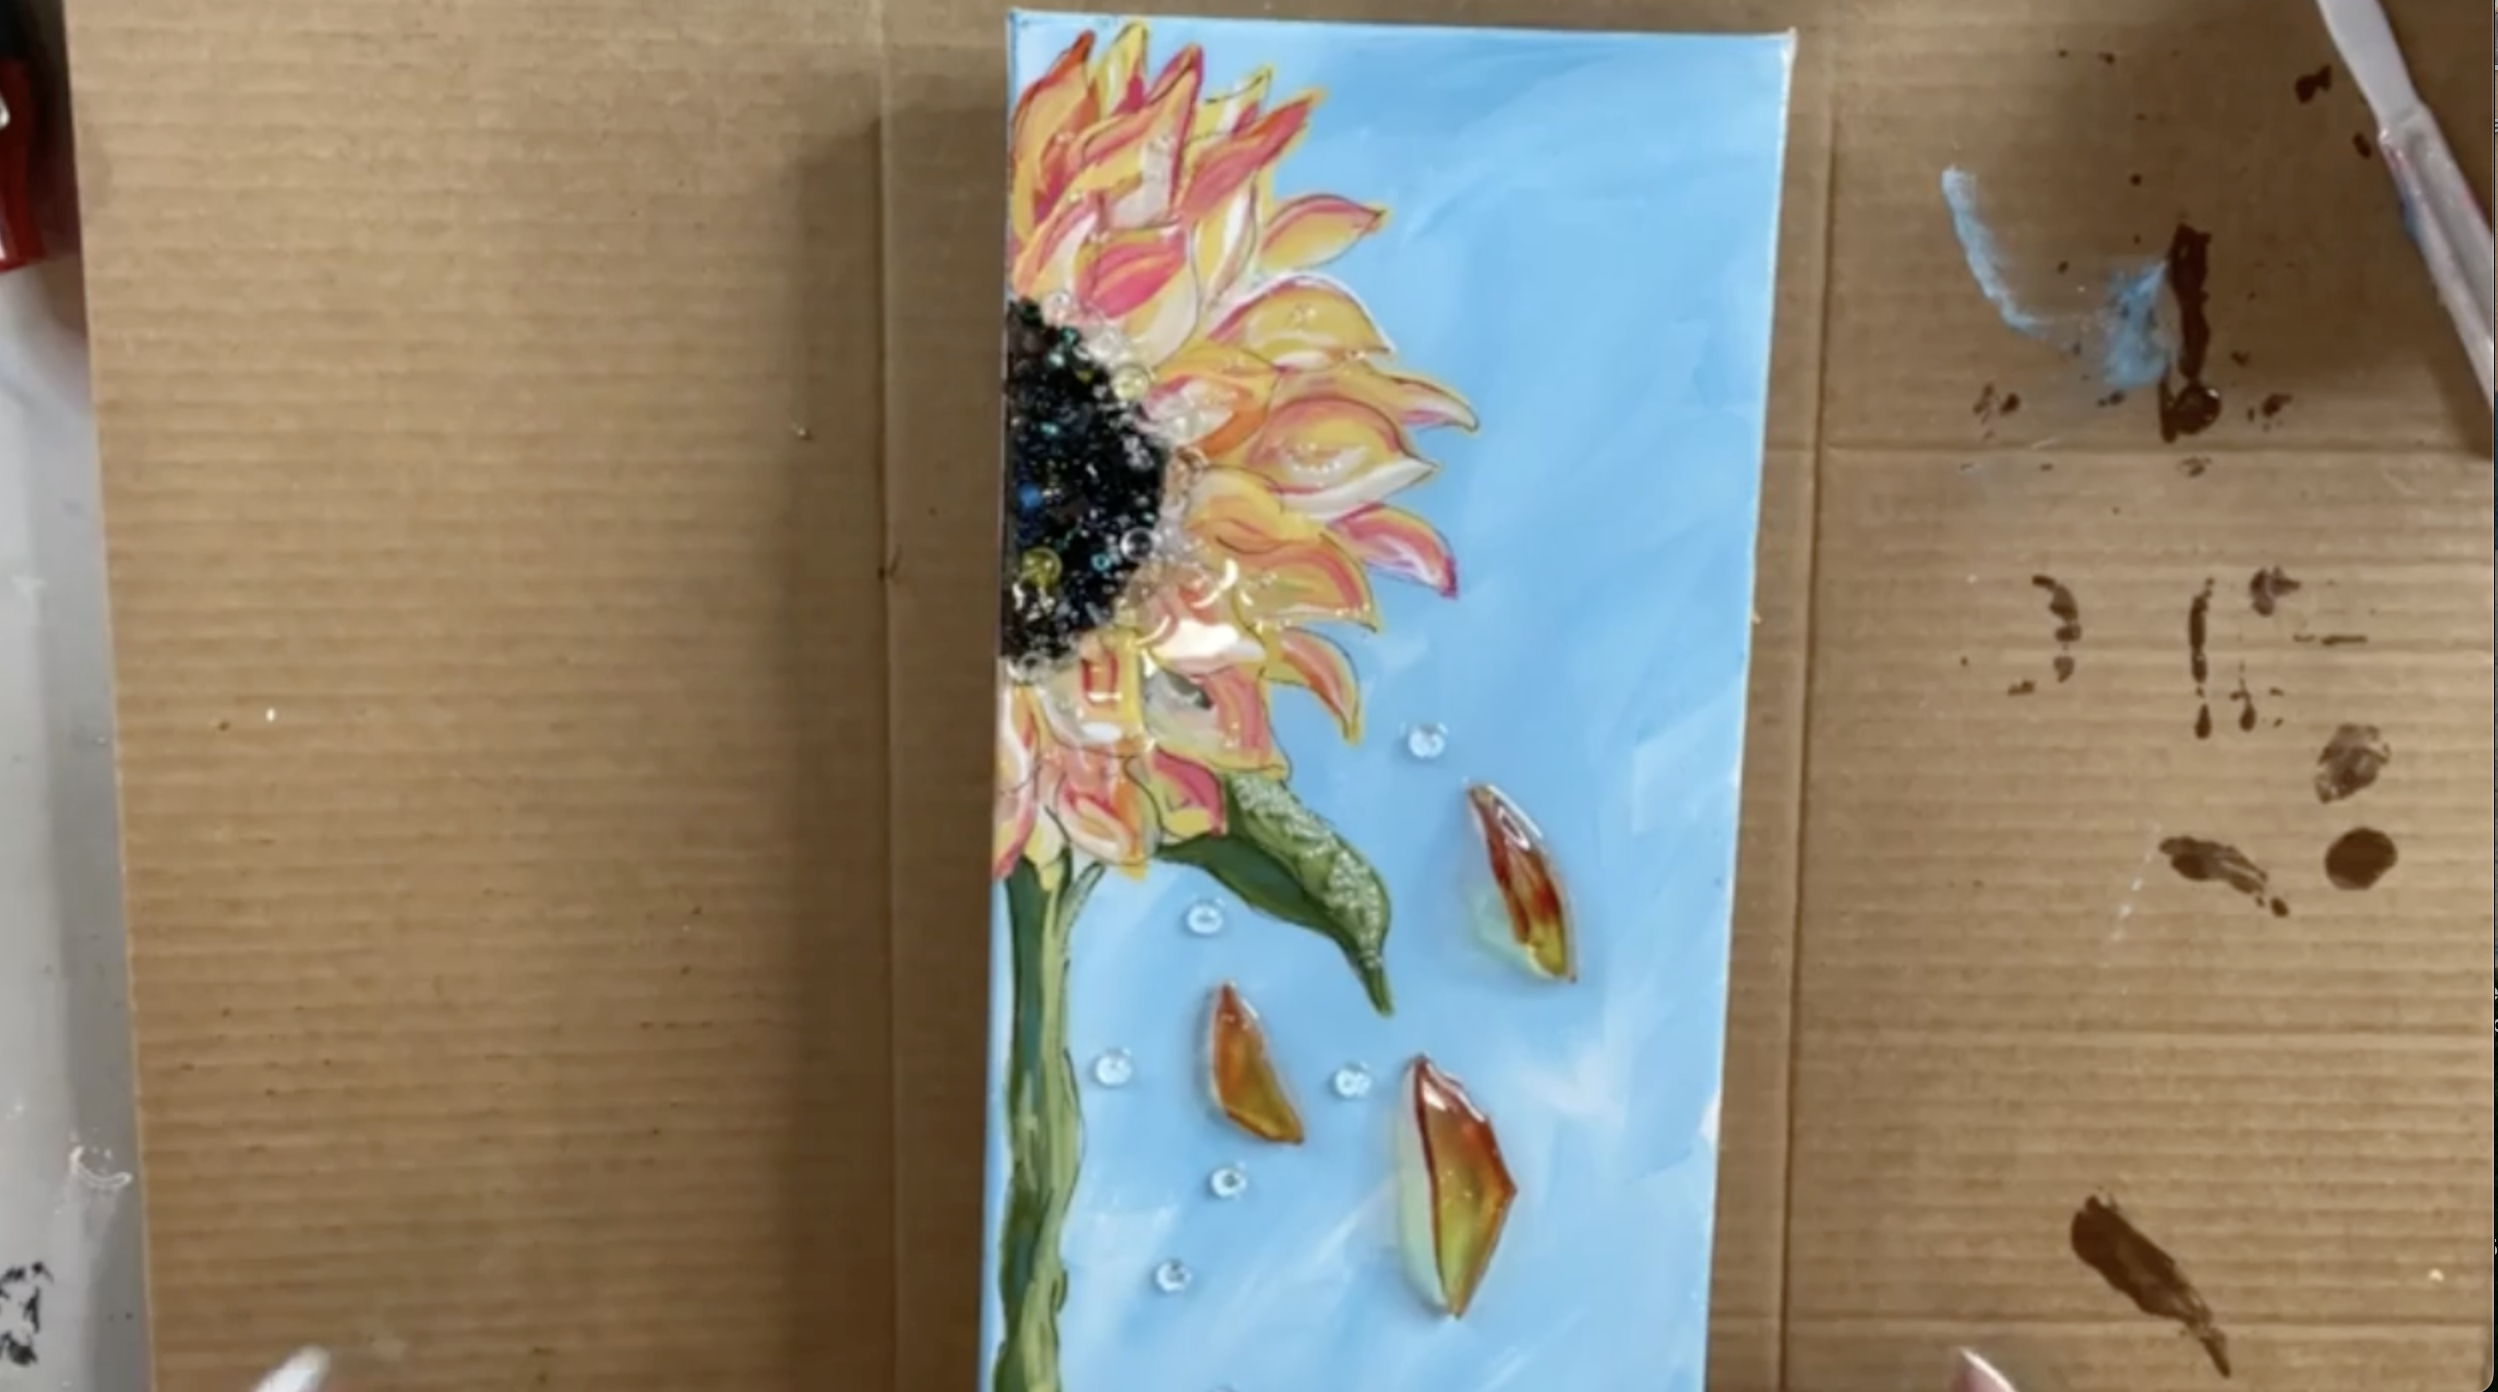
This sunflower is colorful, playful, and full of personality. The painted petals give it warmth and movement, while the glass center, seed beads, bubbles, and falling glass petals make it feel extra special. It’s a beautiful mixed media sunflower project for spring, summer, or anytime you need a little sunshine on your art table.
If you're a member of The Shattered Circle, you'll find this tutorial in your classroom under Art Shattered Weekly Facebook Lives, search for "Sunny Flower".
If you don’t want to miss my Facebook LIVE art instruction, make sure you are on my texting list. I always text 10 minutes before I’m going to go LIVE, so you won’t ever miss it. You can text “Hey Cindy” to 901-519-2923.
Want more inspiration and artwork?
- My website artshattered.com with resources, shop, and more!
- My creative membership The Shattered Circle, where you can explore the world of glass art with online workshops, a supportive community, and more!
- My mini creative membership Just A ‘Lil Bit Monthly Glass Art Club, where you’ll get a new quick and easy online tutorial for just a lil' bit of sparkle in your life!
- My Facebook page where I go LIVE every Wednesday night.
- My YouTube channel which has tons of free art lessons right at your fingertips.
