Textured Pumpkin 🎃
fall
pumpkin
Sep 24, 2025
Want that vintage, chippy, “found-it-at-a-fall-market” pumpkin vibe? This tutorial walks you through building a rich, textured background with modeling paste, freehand-painting a pumpkin in minutes, then finishing with an antiquing glaze that sinks into every groove. I’ll also show you quick options for adding a sculpted stem.
Step 1: Build the Textured Background
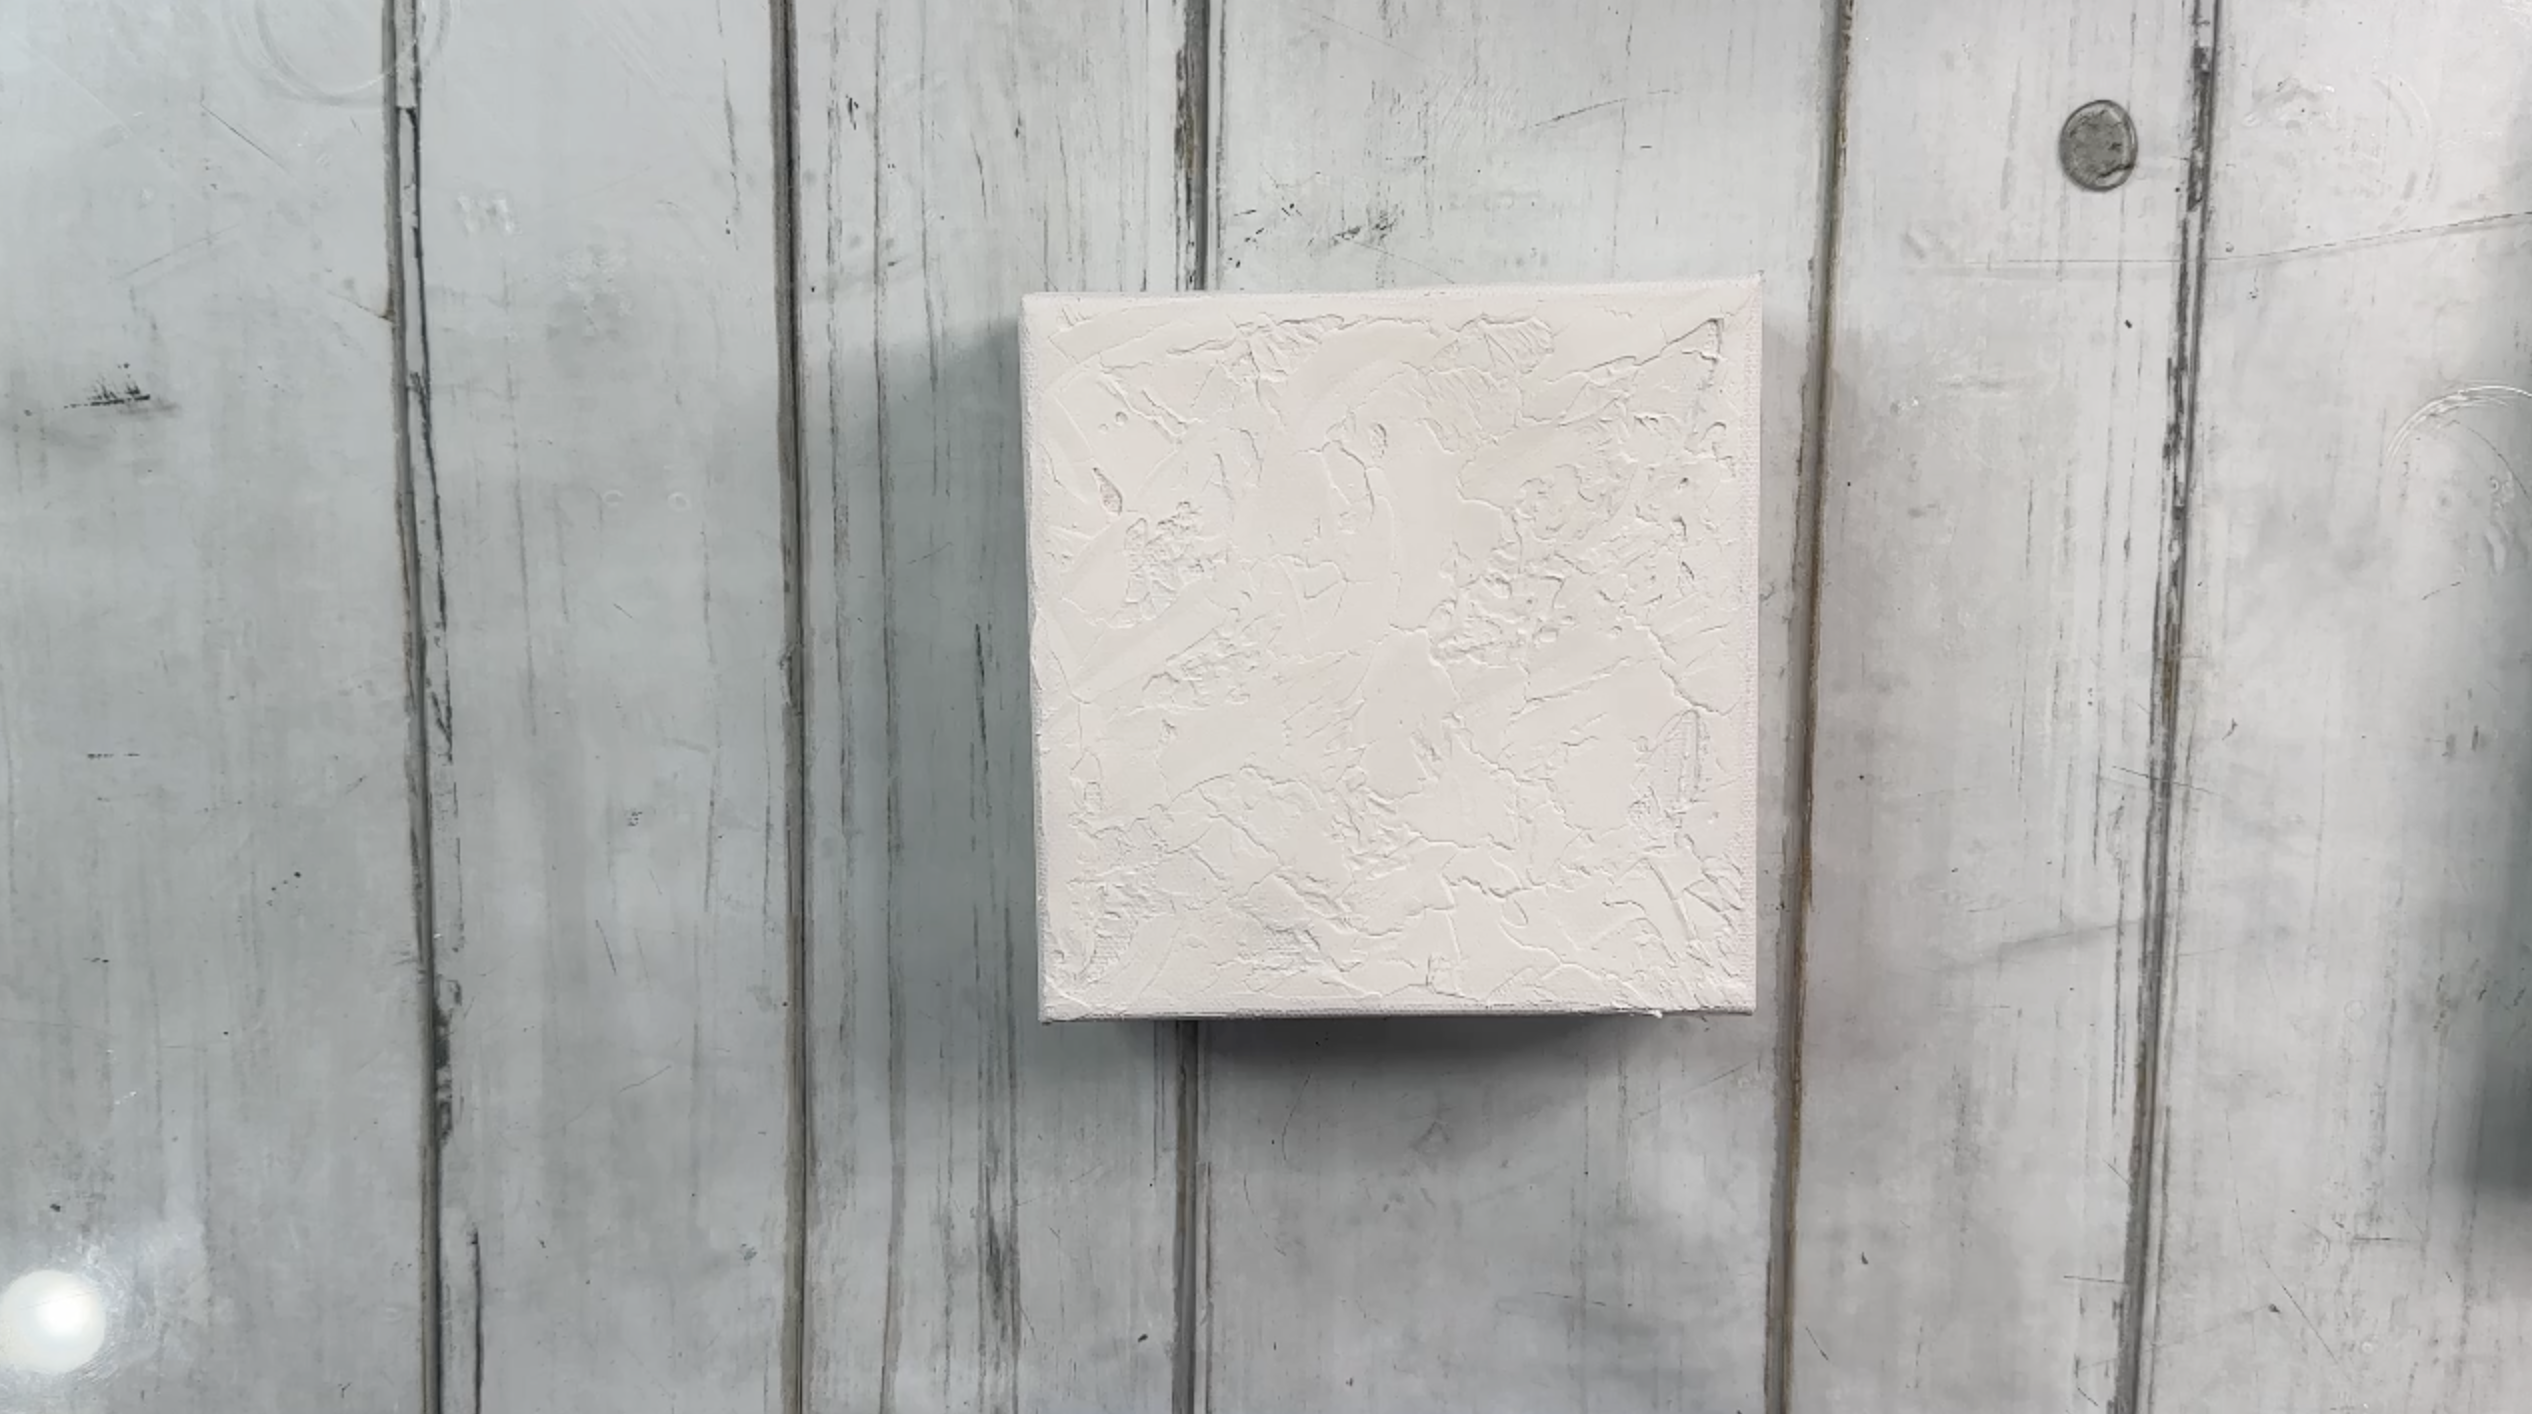
Load the back of your palette knife with modeling paste. Start in the middle and pull outward, leaving purposeful “skips” and bare spots. If you need more texture, lightly “slap” the surface with the knife to create peaks, then skim your knife very lightly to soften sharp ridges. Air-dry completely. It should feel cool but firm - no soft spots.
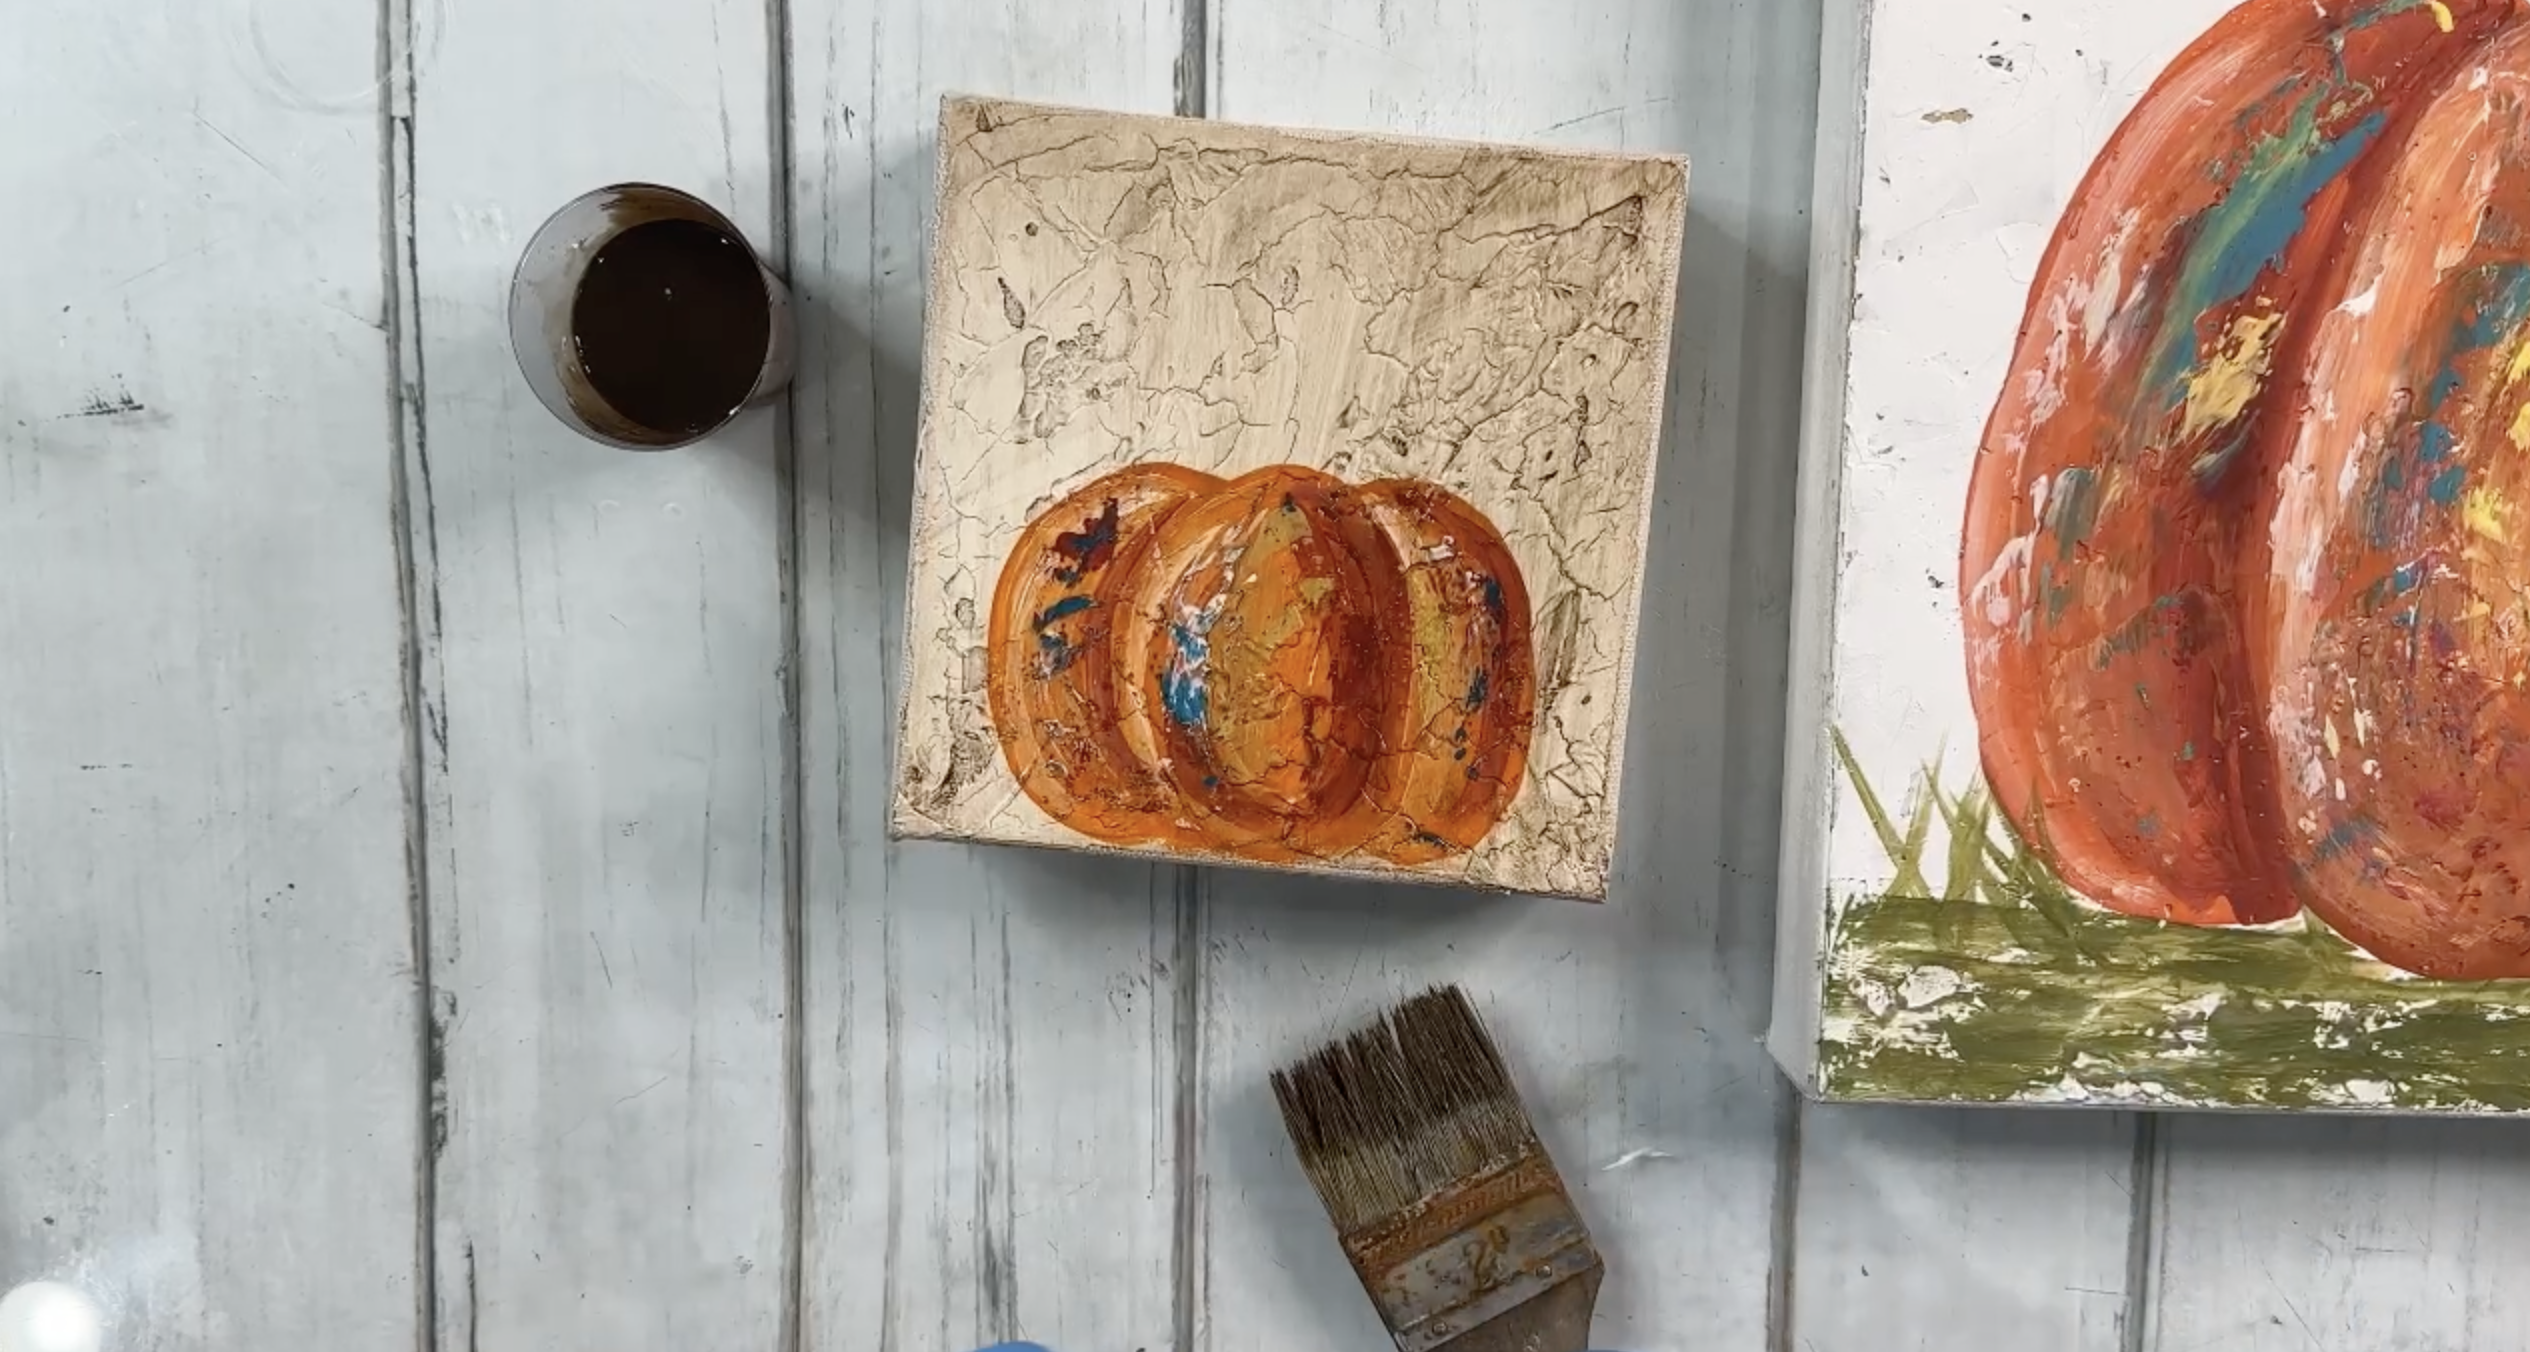
Step 2: Paint the Pumpkin
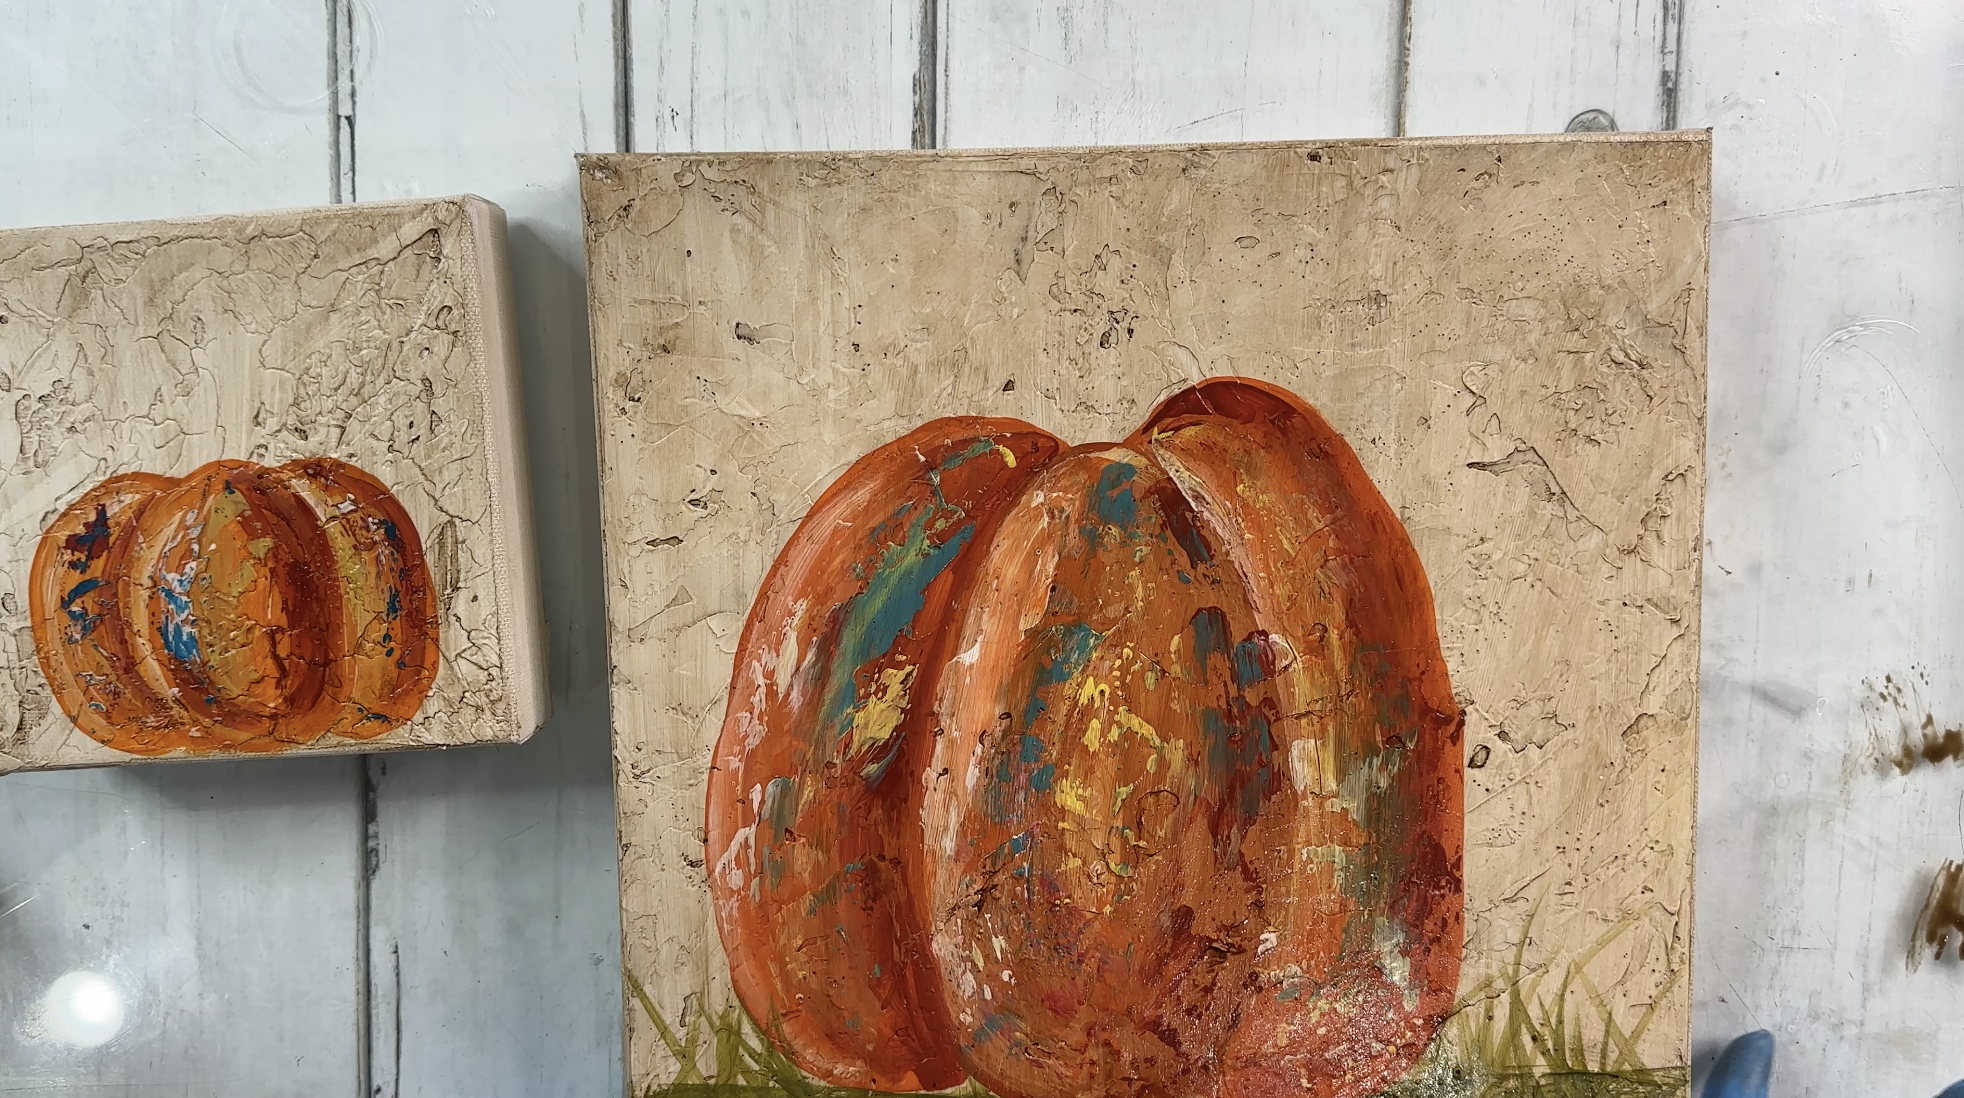
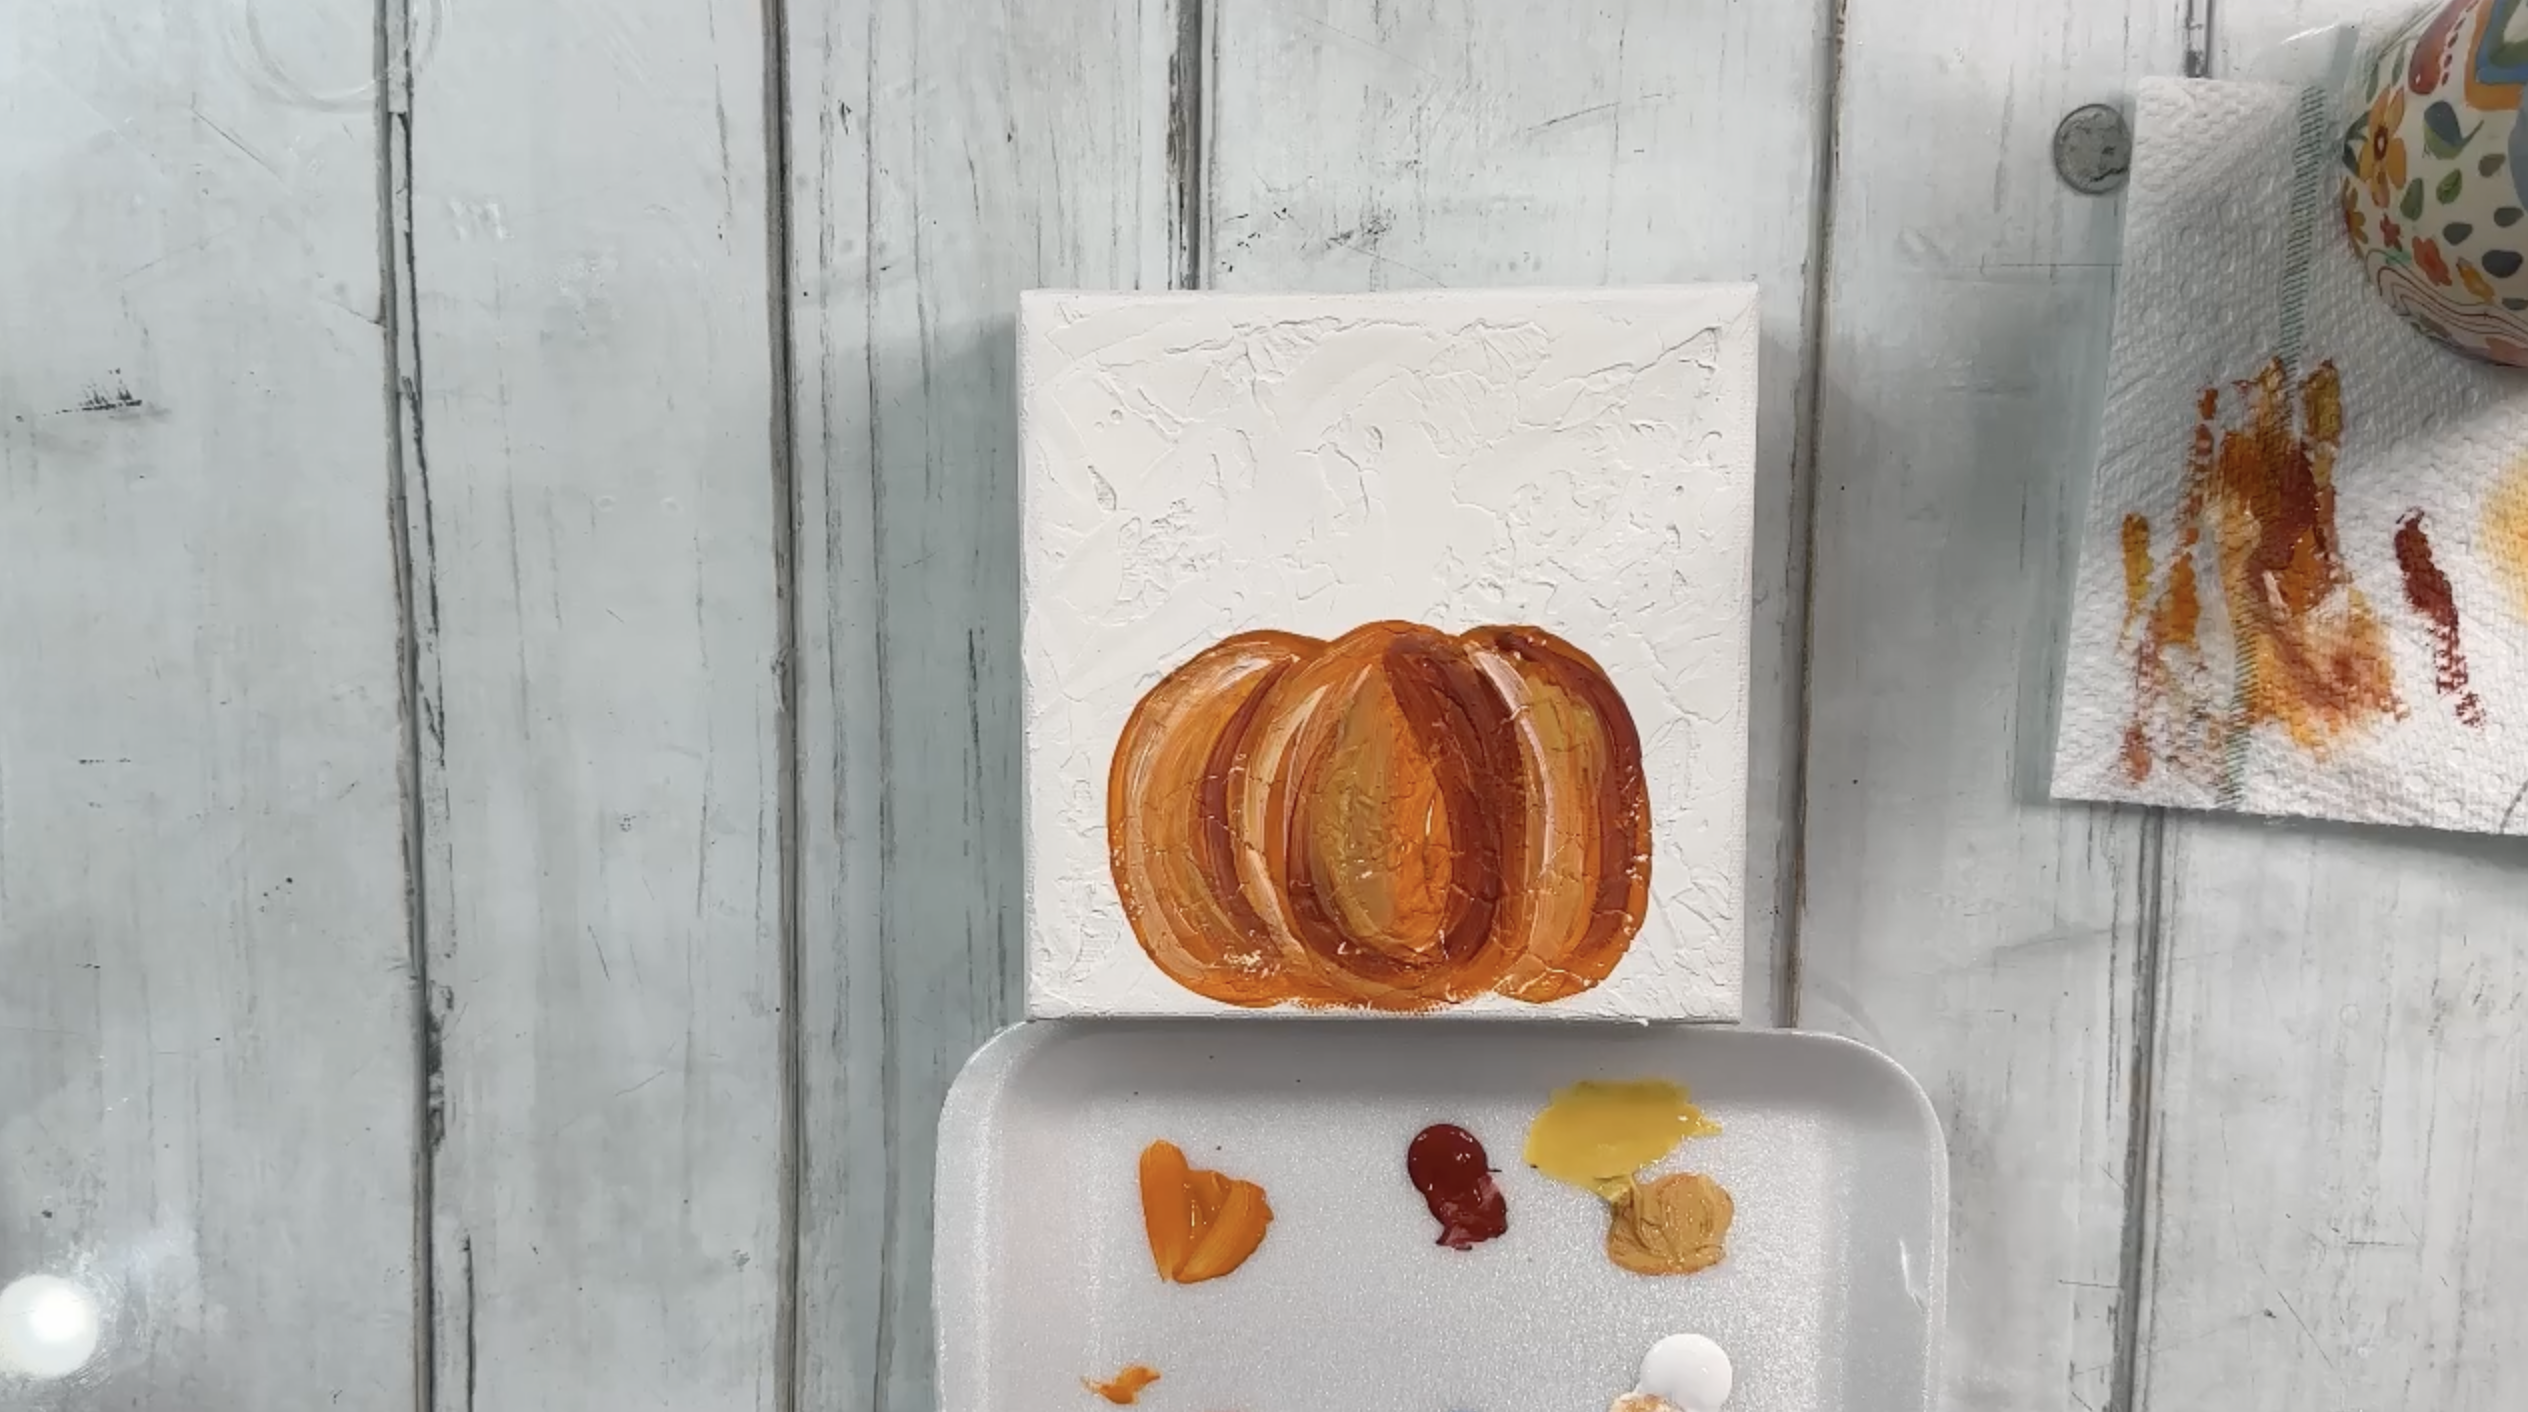
To freehand your pumpkin, think of one egg shape in the center with two parentheses on each side. Use Spiced Pumpkin paint with a round or liner brush to draw the oval center lobe, then add a curved shape on the right and left for the side lobes. Fill in with orange paint, letting some of the texture show through.
With the base orange still on your brush, wipe off the excess and tap into white. Pull a few light strokes along one edge of each section for highlights. Then, pick up Heritage Brick and brush along the opposite edges for shadow. Add a touch of Golden Straw toward the middle for warmth and dimension. Quickly dry with a heat tool before moving to the next step.
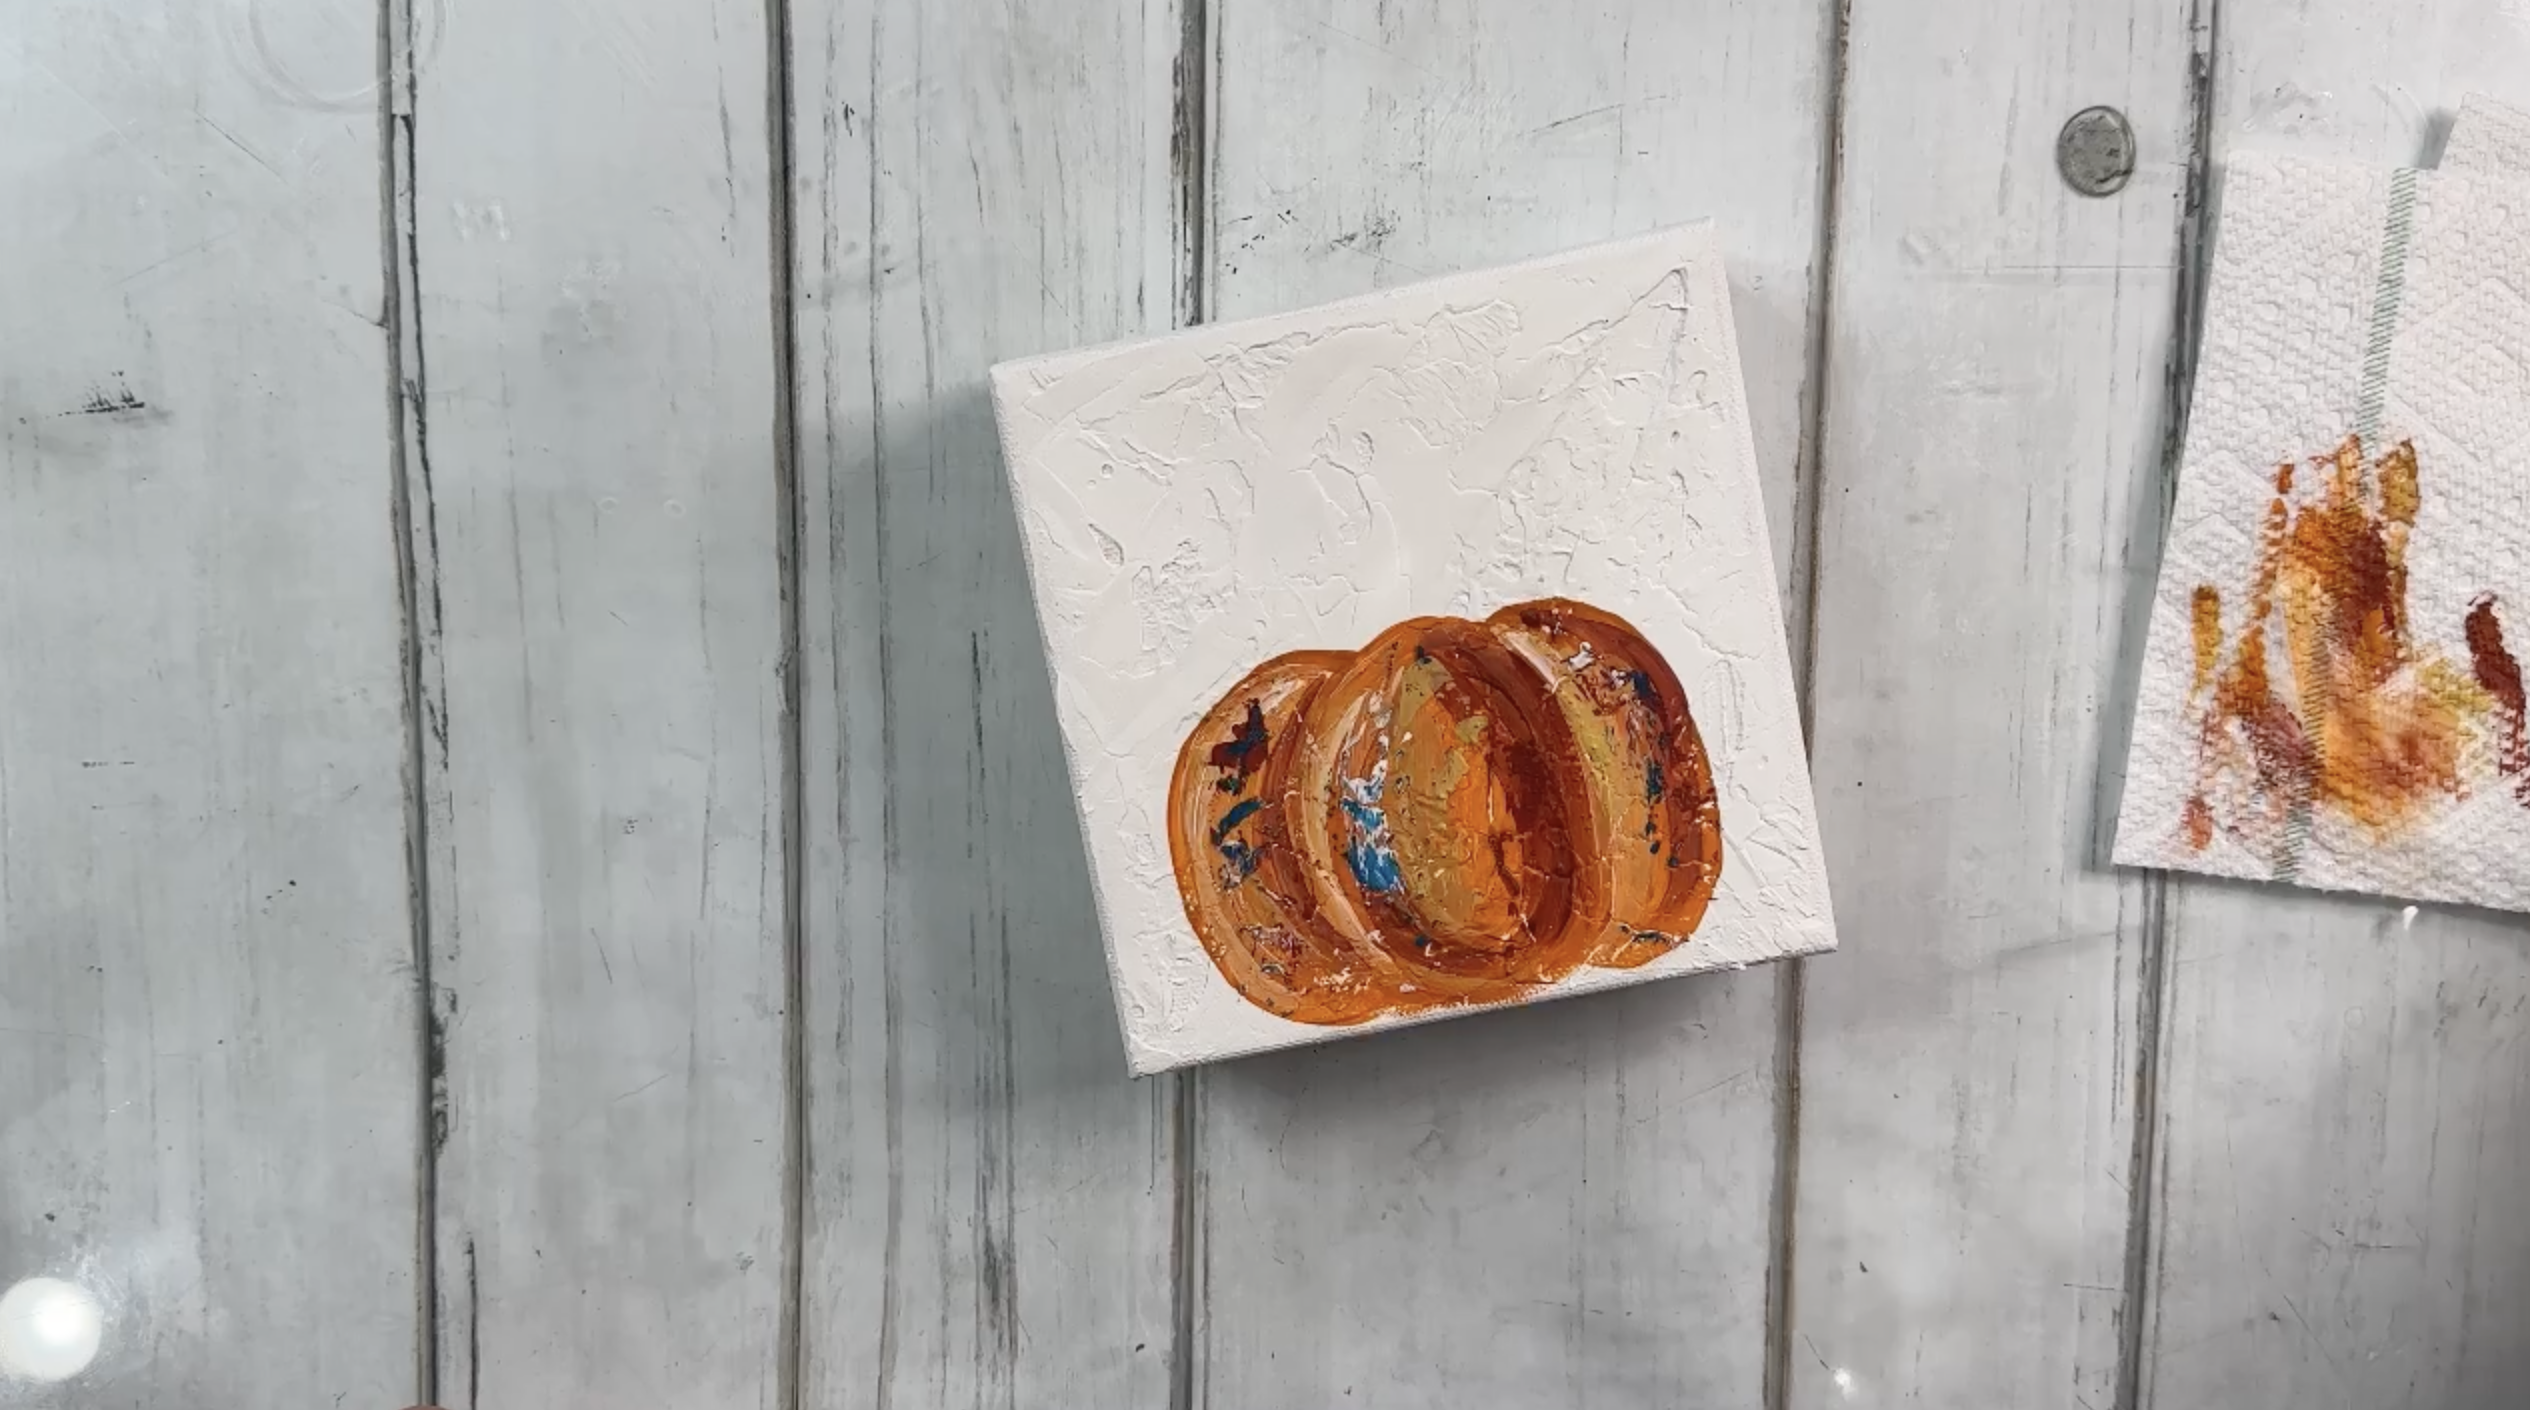
Step 2: Add Palette Knife Accents
Load just a trace of Heritage Brick onto a small palette knife, offloading most of the paint before touching the canvas. Lightly skim along the curves of each pumpkin section so the color catches only on the raised texture. Repeat with white on the opposite side to create highlights. For a fun twist, add a tiny bit of Tropical Blue across the high points. The key is to barely graze the surface, letting the knife lightly swipe the texture instead of scraping. Dry again.
Step 3: Antiquing the Pumpkin
In a small cup, combine about three parts Liquitex Slow-Dri with one part Burnt Umber. Stir well and test on a white scrap - you’re aiming for a tea-colored glaze that’s translucent but noticeable. This mixture will give you enough working time to wipe back without the glaze drying too quickly.
Brush the glaze generously over your pumpkin and background, scrubbing it into the textured surface. Work quickly so it doesn’t set. Using a folded T-shirt rag, wipe straight down in firm strokes to remove the excess from the high points while leaving glaze in the crevices. This one-direction wipe keeps the antiqued look strong. If you need to adjust, add more glaze and repeat the process. Finish the canvas edges with a light coat so the piece looks polished. Let dry completely for several hours or overnight.
Step 4: Creating or Painting a Stem
If you’re using a sculpted clay stem, shape it into a small cone with grooves, then bake according to package instructions and let cool. Paint it with Burnt Umber and immediately wipe back the excess so the brown settles into the grooves. Dry-brush with a bit of white for highlights. If you prefer, you can skip clay and use sticks, jute, paper, or glass for a ready-made stem alternative.
Once dry, glue your stem into place at the pumpkin’s top with a strong adhesive like E6000 or clear tacky glue. Angle it slightly if you like a squattier pumpkin look. Add extras such as jute tendrils, painted leaves, or glass embellishments for sparkle. A final coat of matte or satin varnish can be applied once everything is fully dry.


