
White Pumpkin 🎃
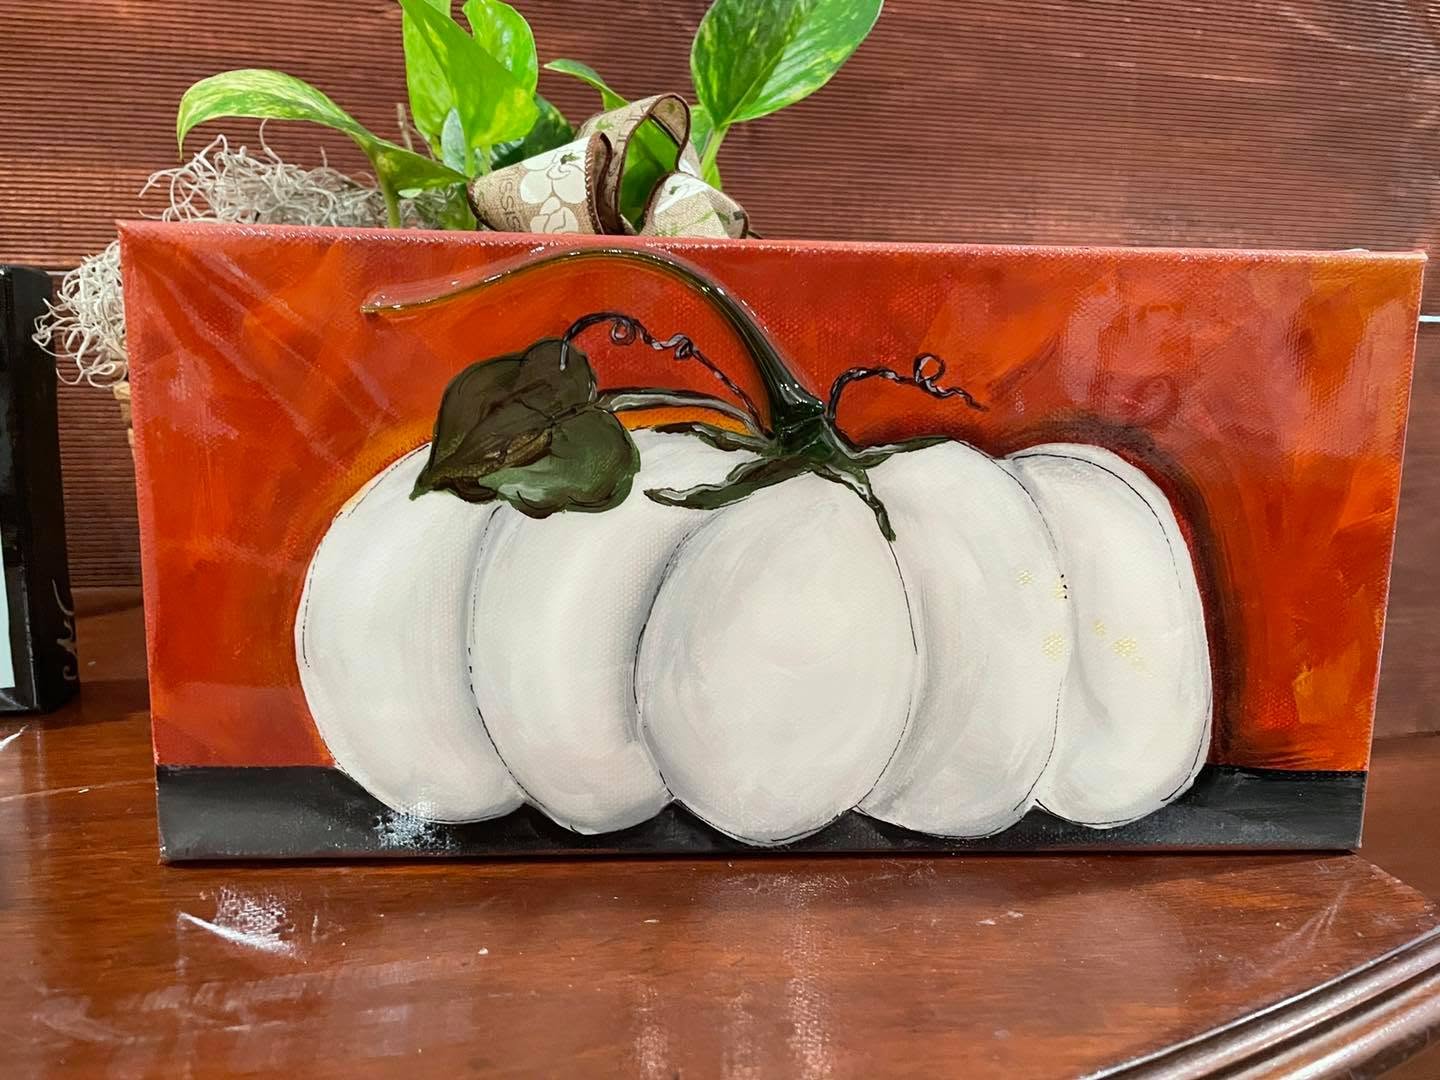
This white pumpkin project has such a fun mix of rustic fall color and glass art details. The pumpkin itself stays soft and neutral with white and gray shading, while the background gets rich with rusty orange, red, and darker tones. Then the glass stem and resin finish give the whole piece that signature Art Shattered look.
For this project, we’re working on a 6x12 canvas with a squatty white pumpkin, a dark tabletop, a warm fall background, painted greenery, a glass stem, and a full resin coat.
Step 1: Sketch the Pumpkin
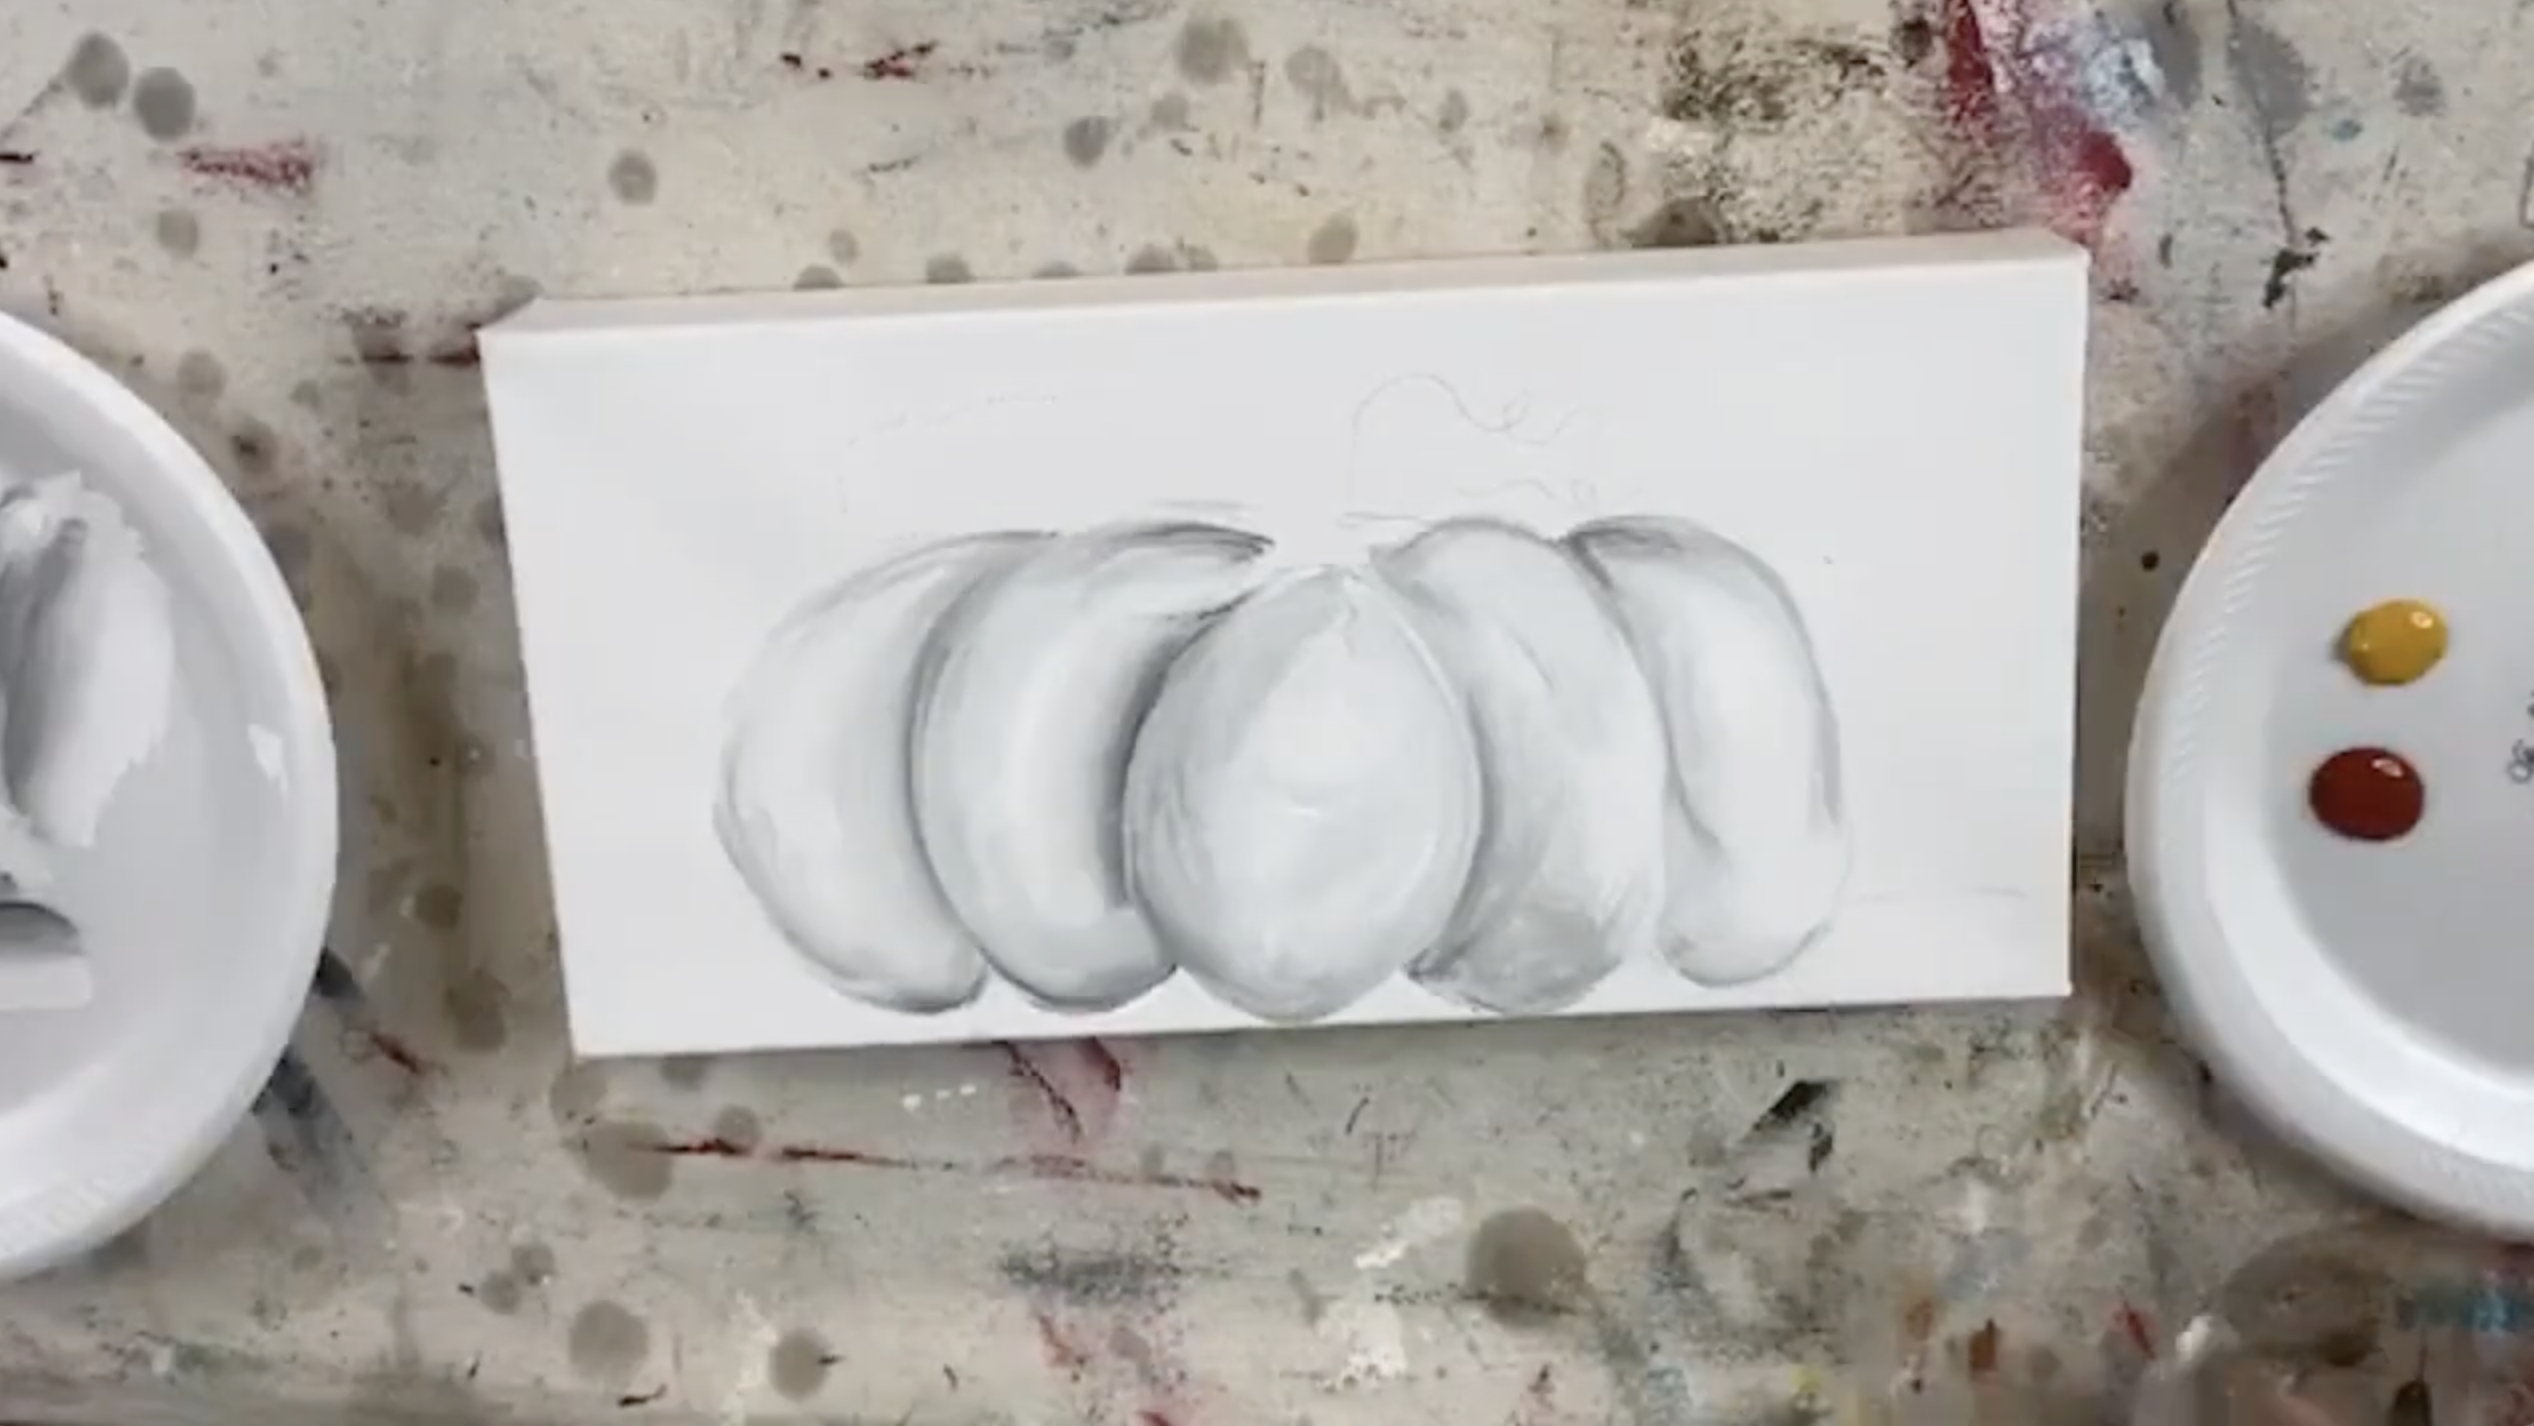
Start by lightly sketching a large, squatty pumpkin onto your 6x12 canvas. Because the canvas is long and narrow, the pumpkin should be wide and low rather than tall. Divide it into several rounded sections so you have natural places to add shading later. You can also lightly mark a horizontal line near the bottom of the canvas for the tabletop.
Step 2: Paint the Pumpkin White
Using a large flat brush, fill in the entire pumpkin with white paint. Work fairly quickly because the shading will be added wet-on-wet, rather than waiting for each layer to dry first. Leave the stem area open for now.
Step 3: Add Shading
Without fully cleaning your brush, pick up a little Cable Knit Gray, the lighter of the two grays. Use just the corner of your brush and lightly trace along one side of each pumpkin section. The goal is not to outline every section perfectly. You’re simply creating enough shadow to separate the ridges and give the pumpkin some dimension.
Rinse your brush, then pick up a small amount of Gray Storm. Add this darker gray selectively where the pumpkin sections naturally overlap and create deeper shadows. Keep the marks loose and imperfect. The project has a more painterly, slightly abstract look, so don’t stress about getting every line smooth.
If any of the gray becomes too strong, come back in with white paint. Add white along the raised areas of the pumpkin and soften any lines that feel too harsh. This creates that soft tone-on-tone white and gray look while still allowing each pumpkin section to stand out.
Step 4: Paint the Rusty Fall Background
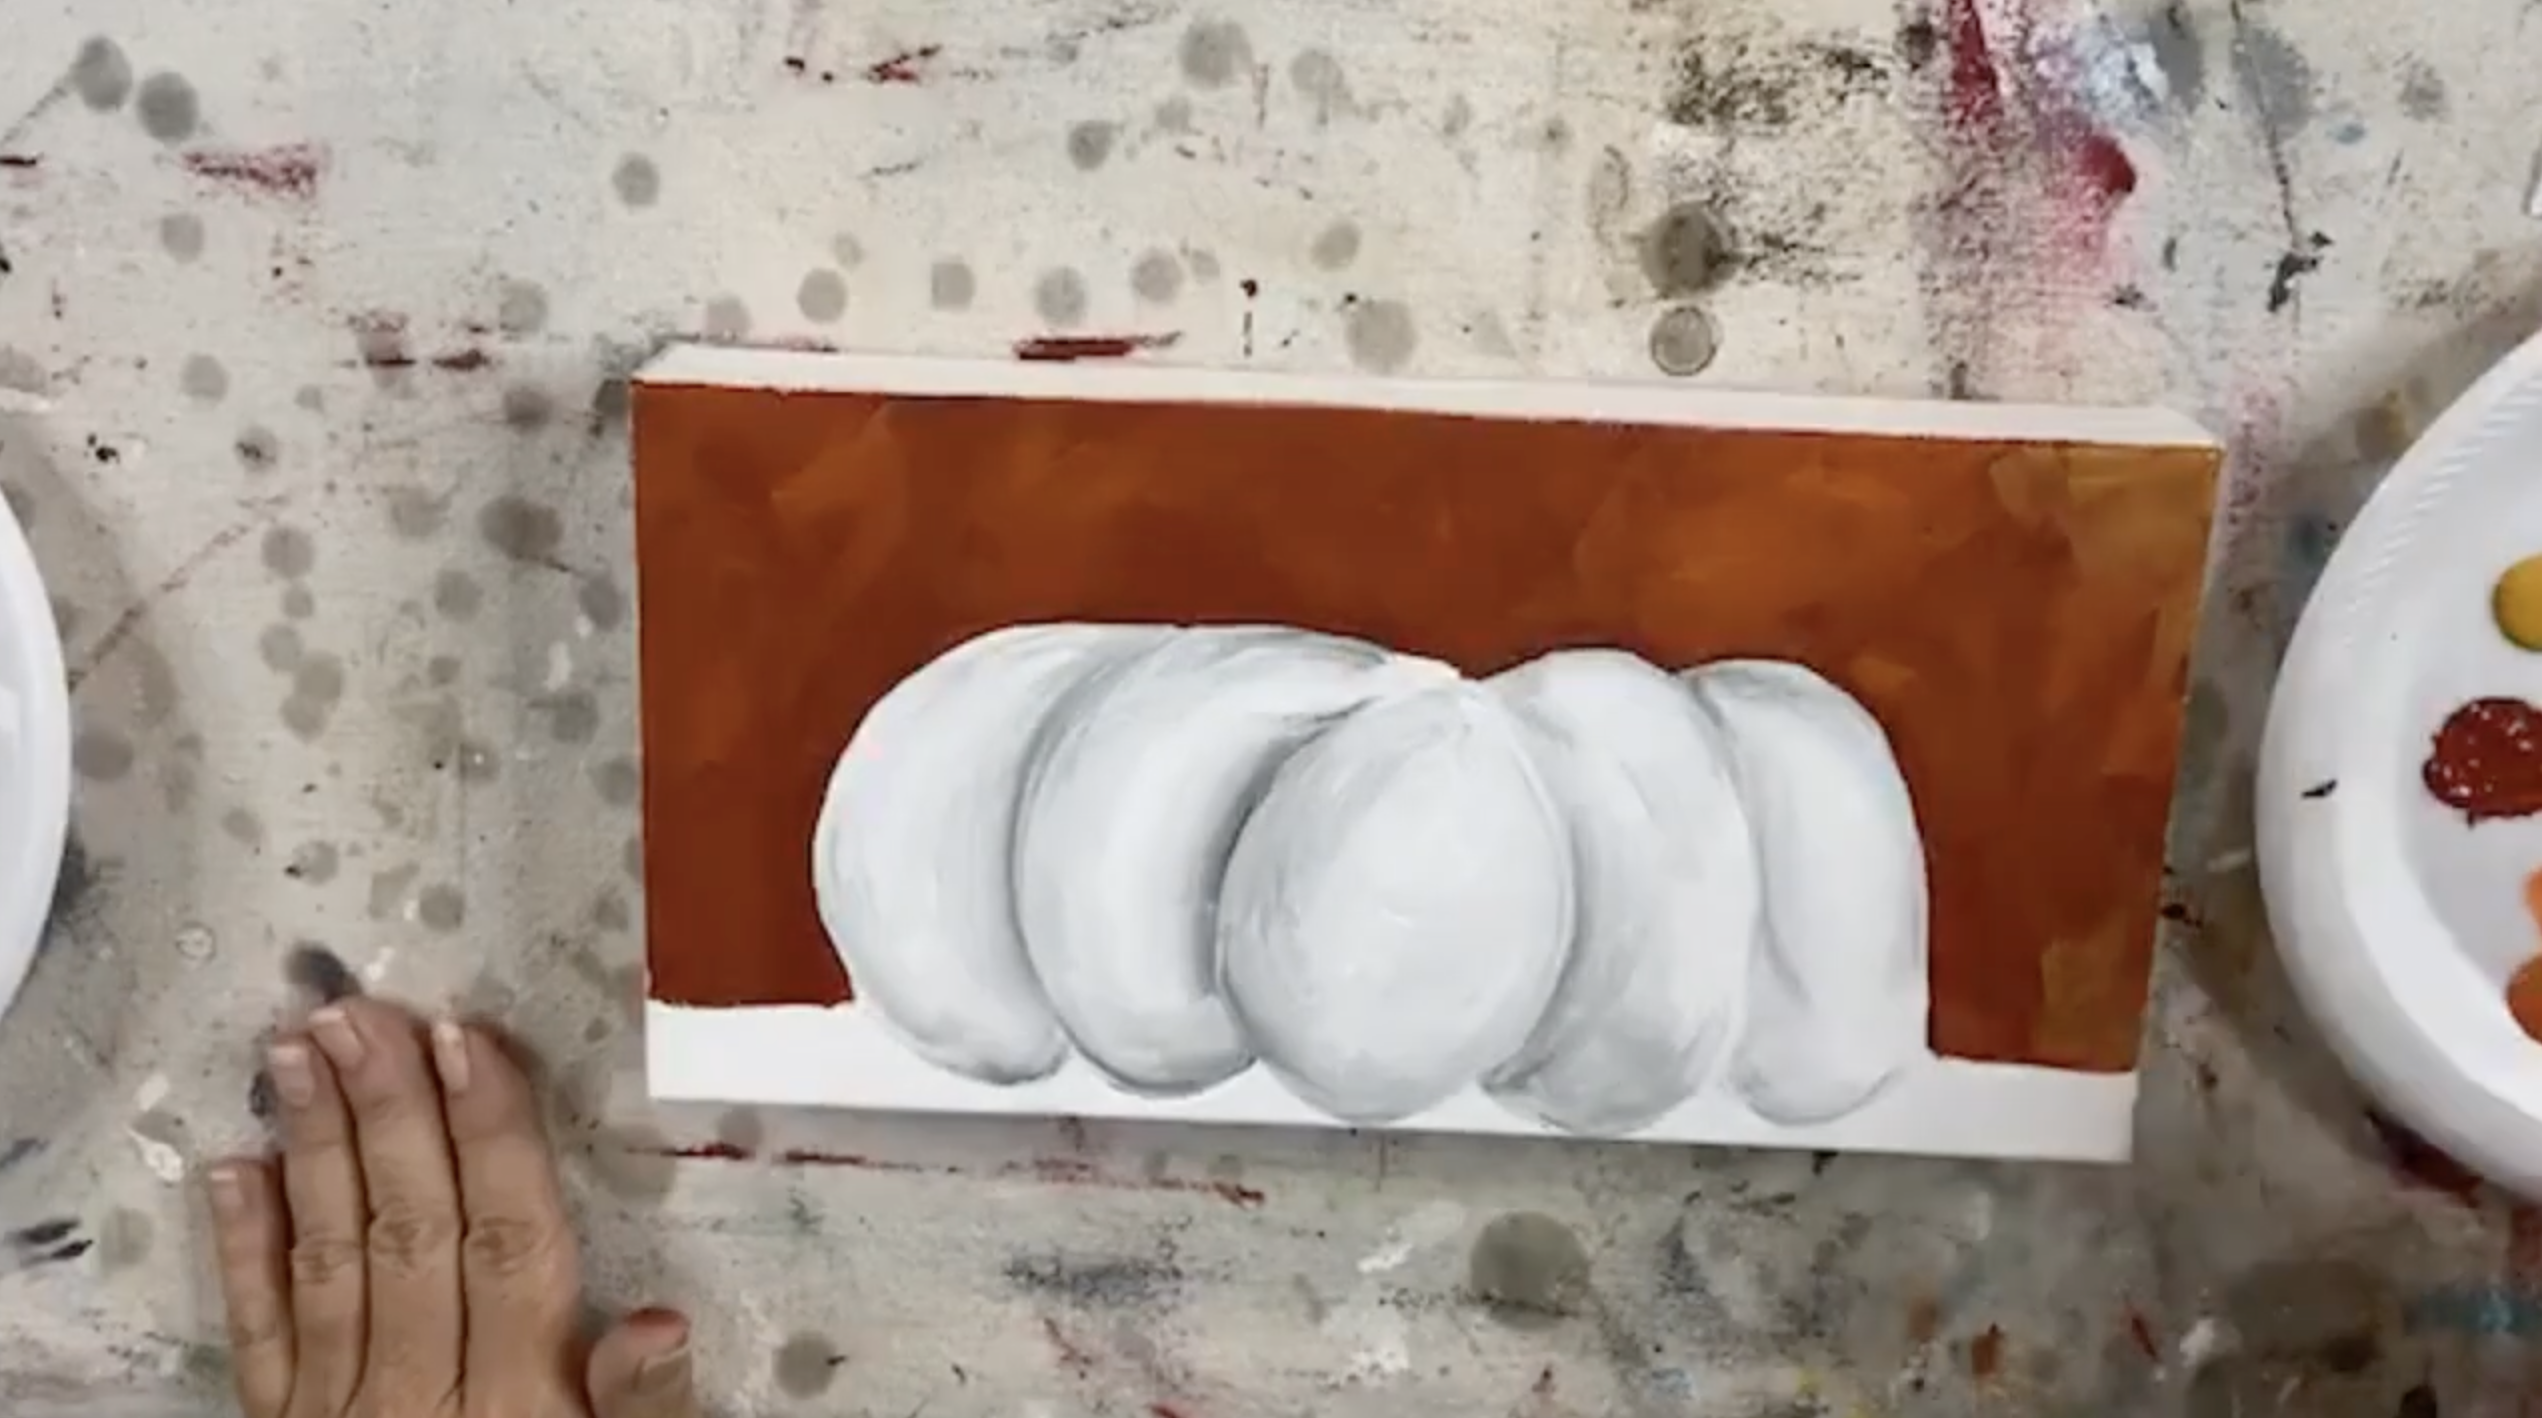
Now comes the dramatic part. Use Heritage Brick as the main background color, painting carefully around the white pumpkin. Add Persimmon in places while the paint is still wet to create more orange variation.
Let your brushstrokes show instead of over-blending everything. That uneven mix of red-orange tones gives the background a rich, rusty fall feeling.
Step 5: Add More Color Variation
Continue layering Heritage Brick and Persimmon until the background feels full and rich. You can experiment with a little Yellow Ochre, but in the video it was used sparingly because it could muddy the colors when blended too much. A little darker gray or brown can also be worked into the background for depth.
Step 6: Shadow Around the Pumpkin
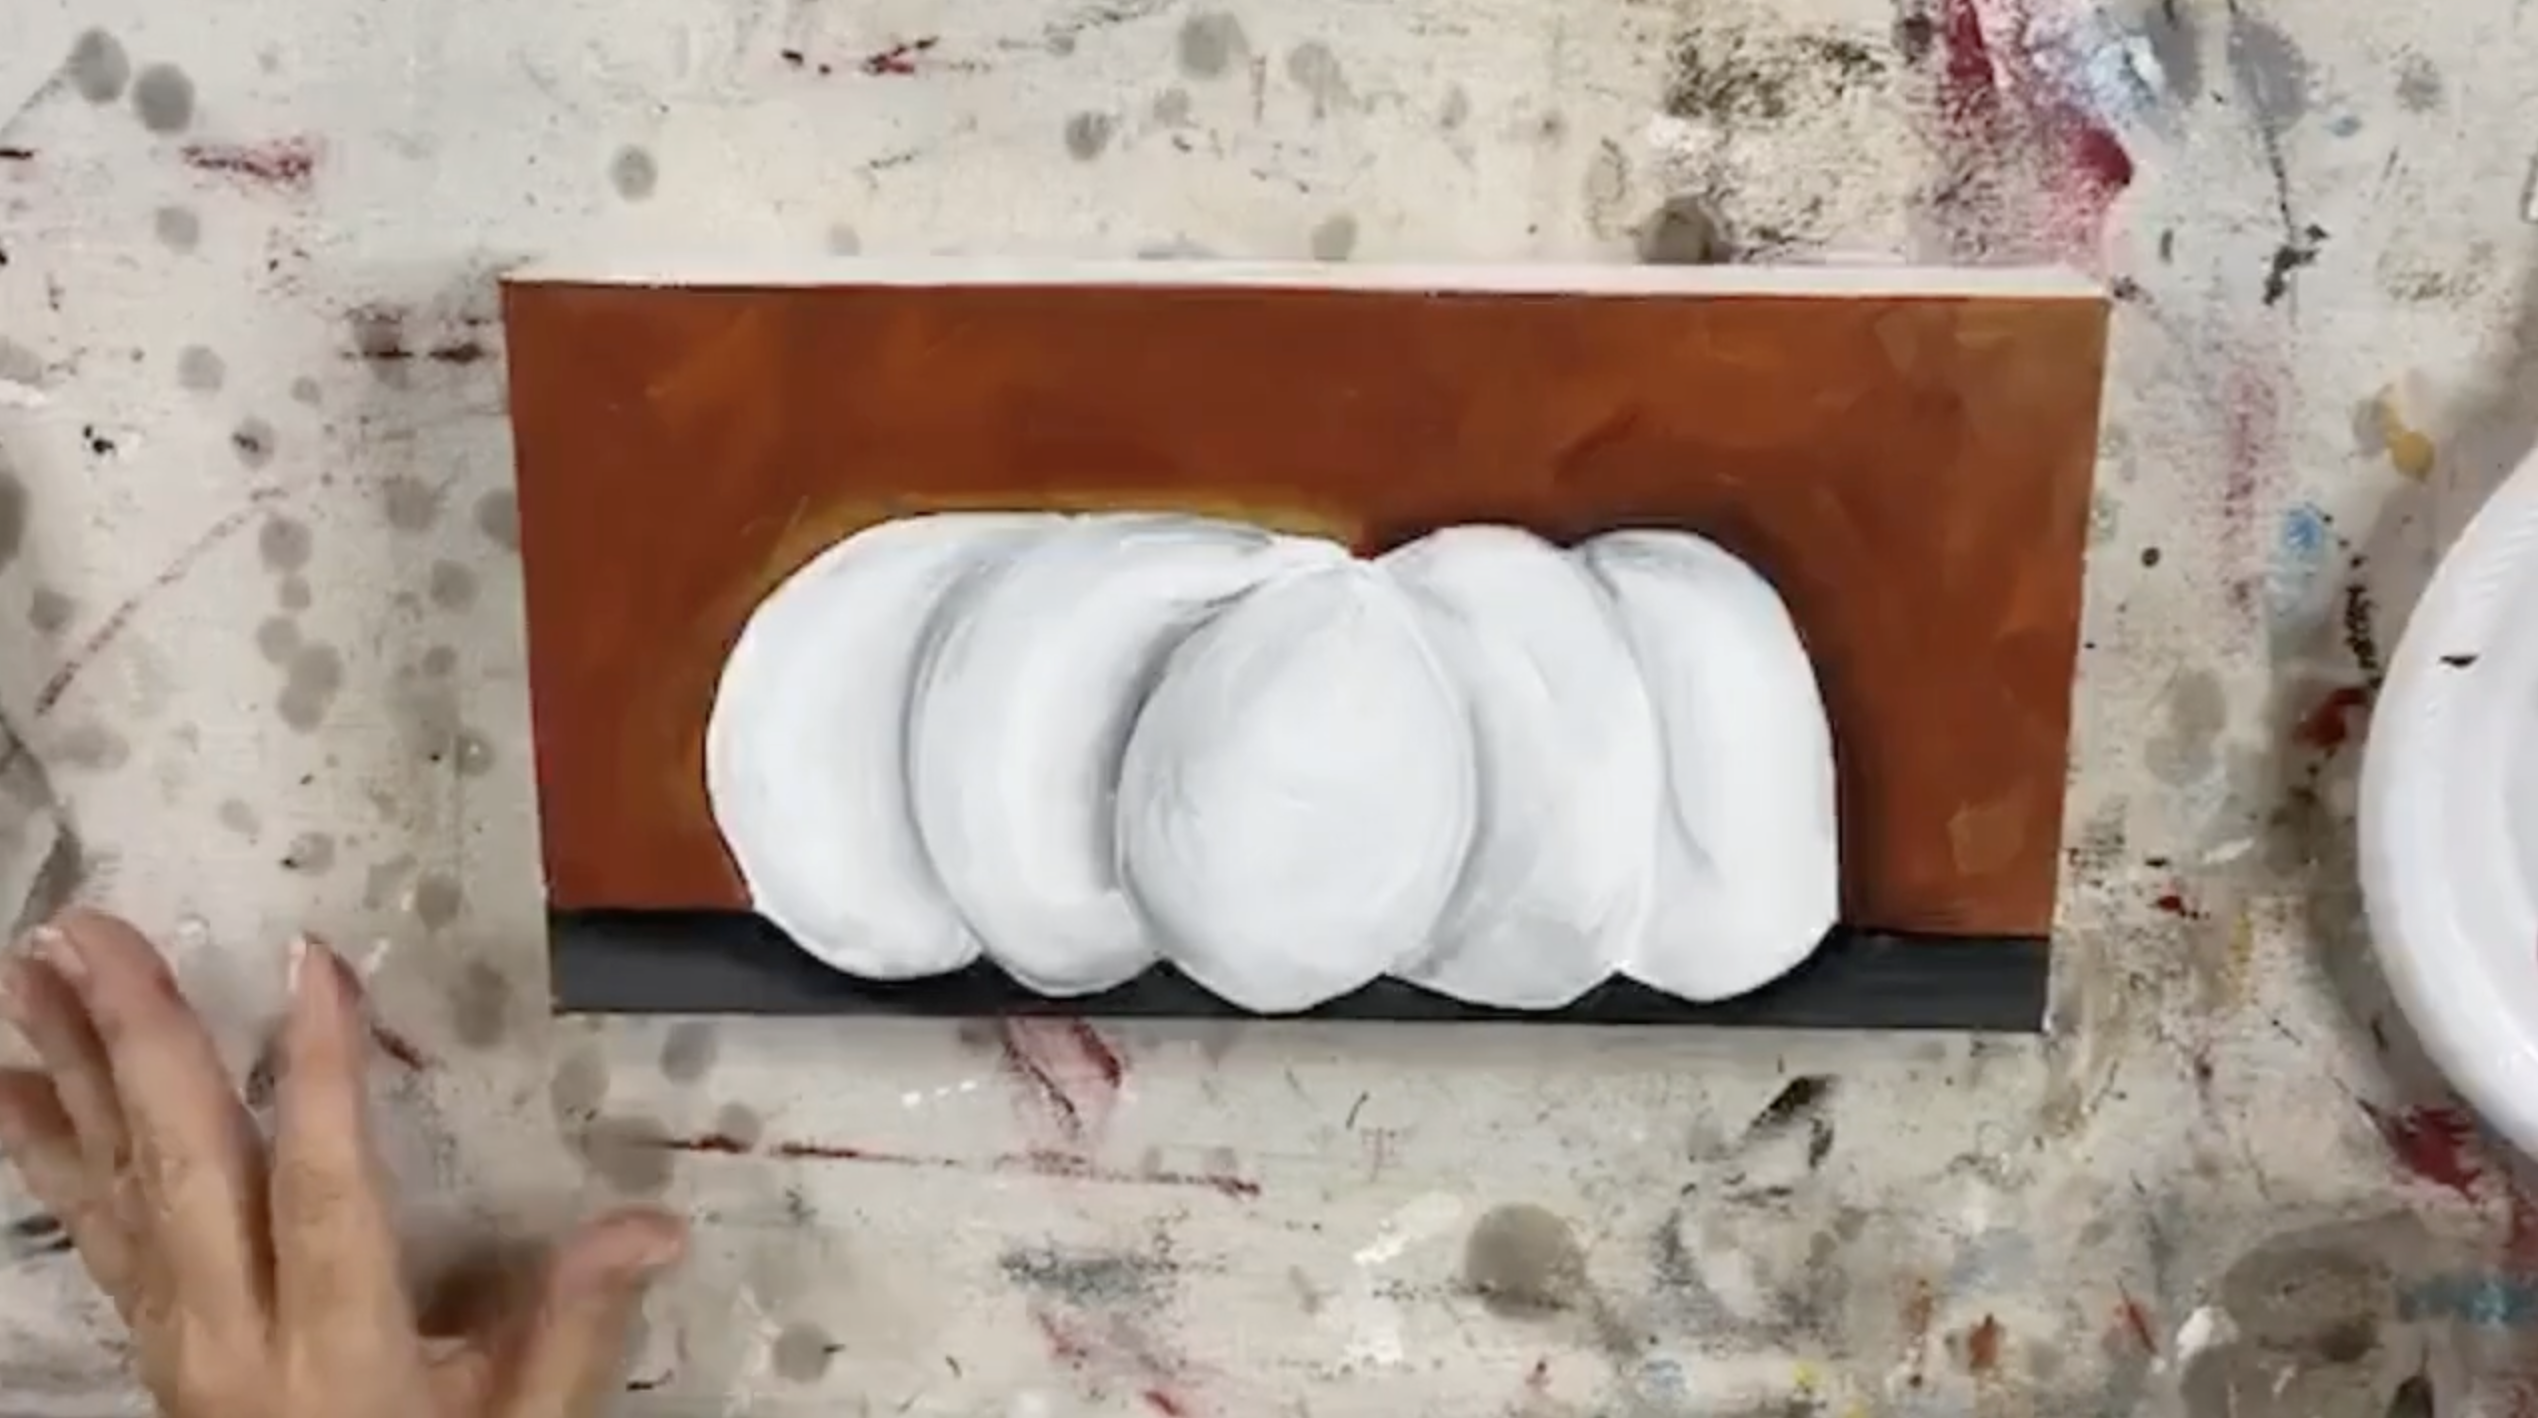
Use a small amount of black or dark gray on the corner of your brush and lightly work around selected edges of the pumpkin. This creates a shadow between the white pumpkin and the warm background.
Don’t outline the entire pumpkin with black. Just use it here and there where a stronger shadow makes sense.
Step 7: Paint the Tabletop
Fill the bottom section with Gray Storm. Once that is in place, add black along the line where the pumpkin meets the tabletop and in a few areas underneath the pumpkin. This shadow helps ground the pumpkin so it looks like it is actually sitting on the surface rather than floating.
Step 8: Add a Warm Highlight Around the Pumpkin
For a little extra contrast, add a touch of orange or yellow along parts of the pumpkin’s outer edge. Keep it subtle. This helps reflect some of that warm background color back onto the white pumpkin and ties everything together.
Step 9: Paint the Stem Base
Before adding the glass stem, paint the portion that appears to grow down into the pumpkin. Start with Avocado Green and build an organic, slightly irregular shape. Don’t make it too straight or symmetrical. Nature is rarely perfect, and a little unevenness makes the stem feel more natural.
Layer Burnt Umber over portions of the green stem. Then add tiny touches of white for highlights. Blending green, brown, and white together while the paint is wet gives the stem more dimension instead of leaving it as one flat color.
Step 10: Paint the Leaf
Use a smaller flat brush and paint a loose, heart-shaped leaf with Avocado Green.
While the green is still wet:
- Add Burnt Umber to one side
- Add white to the opposite side
- Blend gently toward the center
Again, the leaf does not need to be perfect. Keep it loose and organic.
Using a liner brush, paint a small stem from the leaf back to the main pumpkin stem. Start with brown, then add a little green and white over the top. You can also use a tiny amount of black to add a few simple vein lines to the leaf.
Use a liner brush with thinned Burnt Umber to paint a few loose curling vines coming from the stem. Make the lines wavy and imperfect.
Then add a small amount of black in a few places for shadow and a little white along one side for highlight. Those extra colors keep the vines from looking flat.
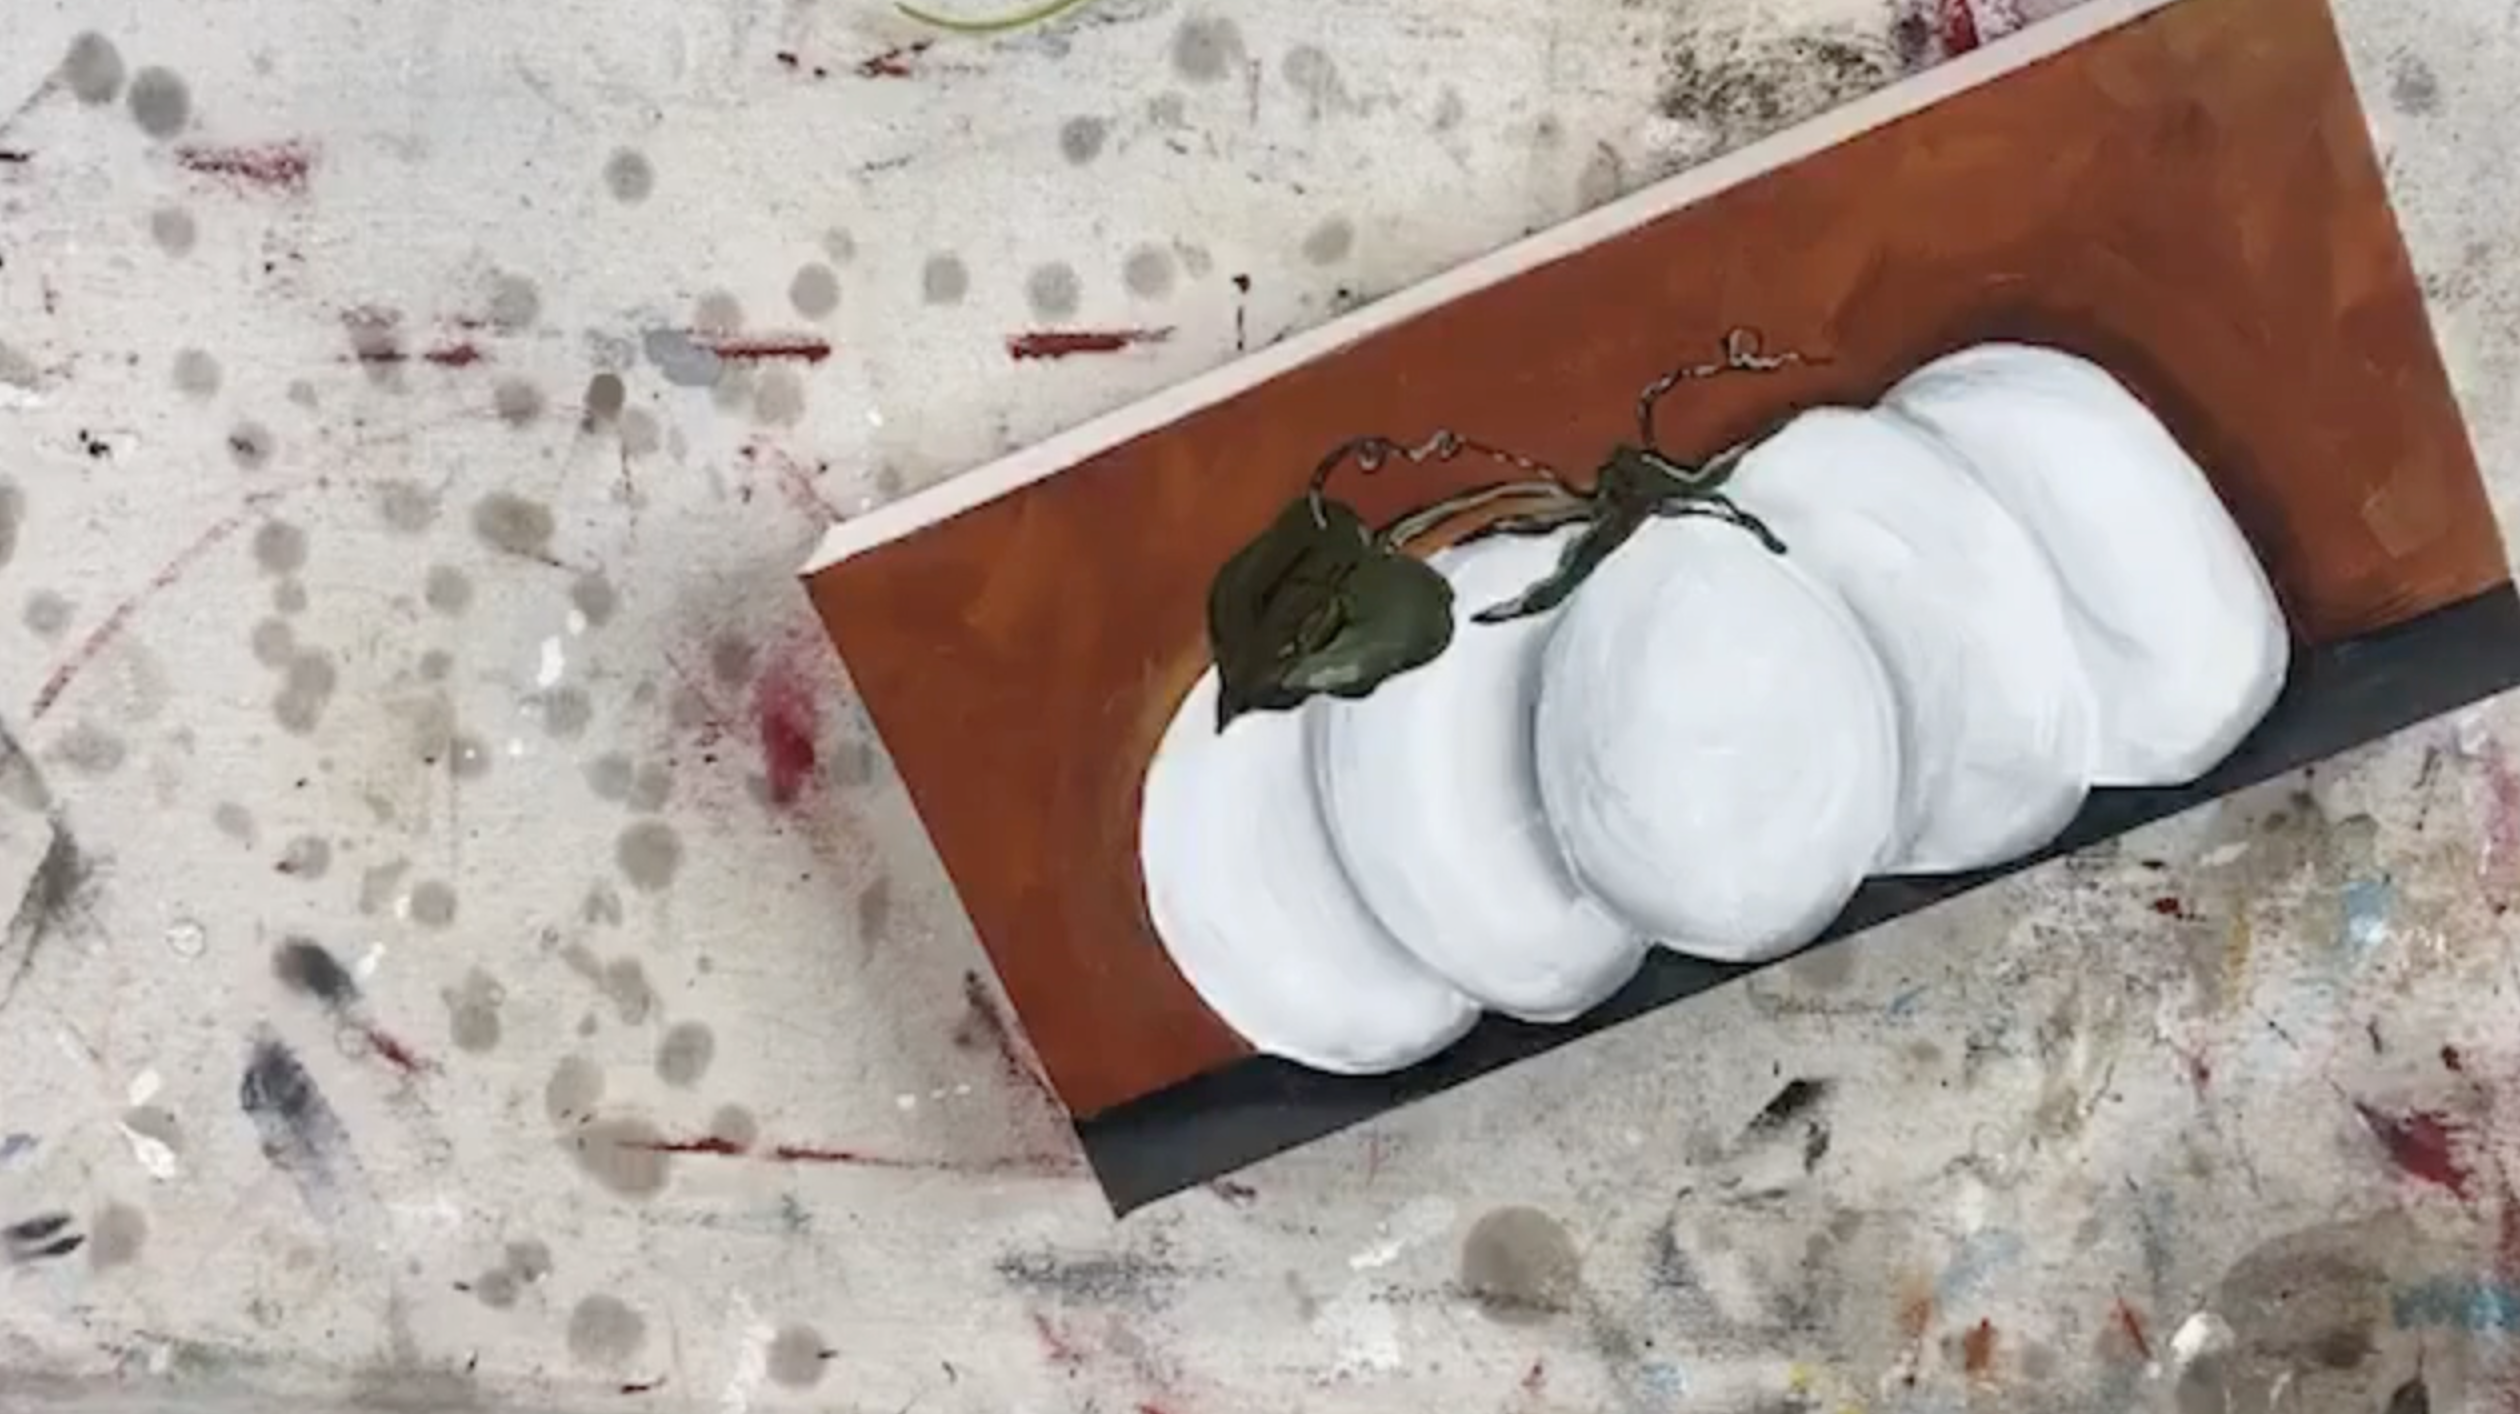
Step 11: Add Loose Black Line Work
Once the painted areas are dry, use a black archival ink pen to add short, broken lines around the pumpkin sections. Do not draw one continuous outline. Instead, add small bursts of line and a few dots here and there. This little finishing detail makes the pumpkin sections pop without making the artwork feel overly outlined.
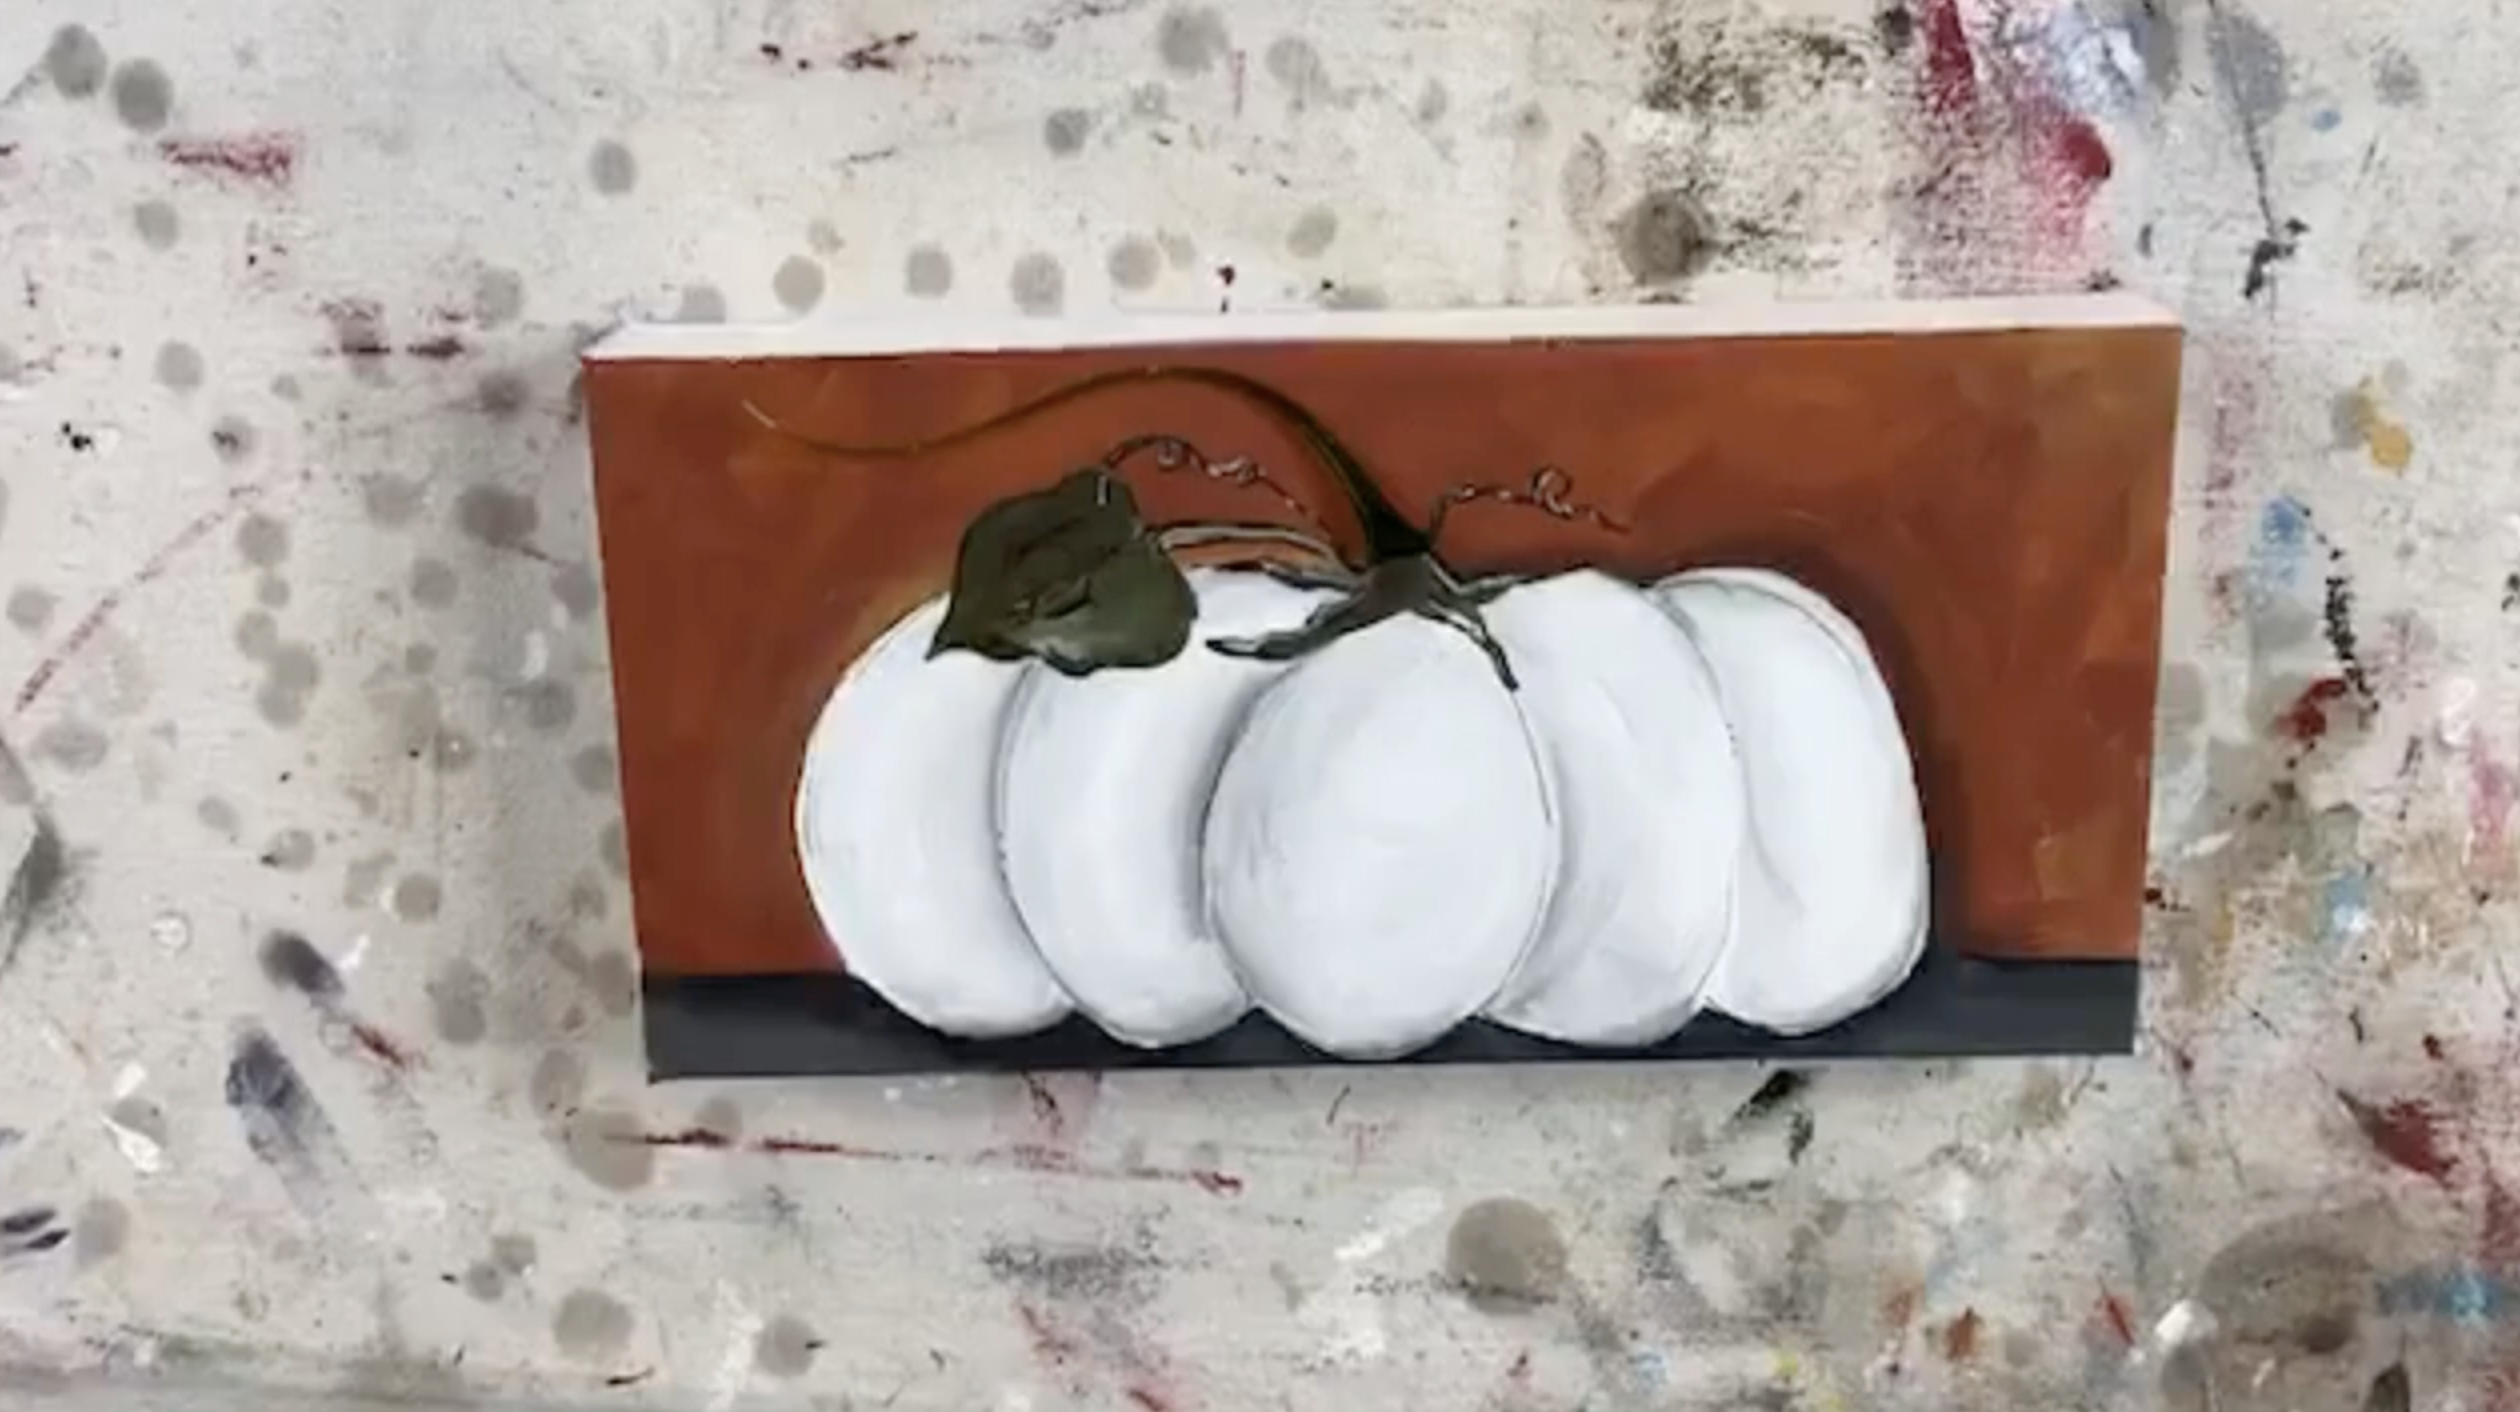
Step 12: Mix the Resin
For this project, only about 1/2 ounce of resin was mixed because there isn’t much loose glass to cover. Mix equal parts resin and hardener according to your product instructions. Stir slowly for about three minutes, scraping the sides and bottom of the cup thoroughly.
Step 13: Resin the Canvas
Pour a small amount of resin onto the canvas and spread it across the entire surface with a silicone applicator.
Be careful around the edges if you still need to paint the sides later. As the resin goes on, the colors become deeper and richer, especially in that warm rusty background.
Step 14: Resin and Attach the Glass Stem
Coat the decorative glass stem completely with resin using your gloved fingers. Place it onto the painted stem area where you want it to sit. Then drizzle a little more resin over the top to make sure it is fully coated and secured to the canvas. The glass can extend slightly beyond the edge of the canvas, which gives the finished piece even more dimension.
Step 15: Pop the Bubbles
Finish by passing a heat gun, blow dryer on low air/high heat, or small torch lightly over the resin to pop surface bubbles. Then leave the artwork flat and undisturbed while the resin cures.
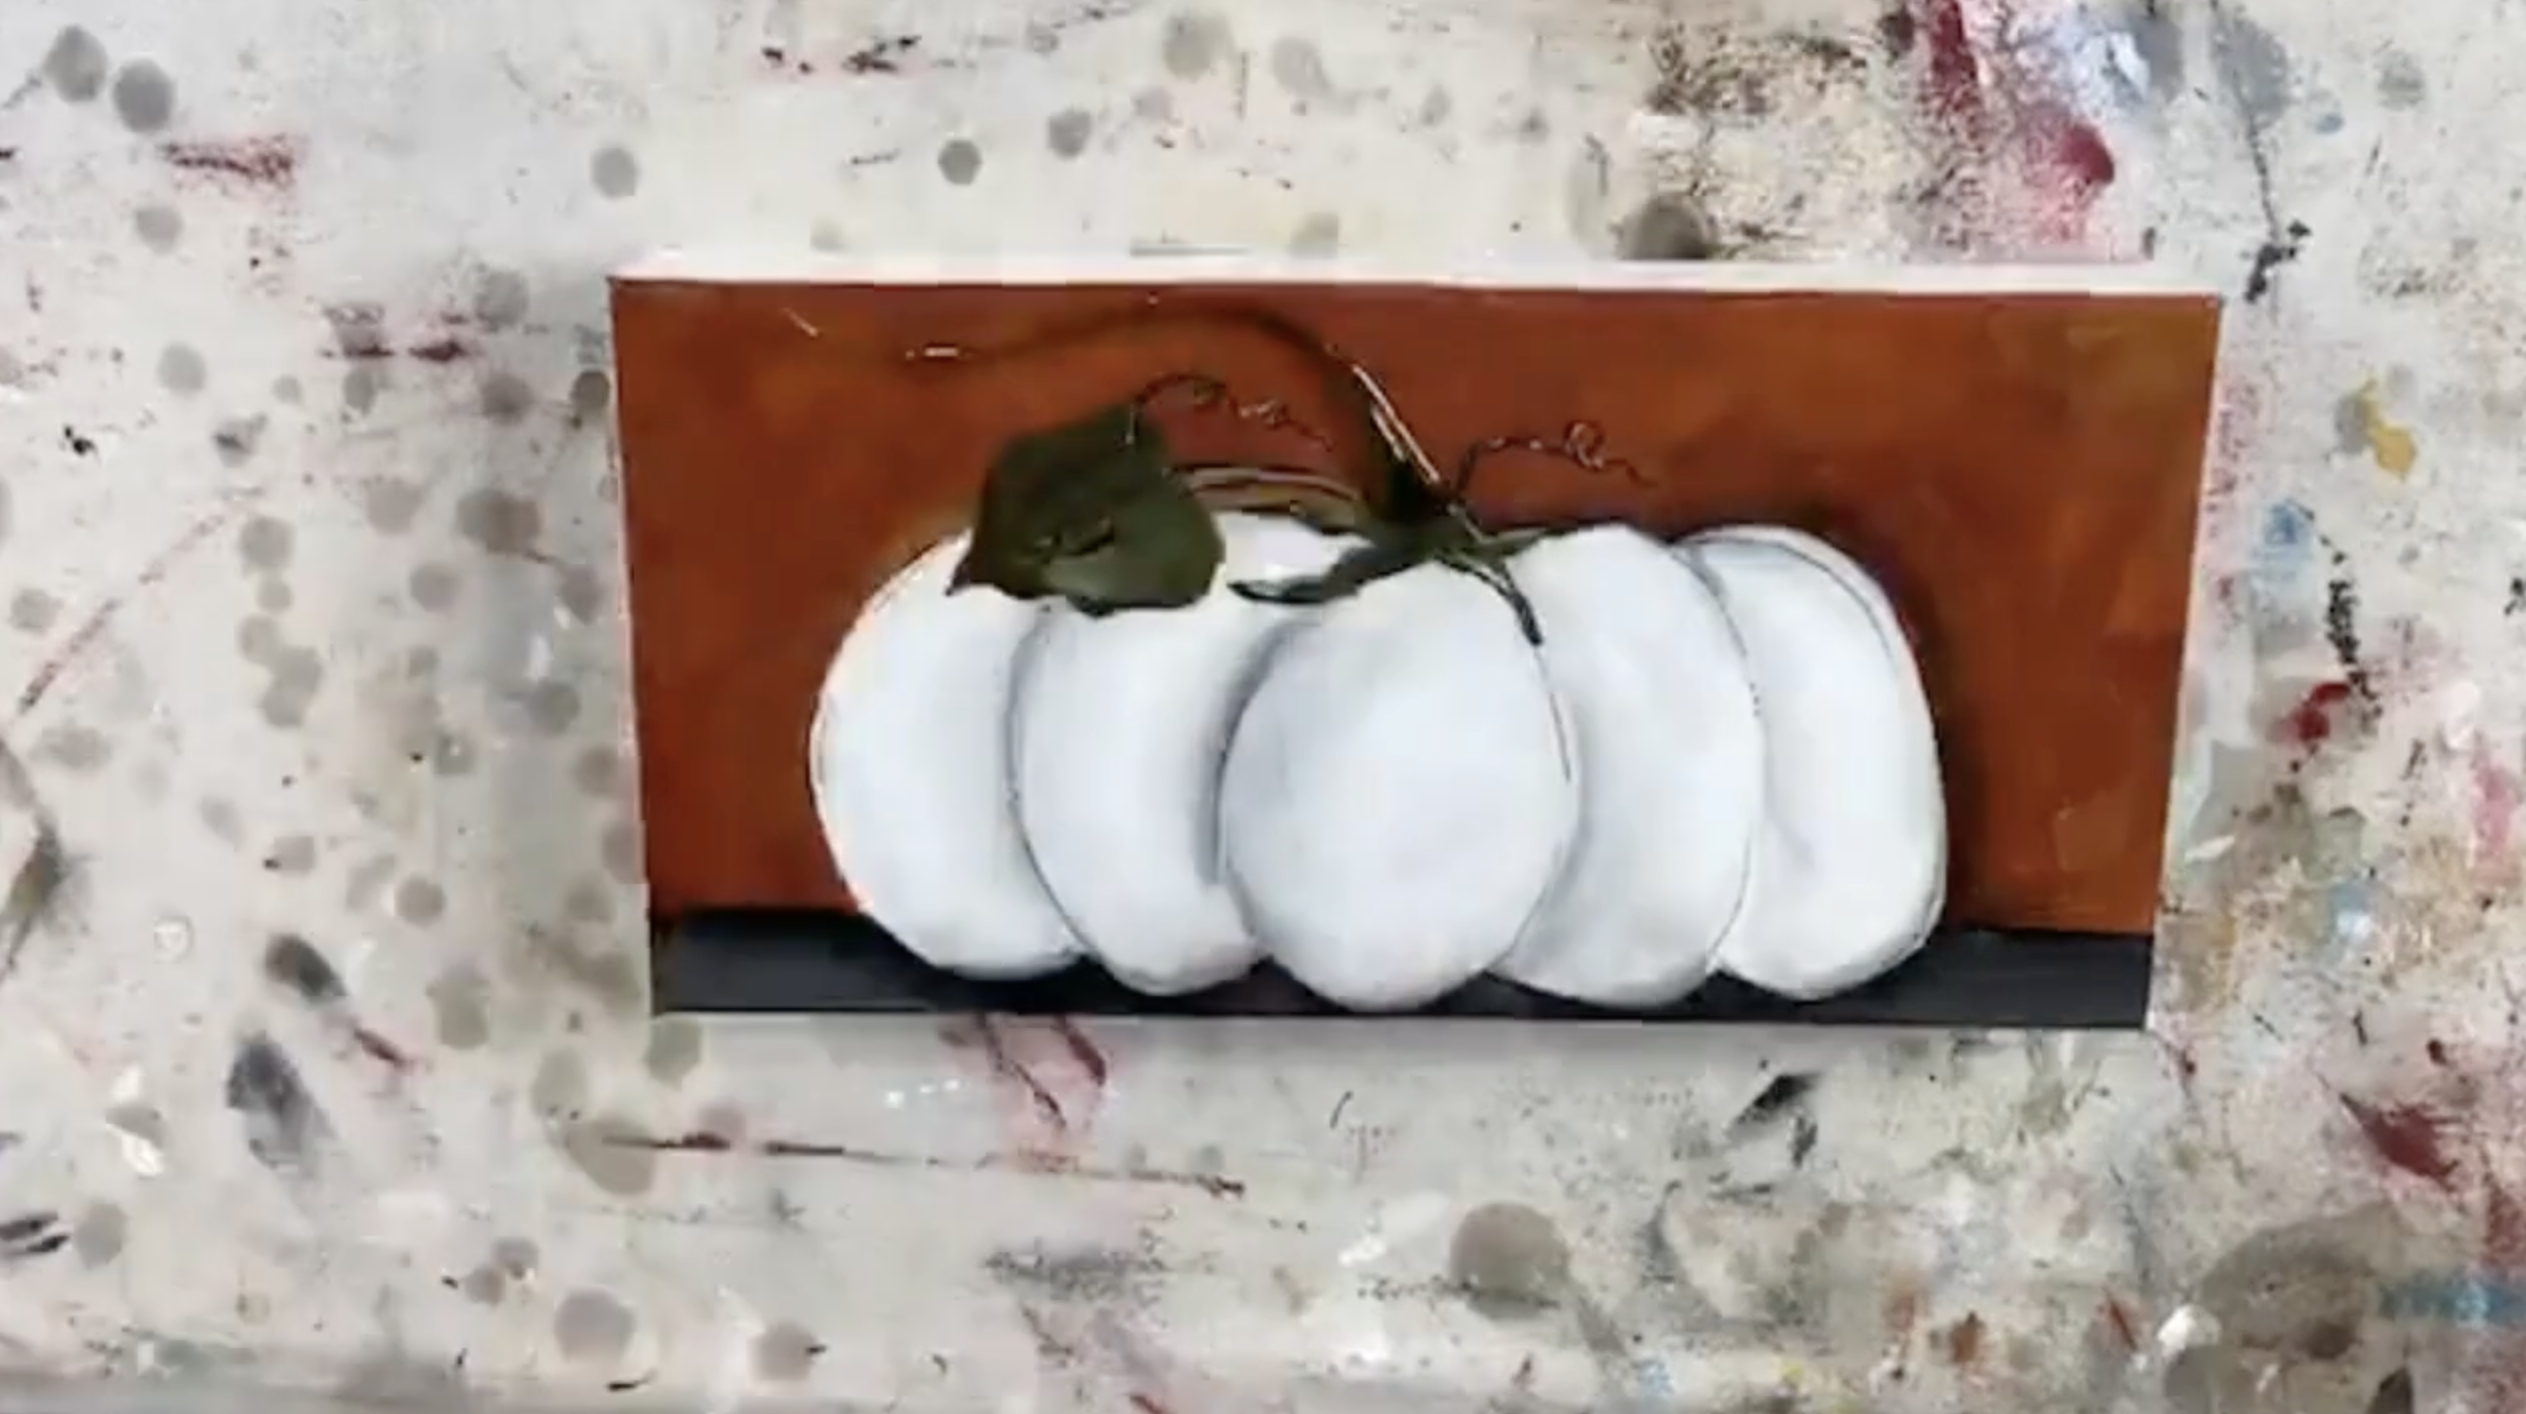
The contrast is what really makes this project work: a soft white and gray pumpkin against that bold rusty-orange background, grounded by a dark tabletop and finished with earthy greenery.
And that curved glass stem gives it something you just don’t get from paint alone. It adds another layer of dimension while still letting the pumpkin stay the star of the piece.
This would also be an easy one to personalize. You could change the background to deep green, navy, burgundy, or even a softer neutral while keeping the same white pumpkin and dimensional glass stem!
If you're a member of The Shattered Circle, you'll find this tutorial in your classroom under Art Shattered Weekly Facebook Lives, search for "White Pumpkin".
If you don’t want to miss my Facebook LIVE art instruction, make sure you are on my texting list. I always text 10 minutes before I’m going to go LIVE, so you won’t ever miss it. You can text “Hey Cindy” to 901-519-2923.
Want more inspiration and artwork?
- My website artshattered.com with resources, shop, and more!
- My creative membership The Shattered Circle, where you can explore the world of glass art with online workshops, a supportive community, and more!
- My mini creative membership Just A ‘Lil Bit Monthly Glass Art Club, where you’ll get a new quick and easy online tutorial for just a lil' bit of sparkle in your life!
- My Facebook page where I share free LIVE tutorials and inspiration
- My YouTube channel which has tons of free art lessons right at your fingertips.
