
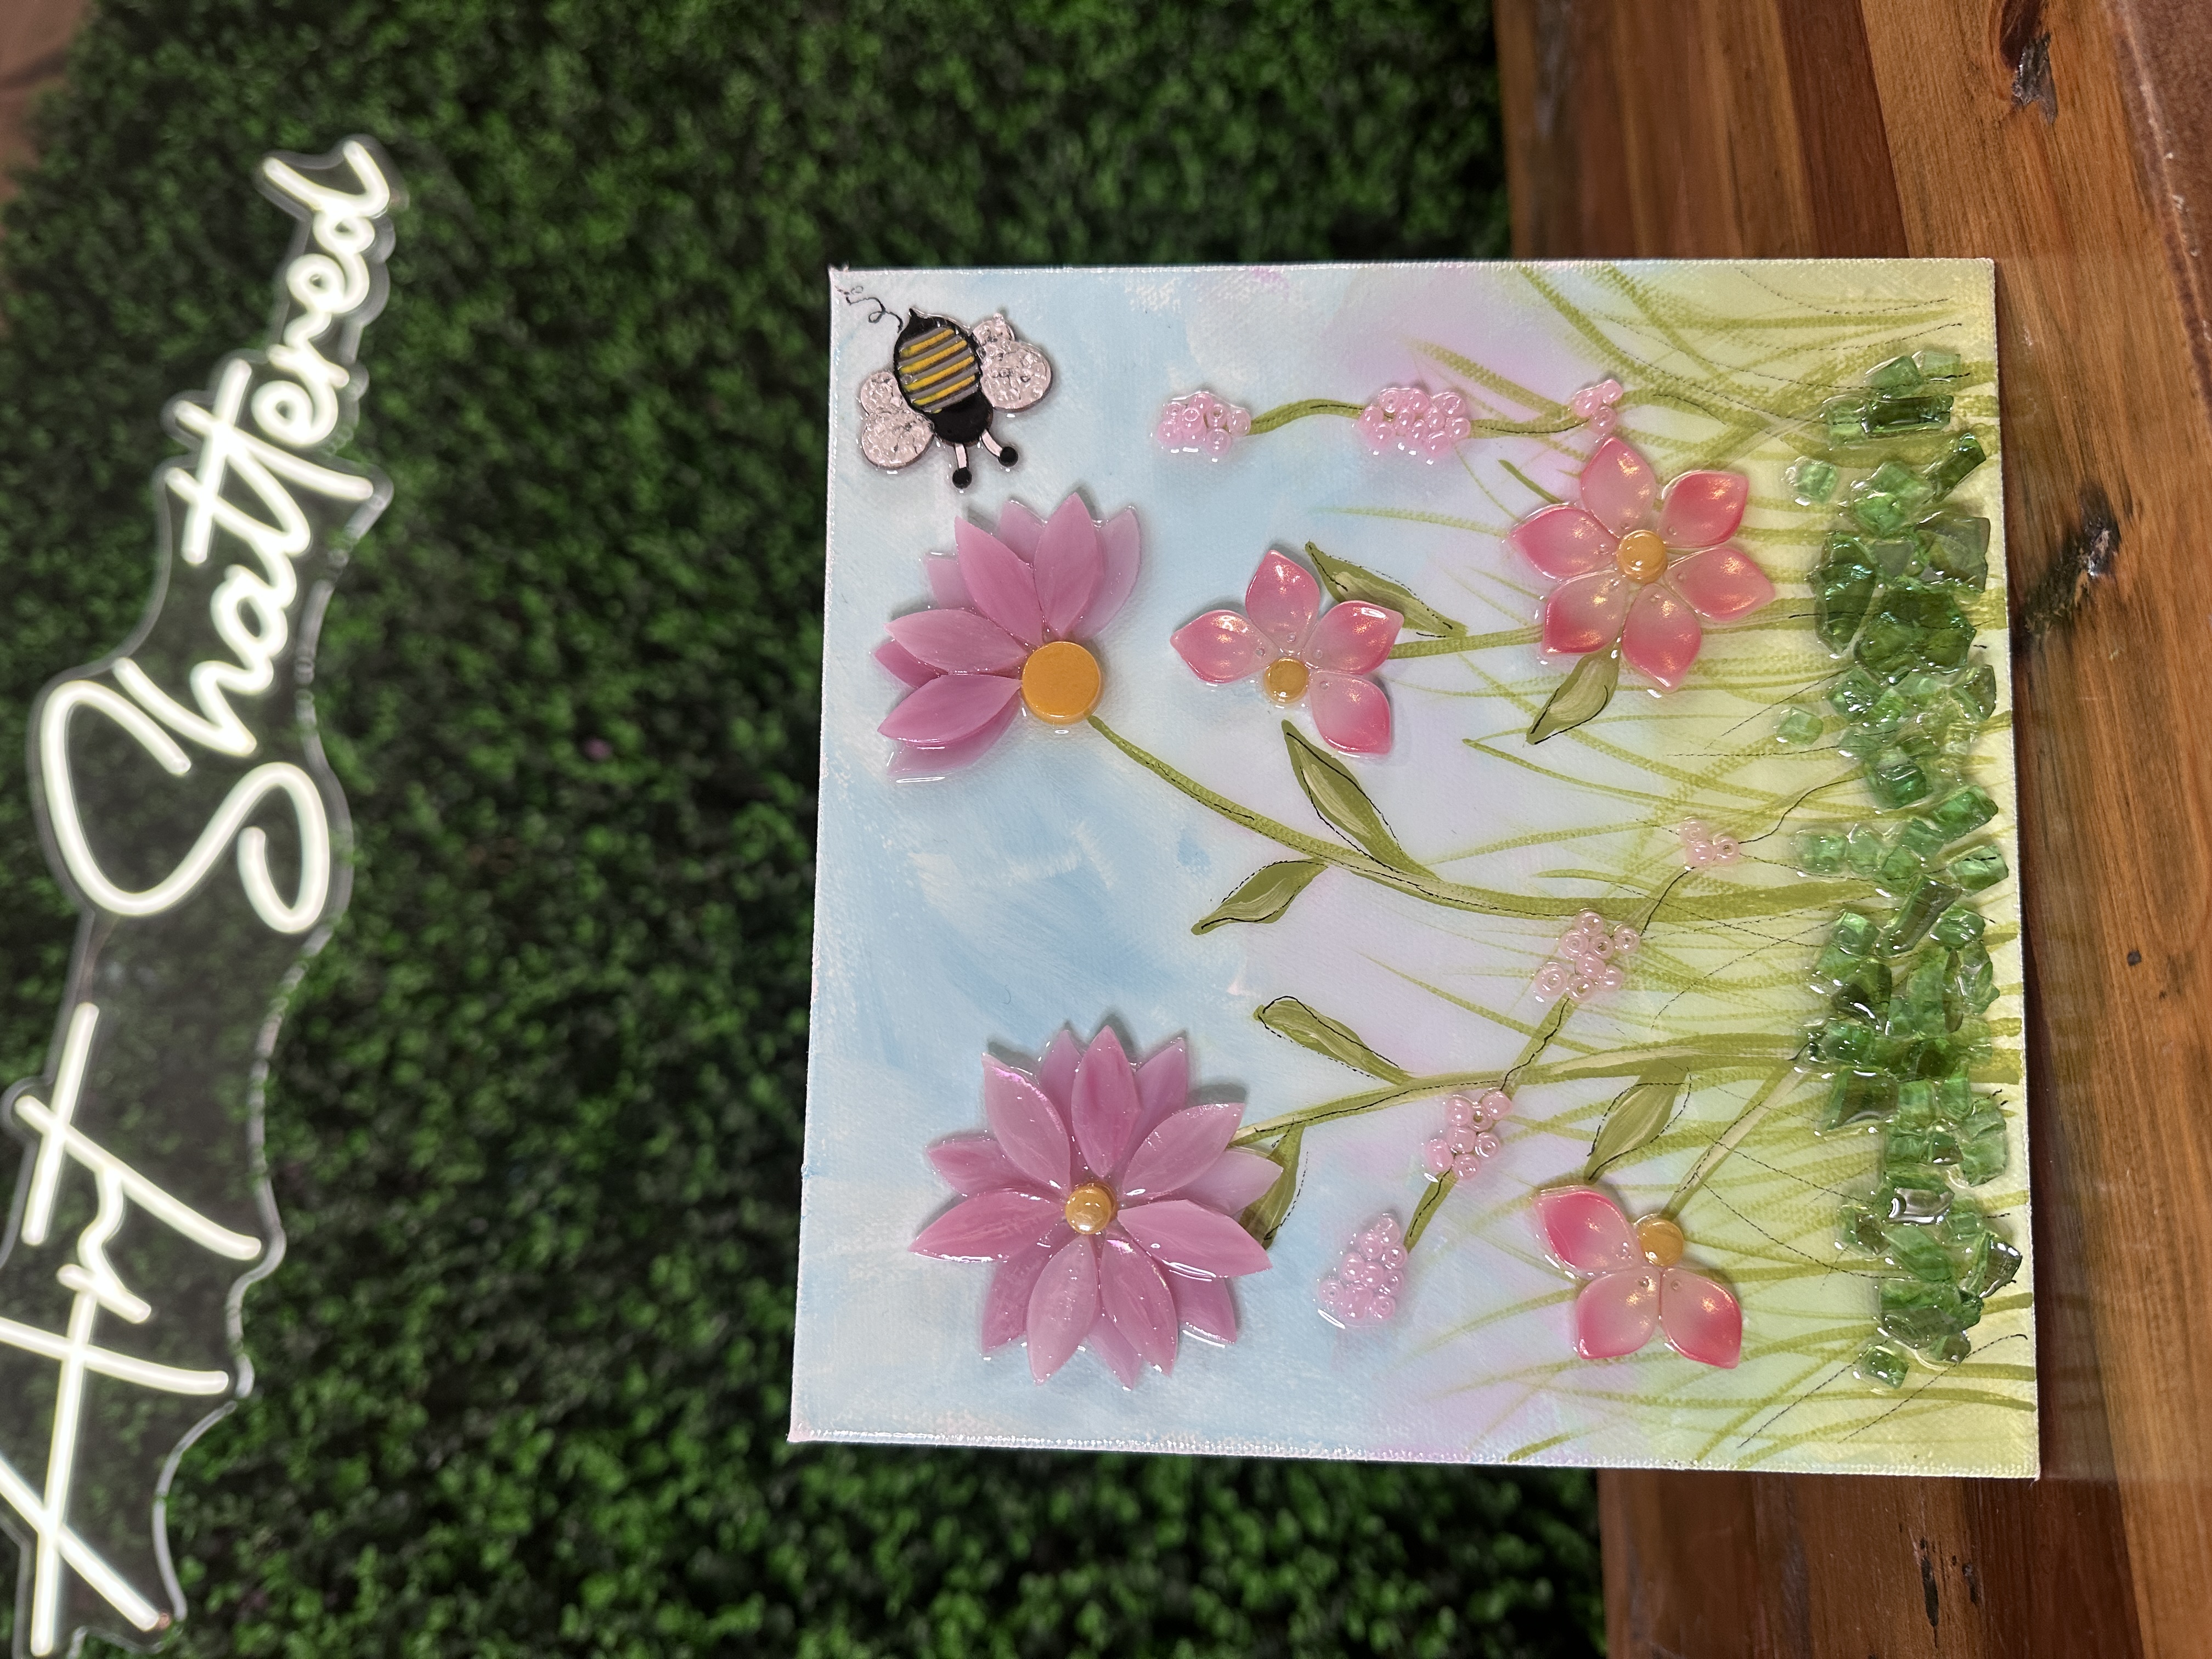
Pretty in Pink Flowers 🌸
Welcome to a spring-inspired glass art project that’s as sweet as it sounds - Pretty in Pink Flowers! In this tutorial, we’ll walk through how to paint a dreamy background, create flowing stems and leaves, and top it all off with dimensional flowers made from beads, acrylic petals, and resin.
Step 1: Painting the Background
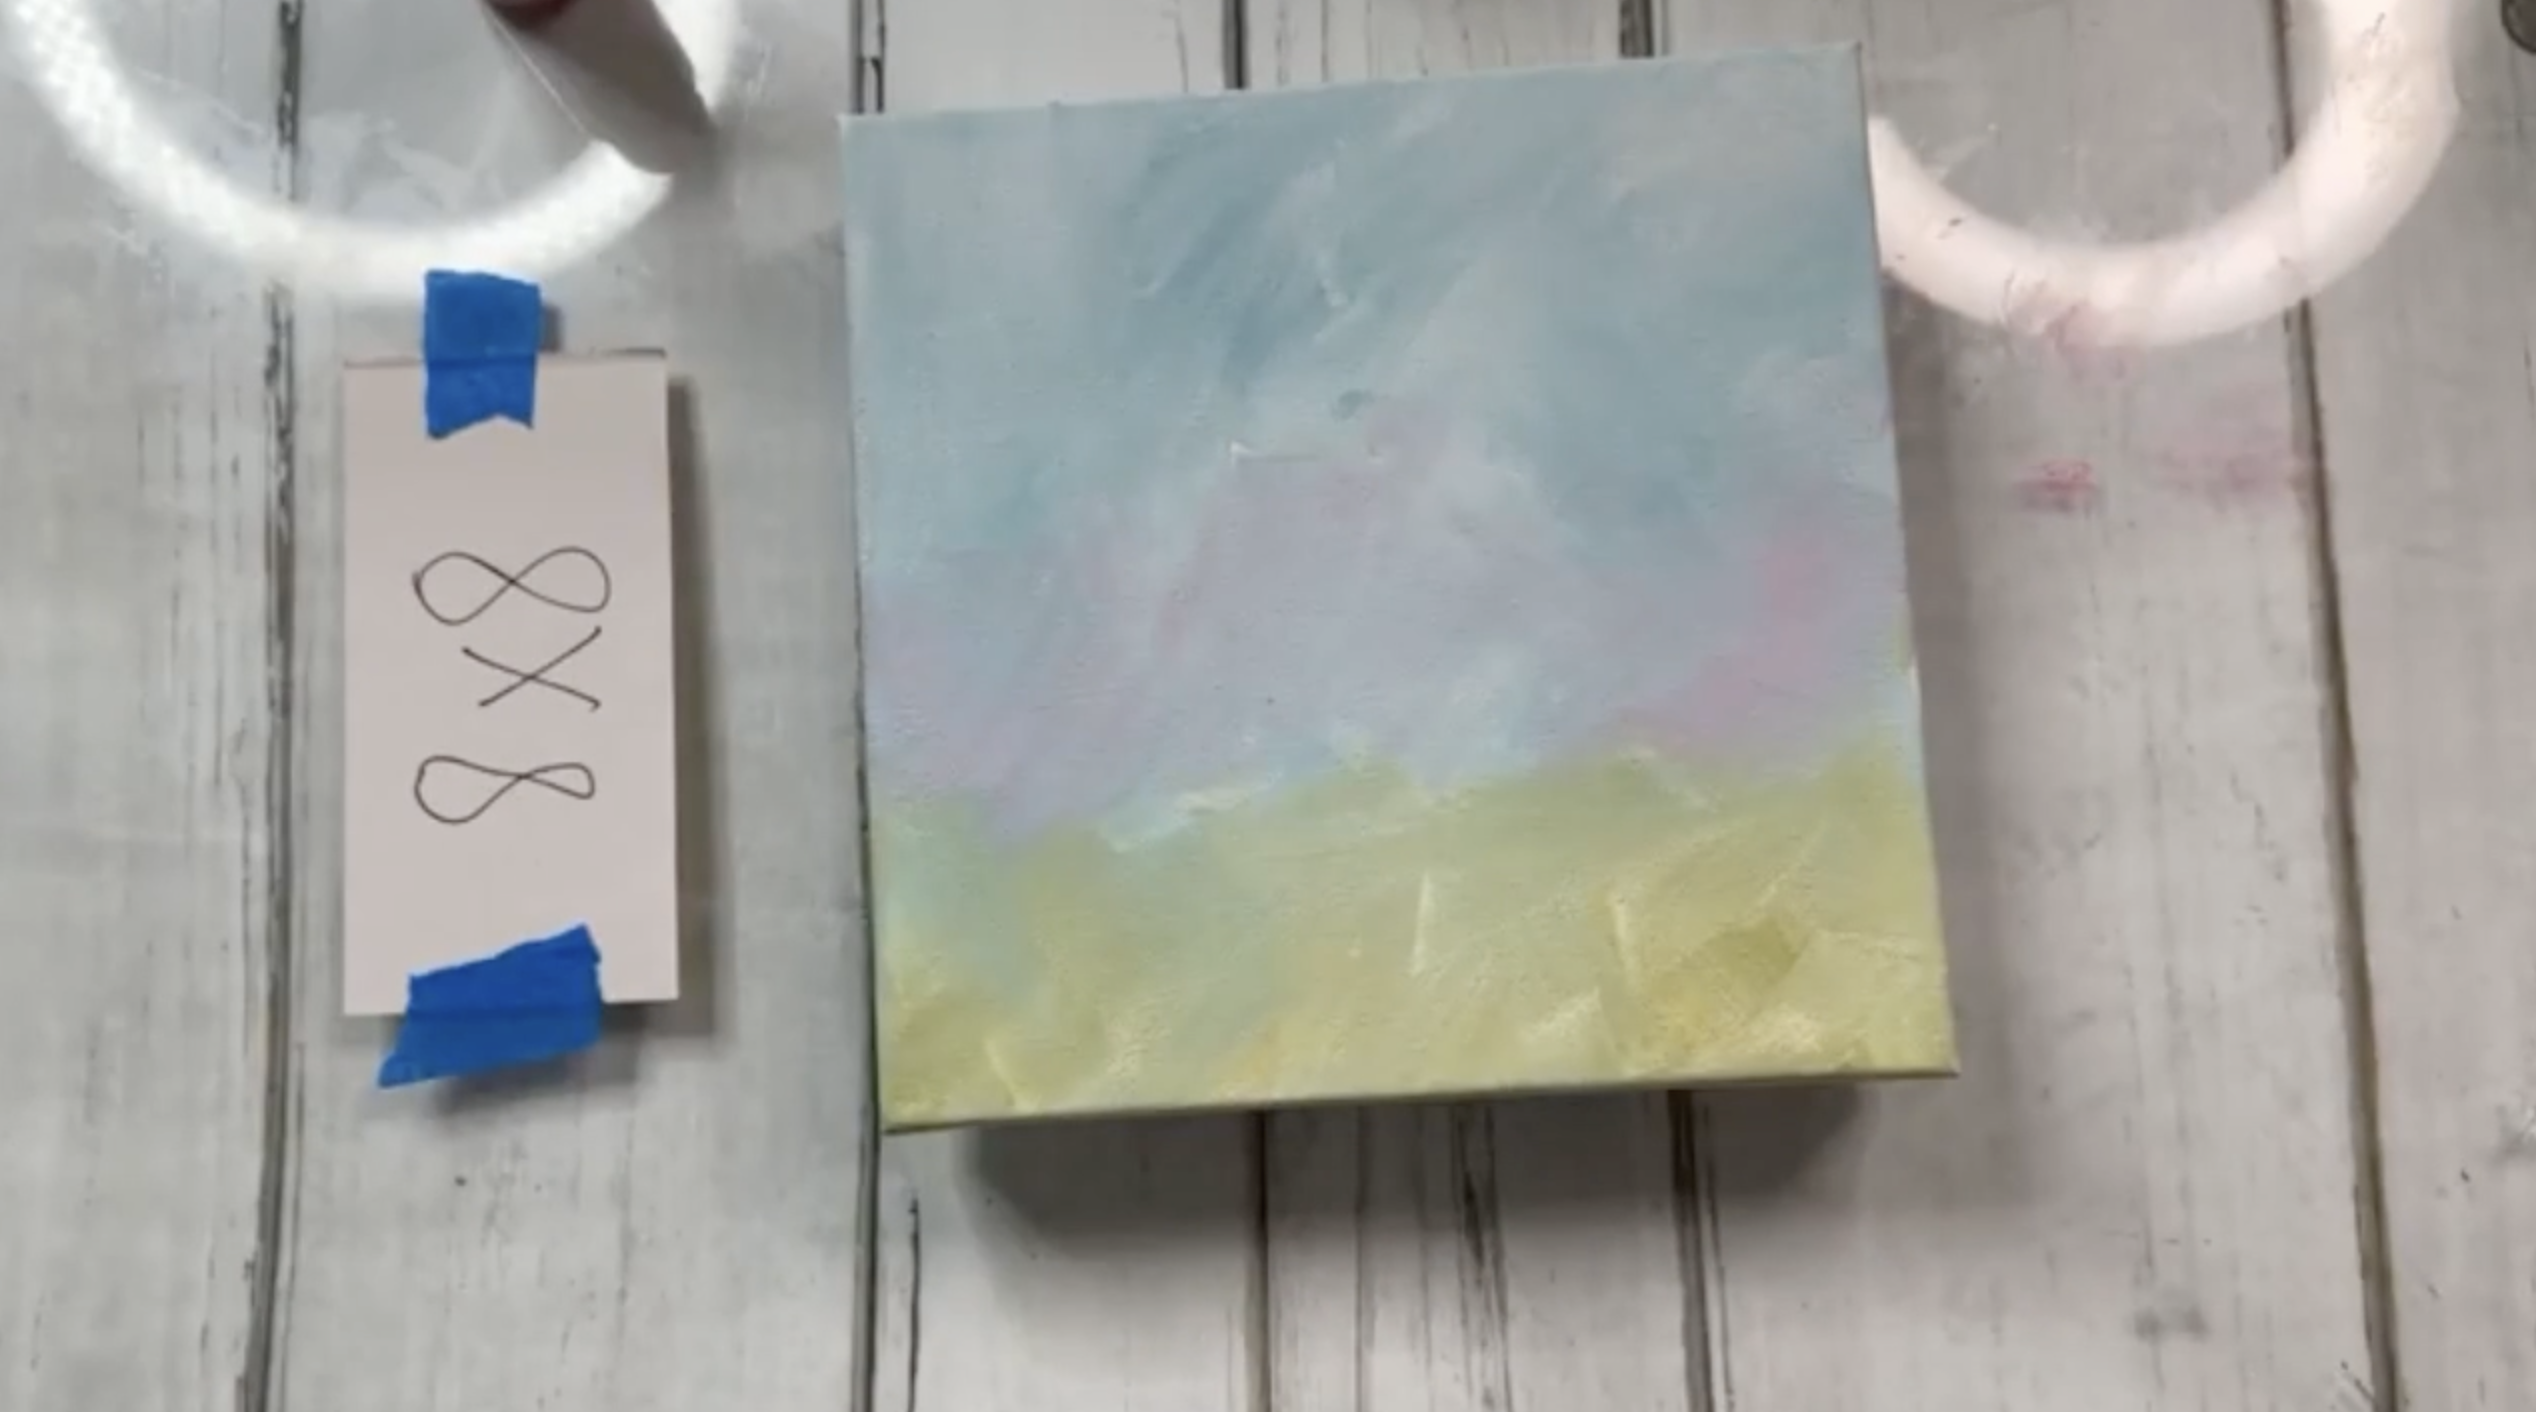
Star by painting the background using a mix of Shoreline Blue and Hauser Light Green acrylic paints, creating a loose sky and grass effect. With a large brush, loosely apply your white paint across the canvas. Then, using the same brush, gently blend in Shoreline Blue by swishing in X-patterns. This gives the sky depth with highs and lows in color, rather than flat blue.
Leaving the bottom inch or two unpainted, switch to your green and use the same X-motion to bring the grass up into the blue. To warm it up, add Poodleskirt Pink to softly blend above the grass for a rosy glow. Dry with a heat tool.
Step 2: Adding Blades of Grass
Next, use a long liner brush to add blades of glass that stretch up into the canvas. Mix a watery version of your green paint so the brush can glide easily. Lightly press and flick upwards in organic strokes - some curved, some straight - to mimic the way grass naturally grows. Keep it loose and playful - the key is variety in direction and length.
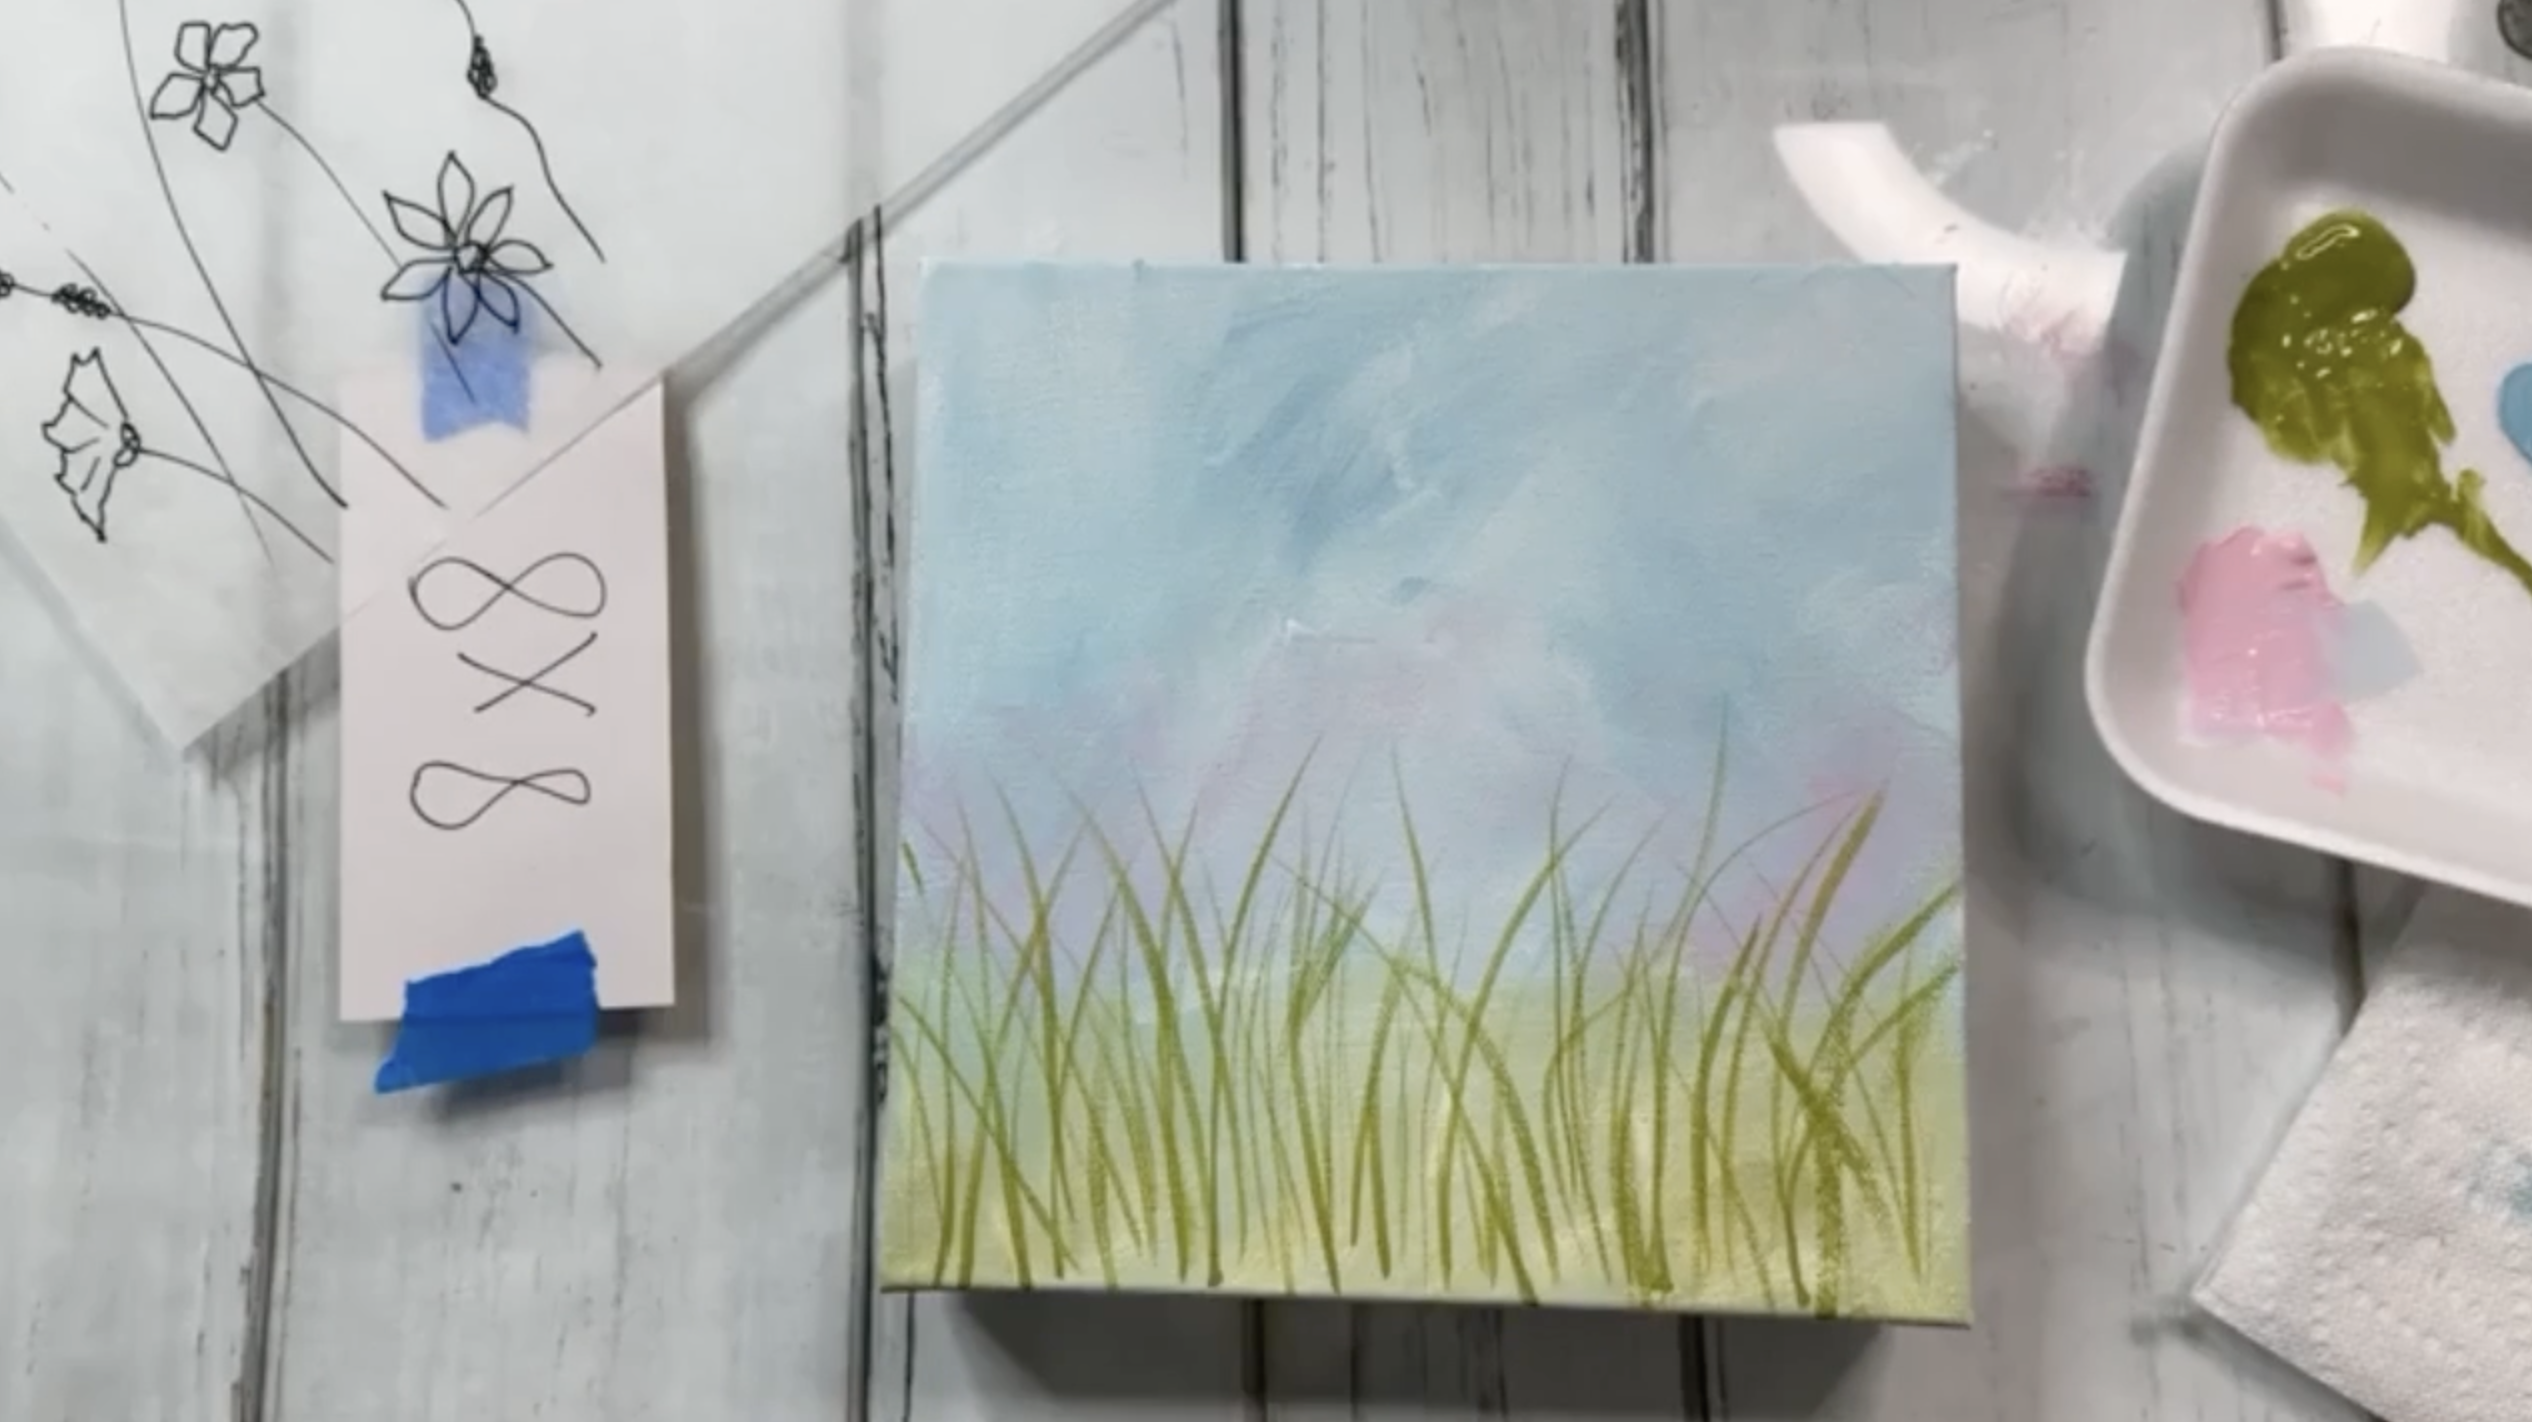
Step 3: Sketching and Painting the Flower Stems
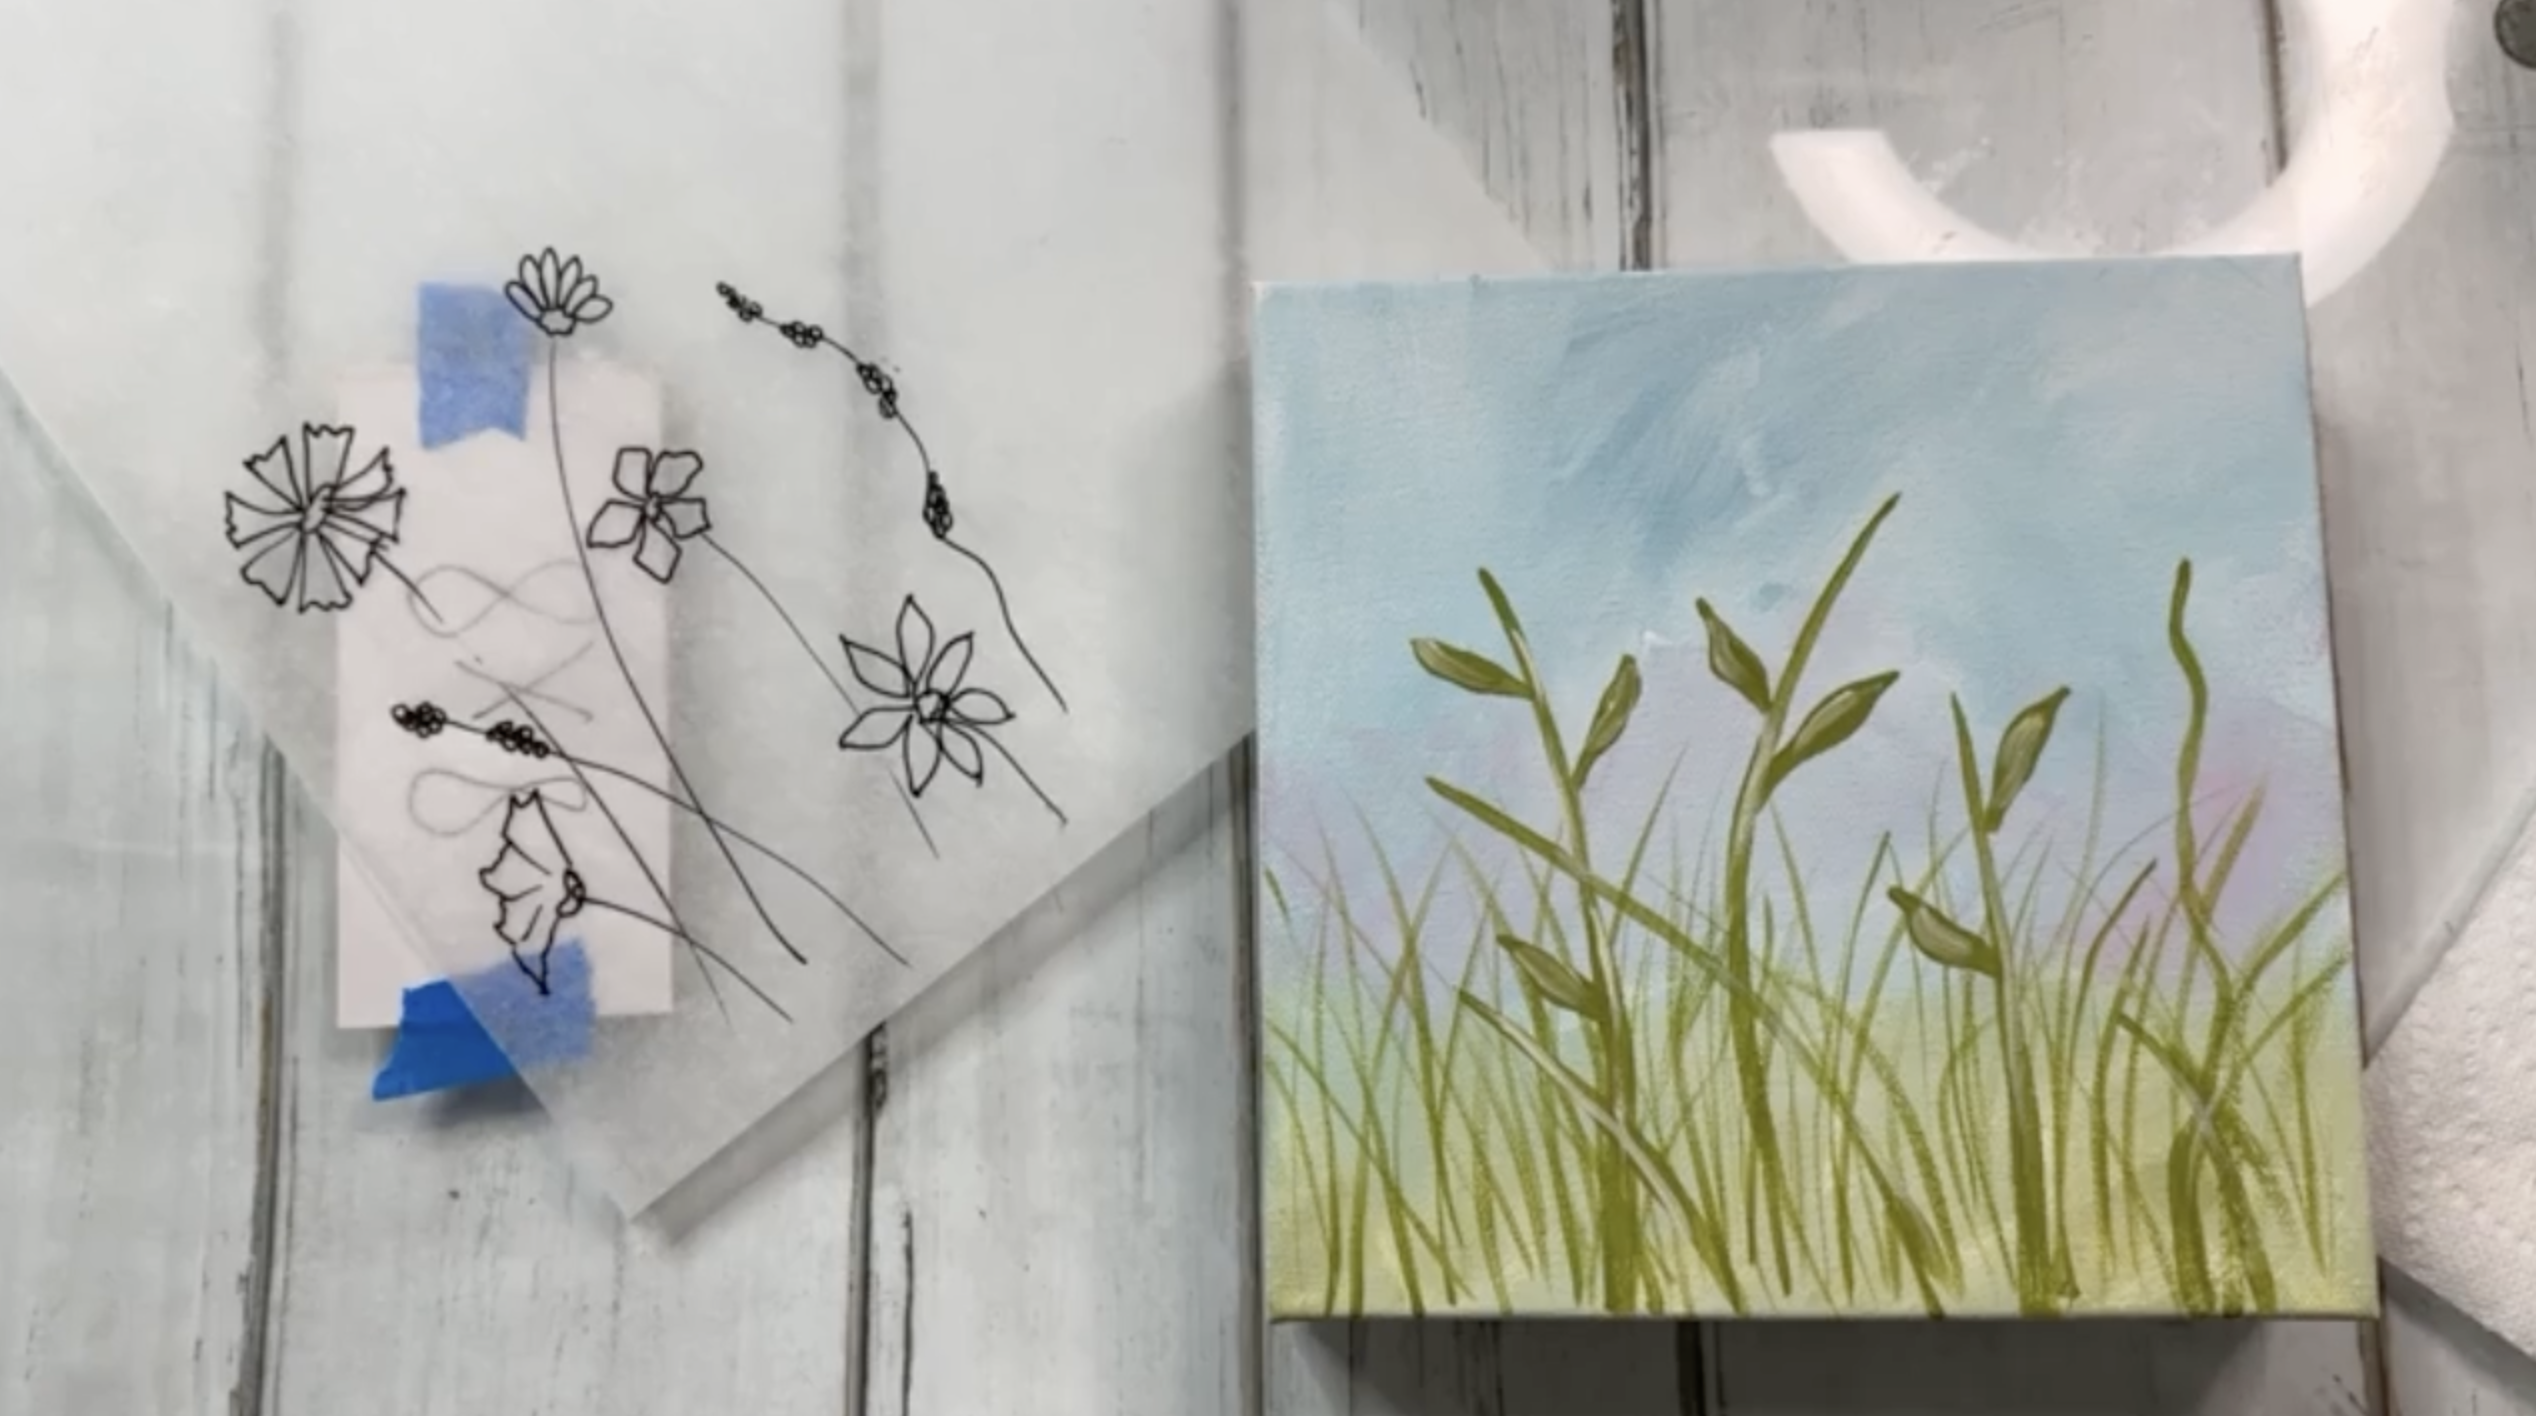
Using the same liner brush, add stems for the flowers, placing them across the canvas. The trick here is pressure: while the blades were painted with the lightest touch, flower stems are made by pressing the brush down a bit more to create thicker lines. Add a few simple green leaves by pressing and pulling the brush from the stem outward, then highlight them with a mix of green and white for added depth.
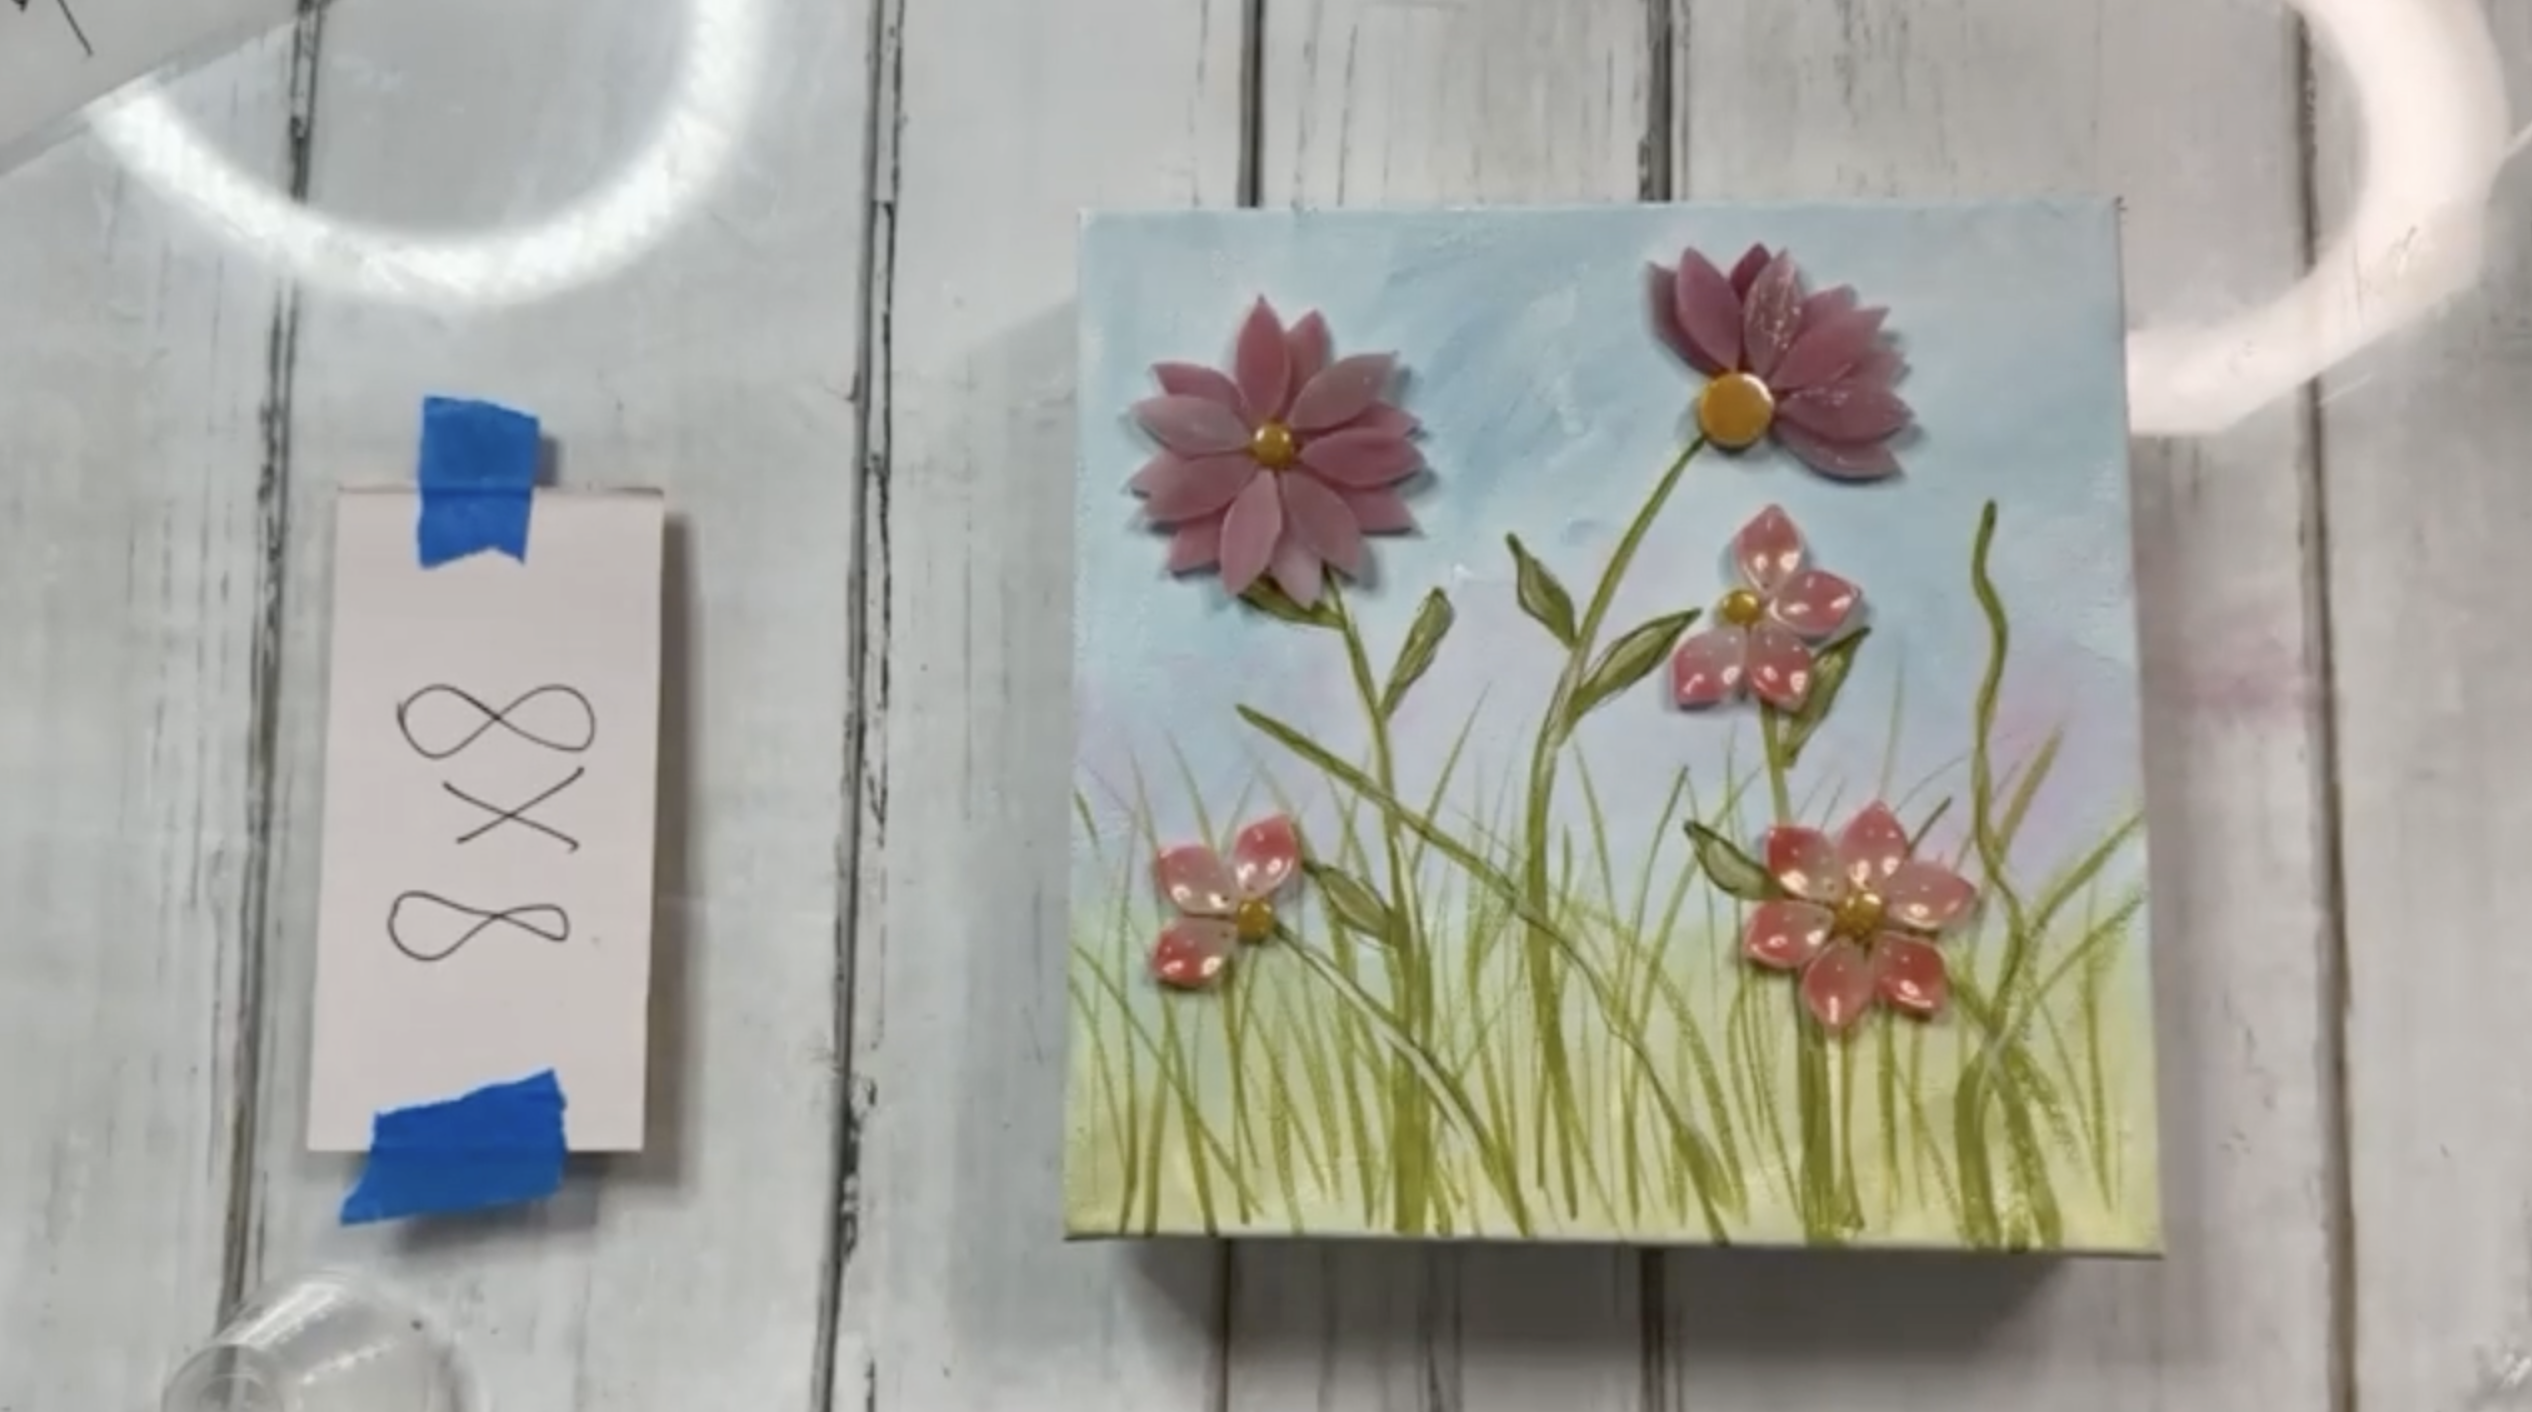
Step 4: Choosing and Arranging Flower Petals
Now comes the fun part - building your flowers! For this project, we are using a mix of pre-cut acrylic petals in different shapes and shades of pink. Some were purchased online, others were gifted by generous members of our community. You can also find similar embellishments at craft stores in the floral or jewelry aisles.
Use tacky glue to add a flower center to your canvas (I'm using yellow beads) and then layer the petals around each flower center. Arrange petals in odd numbers for a natural look, and try layering a second ring of petals between the first to create dimensional blooms
To add a playful touch, I'm also including a tiny wooden bumblebee. Paint the bee in bright yellow and black, with white wings. Finally, use a graphic pen to add short, quick stroke to outline different areas of your art piece to make it all pop.
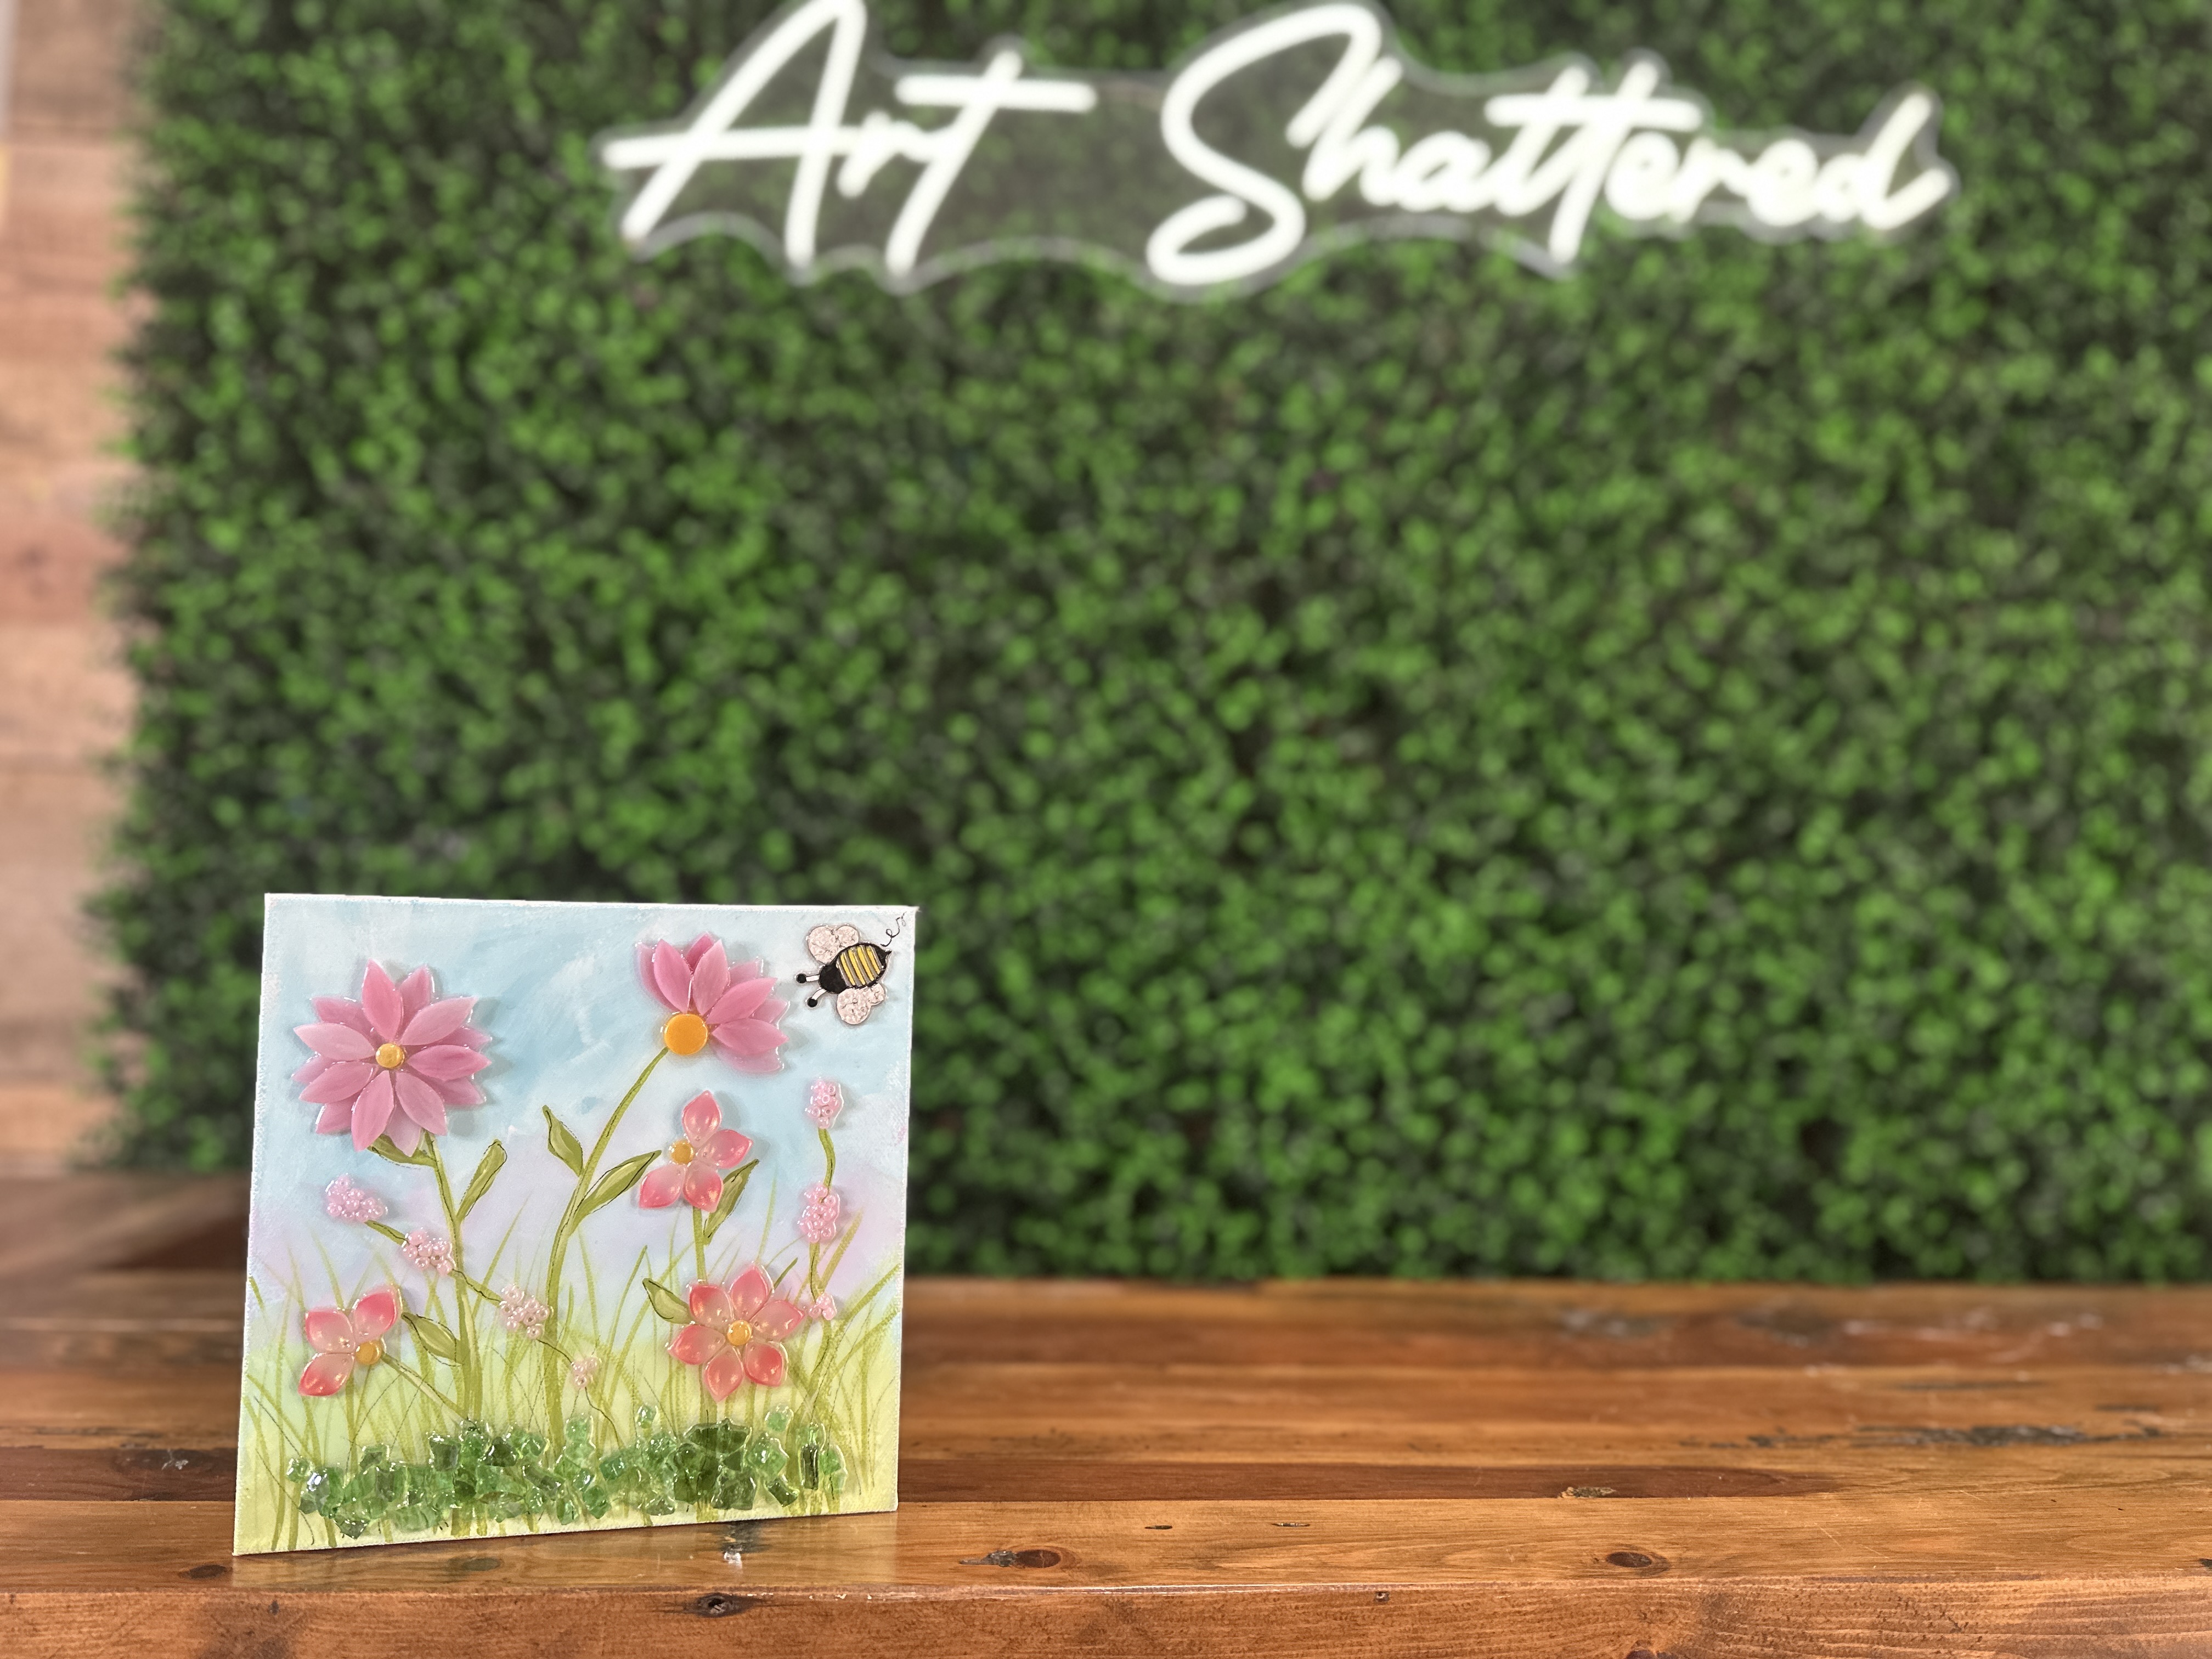
Next, we're going to elevate our canvas using blocks. Put on rubber gloves. Mix 1 oz total of ArtResin and stir gently for three minutes. Pour the resin onto your canvas and use your gloved fingers or brush to spread it over the entire piece.
While the resin is still wet, sprinkle pink and crystal luster seed beads in little clusters along the stems and bee wings for texture and charm. Use a stir stick to adjust placement and keep things looking balanced. If you have leftover resin, gently drizzle over the seed beads to lock them in.
Use a heat gun to pop your bubbles. Keep your heat moving at all times!
If you don’t want to miss my Facebook LIVE art instruction, make sure you are on my texting list. I always text 10 minutes before I’m going to go LIVE, so you won’t ever miss it. You can text “Hey Cindy” to 901-519-2923.
Want more inspiration and artwork?
- My website artshattered.com with resources, shop, and more!
- My creative membership The Shattered Circle, where you can explore the world of glass art with online workshops, a supportive community, and more!
- My mini creative membership Just A ‘Lil Bit Monthly Glass Art Club, where you’ll get a new quick and easy online tutorial for just a lil' bit of sparkle in your life!
- My Facebook page where I go LIVE every Wednesday night at 6:00 PM CST.
- My YouTube channel which has tons of free art lessons right at your fingertips.
