How to Make Shrinky Dink Flower Petals for Resin Art 🌼
You know those late-night Pinterest scrolls that turn into full-blown obsessions? That’s exactly how this whole Shrinky Dink petal project started. I stumbled across an artist using Shrinky Dinks to make jewelry, and a big ol’ lightbulb went off. What if we could use this same material to make custom, colorful petals for our resin art? Let me walk you through everything you need to know, from coloring and cutting to shrinking and shaping.
Step 1: Sketch and Color Your Petals
Start by drawing your petal or leaf shapes. You can sketch freehand or use a template. Since Shrinky Dink sheets shrink by about 50%, be sure to size your designs accordingly - something that starts around 4.5” long will end up around 2” once shrunk.
Place your Shrinky Dink sheet frosted side up over your design and start coloring. You can use:
-
Archival brush markers for bold, opaque color
-
Watercolor pencils for a more translucent look
-
Mica powder or chalk for unique textures
Avoid Sharpies...
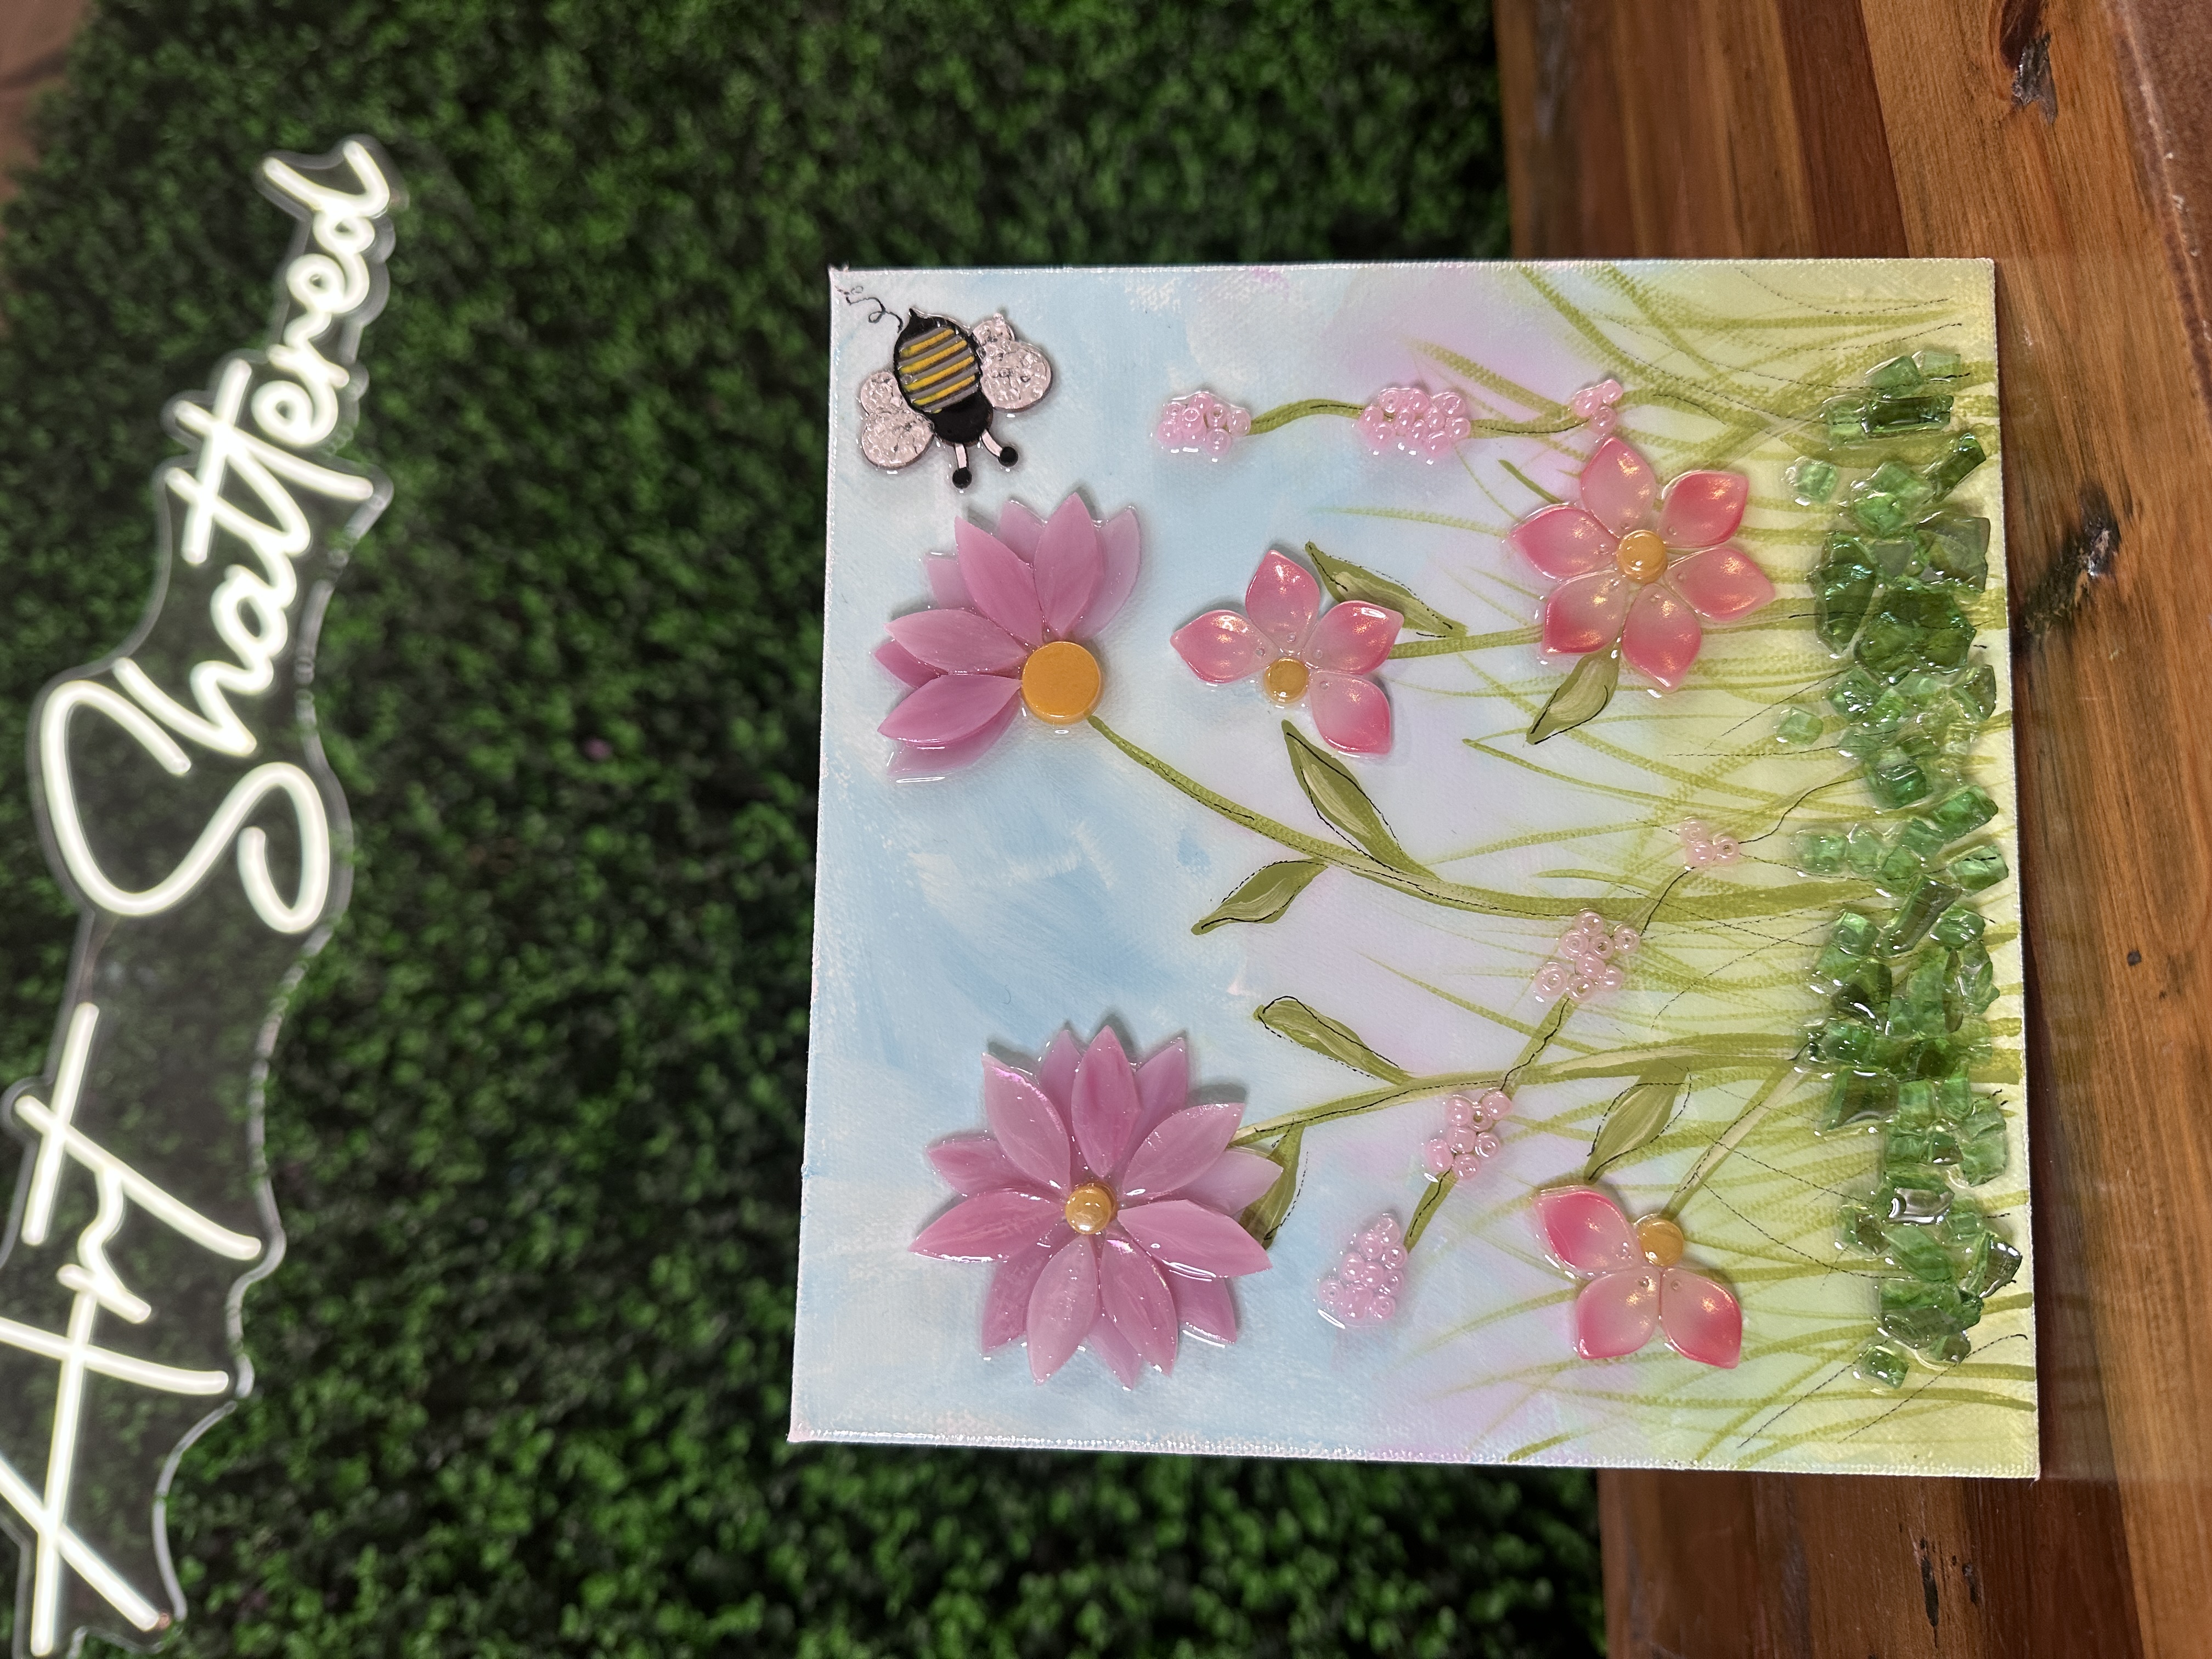
Pretty in Pink Flowers 🌸
Welcome to a spring-inspired glass art project that’s as sweet as it sounds - Pretty in Pink Flowers! In this tutorial, we’ll walk through how to paint a dreamy background, create flowing stems and leaves, and top it all off with dimensional flowers made from beads, acrylic petals, and resin.

Step 1: Painting the Background
Star by painting the background using a mix of Shoreline Blue and Hauser Light Green acrylic paints, creating a loose sky and grass effect. With a large brush, loosely apply your white paint across the canvas. Then, using the same brush, gently blend in Shoreline Blue by swishing in X-patterns. This gives the sky depth with highs and lows in color, rather than flat blue.
Leaving the bottom inch or two unpainted, switch to your green and use the same X-motion to bring the grass up into the blue. To warm it up, add Poodleskirt Pink to softly blend above the grass for a rosy glow. Dry with a heat tool.

Step 2: Adding Blades of Grass
Next, use a long liner brush ...
Bunny Cross 🐇
This mixed-media Bunny Cross canvas brings together painting, glass, and resin to create a beautiful spring scene filled with charm and sparkle! Follow along as we transform an 8x10 canvas into an Easter art piece featuring a fluffy bunny, hand-painted eggs, and a shimmering purple glass cross nestled in a bed of grass and florals.
Start with a layer of white paint across your entire canvas. Blend in soft colors: Buttercream Yellow in a circular “halo” at the center, Wisteria Purple on each side, and Hauser Light Green at the bottom for grass. Keep it light and dreamy! Use a heat tool to dry the background thoroughly.

Grab your tracer, tape it to your canvas, place graphite paper underneath, and trace the bunny with a stylus. Trace it slightly off-center so you have room for the cross. Paint the bunny white, then add gentle gray shading along the edges and in the ears to give depth. Layer two coats if needed for full coverage. Dry...
Bunny Eyes 🐰
If you’ve been itching to create something playful and springy, the Bunny Eyes project might be just what your creative heart needs! This 8x10 canvas artwork combines simple painting, seed beads, and the cutest sticker glasses – all finished off with resin.

Grab your tracer, tape it to your canvas, place graphite paper underneath, and trace your bunny with a stylus. Leave off the eyes and mouth for now.
Load up your plate with white and just a touch of gray paint (I used Slate Gray, but you can mix white and black too). Start painting your bunny! White can be tricky on white canvas, so the gray helps define shapes like the ears and face. Use an angled brush and blend in tiny hints of gray for shading and movement.
Next, use shades like Poodleskirt Pink, Dragonfruit Pink, and white to paint the inside of the ears and nose. Blend lighter toward the center and darker on the outer edges for a little dimension. Paint the nose with Poodleskirt Pink, adding white to the top and Dragonfr...
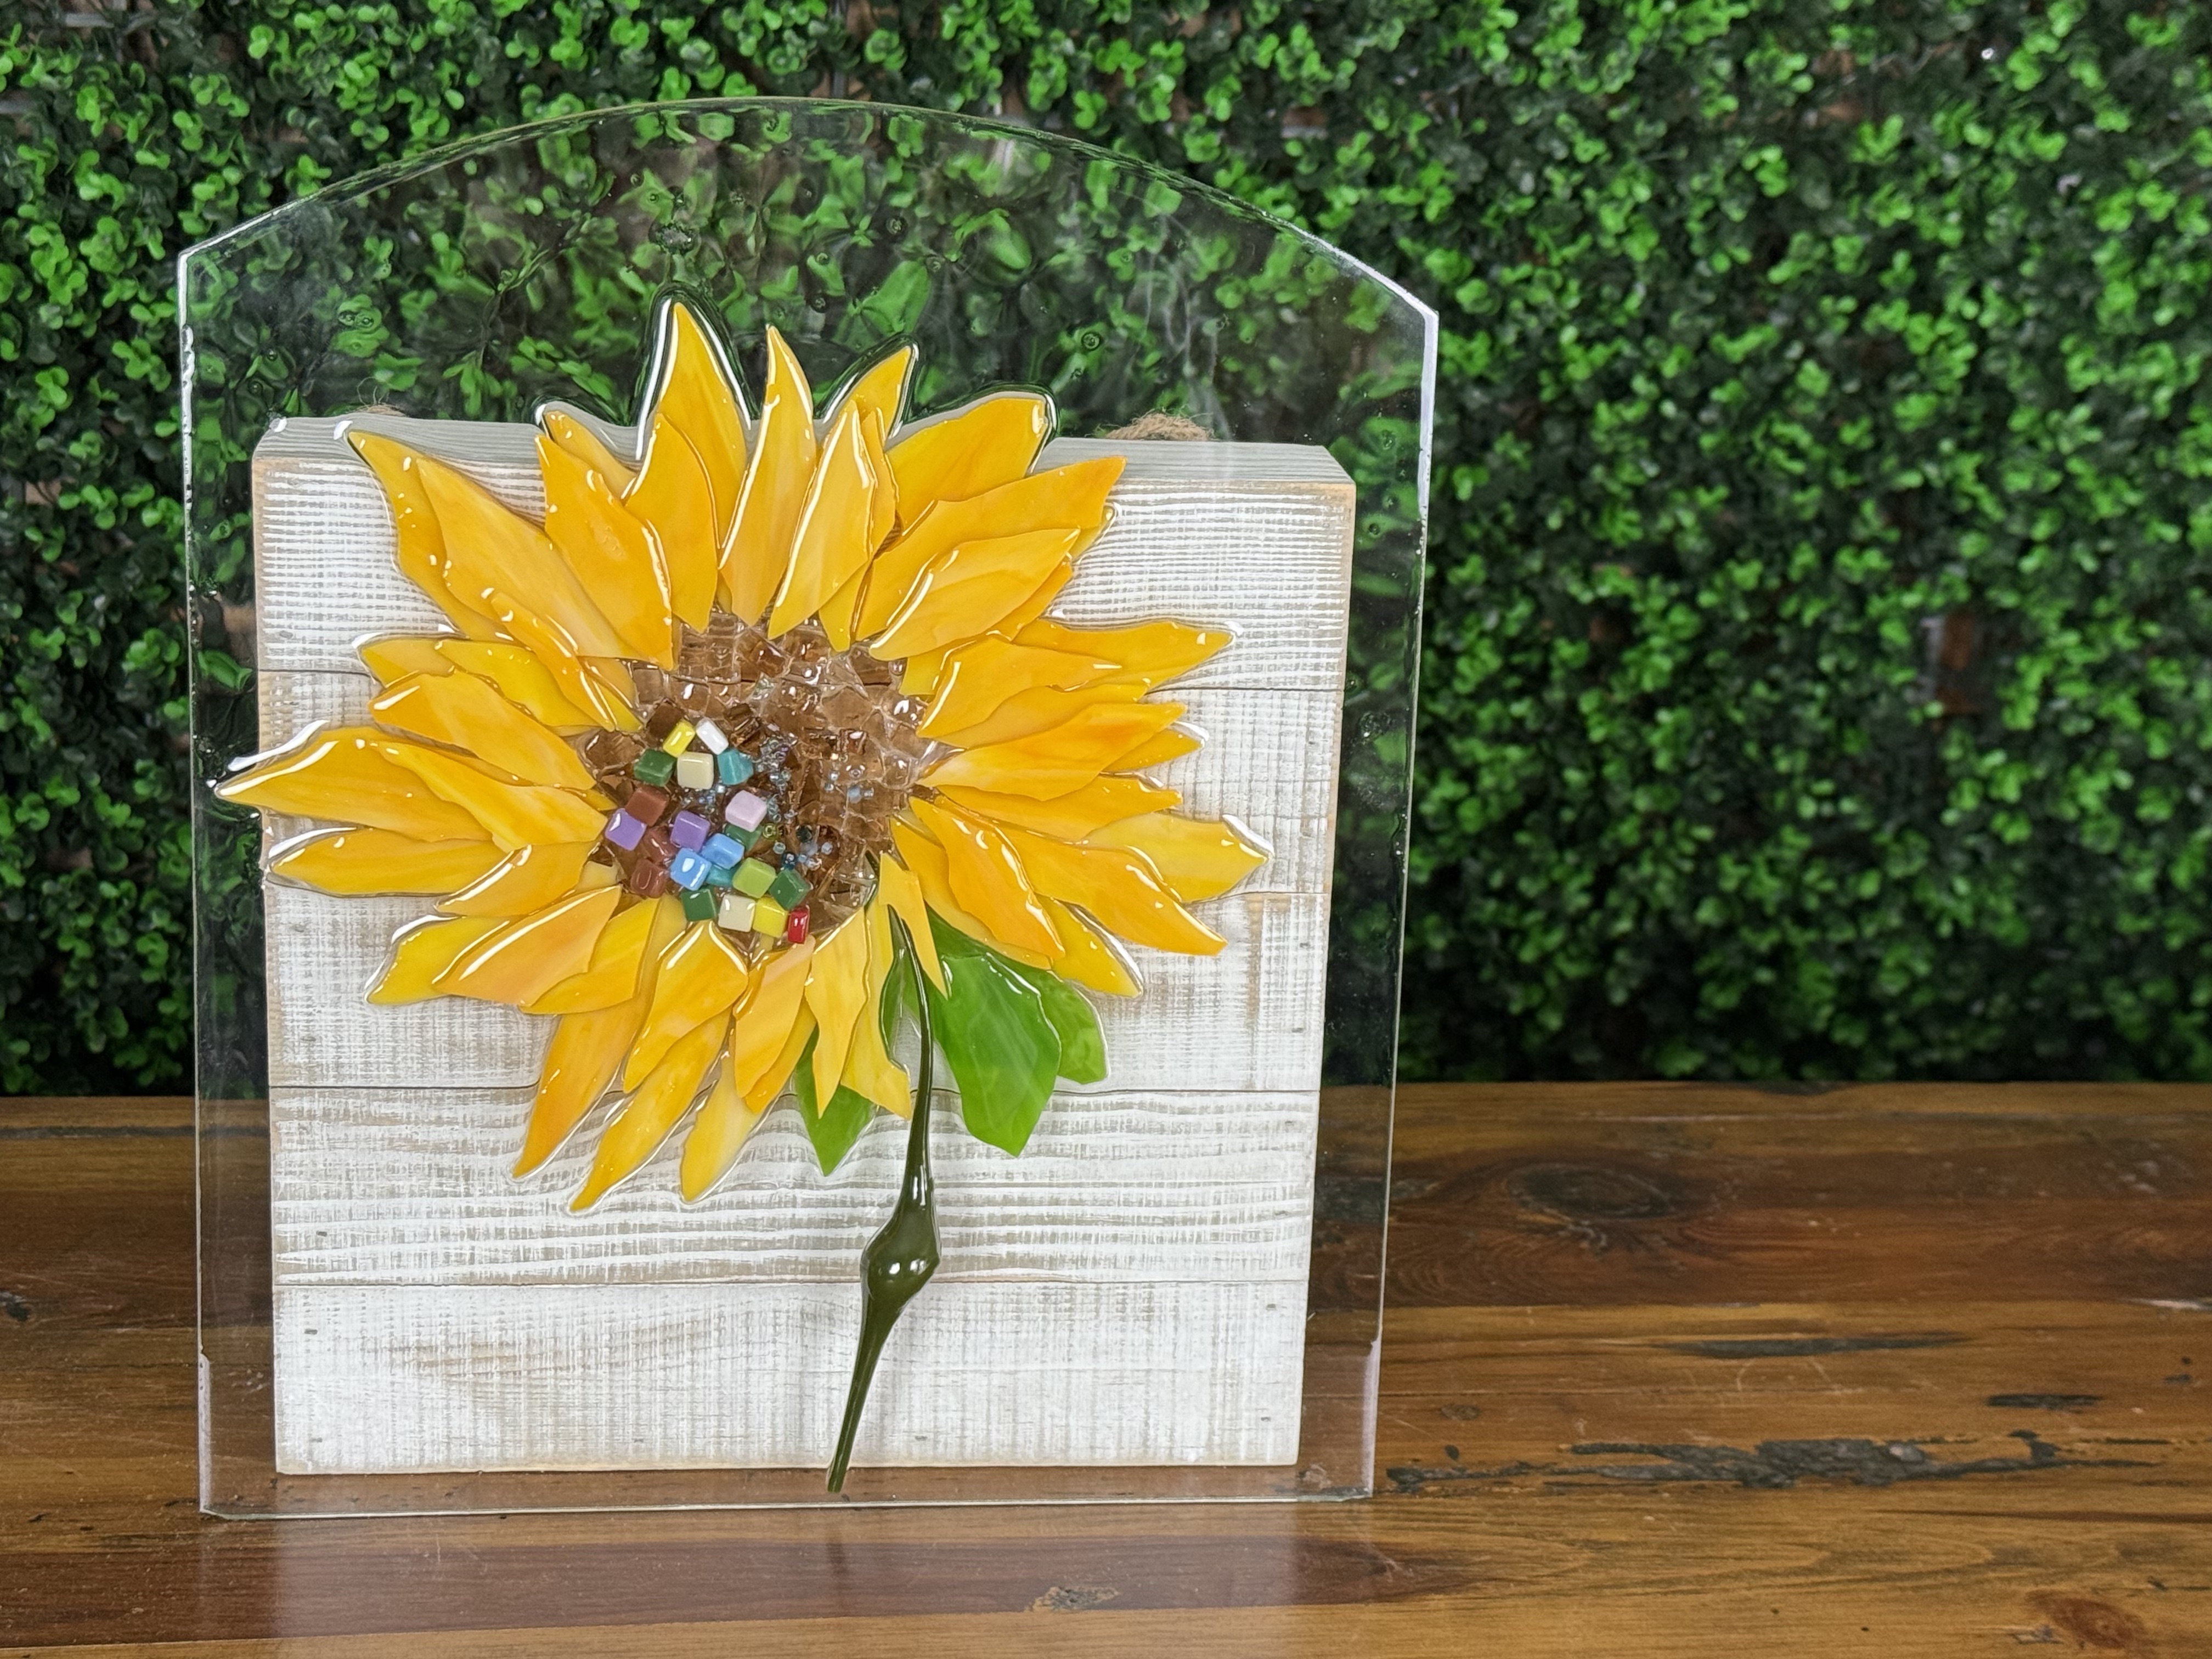
Sunflower Love 🌻
There’s something about sunflowers that feels like instant joy - and when you bring one to life using layers of colored glass and shiny resin, it’s pure magic! In this project, I created a sunflower using glass-on-glass techniques, meaning everything is built directly on a piece of clear glass. I'm sharing how to build your flower from cut yellow glass petals, copper glass, mosaic pieces, and a chunky vitrigraph stem.

I started with a piece of found glass that likely came from a light fixture, but you can use any piece you have on hand. A frame from the dollar store works just fine - just pop the glass out, and you’re good to go. First things first: clean the glass thoroughly to remove dust and fingerprints. Then, wearing gloves to avoid smudging the surface, flip it over and tape off the back. Taping isn’t essential, but it does make cleanup easier if resin drips. If you skip this step, no worries - a razor blade will scrape it right off once it cures.
Once the base is ready, prep...
Crackled Daisy 🌼

For this art piece, I had been experimenting with crackle and came up with this background. I am using an 8x10 wooden frame that I painted with Tropical Blue, added Elmer's glue for crackle, and then painted another coat of Tropical Blue on top.
Next, I found some white sheet glass that I had cut into flower petals with my wheeled nippers. You will want to do this with gloves and eye protection on! I also have two cut pieces of green vase glass for the leaves.
We are going to mix our resin first, then start creating our flower by layering the glass flower petals. We will add resin ...
Dragonfly on Dots 😍
Discover the joy of creating a glass dragonfly art piece on a painted dot background! This fun and easy project is perfect for beginners. Learn to paint the dotted background and add a glass bead strand for the body, broken vase glass pieces for the wings, a bead for the head, and acrylic bubbles for that finishing touch!
Apply a thin coat of white paint over the entire canvas. This helps to blend other colors and gives a soft background. Squeeze out small amounts of Seashell (pastel pink), Buttercream (yellow), Wild Wasabi (green), Winter Blue (purple-blue), Spa Blue (sky blue), and white onto your palette.
Use a dotting tool to dip into Buttercream and make dots randomly across the canvas. Apply light pressure and twist slightly to form your dots. Clean the dotting tool between colors. Repeat the dotting technique with Seashell, Wild Wasabi, Winter Blue, and Spa Blue, allowing some overlap. Mix white with each color and dot around the original colors to create a gradient effect. ...
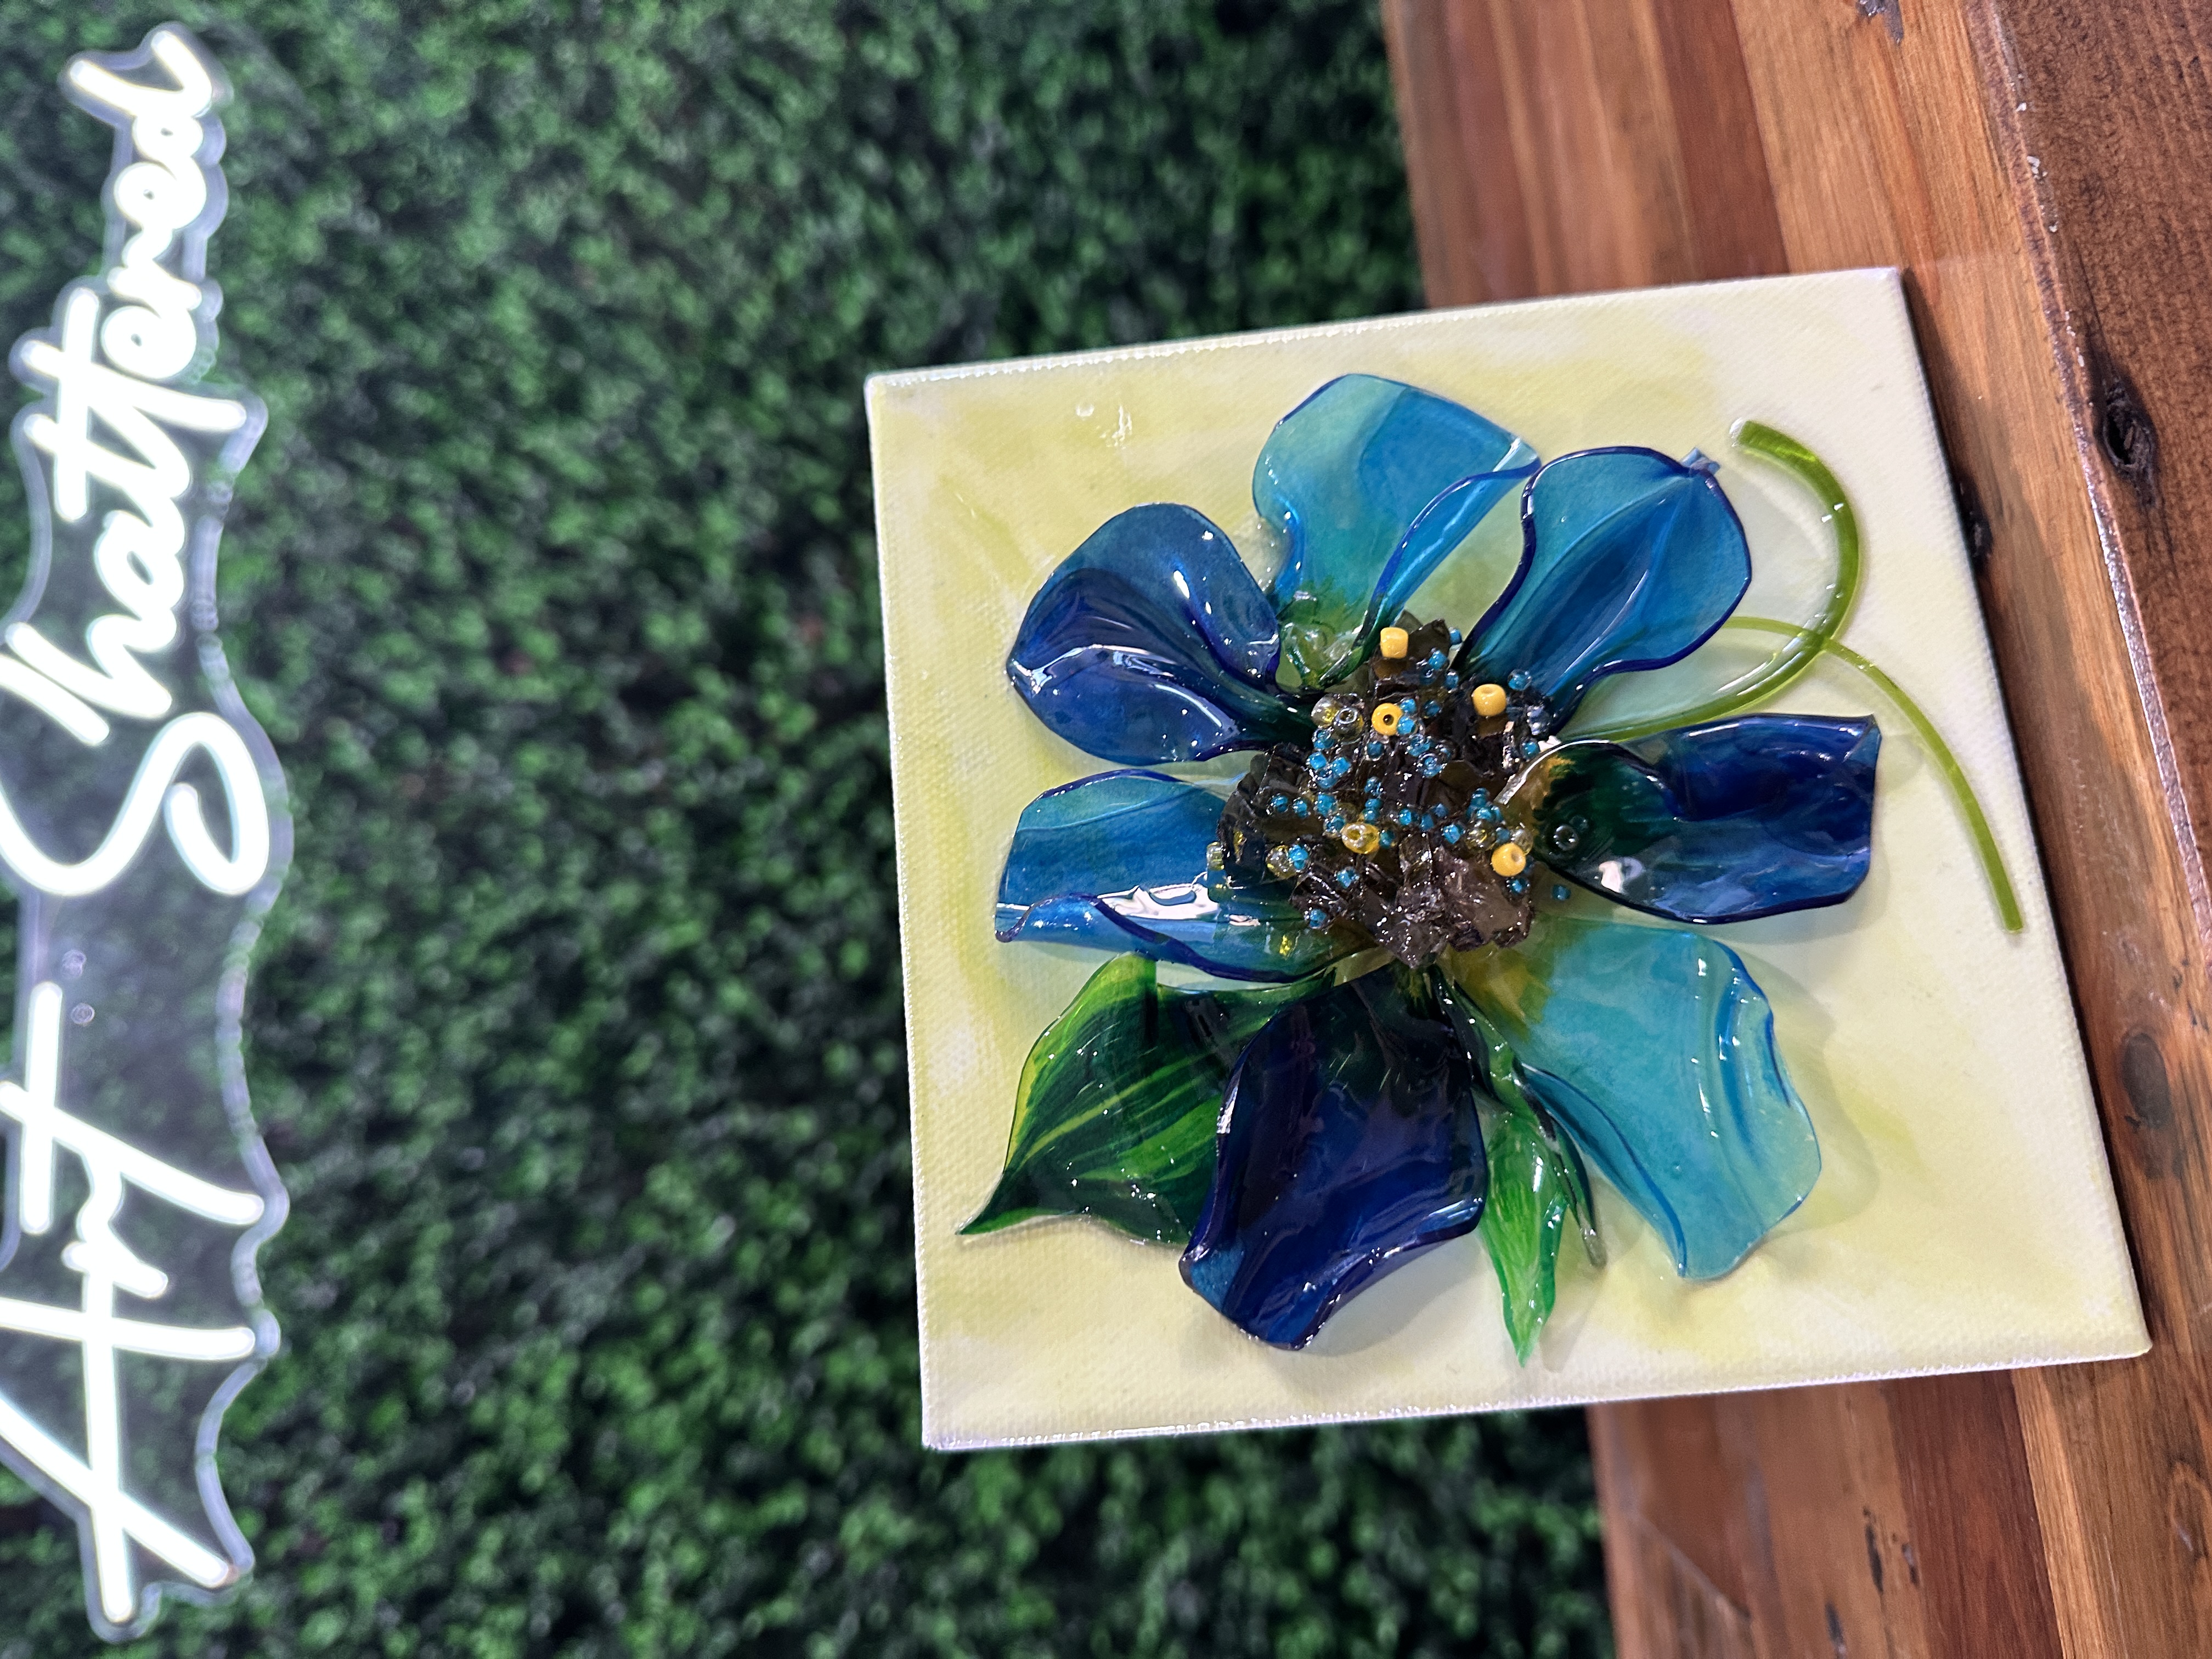
Blue Hyacinth 💙
Today, we’re using a 5x7 canvas to create a beautiful blue hyacinth flower. This project stands out for its simplicity - minimal painting (only three colors!), no need for tracing, and tons of glass goodies to play with. We’ll be incorporating vibrant blue glass pieces, plastic flowers, cut glass pieces, vitrigraph, and a variety of seed beads to bring this masterpiece to life.

Start by painting your background with a coat of white paint. Then, blend in blue paint in the top area of your canvas and light green in the bottom area of your canvas. Dry with a heat tool.

Now let's add glass! I'm going to use 1/2 inch blue glass and shape it into a hyacinth flower. Then, I'll add two pieces of green glass that I nipped from a vase for the leaves and a piece of green vitrigraph to create the stem.

Mix 1 ounce of resin and stir gently for three minutes. Pour the resin onto your glass and spread it onto your canvas using your gloved fingers or brush.
Next, we'll add even more embell...
Purple Lotus Flower 🪷
Let's create a stunning purple lotus flower on a 5x7 canvas! We'll paint a colorful and fun dotted background and then add glass pieces to make our flower. Whether you're a seasoned artist or a beginner, this step-by-step guide will help you create a beautiful, unique piece of art. Let's dive in!
Apply a thin coat of white paint over the entire canvas. This helps to blend other colors and gives a soft background. Squeeze out small amounts of Seashell (pastel pink), Buttercream (yellow), Wild Wasabi (green), Winter Blue (purple-blue), Spa Blue (sky blue), and white onto your palette.
Use a dotting tool to dip into Buttercream and make dots randomly across the canvas. Apply light pressure and twist slightly to form your dots. Clean the dotting tool between colors. Repeat the dotting technique with Seashell, Wild Wasabi, Winter Blue, and Spa Blue, allowing some overlap. Mix white with each color and dot around the original colors to create a gradient effect. Dry with a heat tool.

N...
White Textured Flower 🤍
Ever wanted to create a gorgeous flower painting but worried it might be too hard? This tutorial is for you! I'll walk you through creating a stunning white flower with amazing texture using just paint. Then, we'll take it a step further and add some sparkle with glass and resin for a fun beginner-friendly project!
We are working with a 5x7 canvas. Start by painting your background and canvas sides with Metallic Antique Gold with a sponge brush, which helps lay those metallics out better. Once you have your color on, pull the paint in one direction to lay the metallics flat. Dry with a heat tool, add a second coat, and dry again.
Next, I'll take Metallic Silver Sterling paint and apply it to my background with a palette knife. I want this to have a distressed look, so I will lightly pull the paint down in one direction. I'll do the same to my canvas sides. Dry with a heat tool.

Grab your tracer, tape it to your canvas, place graphite paper underneath, and trace your flower with ...


