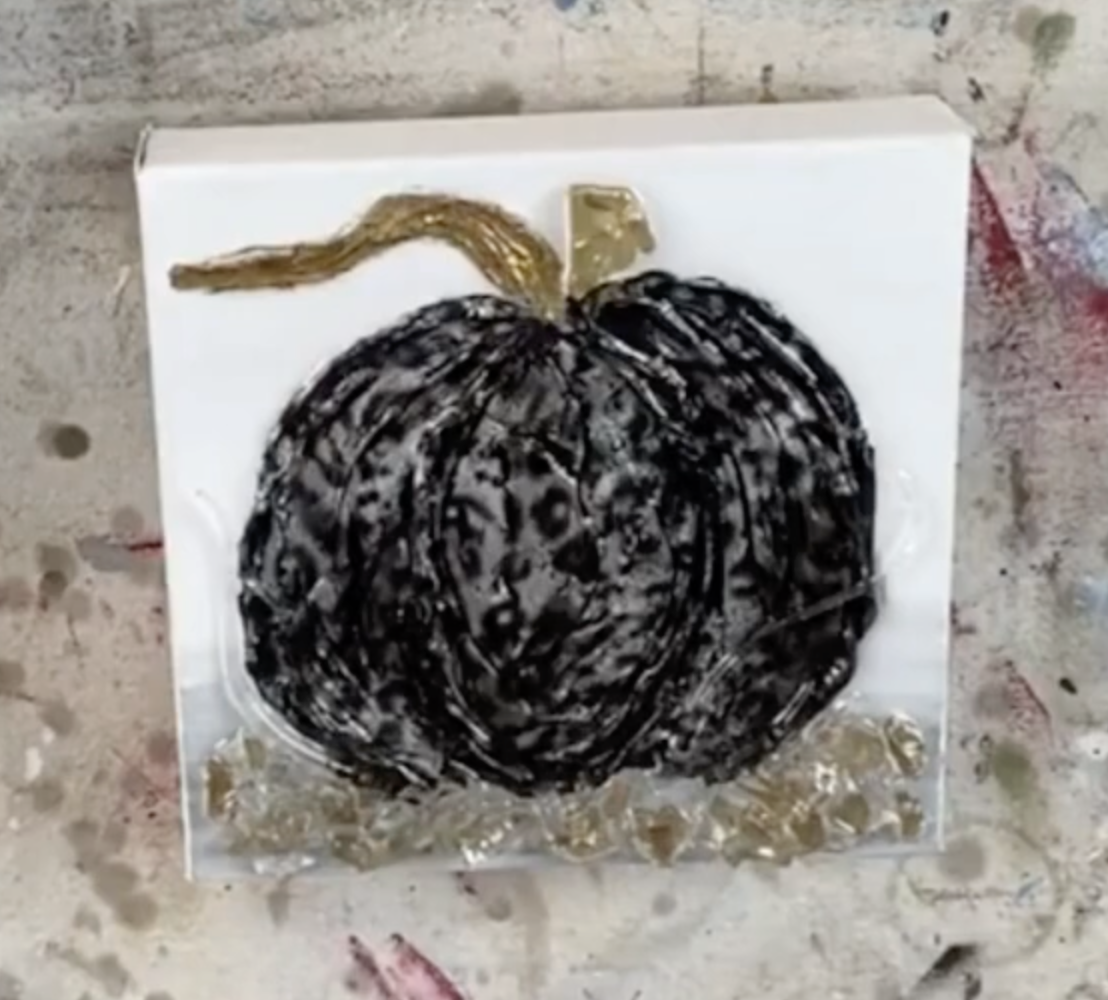
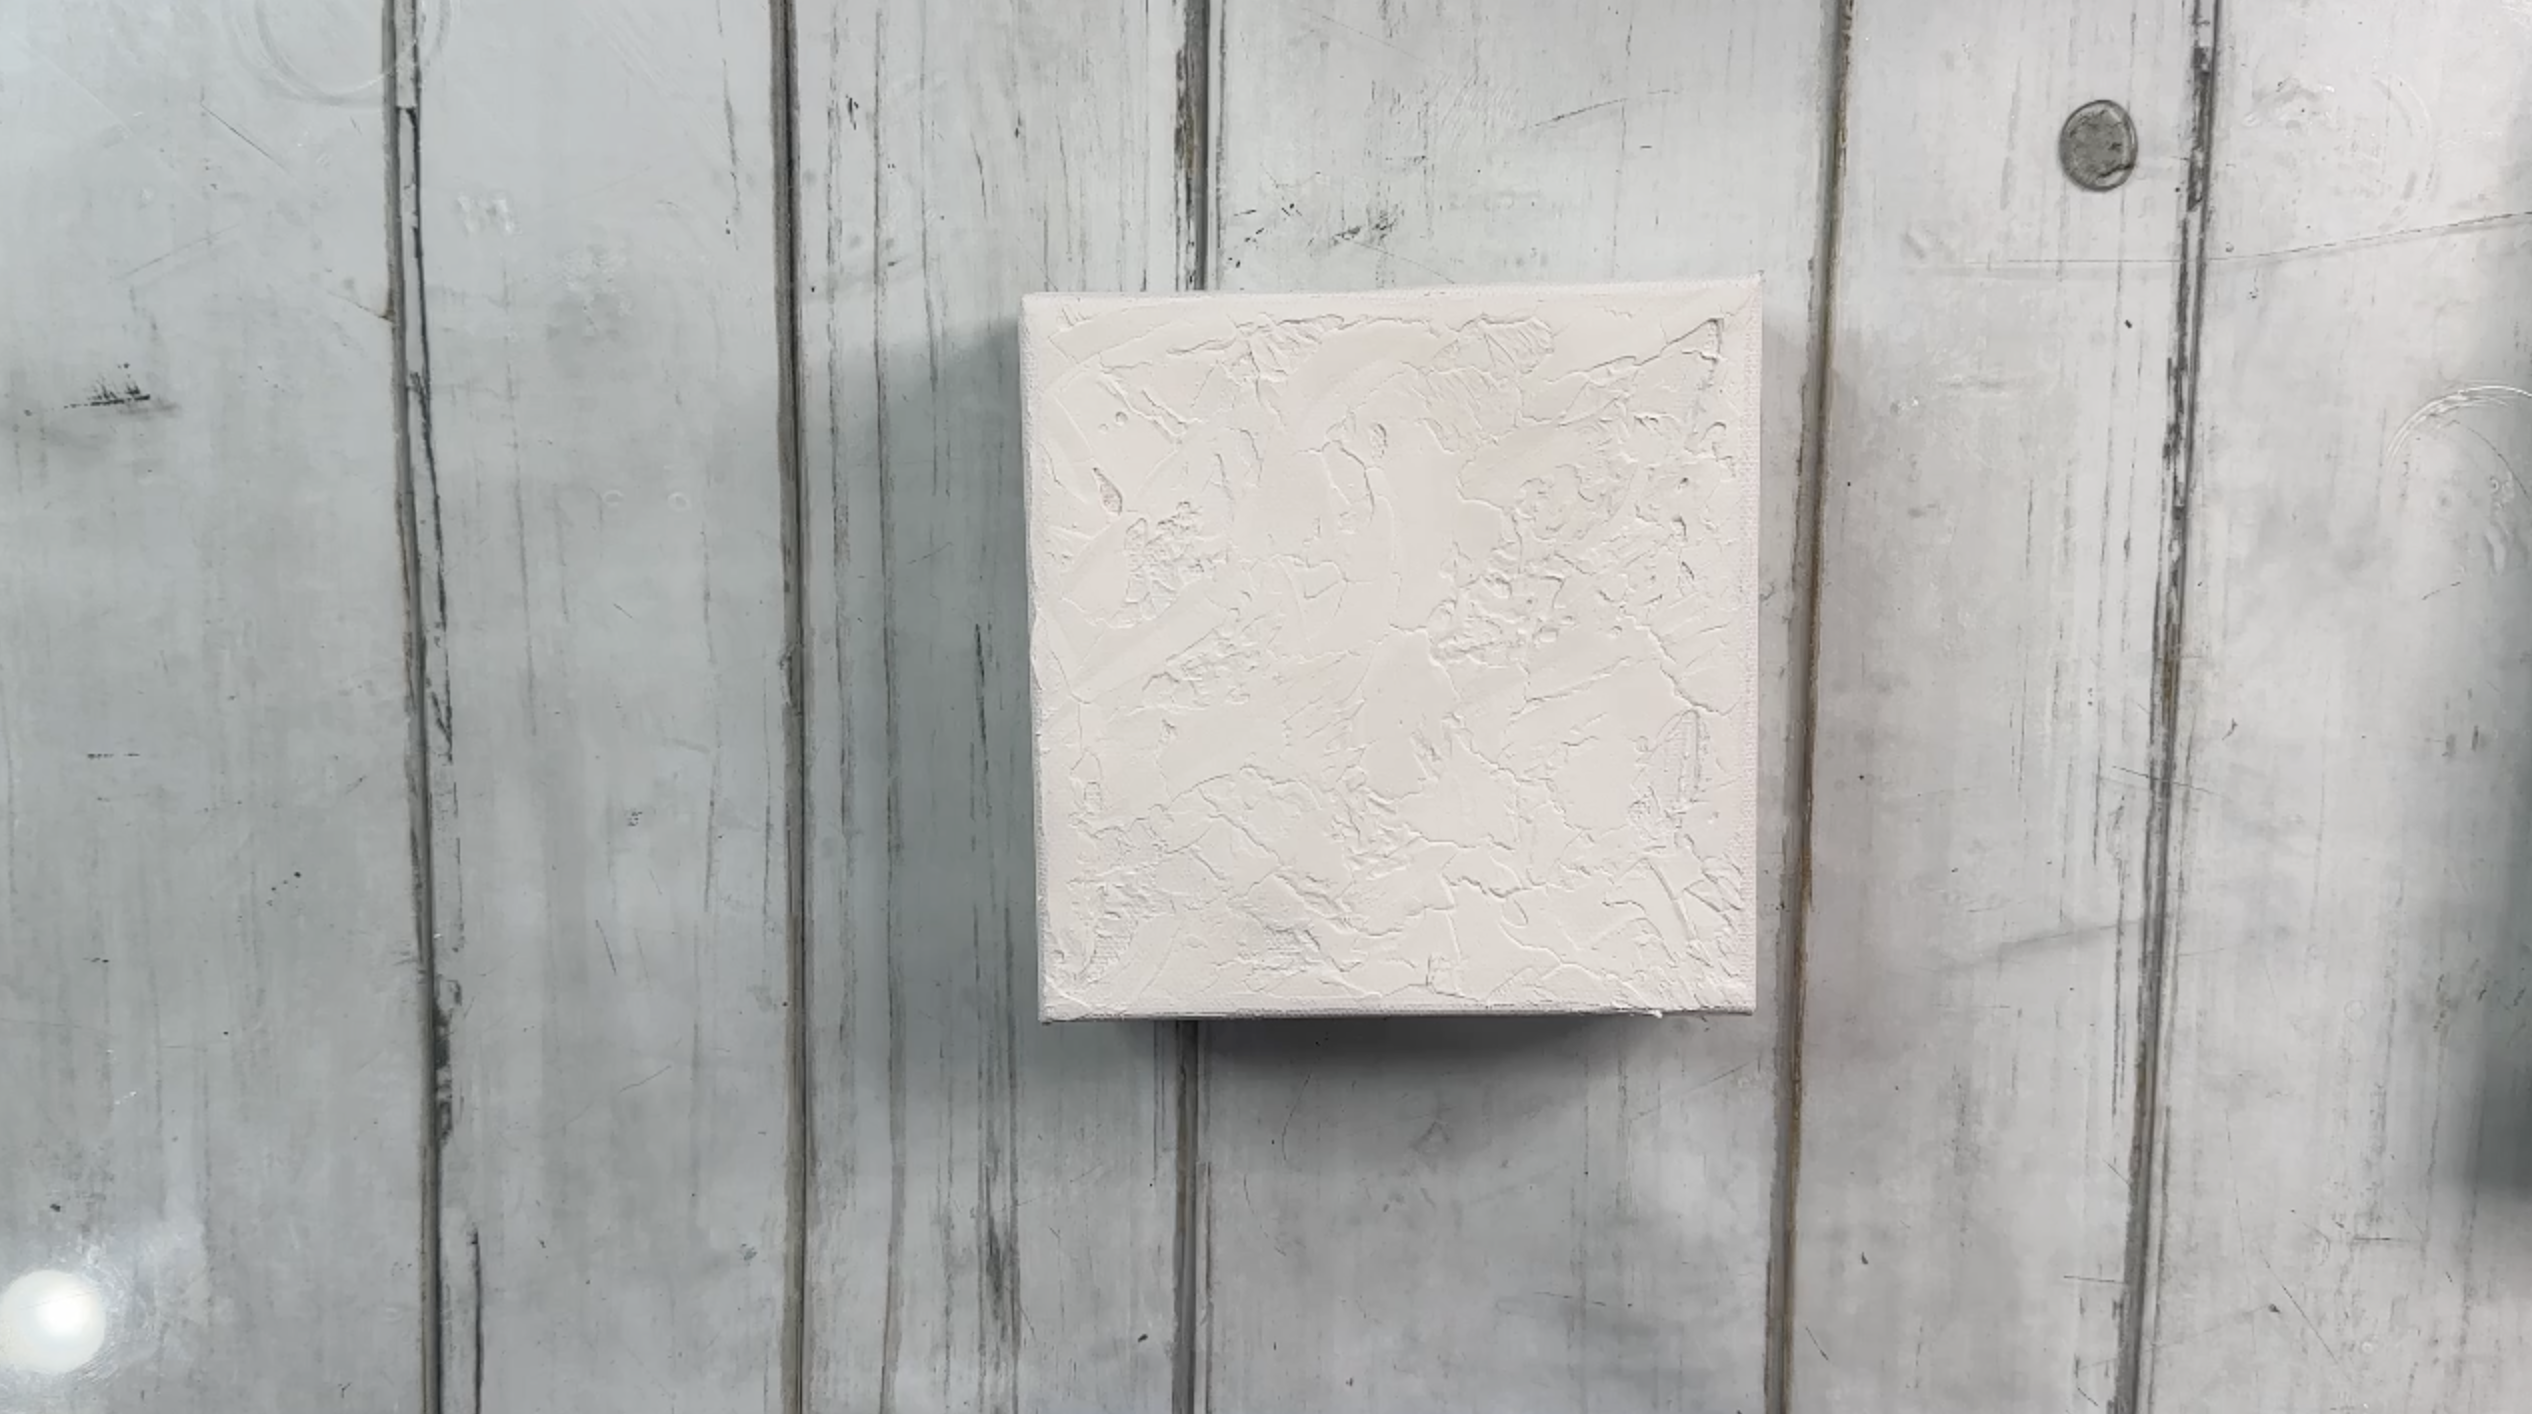
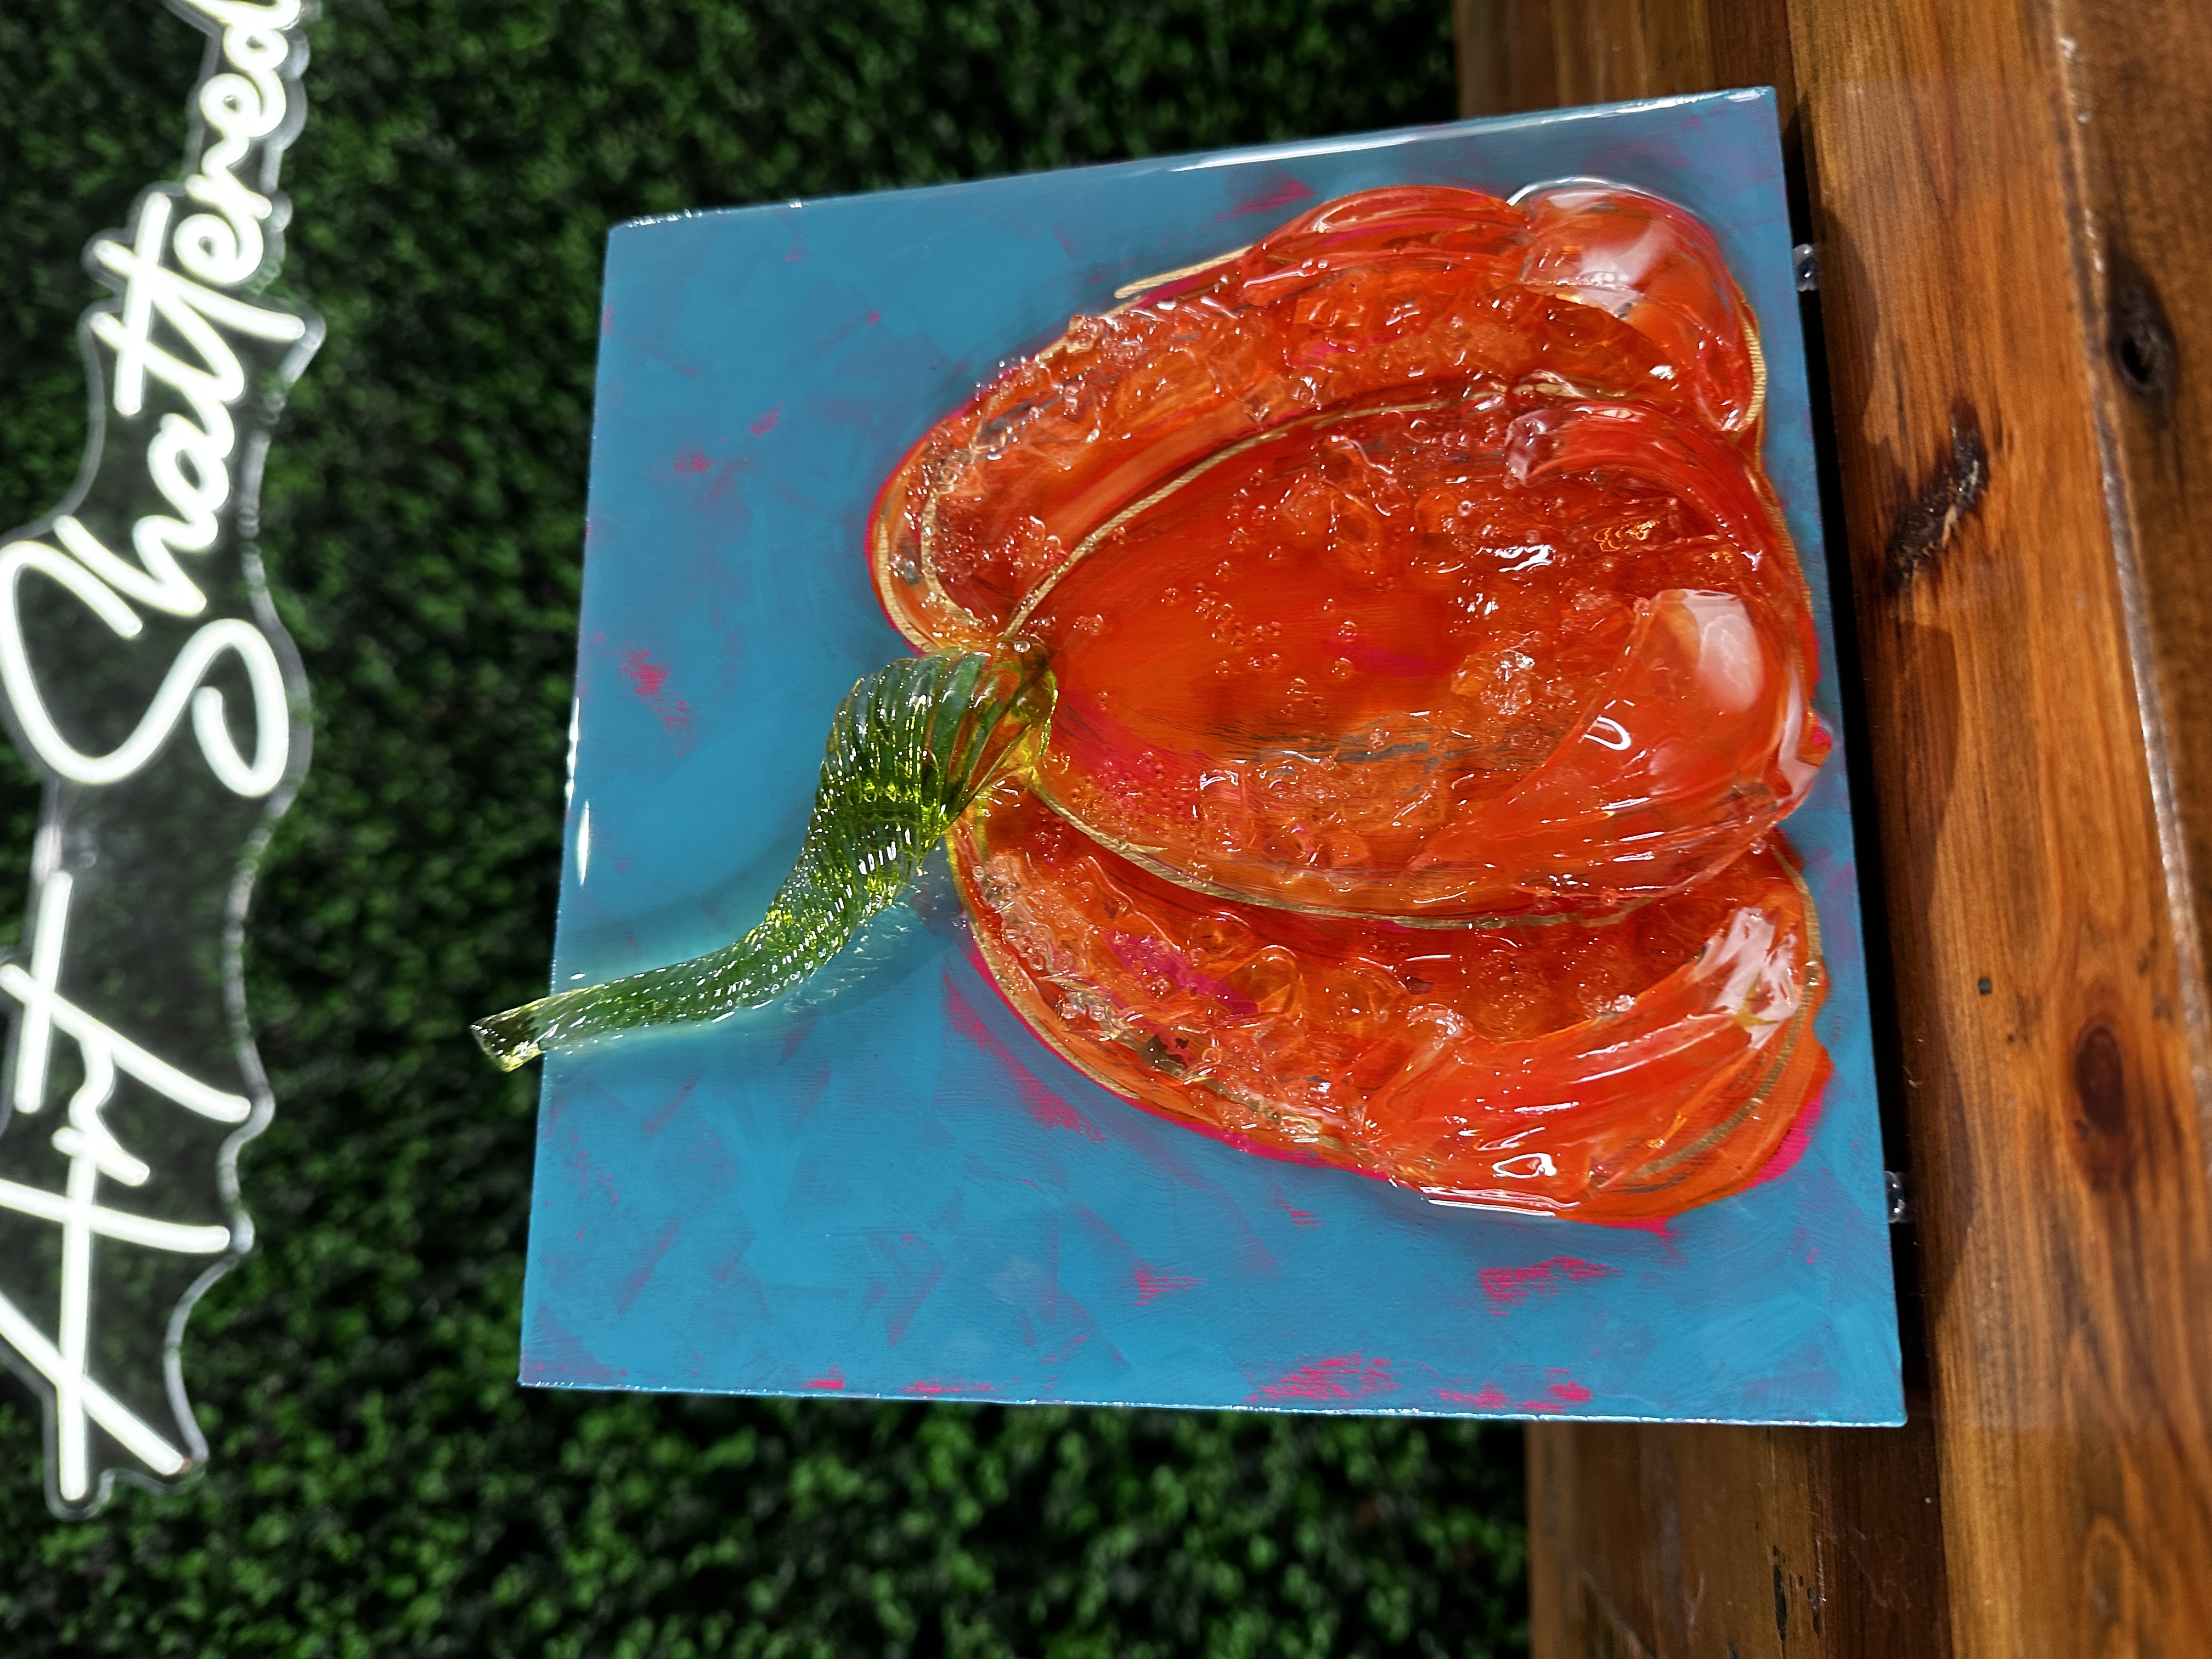
Animal Print Pumpkin 😍

animal print fall pumpkin Oct 08, 2025
 

This project turns a little 8×8 canvas into a dimensional, glam pumpkin using modeling paste, animal-print foil, and a thin resin coat. We’ll sculpt the pumpkin, paint it black so the foil pops, burnish on a cheetah pattern, add a gold stem, and finish with clear glass accents.

Step 1: Tone the background

Brush a thin coat of white over the entire canvas to reduce the “grab” of raw fabric. While it’s still a little damp, scrub slate gray along the lower third and fade it upward so the tone softens as it rises. Wipe the brush clean and touch a hint of gray higher up to keep the field from looking flat, then dry the surface thoroughly with a quick blast of a hair dryer.

Step 2: Lightly sketch the pumpkin

Make a small tick mark about an inch and a half down from the top edge to reserve breathing room for the stem. Sketch a big oval—the “zero”—for the pumpkin body, then add two gentle parentheses that curve down and back up into the base so your form reads as three fat ribs. Add a si...

Continue Reading...

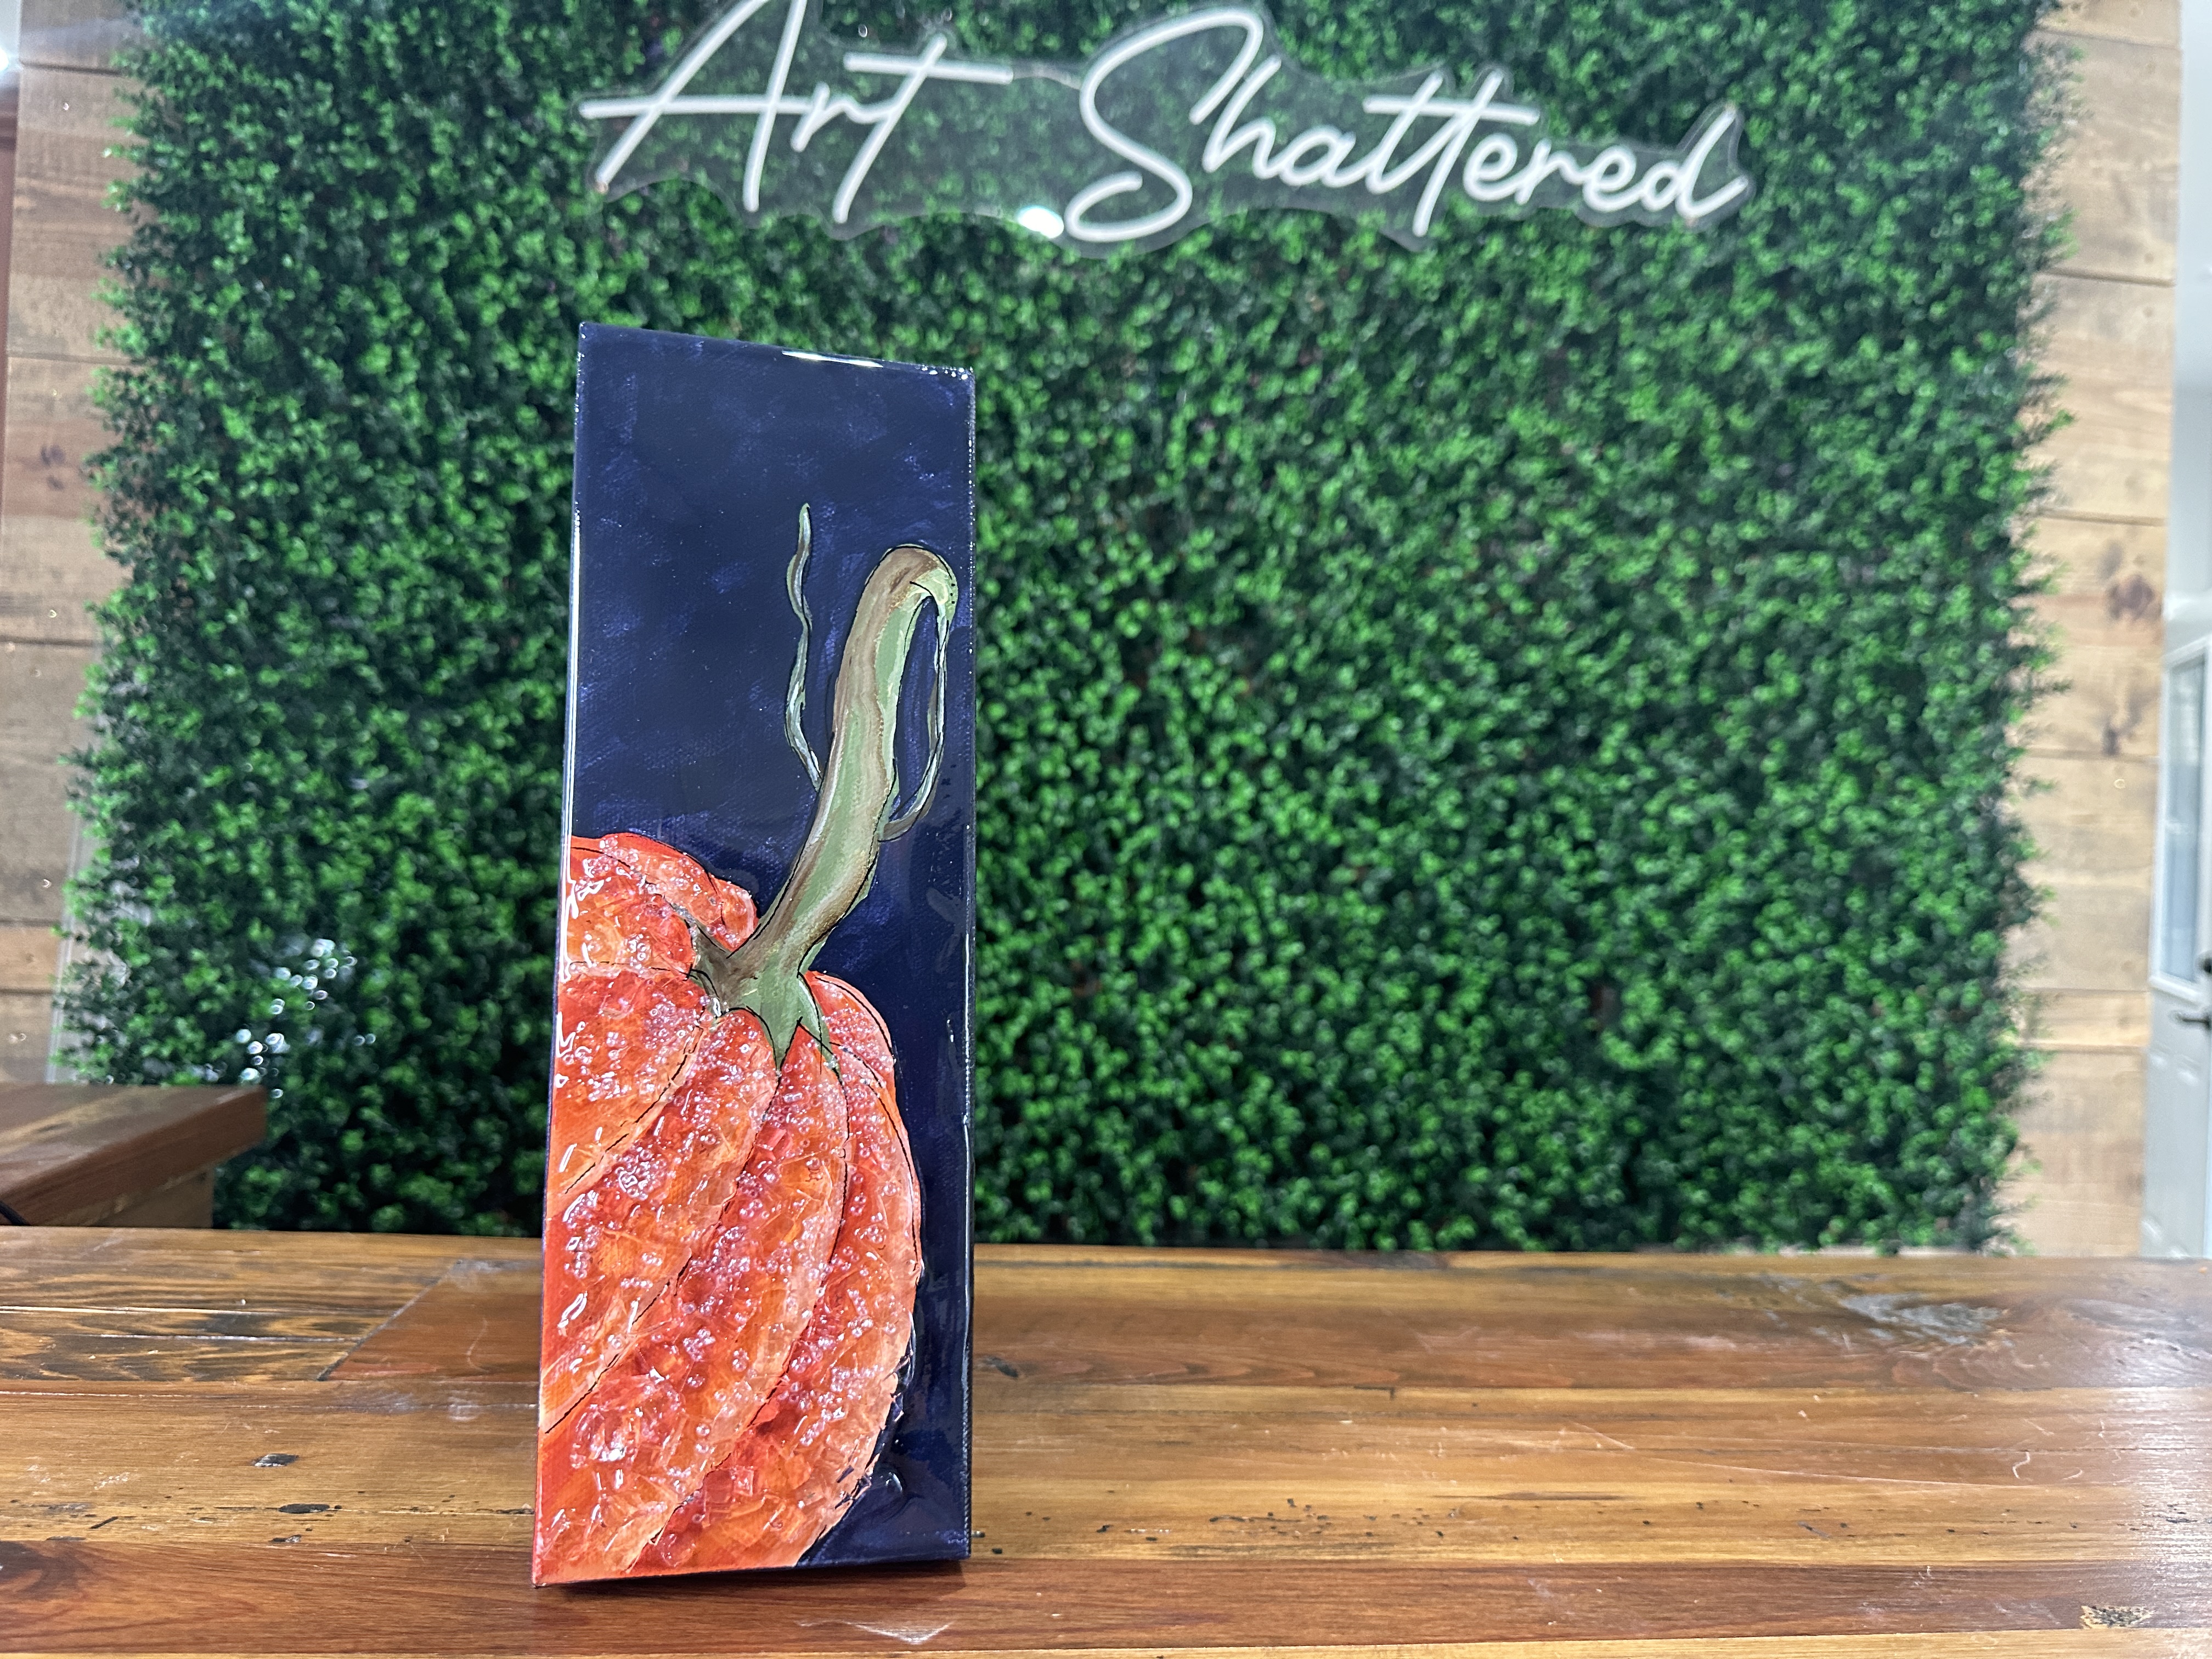
Midnight Pumpkin 🎃

fall pumpkin Oct 01, 2025
 

We’re back with a cozy fall favorite - an orange pumpkin with a rustic green-and-brown stem on a dramatic dark background. This is an “oldie but goodie” project that originally featured a black backdrop, but today we’re switching it up with a rich navy (Payne’s gray). The result? A bold, dimensional pumpkin with highlights, shadows, glass sparkle, and a glossy resin finish.

Step 1: Trace the Pumpkin

Secure your tracer to the canvas, tucking it slightly to the left so the pumpkin shape runs off the edge for a more natural look. Place graphite paper underneath and use a stylus or a pencil to trace the outline, including the stem. Leave the stem point simple for now - you’ll extend and detail it after painting the background.

Step 2: Base Coat the Pumpkin

Load your angled brush with Burnt Orange and paint one section at a time, following the tracer lines. Think of it like coloring in a coloring book - this is just your “ground coat” to block in color before adding shadows and highli...

Continue Reading...

How to Cut a Vase for Curved Glass Pumpkin Embellishments ✨

fall pumpkin Sep 24, 2025
 

Turn broken vases into beautiful pumpkin embellishments! In this tutorial, you'll learn how to cut curved glass pieces perfect for fall mixed media art, glass projects, or seasonal decor. We'll walk you through each step, from scoring and tapping the glass to safely honing and arranging it in your design. No need for fancy equipment - just a few basic tools, some safety gear, and a little patience.

Step 1: Prep Your Workspace and Safety Gear

Before you begin cutting any glass, set up a safe work area. Use a glass-cutting grid or tray to catch shards and wear cut-resistant gloves, safety goggles, and a mask to protect yourself from glass dust. Gather your tools: scoring tool, breaking pliers, wheeled nippers, and a honing stone. Have a paper towel nearby to clean off glass dust.

If you have a broken vase (or one you don’t mind repurposing), use it! In this case, I used a large thick vase that cracked in half. To make it manageable, gently tap the large piece with a hammer to break ...

Continue Reading...

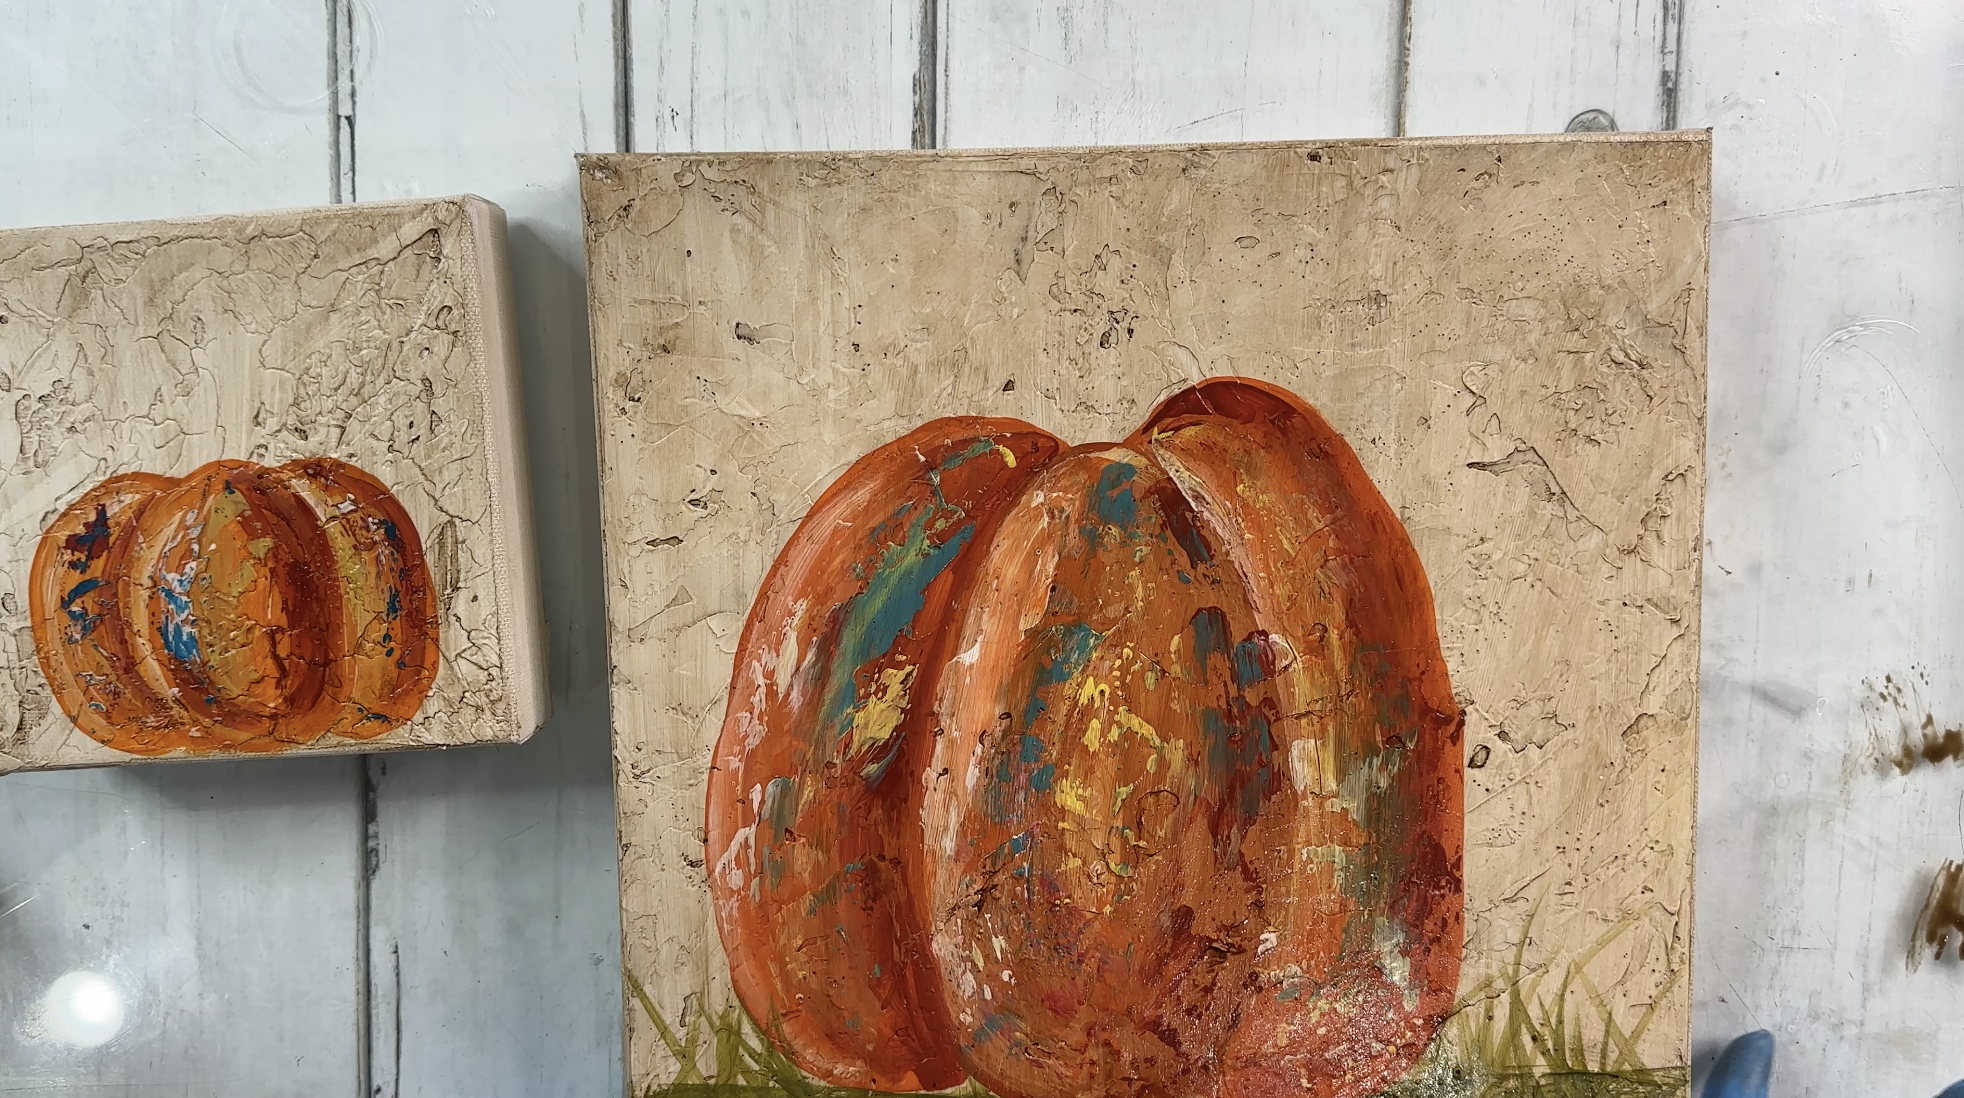
Textured Pumpkin 🎃

fall pumpkin Sep 24, 2025
 

 Want that vintage, chippy, “found-it-at-a-fall-market” pumpkin vibe? This tutorial walks you through building a rich, textured background with modeling paste, freehand-painting a pumpkin in minutes, then finishing with an antiquing glaze that sinks into every groove. I’ll also show you quick options for adding a sculpted stem.

Step 1: Build the Textured Background

Load the back of your palette knife with modeling paste. Start in the middle and pull outward, leaving purposeful “skips” and bare spots. If you need more texture, lightly “slap” the surface with the knife to create peaks, then skim your knife very lightly to soften sharp ridges. Air-dry completely. It should feel cool but firm - no soft spots.

Step 2: Paint the Pumpkin

To freehand your pumpkin, think of one egg shape in the center with two parentheses on each side. Use Spiced Pumpkin paint with a round or liner brush to draw the oval center lobe, then add a curved shape on the right and left for the side lobes. Fill...

Continue Reading...

Creative Pumpkin Stem Ideas 🎃

fall halloween pumpkin Sep 10, 2025
 

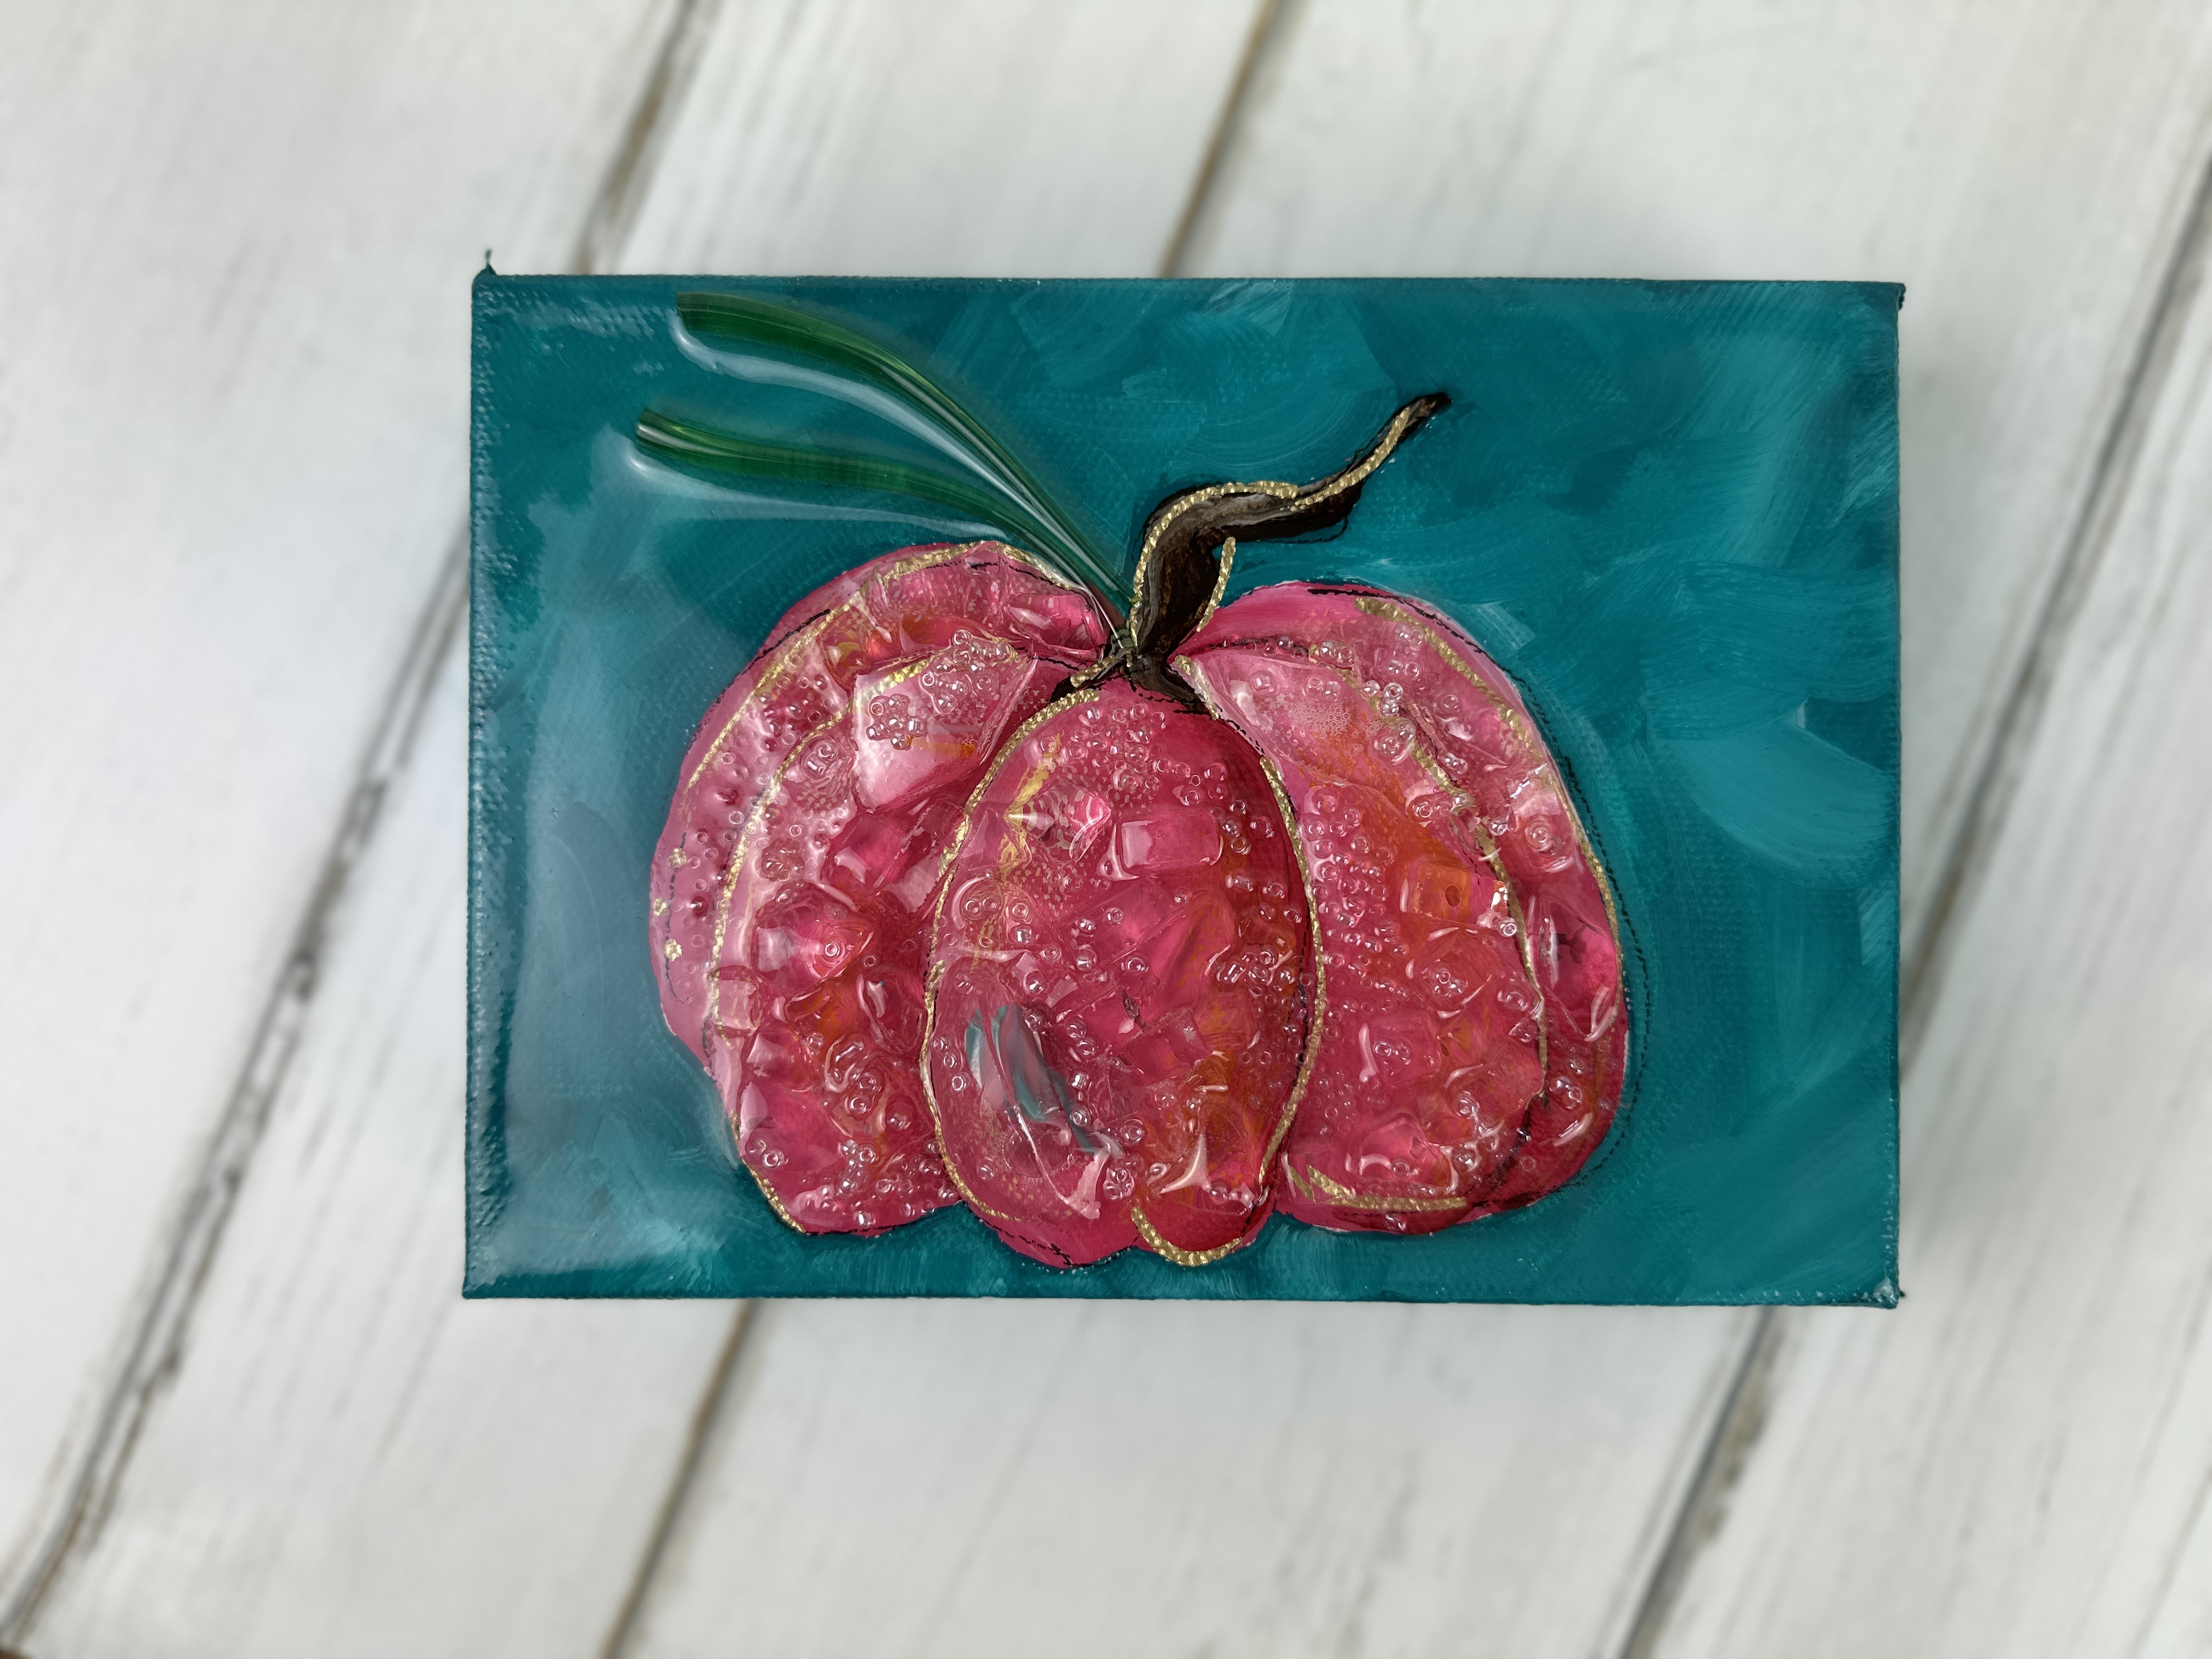
When you’re working on your pumpkin fall art projects, the stem can really make or break the look. Sure, you could paint one on, but why not take it up a notch with something more dimensional? Today I’m sharing seven creative ways to make pumpkin stems using everything from glass to clay to everyday materials you already have around the house.
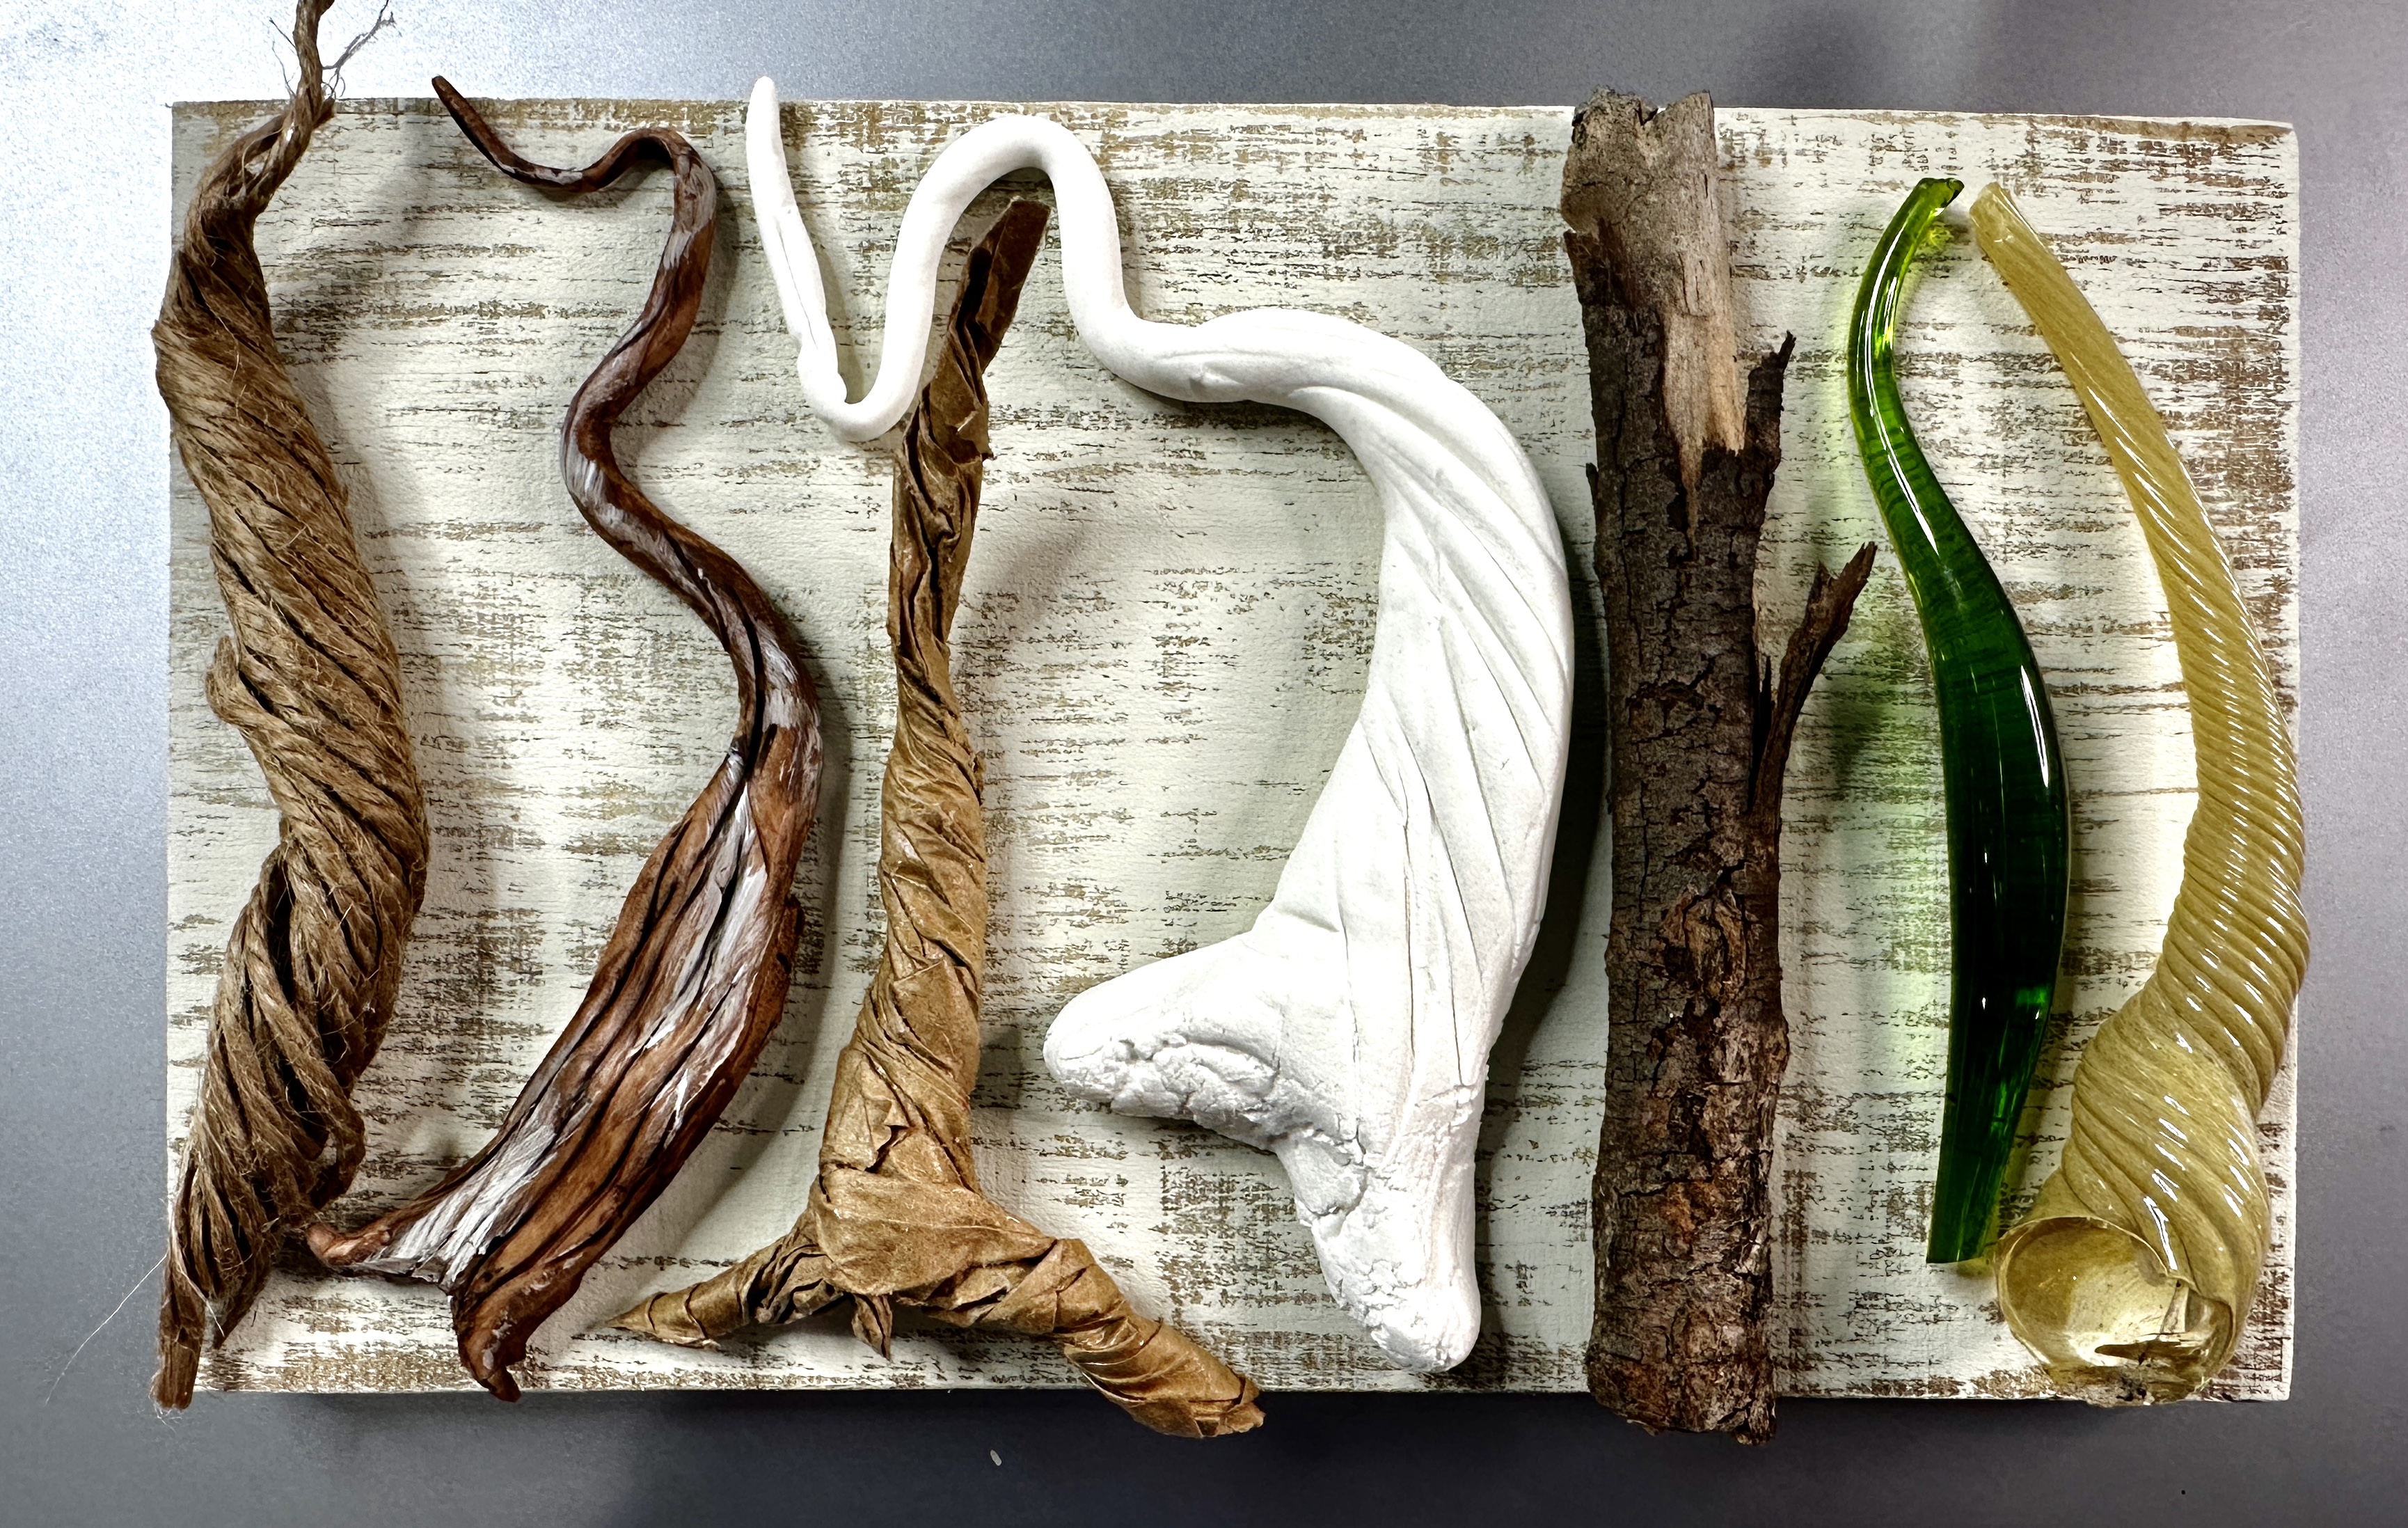
Option 1: Scrap Glass from a Glass Blower

One of my favorite options is to use real glass stems. If you’re lucky enough to live near a glass blower, ask if they have scraps you can buy (or sometimes they’ll even give them away). These chunky, swirled pieces are full of character and resin beautifully onto your canvas pumpkin.

Option 2: Chubbies from JL Glass

Another fantastic option is “Chubbies” from JL Glass. These come in greens, amber, and even blue, and they’re perfect for whimsical pumpkins. You can find them on JL Glass’s Etsy shop or website. Pair them with a cut piece of glass “leaf” and you’ve got yourself a

...
Continue Reading...

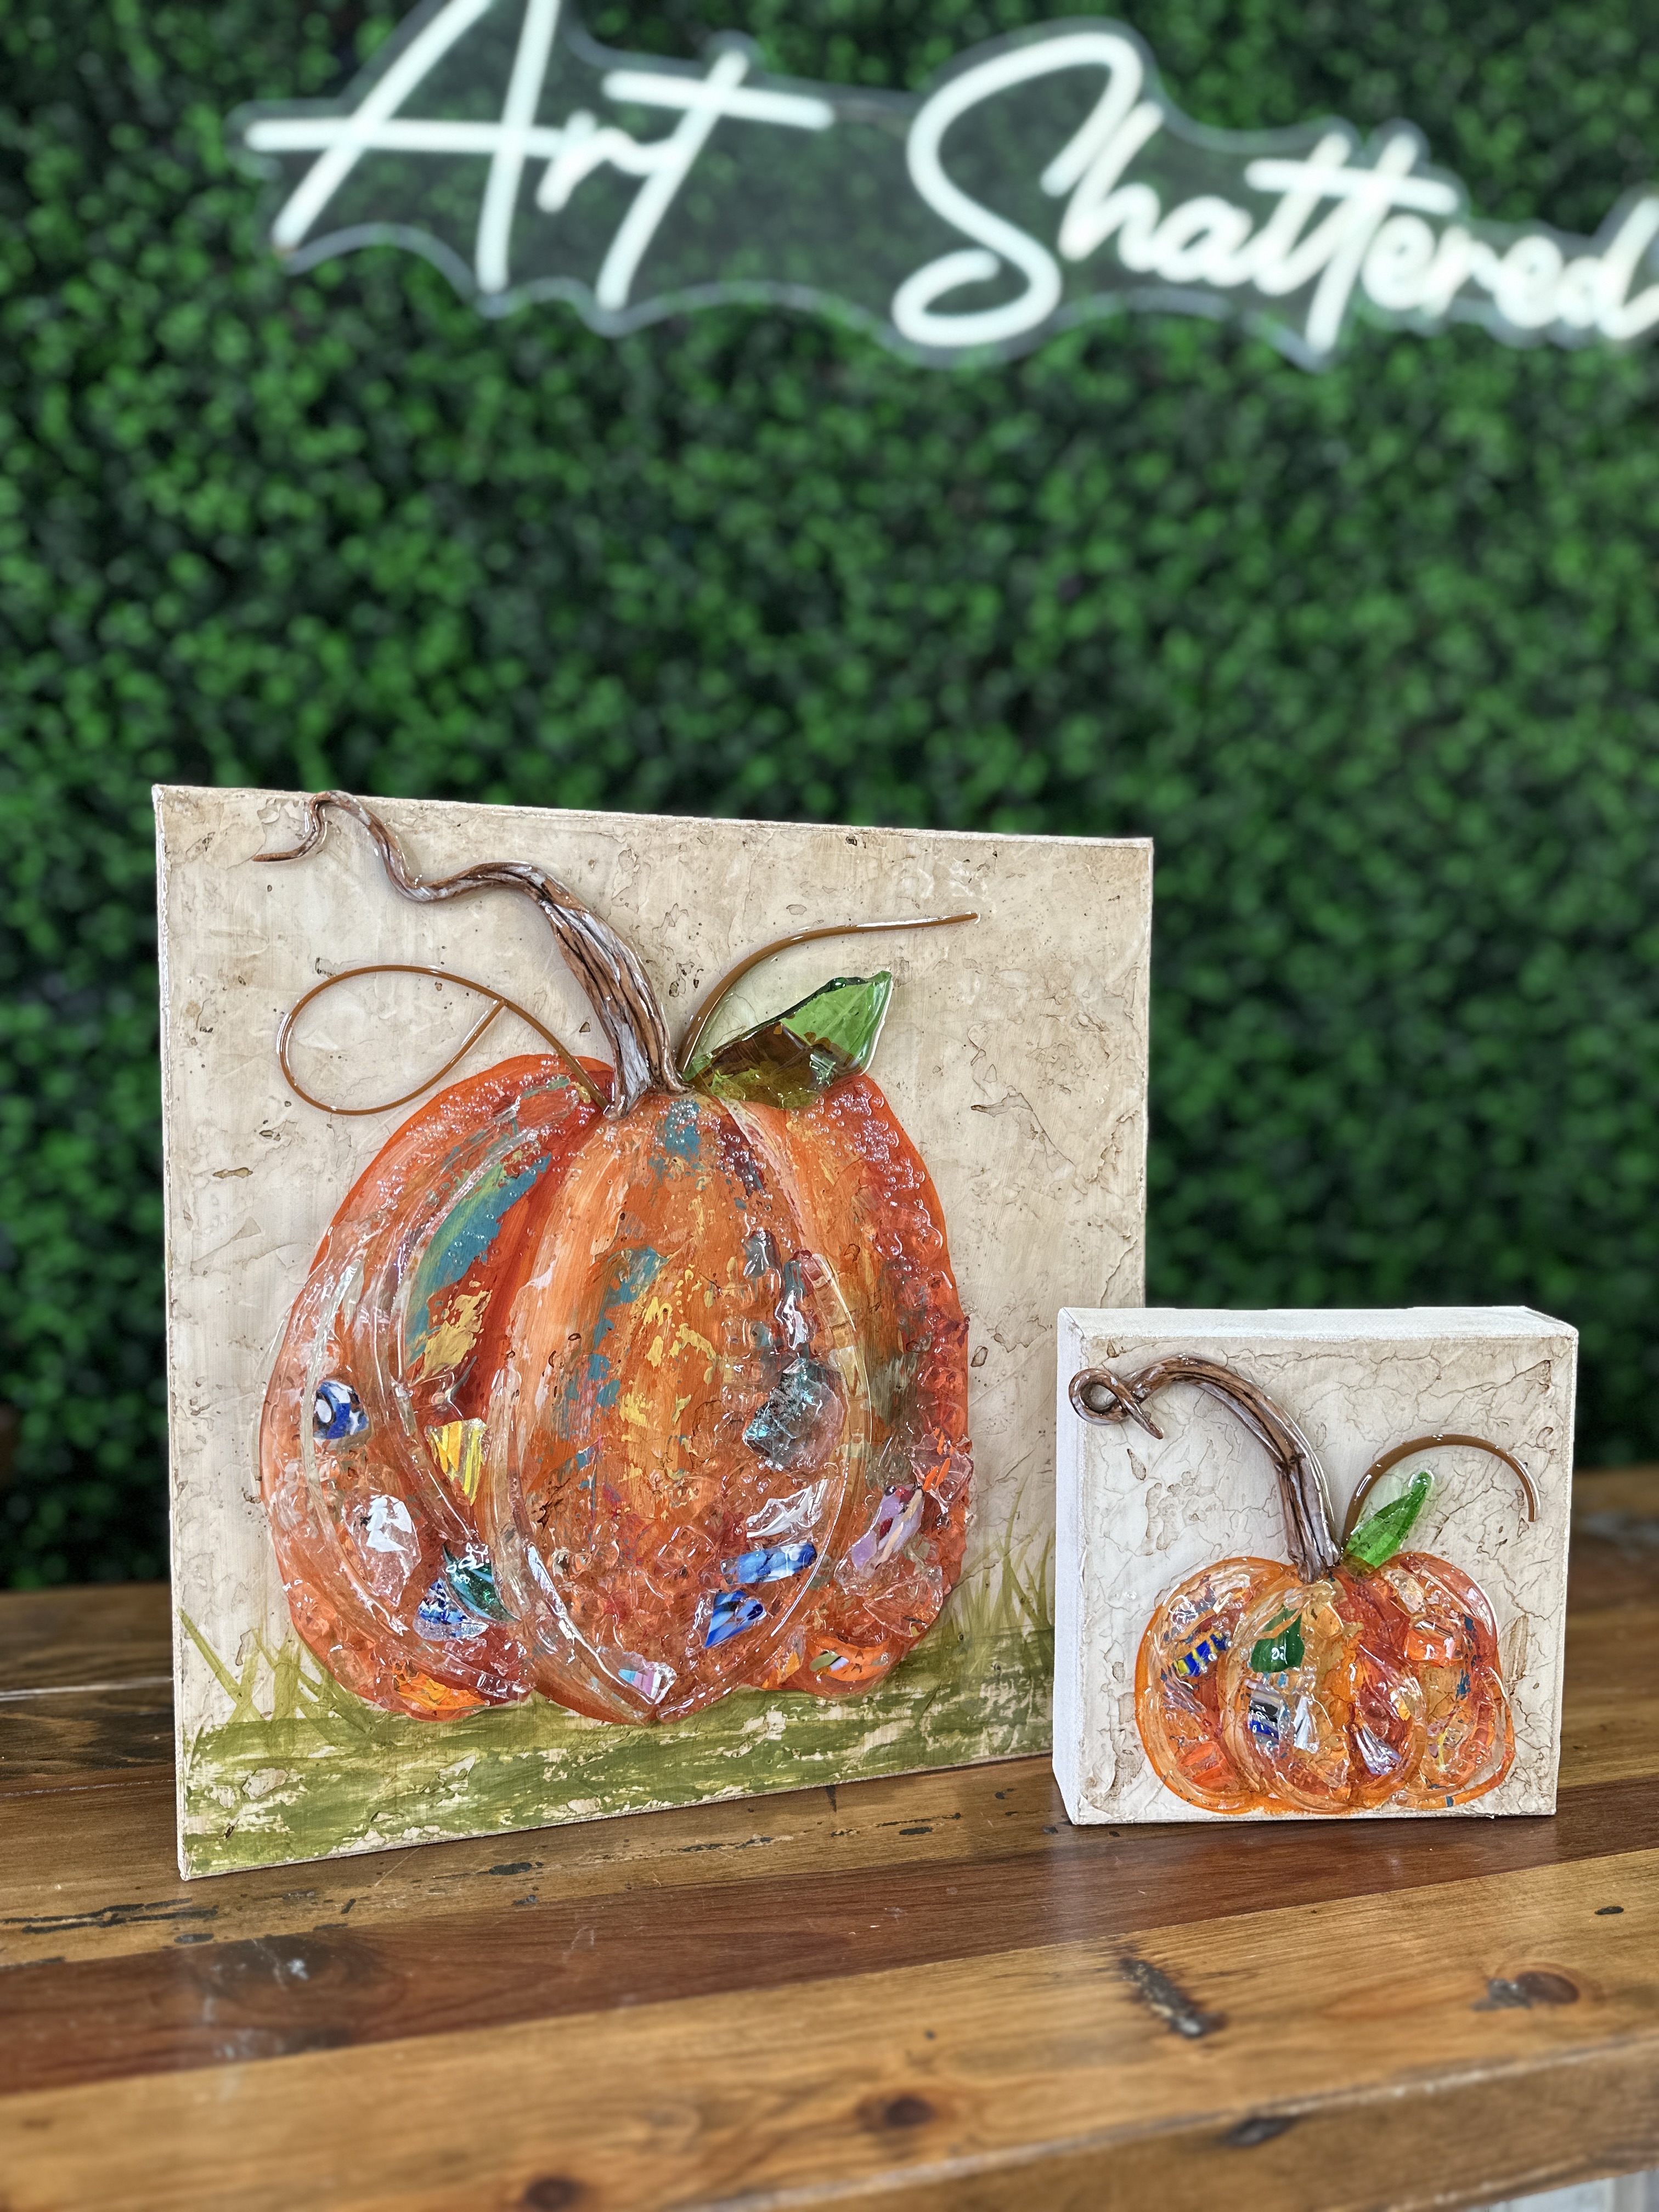
Glass Stem Pumpkin 🎃

fall pumpkin Sep 03, 2025
 

Pumpkin season is here, and this project is a playful twist on traditional fall art. We’re combining paint, glass, and resin on an 8x8 canvas to create a textured pumpkin with a glossy finish. This piece is easy enough for beginners but gives you the depth and sparkle of a more advanced mixed media project.

Step 1: Prep Your Canvas

For this project, I started with an 8x8 canvas. To break up the intimidation of a blank white canvas, I painted the surface with a coat of bright pink (Dragonfruit). This is one of my favorite tricks - covering the canvas in a bold base color helps loosen you up and makes the painting process less intimidating. Plus, letting some of that underlayer peek through adds unexpected pops of color in the finished piece.

You can either trace a pumpkin outline or freehand it. The shape is simple: think of an egg with a flat bottom for the center section, then add parentheses shapes on each side to build the pumpkin’s curves. Pumpkins come in all shapes and sizes...

Continue Reading...

Acorn 🍃

fall winter Dec 31, 2024
 

With easy-to-follow steps, you’ll create a beautiful acorn that incorporates fun painting techniques and glass elements. Whether you’re new to painting or have some experience, this project is a great way to unwind and add a touch of charm to your home. Plus, it’s simple enough to complete in an afternoon, making it a perfect winter craft to enjoy.

Begin by painting the background with a base coat of white paint. Blend Camel into the upper portion of the canvas and Gray Storm into the lower area where your acorn will be positioned.

Next, secure your tracer to the canvas with tape, place a sheet of graphite paper underneath, and use a stylus to carefully trace the outline of the acorn.

For the acorn itself, paint the bottom section with Rusted Pipe and the top section with Camel. Use Traditional Burnt Umber to paint the acorn stem. Once complete, dry your work with a heat tool.

Apply a second coat of Rusted Pipe to the bottom of the acorn for a richer finish. Begin blending Trad...

Continue Reading...

Driftwood Pumpkin 🎃

fall pumpkin Nov 13, 2024
 

Let's create a beautiful, rustic pumpkin art piece! Starting with a distressed wooden frame, we’ll layer in colorful paints and glass elements to bring the pumpkin to life, like cut vase glass, crushed glass, vitrigraph, beads, mini pinecones, floral bits, and more! This project is both easy to follow and endlessly customizable to what you have in your stash. 

Begin by taping off the outer edges of your wooden frame. Using a sponge brush, lightly apply Vintage White paint by dragging it vertically from top to bottom to create a faux-distressed effect. Be sure to keep your strokes vertical, not horizontal. Once finished, dry the paint with a heat tool. Next, layer Sea Mist over the Vintage White using the same technique, then dry again. If you'd like to add more texture, lightly sand the surface with sandpaper or a honing block to enhance the distressed look. Finally, remove the painter's tape to reveal clean edges.

Grab your tracer, tape it to your frame, place graphite paper under...

Continue Reading...

Coastal Pumpkin 🌊

beach fall pumpkin Nov 06, 2024
 

Let's blend beachy vibes with autumn charm in this unique mixed-media art project! We’ll start by creating a decoupage background with a beach scene, then layer in a beautiful pumpkin, finishing with a touch of sparkle using glass accents and shells. This step-by-step guide will walk you through each stage, bringing coastal and seasonal style to your canvas.

For this art piece, we’ll be crafting a beachy decoupage background using a scenic napkin. Start by trimming the napkin to fit your canvas, then separate the layers until only the top printed layer remains. Brush a layer of Mod Podge onto the canvas, place the napkin on top, and gently smooth it down with your hands to remove any wrinkles. Once it’s secure, apply another coat of Mod Podge over the top to seal it. Tear away any extra napkin from the edges, then use a heat tool to speed up drying.
 

Grab your tracer, tape it to your canvas, place graphite paper underneath, and trace the pumpkin with a stylus.

Instead of tracing, ...

Continue Reading...

Candy Corn Pumpkin 🎃

fall halloween pumpkin Oct 30, 2024
 

Get ready to create a one-of-a-kind, textured pumpkin masterpiece! In this tutorial, we’ll layer warm fall colors, add depth with shadowing, and bring everything together with unique details like wooden leaves, pinecones, candy corn, glass, and resin. This is the perfect fall pumpkin to add to your decor this season!

Let’s begin with a neutral background by applying a coat of white paint to the canvas. While it’s still wet, blend in Delta Shadow Gray, using the brush to pounce and press the paint for added texture. Then, use a heat tool to dry.

Grab your tracer, tape it to your canvas, place graphite paper underneath, and trace the pumpkin with a stylus.

Now, let’s bring the pumpkin to life! I’ll be using Spiced Pumpkin, Georgia Clay, Sunset Gold, and white paint, working one section at a time. Start by covering a section with Spiced Pumpkin. Then, with the backside of a palette knife, swipe on Georgia Clay along one side, Sunset Gold in the center, and white on the opposite sid...

Continue Reading...
1 2 3 4
Close

50% Complete

Two Step

Lorem ipsum dolor sit amet, consectetur adipiscing elit, sed do eiusmod tempor incididunt ut labore et dolore magna aliqua.