


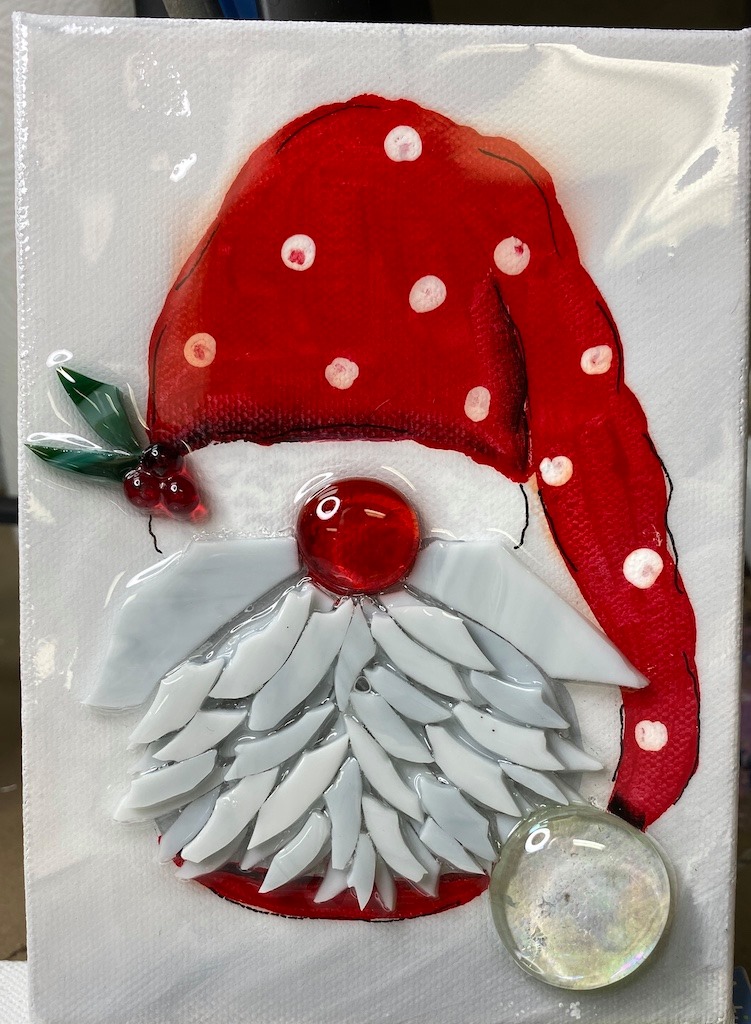
Step 1: Paint the Background
Start by covering the entire canvas with white paint. Once that’s down, add just a tiny drop of French Gray into a bit of white paint and brush it across the canvas to create a warm, rustic white background instead of stark white. This small change matters, because it helps the white fur and the glass beard stand out instead of disappearing into the canvas.
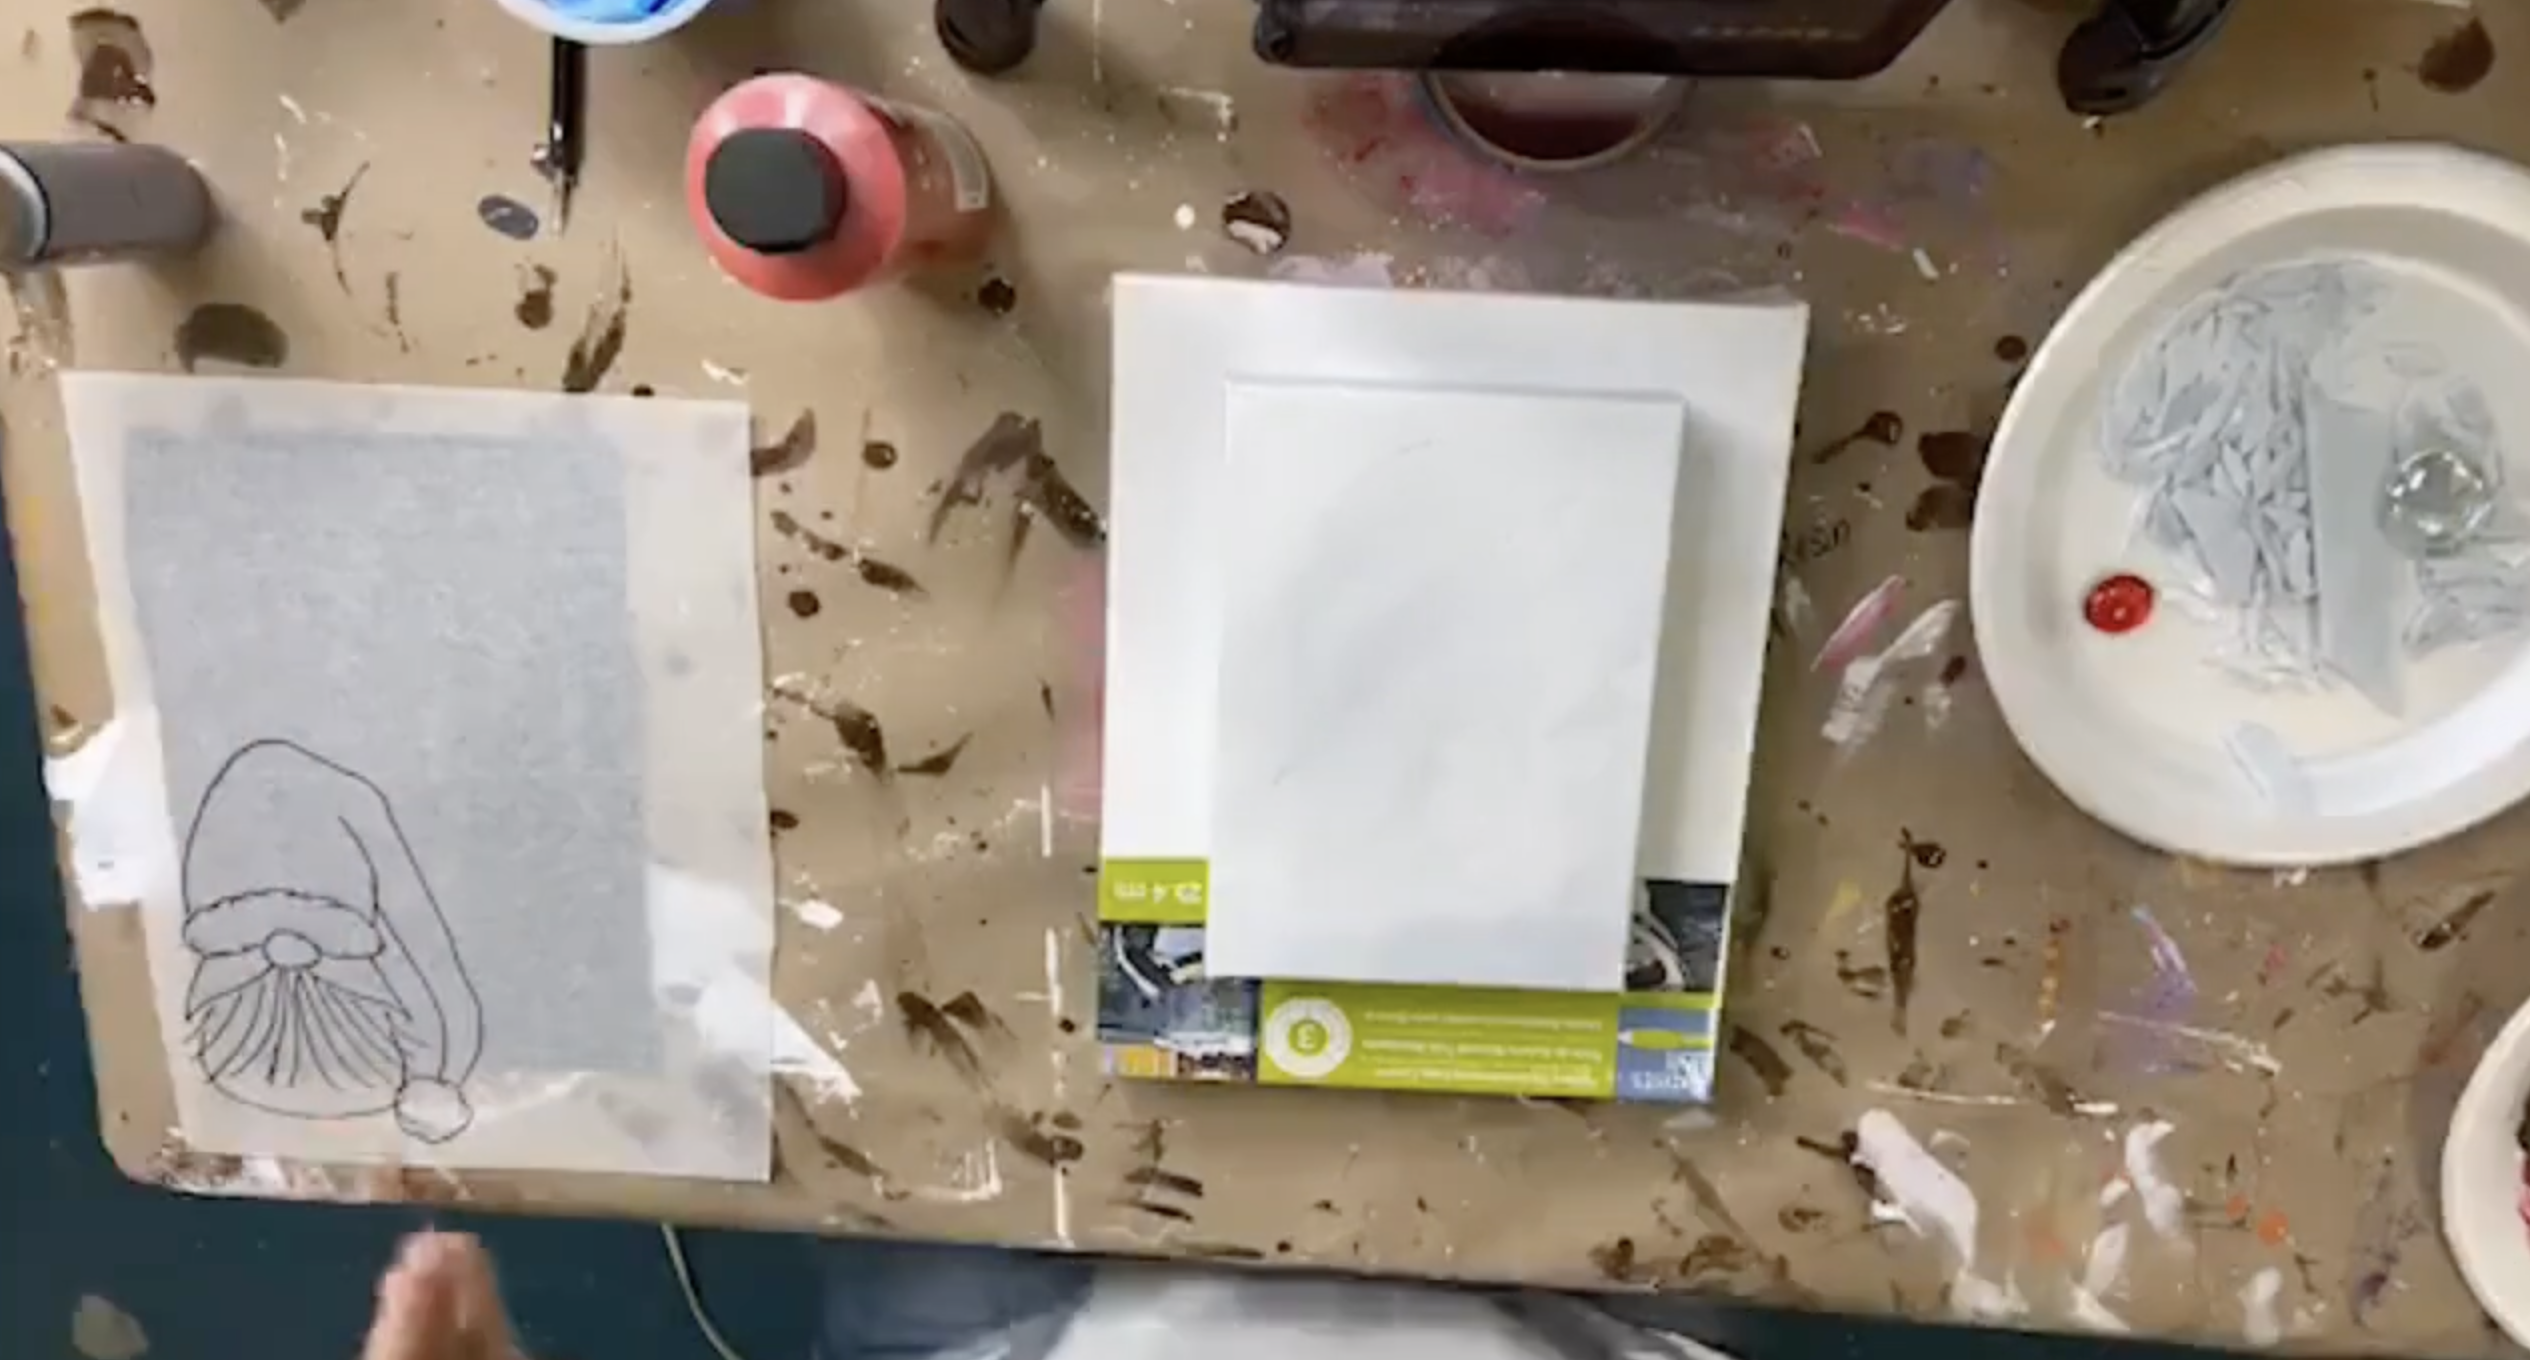
Step 2: Trace Your Gnome
Using your tracer, graphite paper, and a stylus, transfer the gnome design onto the 5x7 canvas. Make sure you’ve captured the hat shape, the fur band, pom-pom area, nose placement, beard/mustache area, and the small strip at the bottom for hi
...