
Christmas Santa 🎅🏻
This adorable Santa is the perfect holiday project if you love painting, glass art, or just want something festive and fun for your home. In this tutorial, we’ll walk through painting Santa’s face, hat, mustache, and background, then adding sparkling glass and resin for that magical Christmas shimmer!
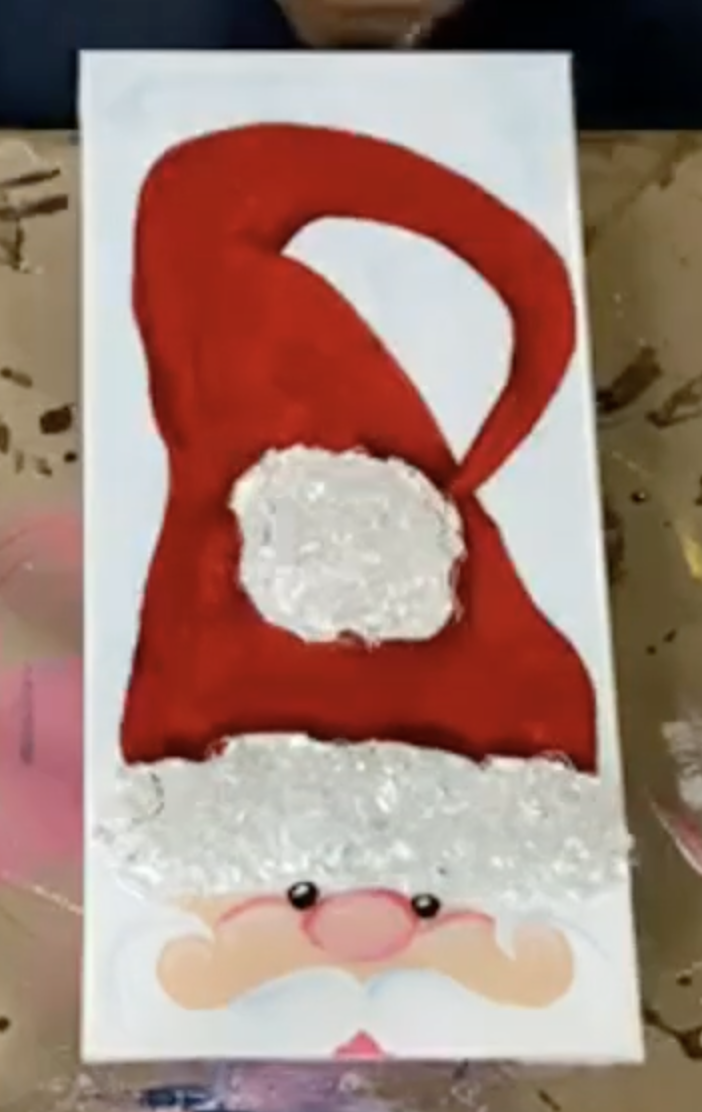
Step 1: Paint the Background
Before painting Santa, begin by giving your canvas a soft, wintery background. Cover the entire canvas with white paint. While the white paint is still wet, place one dot of FolkArt Dolphin Blue on the upper right area and one on the lower left area. Using a chip brush, pounce the blue into the wet white to create a subtle, sponged blue tint. This soft color helps Santa’s white beard, hat trim, and mustache pop without being harsh against a stark white background.
Once your background dries, grab the tracer, place graphite paper underneath, and trace the Santa design onto the canvas with a stylus. Make sure the fur trim, pom-pom, mustache, and facial fea...
"Merry" Christmas Wreath 🎄
If you’re looking for a bright, festive, and elegant Christmas project to display or gift this season, this glass-embellished “Merry” canvas wreath is a show-stopper! We’re combining hand-painted details, a rustic grapevine-style wreath, glass leaves, and glossy resin for a sleek finish. This project is MUCH easier than it looks, and the final result is absolutely gorgeous.
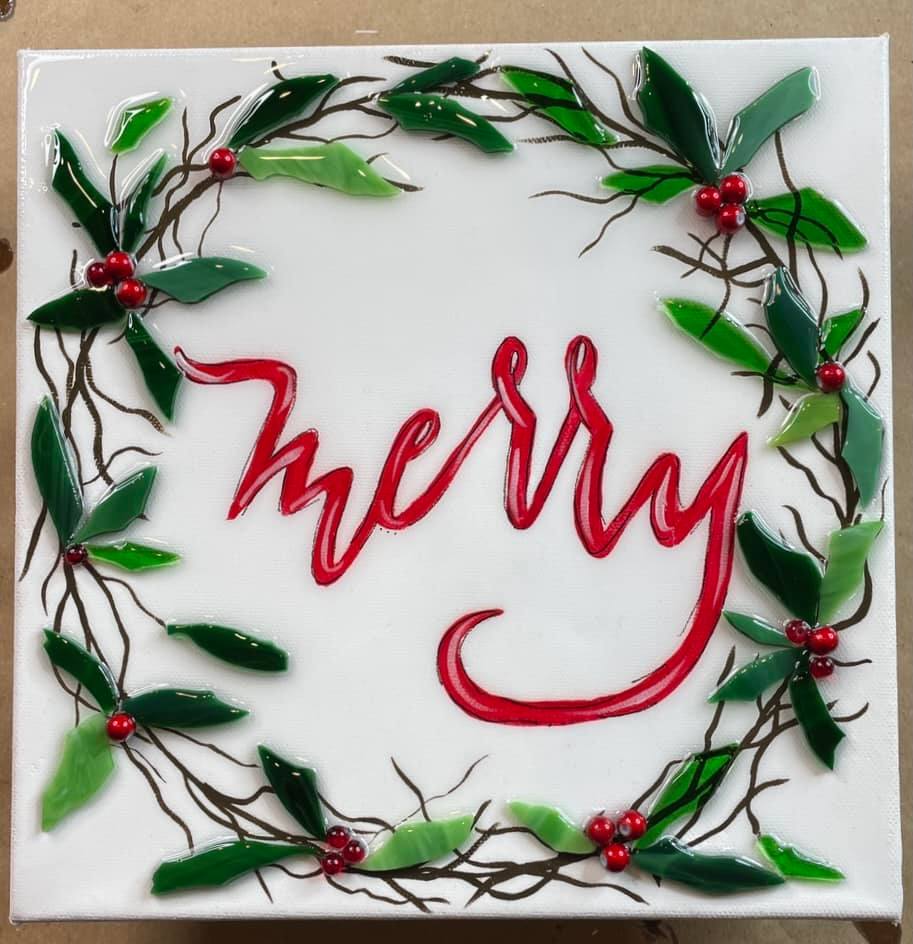
Step 1: Paint the Background
Start by covering your 10x10 canvas with a solid coat of white paint. While the paint is still wet, add a small blob of Americana Hauser Light Green onto the surface. Use your brush to loosely smush and blend the white and green together until you get a soft, mottled finish.
For added texture, take the plastic wrap from your canvas packaging and lightly pounce it over the wet paint. This gives the background a subtle marbled effect, mostly white with just a touch of green swirling through. Let the canvas dry completely.
Step 2: Add Your Wreath Circle & "Merry"
Once the background ...
Mistletoe 🌲
If you want a simple, sparkly Christmas project you can finish in one sitting, this mistletoe art canvas is perfect. It uses an 8x10 canvas, sheet glass, beads, and a tiny bit of paint - and the result is a beautiful mixed-media piece that shimmers under resin. This is absolutely beginner-friendly, and you can adapt the colors however you like!
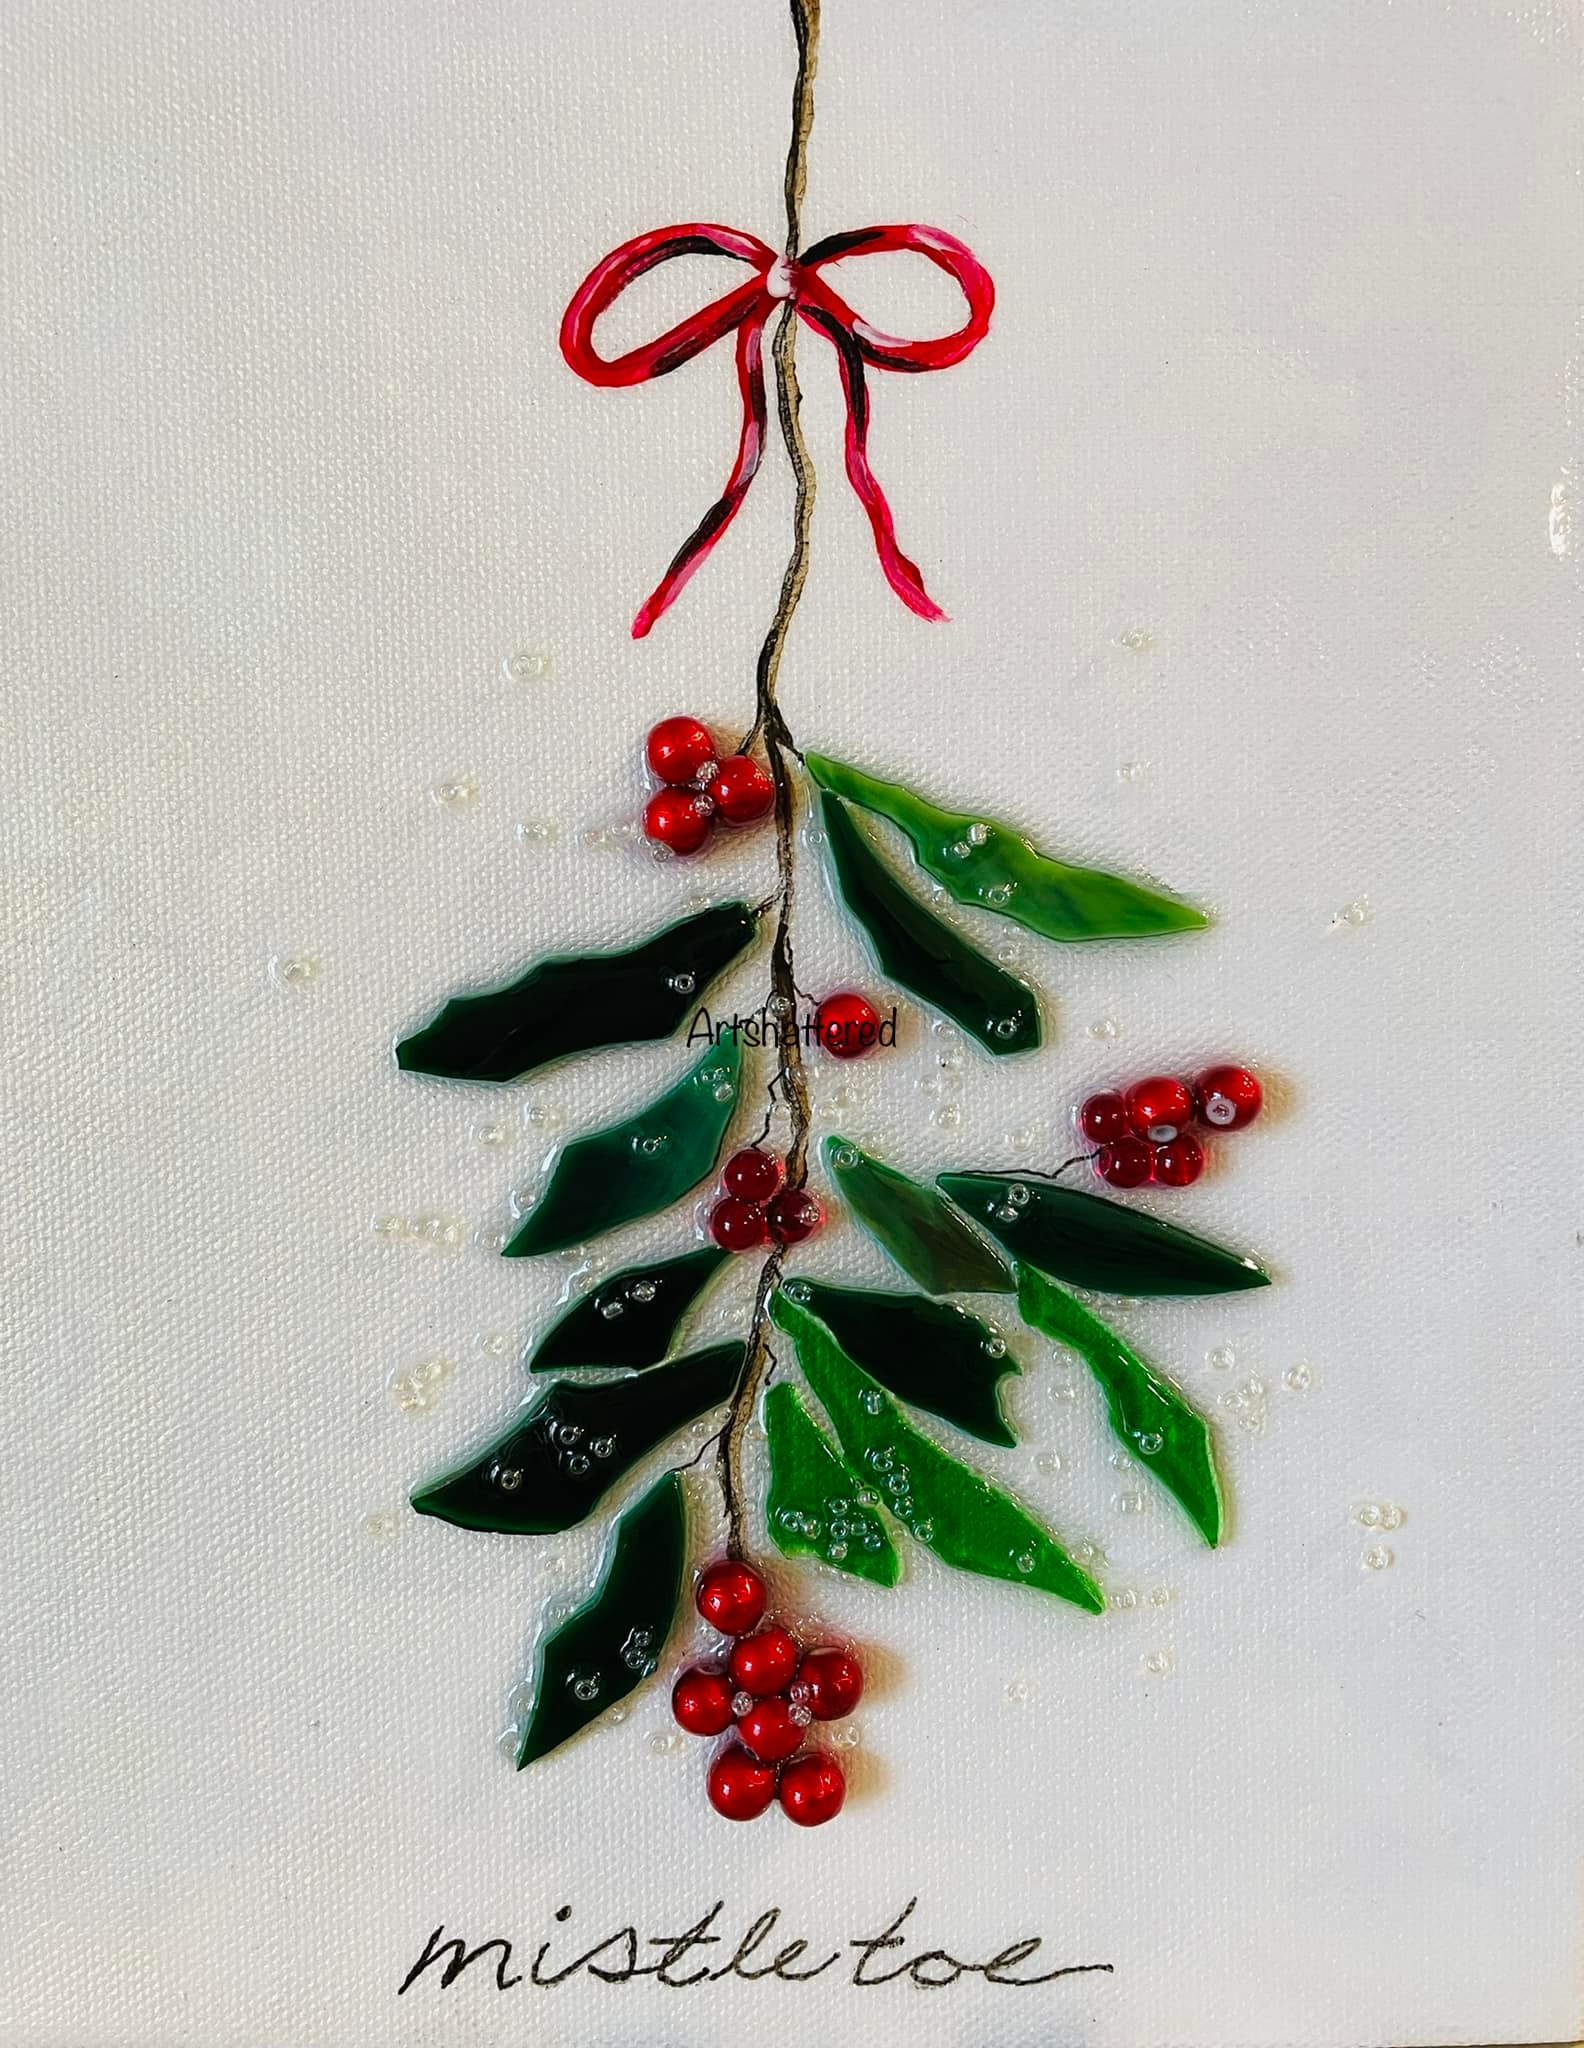
Step 1: Paint the Gold Background
Start by covering your entire 8x10 canvas with DecoArt Enchanted Gold. This paint goes on looking almost white, but as it dries it flashes a soft metallic gold. You may need two coats for good coverage. Let the canvas dry fully — metallic paints take a little extra time.
Step 2: Cut Your Mistletoe Leaves from Sheet Glass
While the canvas dries, start preparing your glass leaves. Use green sheet glass and your mosaic tile nippers to nip leaf shapes at an angle. These small curved shapes look just like natural mistletoe leaves. The ends will be sharp, so grab a honing stone and gently file the pointed tips u...
Reindeer Door Hanger ✨
If you’re looking for a cute, festive Christmas project that’s fun to paint and easy to customize, this little reindeer is going to steal your heart! In today’s tutorial, we’re using the 18-inch Reindeer Door Hanger from Southern Adoornments, but the cutout also comes in multiple sizes, so grab the one that works for your space.
This etched wood blank paints like a dream and feels just like coloring in a giant holiday coloring book. And because we’re extra, we’ll finish the piece with a little touch of glass on the nose and antlers and seal it under resin for that glossy, professional finish.
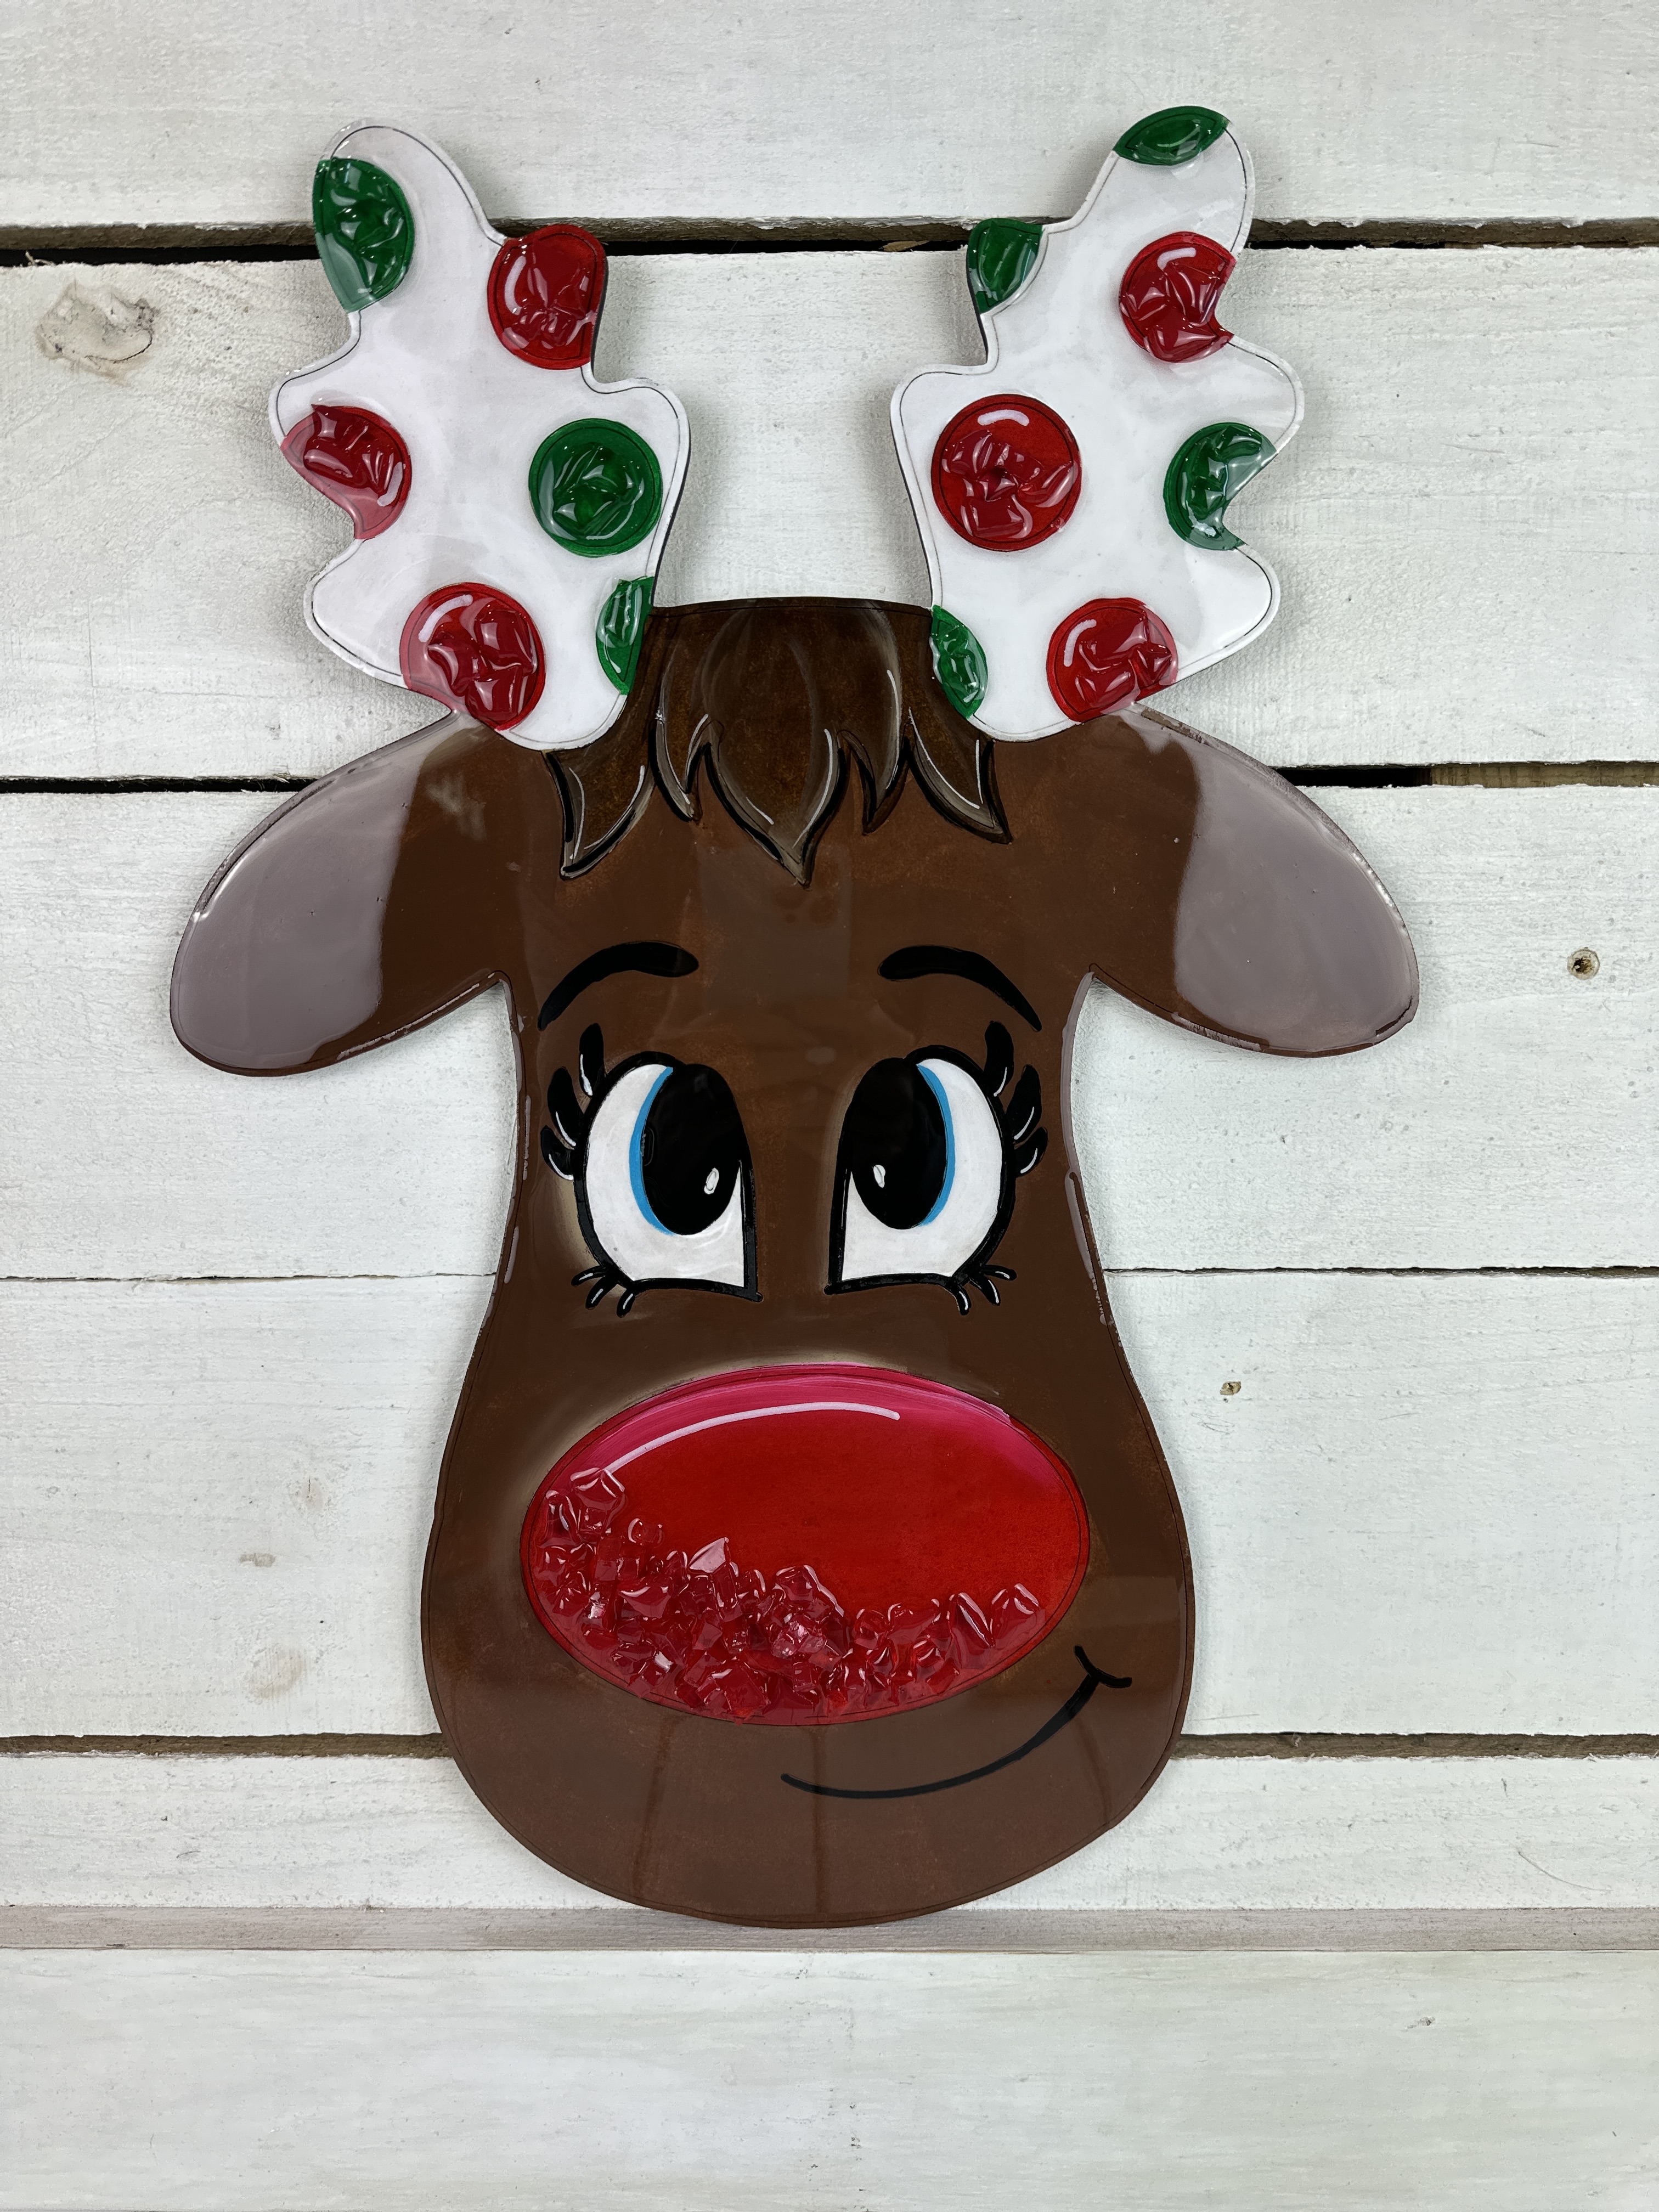
Step 1: Paint the Reindeer Base Coat
Start by loading your palette with Espresso and a bit of Khaki. These two colors blend beautifully and keep the deer from looking flat.
Paint the entire reindeer face and head area in Espresso, working in sections so you can blend in touches of Khaki as you go. This gives the fur soft dimension and keeps everything from looking monotone. Since the wood su...
Green Vase Christmas Tree 🎄
This festive mixed media project proves that even broken things can become beautiful again. In this glass and resin Christmas Tree tutorial, we’ll transform a shattered vase into a shimmering mercury-glass-inspired tree on a 6x12 canvas. With metallic paints, glass pieces, and resin, you’ll create an elegant and reflective piece of holiday art!
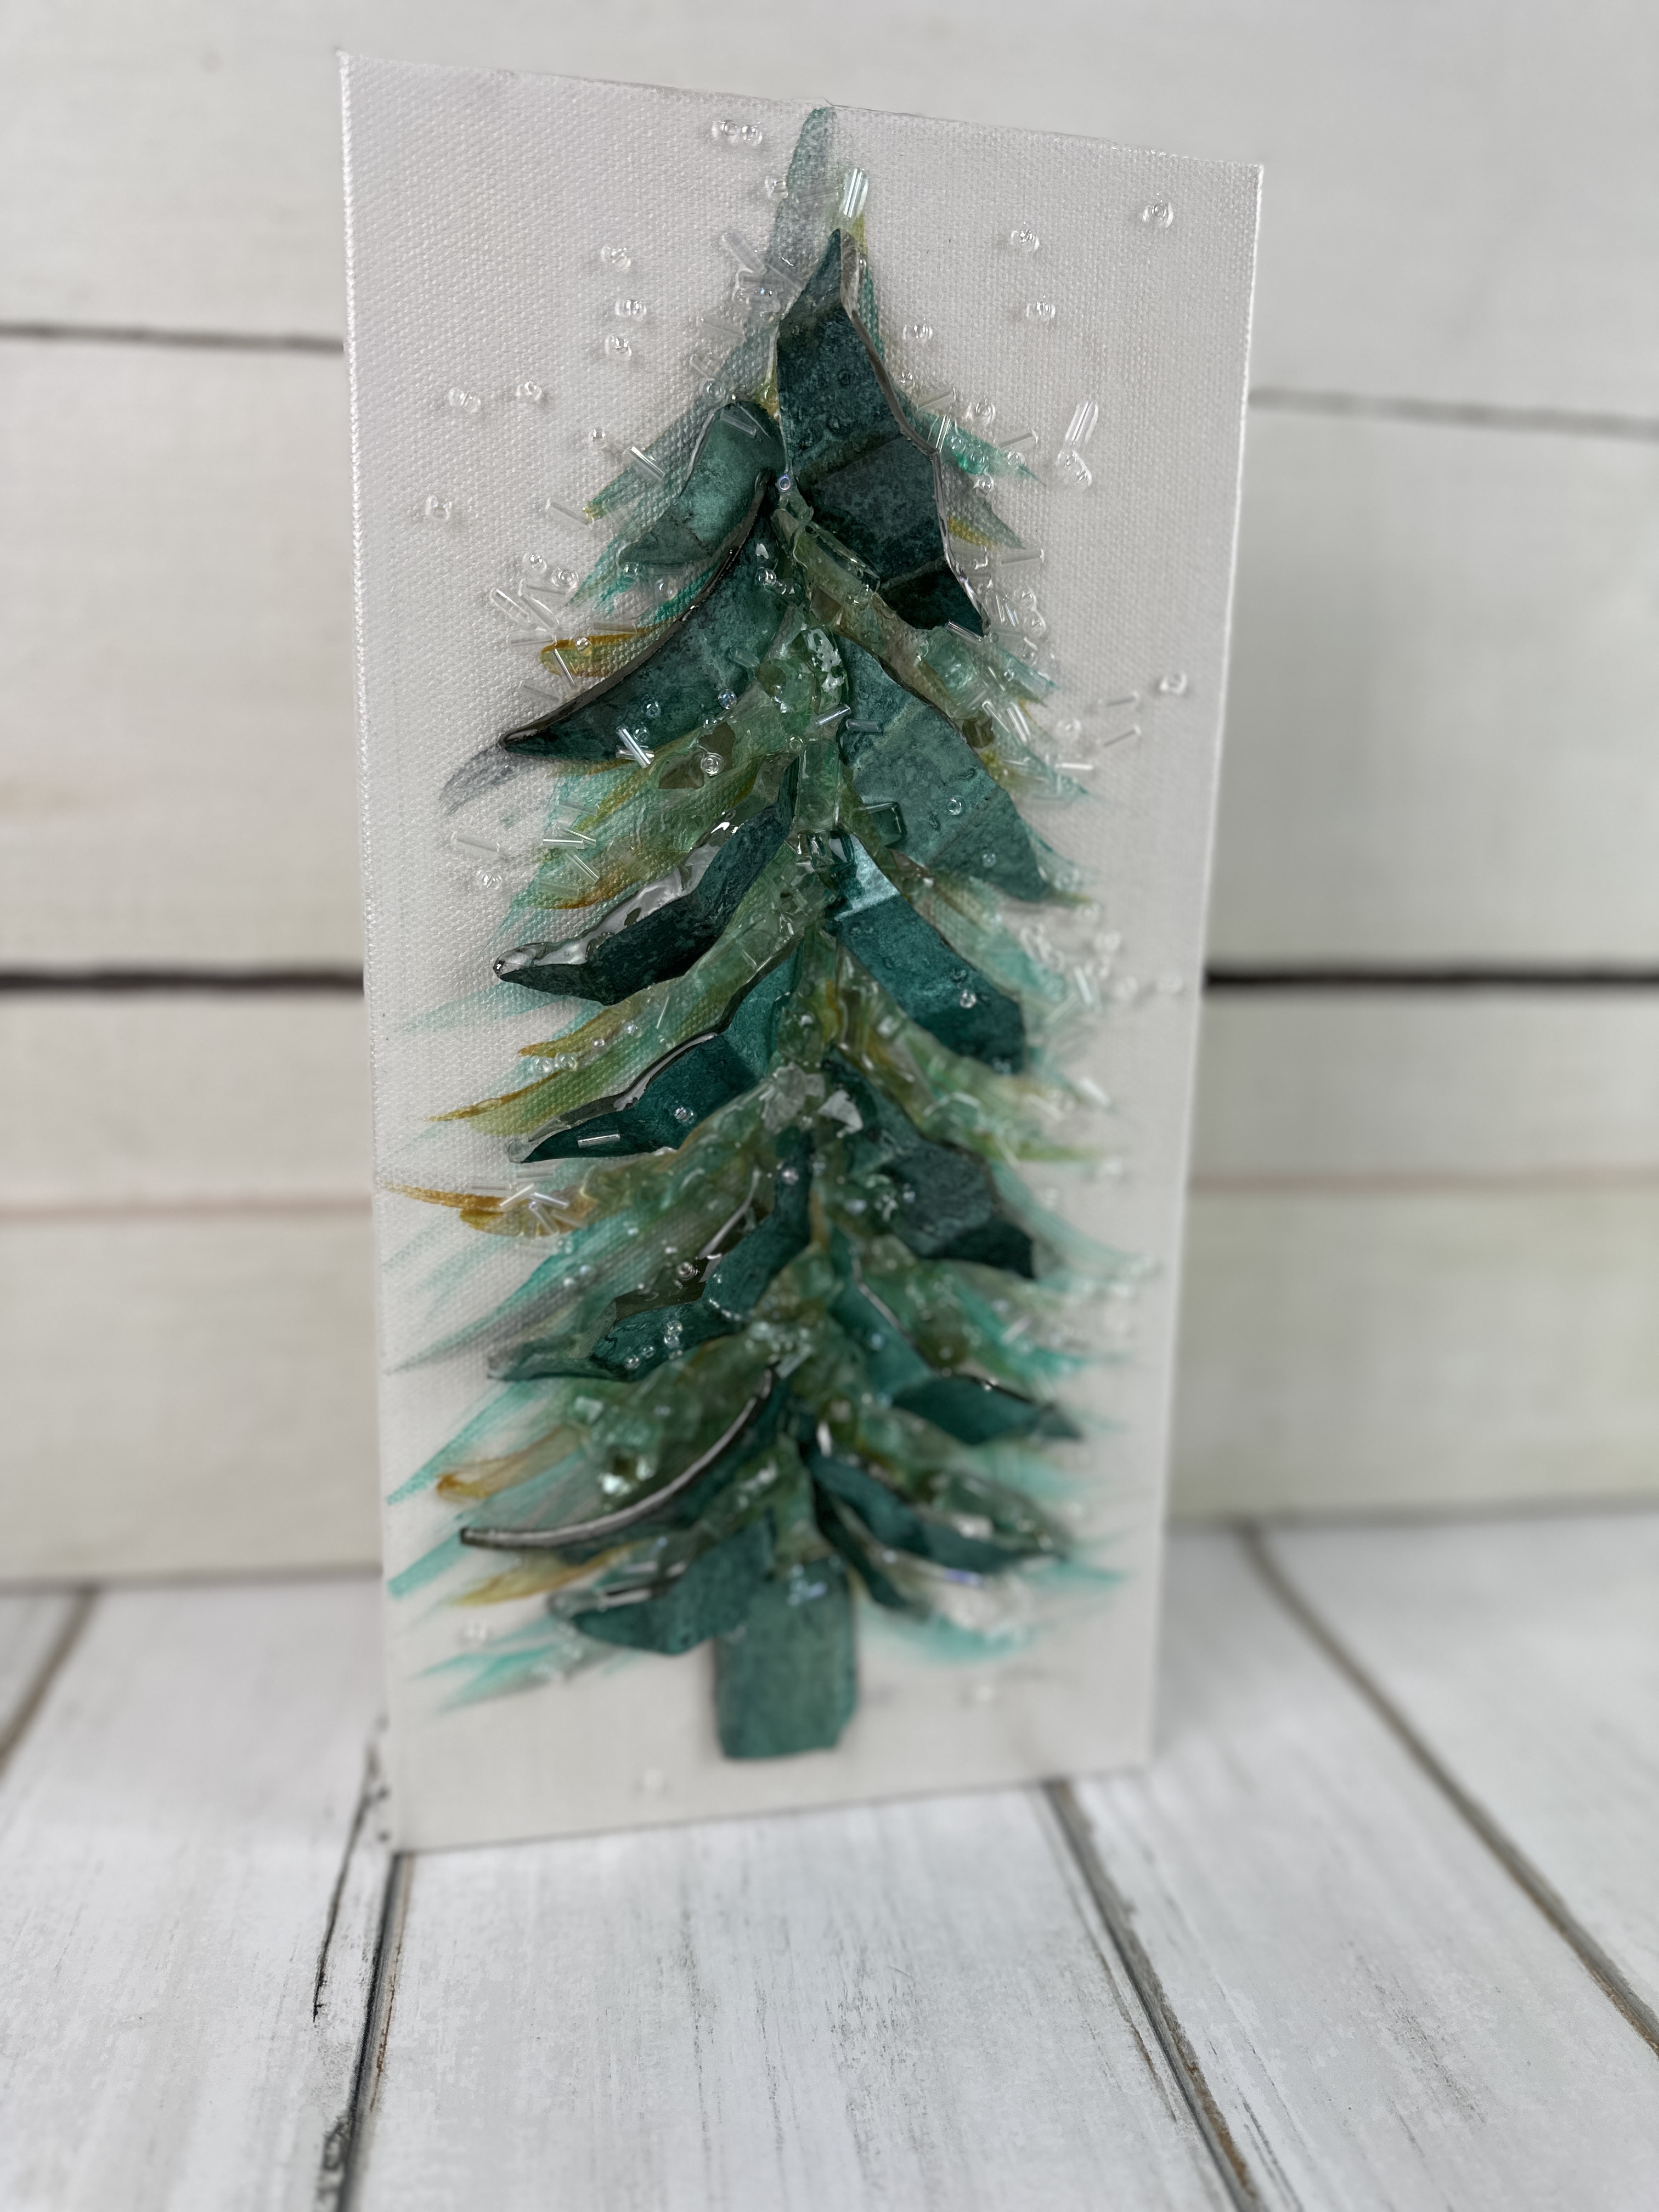
Step 1: Prep Your Glass Pieces
If you have a broken vase (or intentionally break one for art purposes — safely and carefully, of course!), gather those curved pieces. Using wheeled nippers, trim around the edges to shape small, curved shards perfect for layering into a tree shape.
Once your pieces are cut, grab a honing stone and lightly smooth all sharp points. Focus on the jagged tips - you don’t need to round every edge completely, just enough to remove anything that could cut your hands during placement.
Step 2: Paint the Background
Start by applying Metallic Pearl White paint over the entire canvas, edges included, using a foam brush...
Floating Frame Penguin 🐧
Looking for a fun new glass art project that pairs perfectly with your Snowman Frame? This adorable Floating Penguin will melt your heart! Made on a floating glass frame from Hobby Lobby, this project combines painting, cutting, and resin techniques to create a wintery keepsake you can display (and even change backgrounds for!) all season long.
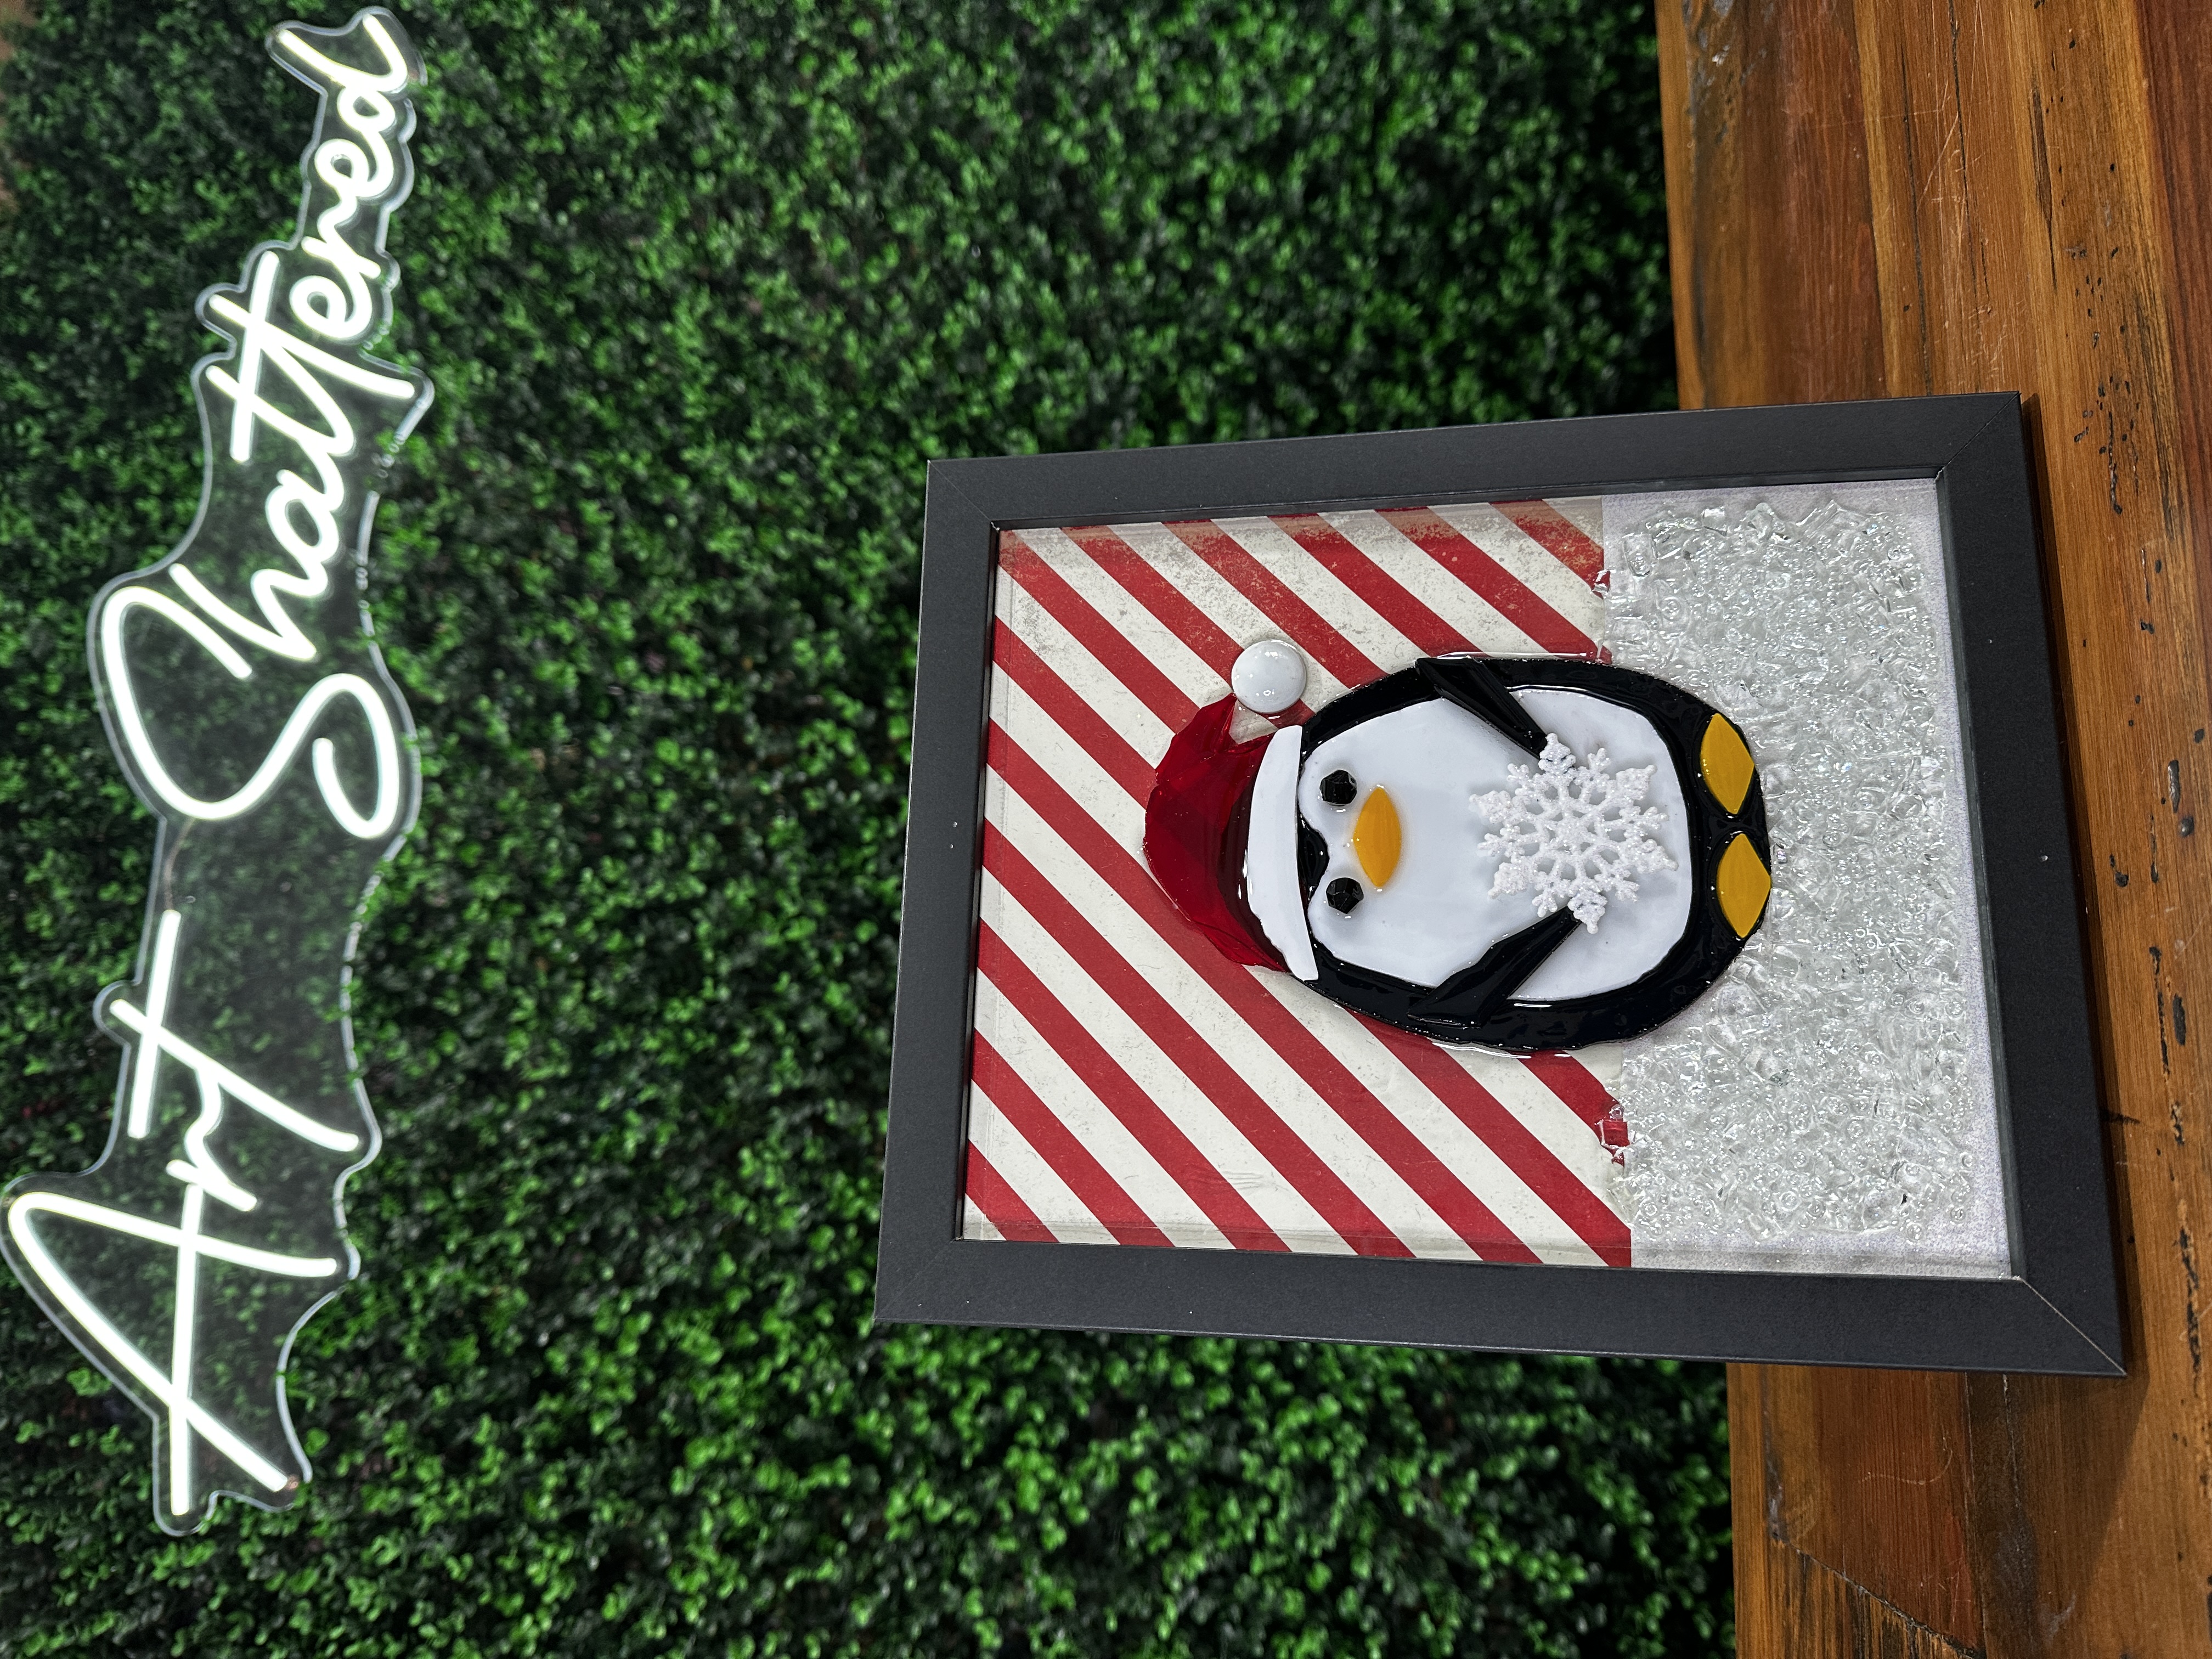
Step 1: Prepare Your Frame
Start by removing the screws and opening the back of your floating frame. Take out one piece of glass (this will be your working surface) and lay it flat on a towel to protect it from scratches. Apply masking tape around all four edges to create a clean border, leaving about ⅜ inch between the tape and the glass edge. This tape not only defines the boundary of your artwork but also ensures the finished glass will fit smoothly back into the frame once the resin is dry. Burnish the tape firmly with your fingers or a scraper to seal any gaps and prevent resin from leaking underneath. Finally, clean your glass thorough...
Floating Frame Snowman ⛄️
If you love snowmen and sparkly seasonal art, you're going to melt over this one! This mixed media snowman project is made on a floating glass frame and layered with cut glass, resin, beads, and a customizable background. The best part? You can swap out the background for different seasons! Whether you're a glass art beginner or a seasoned resin pro, this tutorial is packed with creative inspiration!
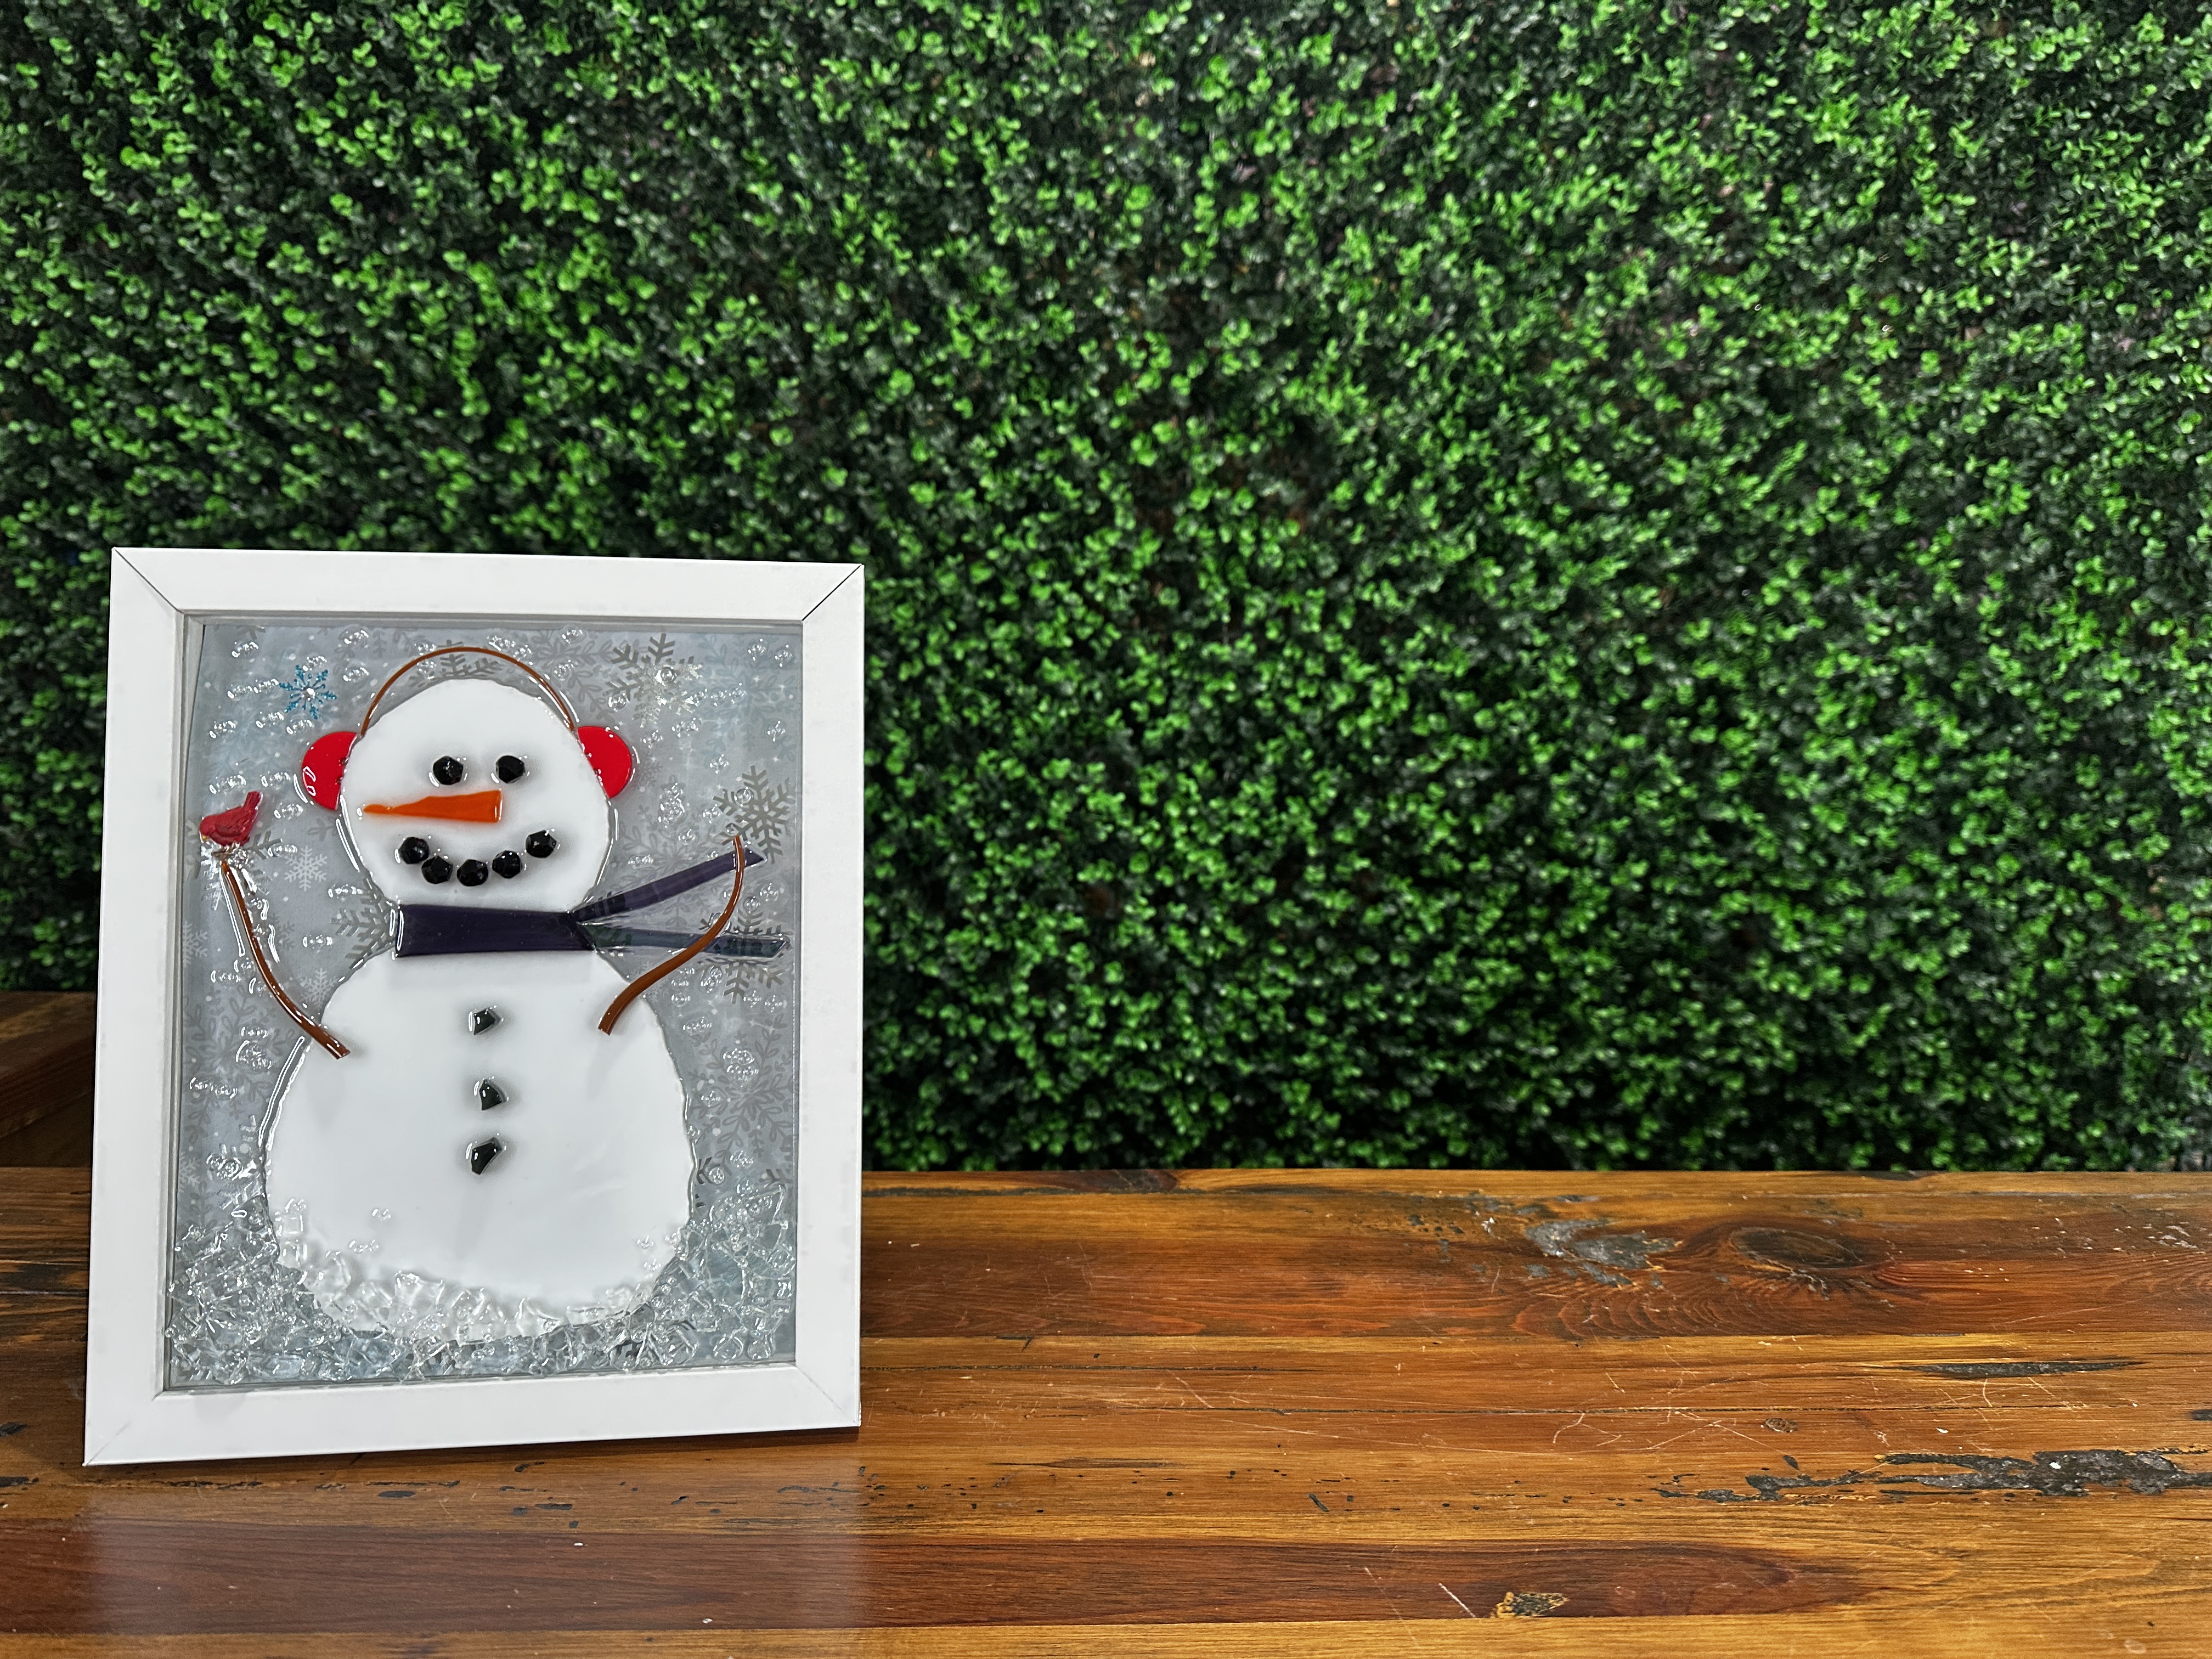
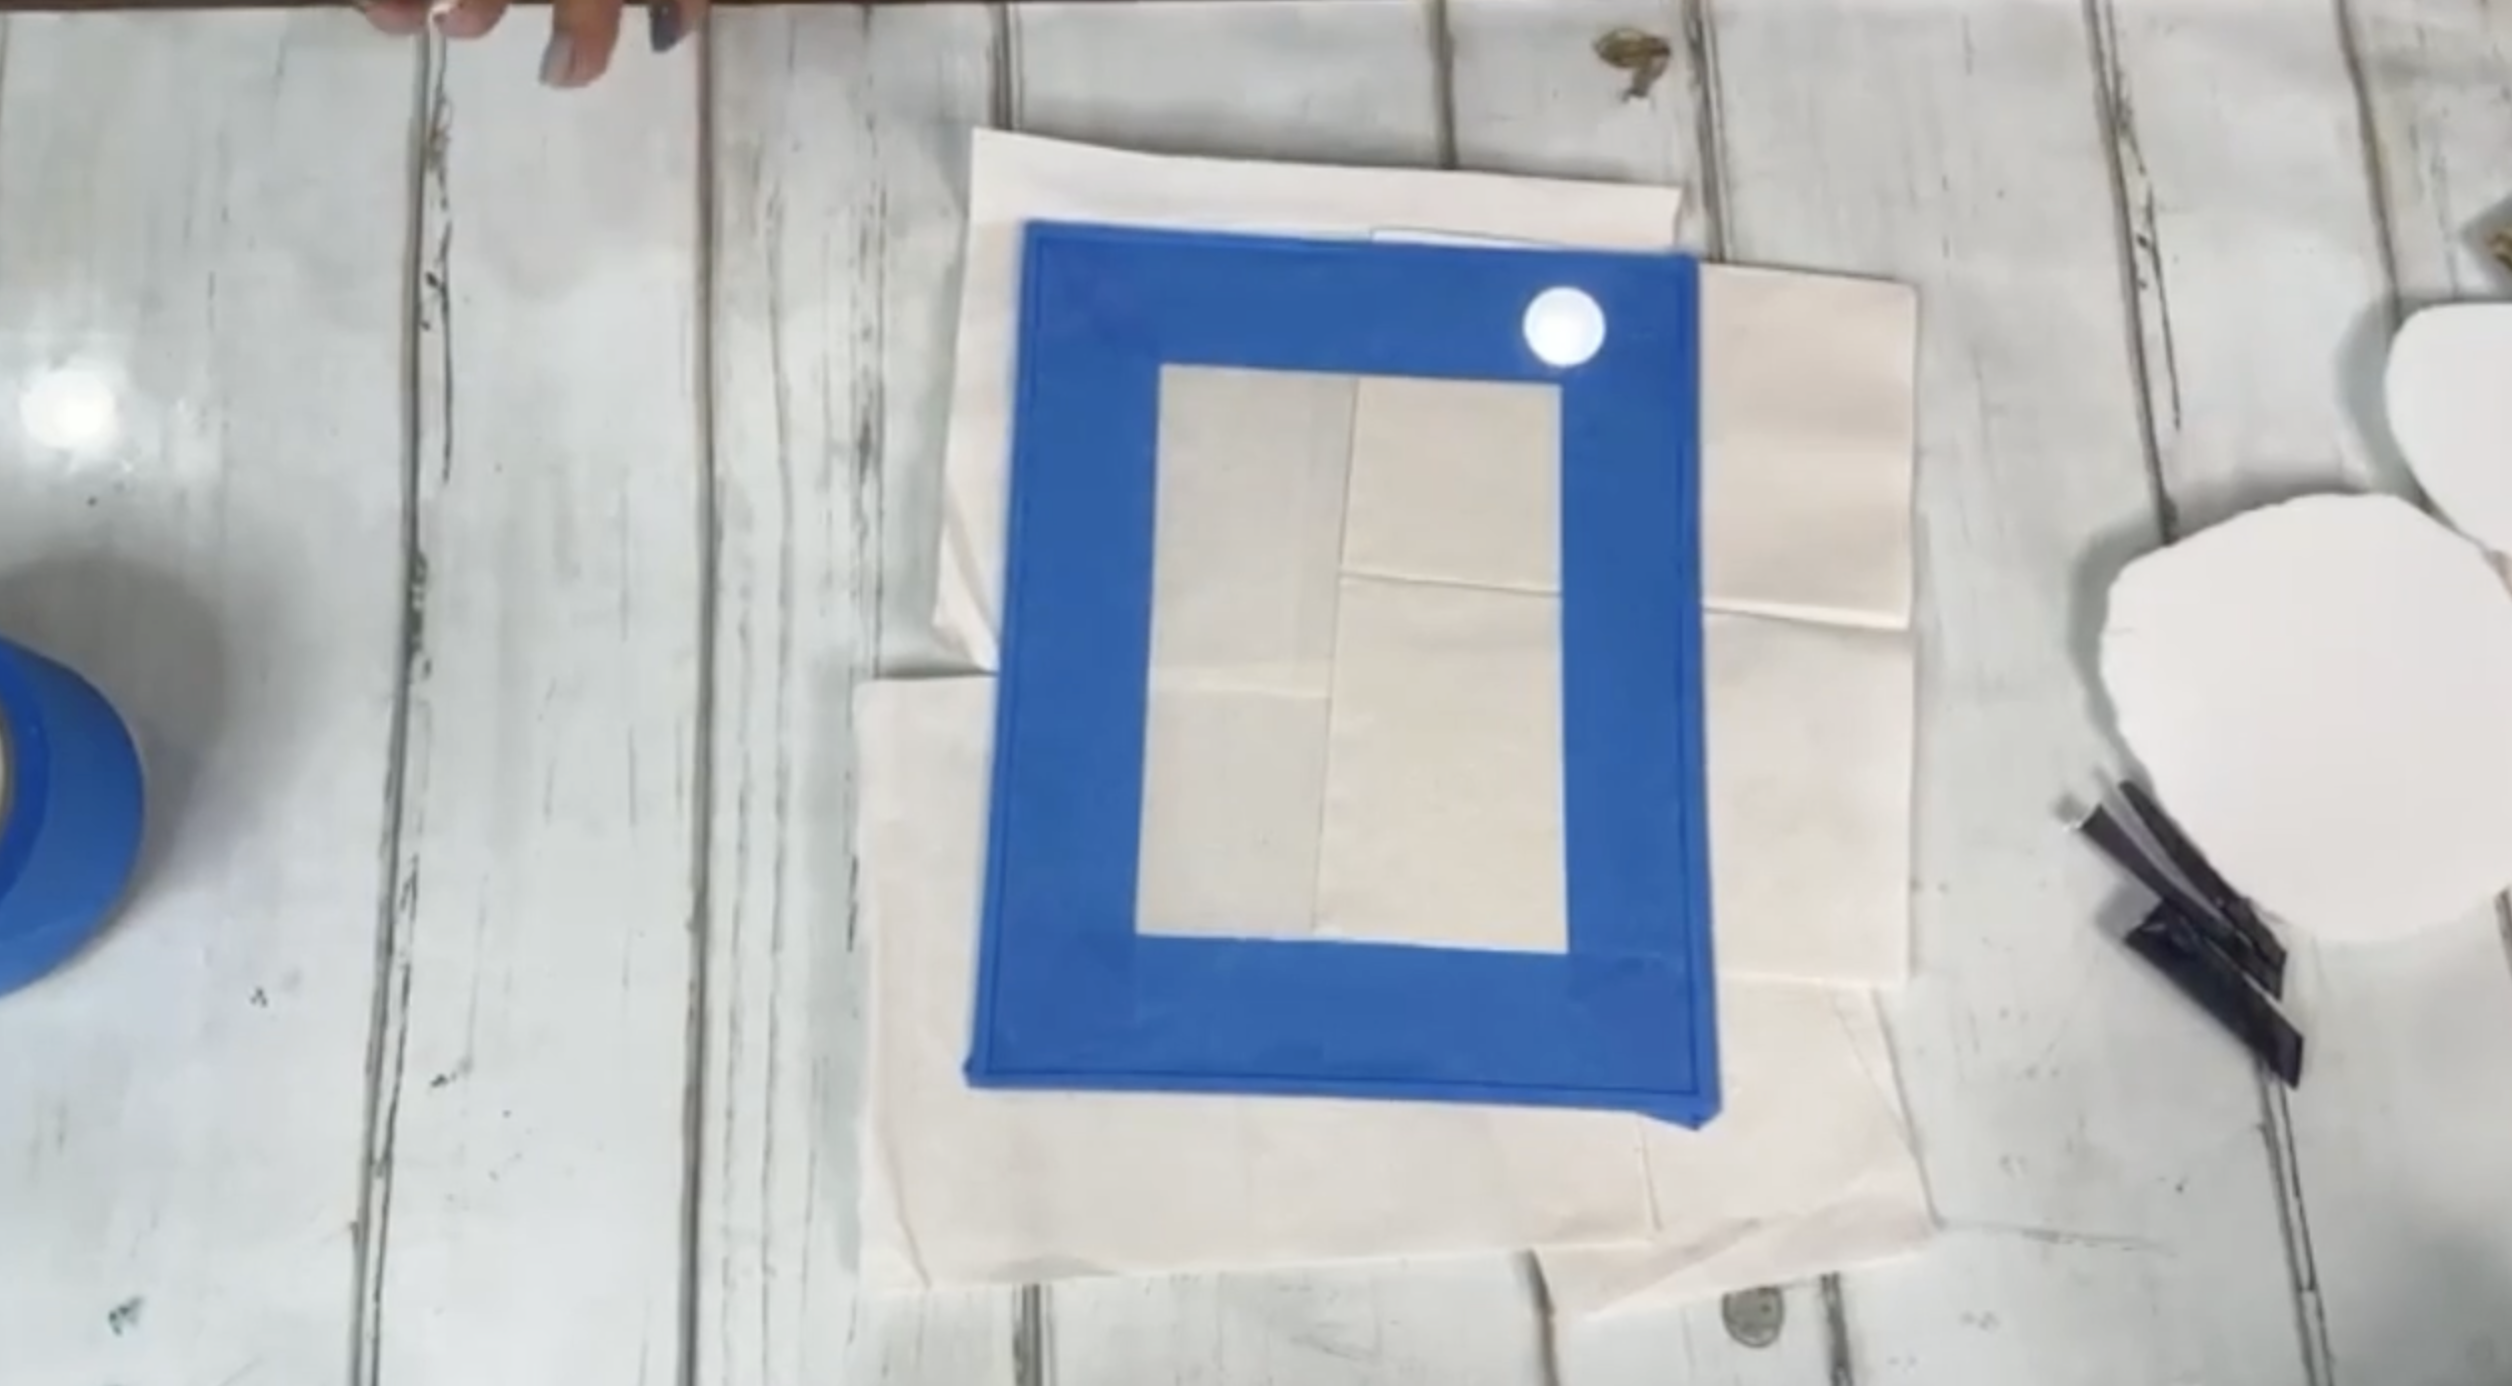
Step 1: Prep Your Frame
Begin by disassembling the floating frame and carefully removing the two glass panels. Choose one panel as the base for your art and clean it thoroughly to remove dust or fingerprints. Use painter’s tape to mask off about ¼ inch around all four edges. This will help keep your design centered and ensure it fits back inside the frame later without resin or embellishments getting in the way.
Step 2: Cut and Arrange Your Snowman
Using wheeled nippers, cut two circles from white sheet glass - one for the body and a slightly smaller one for the head. Hone the edge...
Pink & Teal Pumpkin 💕
This isn't your typical fall pumpkin - this one's pink, sparkly, and packed with personality! In this tutorial, you’ll learn how to add shading and highlights using directional light, master wet-on-wet blending, and finish your piece with glass, seed beads, and glossy resin. We even topped it off with a little gold pen detail and green vitrigraph for extra flair!

Understanding Highlights & Shadows
Before we ever touched the paint, we walked through a basic but important concept: light source and directional shading. To add dimension to a flat shape, like a circle or pumpkin, you need to decide where your light is coming from. We placed a sketch of a sun on the top left of our canvas to guide us throughout the painting process. This way, each pumpkin section could be shaded and highlighted appropriately based on where the "sunlight" would hit.
Step 1: Sketching the Pink Pumpkin
Using a pencil, we loosely sketched a squatty pumpkin with a curly stem and marked out individual pumpki...
Animal Print Pumpkin 😍
This project turns a little 8×8 canvas into a dimensional, glam pumpkin using modeling paste, animal-print foil, and a thin resin coat. We’ll sculpt the pumpkin, paint it black so the foil pops, burnish on a cheetah pattern, add a gold stem, and finish with clear glass accents.

Step 1: Tone the background
Brush a thin coat of white over the entire canvas to reduce the “grab” of raw fabric. While it’s still a little damp, scrub slate gray along the lower third and fade it upward so the tone softens as it rises. Wipe the brush clean and touch a hint of gray higher up to keep the field from looking flat, then dry the surface thoroughly with a quick blast of a hair dryer.
Step 2: Lightly sketch the pumpkin
Make a small tick mark about an inch and a half down from the top edge to reserve breathing room for the stem. Sketch a big oval—the “zero”—for the pumpkin body, then add two gentle parentheses that curve down and back up into the base so your form reads as three fat ribs. Add a si...
Midnight Pumpkin 🎃
We’re back with a cozy fall favorite - an orange pumpkin with a rustic green-and-brown stem on a dramatic dark background. This is an “oldie but goodie” project that originally featured a black backdrop, but today we’re switching it up with a rich navy (Payne’s gray). The result? A bold, dimensional pumpkin with highlights, shadows, glass sparkle, and a glossy resin finish.
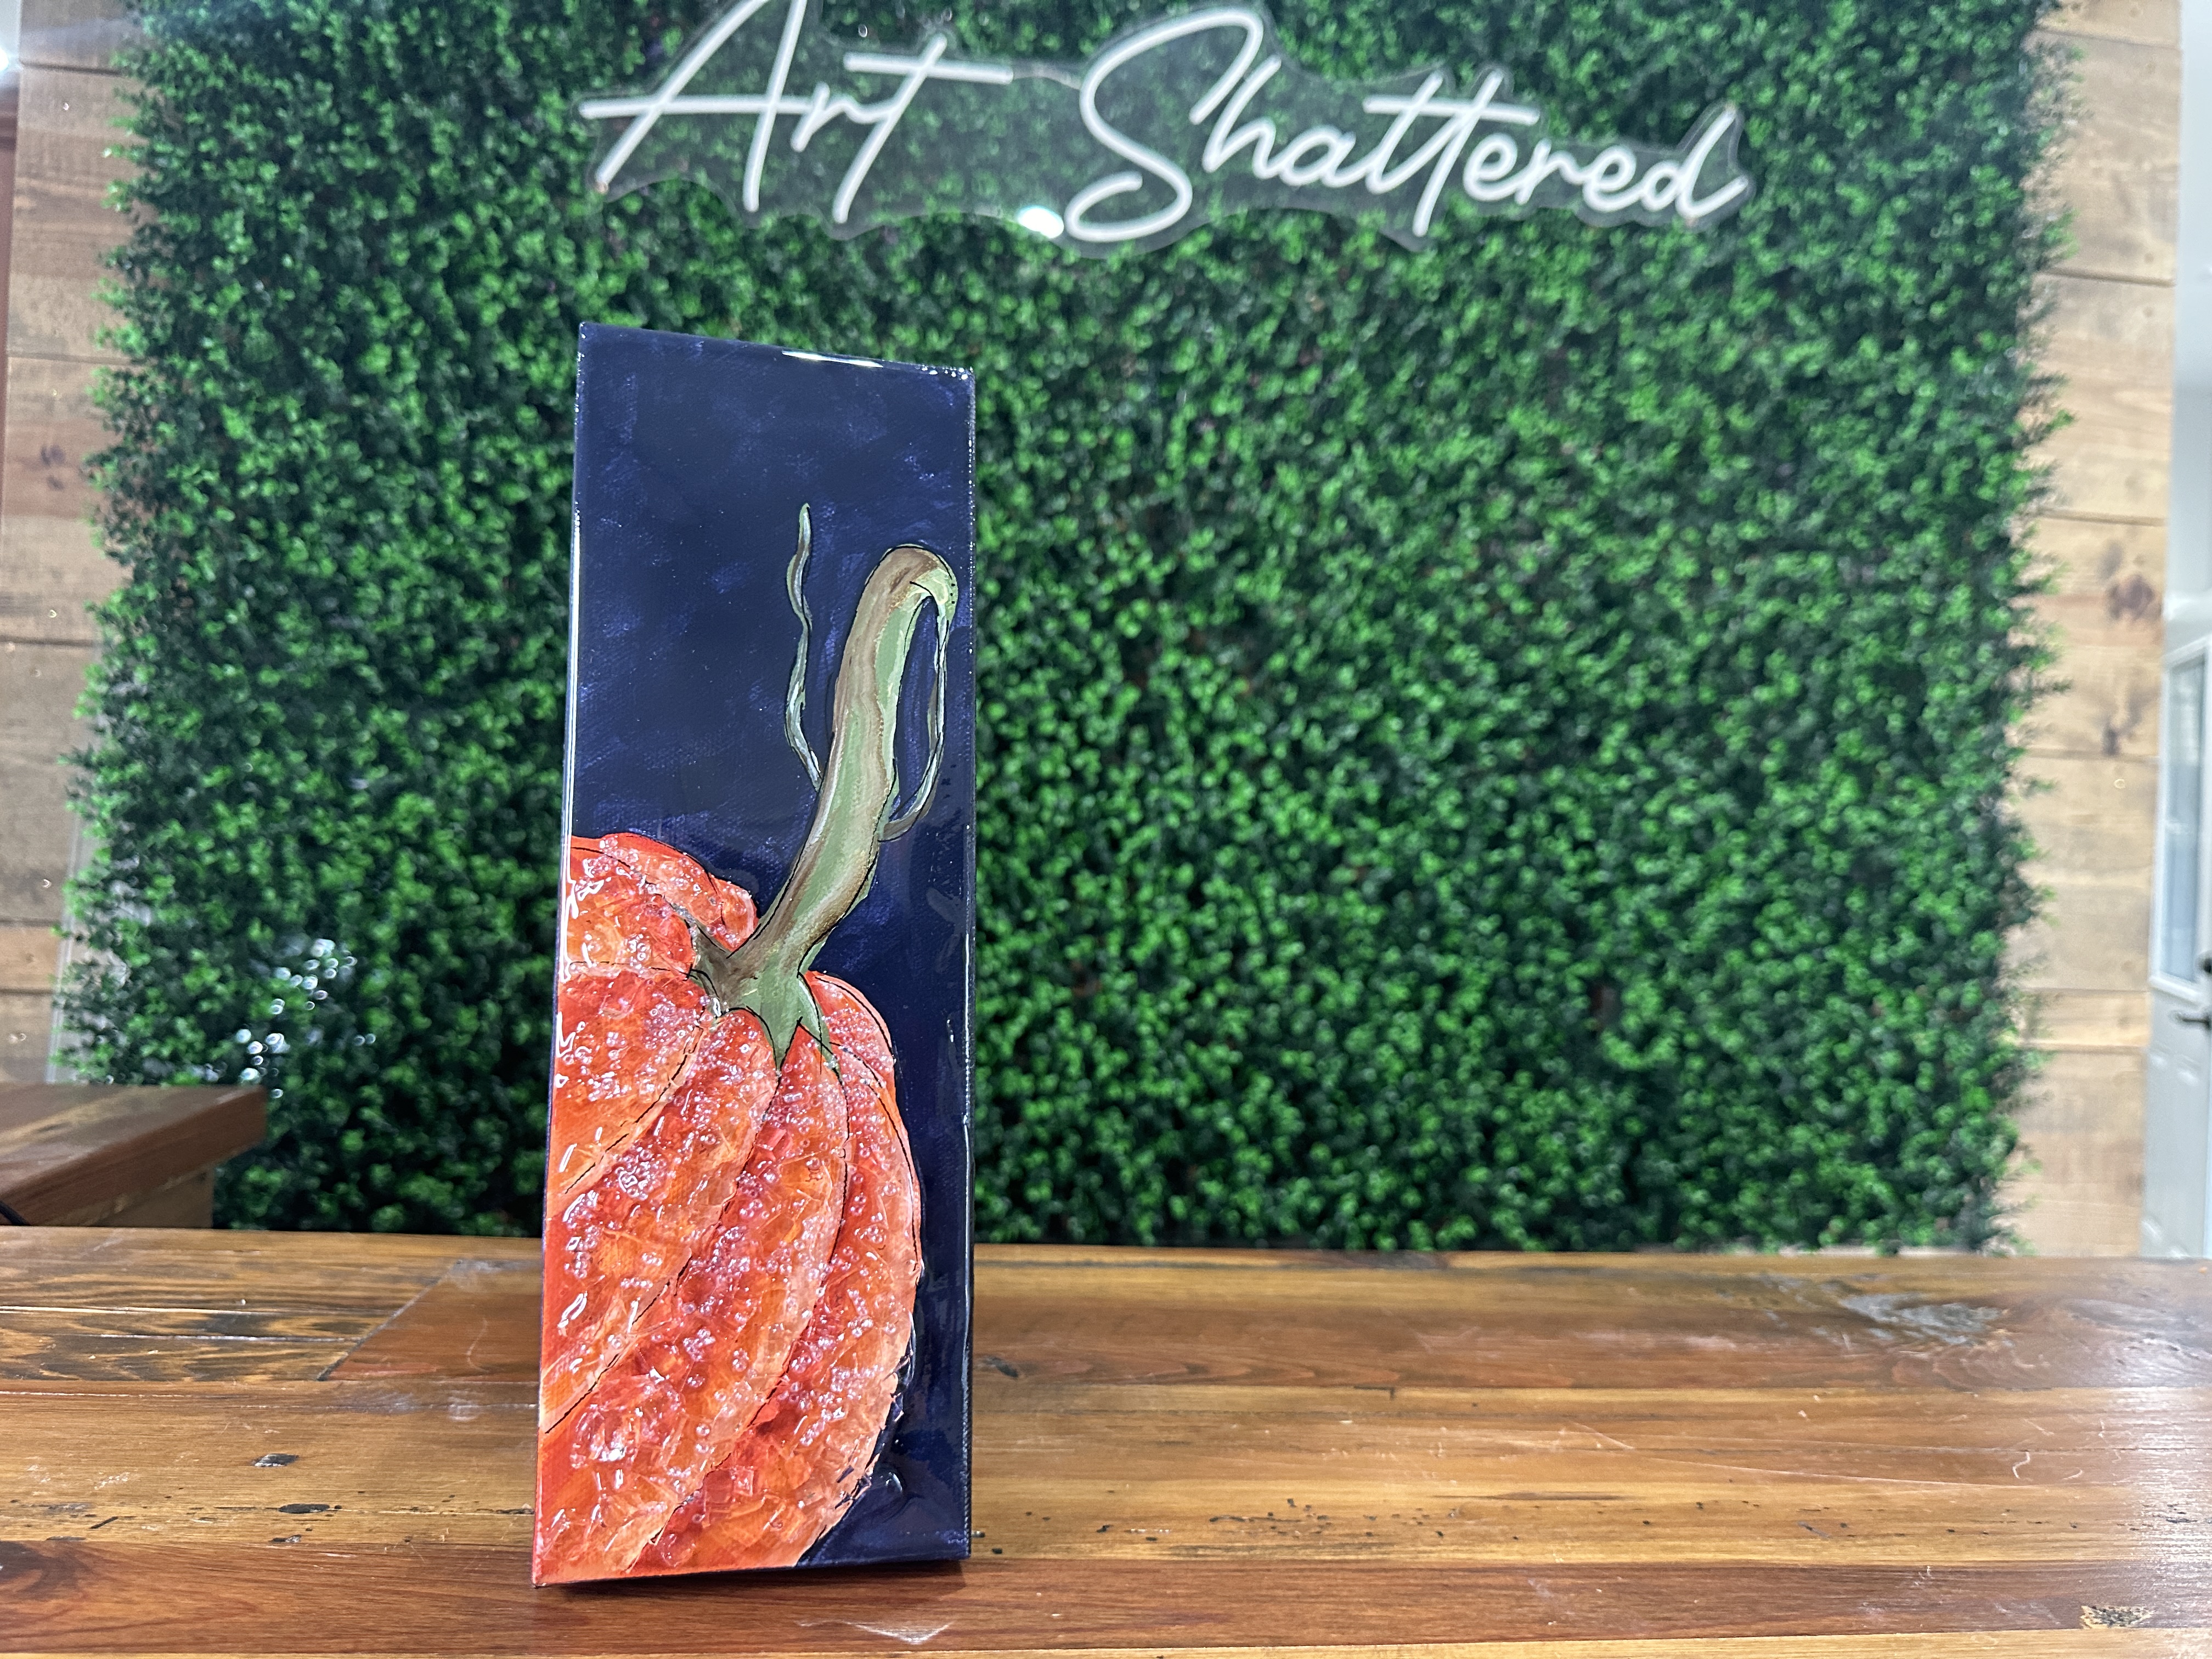
Step 1: Trace the Pumpkin
Secure your tracer to the canvas, tucking it slightly to the left so the pumpkin shape runs off the edge for a more natural look. Place graphite paper underneath and use a stylus or a pencil to trace the outline, including the stem. Leave the stem point simple for now - you’ll extend and detail it after painting the background.
Step 2: Base Coat the Pumpkin
Load your angled brush with Burnt Orange and paint one section at a time, following the tracer lines. Think of it like coloring in a coloring book - this is just your “ground coat” to block in color before adding shadows and highli...
