
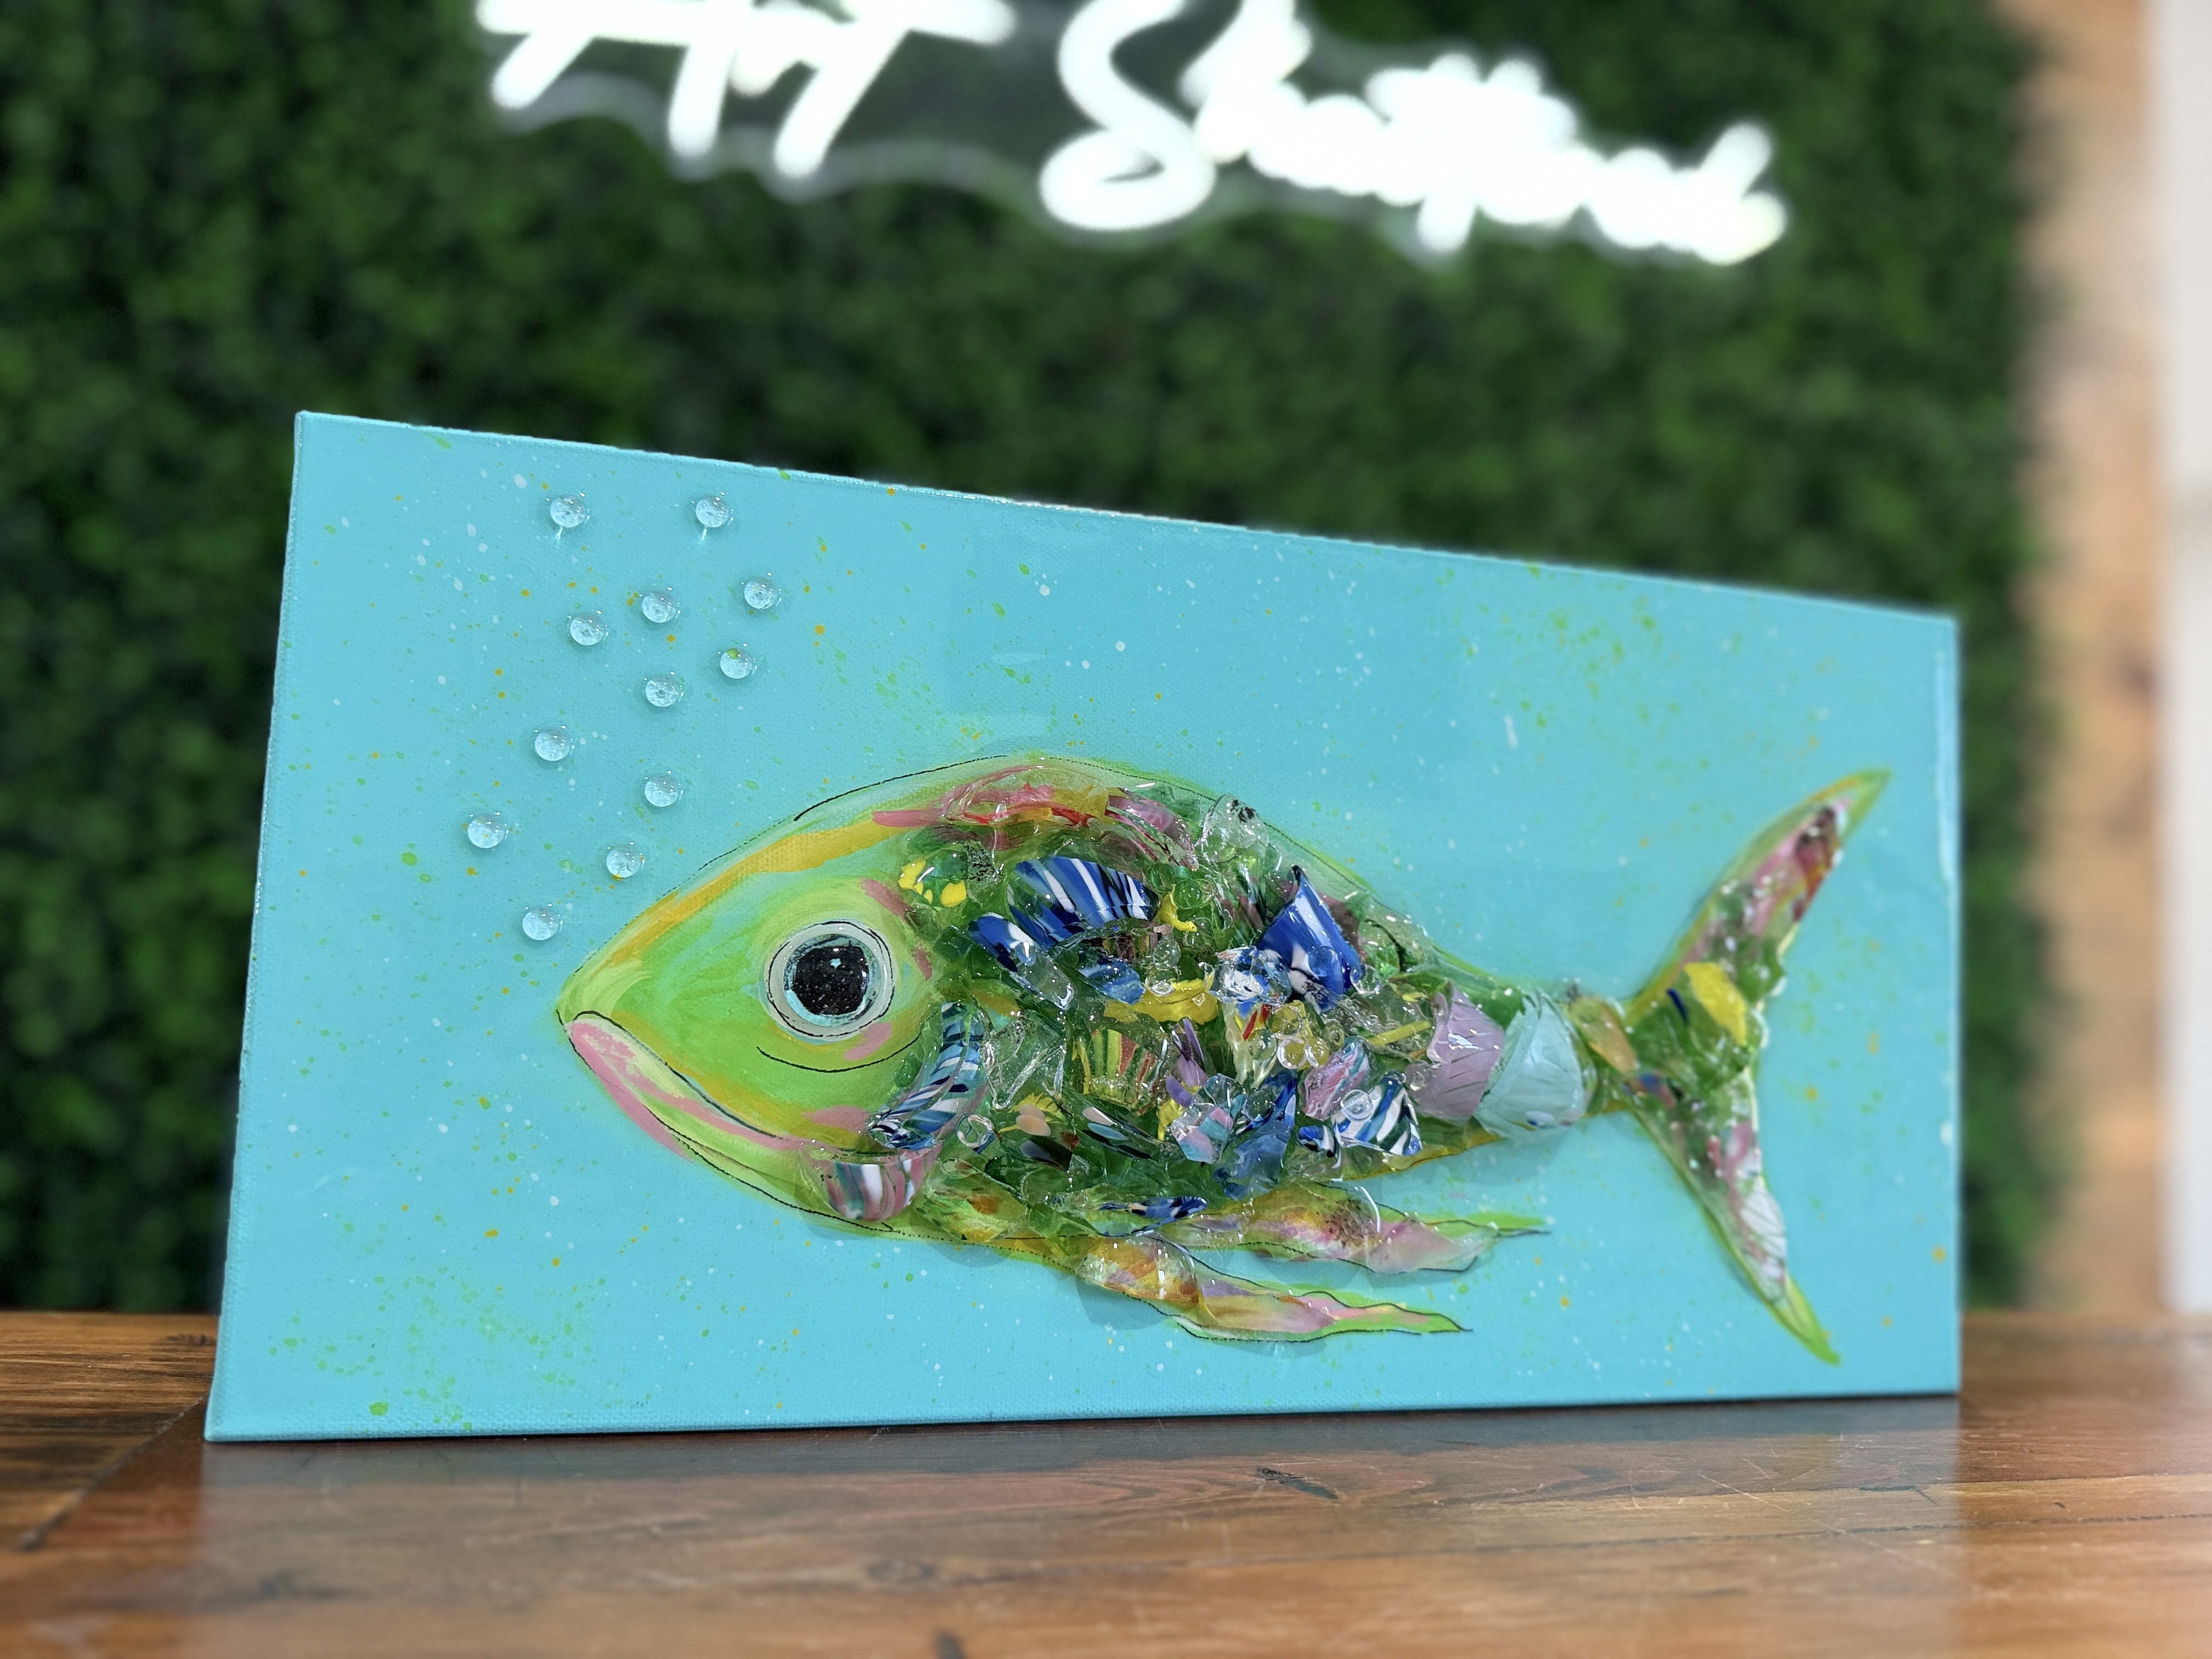
Chippy Glass Fish 🐠
If you love mixed media fish art, beach decor, coastal wall art, and glass resin crafts, this colorful fish canvas is a fun and beginner-friendly project to try. This bright glass fish painting with resin combines acrylic paint, crushed glass, glass chips, and glossy resin to create a dimensional underwater art piece full of texture and sparkle!
Step 1: Paint the Canvas Background
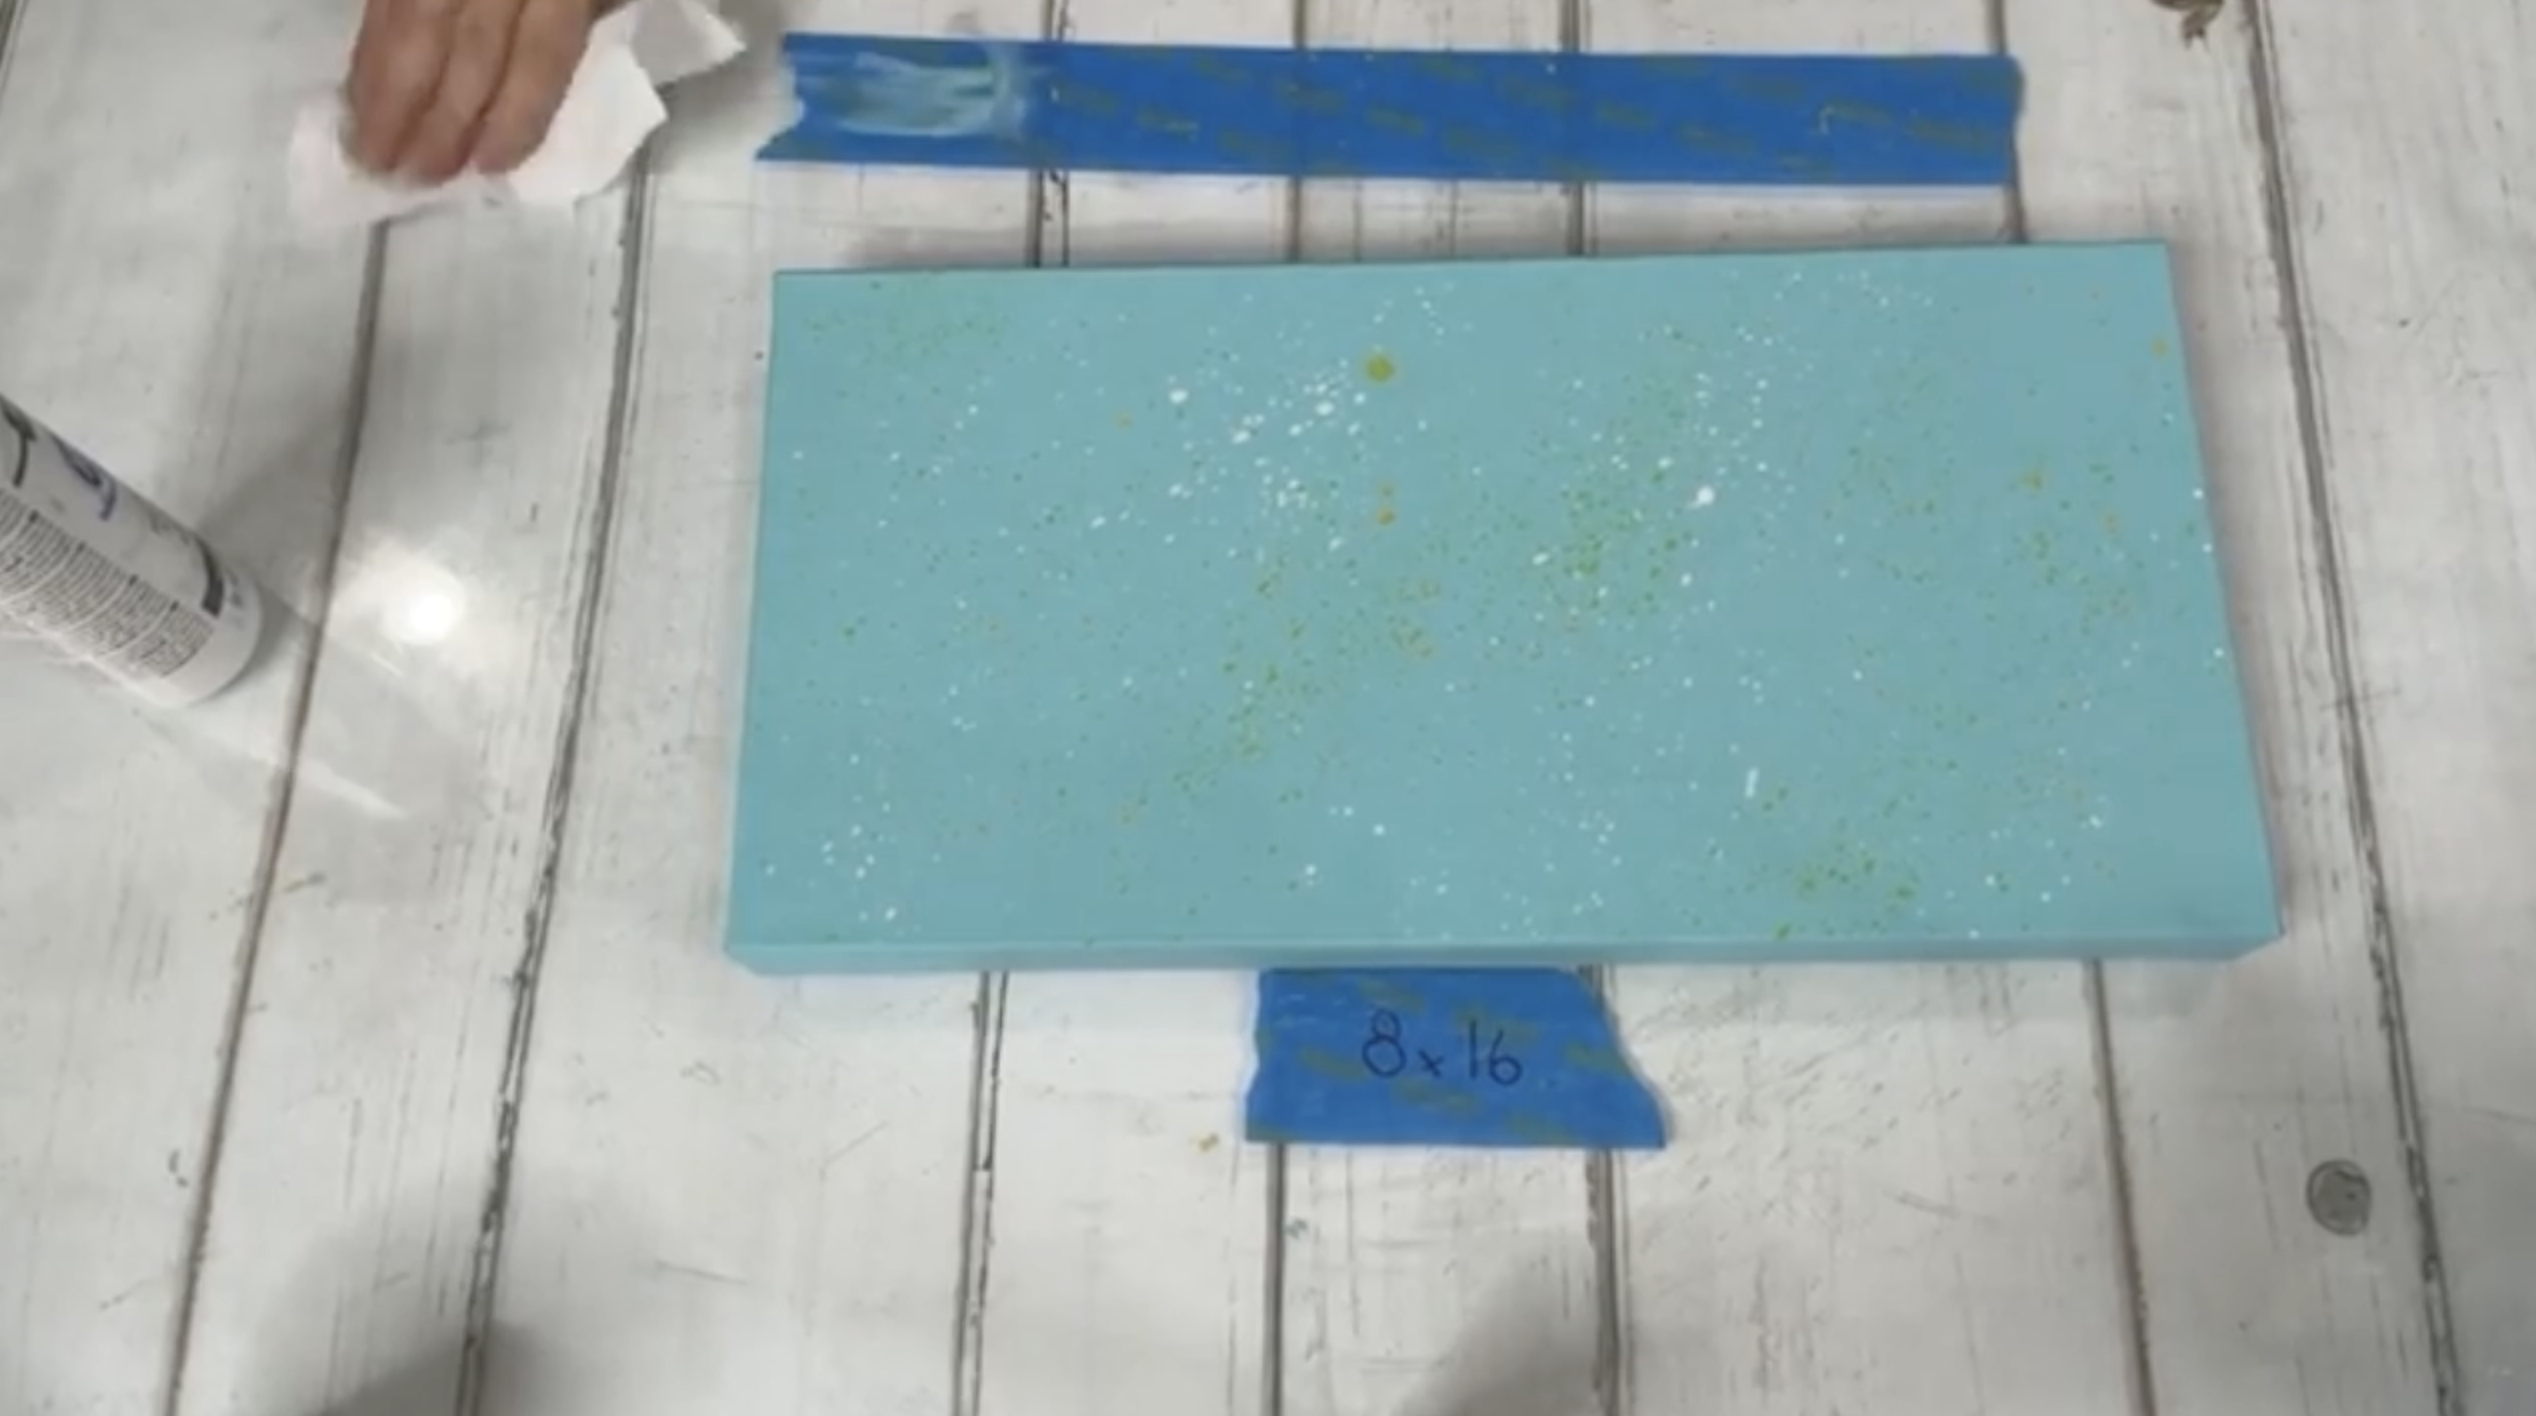
Begin by applying two coats of Bahama Blue acrylic paint to the entire canvas. Let each coat dry completely before adding the next. This aqua blue background creates the perfect ocean-inspired base for your fish art and gives the finished project a bright coastal feel.
To give your background movement and personality, splatter paint across the canvas using Golden Yellow, Sour Apple, and White acrylic paint. Thin each color with a little water until it becomes loose and fluid. Use a large brush or toothbrush to flick tiny droplets over the surface. Dry between each color layer.
Step 2: Trace the Fish ...
Beachy Palm 🌴
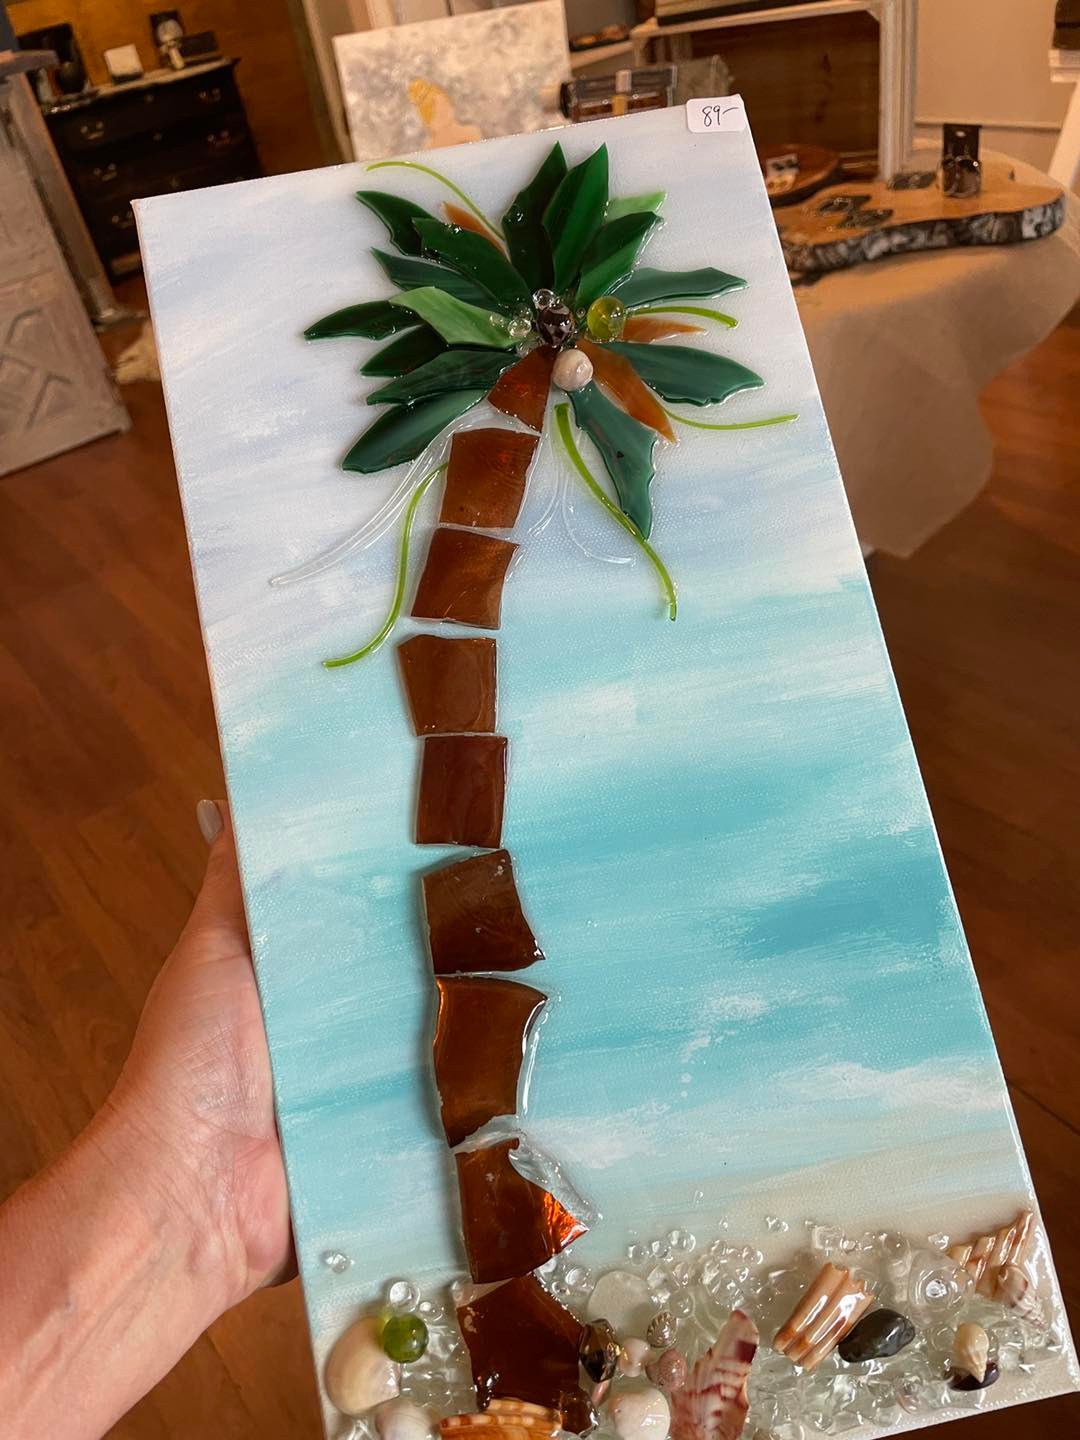
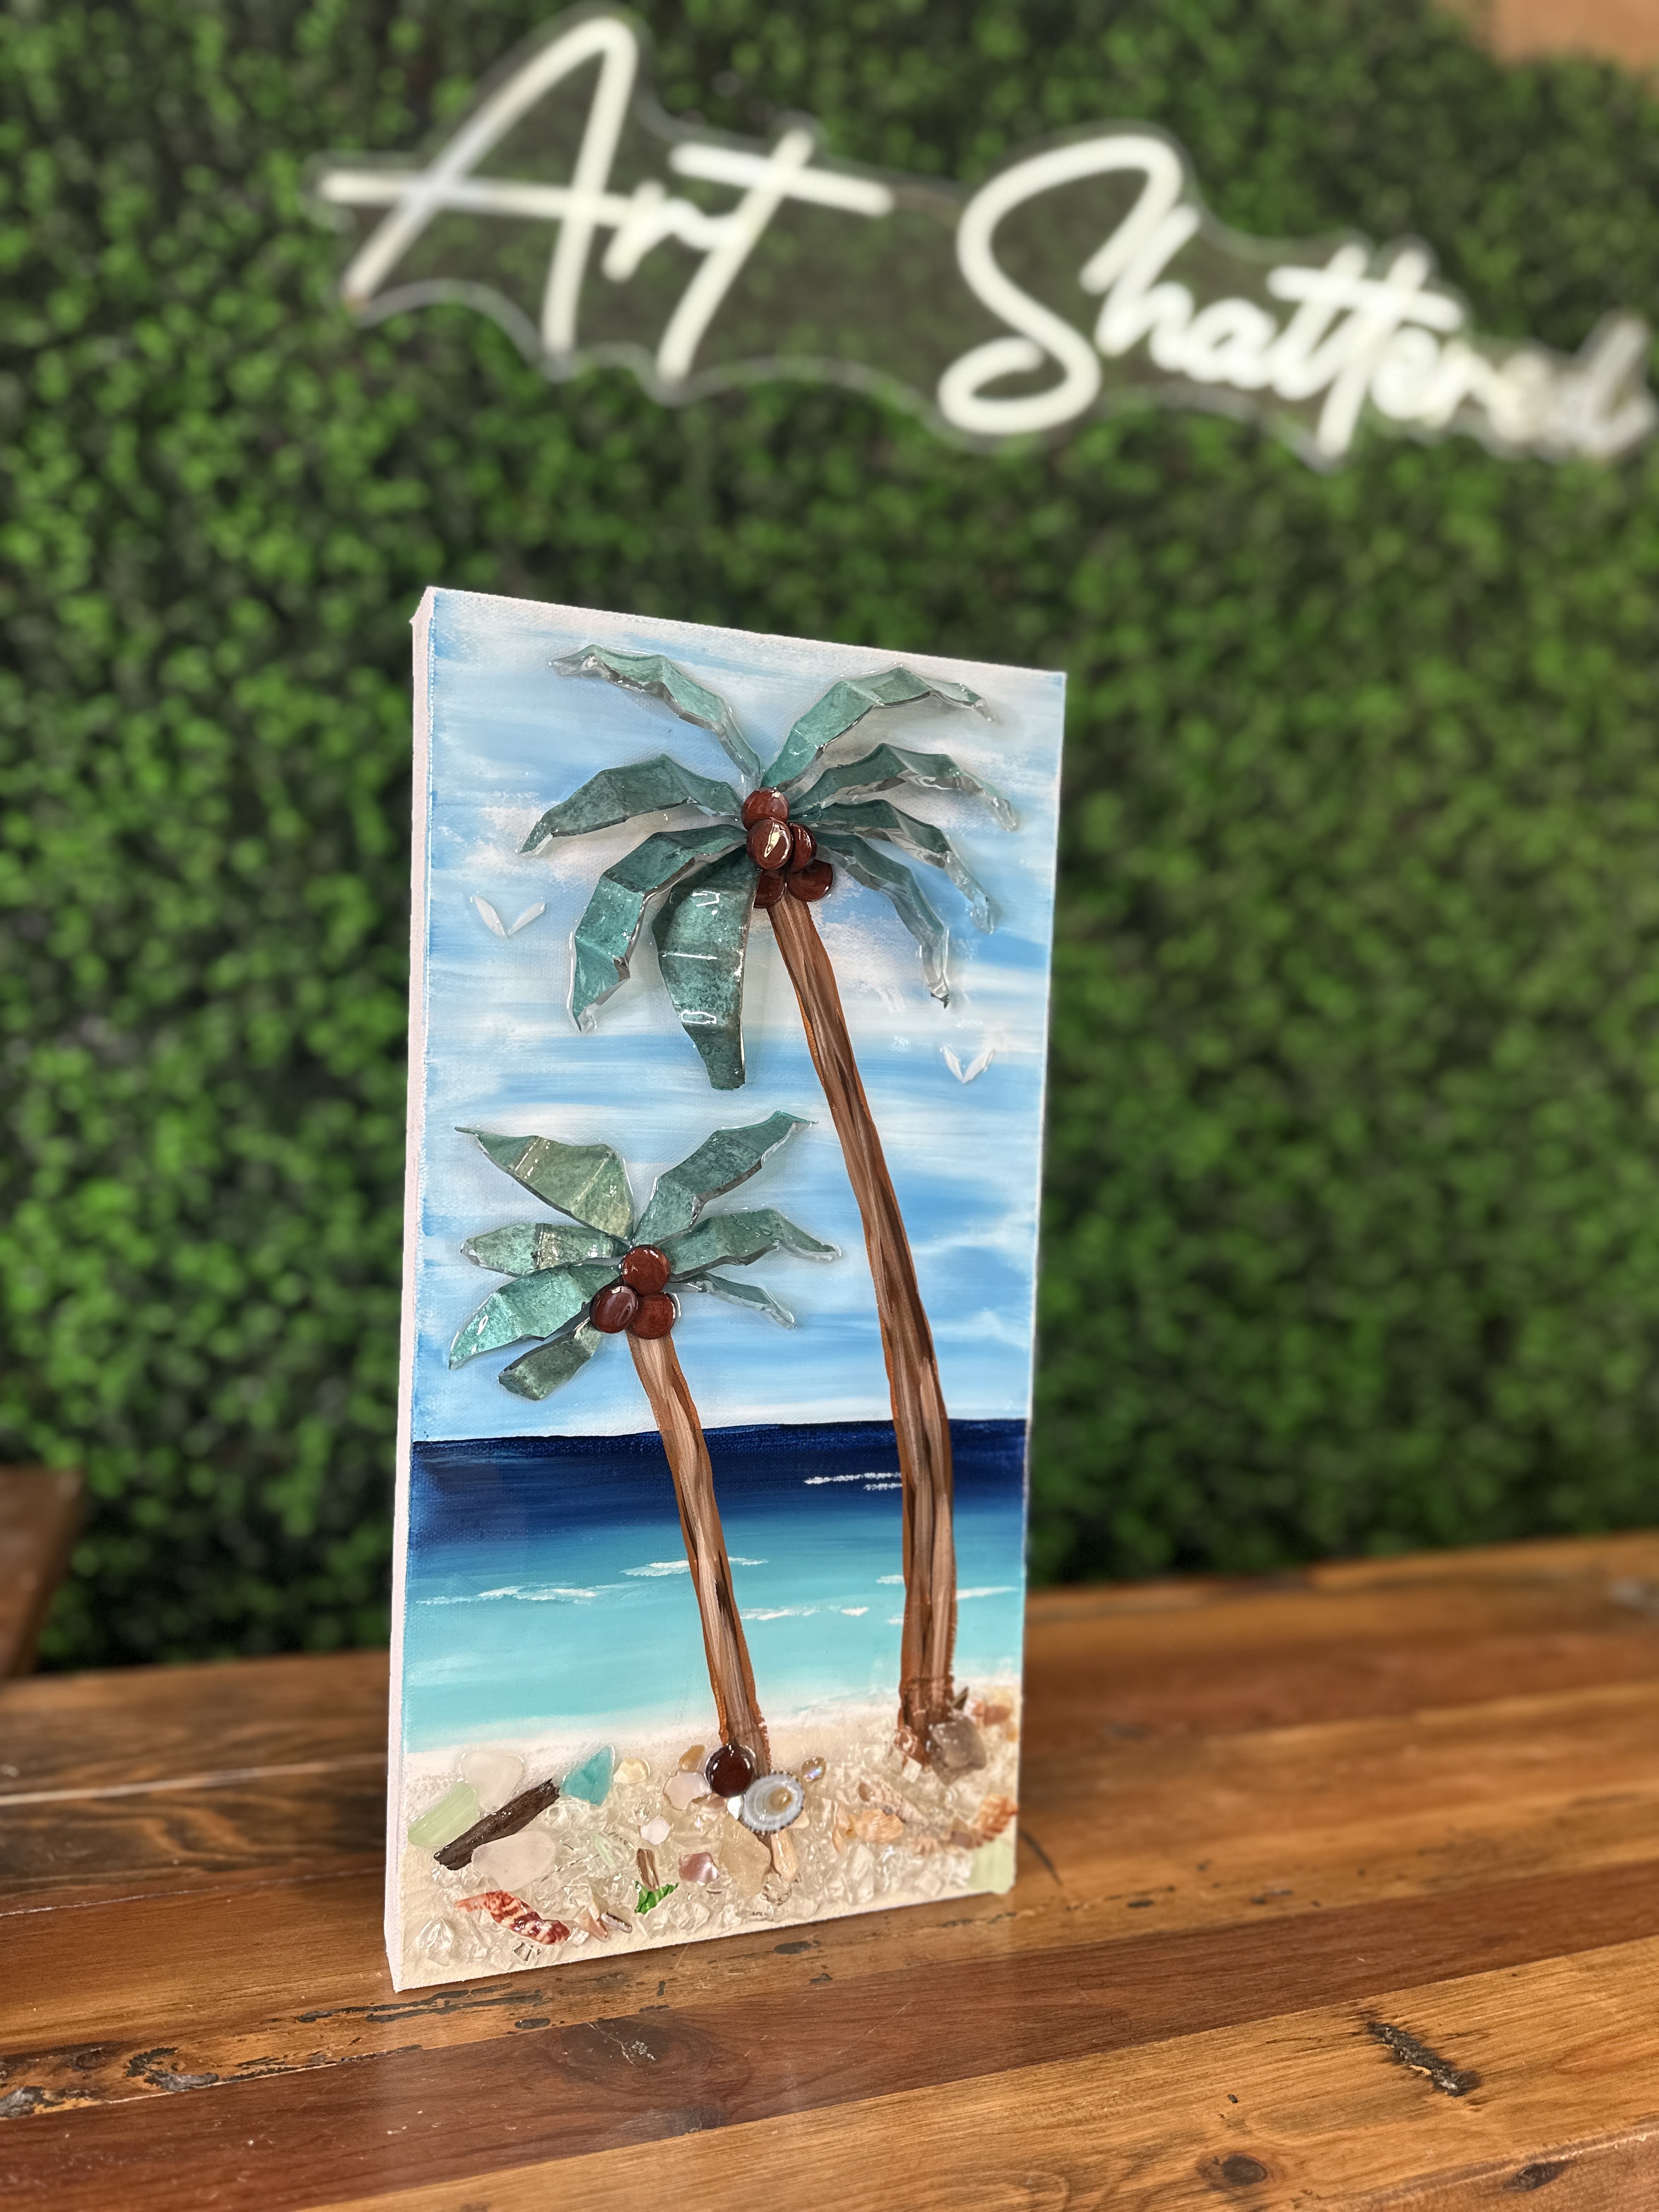
We’re making a bright, beachy palm tree on an 8x16 canvas with a quick painted background, a glass “found object” trunk, nipped sheet-glass palm fronds, a few shells and sea glass on the shoreline, and a glossy resin finish that makes everything pop. The best part? The background truly takes about five minutes, and the glass work is basically like putting together a puzzle.
Step 1: Paint the Background
Start with a thin coat of white across almost the entire canvas. This is a simple trick that helps soften the blues so they don’t grab too hard and scream neon on the canvas.
Without rinsing your brush, dip right into your sky blue and apply it to the top third of the canvas using the flat side of the brush. Keep it abstract and imperfect - this background is meant to be soft and supportive, not competing with the palm tree. Let some of that white show through so it feels like a breezy sky instead of a solid block of color.
Using that same “dirty” brush (still with a little sky...
Come Sail Away ⛵️
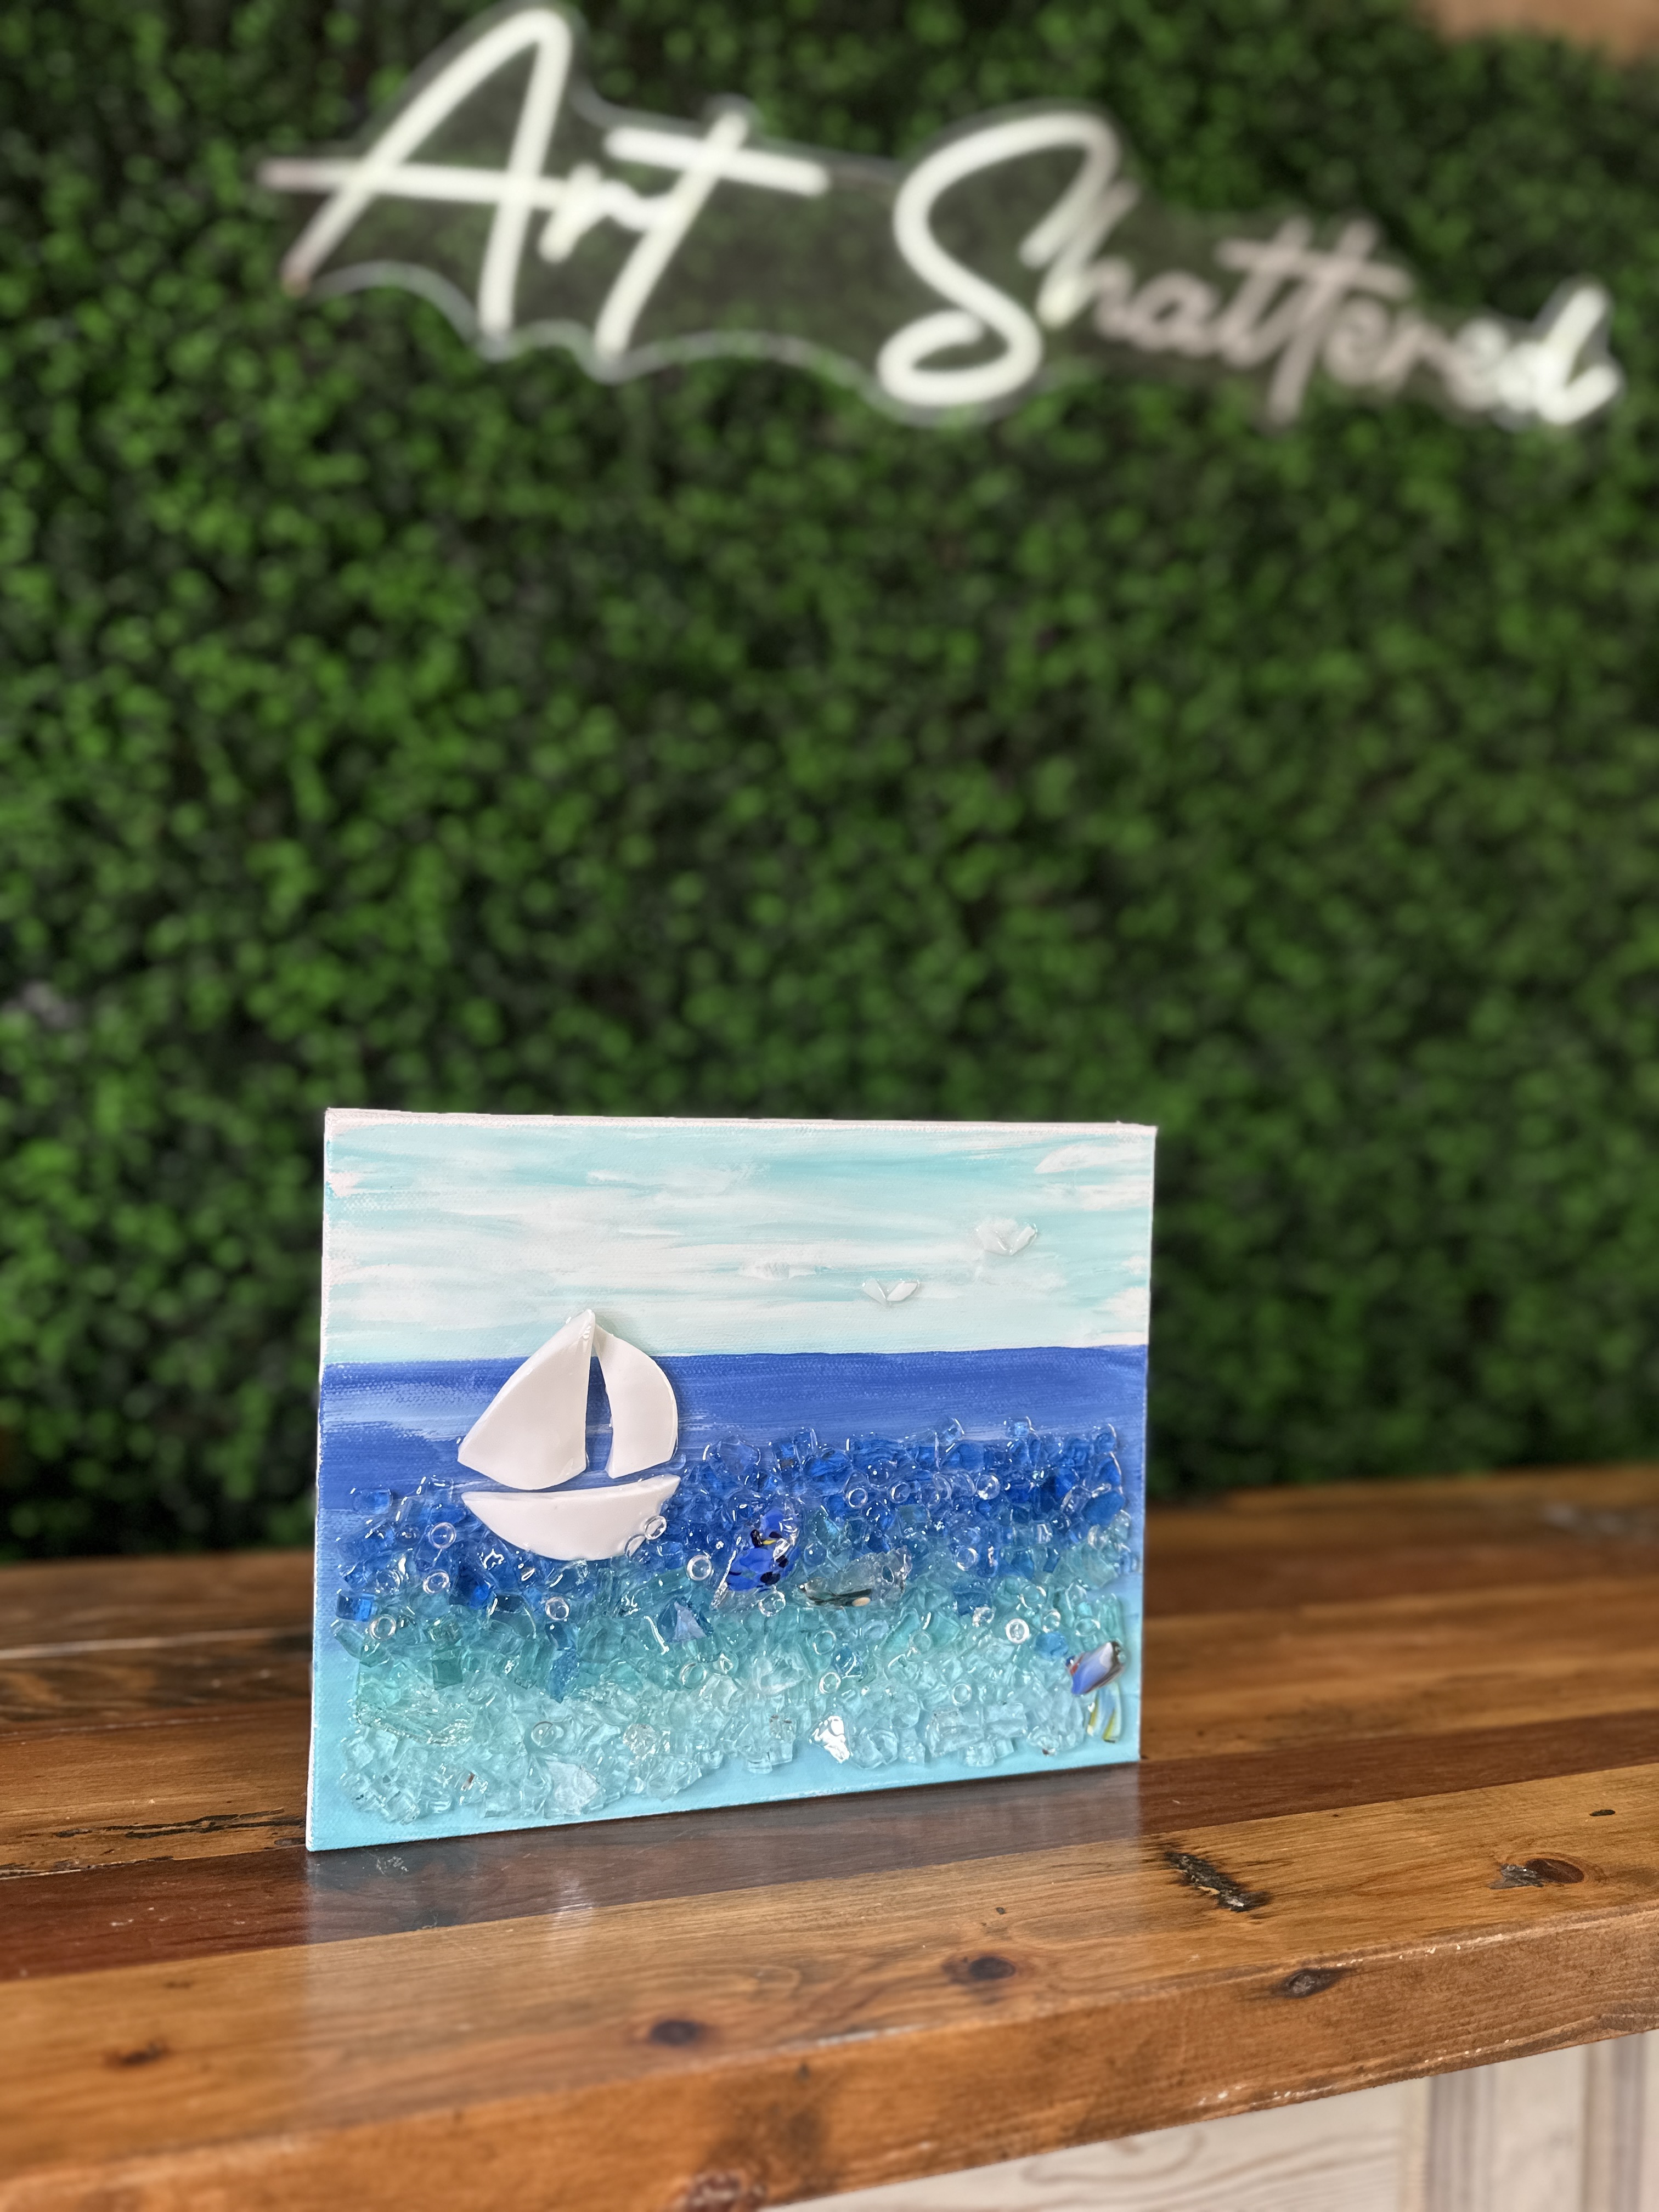
One of my favorite things about creating mixed media art is finding beauty in unexpected places. A while back, I dropped a ceramic bowl and instead of heading straight for the trash, I noticed the broken pieces had cracked into perfect little triangles. Right away, I saw sailboats. I tucked the shards away, knowing they’d eventually become the star of a new project.
Today, I’m pairing those pieces with a simple painted background, a bit of glass, and a layer of resin to make a coastal sailboat scene that’s charming, dimensional, and beginner-friendly.
Step 1: Create Your Background
Begin by dividing your canvas so that the top third will be your sky and the bottom two-thirds your ocean. Paint the top section with white and gently blend in a touch of Bahama Blue to create a soft, airy sky. Keep some of the white peeking through for depth and lightly scrub in clouds with more white.
For the ocean, start at the horizon line with Stormy Blue. If you want a very straight line, you can...
Palm Tree 🏝️
If you’ve ever looked at a pretty vase and thought, “I could make something out of that…”, this project is perfect for you! In this tutorial, we’re cutting up a recycled vase, painting a beachy background, and transforming it into a stunning tropical palm tree scene with glass, resin, seashells, and even coconuts. This piece is 8x16 inches and perfect for adding a touch of coastal charm to your home.
Step 1 – Safety First!
Before you start cutting glass, make sure you’re protecting yourself. Cutting vases with nippers can send tiny shards flying, so gloves and eye protection are a must. A simple pair of cut-resistant gloves from Amazon works great, and any safety glasses will do, even your everyday glasses can help protect your eyes. Place a grid or bin under your work area to catch little shards and chips, since they’ll fly as you nip. Once your vase pieces are cut, run the edges across a honing stone or sanding pad to dull the sharp points. It only takes a few swipes, and it make...
Tides Treasure 🐚
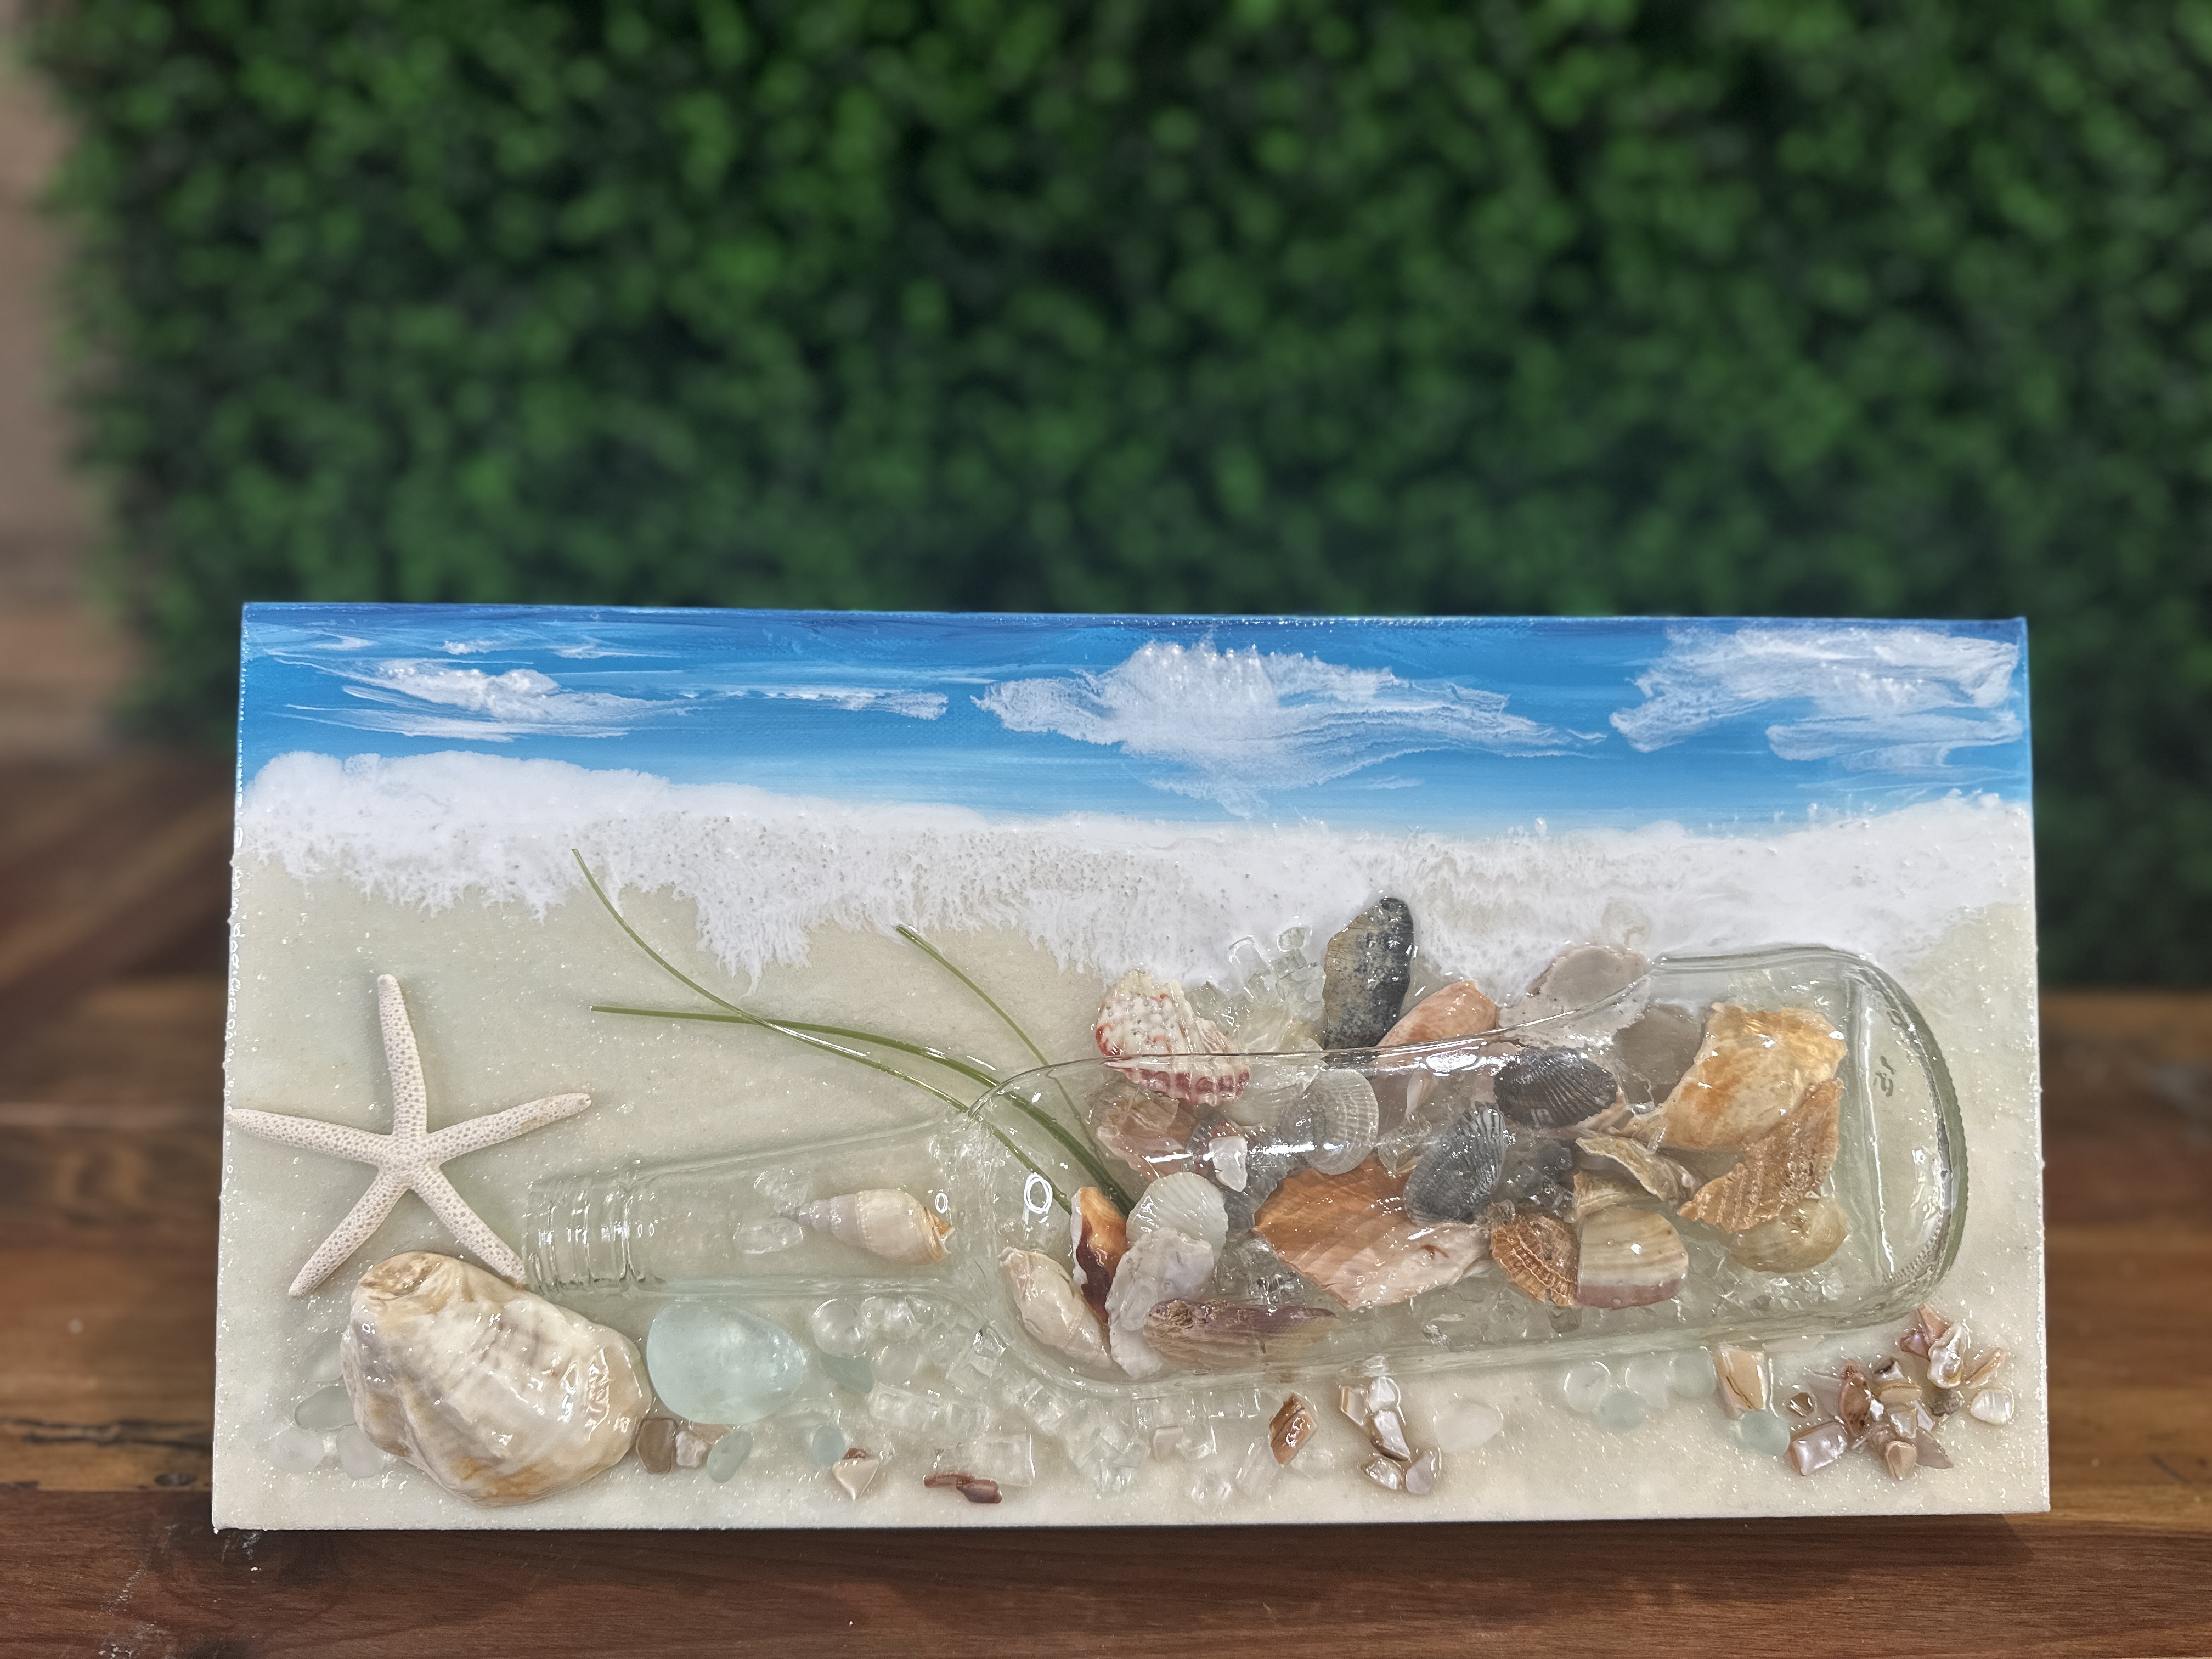
Got a broken bottle sitting around? Don’t toss it... turn it into a stunning mixed media art piece that captures the spirit of the ocean! In this tutorial, we’re creating a coastal-inspired canvas with a reclaimed glass bottle, resin, sea glass, and real shells. It’s the perfect project for beach lovers, shell collectors, and anyone who wants to transform “trash” into treasure.
Step 1: Prep Your Canvas
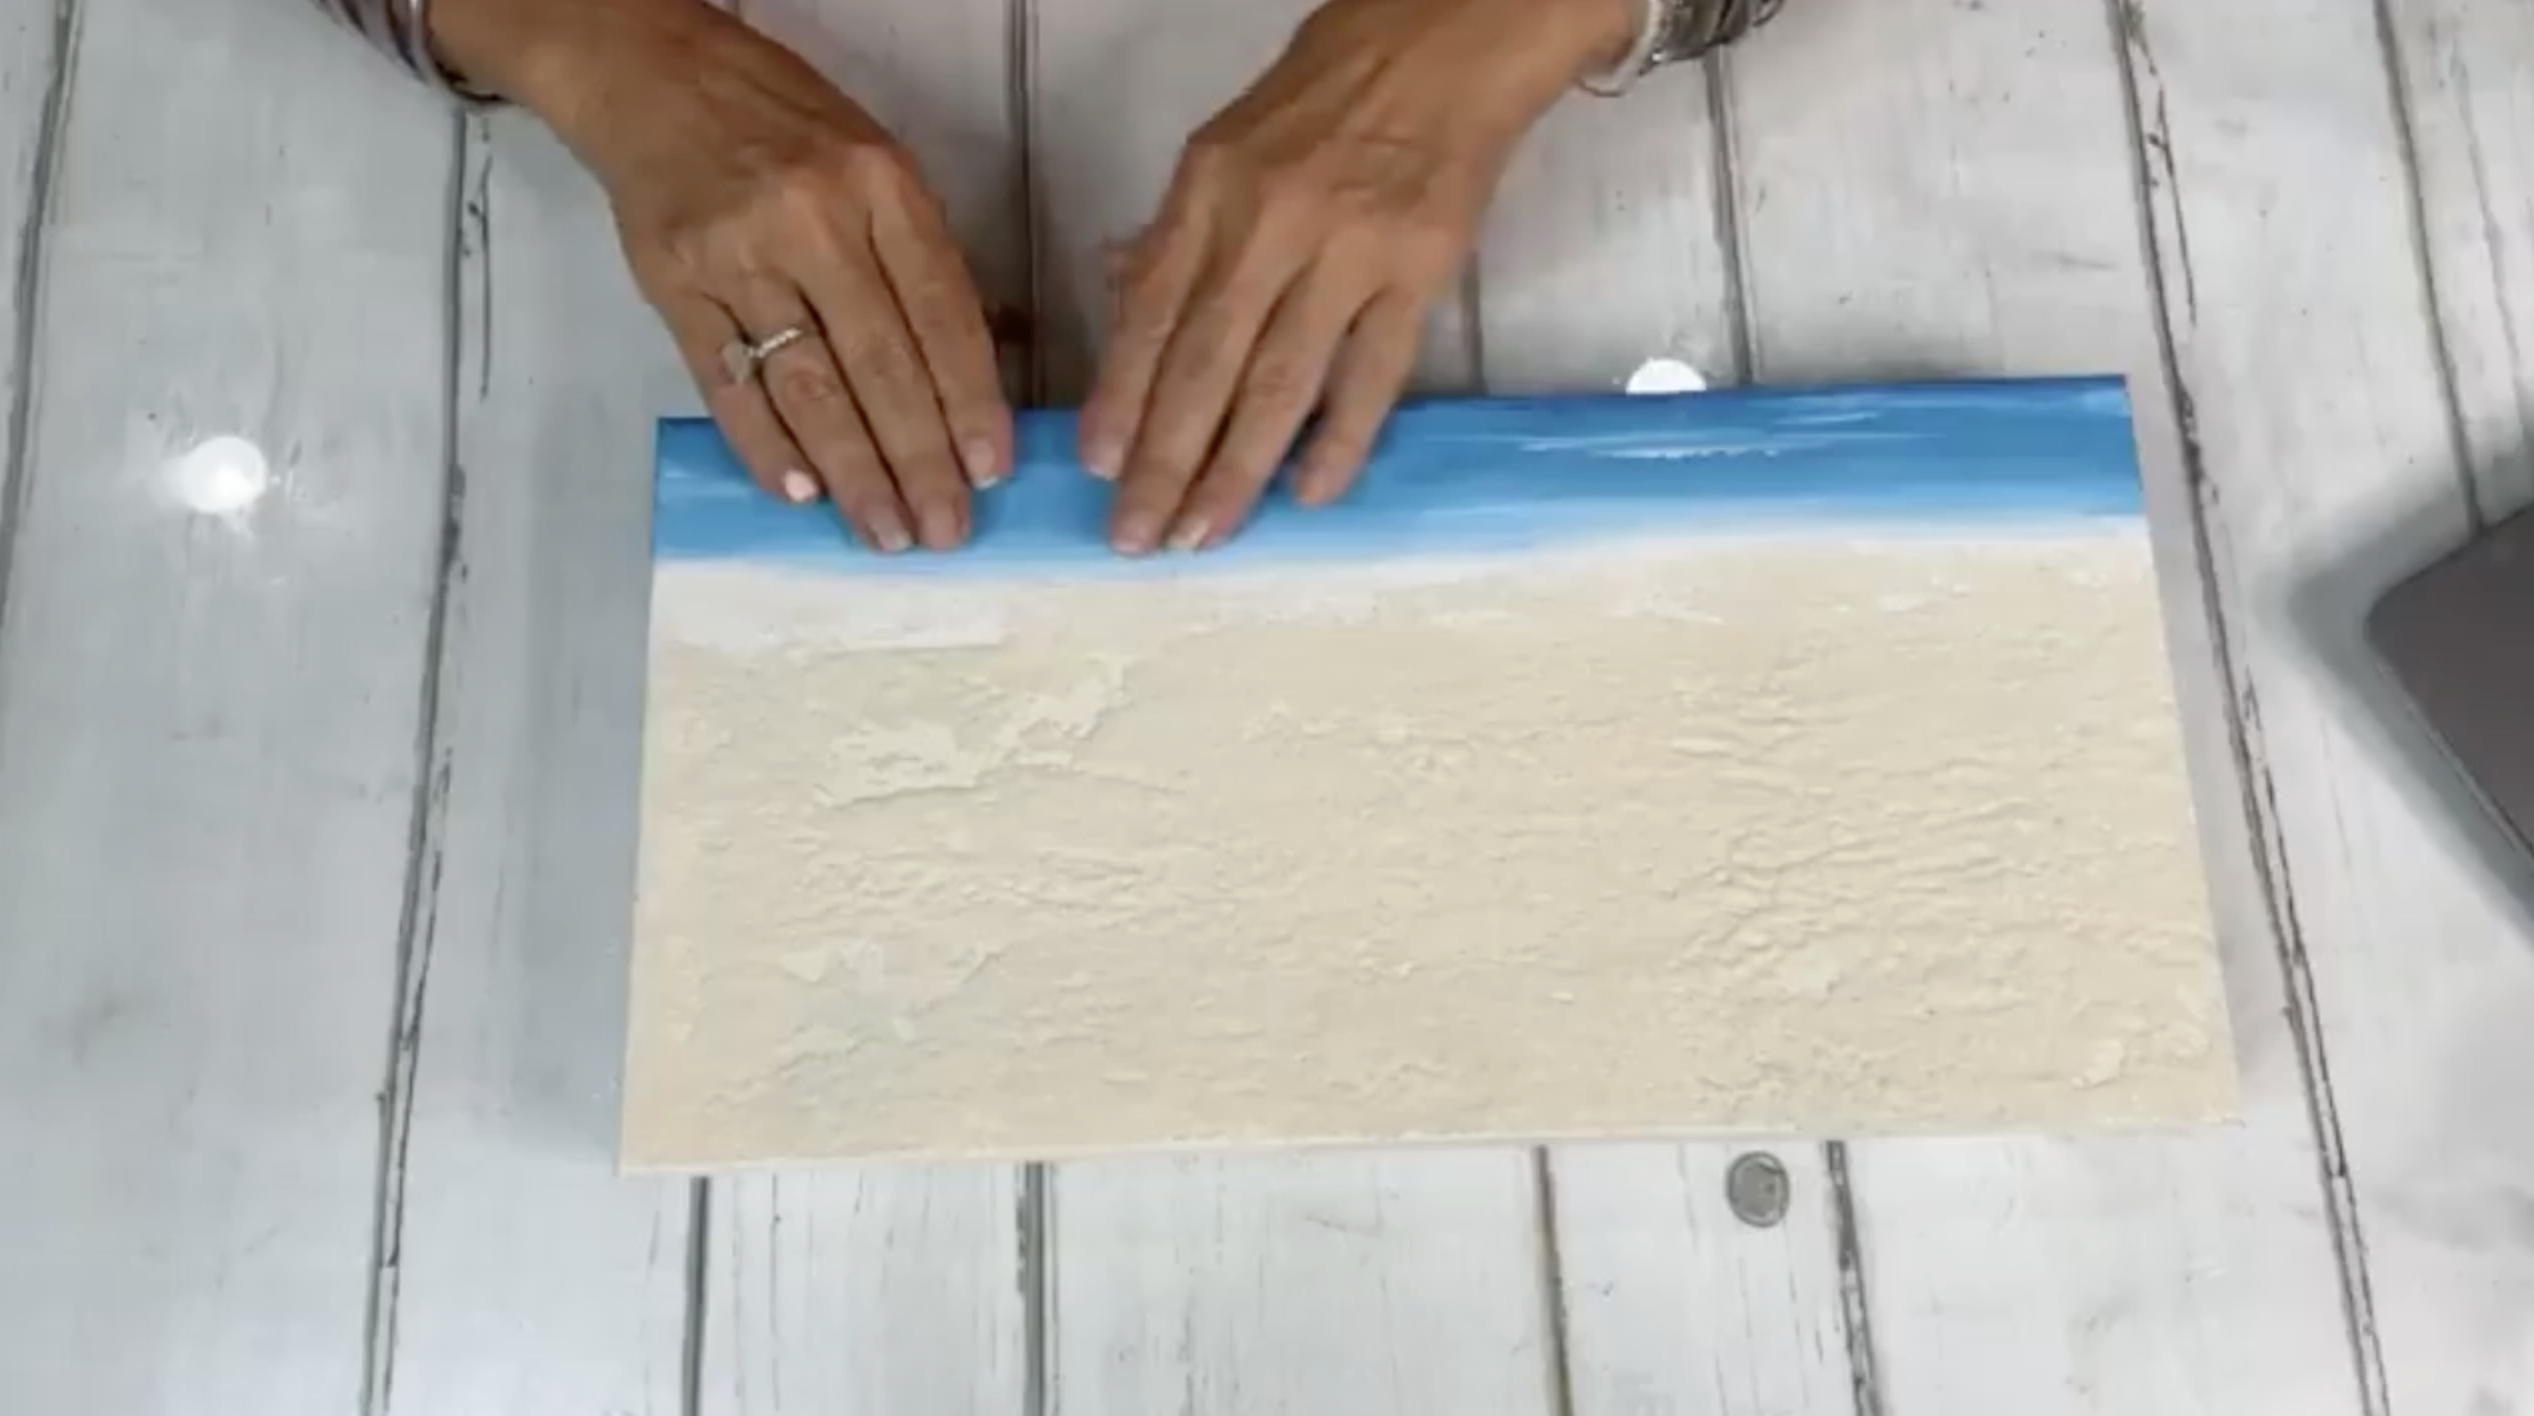
We’re working on an 8x16 canvas. To start, I prepped the background by painting the top portion with a soft ocean blue, blending in white acrylic paint to mimic the look of distant waves. For the sandy shoreline, I used a color called Oyster Beige and topped it with Coarse Texture Gel to give it a beachy, gritty finish just like real sand.
Let your background dry completely before moving on to the resin layers.
Step 2: Choose and Clean Your Bottle
For this piece, I chose a broken bottle that had a sliver missing but still looked beautiful and safe once honed down. If your bottle...
Beach Book Box 🌊
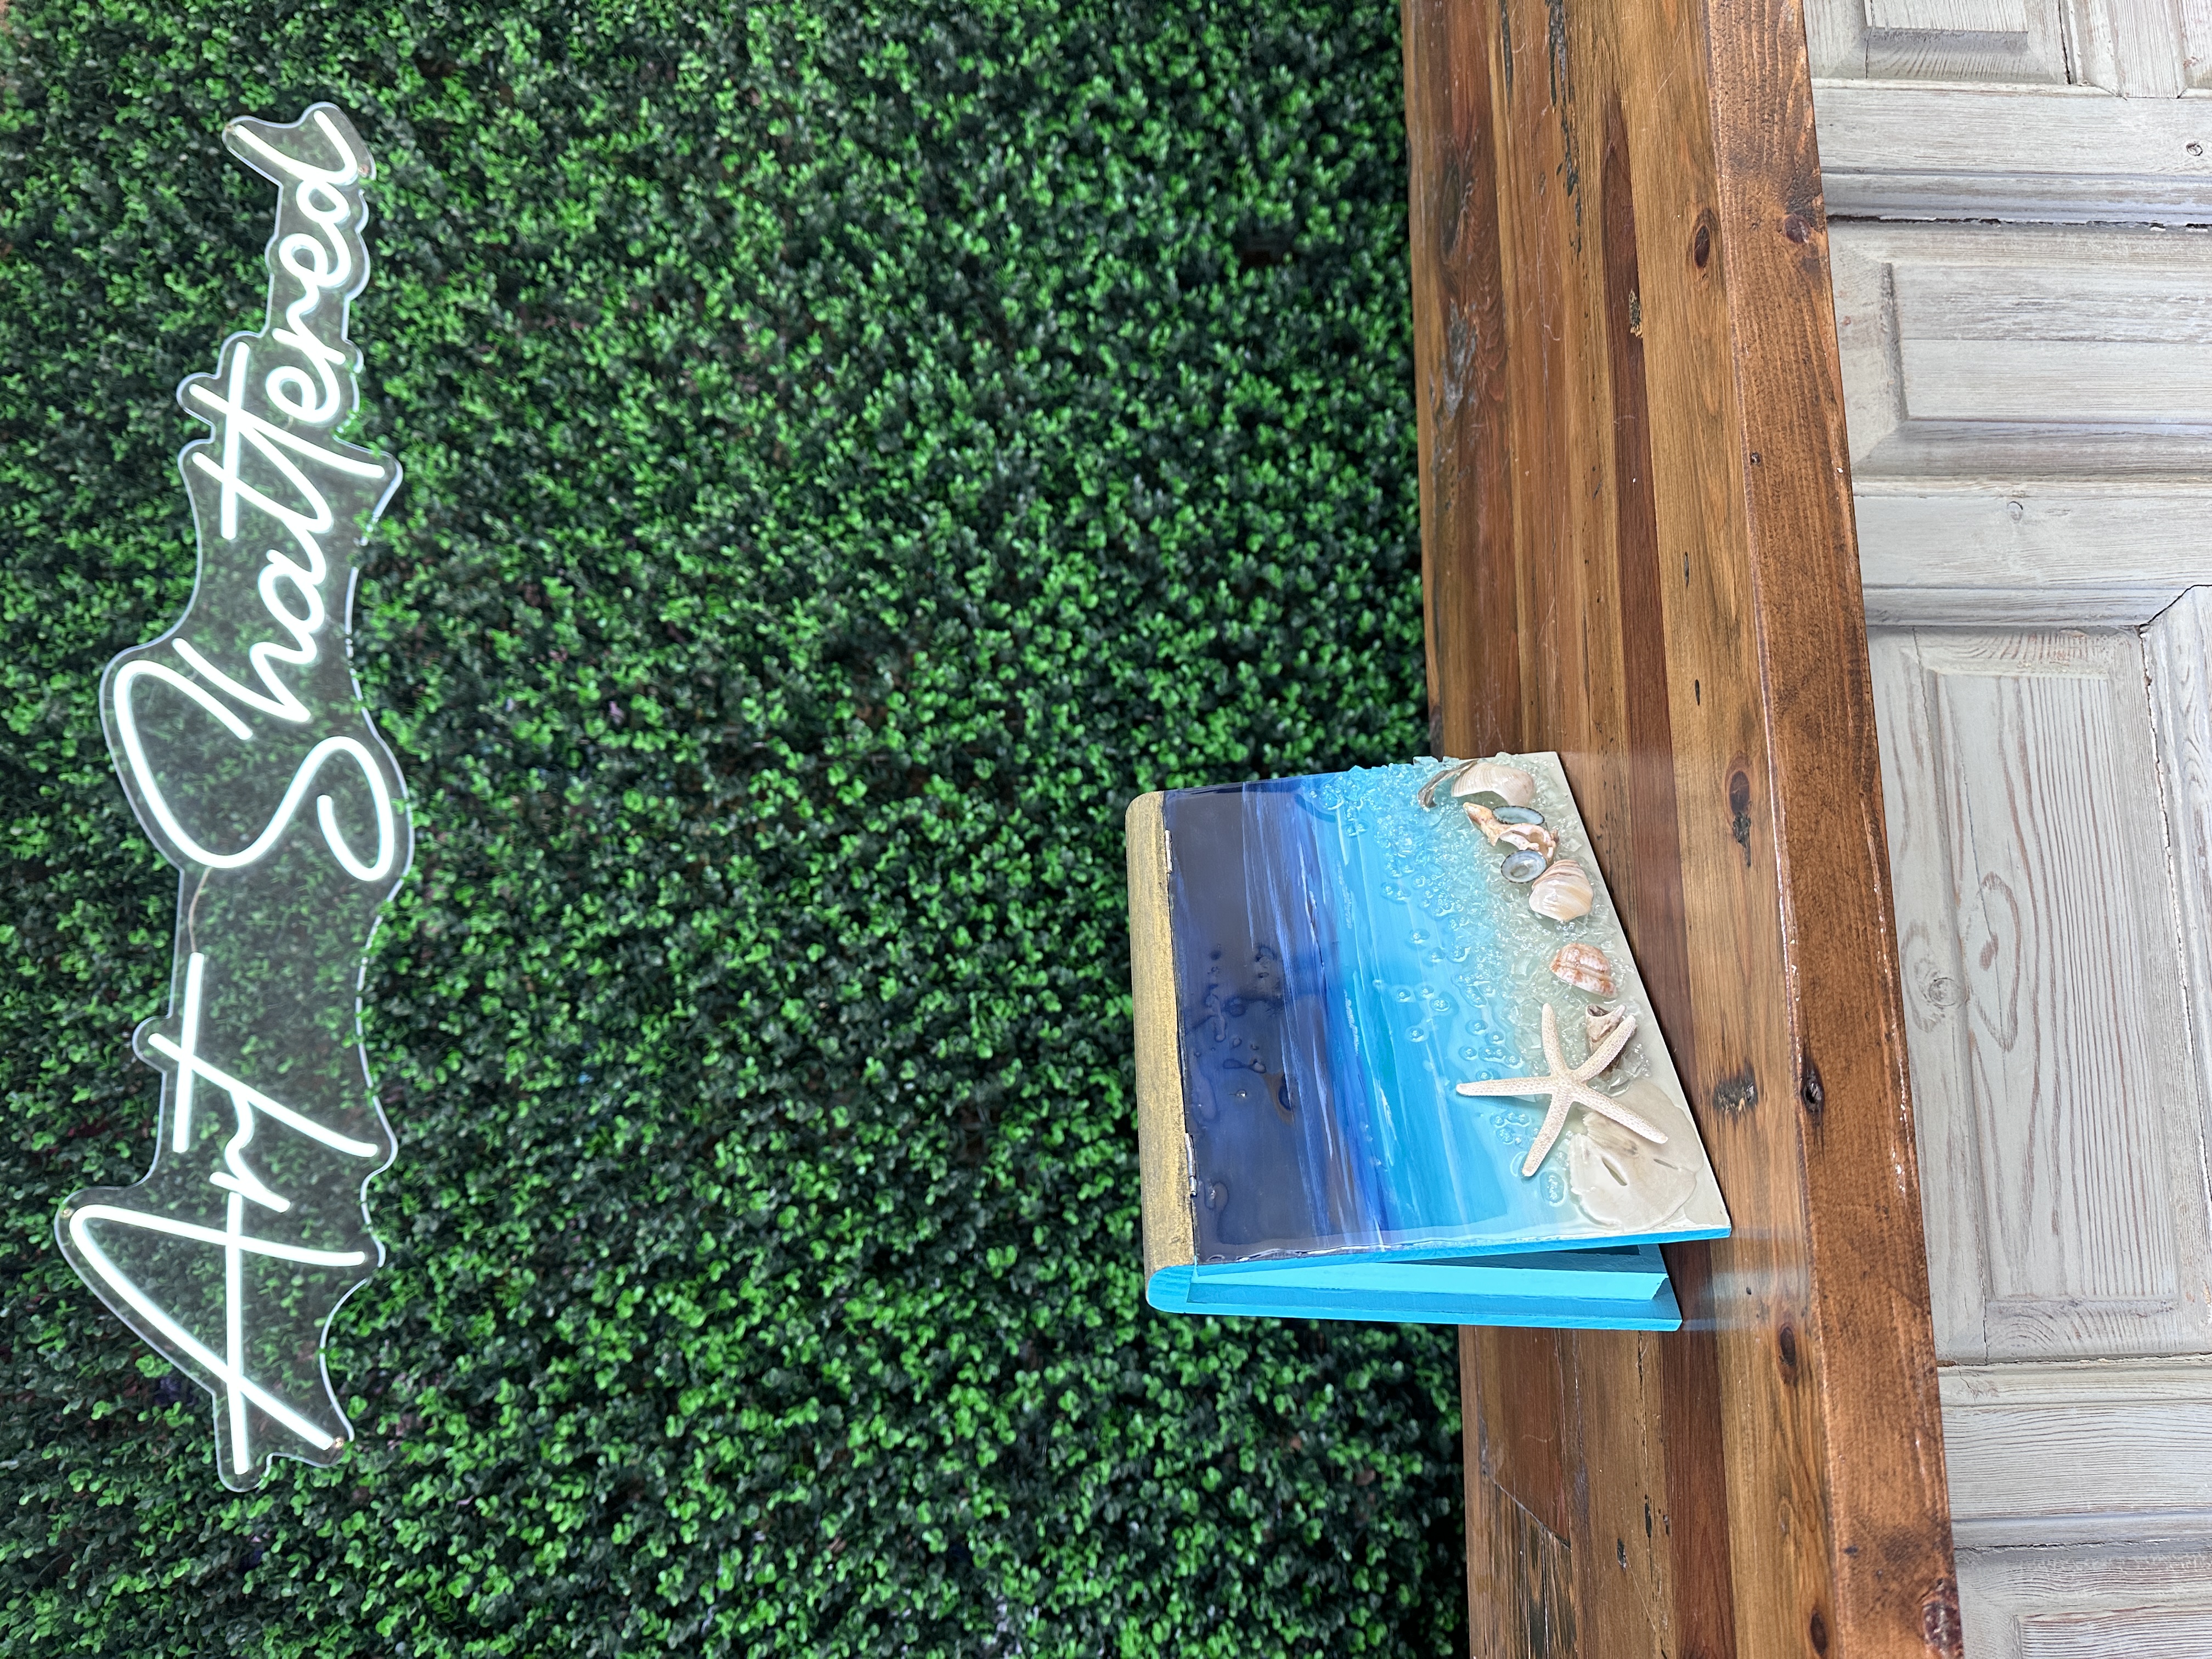
If you've got a stash of special seashells tucked away from beach vacations and don't know what to do with them, this Beach Book Box is the perfect project for you. In this tutorial, I’ll walk you through how I turned a wooden book box from Hobby Lobby into a gorgeous coastal keepsake, complete with a painted beach scene and real shells encased in resin. It’s perfect for holding your beachcombing treasures or gifting to a fellow sea-lover.
Step 1: Prep Your Wooden Book Box
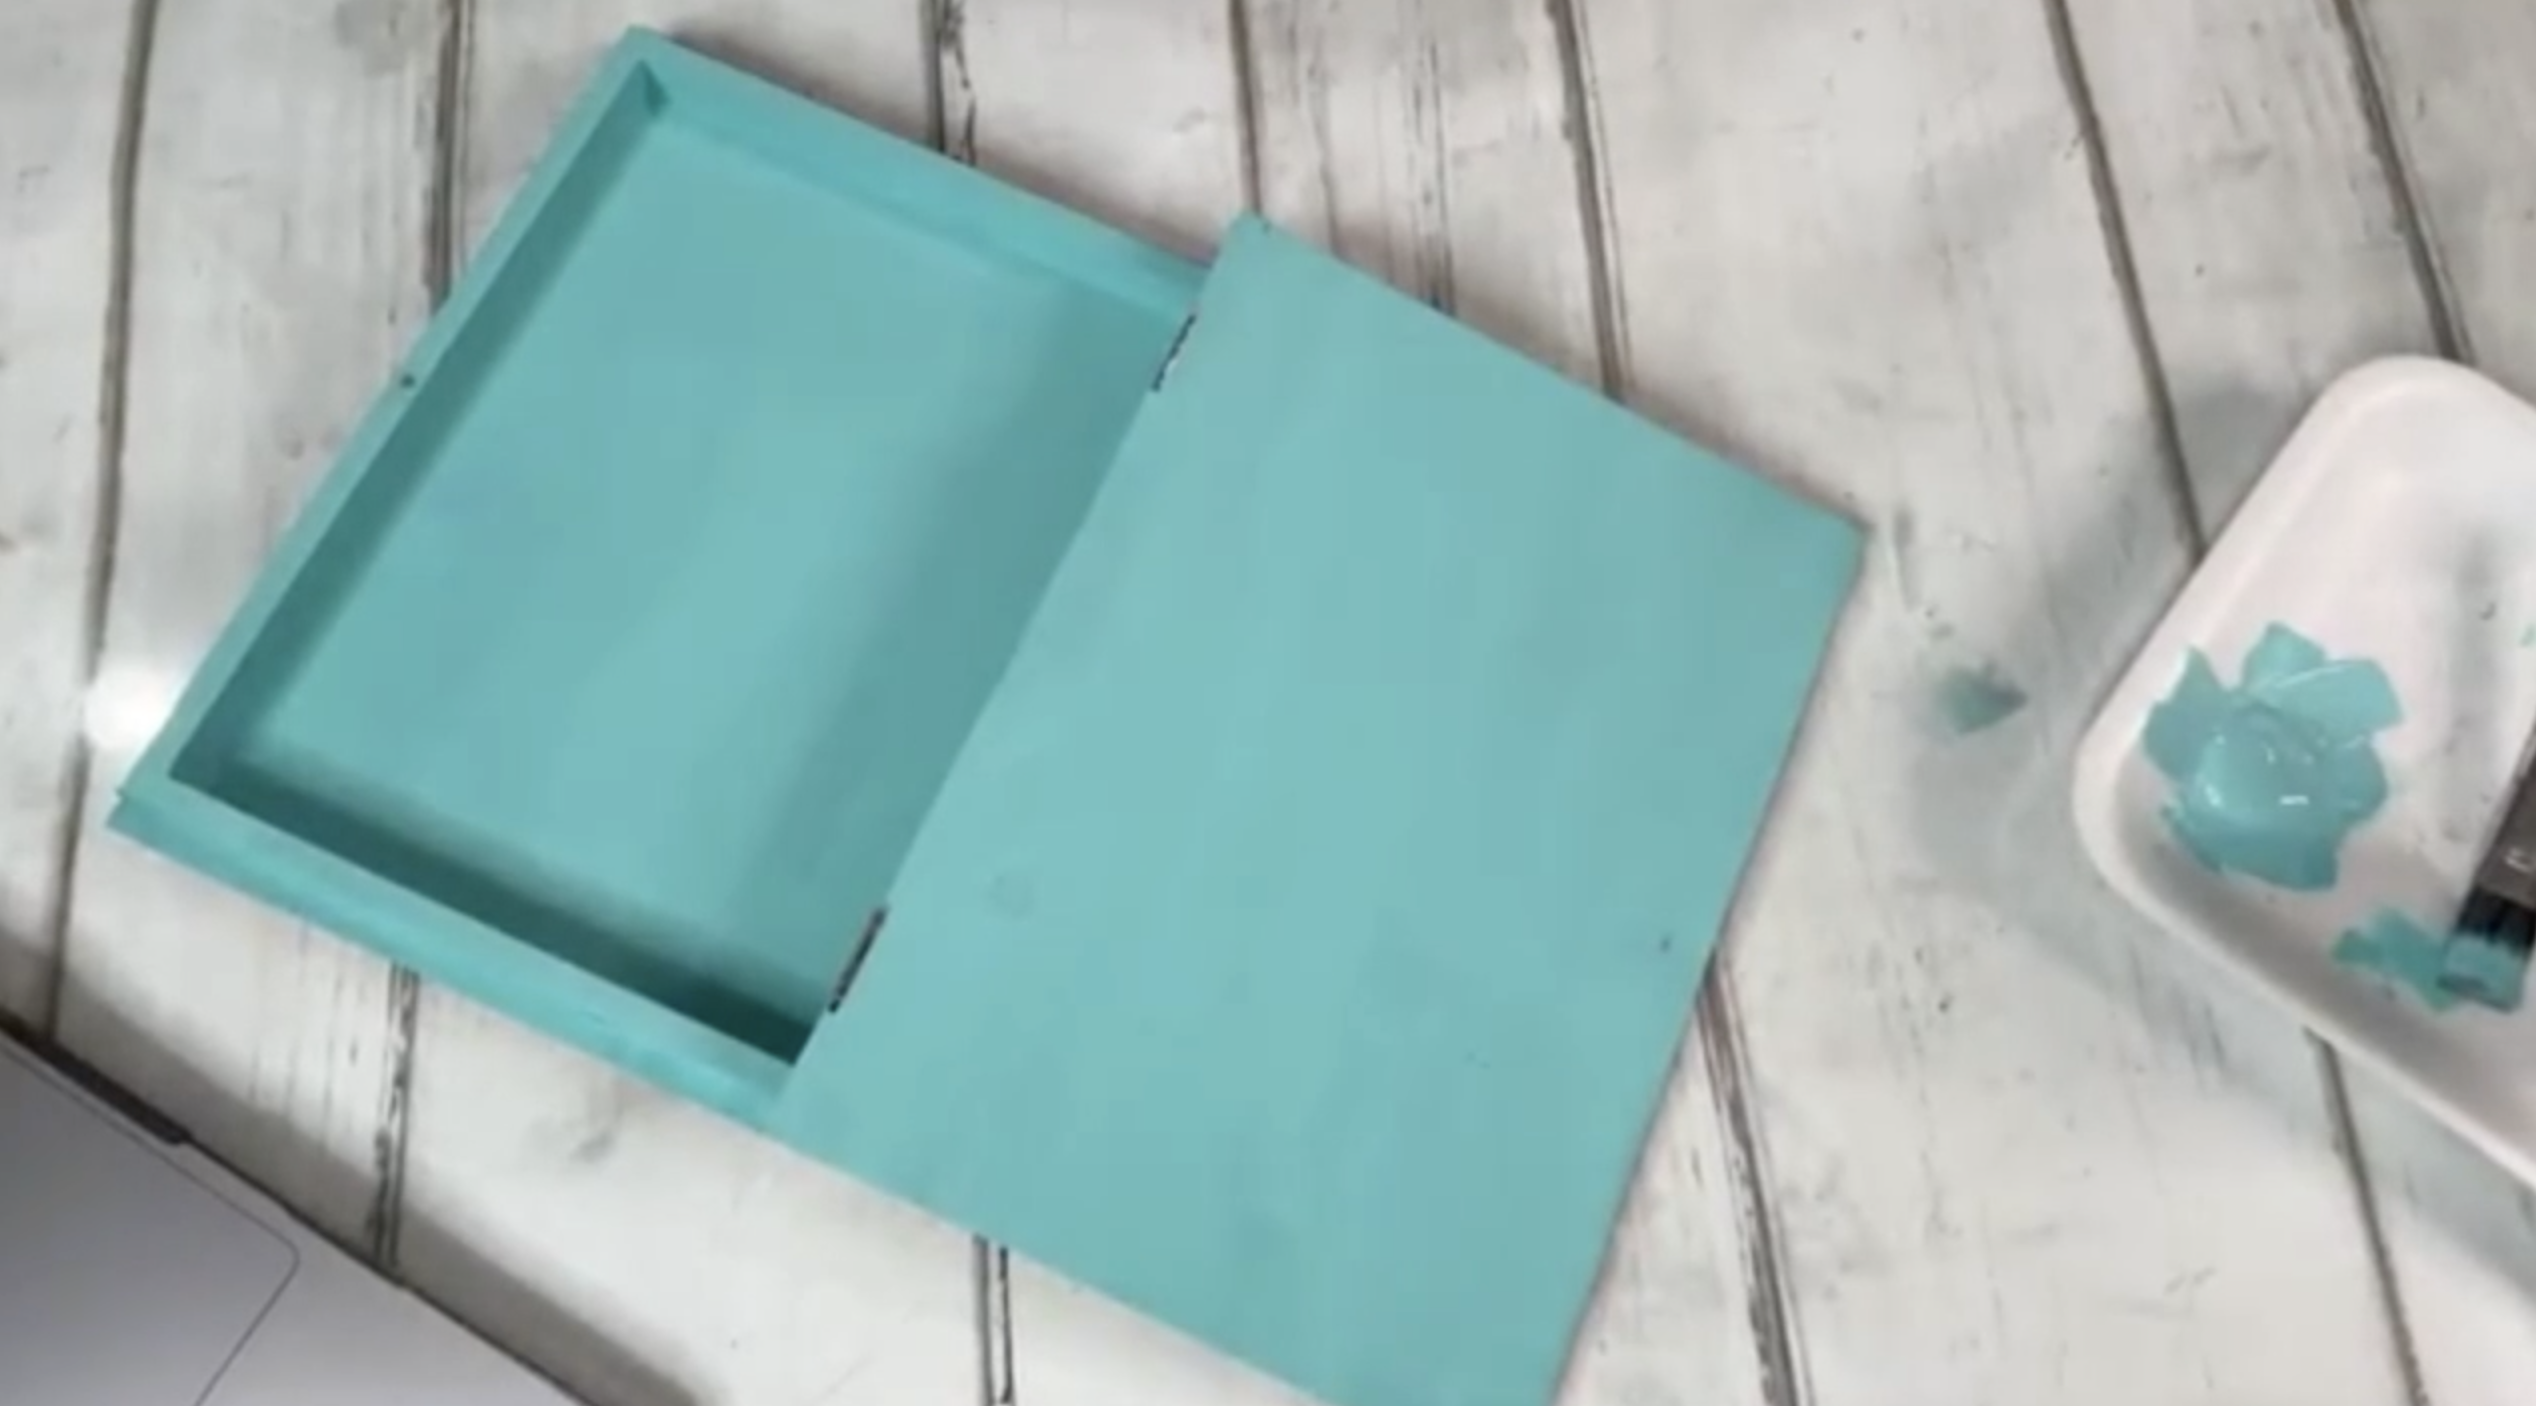
I picked up this raw wood book box from Hobby Lobby and got started by sanding the inside to remove any splinters or loose wood bits. Then, I gave the entire inside one coat of Bahama Blue acrylic paint using a large flat brush. The raw wood really soaks up the paint, so I plan to do a second coat (and maybe even seal it) before adding resin later. Pro tip: sealing raw wood beforehand helps prevent it from eating up your paint and resin.
Step 2: Paint the Outside Base
For the outside bottom of the box, I blen...
Seashell Christmas Tree 🎄
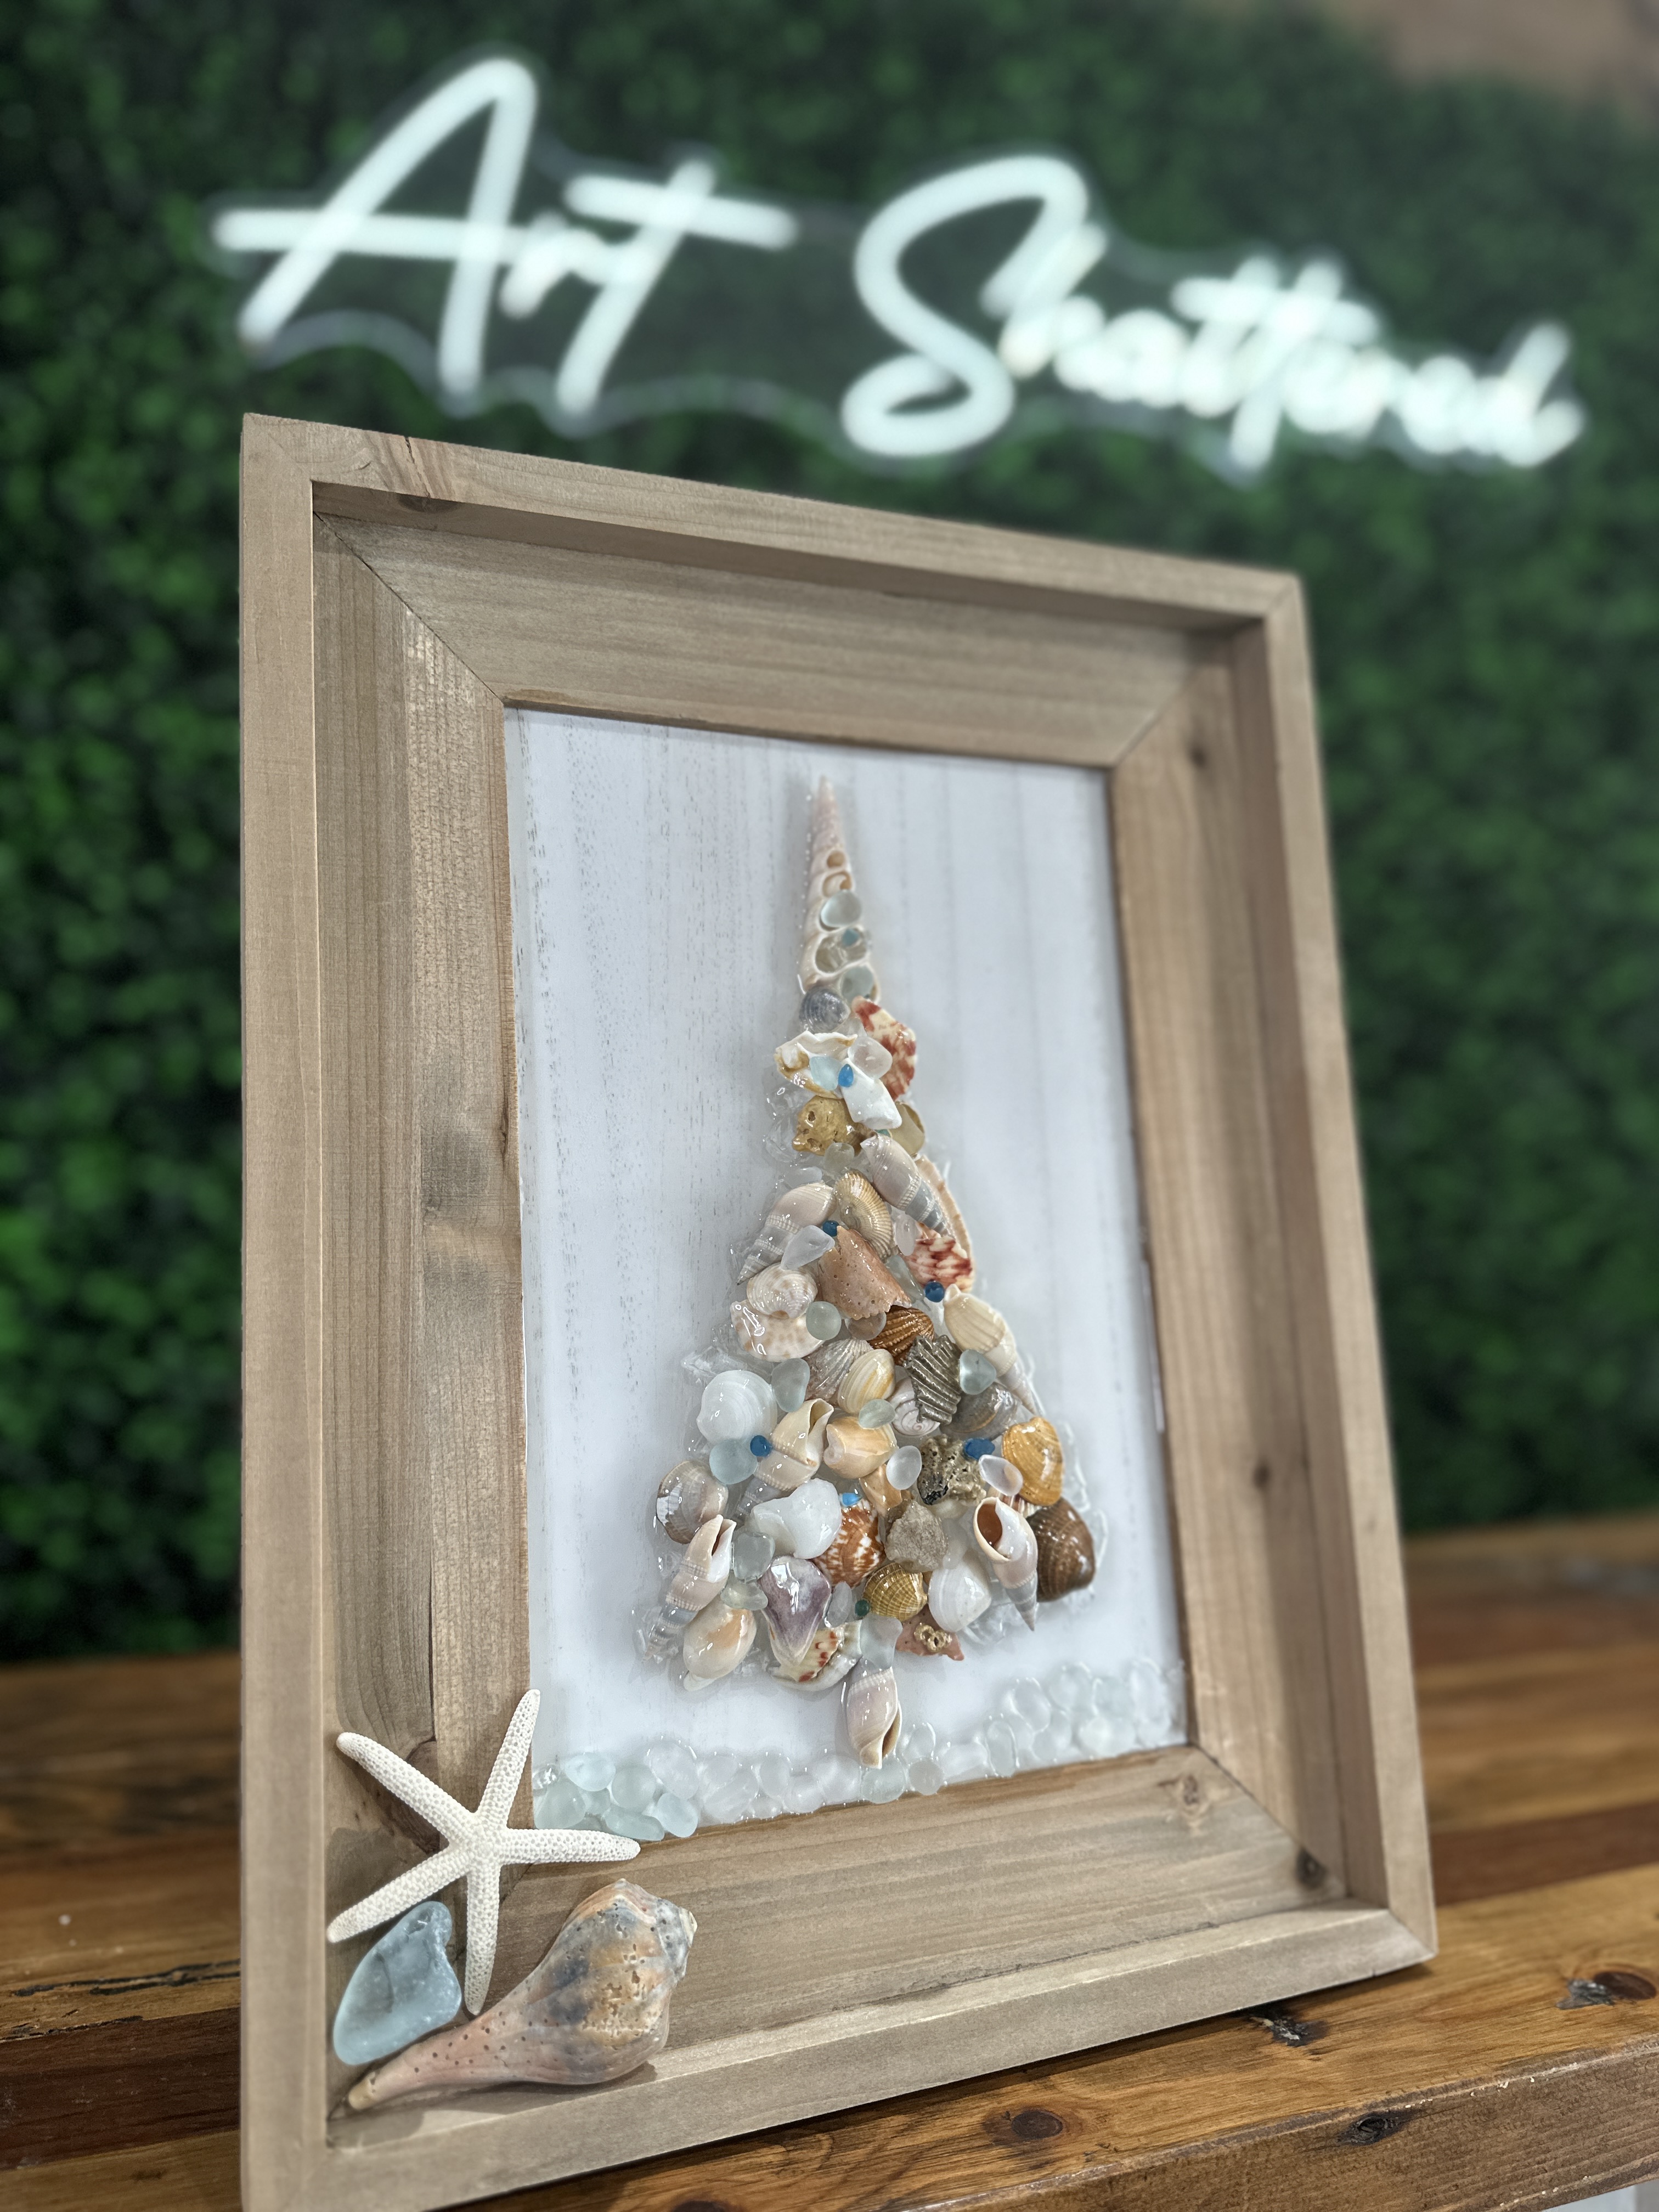
Bring a unique coastal twist to your holiday decor with this Seashell Christmas Tree Resin Wood Sign! Using a wooden sign base, resin, starfire glass, seashells, and sea glass, you’ll craft a sparkling, layered Christmas tree that blends rustic charm with beachy elegance!
Step 1: Prep and Protect Your Wood Sign
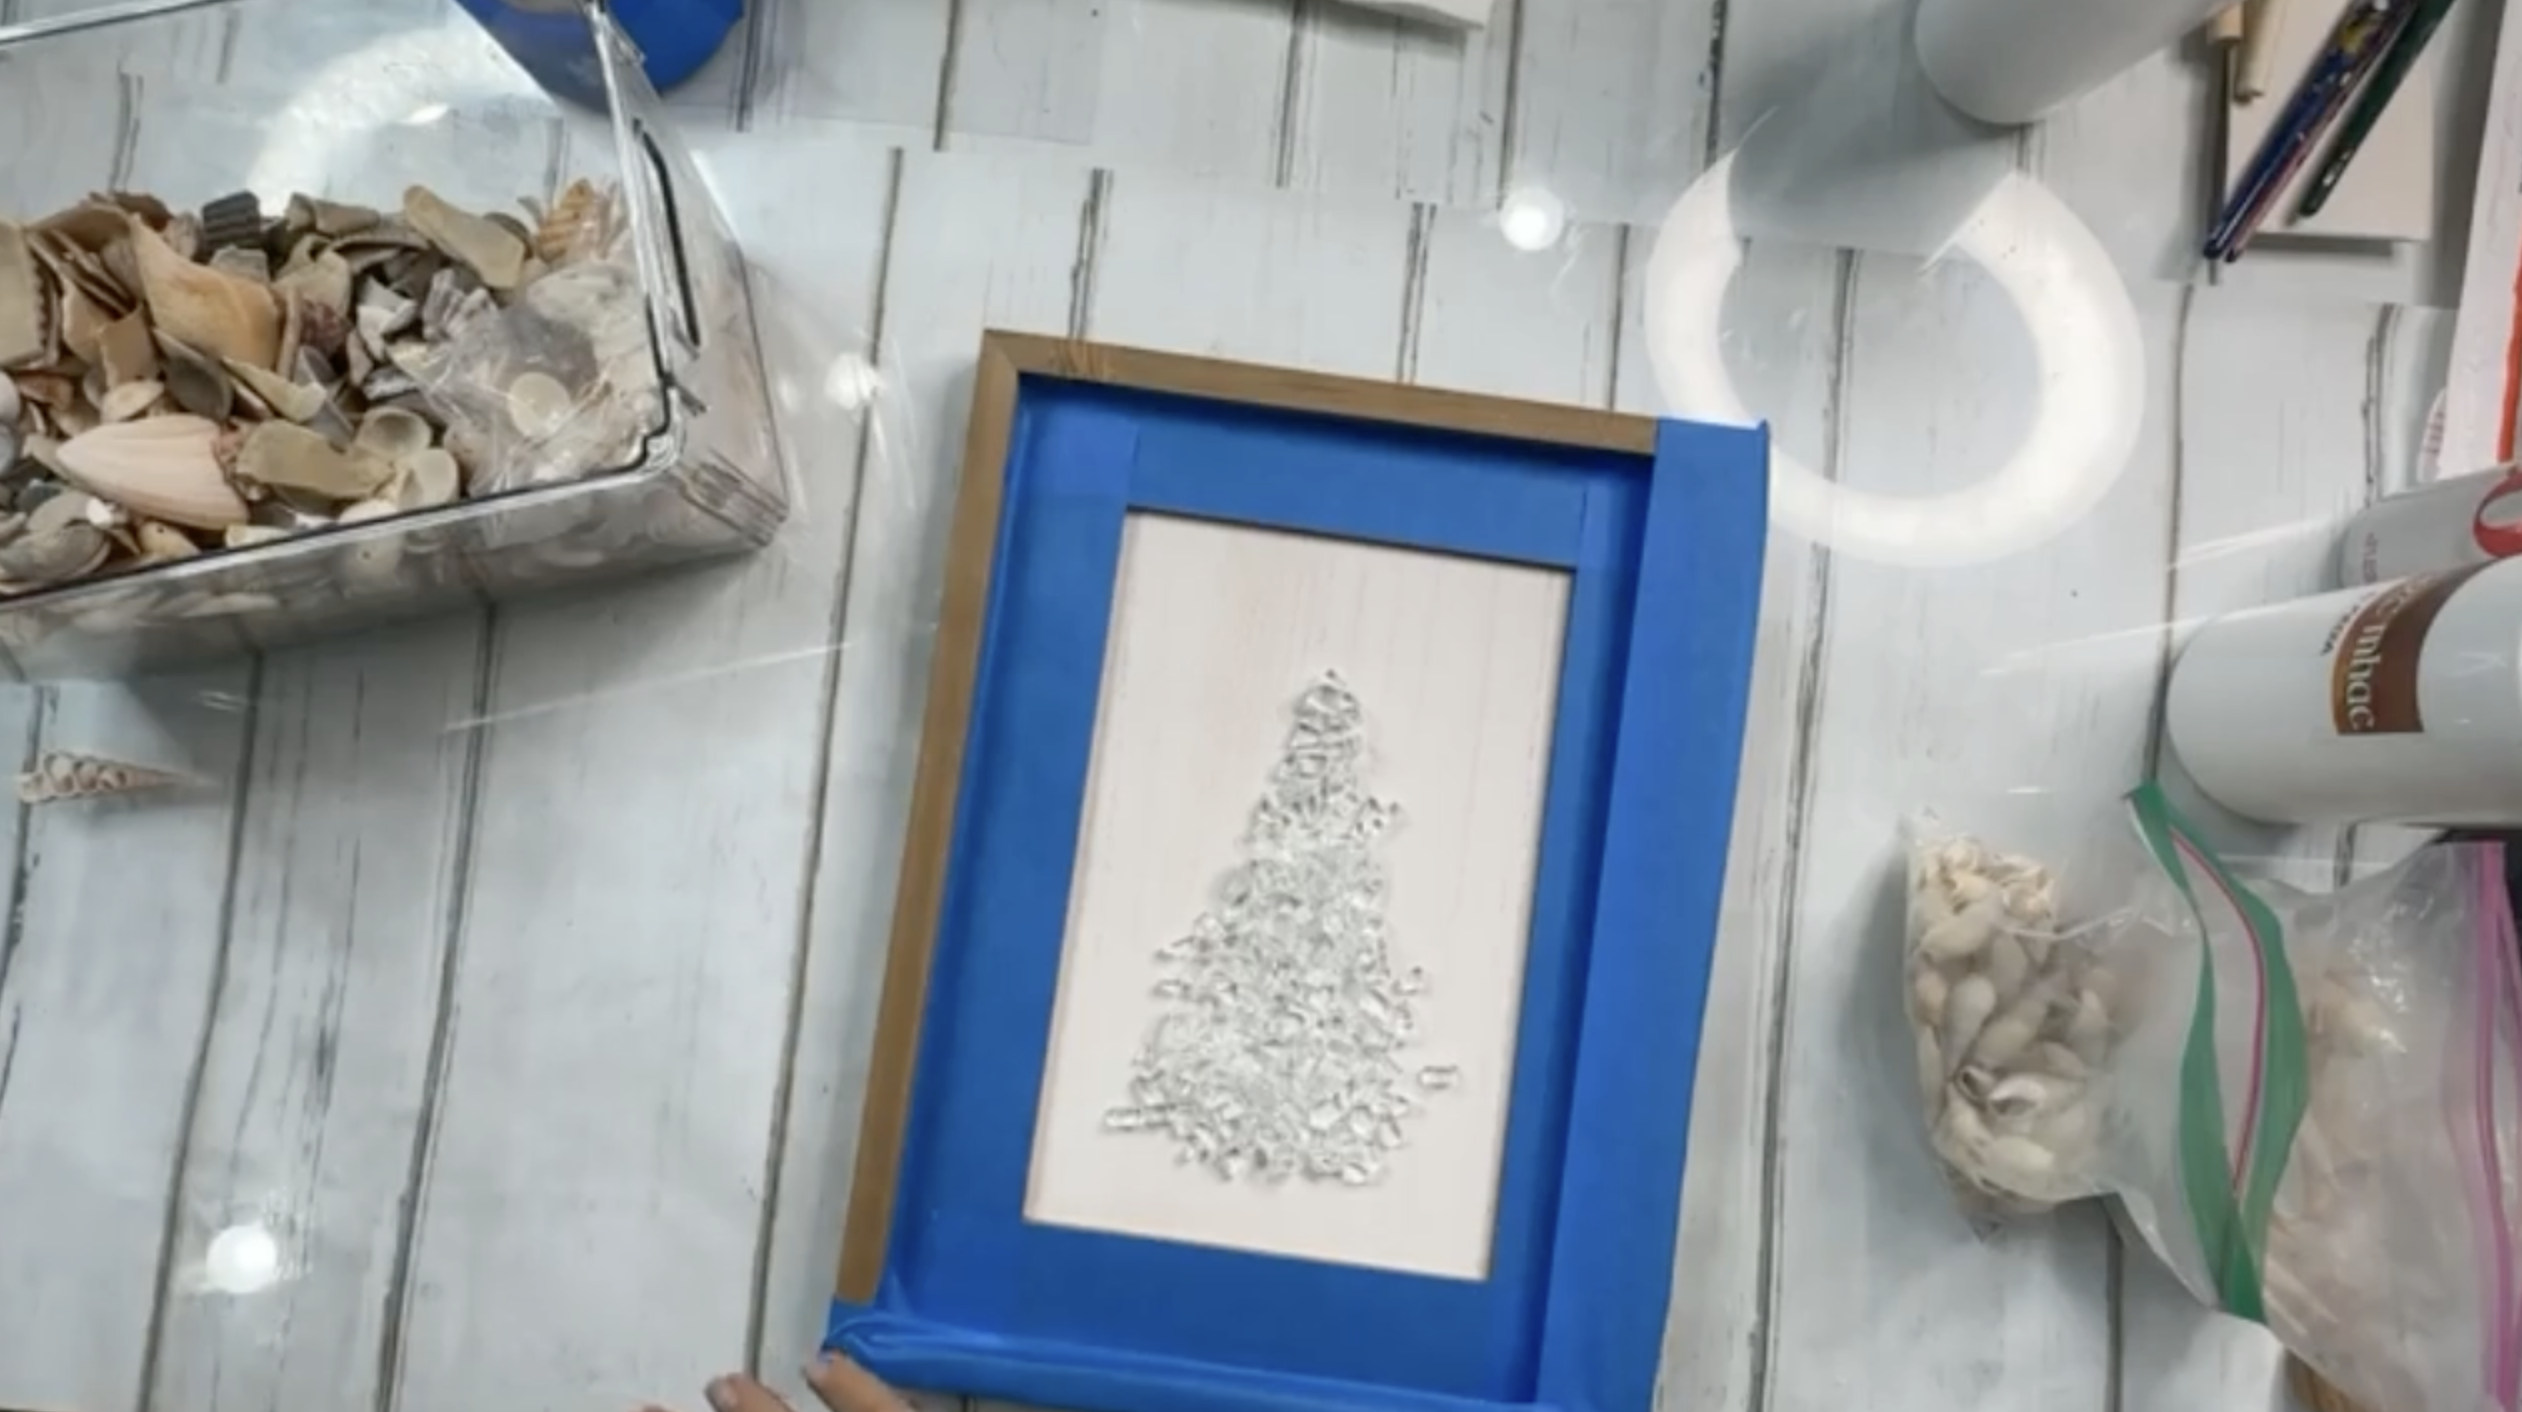
Tape off the edges and frame carefully with painter’s tape to prevent resin from dripping onto the wood and causing dark spots. This will keep your frame clean and crisp.
Step 2: Create the Base with Glass Shards
Spread a thin layer of starfire glass over the center area of your sign. This glass bed will act as a sparkling base for the shells to rest on and gives your tree that beautiful glittering look.
Step 3: Mix and Pour Your First Resin Layer
Mix your resin and hardener thoroughly, stirring for 3 minutes to avoid bubbles. Pour a thin layer of resin over the glass to “glue” them in place and create a smooth surface for arranging your shells.
Step 4: Build Your Sea...
Coastal Driftwood Bird 🌊
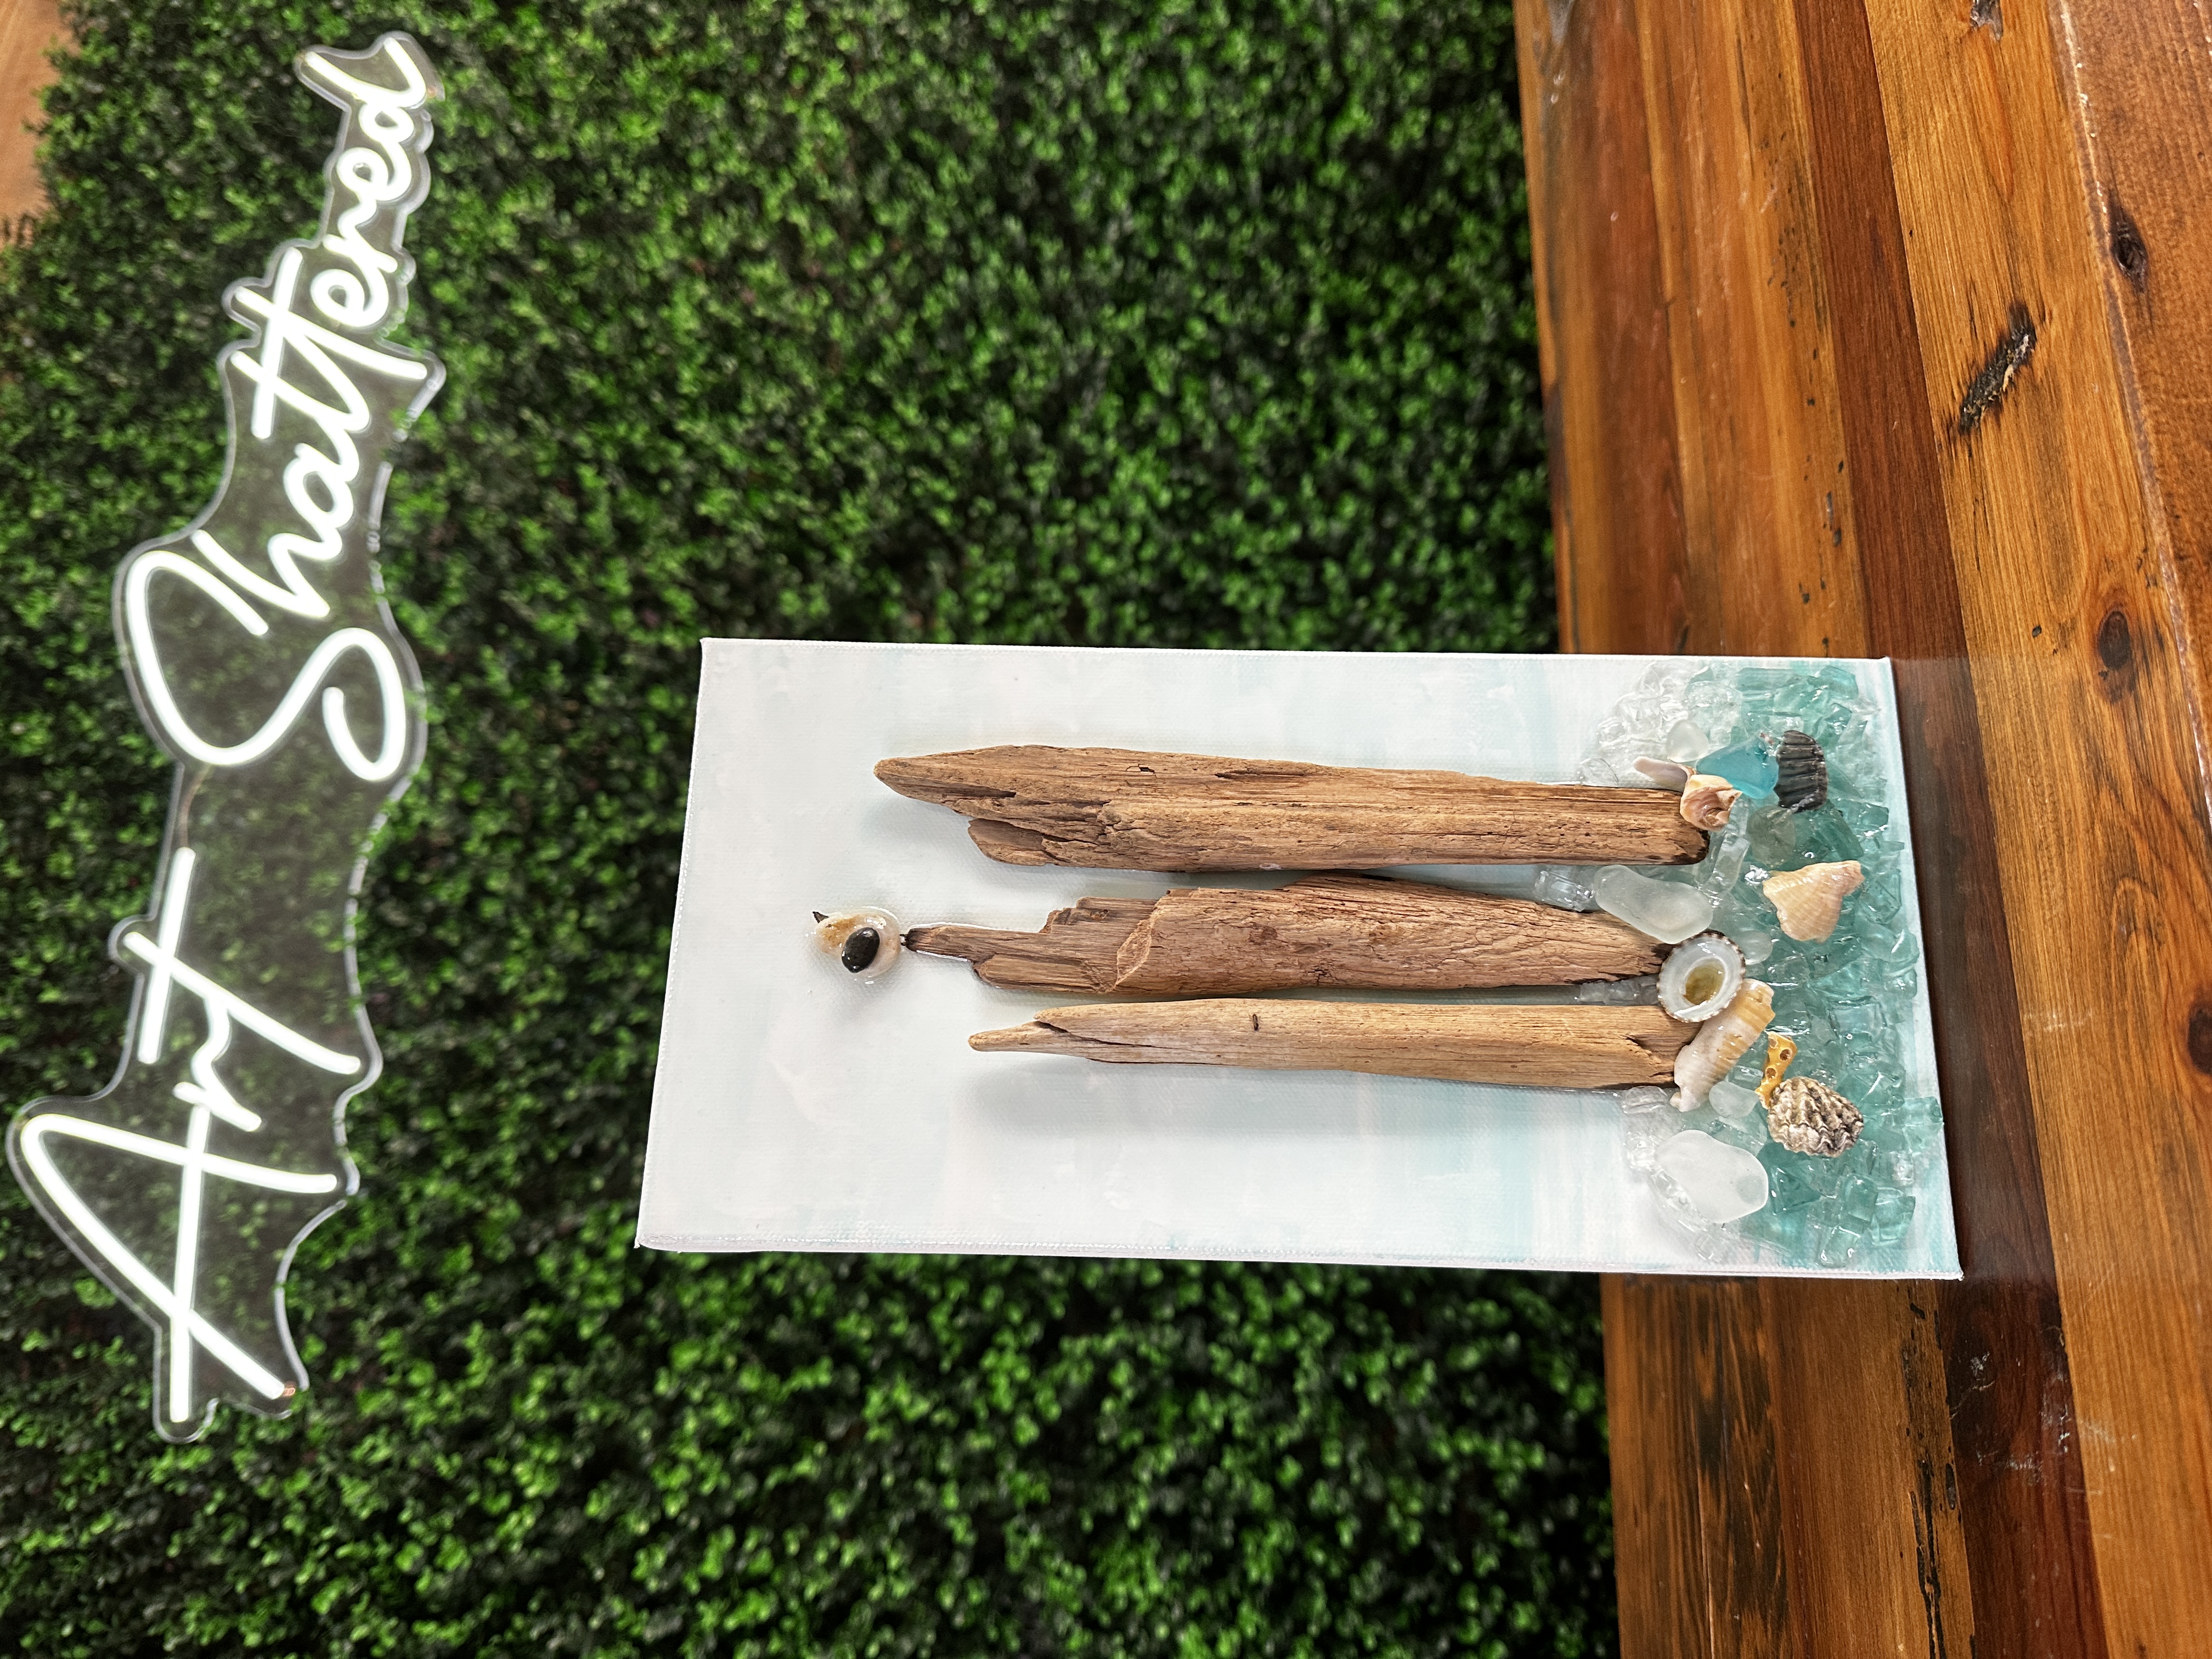
If you’re looking for a fresh and simple way to bring a coastal vibe into your home, you’ll love this charming driftwood and seashell art piece. In this tutorial, I’ll walk you through how to paint a minimal beachy background, layer driftwood, glass, shells, and even a sweet little bird, all finished with resin for a beautiful glossy look.
Step 1: Create the Beachy Background
I started with a simple canvas and chose a few soothing beach-inspired paint colors: Bahama Blue, Sea Breeze, and white.
First, I loaded a 1-inch brush with white paint and brushed it across the bottom third of the canvas to mimic ocean water. I blended a little Sea Breeze and Bahama Blue for extra dimension, working left to right using a flat brush for gentle horizontal strokes. I left “skippies” (small unpainted gaps) here and there for a natural look, and even added a few extra streaks of white on top to simulate seafoam.
Moving up the canvas, I used white as the base for the sky with just a bit of Bahama...
Seashell Trio with Ombre Background 🐚
If you’ve got a stash of seashells from a beach vacation and no idea what to do with them, this fun and easy art project is the perfect solution. In this tutorial, I’ll show you how to create a stunning ombre background, layer in crushed glass, and embed your favorite shells in resin to make a beautiful 6x12 coastal canvas that feels like a piece of the ocean right at home.
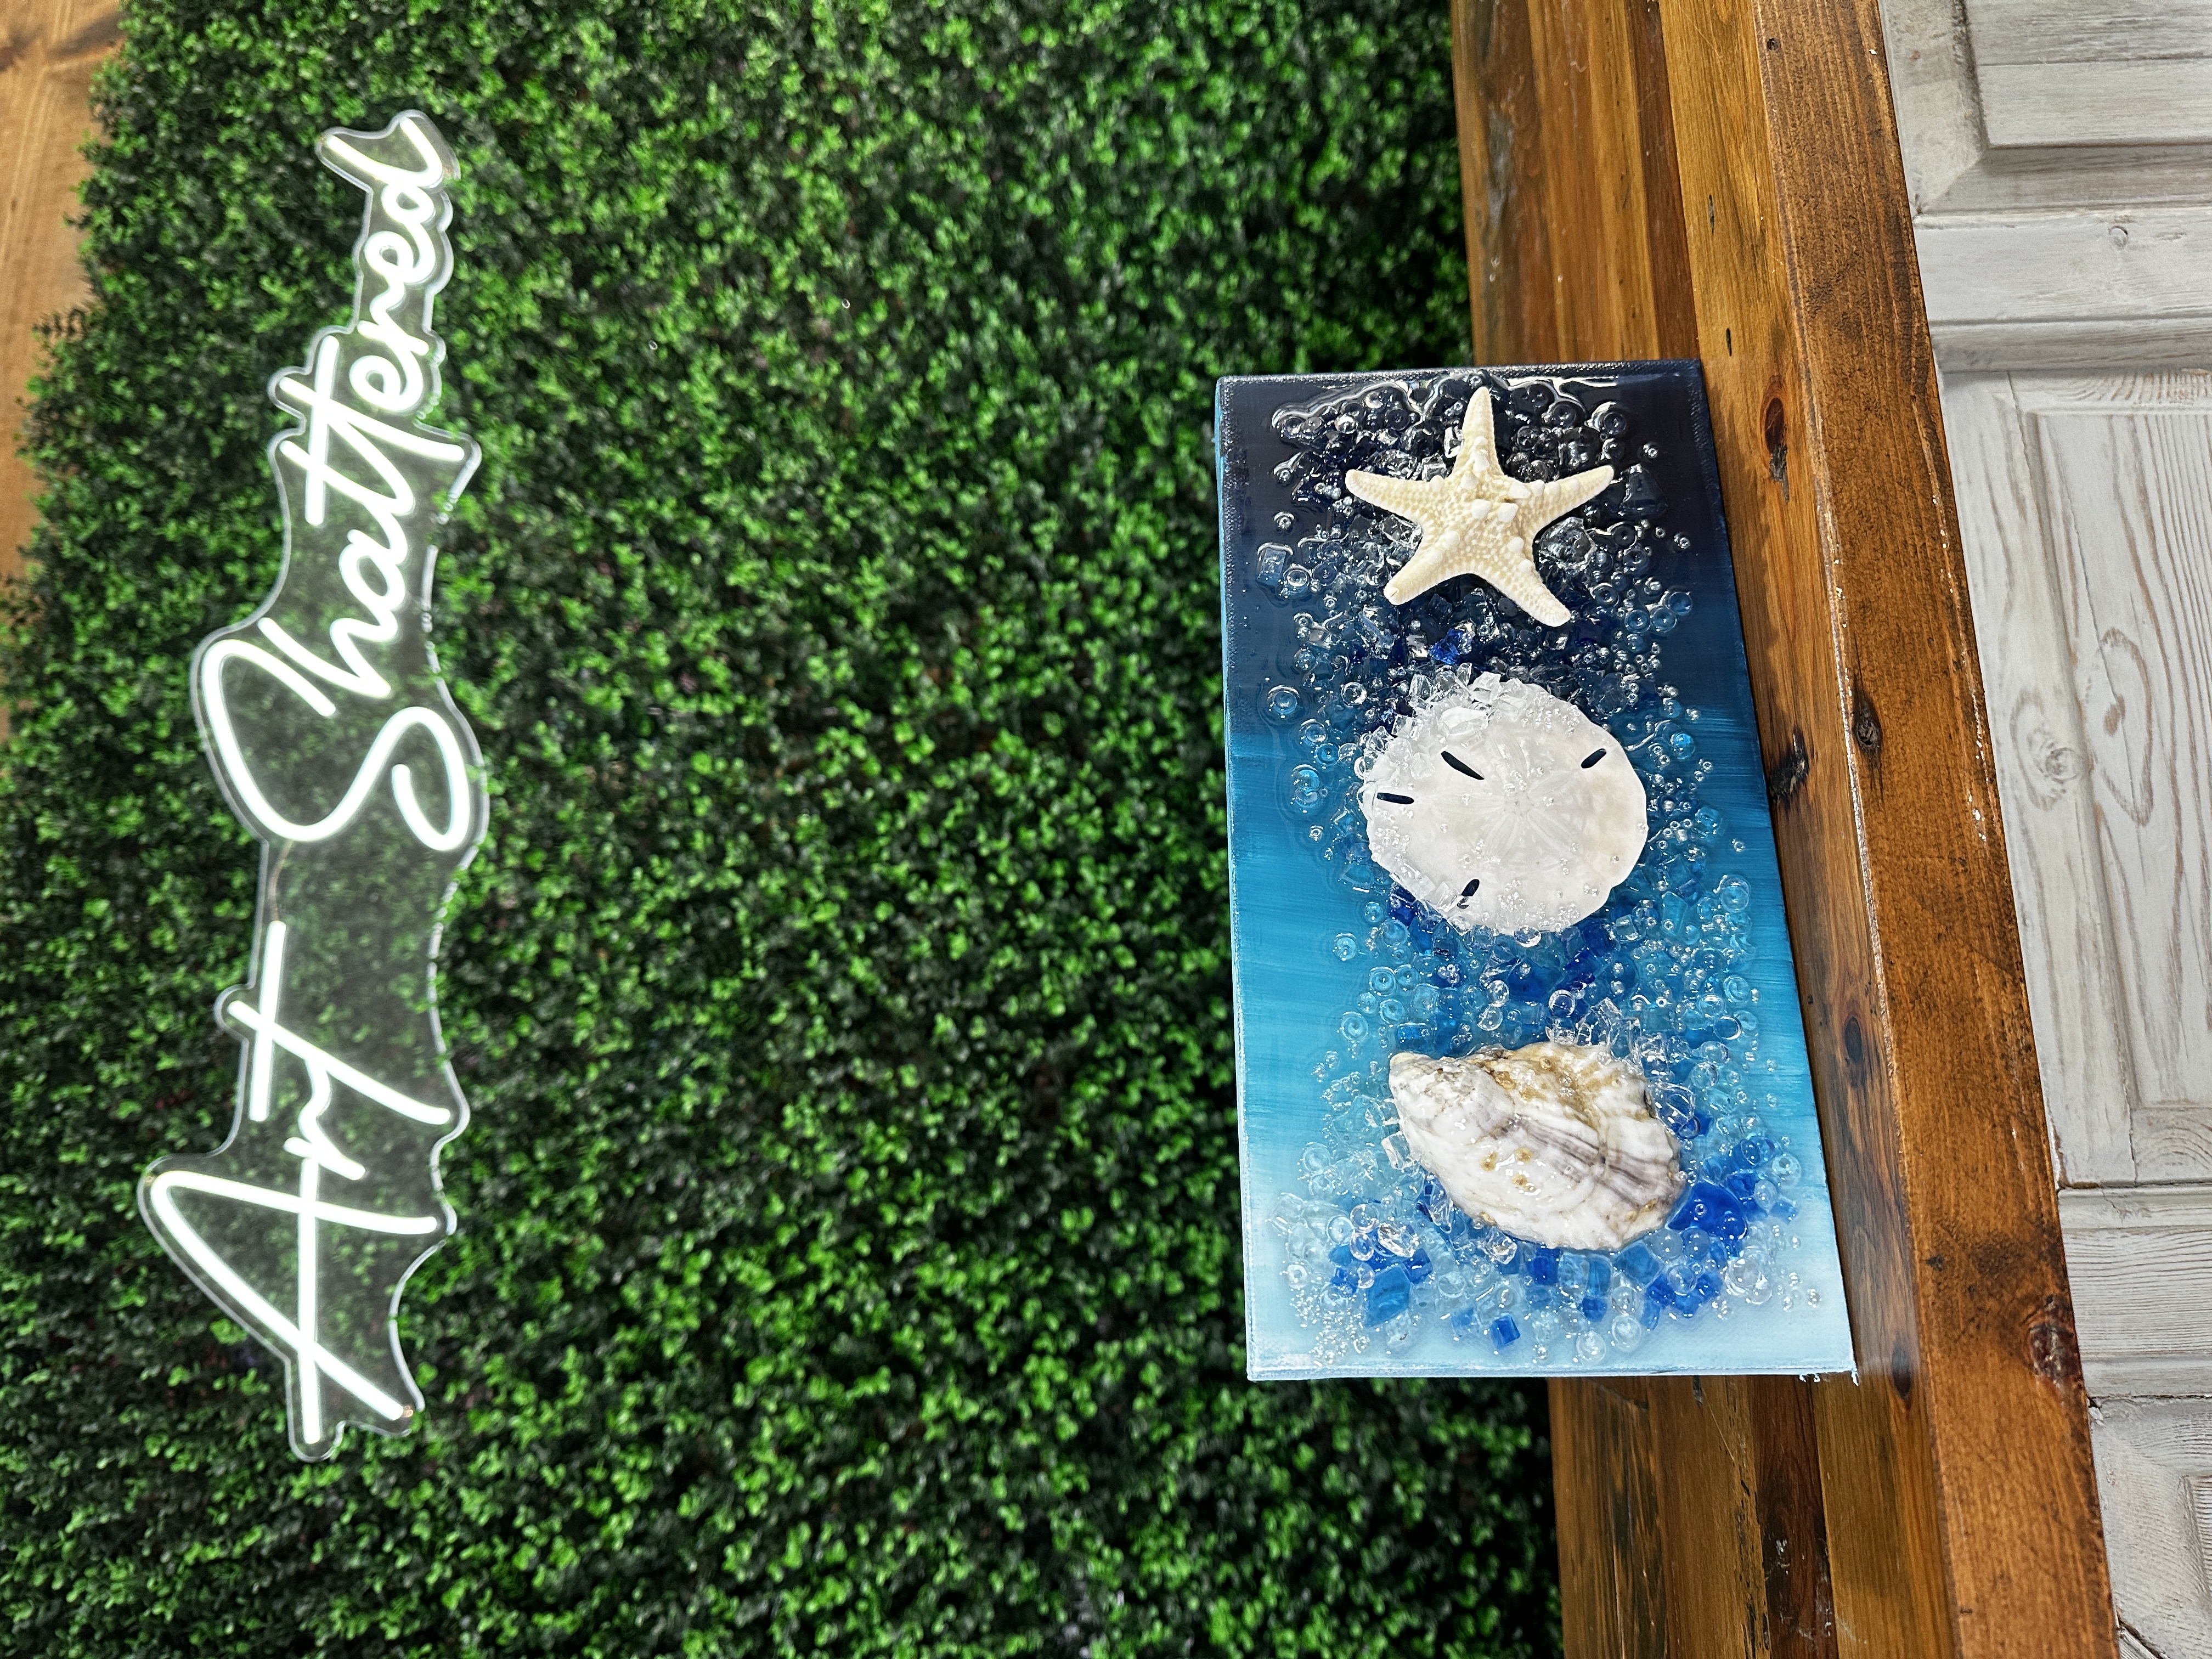
Step 1: Paint the Ombre Background
To start, I used a 6x12 canvas, but this technique works with any size. I chose three main colors: white, Desert Turquoise, and Midnight Blue for the ombre background. The trick to getting a smooth blend is to work wet-on-wet. I added dots of each color directly onto the canvas (white at the top, turquoise in the middle, blue at the bottom), then blended them together using a flat brush. Starting from the top with white, I worked my way down, gradually blending into the turquoise, and finally into the blue. I used light brush strokes and kept a steady rhythm, blending back and ...
Beach Cheese Board 🌊
If you’ve been itching to try your hand at a resin project that’s equal parts fun and functional, a resin cheese board is the perfect place to start. Whether you call it a charcuterie board, snack board, or just a pretty piece of art for your kitchen, this project brings color, texture, and a bit of shimmer to your space. I'm walking you through the exact steps I used to create a gorgeous, layered resin look using just a few supplies and some acrylic paint.
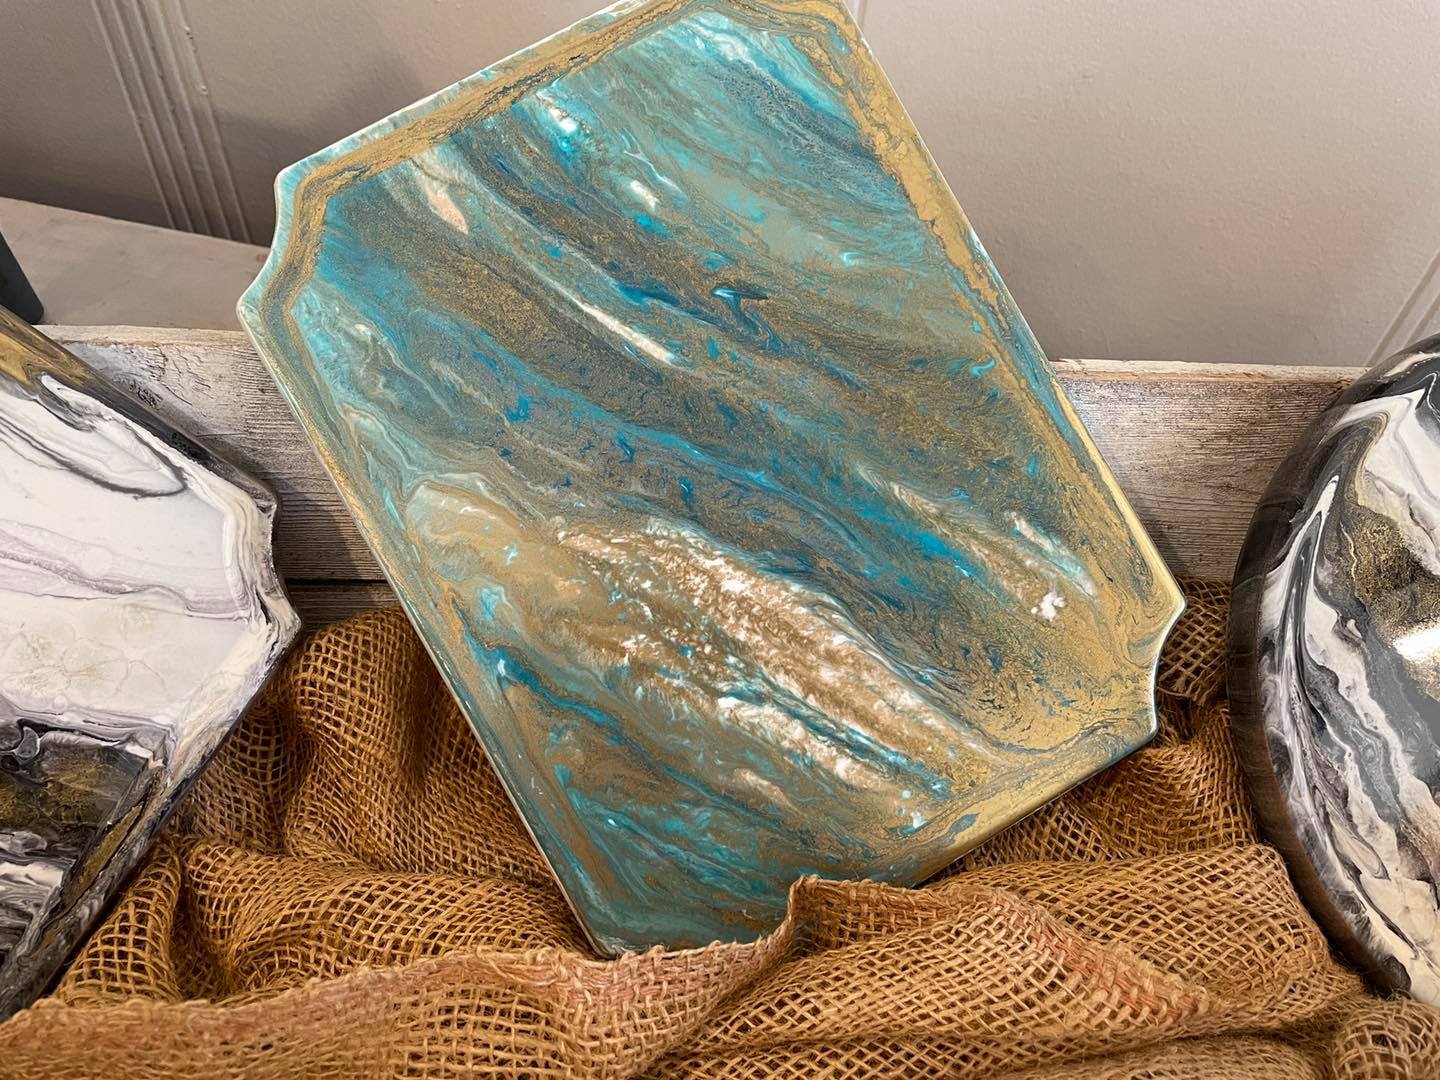
Before anything else, make sure your work surface is completely level. Resin is a self-leveling medium, which means if your table is even slightly tilted, it can cause the resin to pool or run off one side. I used a few popsicle sticks under the legs of my tray to adjust things until it was perfectly level.
With the setup ready, it’s time to mix the resin. For this board, I used a total of 4 ounces—2 ounces of resin and 2 ounces of hardener. Be sure to measure carefully and stir for a full three minutes to ...
