Orange Glass Pumpkin 🎃

fall pumpkin Oct 14, 2026
 

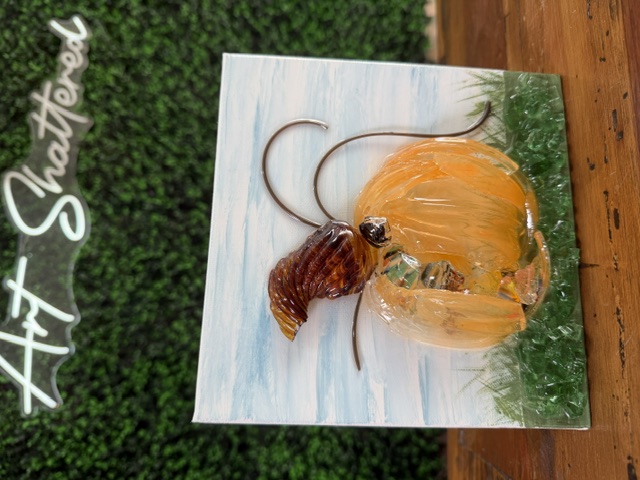
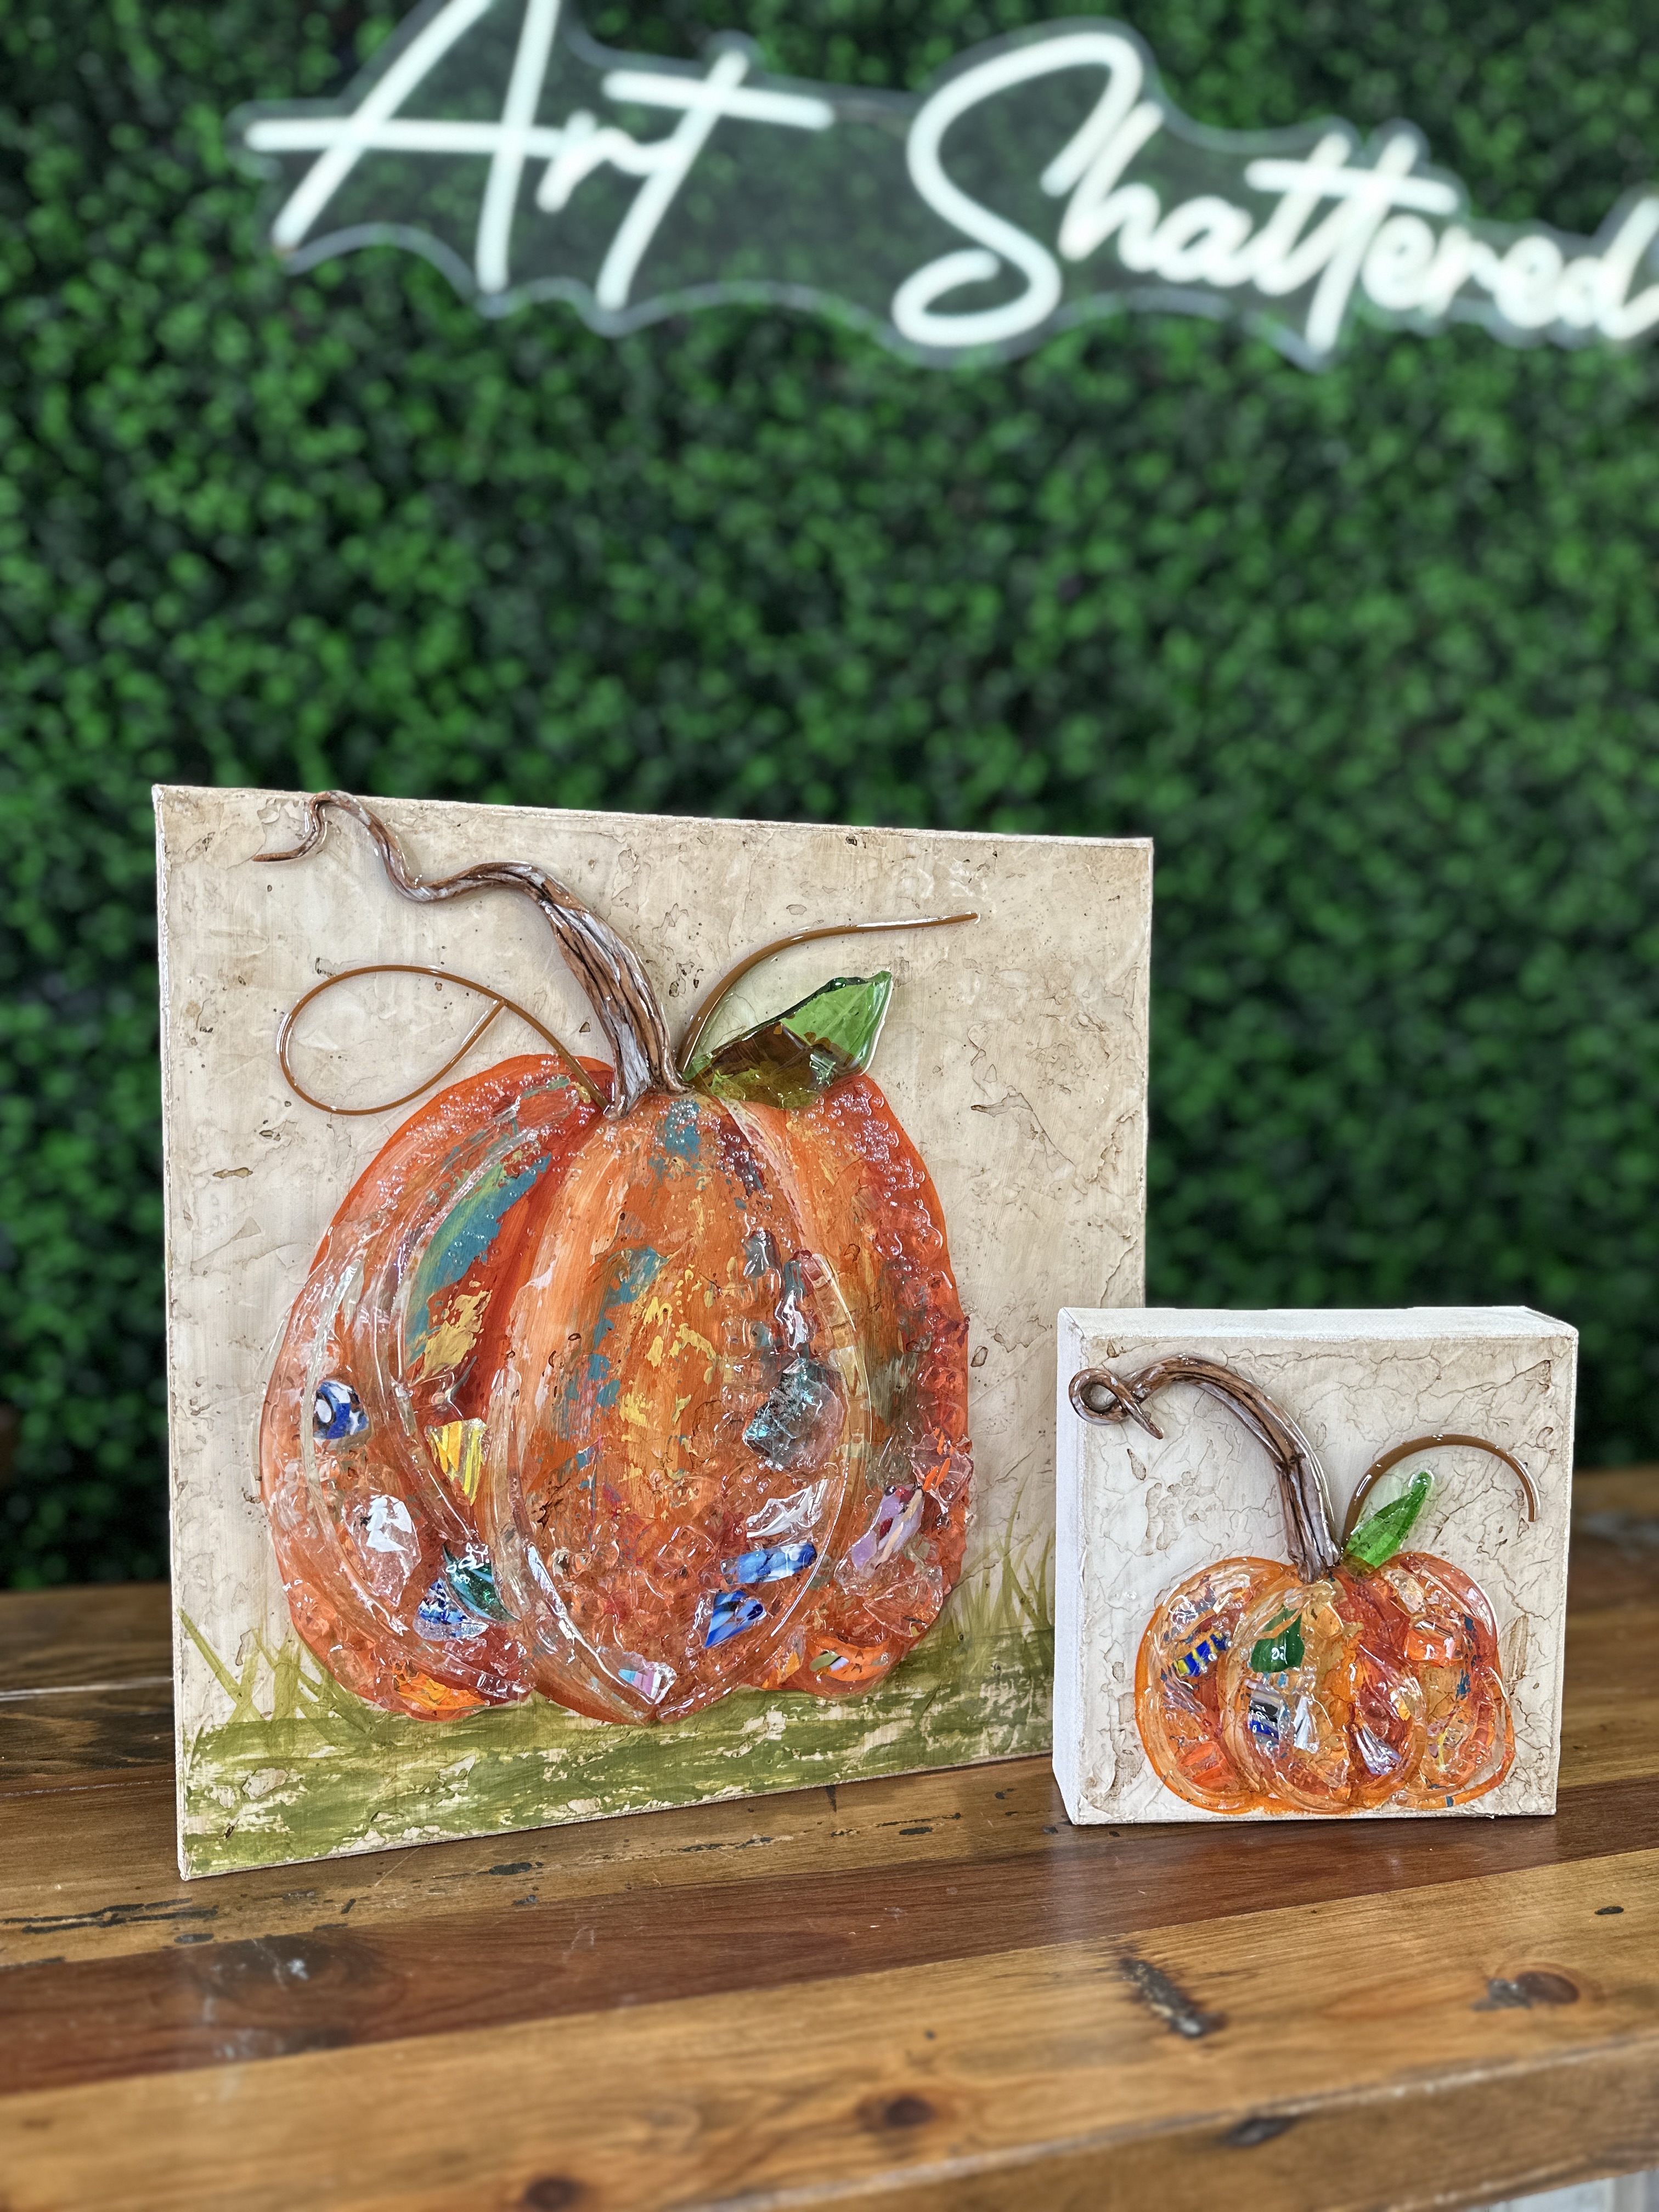
For this project, we're skipping the traditional painted pumpkin and making one entirely out of glass! We're using pieces of broken orange vases, glass pumpkins, and other orange glass scraps to build a dimensional pumpkin right on an 8x8 canvas.  And the best part? You don't need to paint a pumpkin shape or follow a pattern. We're just arranging glass pieces until they start looking like a pumpkin!

Step 1: Tape Off the Grass Area

We're going to start with a really simple painted background. Nothing fancy, because our glass pumpkin is going to be the star of the show! Take a piece of painter's tape and place it across the bottom of your 8x8 canvas, about 1½ inches from the bottom. This will separate our sky from our grass and keep the blue paint out of the green area.

Step 2: Paint a Soft Blue Sky

Start by adding some white acrylic paint to the upper portion of your canvas and spreading it around with a flat brush. You don't need a super thick coat, so if you've added too much pa...

Continue Reading...

3D Pumpkin 🎃

fall pumpkin Oct 07, 2026
 

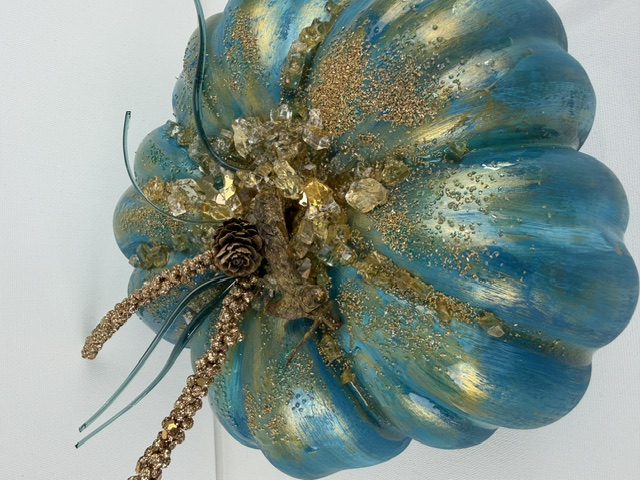
Most of our glass art projects start with a flat canvas, but today we’re changing things up and taking our art off the canvas and onto an actual 3D pumpkin! We’re starting with a simple faux pumpkin and using layers of blue and teal paint, metallic gold, crushed glass, resin, glitter, and other fun embellishments to completely transform it. It’s a great example of how you can take the same mixed-media techniques we use in our canvas projects and apply them to something totally different.

Step 1: Remove the Stem

Start by carefully pulling the stem out of the top of your faux pumpkin. Try to remove it without damaging the pumpkin because we're going to put it right back in later. Trim away any excess material around the opening if needed.

Step 2: Paint the Pumpkin Tropical Blue

We're starting with Tropical Blue as our main color.

Because it's difficult to paint the entire pumpkin at once without putting your hands in wet paint, work in sections. Paint roughly half of the pumpkin

...
Continue Reading...

Blue on Black Pumpkin 🎃

fall pumpkin Sep 23, 2026
 

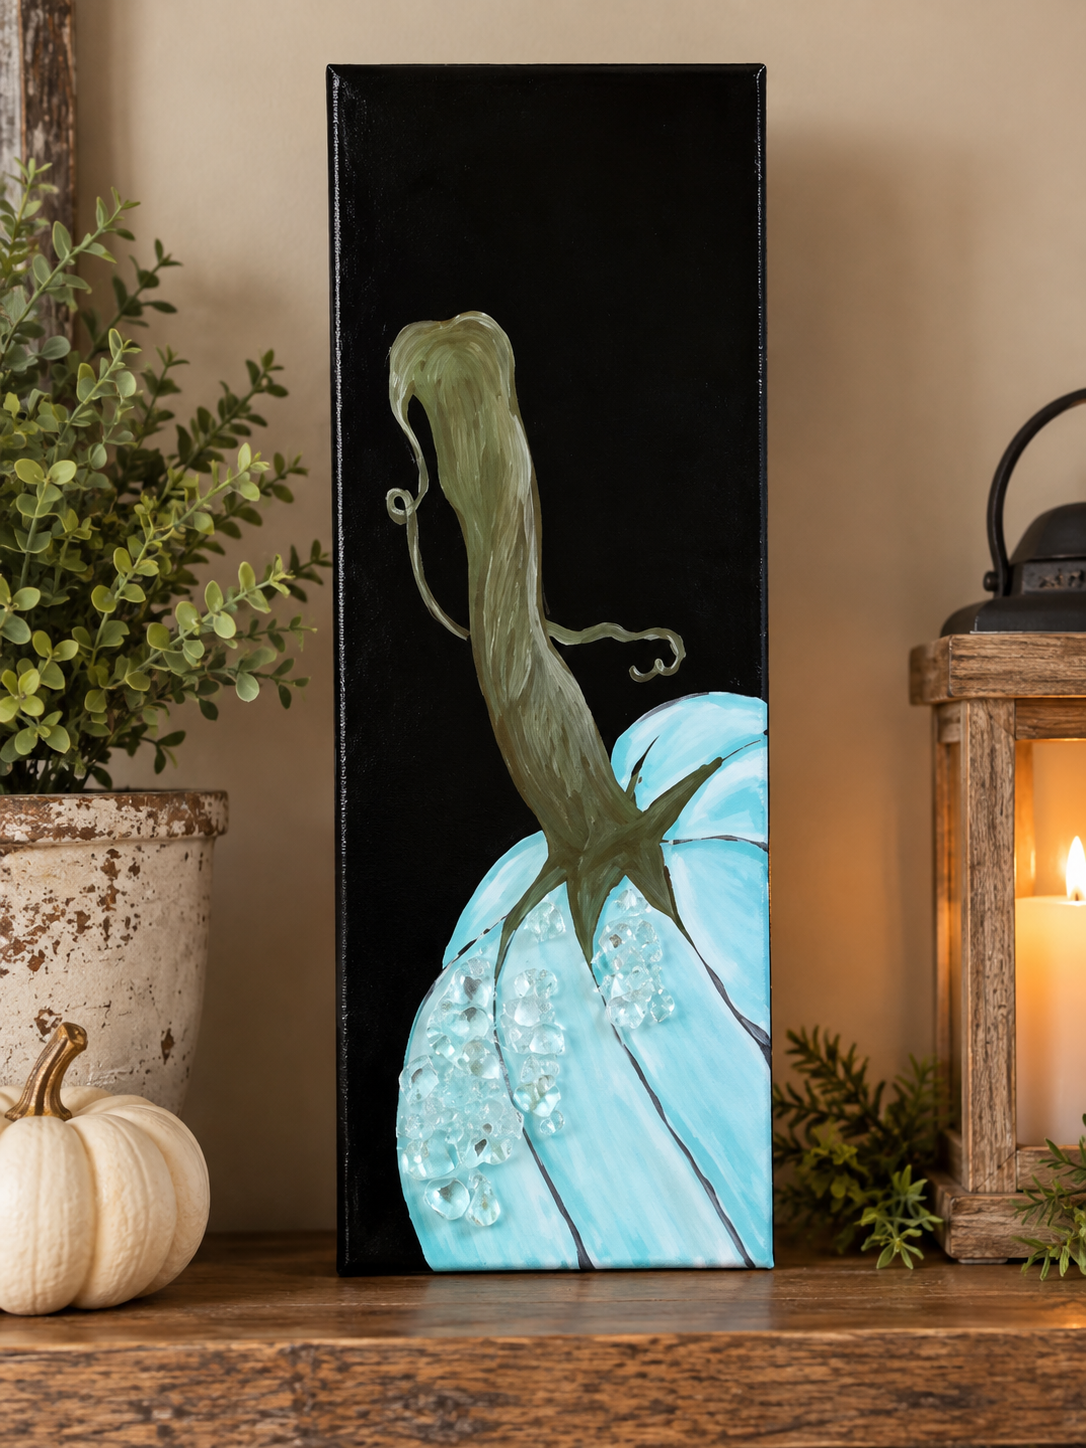
Who says pumpkins have to be orange? For this project, we’re giving a classic fall pumpkin a completely different look with soft shades of blue against a dramatic black background.

This is a fun one if you like a looser painting style because we’re intentionally letting some of that black canvas show through, layering in imperfect highlights and shadows, and finishing the pumpkin with just a touch of sparkling Starfire glass and resin. The result is simple, dimensional, and a little unexpected for fall.

Step 1: Prepare Your Black Canvas

Start by painting your canvas completely black and letting it dry.

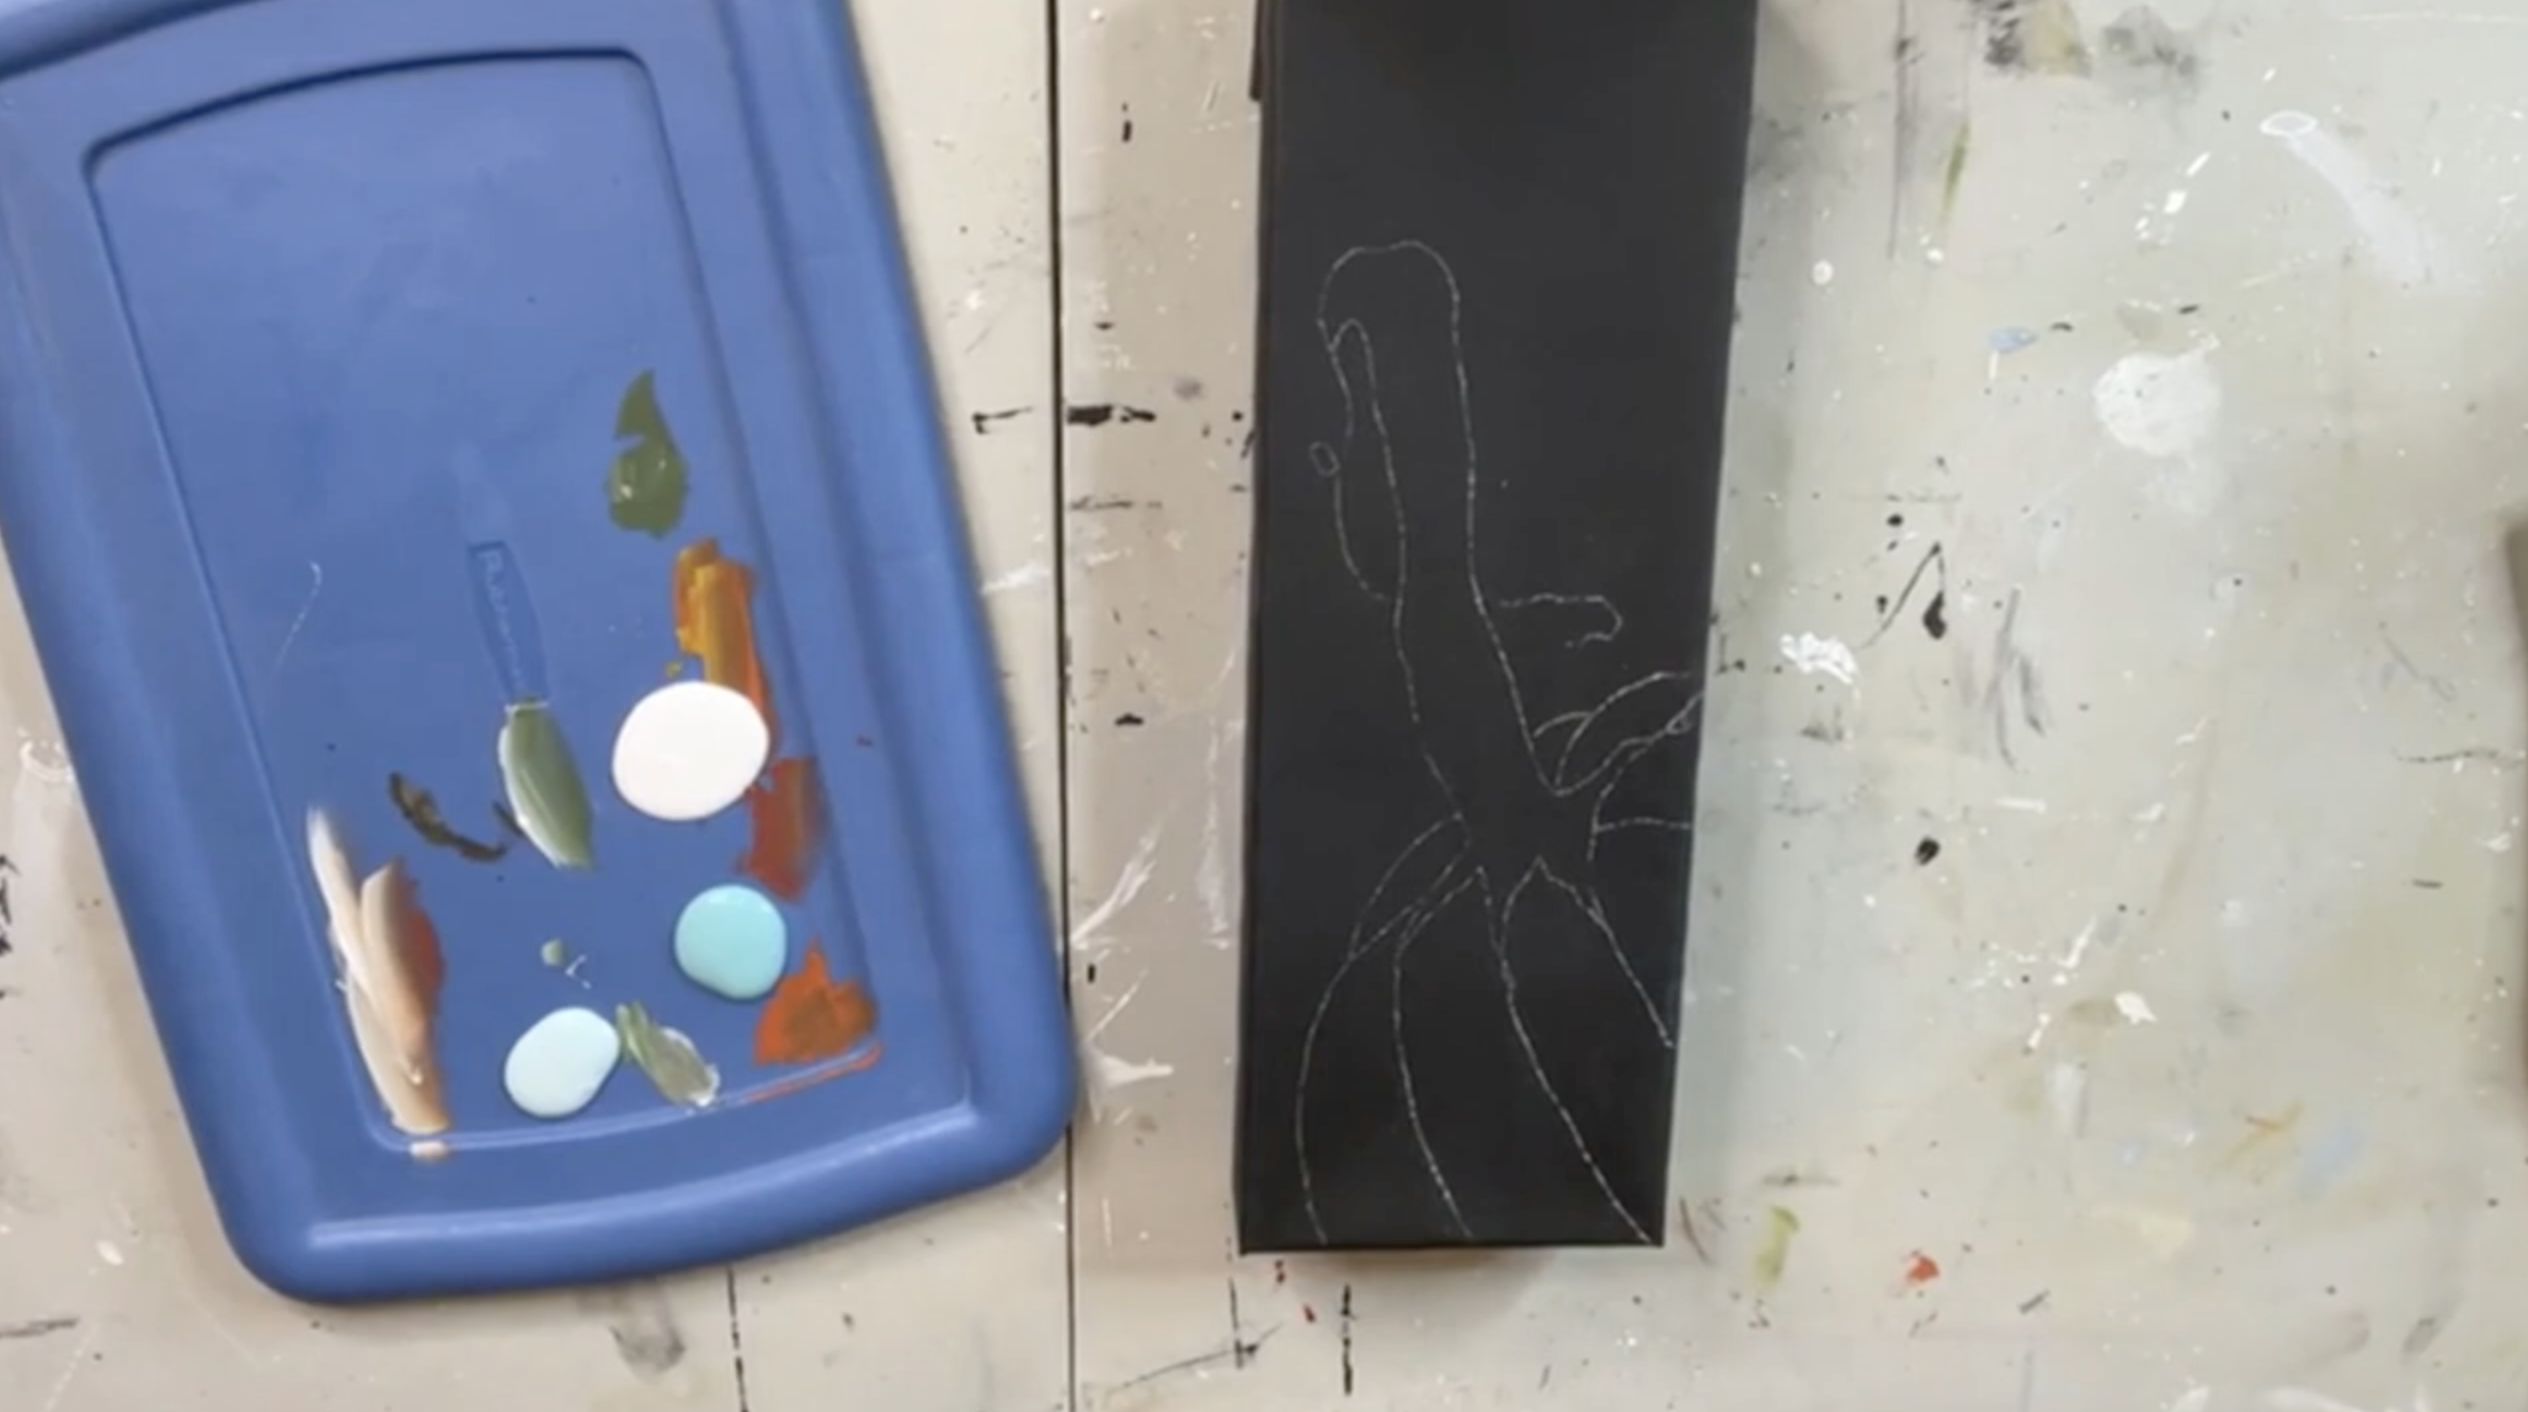
Once dry, transfer your pumpkin design onto the canvas. I used a white watercolor pencil because it shows up beautifully against the dark background. You could also use a light-colored fabric transfer paper.

This pumpkin design was traced so that the pumpkin sits toward the bottom of the tall canvas, leaving plenty of that black background visible above it.  

Step 2: Base Coat...

Continue Reading...

White Pumpkin 🎃

fall pumpkin Sep 09, 2026
 

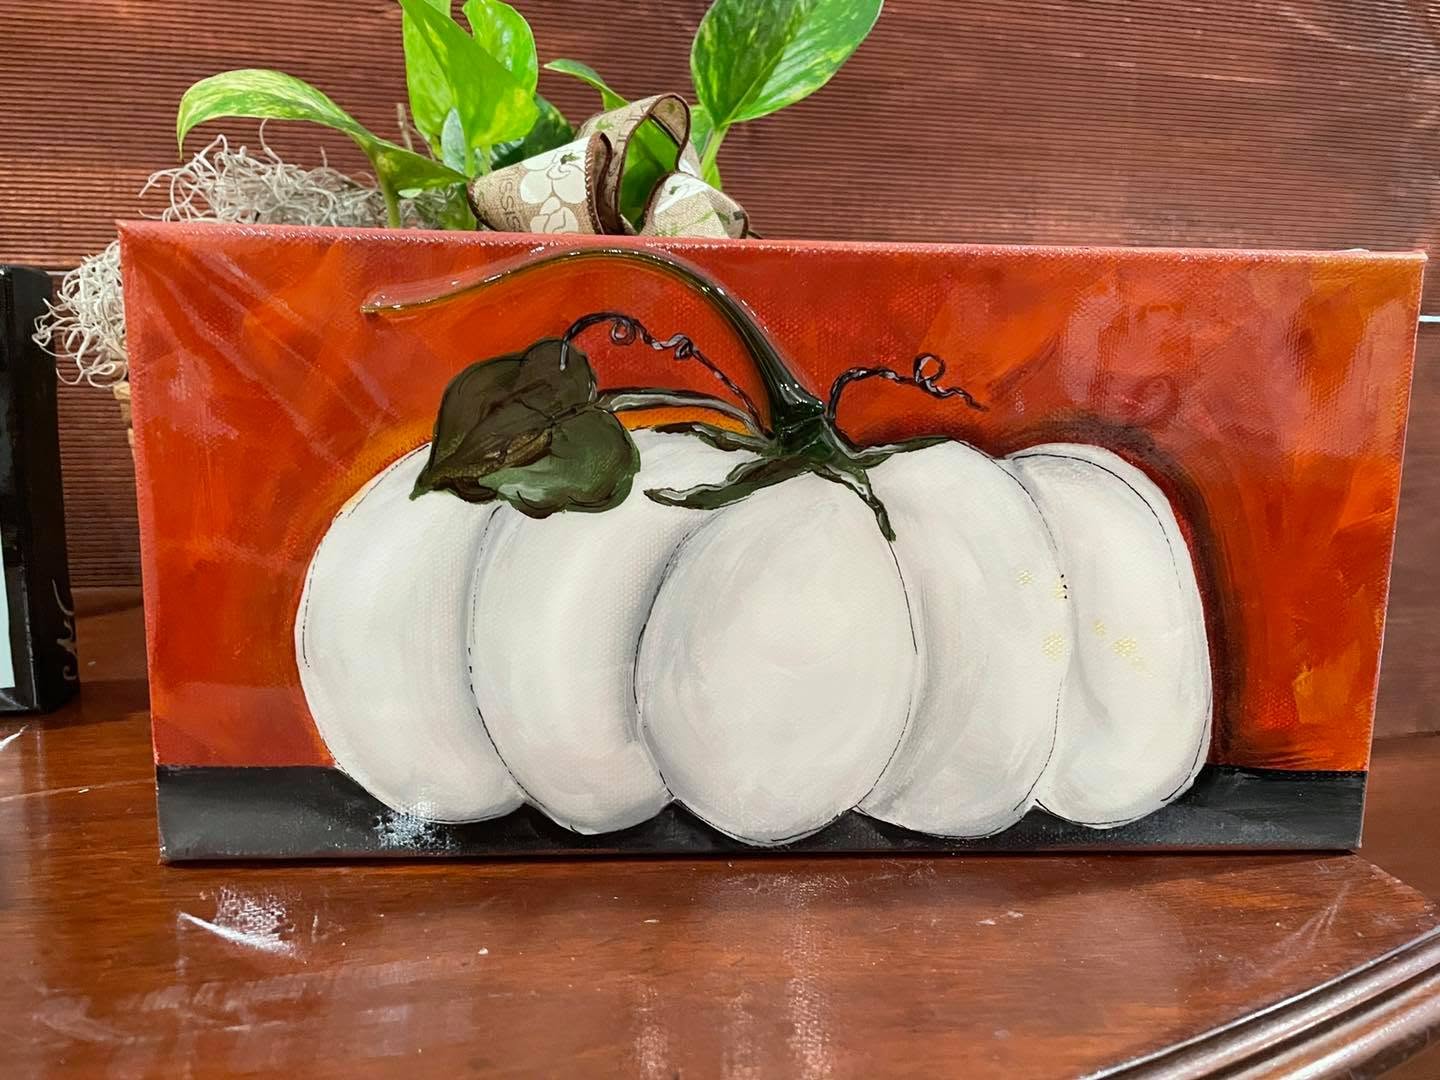
This white pumpkin project has such a fun mix of rustic fall color and glass art details. The pumpkin itself stays soft and neutral with white and gray shading, while the background gets rich with rusty orange, red, and darker tones. Then the glass stem and resin finish give the whole piece that signature Art Shattered look.

For this project, we’re working on a 6x12 canvas with a squatty white pumpkin, a dark tabletop, a warm fall background, painted greenery, a glass stem, and a full resin coat.

Step 1: Sketch the Pumpkin

Start by lightly sketching a large, squatty pumpkin onto your 6x12 canvas. Because the canvas is long and narrow, the pumpkin should be wide and low rather than tall. Divide it into several rounded sections so you have natural places to add shading later. You can also lightly mark a horizontal line near the bottom of the canvas for the tabletop.

Step 2: Paint the Pumpkin White

Using a large flat brush, fill in the entire pumpkin with white p

...
Continue Reading...

Pink & Teal Pumpkin 💕

fall pumpkin Oct 14, 2025
 

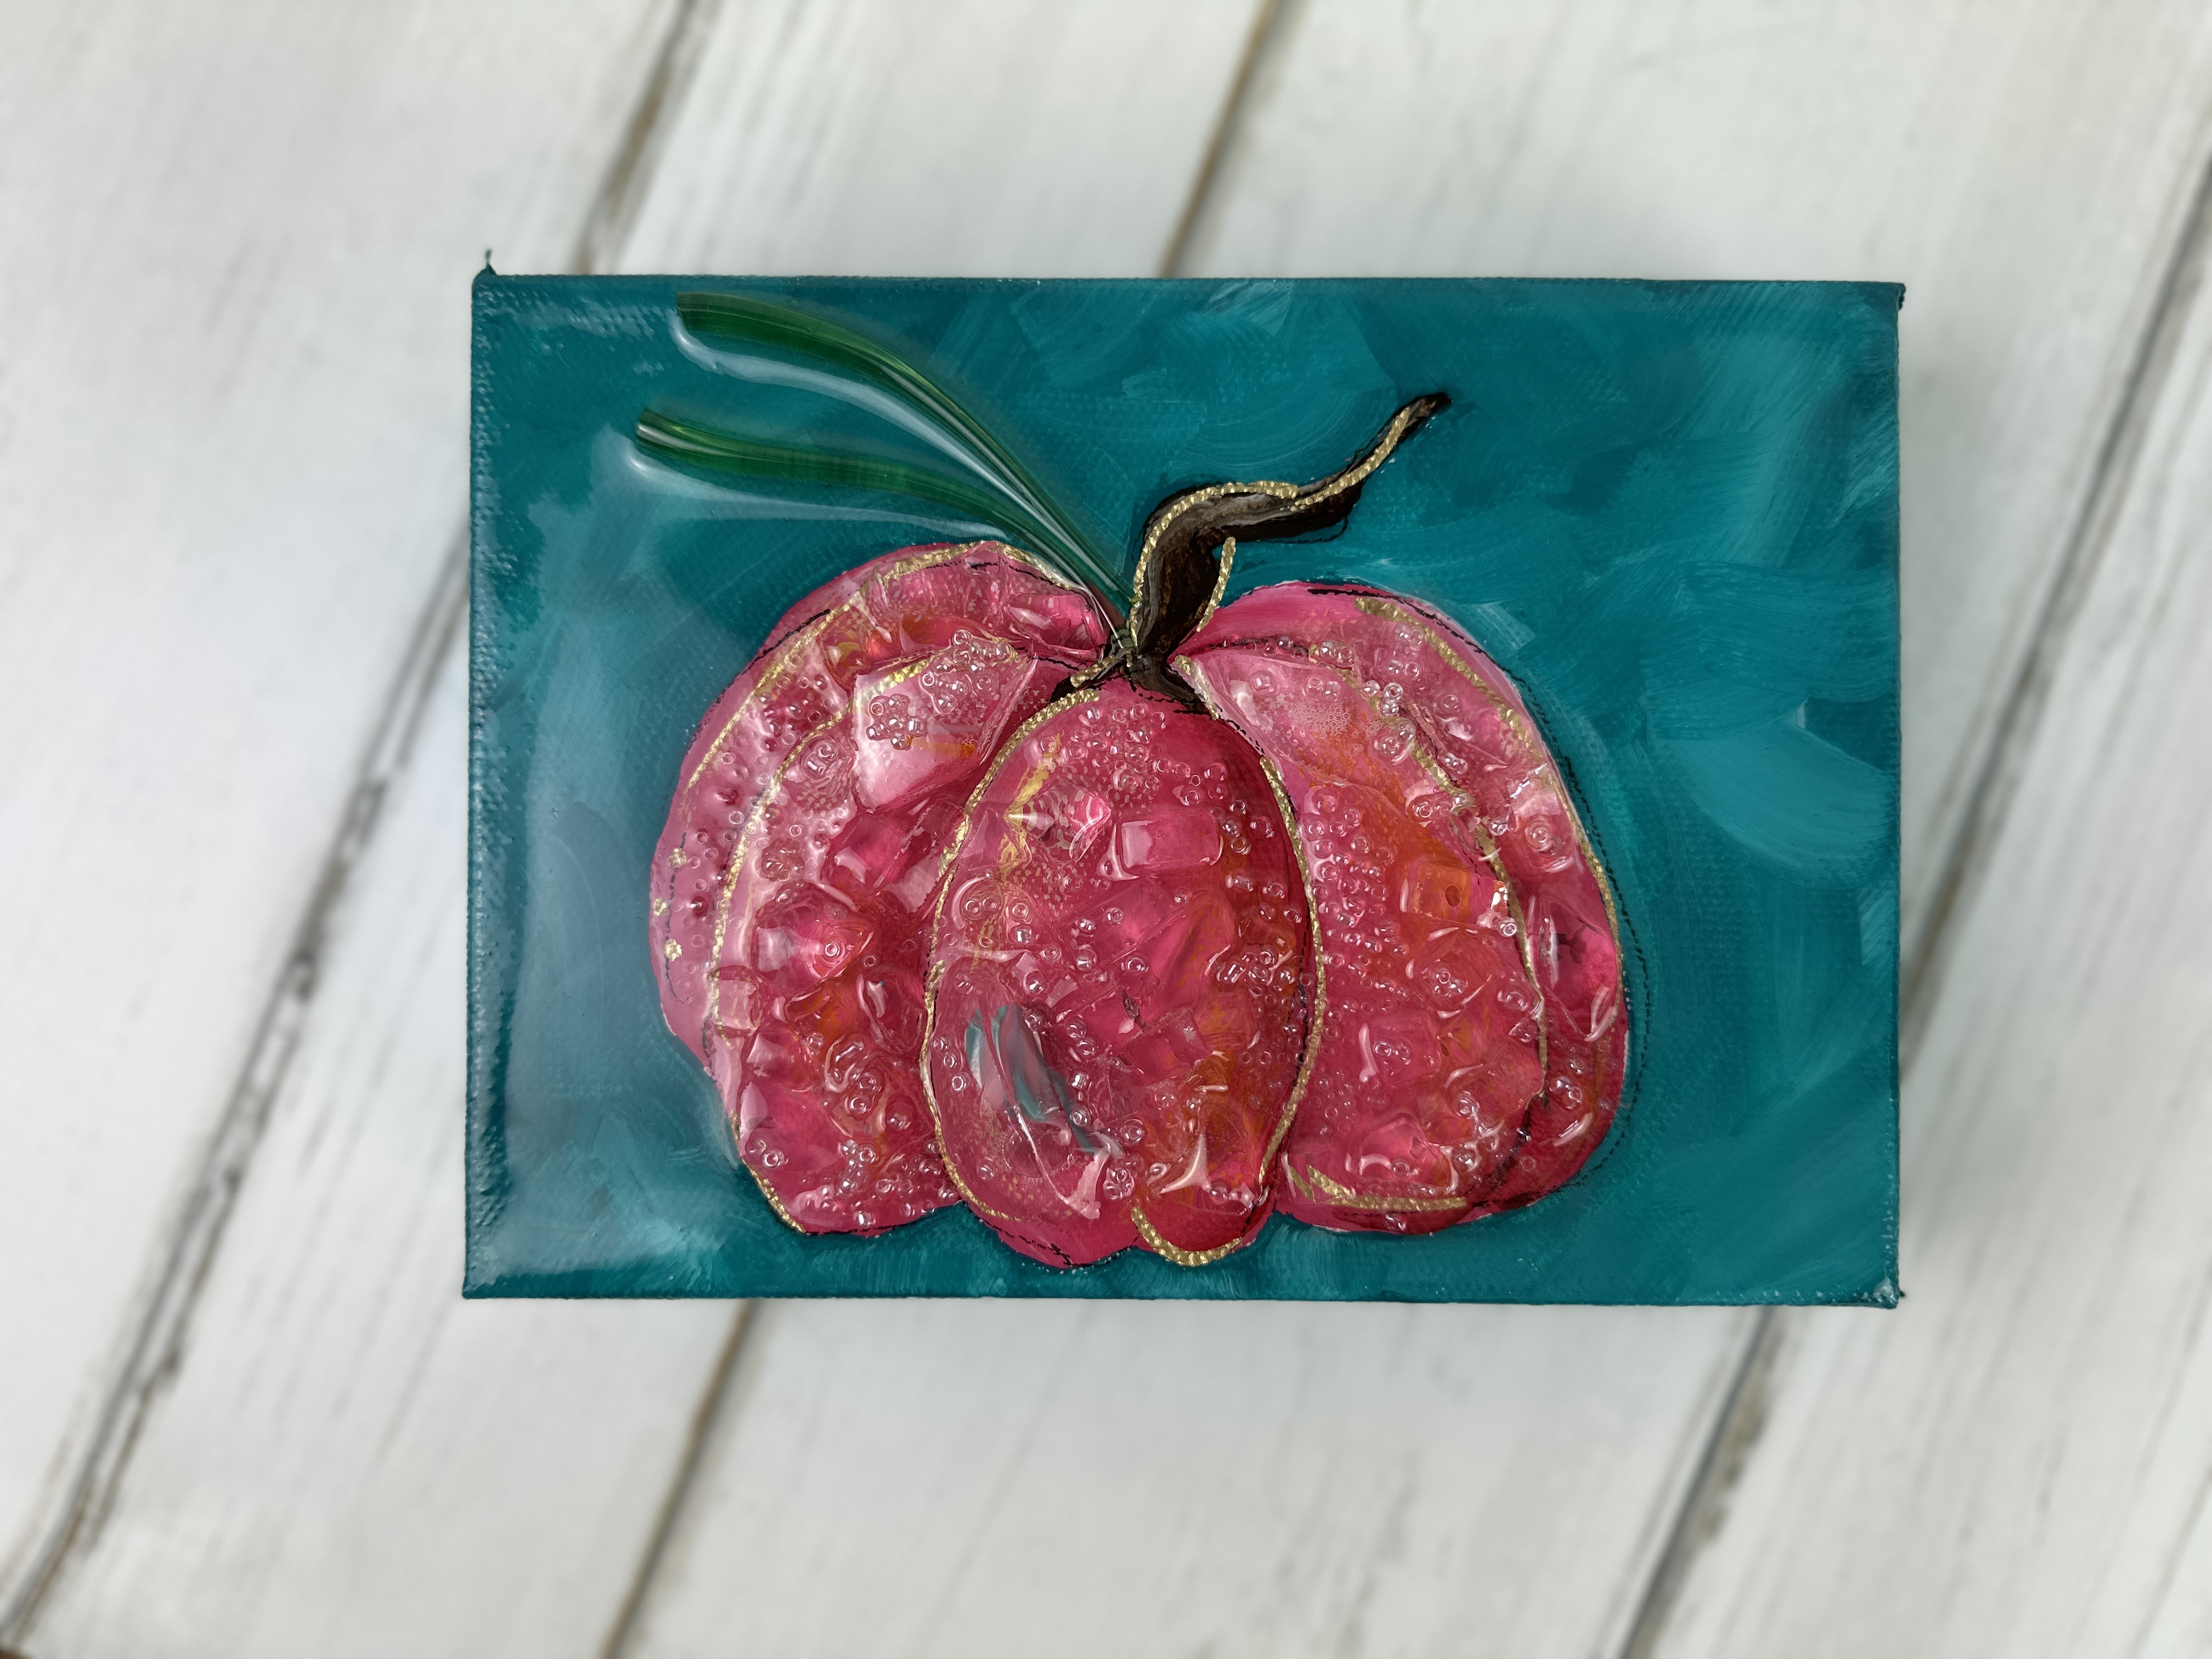
This isn't your typical fall pumpkin - this one's pink, sparkly, and packed with personality! In this tutorial, you’ll learn how to add shading and highlights using directional light, master wet-on-wet blending, and finish your piece with glass, seed beads, and glossy resin. We even topped it off with a little gold pen detail and green vitrigraph for extra flair!

Understanding Highlights & Shadows

Before we ever touched the paint, we walked through a basic but important concept: light source and directional shading. To add dimension to a flat shape, like a circle or pumpkin, you need to decide where your light is coming from. We placed a sketch of a sun on the top left of our canvas to guide us throughout the painting process. This way, each pumpkin section could be shaded and highlighted appropriately based on where the "sunlight" would hit.

Step 1: Sketching the Pink Pumpkin

Using a pencil, we loosely sketched a squatty pumpkin with a curly stem and marked out individual pumpki...

Continue Reading...

Animal Print Pumpkin 😍

animal print fall pumpkin Oct 08, 2025
 

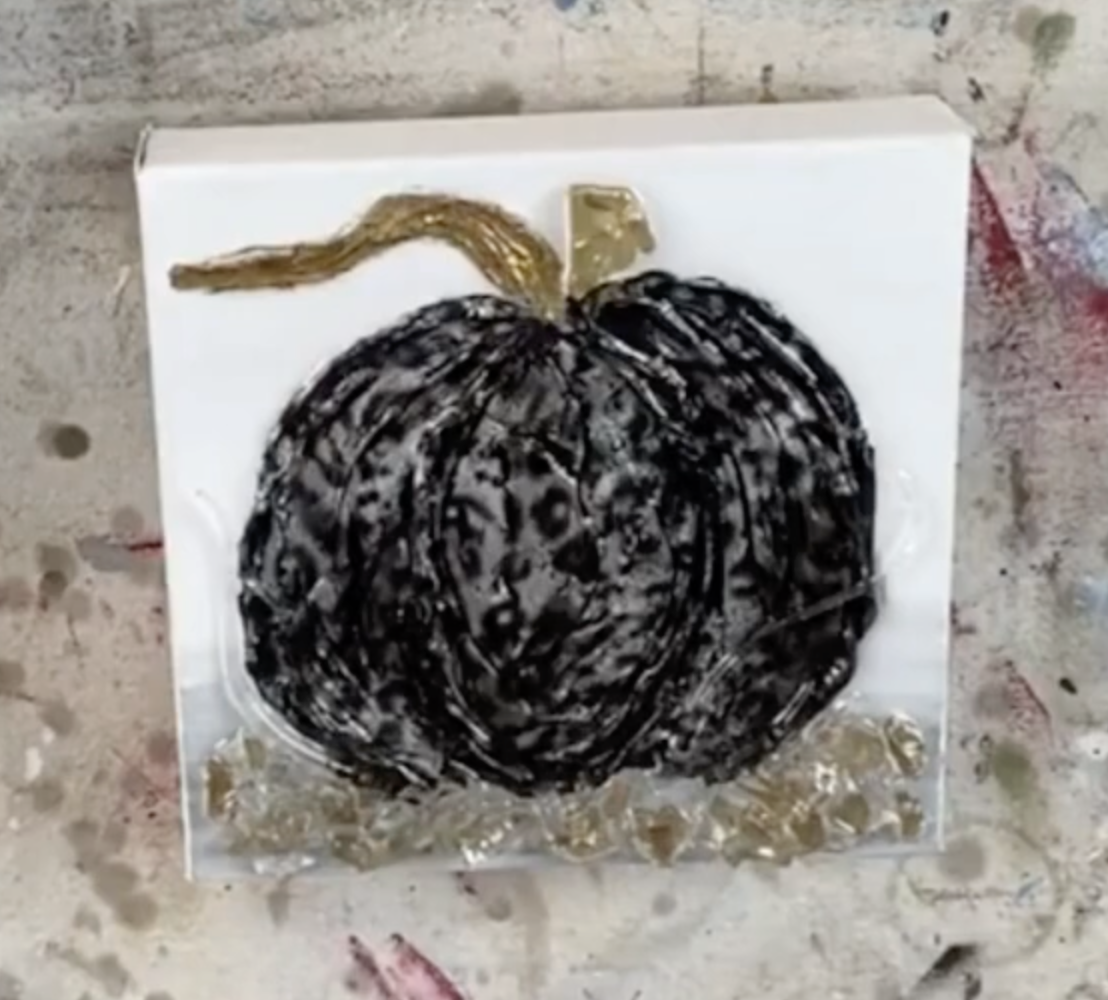
This project turns a little 8×8 canvas into a dimensional, glam pumpkin using modeling paste, animal-print foil, and a thin resin coat. We’ll sculpt the pumpkin, paint it black so the foil pops, burnish on a cheetah pattern, add a gold stem, and finish with clear glass accents.

Step 1: Tone the background

Brush a thin coat of white over the entire canvas to reduce the “grab” of raw fabric. While it’s still a little damp, scrub slate gray along the lower third and fade it upward so the tone softens as it rises. Wipe the brush clean and touch a hint of gray higher up to keep the field from looking flat, then dry the surface thoroughly with a quick blast of a hair dryer.

Step 2: Lightly sketch the pumpkin

Make a small tick mark about an inch and a half down from the top edge to reserve breathing room for the stem. Sketch a big oval—the “zero”—for the pumpkin body, then add two gentle parentheses that curve down and back up into the base so your form reads as three fat ribs. Add a si...

Continue Reading...

Midnight Pumpkin 🎃

fall pumpkin Oct 01, 2025
 

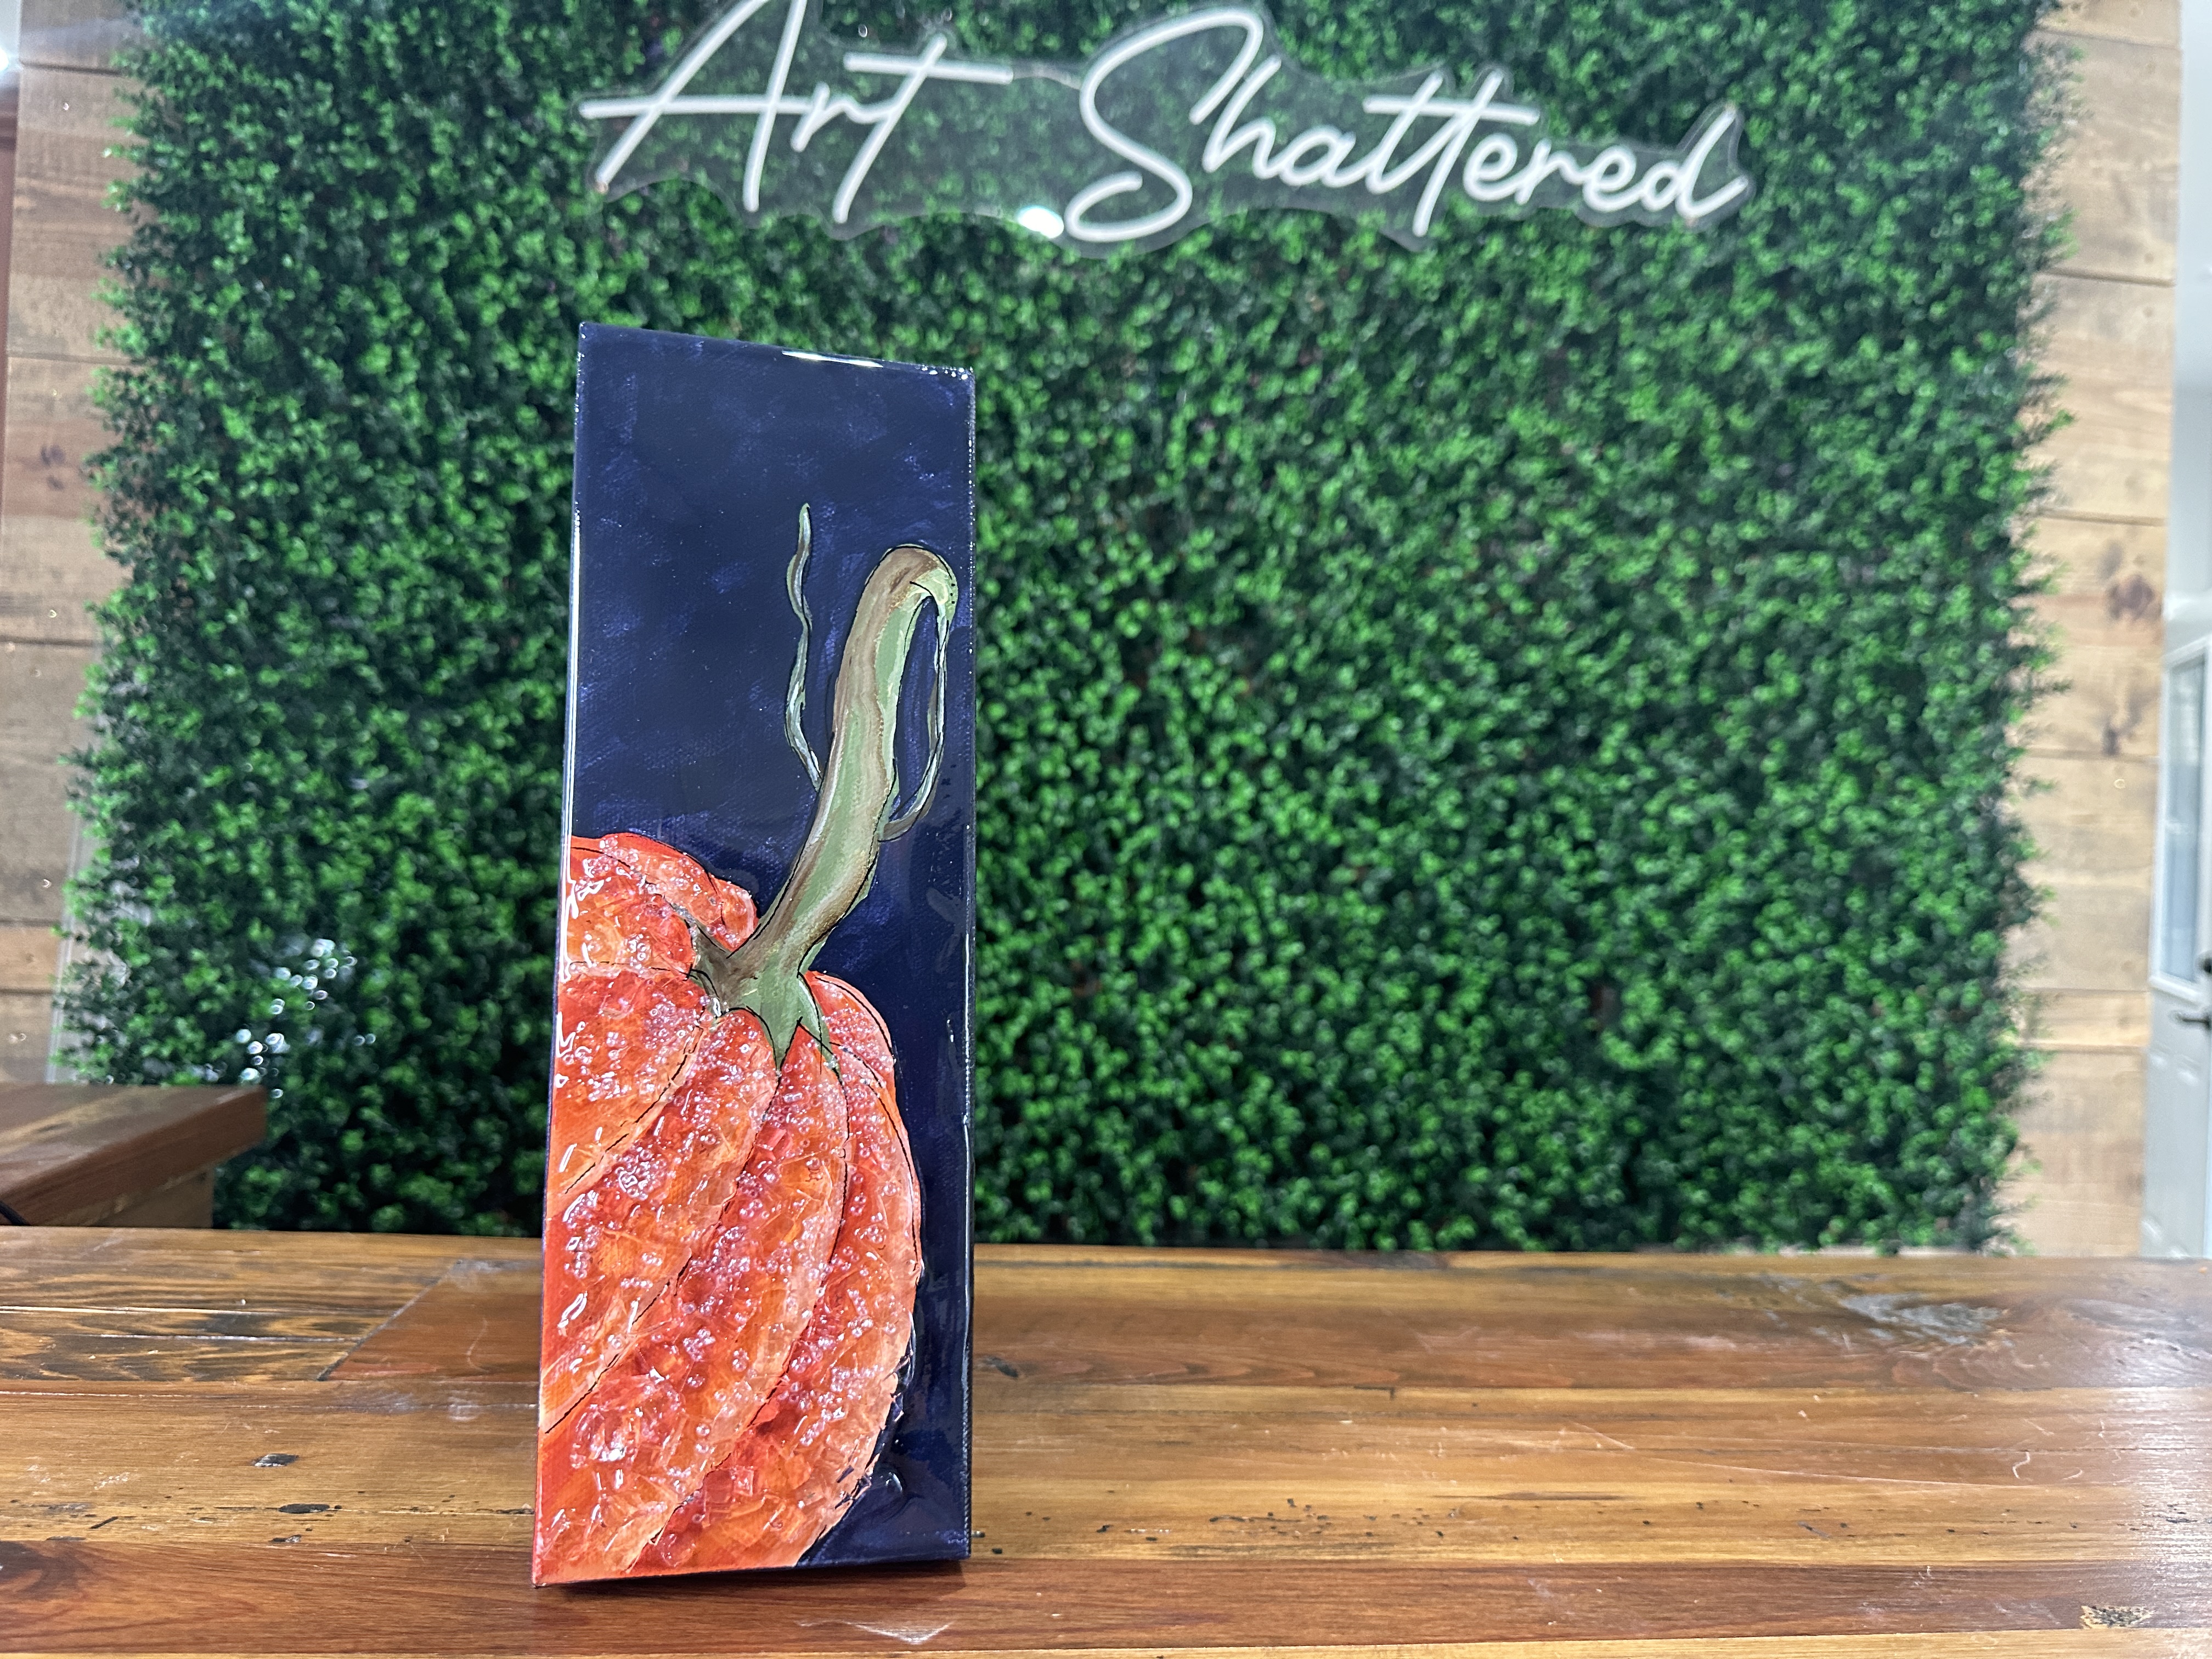
We’re back with a cozy fall favorite - an orange pumpkin with a rustic green-and-brown stem on a dramatic dark background. This is an “oldie but goodie” project that originally featured a black backdrop, but today we’re switching it up with a rich navy (Payne’s gray). The result? A bold, dimensional pumpkin with highlights, shadows, glass sparkle, and a glossy resin finish.

Step 1: Trace the Pumpkin

Secure your tracer to the canvas, tucking it slightly to the left so the pumpkin shape runs off the edge for a more natural look. Place graphite paper underneath and use a stylus or a pencil to trace the outline, including the stem. Leave the stem point simple for now - you’ll extend and detail it after painting the background.

Step 2: Base Coat the Pumpkin

Load your angled brush with Burnt Orange and paint one section at a time, following the tracer lines. Think of it like coloring in a coloring book - this is just your “ground coat” to block in color before adding shadows and highli...

Continue Reading...

How to Cut a Vase for Curved Glass Pumpkin Embellishments ✨

fall pumpkin Sep 24, 2025
 

Turn broken vases into beautiful pumpkin embellishments! In this tutorial, you'll learn how to cut curved glass pieces perfect for fall mixed media art, glass projects, or seasonal decor. We'll walk you through each step, from scoring and tapping the glass to safely honing and arranging it in your design. No need for fancy equipment - just a few basic tools, some safety gear, and a little patience.

Step 1: Prep Your Workspace and Safety Gear

Before you begin cutting any glass, set up a safe work area. Use a glass-cutting grid or tray to catch shards and wear cut-resistant gloves, safety goggles, and a mask to protect yourself from glass dust. Gather your tools: scoring tool, breaking pliers, wheeled nippers, and a honing stone. Have a paper towel nearby to clean off glass dust.

If you have a broken vase (or one you don’t mind repurposing), use it! In this case, I used a large thick vase that cracked in half. To make it manageable, gently tap the large piece with a hammer to break ...

Continue Reading...

Textured Pumpkin 🎃

fall pumpkin Sep 24, 2025
 

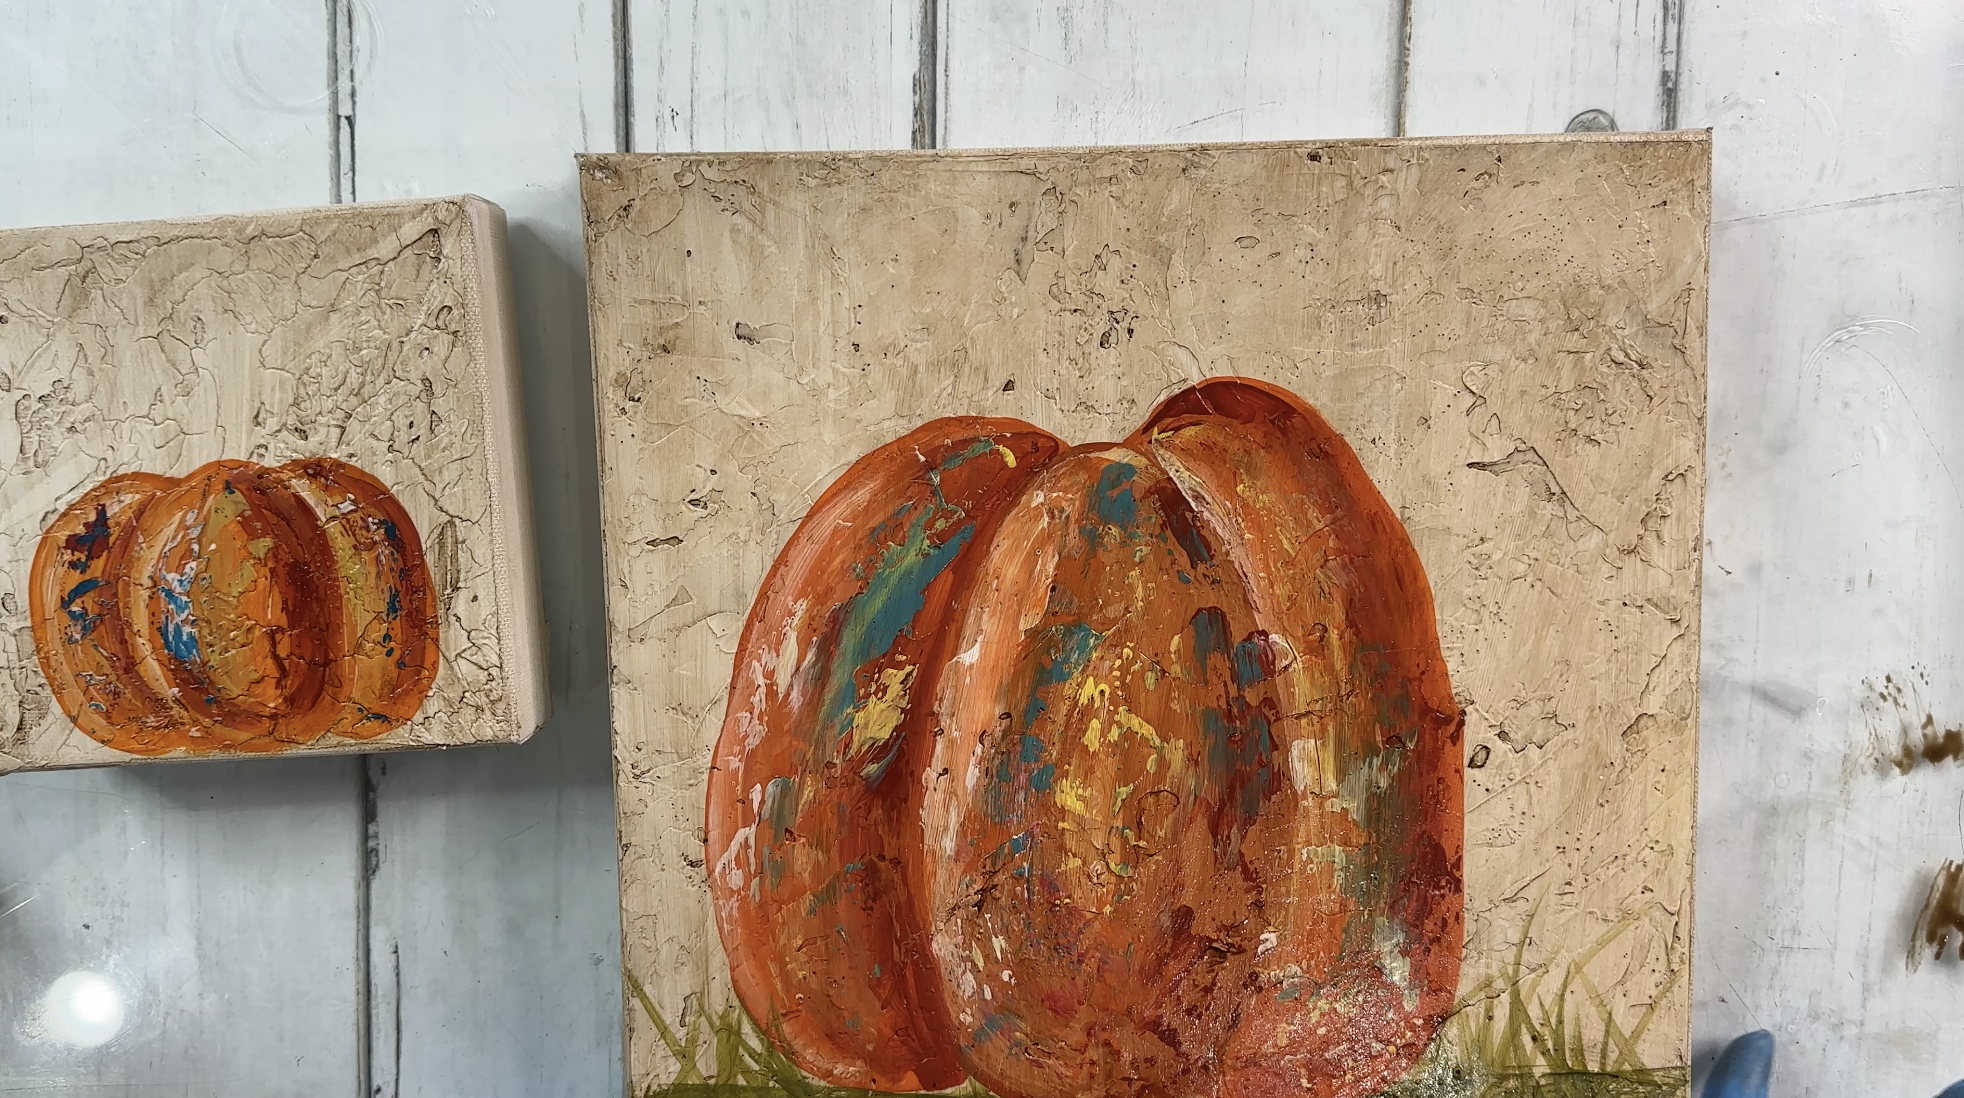
 Want that vintage, chippy, “found-it-at-a-fall-market” pumpkin vibe? This tutorial walks you through building a rich, textured background with modeling paste, freehand-painting a pumpkin in minutes, then finishing with an antiquing glaze that sinks into every groove. I’ll also show you quick options for adding a sculpted stem.

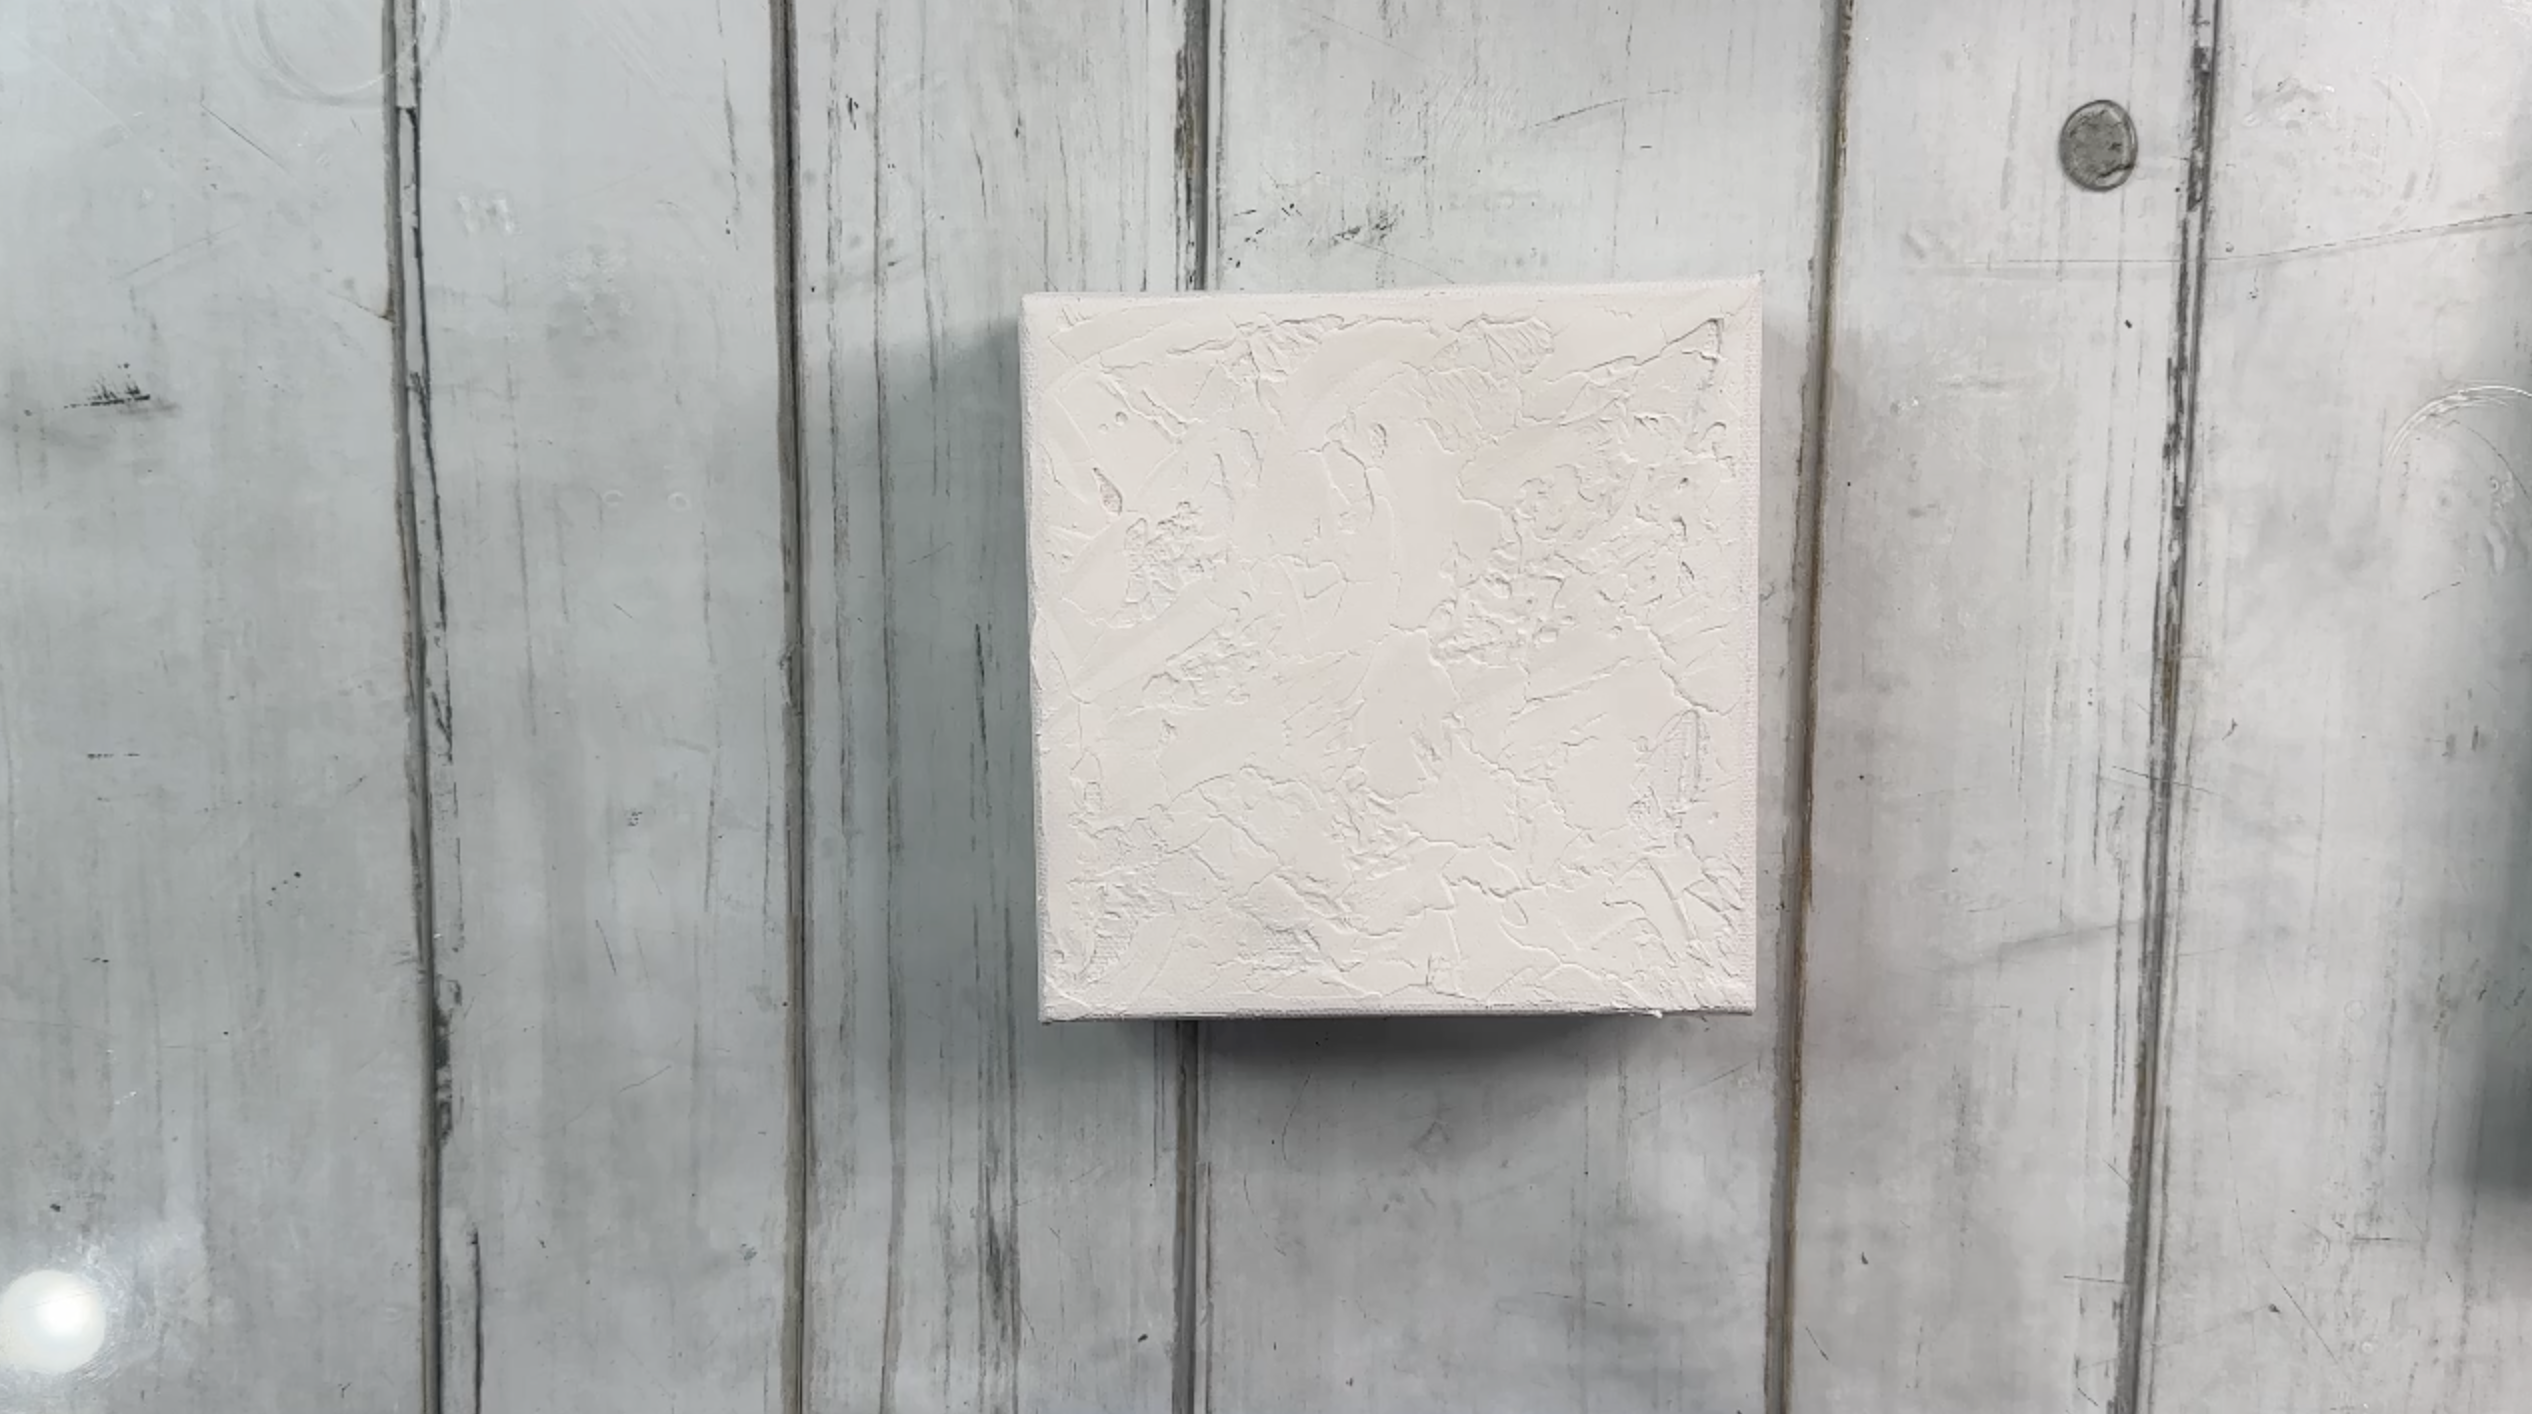
Step 1: Build the Textured Background

Load the back of your palette knife with modeling paste. Start in the middle and pull outward, leaving purposeful “skips” and bare spots. If you need more texture, lightly “slap” the surface with the knife to create peaks, then skim your knife very lightly to soften sharp ridges. Air-dry completely. It should feel cool but firm - no soft spots.

Step 2: Paint the Pumpkin

To freehand your pumpkin, think of one egg shape in the center with two parentheses on each side. Use Spiced Pumpkin paint with a round or liner brush to draw the oval center lobe, then add a curved shape on the right and left for the side lobes. Fill...

Continue Reading...

Creative Pumpkin Stem Ideas 🎃

fall halloween pumpkin Sep 10, 2025
 

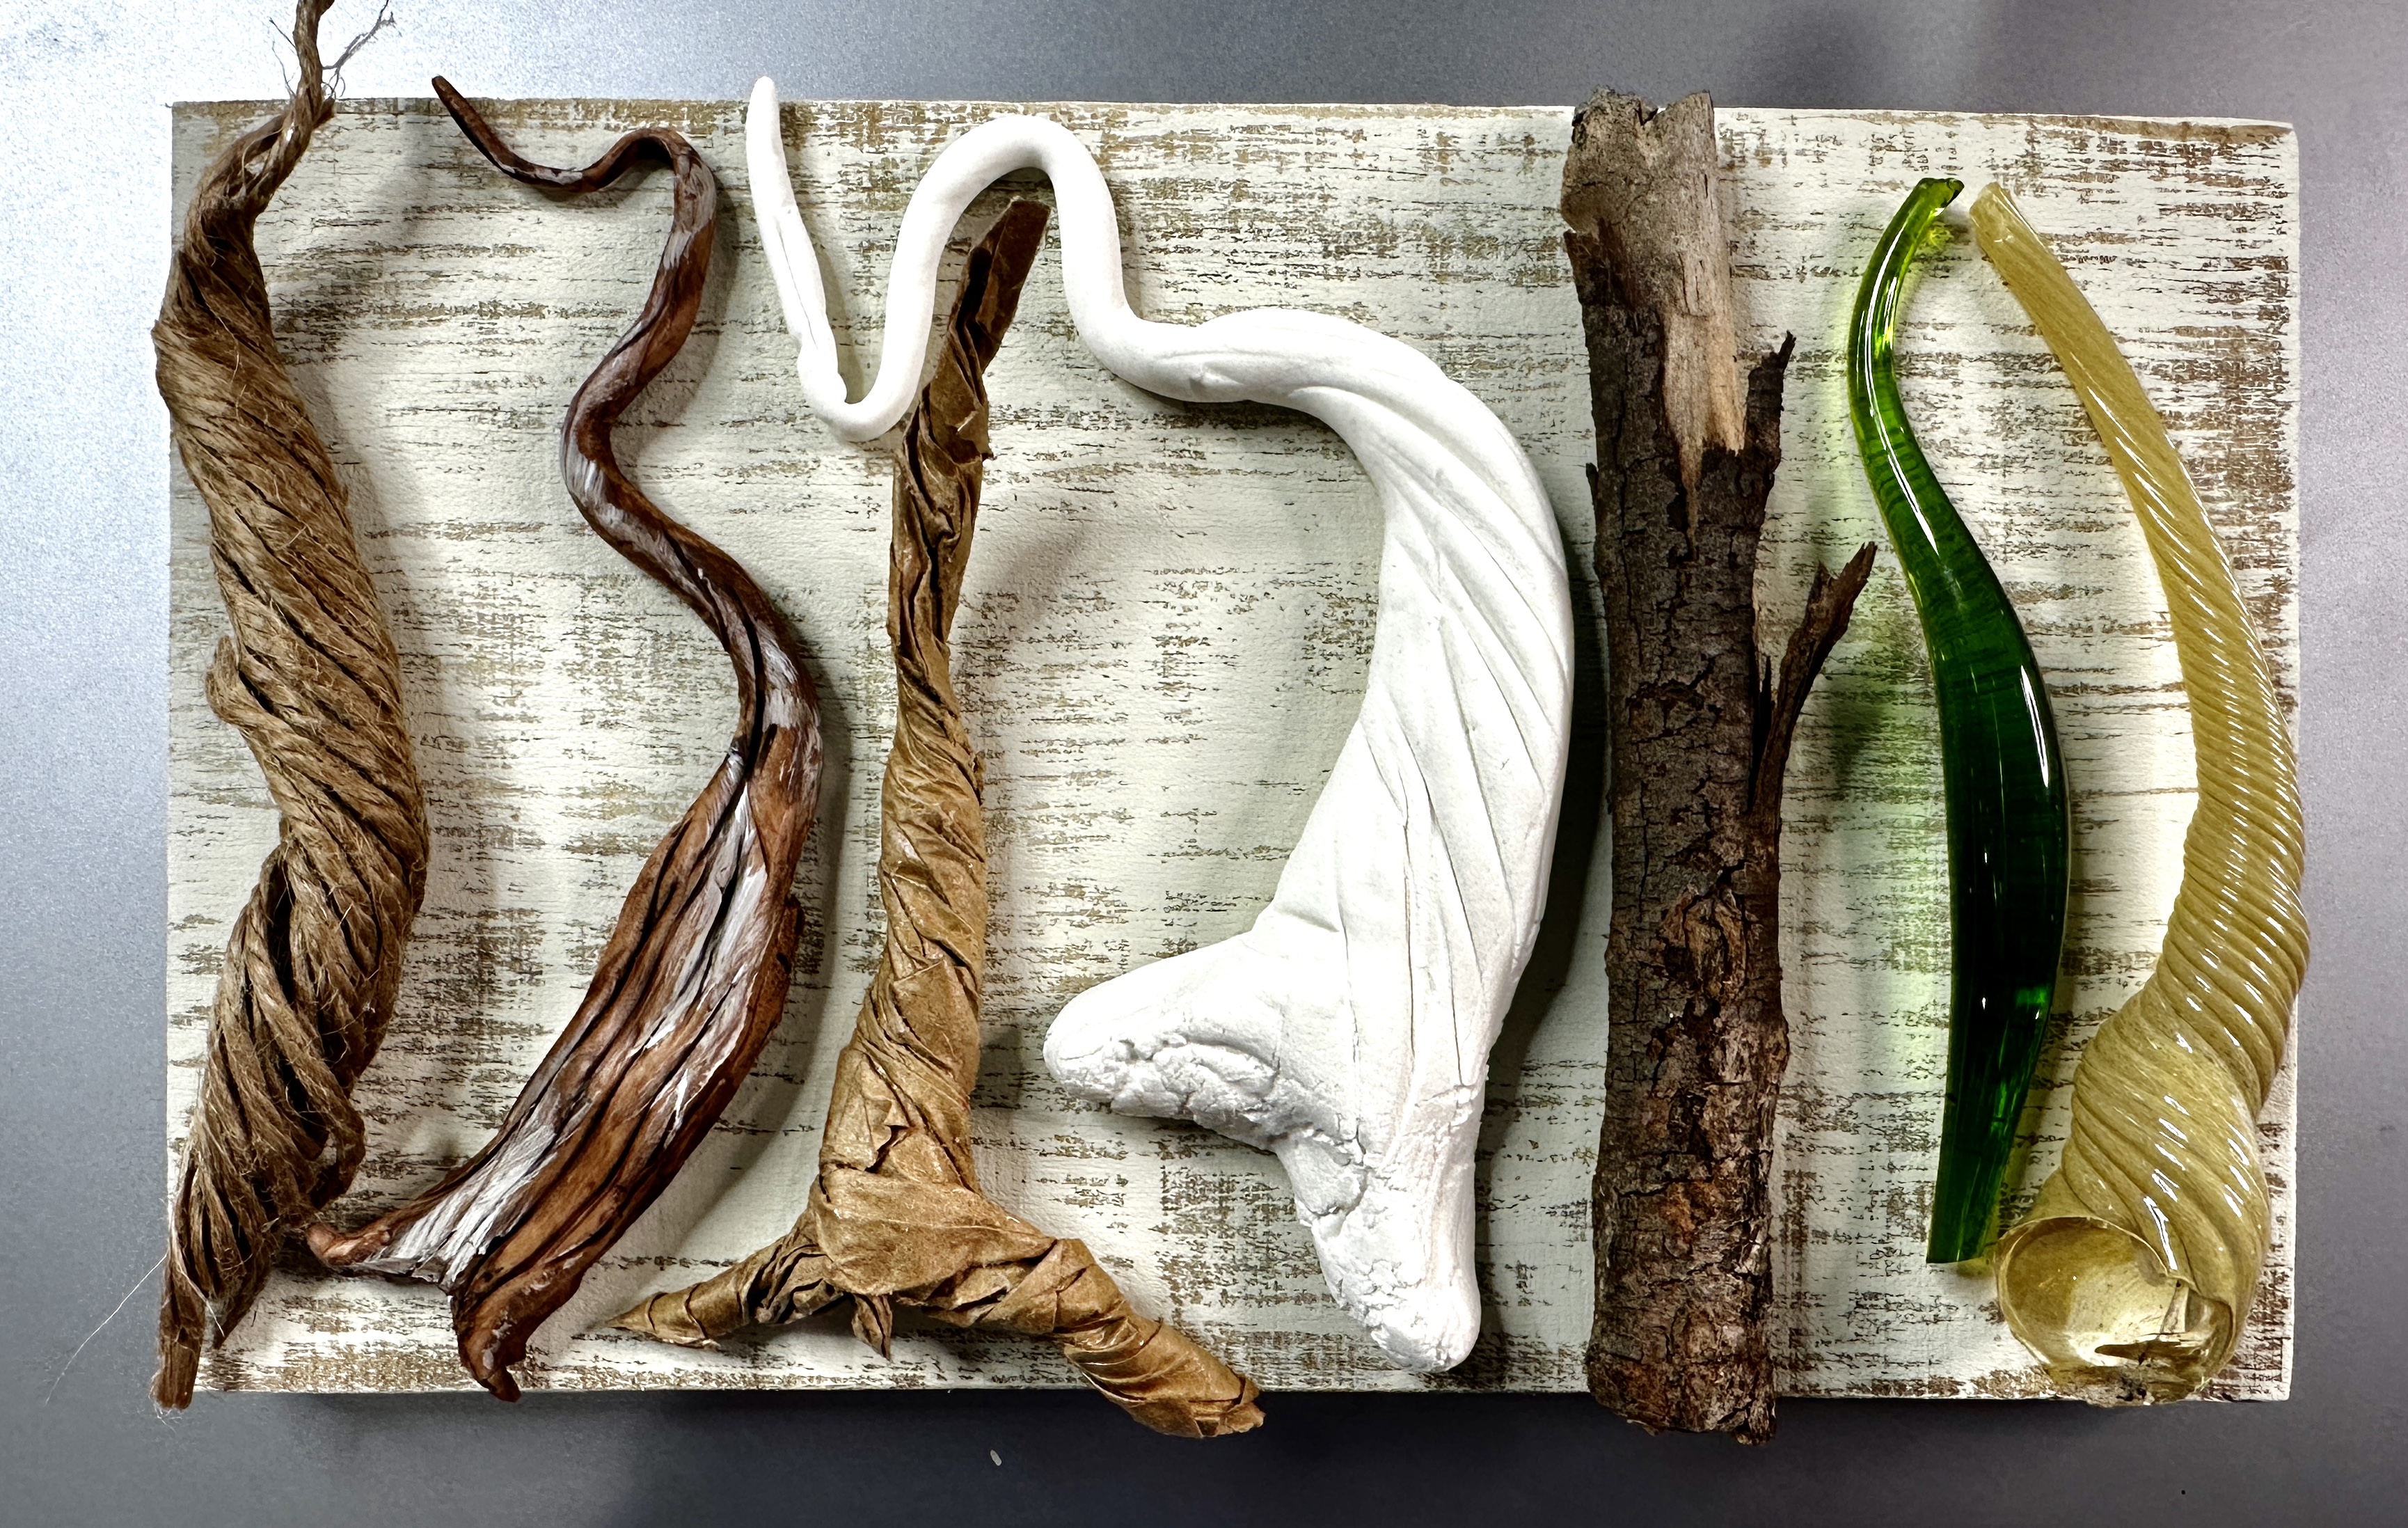
When you’re working on your pumpkin fall art projects, the stem can really make or break the look. Sure, you could paint one on, but why not take it up a notch with something more dimensional? Today I’m sharing seven creative ways to make pumpkin stems using everything from glass to clay to everyday materials you already have around the house.
Option 1: Scrap Glass from a Glass Blower

One of my favorite options is to use real glass stems. If you’re lucky enough to live near a glass blower, ask if they have scraps you can buy (or sometimes they’ll even give them away). These chunky, swirled pieces are full of character and resin beautifully onto your canvas pumpkin.

Option 2: Chubbies from JL Glass

Another fantastic option is “Chubbies” from JL Glass. These come in greens, amber, and even blue, and they’re perfect for whimsical pumpkins. You can find them on JL Glass’s Etsy shop or website. Pair them with a cut piece of glass “leaf” and you’ve got yourself a

...
Continue Reading...
1 2 3 4
Close

50% Complete

Two Step

Lorem ipsum dolor sit amet, consectetur adipiscing elit, sed do eiusmod tempor incididunt ut labore et dolore magna aliqua.