
Destin Beach Art 🏝️
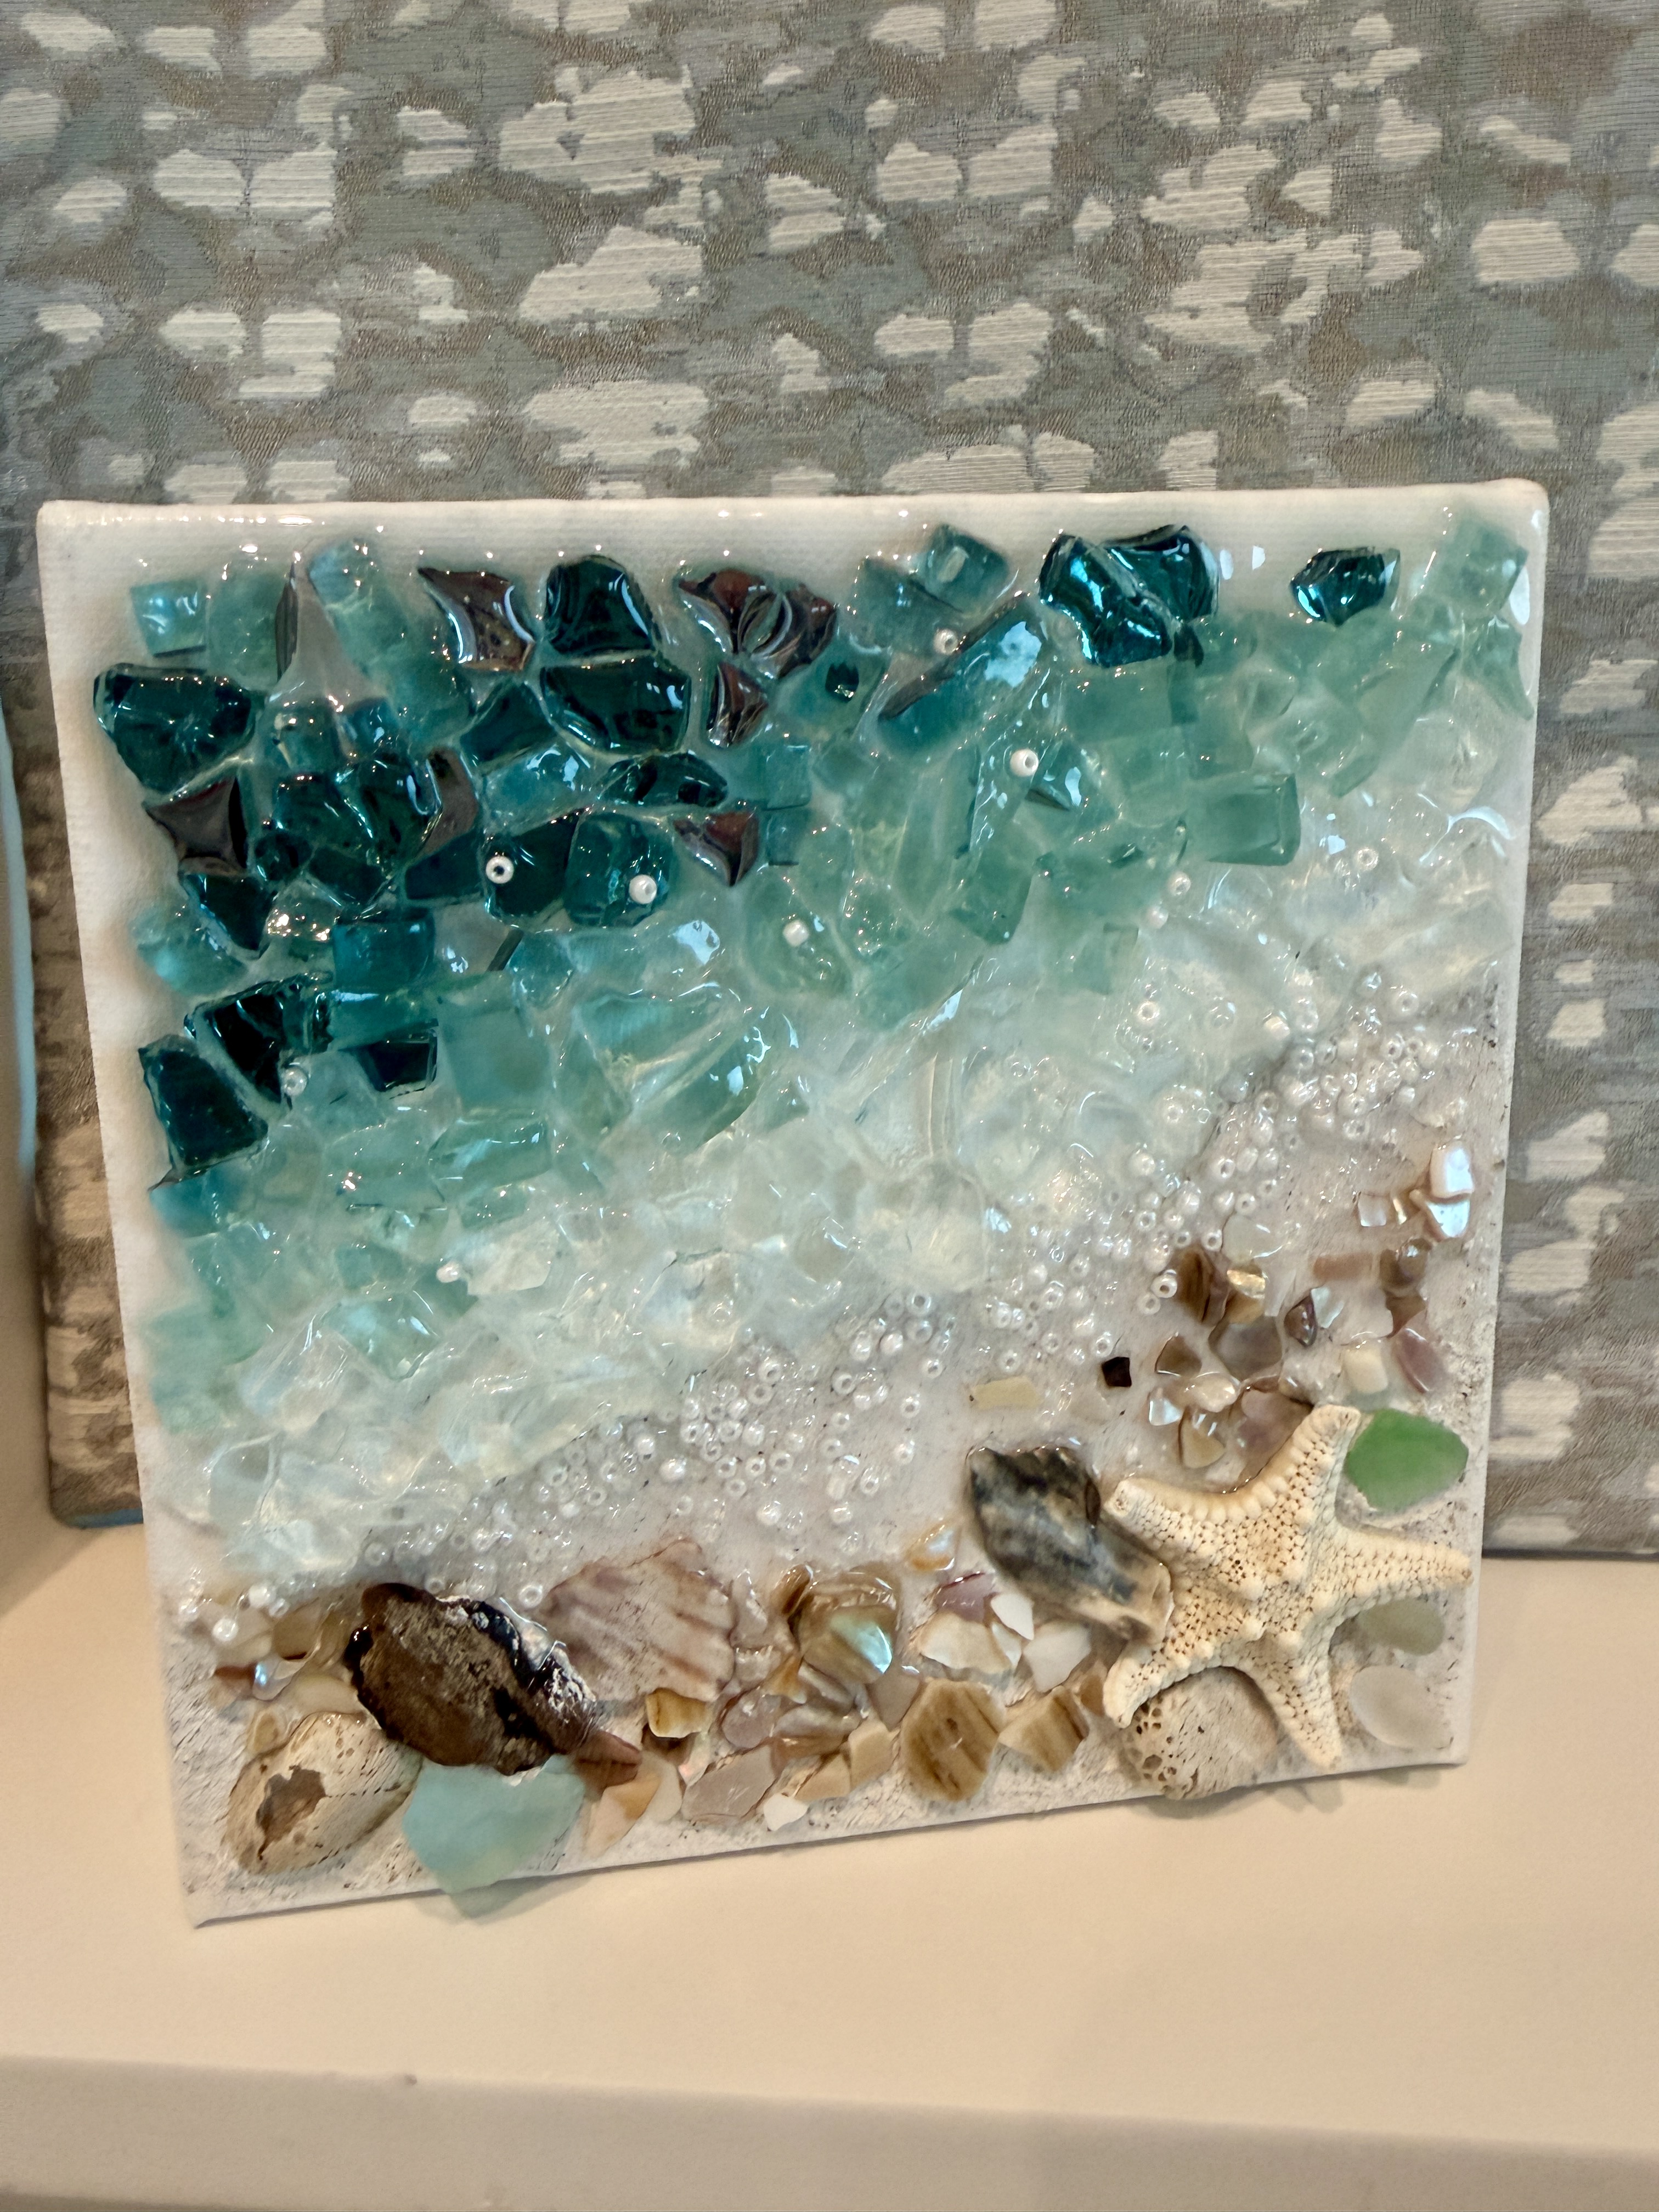
This little beach-inspired canvas is simple, textured, and full of coastal details. It starts with a sandy shoreline made from texture medium and real beachy elements, then builds into layered blue glass “water” with resin and seed beads for a foamy shoreline effect.It’s also a great project if you love small canvases, beach decor, sea glass, shells, and resin art but don’t want to spend hours painting. The finished piece gets most of its interest from texture, glass, and natural details rather than complicated brushwork.
Step 1: Create the Sandy Shoreline
Begin by applying Liquitex Coarse Texture Medium to the lower portion of the canvas with a palette knife. Work the medium at a slight angle so the shoreline feels organic rather than perfectly straight.
If you want a warmer sand color, mix a tiny amount of beige acrylic paint into the texture medium before applying it. The texture medium can also be used straight from the container if you prefer its natural color.
Step 2:...
Pretty Blue Sunflower 💙
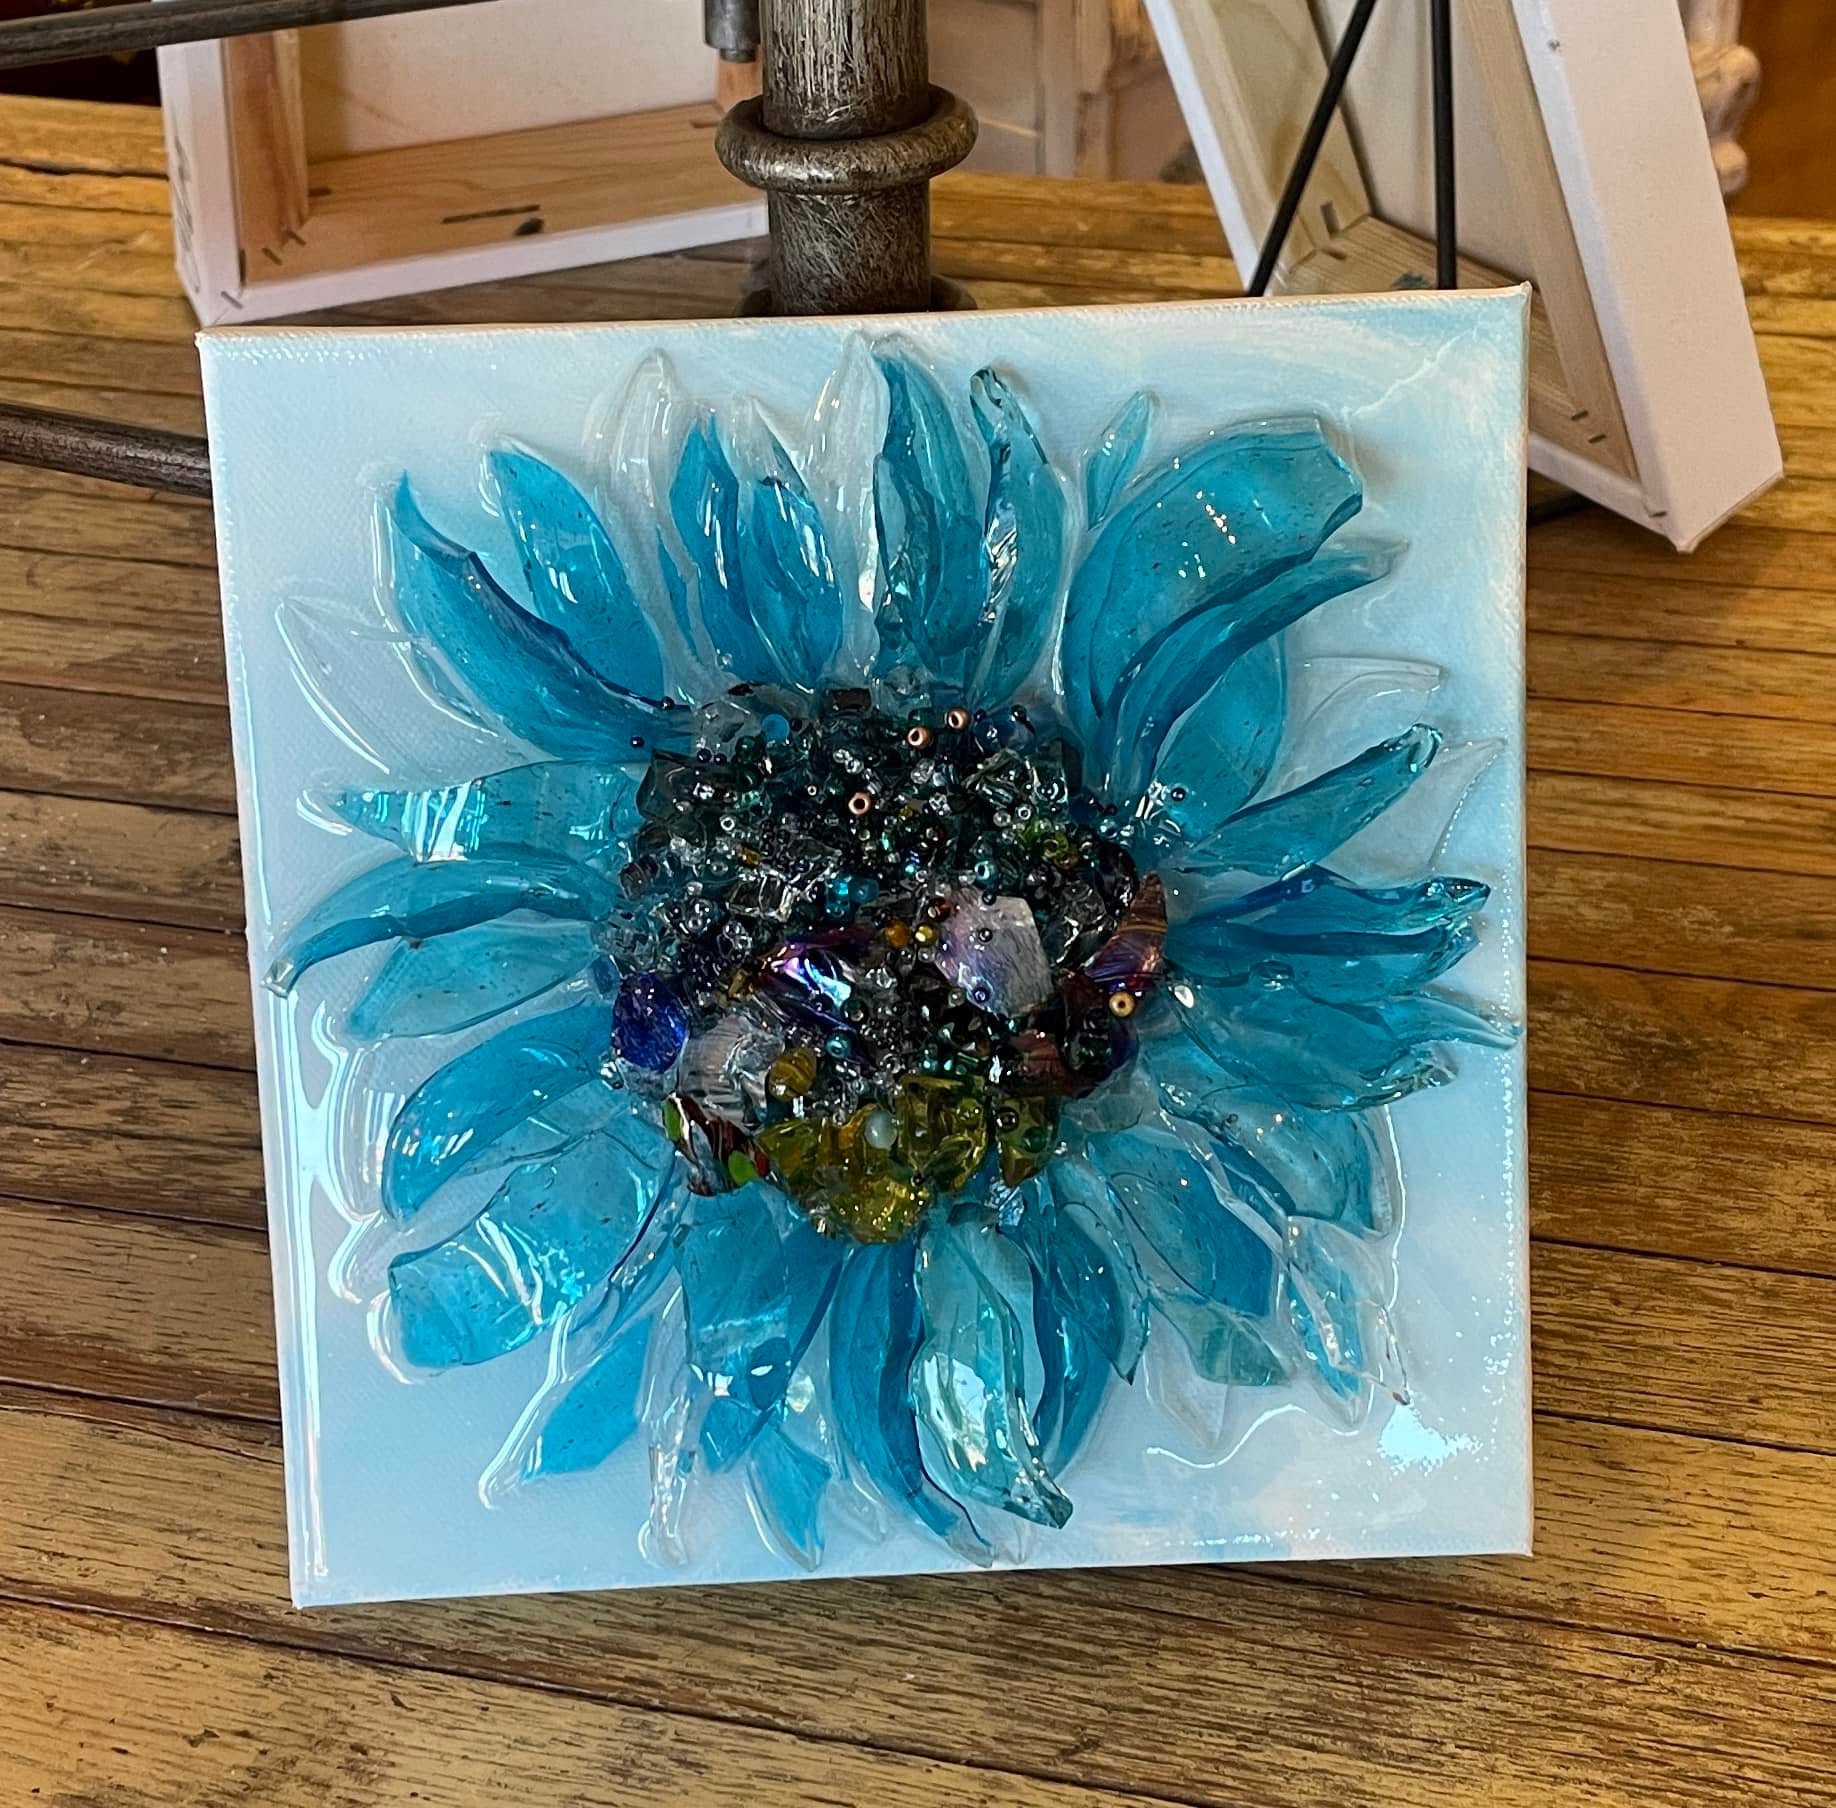
This blue glass sunflower is a beautiful example of turning something broken into something completely new. The petals were created from a blue drinking glass that broke in the dishwasher, then carefully nipped into curved petal shapes and layered around a colorful glass center. With a simple painted background, a mix of crushed glass colors, seed beads, and resin, the finished piece has incredible depth and texture without requiring detailed painting!
Step 1: Paint the Background
Begin by covering the entire 8" x 8" canvas with white acrylic paint. While the white is still wet, add a small amount of Mermaid Blue and blend it in loosely using X-shaped brushstrokes. Keep the color soft and light so the background adds interest without competing with the flower.
The goal is not to create a perfect blend. A little variation and visible brush movement will give the background subtle texture while keeping the sunflower as the focal point. Allow the paint to dry completely before moving...
Courtney's Dolphin 🐬
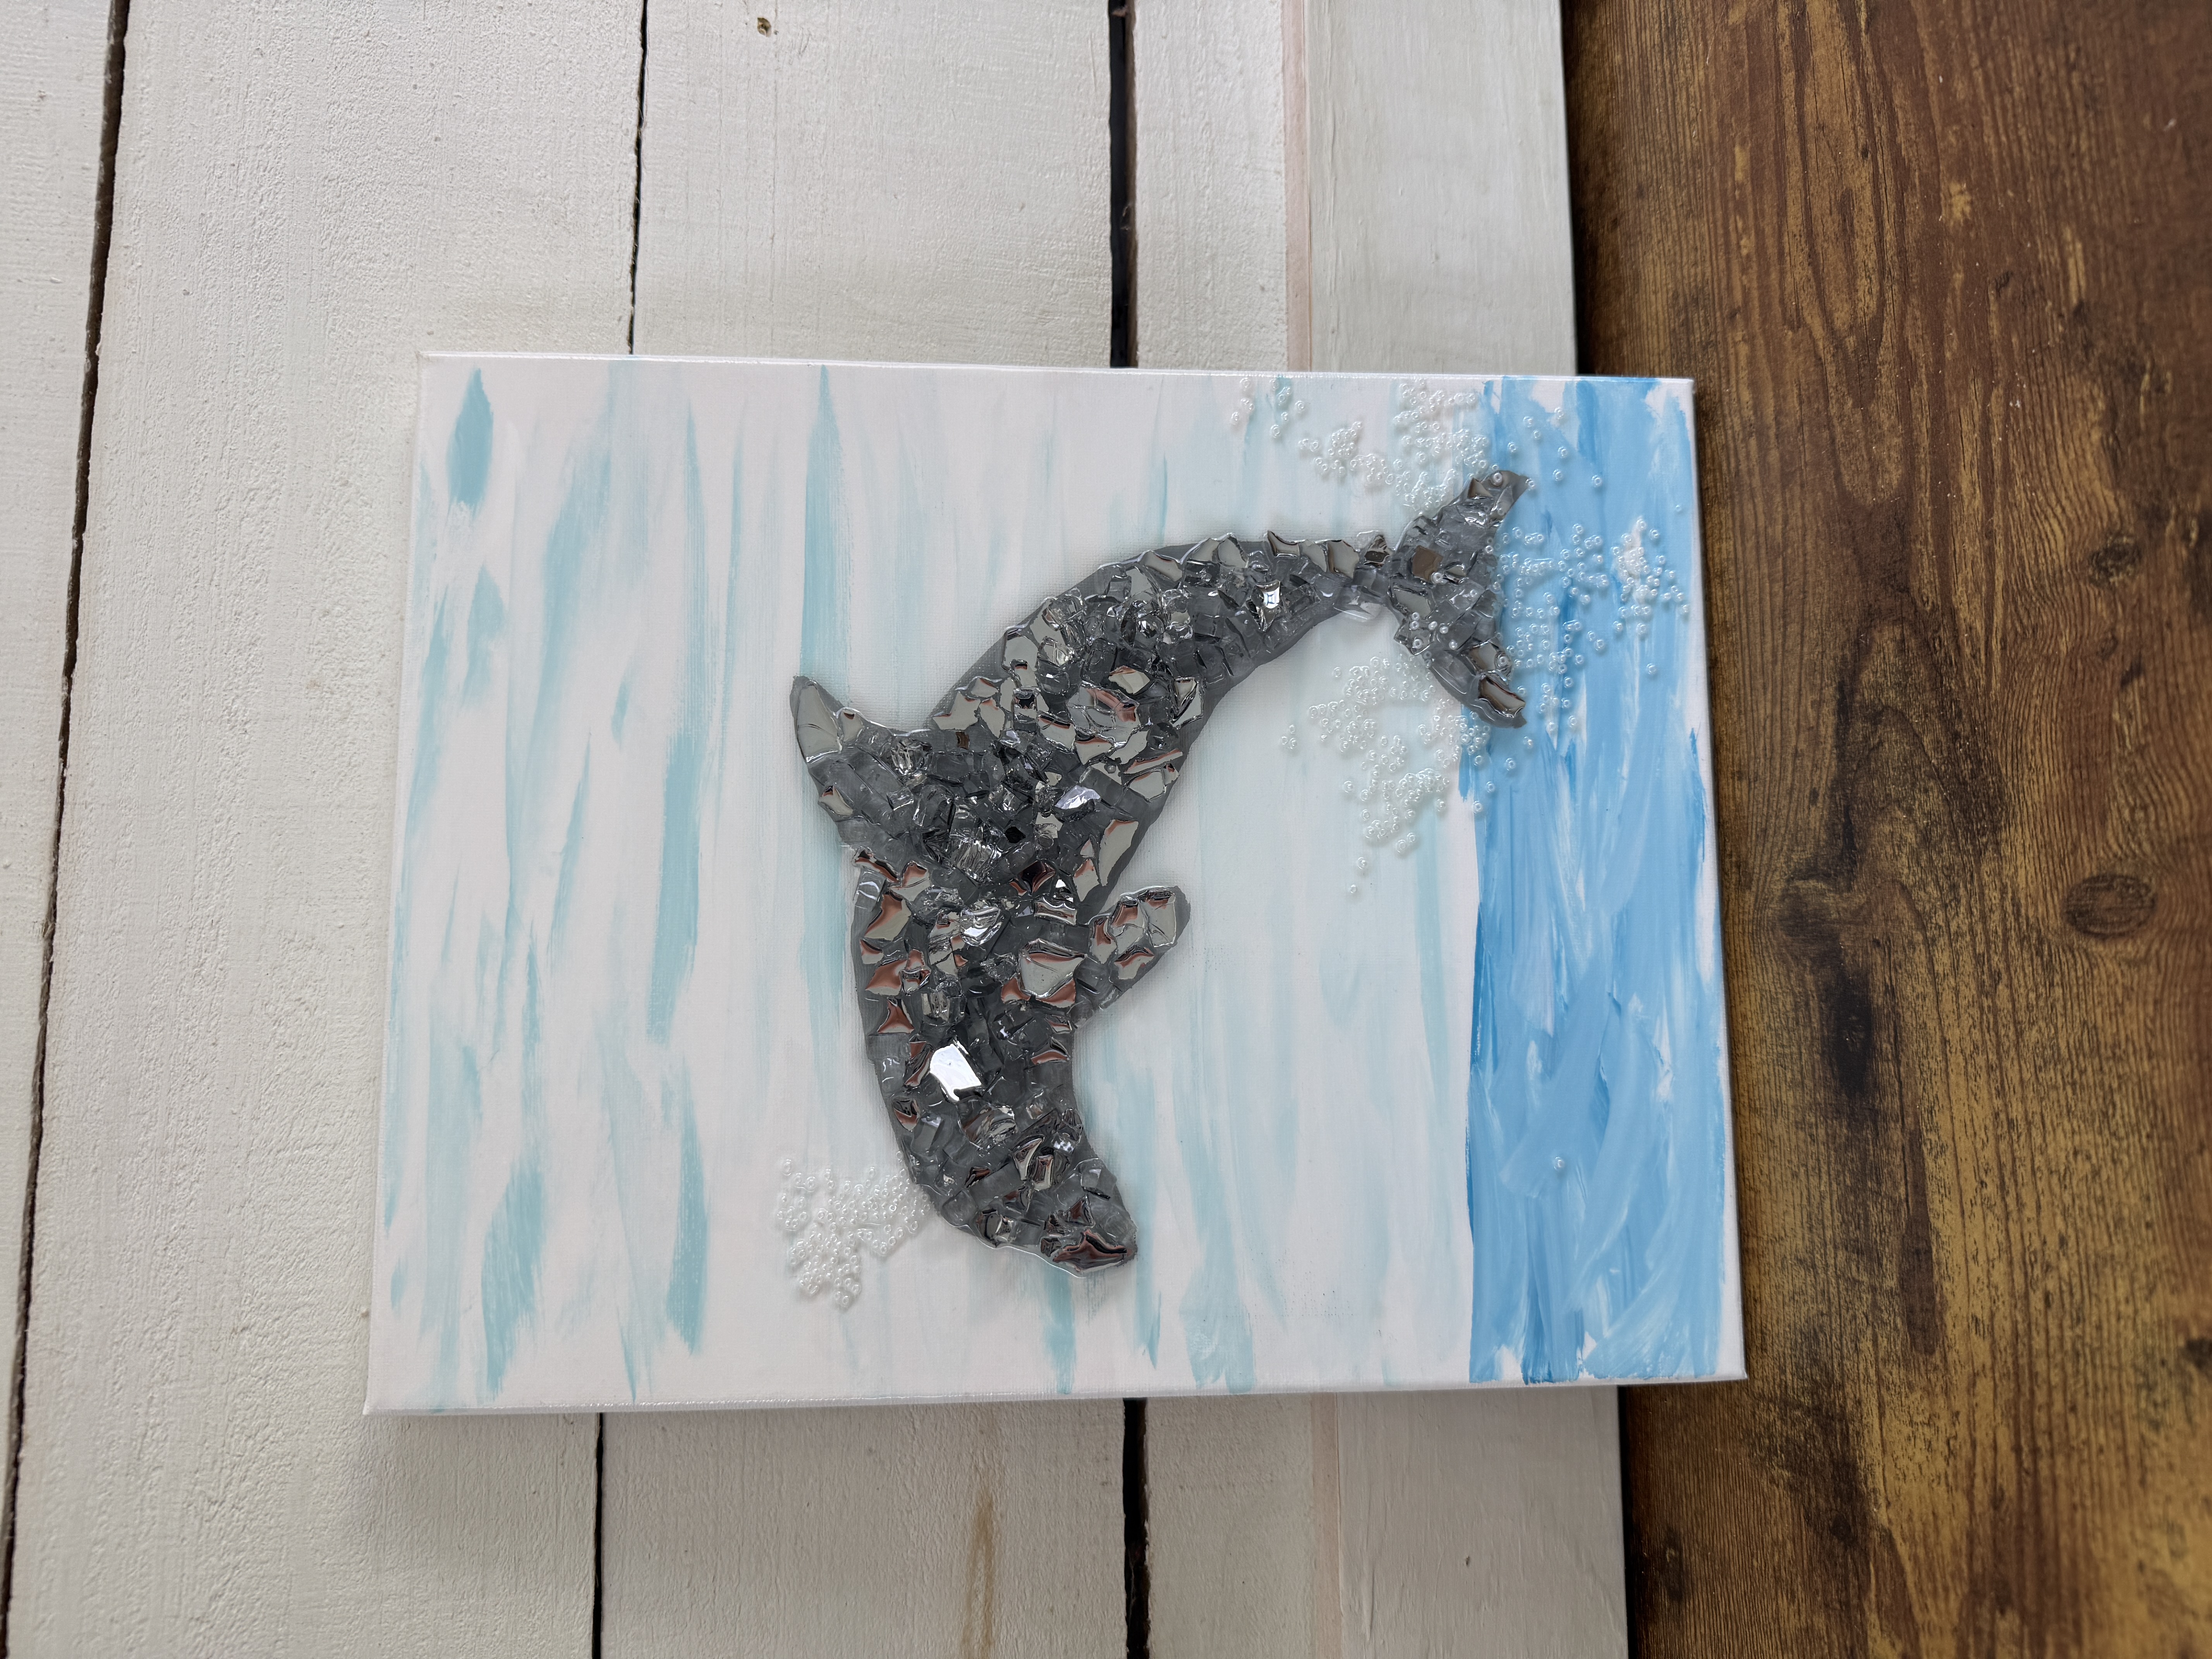
This dolphin canvas is a fun, beginner-friendly way to combine simple acrylic painting with reflective glass, resin, and seed beads. The soft blue background gives the piece an ocean feel, while the silver reflective glass turns the dolphin into the focal point. A few white seed beads around the tail and blowhole finish it off with the look of splashing water.
Step 1: Paint the Background White
Begin by covering the entire canvas with white paint. Work fairly quickly because the background will be blended wet-on-wet with the blue colors. If you are using a larger canvas or tend to paint more slowly, work in sections so the white stays wet enough to blend. Use a large flat brush and keep the paint moving across the canvas until you have an even coat.
While the white is still wet, add a small amount of Spa Blue to your brush. Dab off any excess before touching the canvas so you do not create a heavy blue patch.
Hold the brush more parallel to the canvas and sweep the color back an...
Starfish Trio ⭐️
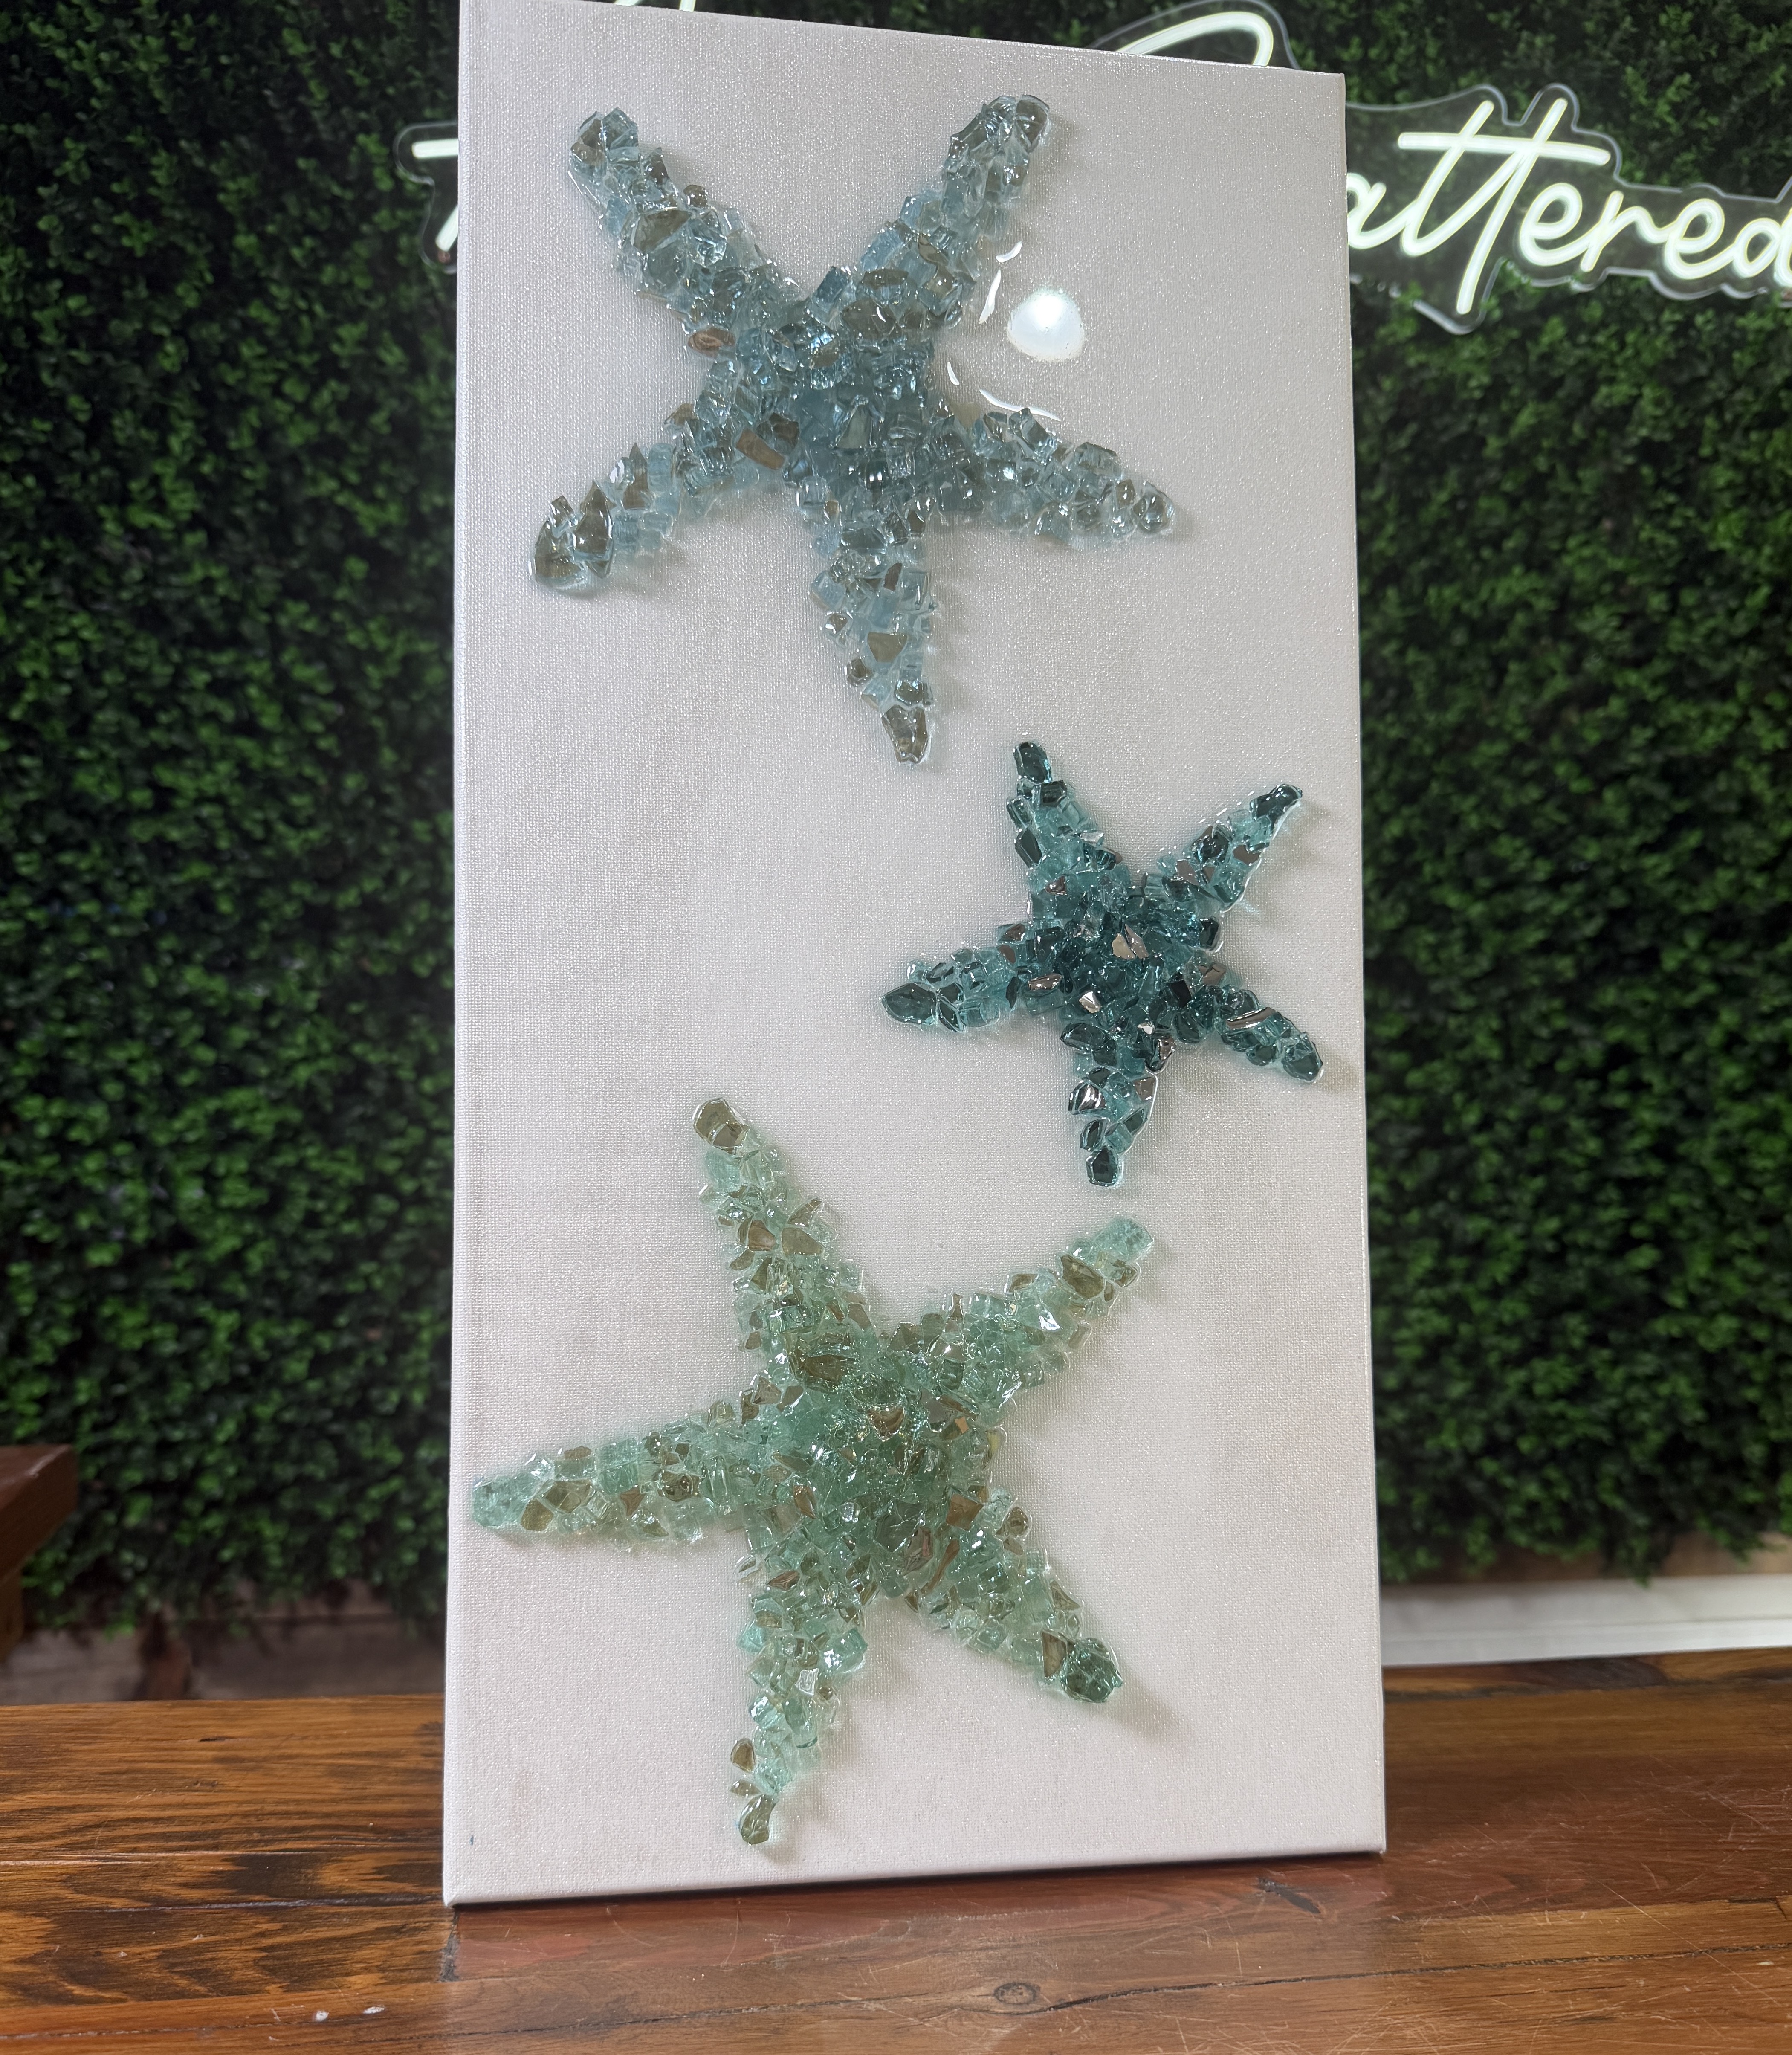
Create a clean, coastal statement piece using crushed glass, an iridescent background, and resin. This starfish canvas features three different shades of blue glass, with each starfish arranged by hand to keep its shape soft and rounded. The finished project is simple enough to fit into many decorating styles, but the reflective glass and pearly background give it plenty of texture and shine!
Step 1: Prepare the Iridescent Background
Begin with a 10" x 20" canvas. Apply Liquitex Basics Iridescent Medium to the front and sides using a spoon sponge brush. Work in one consistent direction so the background has a smooth, uniform texture.
This medium creates a soft pearly finish with subtle blue and purple flashes, which works especially well behind the blue crushed glass. Allow the canvas to dry completely before adding the starfish.
Step 2: Mark the First Starfish
Instead of tracing the entire starfish with graphite paper, place the sketch over the canvas and use a light blue...
Summer Strawberry 🍓
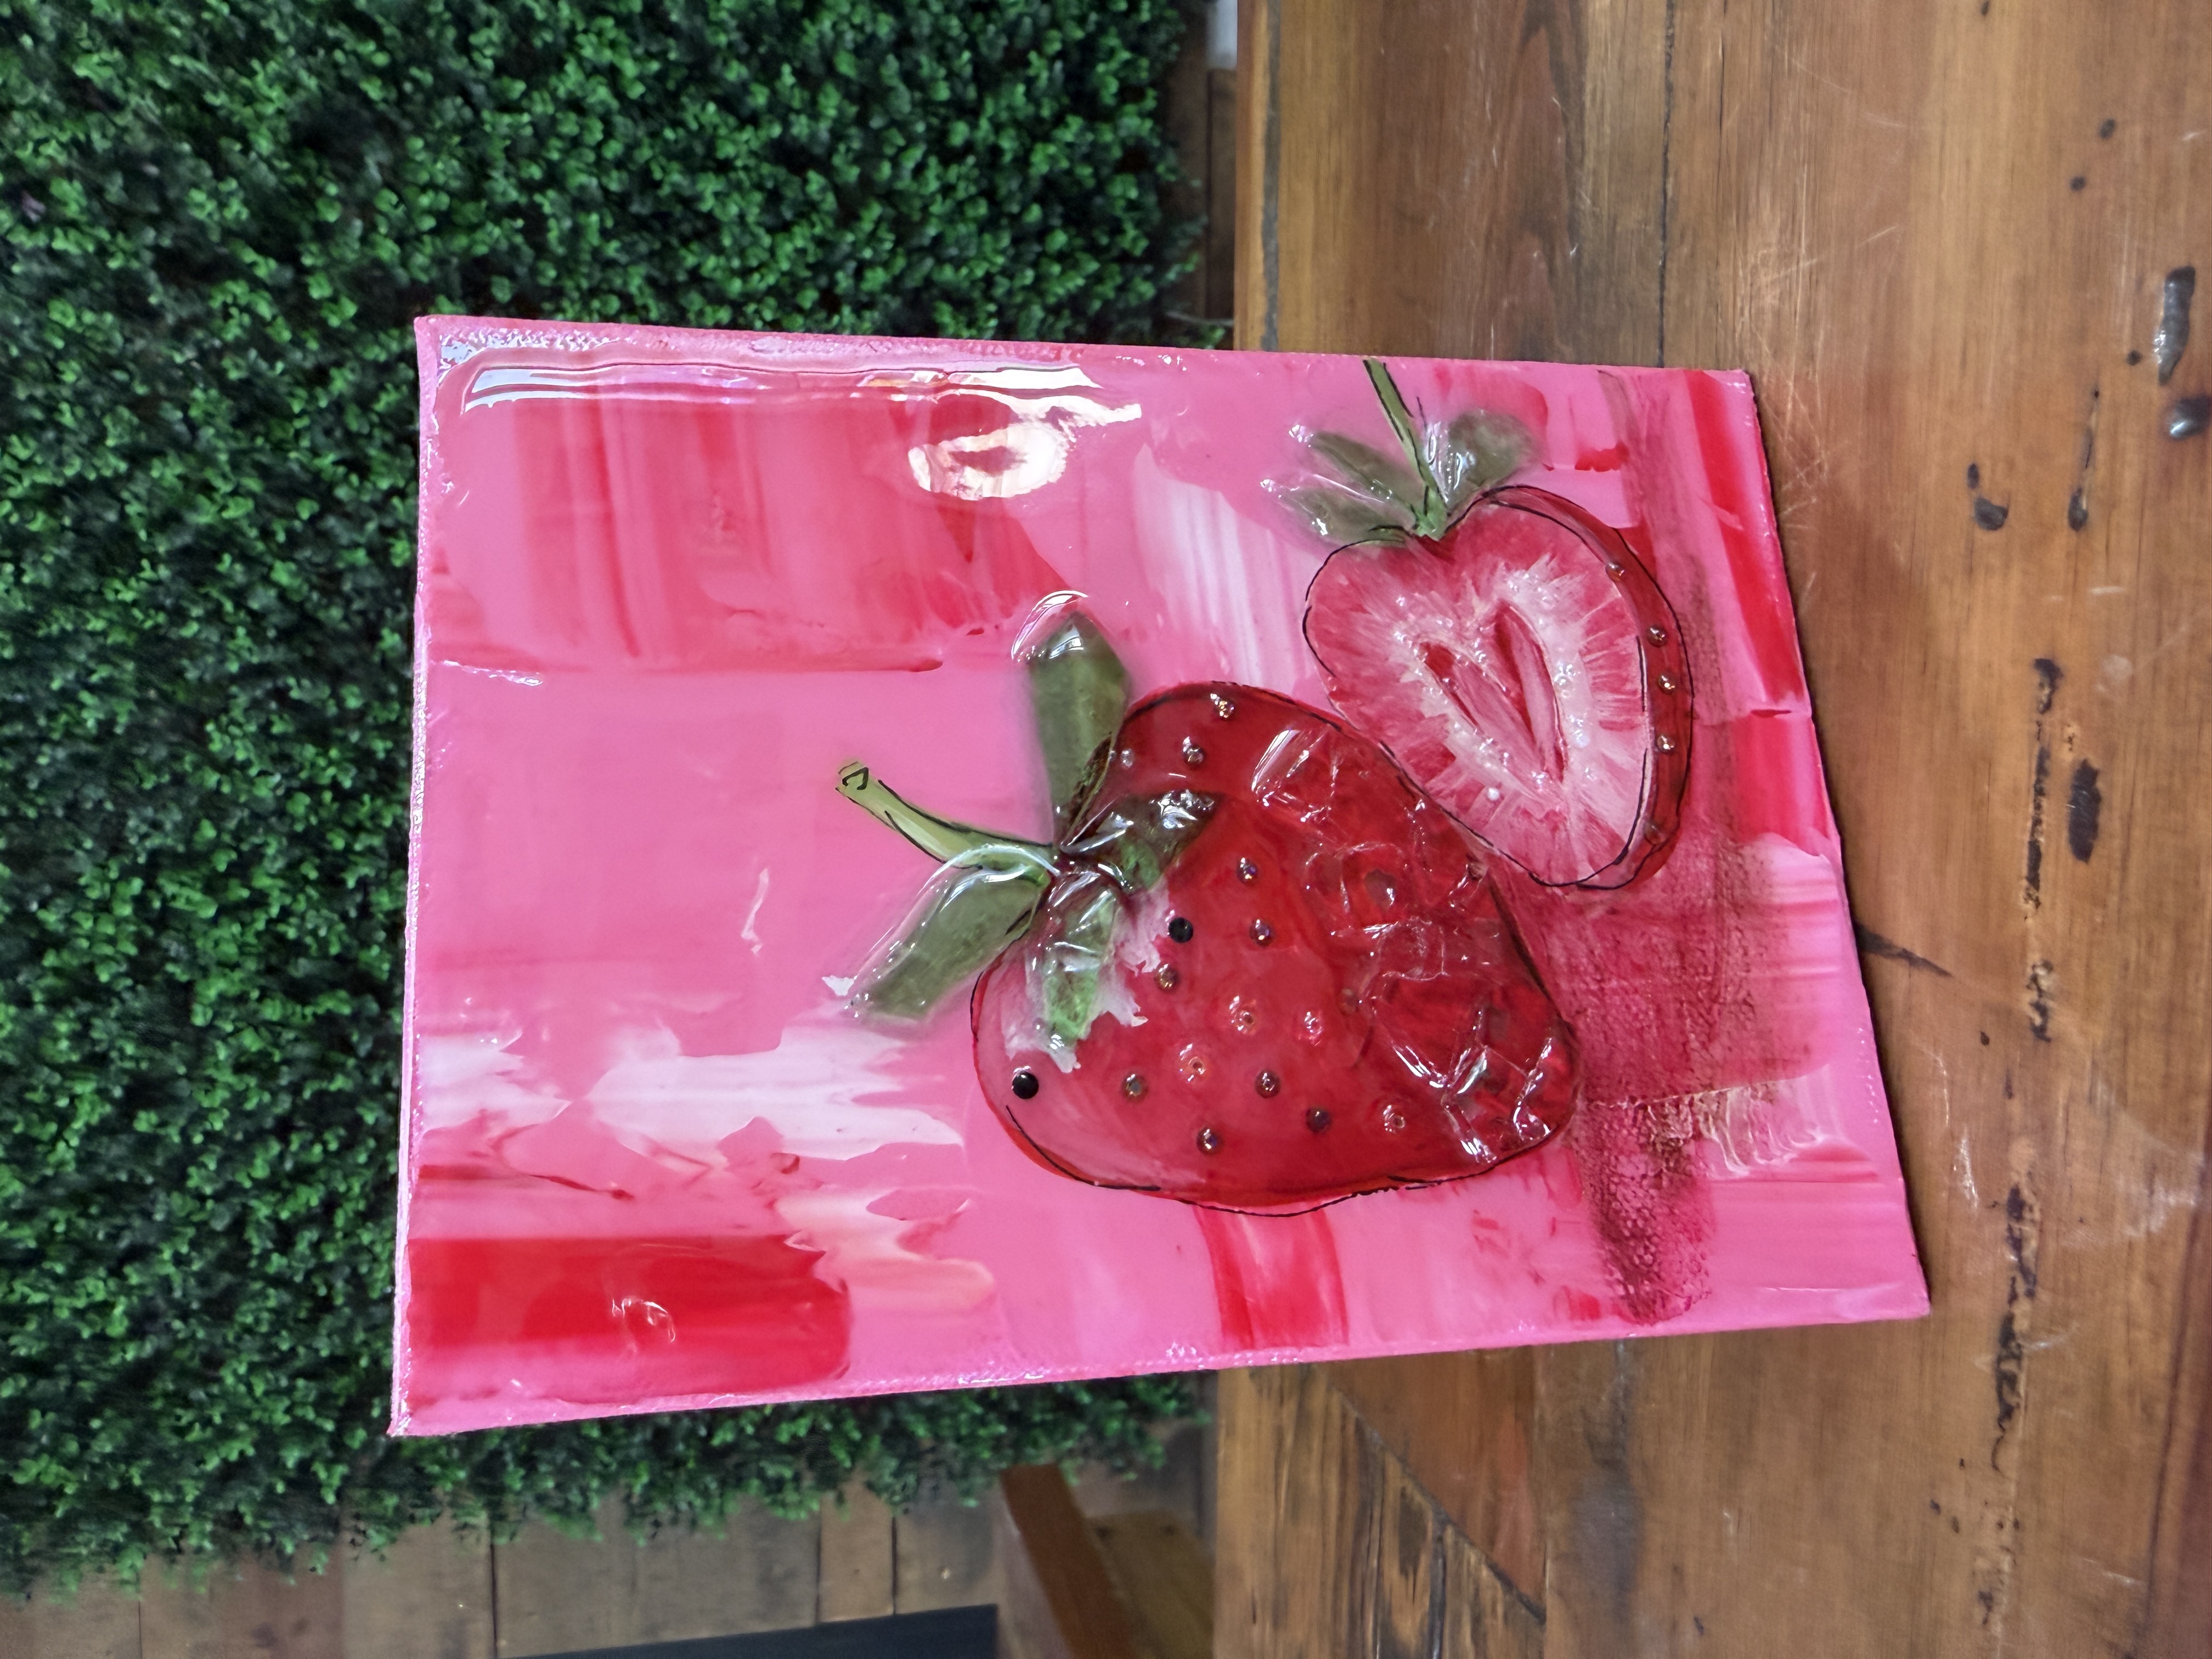
This strawberry glass and resin project is bright, playful, and full of juicy summer color. With a bold textured pink background, painted strawberries, glass leaves, crushed glass accents, dimensional seed details, and a glossy resin finish, this piece has a whimsical style that feels perfect for kitchens, summer decor, and fruit-themed art displays!
For this piece, I already had a pink, red, and white canvas ready to go that I had previously painted with a palette knife.
Step 1: Trace the Strawberries
Place the strawberry tracer on the canvas and secure it with a small piece of tape. Slide graphite paper underneath and trace the outside shape of the whole strawberry, the sliced strawberry, the rim of the slice, and the stems.
Do not trace the leafy tops if you plan to use glass pieces for those areas. Leaving them off prevents the painted shapes from competing with the dimensional glass leaves later.
Step 2: Paint the Ground Coats
Begin by painting the large strawberry with ...
Grape Snow Cone 🍇
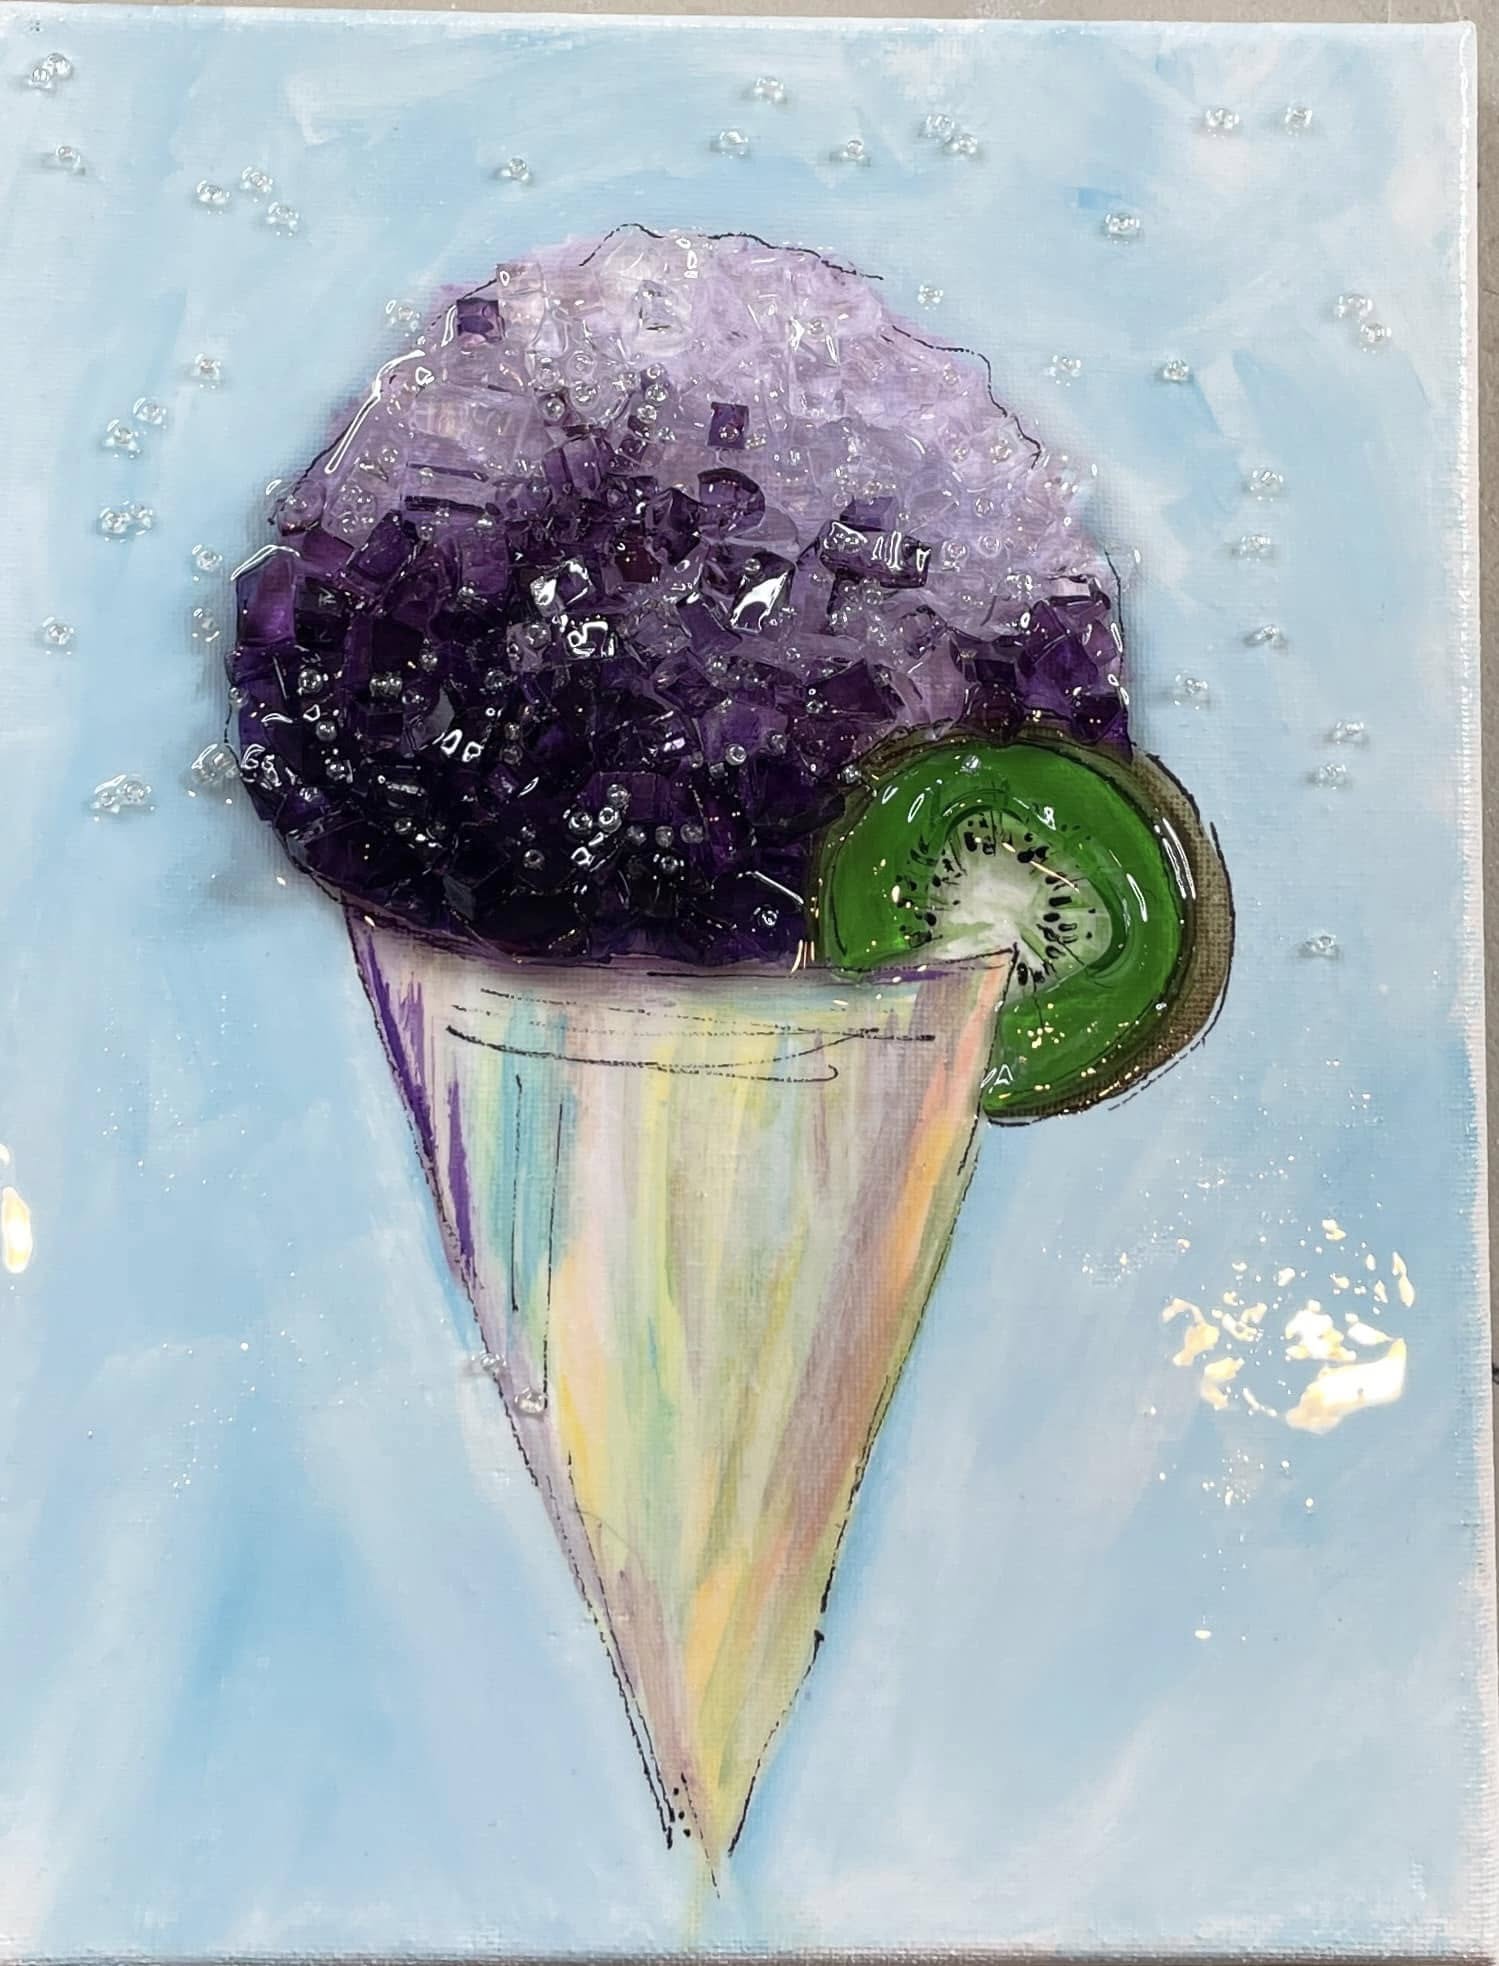
This grape snow cone project is the final piece in the snow cone series, and it might be the sweetest one yet. Using an 8x10 canvas, acrylic paint, purple-tinted Starfire glass, clear glass, resin, seed beads, and a painted kiwi accent, this project creates a bright and playful summer art piece full of sparkle, color, and dimension!
Step 1: Tint the Purple Glass
Before starting the project, tint clear Starfire glass with Krylon Stained Glass Spray in Royal Purple. Lightly mist the glass in several thin coats, allowing each layer to dry before adding another. This creates a rich grape-purple glass color while still allowing light to shine through.
If possible, let the tinted glass dry overnight and rinse away any outdoor dust or debris before using it in your artwork.
Step 2: Trace the Snow Cone
Place the snow cone tracer on your 8x10 canvas and secure it with a small piece of tape. Slide graphite paper underneath and trace only the cone and the icy snow cone top. Skip the fruit ...
Flag Heart ❤️🇺🇸
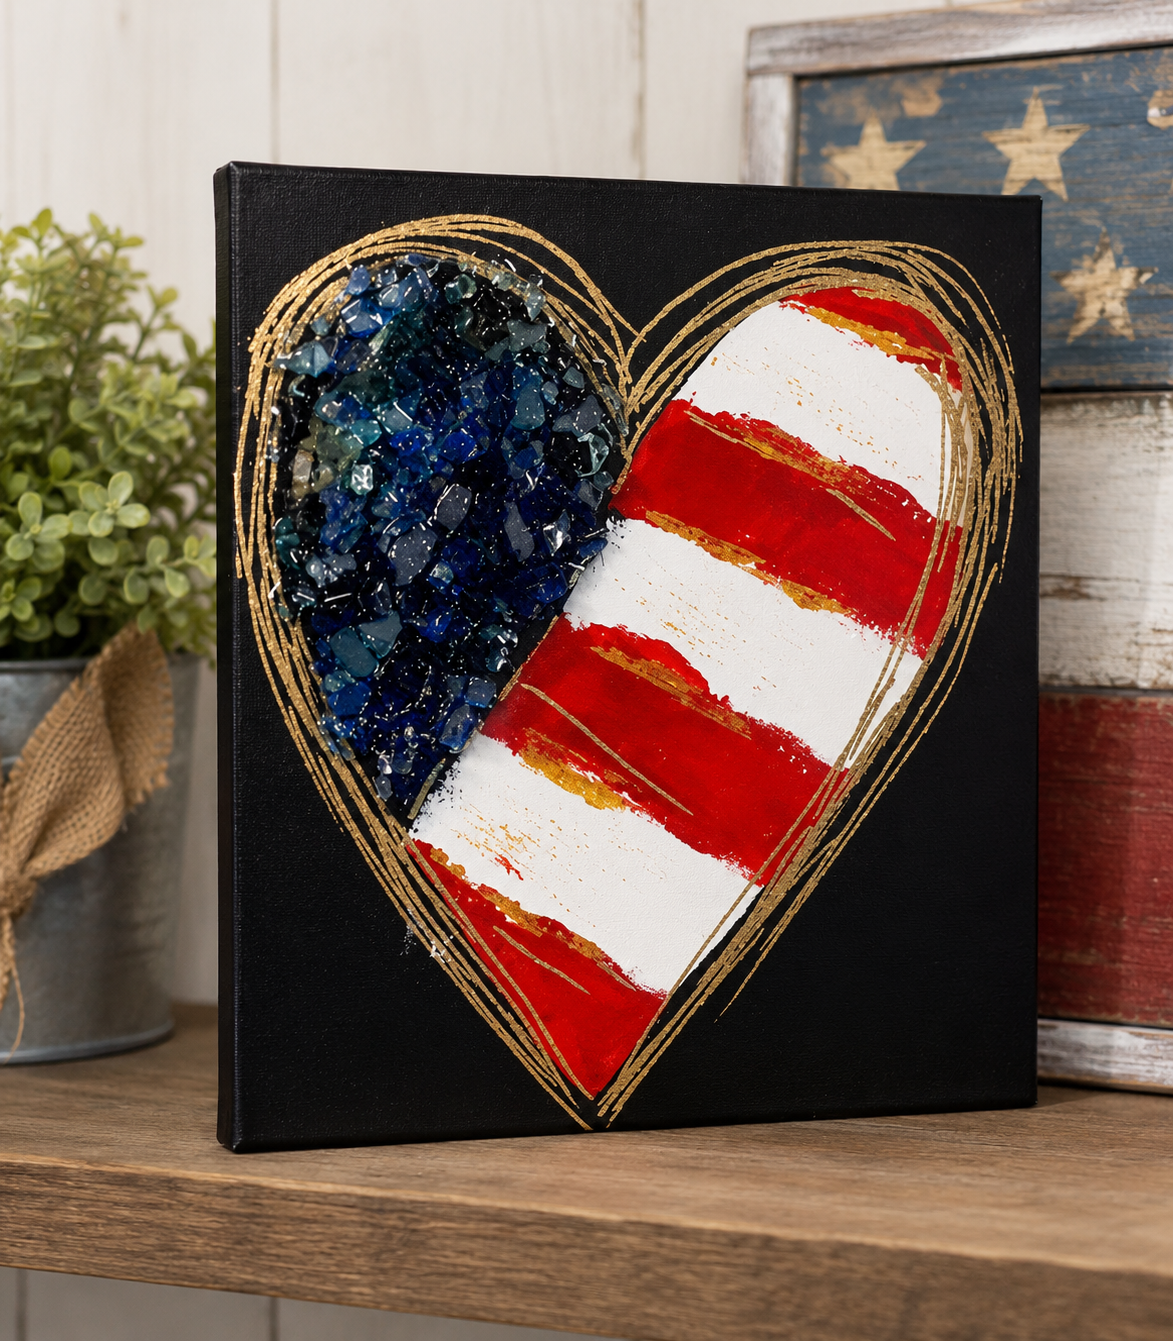
This American Flag Heart project is the perfect way to celebrate the Fourth of July, Memorial Day, Veterans Day, or simply show your love for the USA. Featuring bold brushstrokes, shimmering reflective glass, metallic gold accents, and a dramatic black background, this beginner-friendly mixed-media project creates a one-of-a-kind piece that's perfect for patriotic decor!
Step 1: Trace the Heart Design
Tape the tracer to your canvas. Slide graphite paper underneath and trace the outside of the heart along with the center dividing line and the wavy flag stripes with a stylus.
The wavy lines don't need to be perfectly straight - in fact, a loose, hand-painted look adds character to the finished piece. Once the tracer is removed, you'll have a guide for the blue field of the flag and the red and white stripes.
Step 2: Paint the Black Background
Using a large flat brush, paint the sides of the canvas first with black acrylic paint.
Next, carefully paint the entire background around...
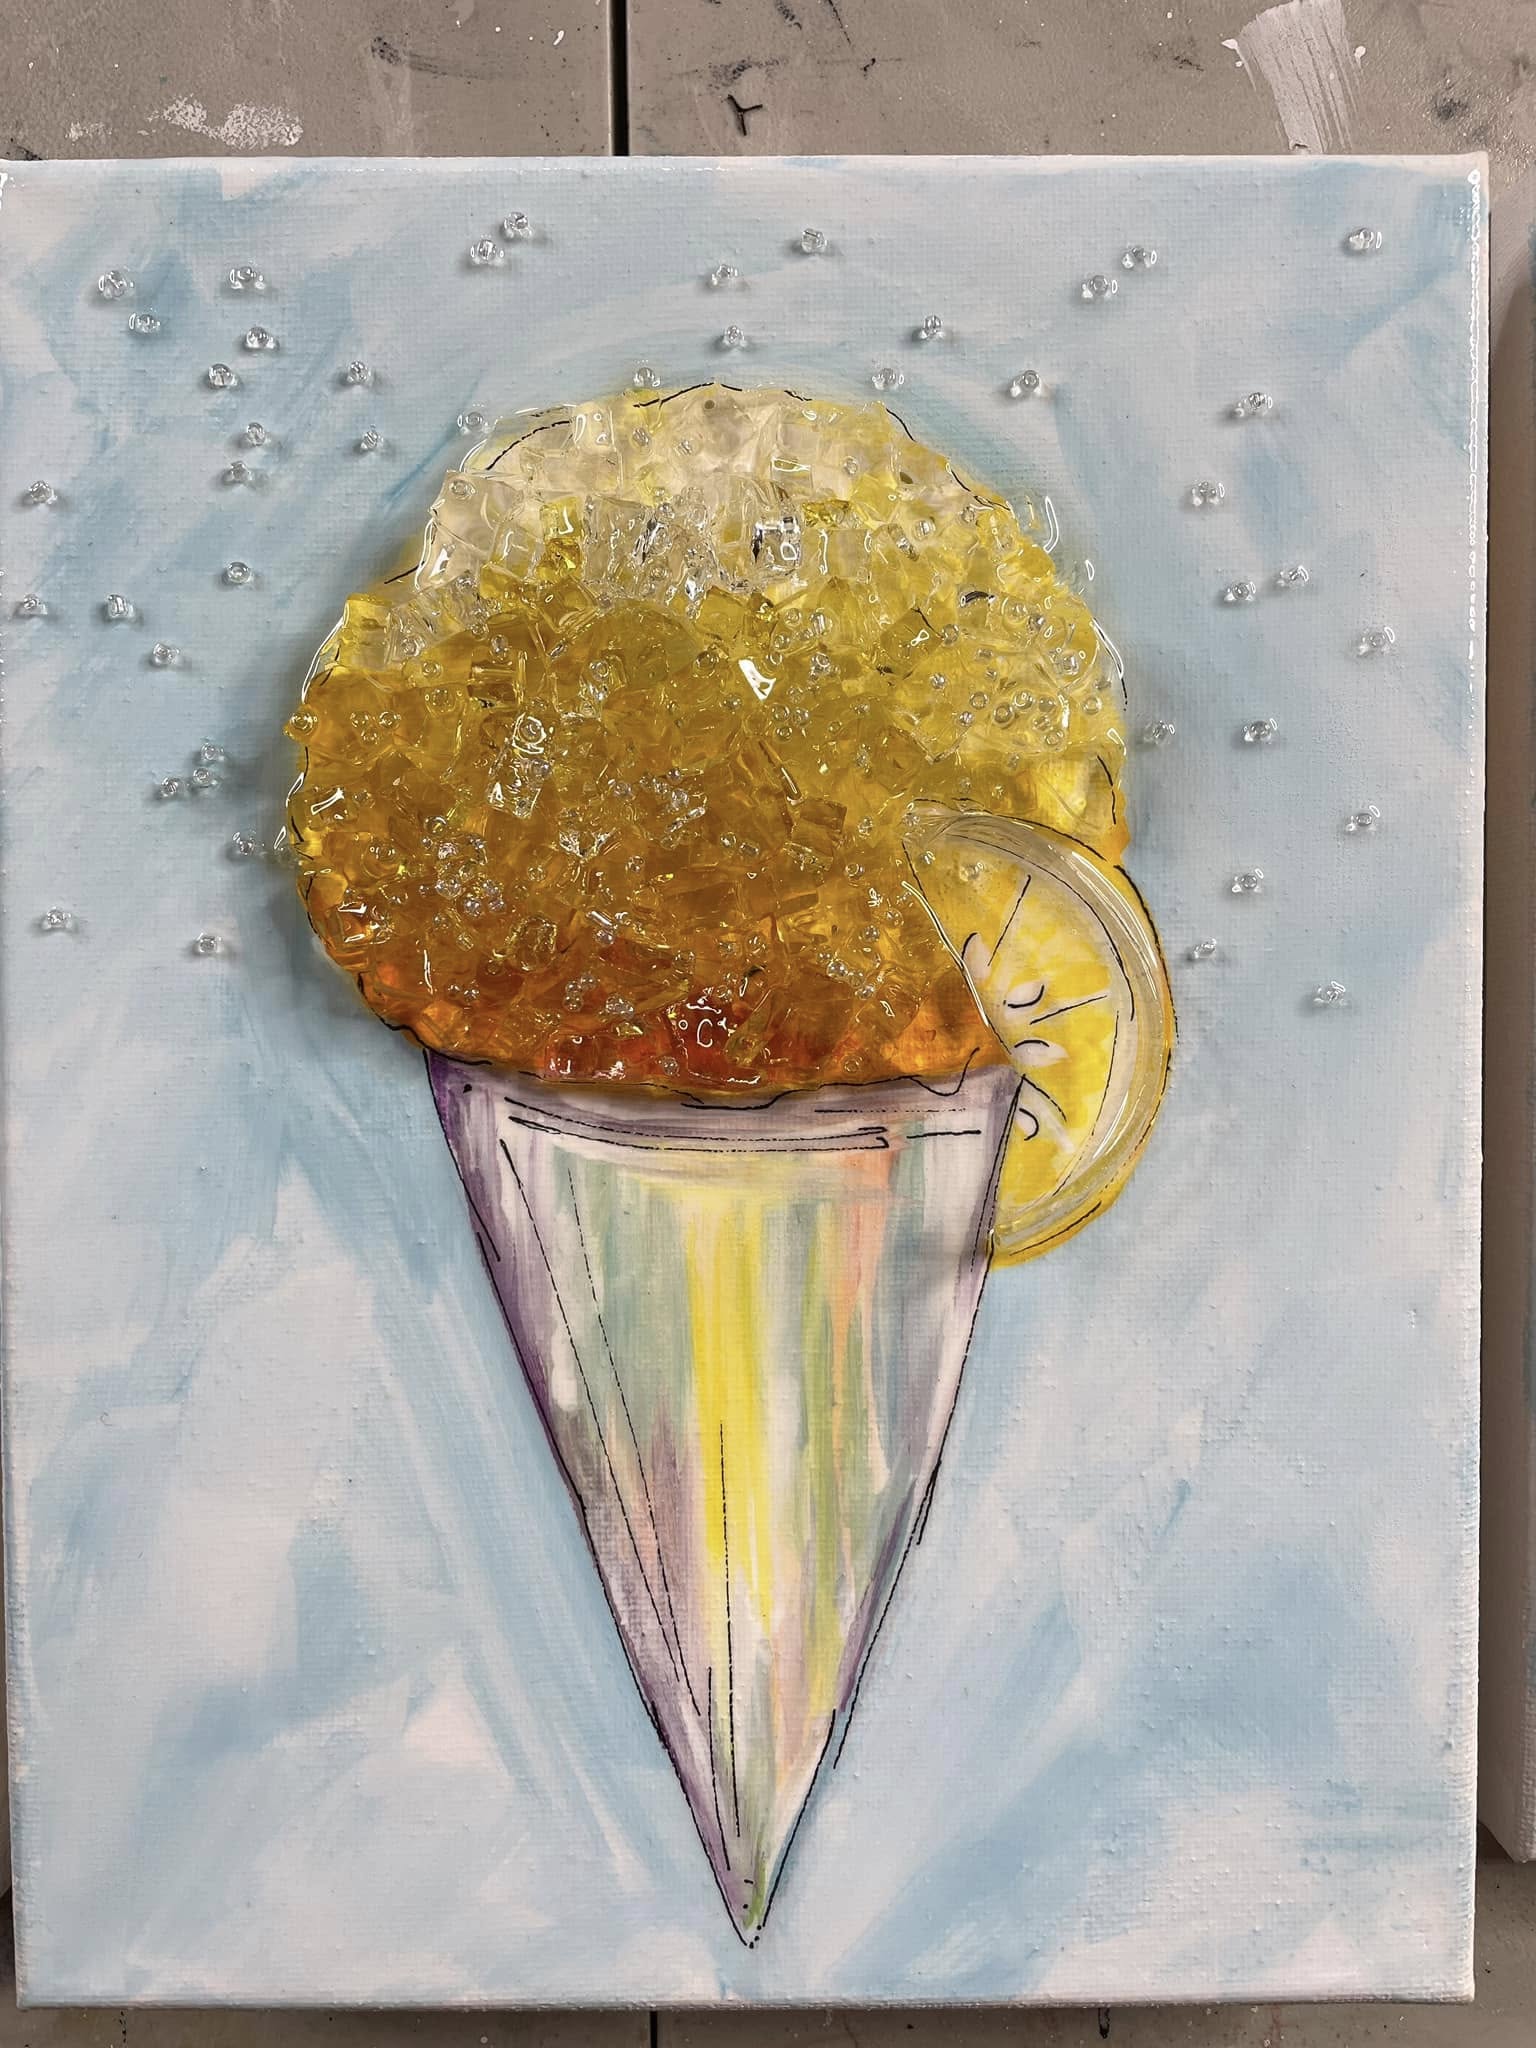
Lemon Drop Daiquiri Snow Cone 🍋
This lemon snow cone project is the perfect summer mixed media art piece. It combines soft acrylic painting, bright citrus colors, sparkling glass, resin, and tiny seed bead “ice crystals” to create a dimensional snow cone canvas that looks fresh, fun, and full of sunshine!
Step 1: Transfer the Snow Cone Design
Start by placing your snow cone tracer on the canvas and sliding transfer paper underneath. Trace the icy snow cone top and the cone shape onto the canvas. For this version, leave off the fruit detail at first because the lemon slice will be added later once the placement are decided.
Step 2: Paint the Background
Begin the background with white paint. Paint one half of the canvas first so you can work wet-on-wet before the paint dries. While the white paint is still wet, add a little Indian Turquoise and blend it loosely into the background using soft, messy brushstrokes. Repeat on the other half of the canvas.
The background should feel light, breezy, and summery. It doe...
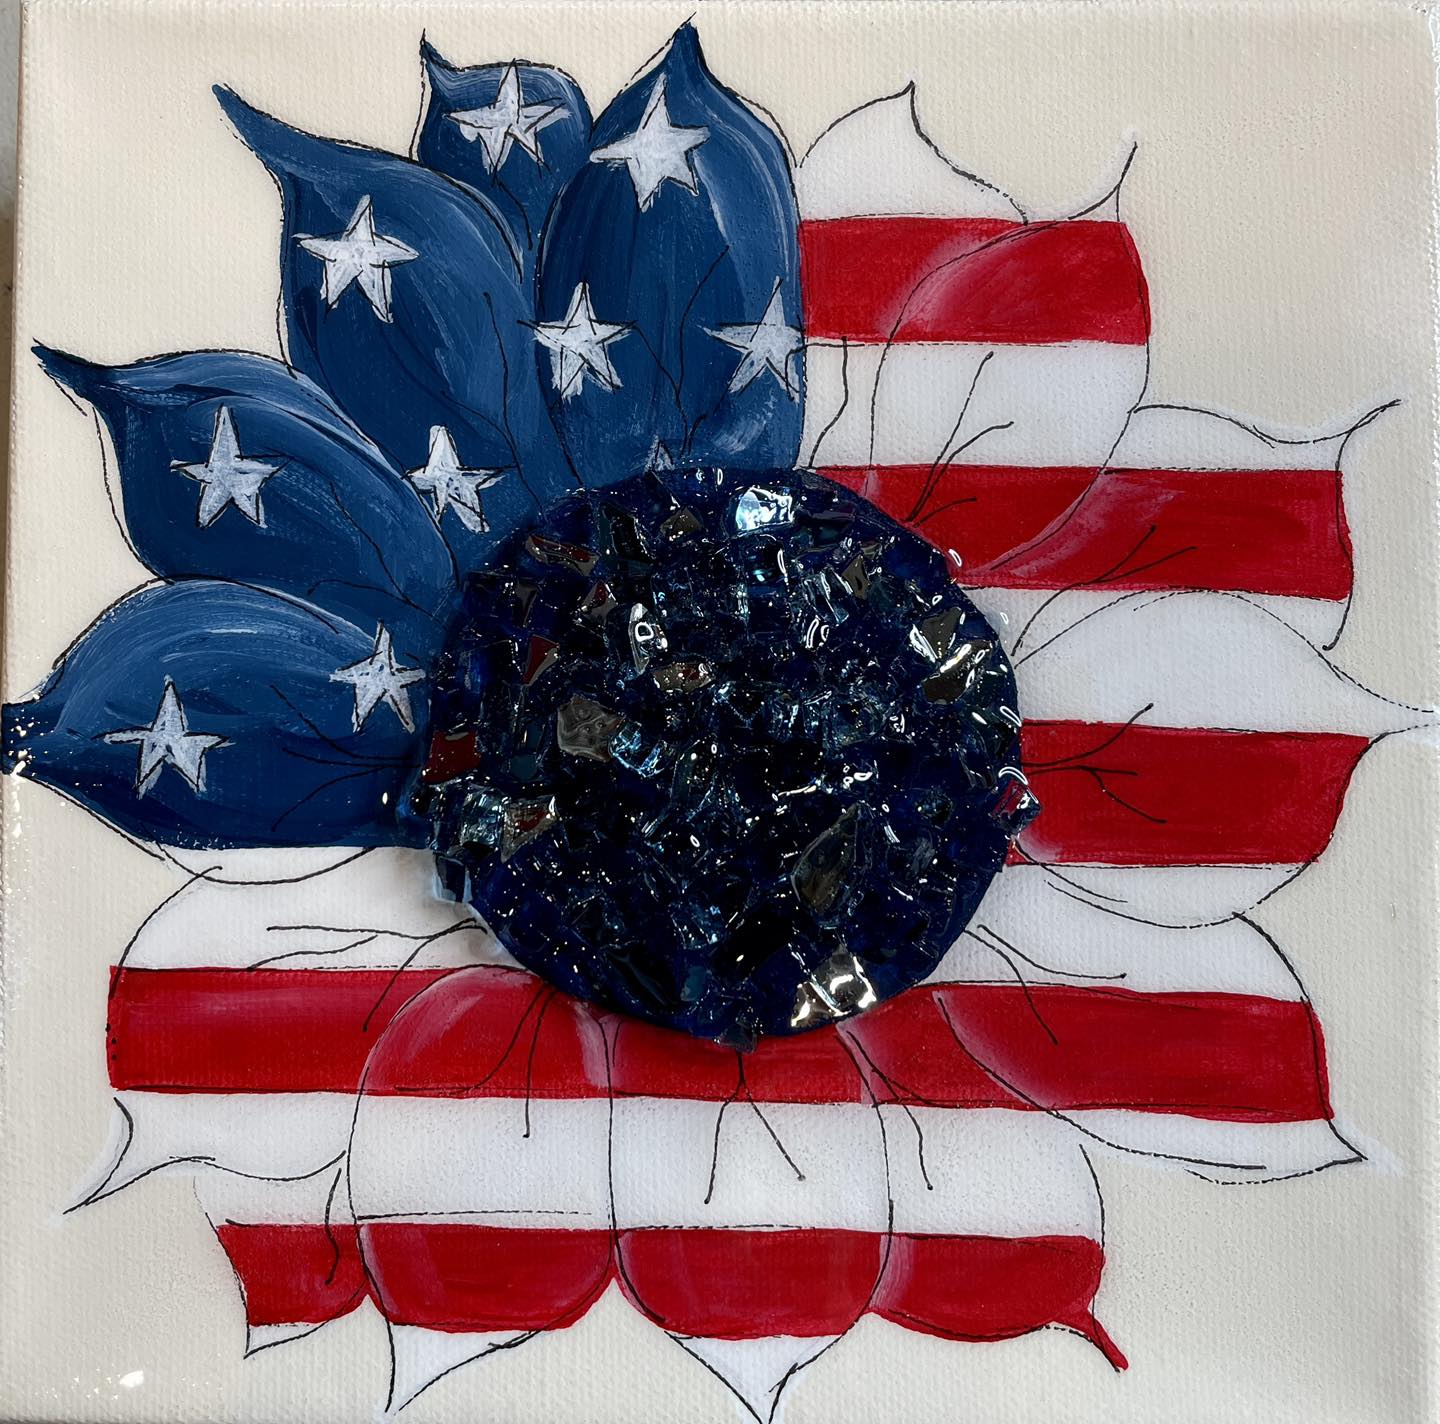
Star Spangled Sunflower 🌻🇺🇸
This patriotic sunflower project is such a fun way to combine summer florals with red, white, and blue style. Instead of painting a traditional sunflower, we’re turning the petals into an American flag-inspired design, then finishing the center with sparkling blue glass and resin. It’s perfect for summer decor, Memorial Day, the 4th of July, Veterans Day, or any patriotic art display.
Step 1: Paint the Background
Start by painting the canvas with Oyster White. This gives the background a soft off-white tone instead of stark white, which makes it easier to see the white petals later. Cover the full canvas with a thin coat, then dry it with a heat gun. Let the surface cool before tracing or painting on top of it.
Step 2: Trace or Sketch the Sunflower
Use the center of a sunflower tracer to place the middle of the flower. Then sketch larger sunflower petals around the center. The goal is to create petals large enough to hold the flag-inspired design, so don’t make them too tiny or d...
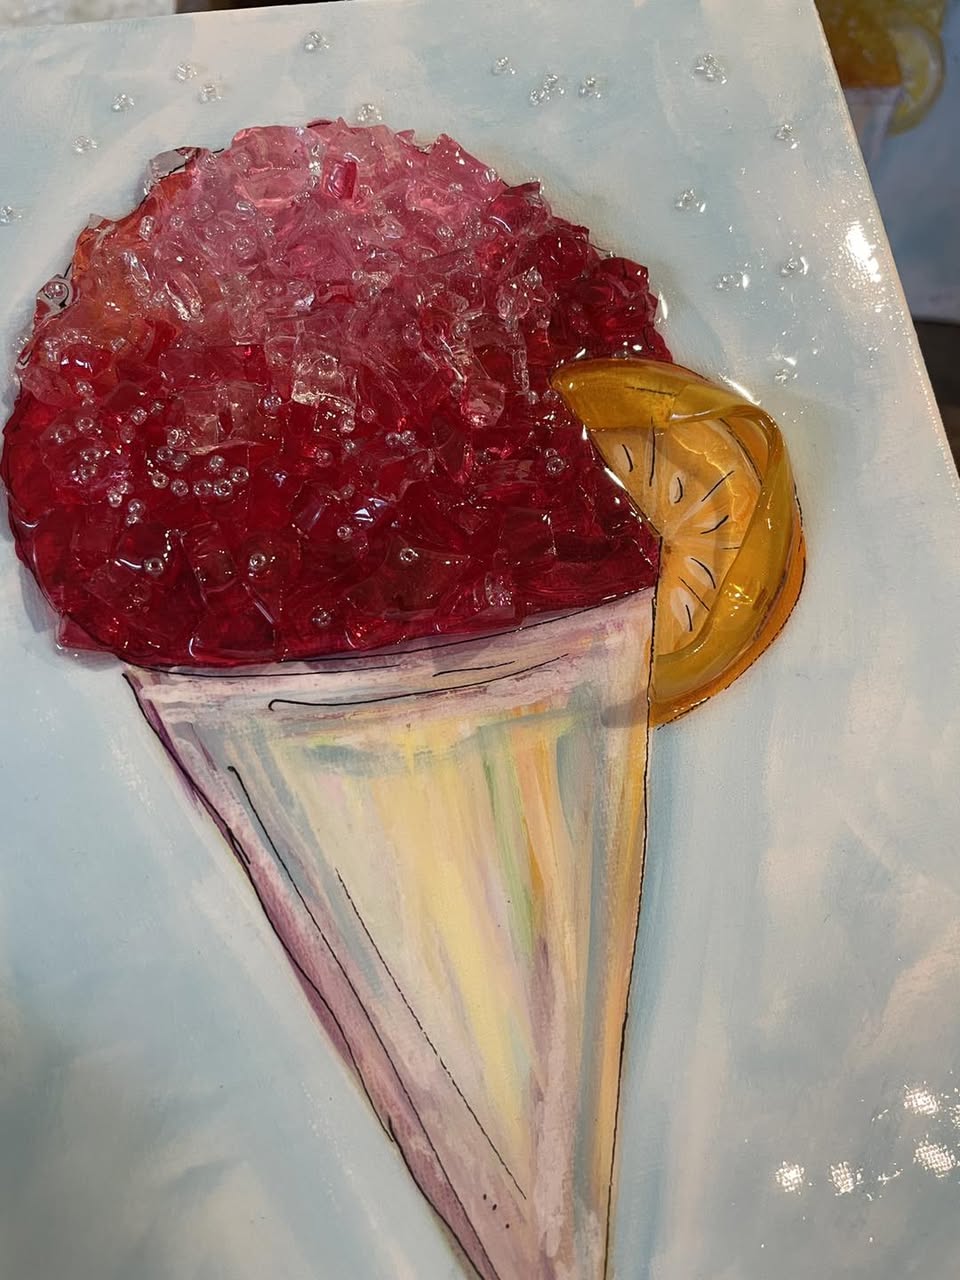
Strawberry Daiquiri Snow Cone 🍓
This strawberry daiquiri snow cone project is such a fun summer mixed media piece. Using an 8x10 canvas, acrylic paint, glass, and resin, you’ll create a colorful snow cone with a juicy orange slice and a dimensional glass topping that looks sparkly, icy, and delicious!
Step 1: Trace the Snow Cone Design
Start by placing your snow cone tracer on the 8x10 canvas. Slide transfer paper underneath the tracer and carefully trace the cone shape and the icy snow cone top. You do not need to trace the orange slice at this point because that will be positioned and painted later. Before moving on, lift one edge of the paper and check that your design transferred clearly.
Step 2: Paint the Background
Use white acrylic paint and Indian Turquoise to create a soft, blended background. Begin by painting one side of the canvas white around the snow cone shape. While the white paint is still wet, dip into a small amount of Indian Turquoise and blend it around the outside edge of the snow cone.
U...
